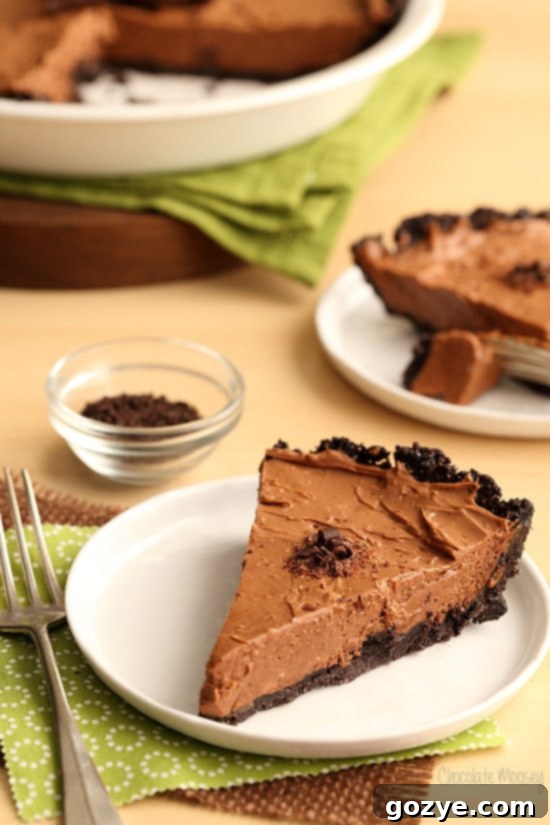
Decadent No Bake Chocolate Pie with Oreo Crust: Your Ultimate Oven-Free Dessert!
What do you do when a fierce chocolate craving strikes but the thought of turning on your oven feels like an impossible task? You whip up this incredibly decadent No Bake Chocolate Pie, nestled in a rich Oreo cookie crumb crust. It’s the perfect solution for satisfying your sweet tooth with minimal effort and maximum flavor.
Eight years ago, I woke up feeling a bundle of nerves. It was a day etched in my memory, filled with a potent mix of excitement and anxiety as I prepared for work. My heart pounded with anticipation, knowing that a significant chapter of my life was about to close, and a new, exhilarating one was about to begin.
As I drove into town, I mentally rehearsed the words I was going to say, my mind racing. I kept wanting to pinch myself, questioning if this monumental decision was truly happening. Was I really going to do this? Was I finally taking the leap?
I arrived at work, my department now isolated in a pristine, newly constructed training center. The atmosphere was eerily quiet, almost lifeless. The head boss, perched in his imposing glass office upfront, seemed to watch our every move, leaving no room for casual chats or moments of respite.
I waited for my supervisor to settle into his desk beside mine, then politely requested a private meeting. This was the conversation I had been planning, dreaming of, and strategizing for over two long years.
With a deep breath, I handed him my letter of resignation. I explained that I was moving back to Pittsburgh, a statement that was only partially true. What I didn’t convey was the profound unhappiness that had settled deep within me during my four years there. I didn’t share how I never truly felt like I belonged, constantly subjected to subtle (and sometimes not-so-subtle) questioning from coworkers about my life choices – being a single, child-free woman living independently, far from the traditional path.
I also didn’t articulate how my motivation had slowly eroded after realizing there was no genuine career growth for me within the company. However, I suspect my supervisor wasn’t entirely surprised. My growing discontent, leading up to that very moment, hadn’t gone unnoticed.
One critical meeting was done, but one more with the head boss still loomed. After my resignation was accepted, I breathed a heavy sigh of relief, a weight lifting from my shoulders. I then hurried off to share my big news with the handful of friends I had managed to make within the company.
And then, just like that, I was unceremoniously dismissed.
Typically, when one resigns, there’s a two-week notice period to wrap up loose ends, transfer ongoing projects, and allow the company time to find a replacement. But for me, that same day, an hour before quitting time, the head boss informed me there was no point in coming back. That day marked my official last day.
He actually told me I could leave that very minute, but I still needed to say my goodbyes and clean out my desk. I left that day with a quiet dignity, barely managing to bid farewell to anyone. One colleague, on vacation, didn’t even learn of my departure until he returned and inquired about me.
There was no farewell party, no last lunch to thank me for my four years of service. It felt as if I had never been there at all. I later found out that my entire position was eliminated, and all the video equipment I once used was donated to a nearby school.
Eight years ago, that moment propelled me into the next thrilling chapter of my life: a complete career change from videographer to recipe developer and food photographer. It was a career path I didn’t even know existed, yet it has proven to be the perfect match for my passions and talents. I’ve always loved recipes, ever since I was old enough to remember, often “borrowing” my mom’s magazines to tear out delectable recipes for brownies and shrimp toast.
Now, people seek to hire me for my passion and talent, a dream I never thought possible. This entire journey, this incredible transformation, wouldn’t have been possible without you, my readers. Your engagement, your kind words, your willingness to try my recipes – it all makes a profound difference in my life.
To express my heartfelt gratitude, I created this glorious No Bake Chocolate Pie. I truly wish I could thank each of you in person and serve you a generous slice right now. But for now, I can provide you with this easy no bake chocolate pie recipe, a luscious, sinful dessert that requires absolutely no oven time.
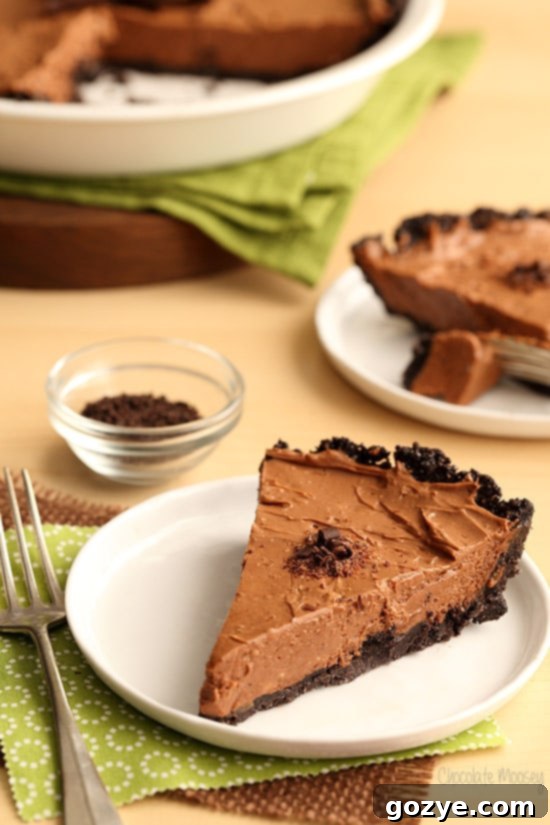
It’s a truly decadent and rich no bake chocolate cream cheese pie, all encased in a delightful Oreo crust. No oven, no eggs – just pure, unadulterated chocolate bliss, perfect for a stress-free summer dessert or any time you need a quick, impressive treat.
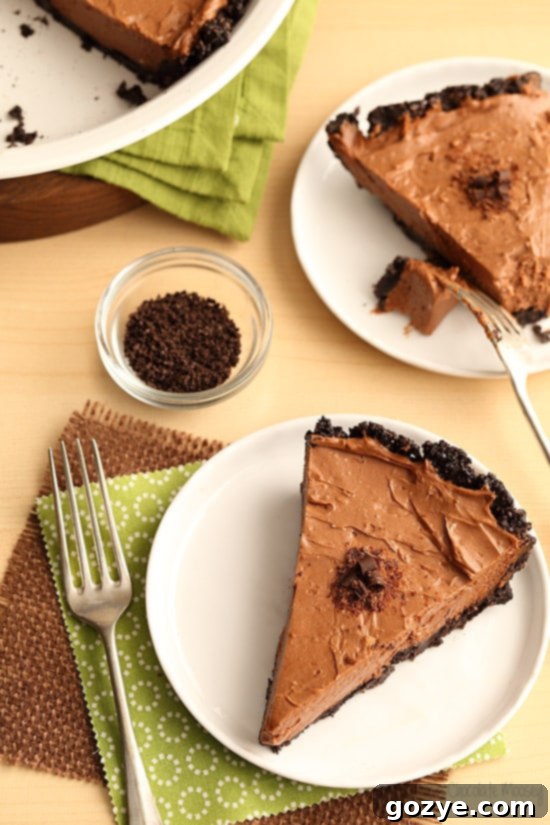
Based on your wonderful feedback, it’s clear that no-bake desserts hold a special place in your hearts. And honestly, I completely understand why! Who wants to fire up the oven and heat up their kitchen, especially if you don’t have the luxury of central air conditioning? And even if you do have central air, like me, who truly wants to crank up the AC (and watch that electric bill soar!) just to bake a pie? It’s simply not ideal.
Over the years, I’ve shared some of your favorites, like my irresistible No Bake Chocolate Covered Strawberry Pie and the ever-popular No Bake Peanut Butter Pie. Now, it’s time to bring you a timeless classic: a truly remarkable No Bake Chocolate Pie that will become a staple in your recipe collection.
Essential Ingredients for Your No Bake Chocolate Pie
Crafting this heavenly no bake chocolate pie requires a few key ingredients, each playing a vital role in its decadent texture and rich flavor:
- Oreo Cookie Crumbs: For this recipe, I absolutely love using chocolate sandwich cookie crumbs, like Oreos, because they provide a fantastic double dose of chocolate flavor. However, don’t feel limited! You can easily switch up the flavor profile by using graham crackers for a more classic taste, or even Nutter Butter cookies for a delightful peanut butter twist. Ensure the crumbs are finely crushed for a solid crust.
- Butter: Melted butter is crucial here; it acts as the binding agent that holds your cookie crumbs together, forming a firm, flavorful crust that won’t crumble when sliced.
- Heavy Whipping Cream: While many no-bake pies rely on store-bought whipped topping like Cool-Whip, I prefer to make this pie entirely from scratch. Using fresh heavy whipping cream allows you to create luscious homemade whipped cream, which is then gently folded into the filling for an unparalleled richness and airy texture.
- Cream Cheese: For the best results, always use a block of full-fat cream cheese. Avoid whipped varieties or those in a tub, as their consistency is different. Using low-fat or, worse, fat-free cream cheese can lead to a watery, less stable filling that won’t set properly. Make sure it’s at room temperature for a smooth mixture.
- Powdered Sugar: This fine sugar not only sweetens the rich filling but also plays a crucial role in thickening it. Its powdery texture dissolves easily, ensuring a silky-smooth consistency without any graininess.
- Semisweet Chocolate: The heart of our chocolate pie! Semisweet chocolate provides a deep, balanced chocolate flavor that isn’t overly sweet. You can use high-quality chocolate chips or finely chopped baking bars.
- Vanilla Extract: A touch of vanilla extract is a secret weapon. It doesn’t just add its own flavor; it actually enhances and deepens the natural chocolate notes, making your pie taste even more intensely chocolatey, much like salt amplifies other flavors.
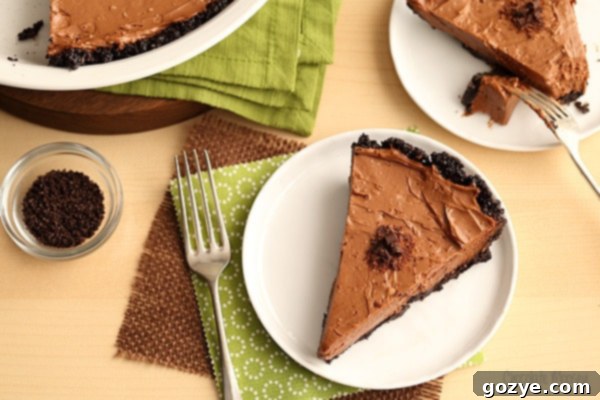
Crafting Your Perfect No Bake Chocolate Pie: Step-by-Step Guide
Making this impressive no bake chocolate pie is surprisingly simple. Follow these steps for a dessert that’s guaranteed to please:
- **Prepare the Oreo Crust:** Begin by stirring together your finely crushed Oreo cookie crumbs and the melted butter in a medium bowl until thoroughly combined. The mixture should resemble wet sand. Press this mixture firmly and evenly into the bottom and up the sides of your 9-inch pie plate. For best results, use the bottom of a flat glass or a measuring cup to compact the crust, ensuring it’s dense and holds its shape. Place the crust in the refrigerator to chill while you prepare the filling; this helps it set.
- **Whip the Heavy Cream:** In a large mixing bowl (preferably one that’s been chilled for a few minutes, along with your whisk attachment if using a stand mixer), pour in the cold heavy whipping cream. Beat the cream on high speed until it thickens significantly and stiff peaks form. This means when you lift the beater, distinct peaks will stand tall and not collapse. Be careful not to overbeat, or you’ll end up with butter! Gently transfer this beautiful homemade whipped cream to another bowl and keep it chilled in the fridge while you continue with the next step.
- **Create the Rich Chocolate Filling:** There’s no need to wash the mixing bowl from the whipped cream! In the same bowl (switching to the paddle attachment if using a stand mixer), combine the room-temperature cream cheese, powdered sugar (sifting it first ensures a lump-free filling), cooled melted semisweet chocolate, and vanilla extract. Beat these ingredients together on medium speed until the mixture is completely smooth and creamy, with no lumps of cream cheese visible. Scrape down the sides of the bowl once or twice to ensure everything is incorporated.
- **Fold in the Whipped Cream:** Gently scrape down the bowl to ensure all ingredients are fully combined. Now, using a rubber spatula, carefully fold the chilled whipped cream into the chocolate cream cheese mixture. The key here is to be gentle to maintain the airy texture of the whipped cream. Continue folding until no white streaks remain and the mixture is uniformly light brown and smooth. If you’re new to this technique, you can learn how to fold whipped cream effectively from The Kitchn.
- **Chill and Serve:** Pour the luscious chocolate filling into your pre-chilled Oreo cookie crust. Spread it evenly with a spatula. Place the pie back in the refrigerator to chill for at least 4 hours, or preferably overnight, until it is completely firm and set. You can also speed up this process by chilling it in the freezer for a shorter period.
Tips for Freezing Your No Bake Chocolate Pie
Life can get hectic, and sometimes you need to prepare your no bake chocolate pie a few days or even weeks before you plan to serve it. The good news is, this homemade chocolate pie, made without Cool Whip, freezes exceptionally well!
- **Initial Freeze (Uncovered):** First, place your finished pie in the freezer, uncovered, for about 1 hour. This crucial step allows the filling to firm up sufficiently so that plastic wrap won’t stick to it and potentially mar the beautiful surface.
- **Wrap and Freeze (Long-Term):** After the initial hour, tightly cover the pie first with plastic wrap, ensuring no air can get in. Then, wrap it again securely with aluminum foil for an extra layer of protection against freezer burn. Your no bake chocolate pie can be stored in the freezer for up to 3 months, making it an excellent make-ahead dessert!
- **Thawing for Serving:** To serve, simply remove the pie from the freezer and let it sit at room temperature for 20-30 minutes. This will allow it to soften just enough to be easily cut with a knife, providing perfect, creamy slices.
More Delicious No Bake Dessert Recipes to Explore
Loved this incredible no bake chocolate pie recipe? We have a treasure trove of other fantastic no-bake desserts that are just as easy and equally delightful. Perfect for any occasion, these recipes will keep your kitchen cool and your taste buds happy:
- No Bake Chocolate Covered Strawberry Pie: A fruity and chocolatey delight.
- No Bake Mint Chocolate Chip Pie: Refreshing and rich, a mint lover’s dream.
- No Bake Gingerbread Pie: Perfect for holidays or a cozy winter treat.
- No Bake Blueberry Cheesecake Pie: A creamy, fruity classic without the fuss.
- No Bake Caramel Apple Cheesecake Parfaits: Individual servings of pure autumn bliss.
- No Bake Pumpkin Cheesecake Bars: A delightful pumpkin dessert, perfect for fall gatherings.

No Bake Chocolate Pie
8-10 servings
30 minutes
4 hours
4 hours 30 minutes
What do you do when you’re craving chocolate but don’t want to turn on the oven? You make this decadent No Bake Chocolate Pie made in an Oreo cookie crumb crust.
Ingredients
- 2 cups chocolate sandwich cookie crumbs, such as Oreo (keep filling in cookies when crushing)*
- 1/4 cup (2 ounces or 4 tablespoons) unsalted butter, melted
- 1/2 cup heavy whipping cream, cold
- 8 ounces (1 block or 8 tablespoons) full-fat cream cheese, room temperature and not cold to the touch (do not sub fat free)
- 3/4 cup powdered sugar, sifted
- 4 ounces semisweet chocolate, melted and cooled 15 minutes
- 1 teaspoon vanilla extract
Instructions
- In a large bowl, mix together the cookie crumbs and butter. Pat into a 9-inch pie plate. Refrigerate while you work on the filling.
- In a large mixing bowl (with whisk attachment if using stand mixer), beat the heavy cream on high speed until it thickens and stiff peaks form, roughly 2-3 minutes (when you pull the beaters up, peaks will form and not fall over). Transfer to another bowl and keep cold in the refrigerator.
- In the same mixing bowl (no need to clean bowl – switch to paddle if using stand mixer), beat together the cream cheese, sugar, melted chocolate, and vanilla until smooth and creamy, about 2-3 minutes.
- Scrape down the bowl then fold the whipped cream into the chocolate mixture until no white streaks remain.
- Spread into the chilled cookie crust. Refrigerate at least 4 hours or overnight until firm (you can speed up this process in the freezer).
Notes
- *If you use another kind of crumb that doesn’t have a filling
(such as graham crackers), you may need to add an extra 2 tablespoons butter. - Enjoyed this recipe? Check out my No Bake Peanut Butter Pie, No Bake Chocolate Strawberry Pie, No Bake Blueberry Cheesecake Pie, and No Bake Gingerbread Pie.
Recommended Products
As an Amazon Associate and member of other affiliate programs, I earn from qualifying purchases.
- 9 Inch Pie Plate
Did you make this recipe?
Let me know what you think! Rate the recipe above, leave a comment below, and/or share a photo on Instagram using #HITKrecipes
Source: Adapted from Food Network
Originally published July 16, 2015
Serving Suggestions & Variations
This No Bake Chocolate Pie is a showstopper on its own, but a few simple garnishes can elevate it even further. Consider dusting the top with a light layer of cocoa powder or finely grated chocolate for an elegant finish. A dollop of extra homemade whipped cream (perhaps sweetened lightly with vanilla) on each slice adds a lovely contrast in texture and flavor. For a touch of color and freshness, a handful of fresh raspberries or sliced strawberries pairs beautifully with the rich chocolate.
Feeling adventurous? You could experiment with the crust by adding a pinch of cinnamon or a teaspoon of espresso powder to the Oreo crumbs for an extra layer of flavor. Or, for a different twist, try a pretzel crust for a delightful salty-sweet combination. The creamy chocolate filling is incredibly versatile, making it easy to adapt to your preferences.
Why This No Bake Chocolate Pie Will Be Your New Favorite
Beyond its undeniable deliciousness, this no bake chocolate pie offers unparalleled convenience. It’s the ideal dessert for busy weeknights, summer gatherings, or any time you need an impressive treat without the stress of baking. The rich, creamy texture combined with the satisfying crunch of the Oreo crust creates a harmonious blend that’s hard to resist.
It’s also a fantastic make-ahead dessert, freeing up your time on the day of your event. With simple ingredients and straightforward steps, even novice bakers can achieve spectacular results. This pie is more than just a dessert; it’s a testament to how simple ingredients can create something truly extraordinary. So go ahead, treat yourself and your loved ones to a slice of pure, unadulterated chocolate happiness!
If you make this indulgent No Bake Chocolate Pie, please come back and let me know what you think! Your feedback is invaluable, and I love hearing about your kitchen adventures. Don’t forget to share your photos on Instagram using #HITKrecipes!
