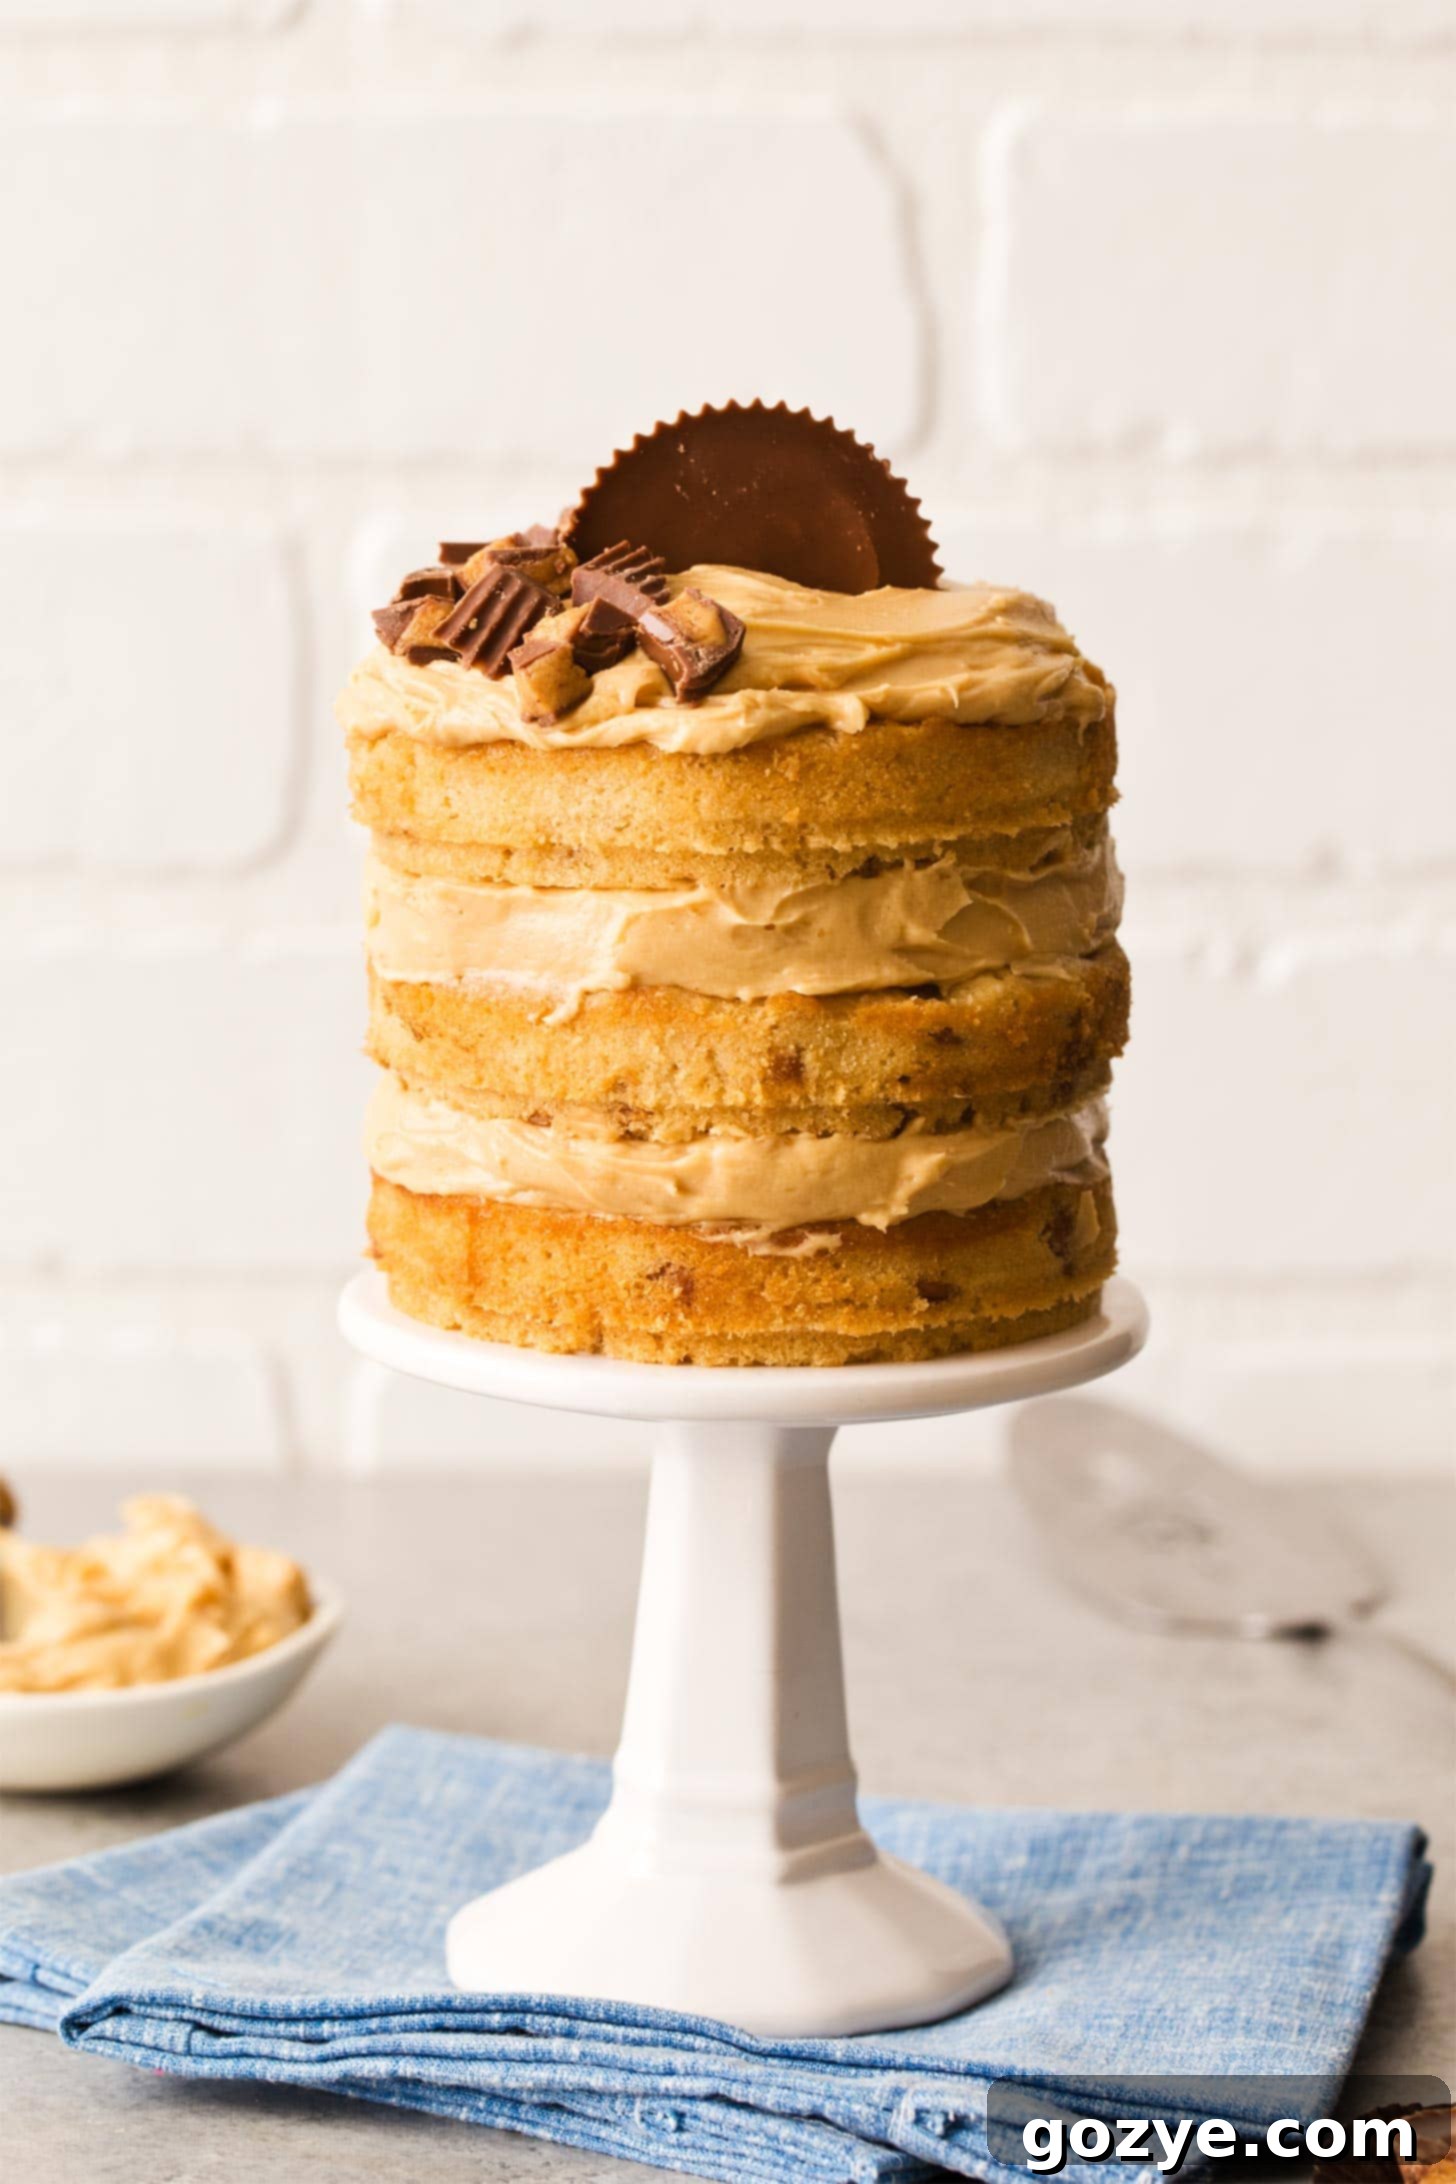
Irresistible 4-Inch Peanut Butter Birthday Cake Recipe: The Ultimate Sweet & Salty Celebration
Get ready to celebrate life with this sweet and salty Peanut Butter Birthday Cake! It’s a 4-inch cake recipe featuring three delightful mini layers of homemade peanut butter cake, generously decorated with the dreamiest peanut butter frosting. Perfect for intimate celebrations or when you simply crave a personalized indulgence.
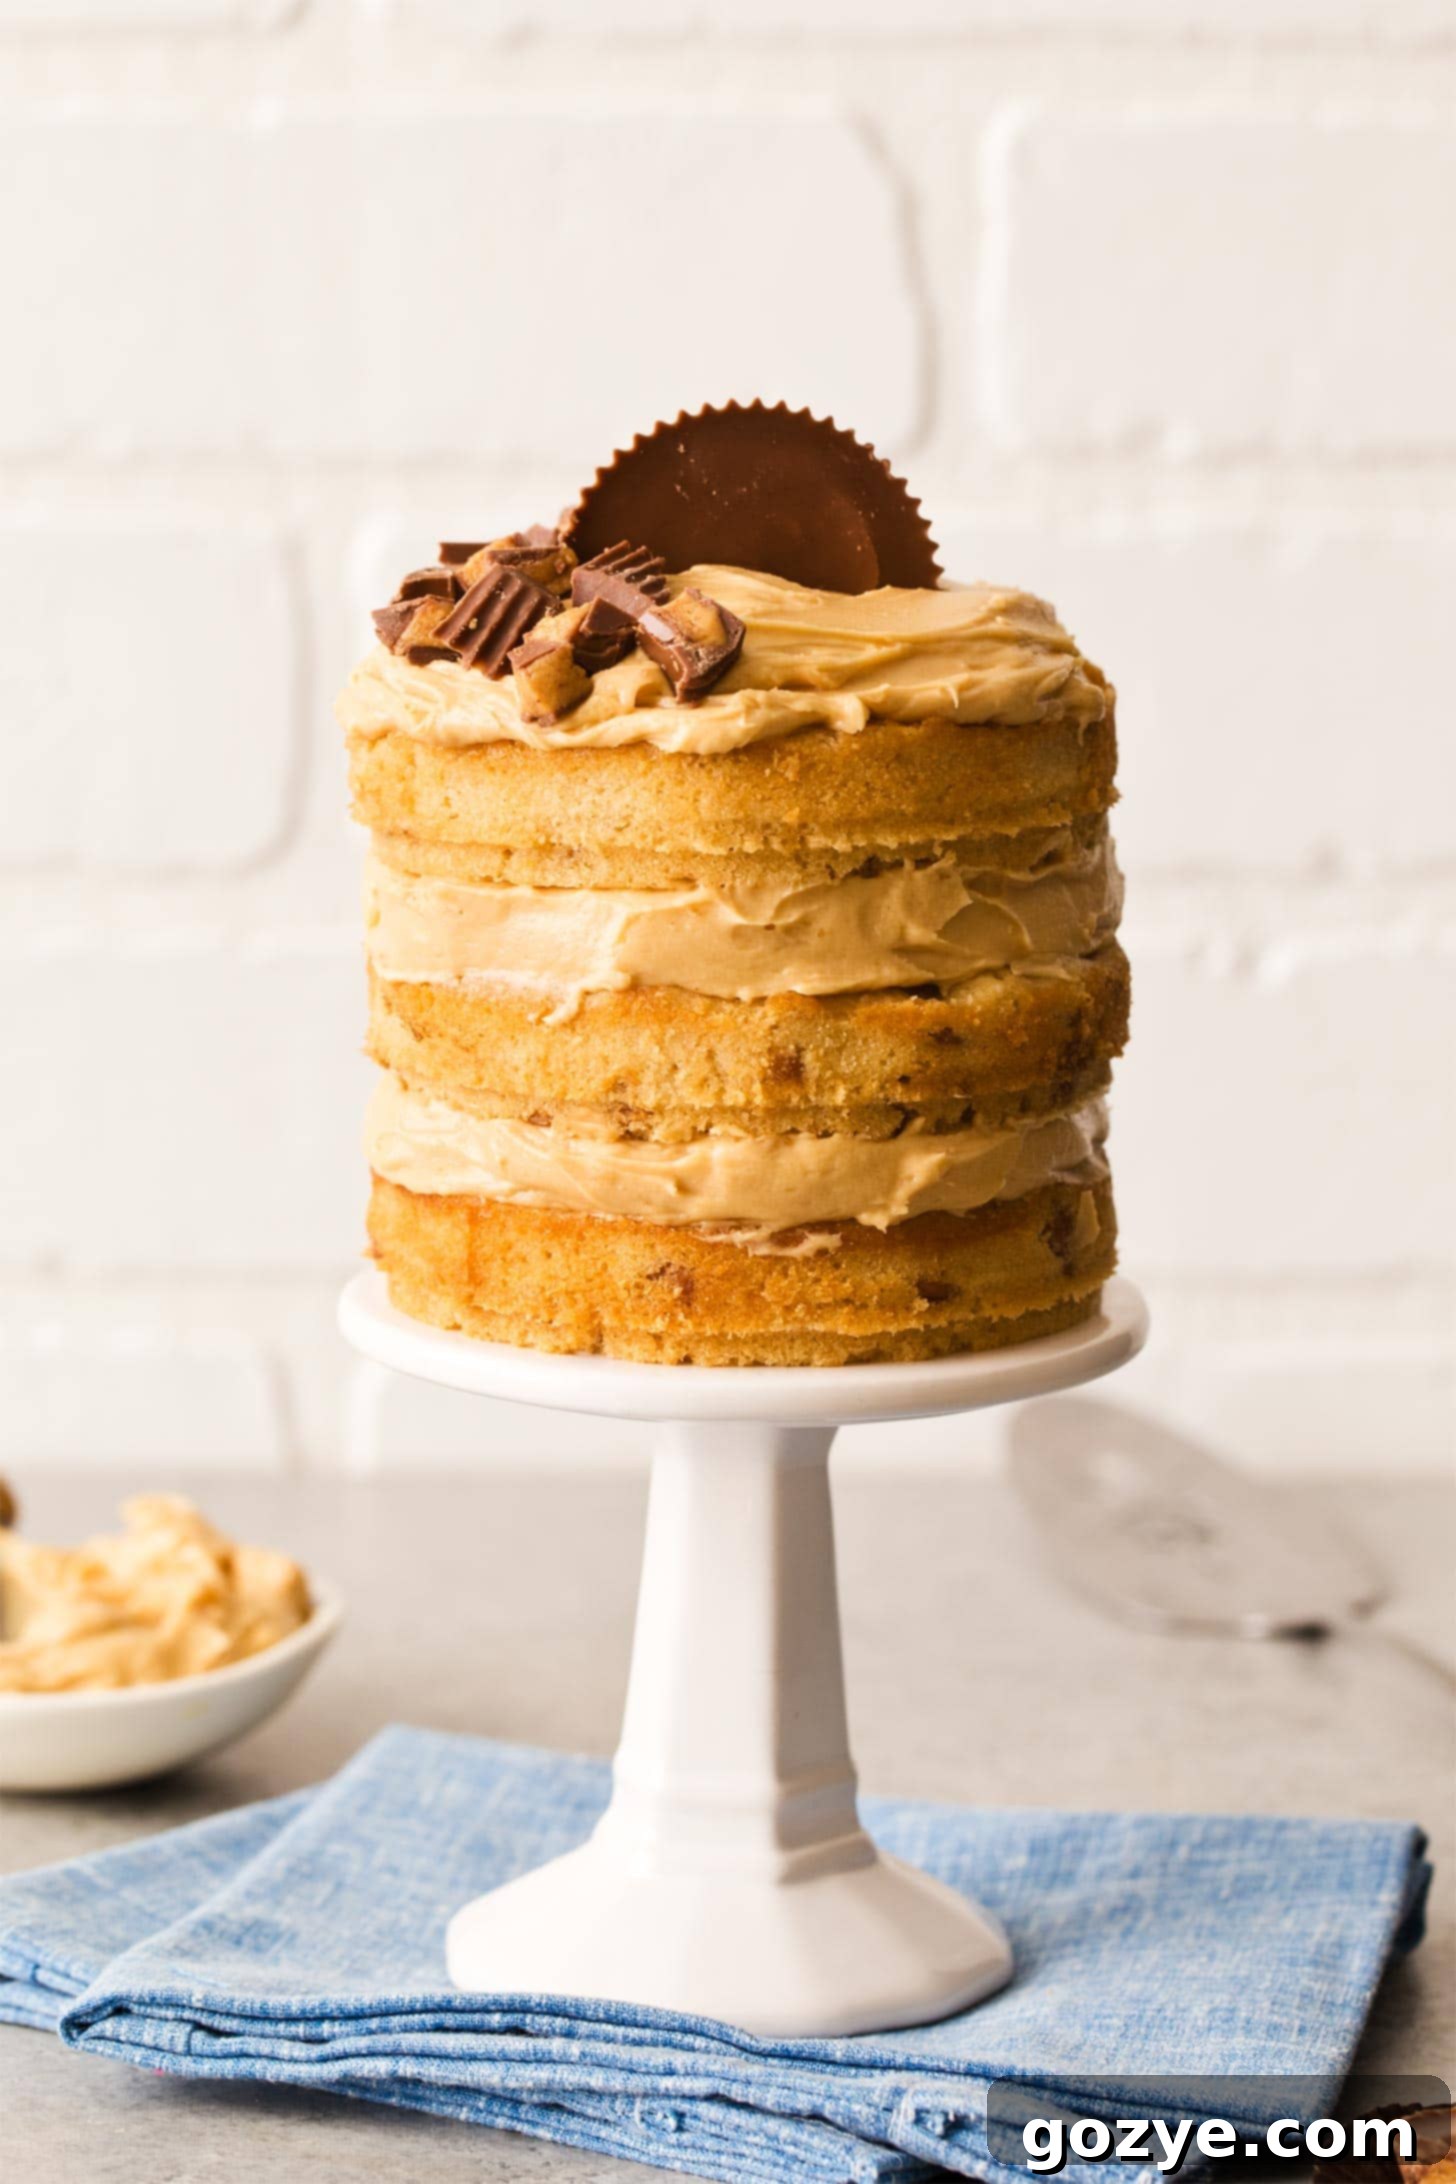
Every special occasion, especially a birthday, calls for cake! And today, on my birthday, I decided to treat myself (and you!) to something truly extraordinary: this magnificent Peanut Butter Birthday Cake. It’s not just any cake; it’s a homemade labor of love, crafted from scratch with a focus on rich, authentic peanut butter flavor that will make your taste buds sing.
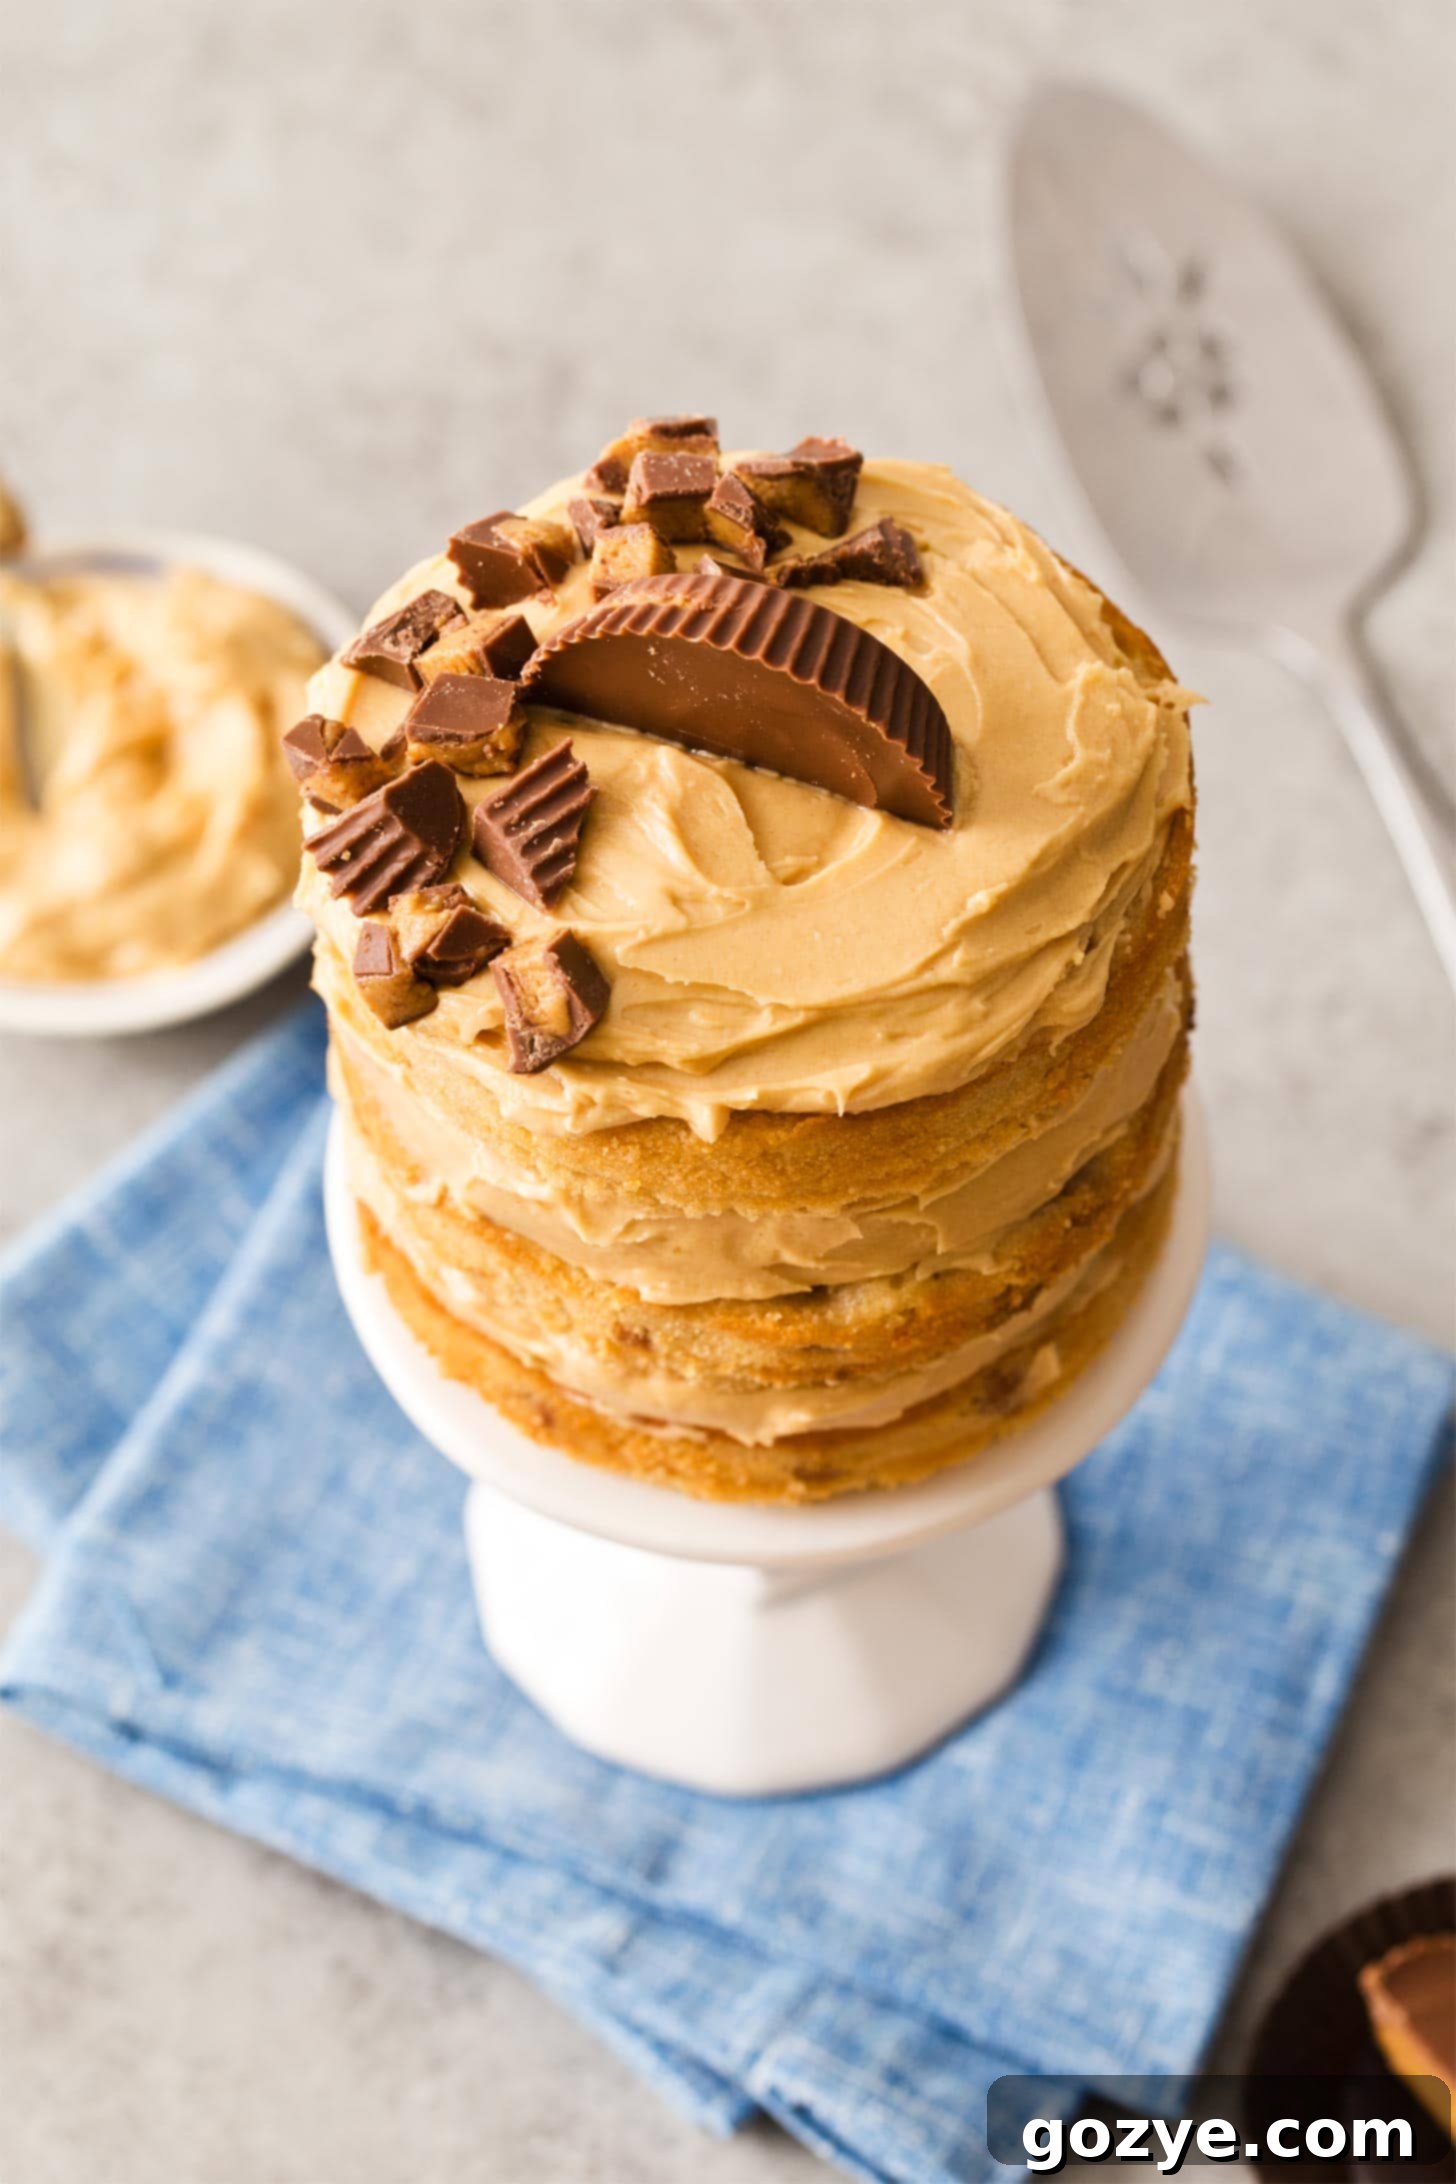
This recipe transforms a classic favorite into a charming 4-inch cake, creating a nutty mini layer cake that’s perfect for smaller gatherings or a personal celebration. Forget complicated decorating skills; all you need is a single peanut butter cup gently placed on top, and voilà – an instant, adorable cake topper that perfectly complements the flavor profile.
While chocolate and peanut butter often steal the spotlight together (and for good reason, as seen in my small chocolate cake recipe with peanut butter frosting or my decadent chocolate peanut butter cake), I wanted to let peanut butter shine on its own. This recipe puts pure, unadulterated peanut butter at the forefront, creating a truly unique and satisfying experience.
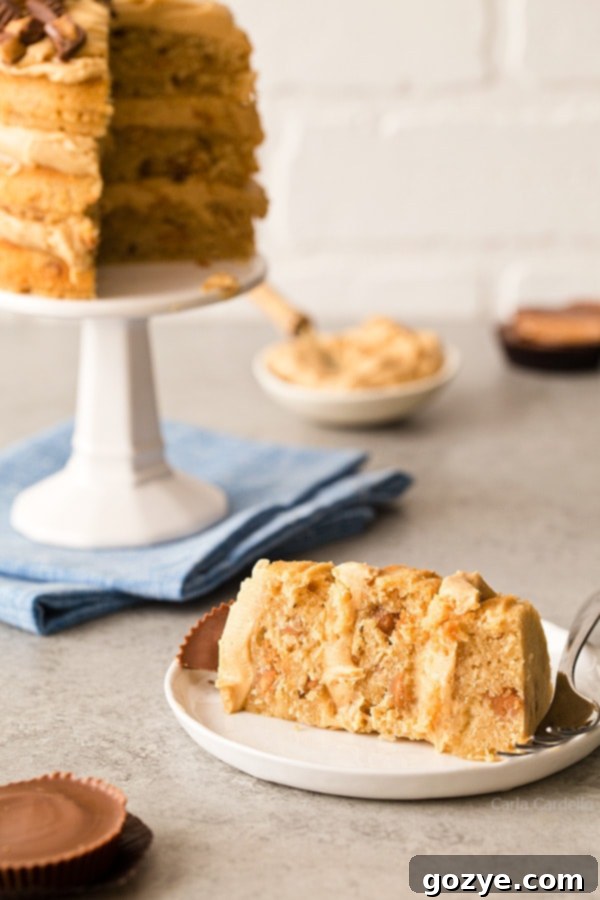
Of course, I couldn’t resist a little touch of chocolate, so chopped peanut butter cups are folded into the batter, adding delightful texture and bursts of flavor. And because no peanut butter birthday celebration is complete without it, consider serving slices with a scoop of homemade peanut butter ice cream!
Key Ingredients for Your Homemade Peanut Butter Birthday Cake
Crafting this irresistible peanut butter layer cake starts with a selection of common baking ingredients, each playing a crucial role in achieving that perfect sweet, salty, and nutty balance. Here’s a closer look at what you’ll need and why:
- All-purpose flour: This forms the structural foundation of your cake. Sifting it ensures a lighter, more tender crumb and helps it evenly distribute with other dry ingredients, preventing lumps. It provides the necessary bulk to balance the wet components.
- Baking powder: As a chemical leavening agent, baking powder is vital for giving your cake layers their airy lift and tender texture. When combined with moisture and heat, it releases carbon dioxide, causing the batter to rise beautifully.
- Salt: Often underestimated, salt is a flavor enhancer. In this recipe, it doesn’t just prevent the cake from tasting bland; it also beautifully highlights and balances the sweetness of the sugar and the richness of the peanut butter, bringing out its true potential.
- Unsalted butter: Butter contributes immensely to the cake’s flavor and tenderness. When creamed, it incorporates air, which expands during baking, creating a soft crumb. Its melting fat also traps gases, further contributing to the cake’s delicate texture. Using unsalted butter gives you full control over the salt content in the recipe.
- Creamy processed peanut butter: For the most consistent and reliable results, creamy, processed peanut butter (like Jif or Skippy) is highly recommended. Natural peanut butters, which often separate oil, can vary significantly in texture and moisture content between brands, potentially affecting the cake’s consistency. This type ensures a smooth, even distribution of flavor.
- Granulated sugar: Beyond providing sweetness, sugar plays a vital role in the cake’s structure and moisture. It helps to tenderize the cake by interfering with gluten development and aids in browning, giving the cake a lovely golden crust.
- Large egg: Eggs are multi-functional in baking. They add structure through protein coagulation, provide moisture, and act as a leavening agent (especially when beaten, incorporating air). An egg also helps bind ingredients together for a cohesive batter. Ensure it’s at room temperature for better emulsification with other ingredients.
- Vanilla extract: A touch of vanilla is a baking essential. It doesn’t just add its own pleasant aroma and flavor; it also magically enhances and rounds out the flavor of the peanut butter, making it taste even more pronounced and delicious.
- Whole milk: Milk adds essential moisture to the cake, contributing to its tender and moist crumb. Using whole milk provides a richer flavor and fat content compared to lower-fat alternatives, ensuring a more luxurious texture.
- Peanut butter chips, chopped peanut butter cups, or semisweet chocolate chips: These are optional but highly recommended additions that provide extra bursts of flavor and texture. Peanut butter chips amplify the nutty taste, while chopped peanut butter cups offer a delightful chocolate-peanut butter synergy. Semisweet chocolate chips are a classic choice for a slightly less sweet, more intense chocolate complement.
Essential Equipment for Your Mini Peanut Butter Cake
To create this charming mini layer cake, specific bakeware can make all the difference. While flexibility exists, having the right tools ensures the best results for perfectly proportioned layers.
What pan do I need for a mini layer cake?
This homemade peanut butter cake is designed to be baked in three 4-inch springform pans. Using three separate pans allows for distinct, evenly baked layers that stack beautifully, creating that impressive multi-layered effect typical of larger cakes, but in a delightful miniature form. Springform pans are especially convenient for delicate cakes, as their removable sides make demolding incredibly easy without damaging your layers.
If you don’t have 4-inch springform pans, don’t worry! You can certainly adapt. All of the batter can be put into one 6-inch round cake pan. This will result in a single, thicker layer cake, which you can then slice horizontally into two or three layers if desired, or simply frost as a single-layer cake. Ensure your 6-inch pan is at least 2 inches deep to accommodate the batter.
Beyond the cake pans, you’ll need standard baking equipment such as mixing bowls (both medium and large), an electric mixer (stand mixer with a paddle attachment or a hand mixer for creaming), measuring cups and spoons, a whisk, and a rubber spatula for scraping bowls. An offset spatula will also be invaluable for spreading frosting evenly.
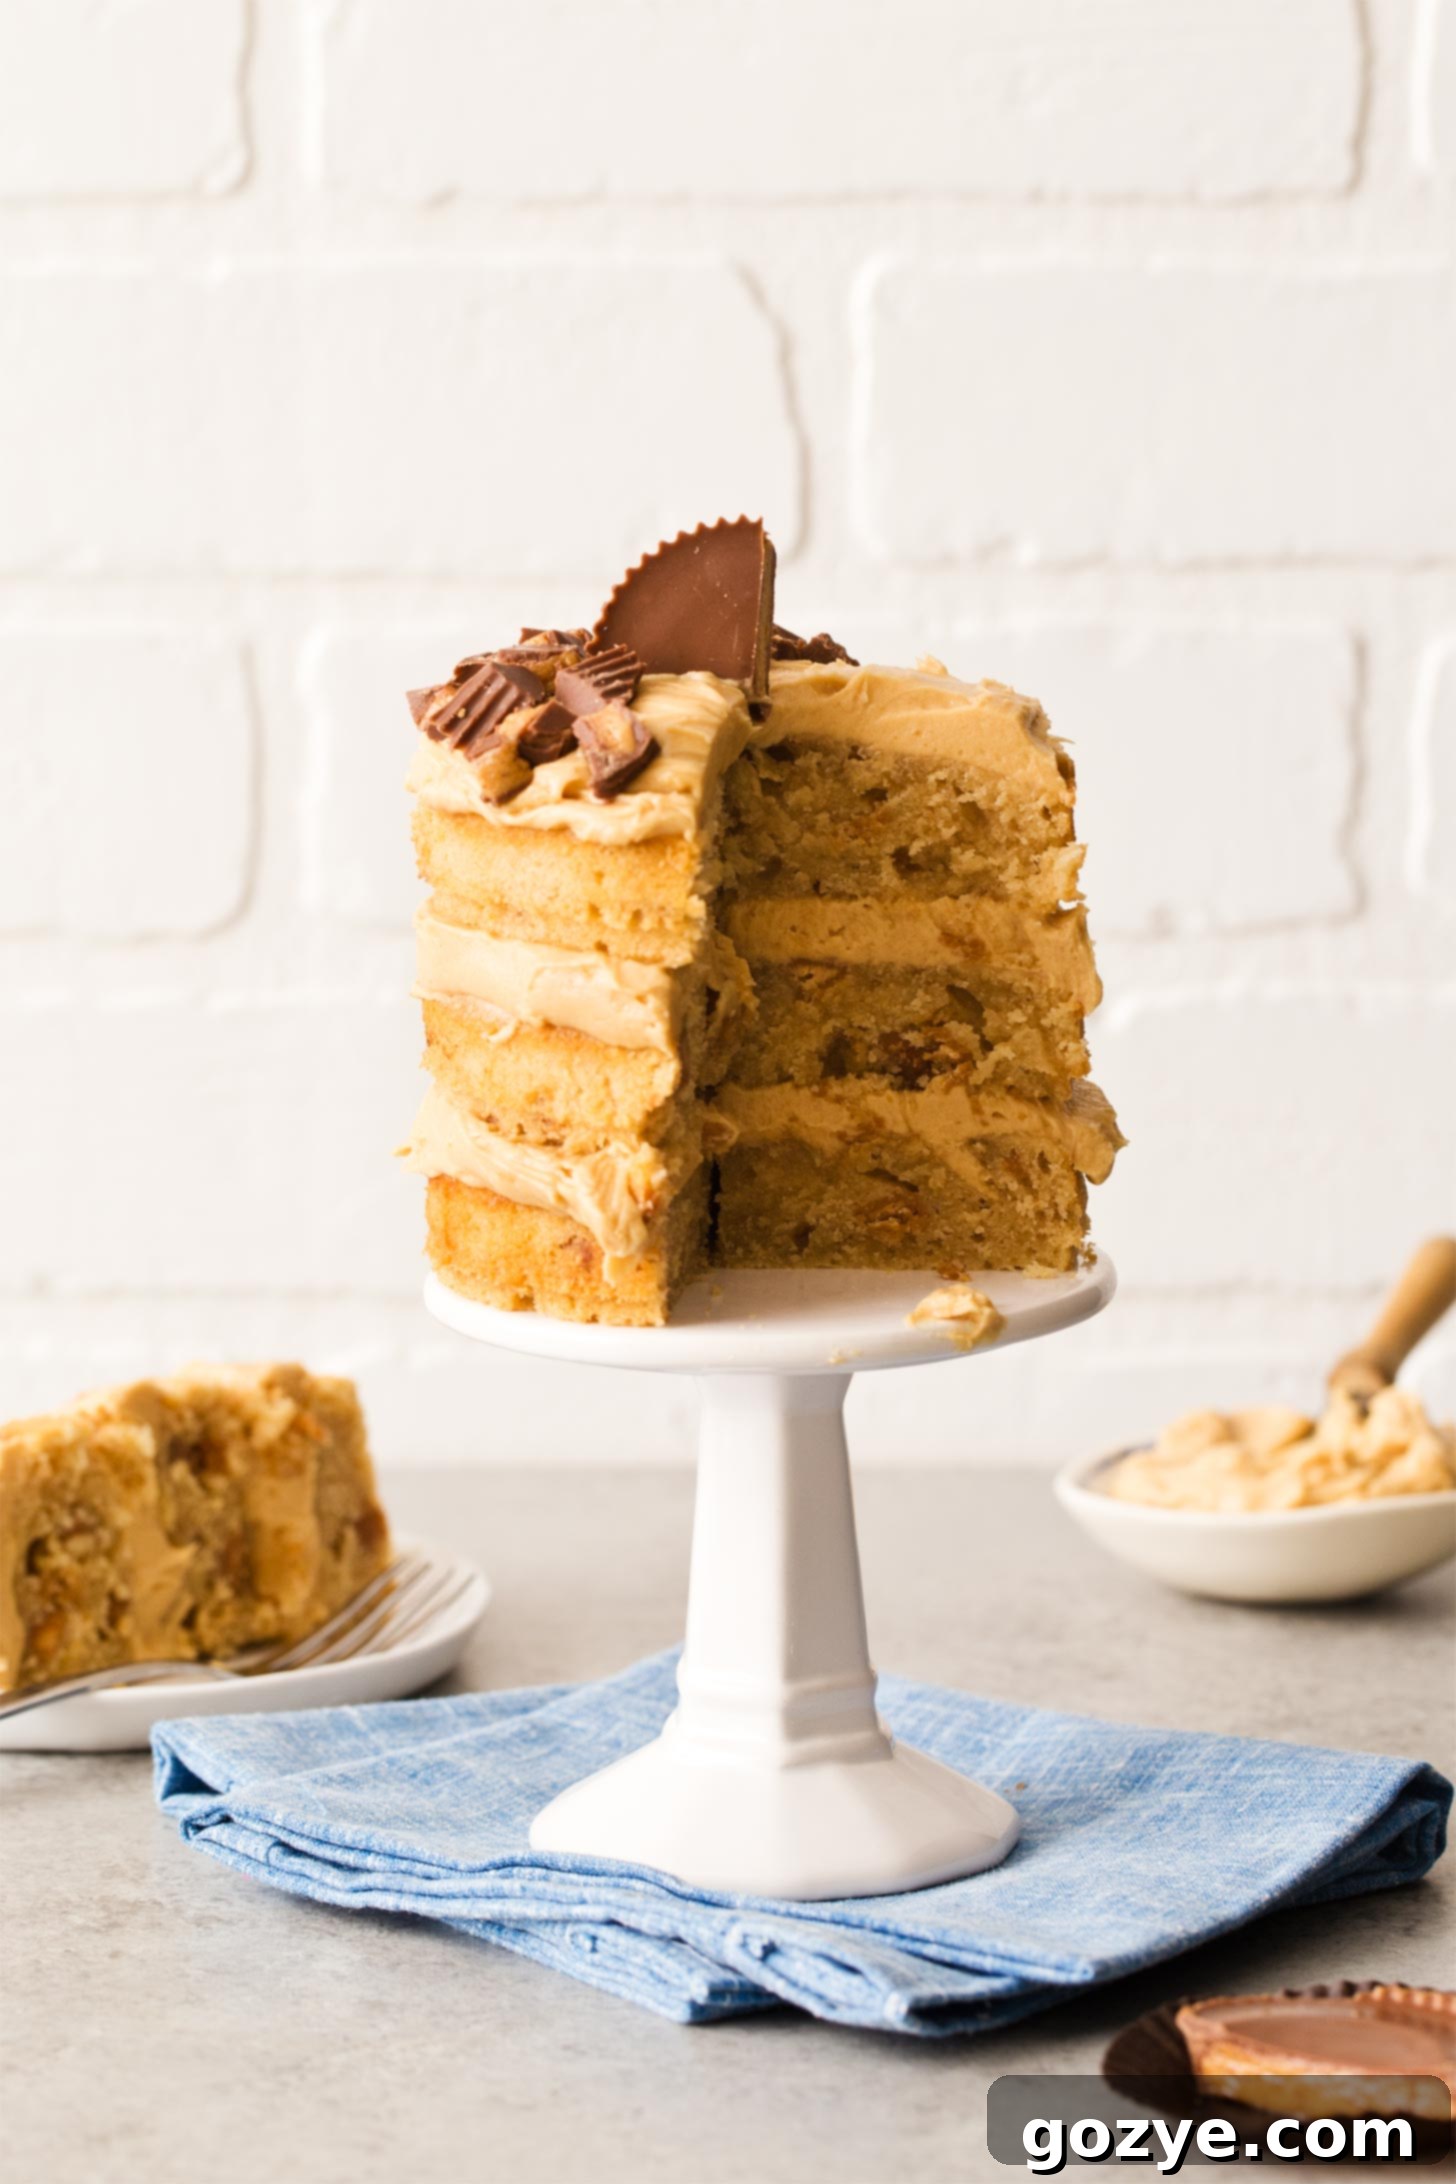
How To Make The Perfect Peanut Butter Birthday Cake
Creating this delicious peanut butter mini layer cake is a straightforward and rewarding process. Follow these steps for a moist, flavorful cake that’s sure to impress:
- Prepare Your Pans and Oven: Preheat your oven to 350°F (175°C). Lightly grease and flour three 4-inch springform pans. For extra security against leaks, especially with springform pans, wrap the outside of each pan with aluminum foil. If using a single 6-inch pan, grease it and line the bottom with parchment paper.
- Combine Dry Ingredients: In a medium bowl, whisk together the sifted all-purpose flour, baking powder, and salt. Whisking ensures these ingredients are thoroughly combined and evenly distributed throughout the batter. Set aside.
- Cream Butter, Peanut Butter, and Sugar: In a large mixing bowl (using a stand mixer with a paddle attachment or a hand mixer), beat together the softened unsalted butter, creamy processed peanut butter, and granulated sugar on medium-high speed. Continue beating for about 1 minute, or until the mixture becomes light, fluffy, and pale in color. This step incorporates air, which is crucial for a tender cake.
- Add Egg and Vanilla: Scrape down the sides of the bowl with a rubber spatula to ensure everything is incorporated. Then, beat in the room-temperature large egg and vanilla extract until just combined. Be careful not to overmix at this stage.
- Alternate Dry and Wet Ingredients: Reduce the mixer speed to low. Gradually add the flour mixture alternately with the whole milk, starting and ending with the dry ingredients. Add the flour in three additions and the milk in two additions. Mix only until just combined after each addition. Overmixing develops gluten, which can lead to a tough cake. Finally, gently stir in your choice of peanut butter chips, chopped peanut butter cups, or semisweet chocolate chips until evenly distributed.
- Bake the Layers: Divide the batter evenly among the three prepared 4-inch pans. If using a kitchen scale, this is an excellent time to ensure even layers. Bake for 20-25 minutes, or until a toothpick inserted into the center of a cake layer comes out clean.
- Cool Completely: Once baked, remove the cakes from the oven and let them cool in their pans on a wire rack for about 10-15 minutes. Then, carefully remove them from the pans and transfer them directly to the wire rack to cool completely. Cooling thoroughly is essential before frosting to prevent the frosting from melting and sliding off.
Storage Tips for Your Peanut Butter Birthday Cake
Proper storage ensures your delicious cake remains fresh and moist. Here’s how to keep your peanut butter birthday cake at its best:
- Unfrosted Cake: If you’re baking ahead, unfrosted cake layers can be stored tightly wrapped in plastic wrap at room temperature for up to 2 days. For longer storage, wrap them well and freeze for up to 2-3 months. Thaw in the refrigerator before frosting.
- Frosted Cake (Buttercream): Once frosted with a peanut butter buttercream, cover the cake with a cake dome or plastic wrap and store it at room temperature for up to 2 days. Buttercream is stable at room temperature for this period.
- Frosted Cake (Buttercream, Cream Cheese, Ganache): If your frosting contains cream cheese or ganache (or if your kitchen is particularly warm), it’s best to store the covered cake in the refrigerator for up to 1 week.
- Serving Refrigerated Cake: For the best flavor and texture, allow a refrigerated cake to sit at room temperature for 15-30 minutes before serving. This brings the cake to a more enjoyable temperature, softening the frosting and enhancing the flavors.
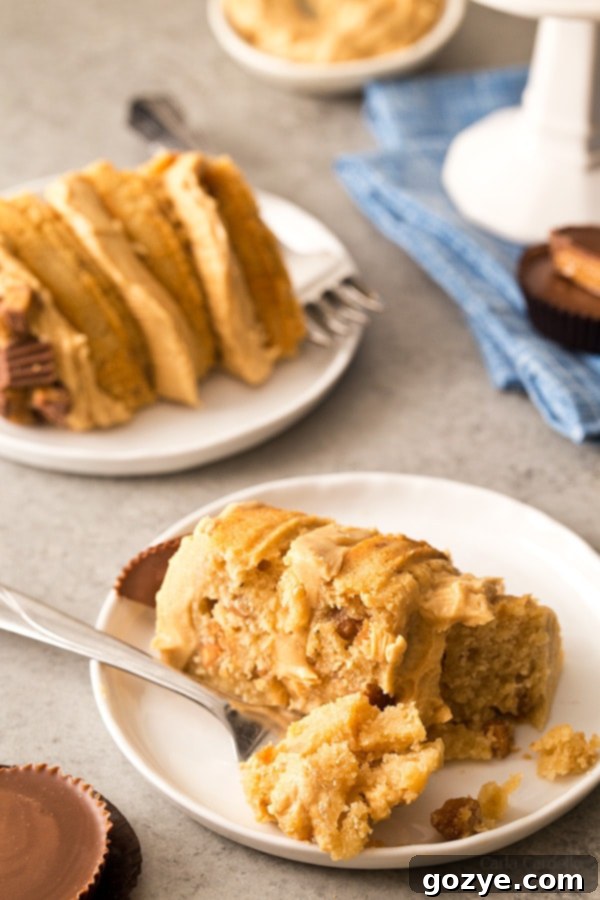
Frosting Options to Perfect Your Peanut Butter Cake
The right frosting can elevate your peanut butter cake from delicious to absolutely divine. While I personally love to crown my peanut butter birthday cake with a classic, rich peanut butter buttercream, there are several fantastic alternatives depending on your preference for sweetness, tang, or a chocolatey twist:
- Peanut Butter Buttercream: This is the ultimate choice for a true peanut butter lover. It’s creamy, sweet, and intensely nutty, perfectly complementing the cake layers.
- Peanut Butter Cream Cheese Frosting: If you find buttercream a little too sweet, or simply crave a delightful tang, peanut butter cream cheese frosting is an excellent choice. The cream cheese adds a slight tartness that beautifully cuts through the richness of the peanut butter, offering a more complex flavor profile.
- Traditional Cream Cheese Frosting: For a classic, slightly tangy contrast, opt for traditional cream cheese frosting. It’s light, fluffy, and offers a refreshing balance to the rich peanut butter cake.
- Chocolate Frosting: To transform your cake into a chocolate peanut butter birthday cake, a luscious chocolate frosting is the way to go. This creates the beloved classic combination that so many adore.
- Chocolate Cream Cheese Frosting: For a slightly less sweet and more sophisticated chocolate experience, chocolate cream cheese frosting offers the best of both worlds: rich chocolate flavor with a pleasant tang.
- Chocolate Ganache: If you prefer a sleek, glossy finish and intense chocolate flavor, covering the entire cake with a smooth chocolate ganache is a fantastic option. It’s surprisingly easy to make and looks incredibly elegant.
And for those who prefer a lighter touch or a less traditional approach to frosting, whipped cream-based options are wonderful:
- Peanut Butter Whipped Cream: A light and airy peanut butter whipped cream provides a delicate nutty flavor without the heavy sweetness of buttercream.
- Chocolate Whipped Cream: For a lighter chocolate complement, chocolate whipped cream offers a fluffy, rich cocoa experience.
- Cream Cheese Whipped Cream: Combining the tang of cream cheese with the lightness of whipped cream, cream cheese whipped cream is a delightful, less-sweet alternative.
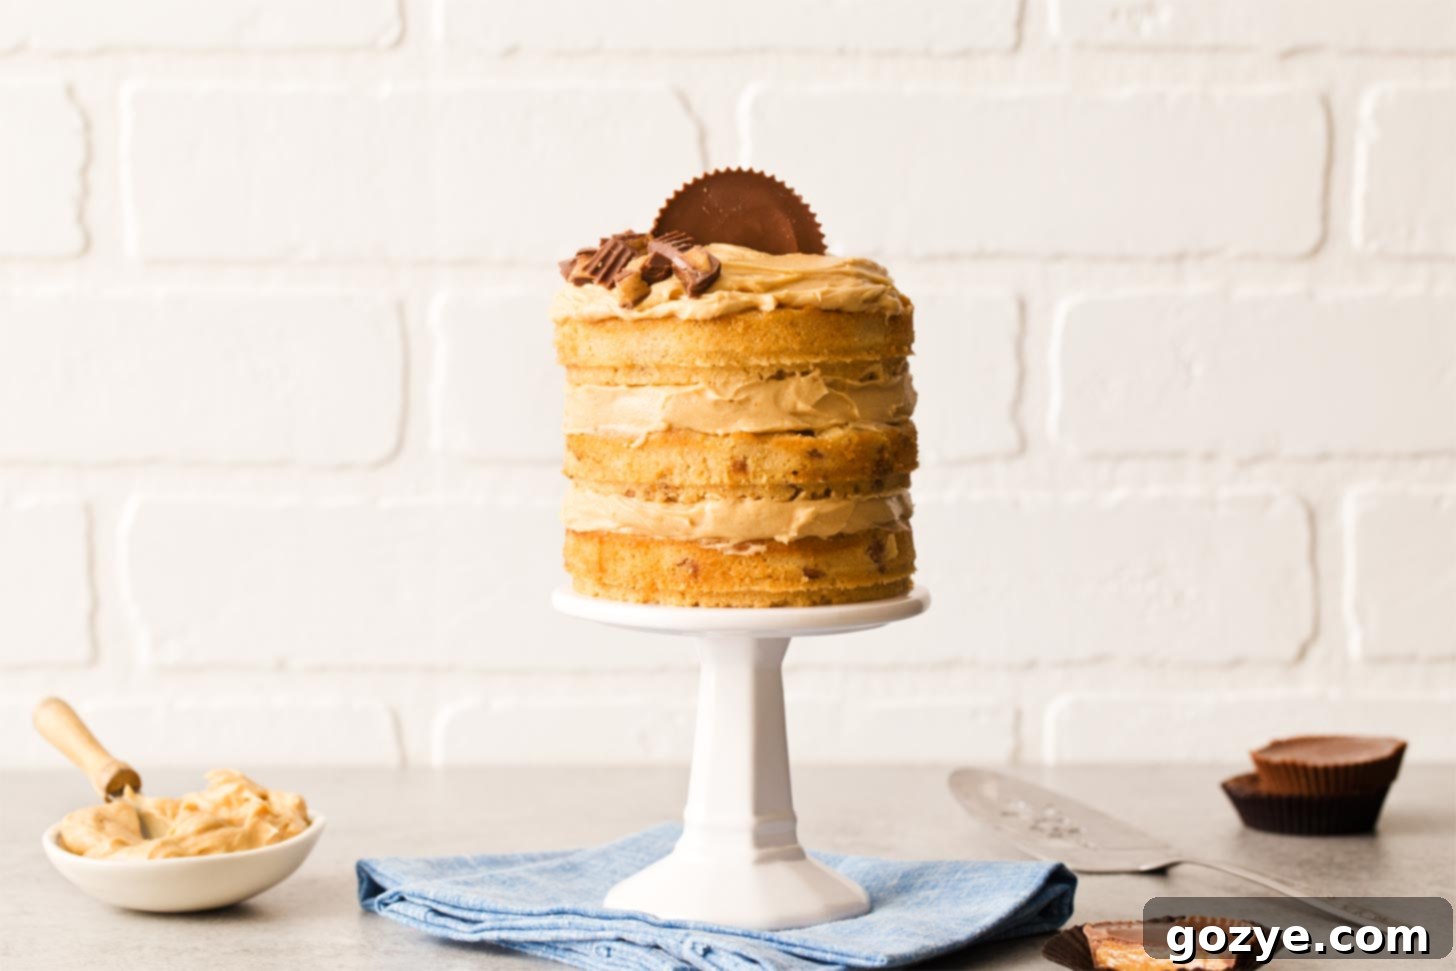
Why Choose a 4-Inch Cake? The Magic of Miniature
While large cakes have their place, there’s a distinct charm and practicality to a 4-inch cake. This mini size is perfect for several reasons, making it an increasingly popular choice for home bakers:
- Perfect for Small Celebrations: Whether it’s a romantic dinner for two, a small family gathering, or a personal birthday treat, a 4-inch cake offers just enough servings without overwhelming leftovers. This recipe yields four servings, making it ideal for intimate moments.
- Less Waste: For those who love baking but don’t want a huge cake sitting around for days, a mini cake minimizes waste and ensures every slice is appreciated.
- Quick to Bake and Decorate: Smaller cakes generally bake faster and cool more quickly. They are also less intimidating to decorate, making them perfect for beginners or when you’re short on time. The small surface area makes simple garnishes, like a single peanut butter cup, look incredibly impactful.
- Feels Special and Personal: There’s something inherently delightful and indulgent about a perfectly portioned mini cake. It feels more personal and tailored to the occasion or individual, creating a sense of bespoke luxury.
- Experimentation Friendly: If you’re eager to try new flavors or techniques but don’t want to commit to a full-sized cake, a 4-inch cake is the perfect canvas for culinary experimentation.
More 4 Inch Cake Pan Recipes to Explore
Now that you have your 4 inch cake pans, you can make more mini desserts including:
- Mini Guinness Cake
- Mini German Chocolate Cake
- Mini Boston Cream Pie
- 4 Inch Cheesecake
- Mini Chocolate Cheesecake Recipe
- Mini Lemon Meringue Pies
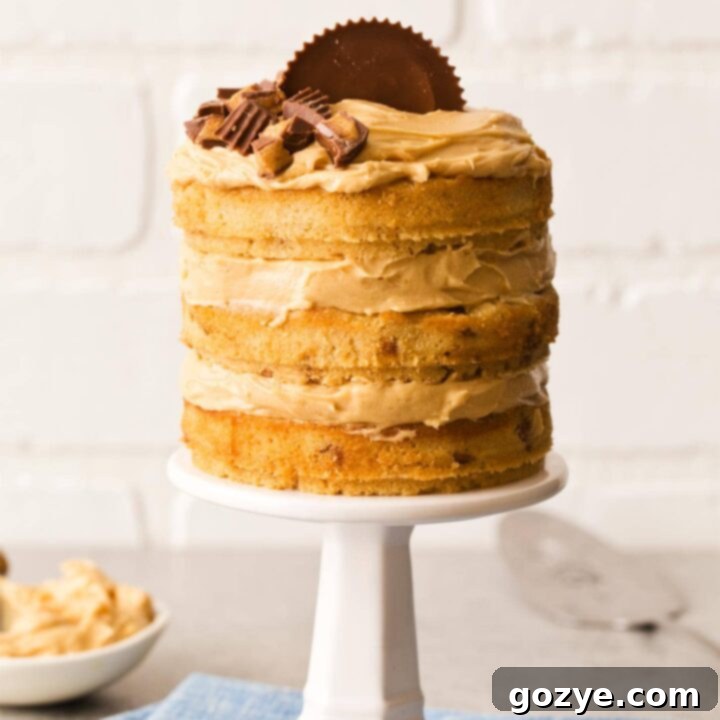
Peanut Butter Birthday Cake
4 servings
20 minutes
20 minutes
40 minutes
Get ready to celebrate life with this sweet and salty Peanut Butter Birthday Cake! It’s a 4 inch cake recipe featuring 3 mini layers of homemade peanut butter cake decorated with peanut butter frosting.
Ingredients
- 1/2 cup all-purpose flour, sifted
- 1/4 teaspoon baking powder
- 1/8 teaspoon table salt
- 1/4 cup (2 ounces or 4 tablespoons) unsalted butter, softened
- 1/4 cup creamy processed peanut butter (not natural)
- 1/2 cup granulated sugar
- 1 large egg, room temperature
- 1 teaspoon vanilla extract
- 6 tablespoons whole milk, room temperature
- 1/2 cup peanut butter chips, chopped peanut butter cups, or semisweet chocolate chips
- Peanut butter cups, for garnish
Frosting Options (Pick One)
- Peanut Butter Frosting
- Chocolate Frosting
- Peanut Butter Cream Cheese Frosting
- Chocolate Cream Cheese Frosting
- Ganache
Instructions
- Preheat oven to 350F. Lightly grease three 4 inch springform pans and wrap the outside in aluminum foil (to help prevent leaks).
You can also grease one 6×2 round cake pan and line with parchment paper.
- In a medium bowl, whisk together the flour, baking powder, and salt.
- In a large mixing bowl on medium-high speed (with paddle attachment if using stand mixer), beat together the butter, peanut butter, and sugar until light and creamy, about 1 minute.
- Scrape down the bowl then beat in the egg and vanilla.
- Turn the speed down to low then add the flour mixture alternately with the milk, adding the flour in 3 additions and the milk in 2 additions (begin and end with dry ingredients). Do not overbeat. Stir in the peanut butter chips.
- Divide the batter evenly among the three pans. Bake 20-25 minutes or until a toothpick inserted in the middle comes out clean. Cool completely.
- While the cakes are cooling, make frosting of choice.
- Remove the cakes from the pan. If the cakes are round on top, cut the tops of the cake so they are flat for stacking. Place one cake layer on cake stand or plate. Add some of the frosting then top with another cake layer. Repeat with the remaining frosting and cake. Garnish with peanut butter cups.
Cover and store the frosted cake at room temperature for up to 2 days (buttercream only) or in the refrigerator for up to 1 week (buttercream, cream cheese, and ganache). For best results, let the refrigerated cake sit at room temperature 15-30 minutes before serving.
Notes
- For more 4 inch recipes, check out Mini Chocolate Guinness Cake, Mini German Chocolate Cake, and 4 Inch Cheesecake.
Recommended Products
As an Amazon Associate and member of other affiliate programs, I earn from qualifying purchases.
- 4 Inch Pan
- 6 Inch Cake Pan
- Offset Spatula
Did you make this recipe?
Let me know what you think! Rate the recipe above, leave a comment below, and/or share a photo on Instagram using #HITKrecipes
First published May 15, 2017
