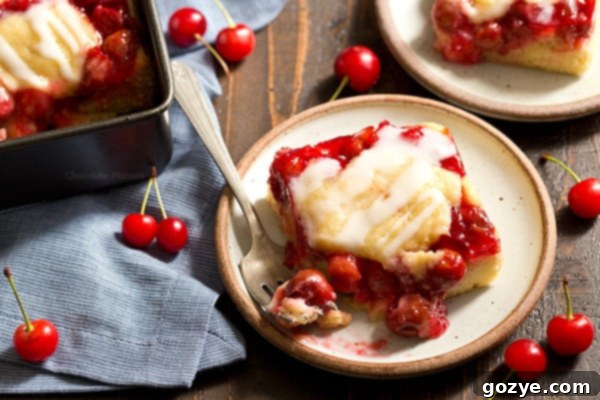
Irresistible Cherry Cobbler Bars: Your New Favorite Grab-and-Go Dessert with Homemade Tart Cherry Filling
Say goodbye to the fuss of traditional cobbler and hello to the ultimate dessert experience with these incredible Cherry Cobbler Bars! Featuring a rich, homemade cherry pie filling nestled between layers of buttery, crumbly cobbler dough, these bars offer all the comforting flavors you love in a wonderfully convenient, portable format. Whether you’re planning a casual family dessert, a potluck contribution, or simply craving a sweet treat you can enjoy on the go, these bars are an absolute game-changer. Easily picked up with your hands or enjoyed with a fork, they are perfect for sharing – or not, we won’t tell!
A few weeks ago, my trusty old car decided it needed a little (or a lot) of attention. The muffler, in particular, was on the verge of making a dramatic exit, clanging and rattling with every bump in the road. With its annual inspection due in July, I figured it was smart to get it checked out first. There was no point in pouring money into extensive repairs if the car was destined for the junkyard just a few weeks later. The last thing I wanted was to invest in a repair only to discover I needed a new vehicle right away.
As it turned out, the damage was more significant than I initially anticipated. Despite spending more money than I ideally wanted to on a car that’s seen better days, there was a silver lining: it passed inspection. This gave me a full 365 days to leisurely search for a “new-to-me” car, rather than the frantic 30-day scramble that would have ensued if it had failed. It was a moment of unexpected relief, extending the life of my faithful old companion just a little bit longer.
Knowing my car would be out of commission for the entire day, I decided to make the most of my unexpected day off. My parents, ever gracious, picked me up, and we embarked on a delightful cherry-picking adventure. It was the perfect opportunity to spend quality time together and gather some fresh, seasonal fruit. The window for picking sour cherries is famously short, and this year, it was even more compressed due to challenging weather conditions that severely impacted cherry crops. The farmer we spoke to sadly mentioned he only had about 20 percent of the yield he’d seen the previous year.
Despite the smaller crop, we managed to fill a sizable bucket. This was largely thanks to my dad, who fearlessly scaled the ladders to reach the plump, ripe cherries nestled at the very top of the trees. His efforts ensured we returned home with a fantastic haul, brimming with vibrant, tart red cherries, perfect for all sorts of delicious creations. The anticipation of what we would bake with our fresh harvest was almost as sweet as the cherries themselves.
Last year, with a similar bounty of cherries, the first dessert I whipped up was a batch of adorable Mini Cherry Pies. They were a huge hit! However, this year’s cherry-picking coincided just before Father’s Day, and I already had a special plan to bake my dad his absolute favorite coconut cream pie. This meant I needed a new, exciting cherry dessert idea – something distinct from another traditional pie.
As I browsed through my notebook, filled with countless scribbled recipe ideas, a particular entry caught my eye: “Cherry Cobbler Bars.” It immediately resonated. The concept offered a fresh twist on a classic, promising convenience and deliciousness. Now, the fun part began: figuring out the perfect recipe to bring this vision to life. A traditional cherry cobbler typically involves a luscious cherry pie filling topped with spoonfuls of soft, biscuit-like dough, baked until golden and bubbly.
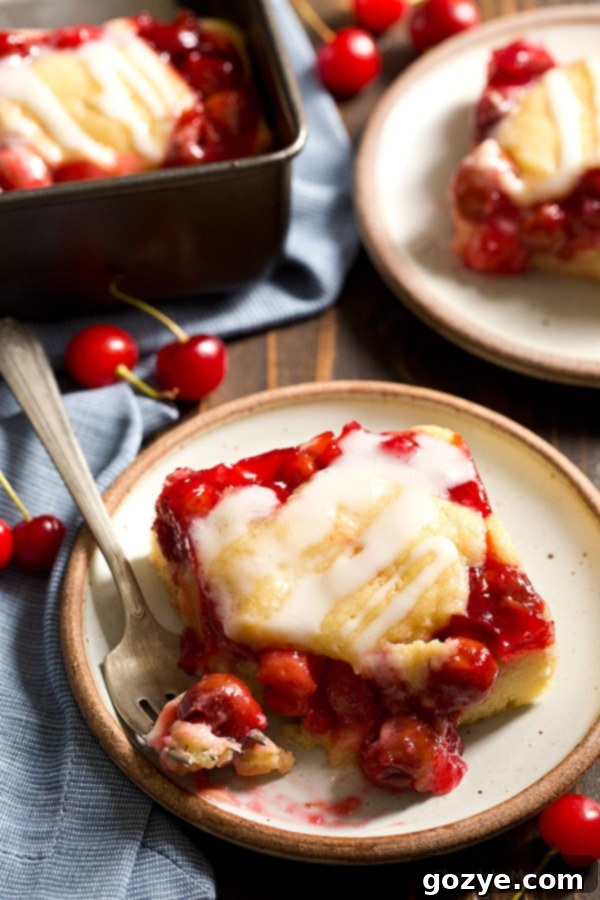
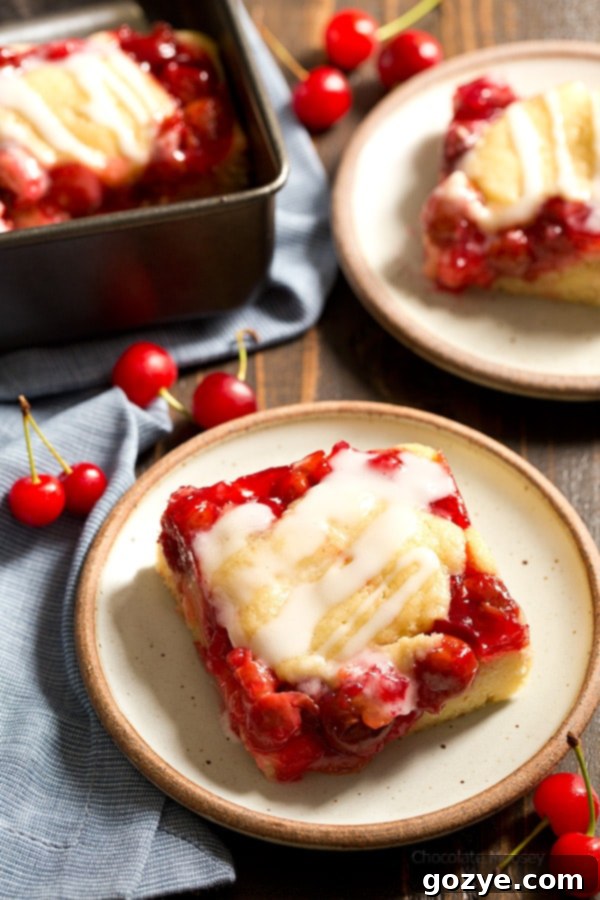
In bar form, the concept is brilliantly reimagined. Imagine a sturdy, yet tender, cobbler dough base, generously spread with a vibrant, homemade cherry pie filling, and then crowned with more dollops of that irresistible cobbler dough, creating a beautiful, “cobbled” top. The result is a dessert that captures all the comforting essence of a classic cobbler but in a much more practical and easy-to-manage slice. These bars are inherently easier to eat and serve than a scoop of traditional cobbler, as you simply cut them into neat, individual portions for everyone to grab.
The beauty of Cherry Cobbler Bars lies in their versatility. They are designed for convenience: you can easily wrap them up and take them on the go, whether for a picnic, a lunchbox treat, or a portable snack. Enjoy them neatly with a fork or, for a more casual experience, simply pick one up with your hands. They’re a delightful dessert that adapts to any occasion, making them perfect for sharing with friends and family, or for savoring all by yourself when a sweet craving strikes. Their robust structure and incredible flavor make them an instant favorite.
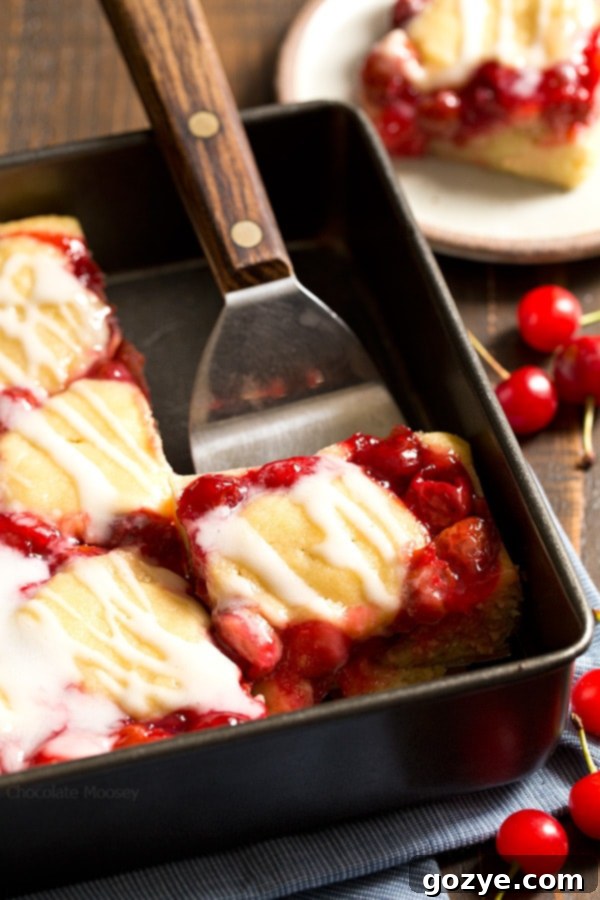
For my homemade pie filling, I specifically used sour cherries, also widely known as tart cherries. These vibrant fruits are the quintessential choice for baked goods like pies and cobblers because their inherent tartness perfectly balances the sweetness of sugar, resulting in a complex and incredibly flavorful filling that isn’t cloyingly sweet. While sour cherries are ideal, they can sometimes be a bit challenging to locate in regular grocery stores, especially outside of peak season. If you’re lucky enough to find them fresh at a farmer’s market or frozen, seize the opportunity!
If sour cherries are unavailable, don’t despair! You can absolutely substitute regular sweet cherries. However, a crucial step when using sweet cherries is to taste them first and adjust the amount of sugar in the pie filling recipe accordingly. Sweet cherries naturally contain more sugar, so you’ll likely need to reduce the amount of granulated sugar specified to prevent the filling from becoming overly sweet. Remember, the goal is a harmonious balance of fruit and sweetness. Frozen cherries, whether sour or sweet, are also a fantastic option; just be sure to thaw them and drain any excess liquid before using to avoid a watery filling.
The versatility of these cobbler bars extends far beyond just cherries. While I am a huge fan of cherry filling, you can effortlessly customize this recipe to suit your favorite fruits or whatever you have on hand. Imagine the delightful possibilities: a sweet and tangy blueberry pie filling, brimming with juicy blueberries, for a summery twist; a comforting and fragrant peach pie filling, evocative of warm summer days; or a classic and cozy apple pie filling, perfect for the autumn months. Each fruit choice brings its own unique flavor profile, allowing you to enjoy these bars throughout the seasons.
Perhaps you’re not in the mood for bars and prefer the more traditional, spoon-and-bowl experience of a classic cobbler. No problem at all! You might enjoy my peach cobbler for two, a perfect small-batch dessert for a cozy evening, or my equally delightful blueberry cobbler for two, designed for those times when a full-sized dessert is just too much. And if you’re looking for even more ways to use cherry pie filling, whether homemade or canned, be sure to explore my comprehensive post on Cherry Pie Filling Desserts, which includes fantastic recipes like my beloved Cherry Turnovers and many other creative ideas to inspire your baking.
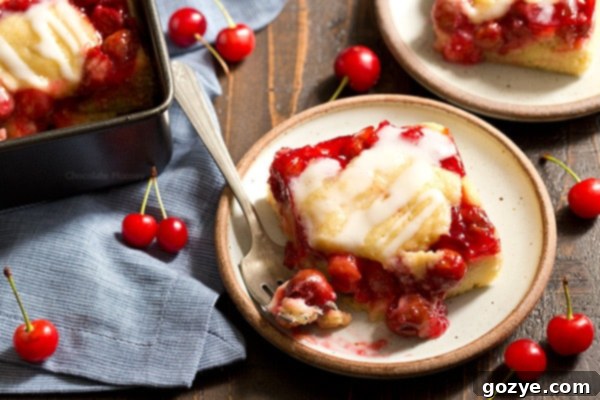
Baking these bars fills your home with the most inviting aroma, a scent that promises warmth and comfort. The satisfaction of pulling a golden-brown pan of these beauties from the oven, with the fruit bubbling gently beneath the cobbled top, is immense. It’s a dessert that feels both rustic and refined, a testament to the simple joy of baking with fresh ingredients. Give these Cherry Cobbler Bars a try, and discover why they are quickly becoming a favorite for their irresistible taste and unmatched convenience.
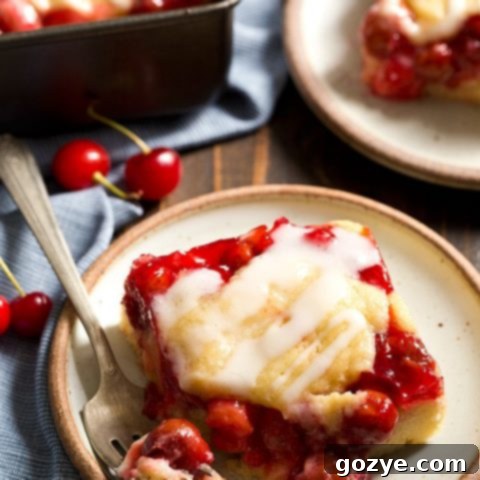
Cherry Cobbler Bars
9-12 bars
45 minutes
30 minutes
1 hour 15 minutes
Want an easier way to serve cobbler? Cherry Cobbler Bars with homemade cherry pie filling make it easier to serve for dessert.
Ingredients
- 2 cups cherry pie filling (homemade or canned)
- 1 1/2 cups all-purpose flour
- 1 teaspoon baking powder
- 1/4 teaspoon salt
- 1/2 cup butter, softened
- 3/4 cup granulated sugar
- 2 eggs, room temperature
- 1/2 teaspoon vanilla extract
Glaze
- 1/4 cup powdered sugar
- 1-2 teaspoons milk
- 1/8 teaspoon vanilla extract
Instructions
- Preheat oven to 350F (175C). Grease an 8×8 inch (20×20 cm) pan (using a 9×9 inch pan will result in thinner bars and you may run out of dough).
- In a large bowl, whisk together the all-purpose flour, baking powder, and salt until well combined. Set aside.
- In another large bowl, using an electric mixer, beat together the softened butter and granulated sugar until the mixture is light, smooth, and creamy, which usually takes about 2-3 minutes.
- Beat in each egg, one at a time, ensuring each is fully incorporated before adding the next. Stir in the vanilla extract.
- Gradually add the dry flour mixture to the wet ingredients, beating on low speed until just combined. Be careful not to overmix. The dough will be soft and slightly sticky. If it feels too warm or difficult to handle, refrigerate it for about 15 minutes to firm up slightly.
- Press about 3/4 of the prepared dough evenly into the bottom of the greased 8×8 inch pan. Spread the cherry pie filling over the dough base, leaving a small border around the edges. Take the remaining dough and drop it by spoonfuls over the cherry filling, creating a charming, “cobbled” or streusel-like appearance.
- Bake for 30-35 minutes, or until the topping is golden brown and a toothpick inserted into the center of the cobbler portion (avoiding the fruit filling) comes out clean. Cool the bars in the pan for at least 15 minutes before glazing.
- While the bars are still warm, prepare the glaze: In a small bowl, whisk together the powdered sugar, 1 teaspoon of milk, and the vanilla extract until smooth. If the glaze is too thick to drizzle easily, add the remaining 1 teaspoon of milk, a few drops at a time, until you reach your desired consistency. Drizzle the glaze generously over the still-warm bars. Allow the glaze to set and harden slightly before slicing and serving. This will take about 30 minutes to an hour at room temperature.
Did you make this recipe?
Let me know what you think! Rate the recipe above, leave a comment below, and/or share a photo on Instagram using #HITKrecipes
Source: Adapted from Taste Of Home
