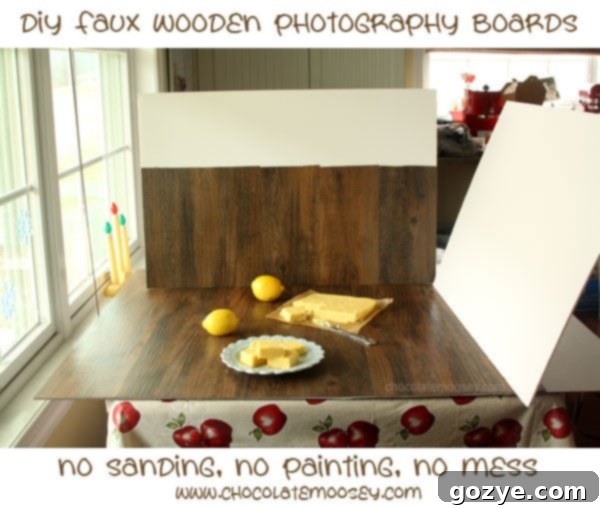
DIY Faux Wooden Photography Boards: Create Stunning Backdrops on a Budget
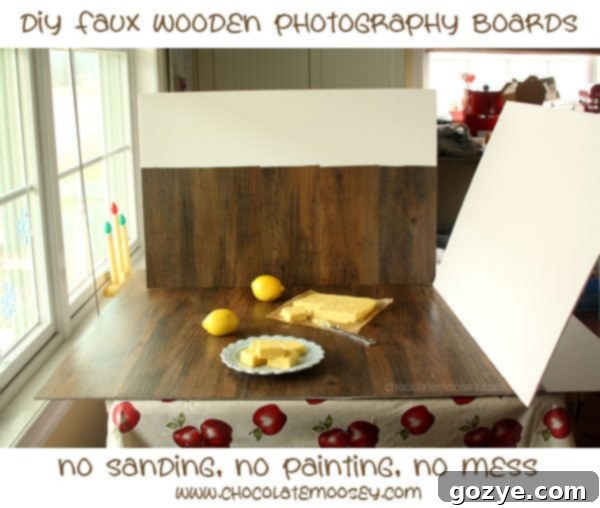
If you’re deeply immersed in the captivating world of food photography, you’ve likely coveted those rustic, textured wooden boards that elevate dishes from simple meals to works of art. They provide an incredible depth and natural aesthetic that digital backgrounds often struggle to replicate. The desire for authentic wooden surfaces is strong, but the reality of acquiring them can be daunting. Dealing with the complexities of cutting, sanding, gluing, and painting real wood is often a messy, time-consuming, and expensive endeavor. This is where a brilliant, simple solution comes into play: crafting your own faux wooden photography boards using readily available vinyl planks and a sturdy poster board. This ingenious DIY project allows you to assemble professional-looking surfaces in a mere 10 minutes, completely free from splinters, sawdust, and the typical workshop chaos.
The Accidental Discovery: A Quest for the Perfect Photography Surface
The inspiration for these faux wooden boards emerged from what initially felt like a frustrating quest. My journey began with an hour-long expedition at Lowe’s, driven by the specific need for tongue and groove wooden boards that I could easily assemble. My vision was clear: find pieces that would fit together seamlessly, creating a beautiful, natural backdrop for my culinary creations.
However, the search quickly turned into a series of disappointments. The first set of tongue and groove boards I found were simply too wide for practical use in photography. Frustration mounted as I wandered through the aisles, eventually finding myself at the back wall, among the vast array of wood products. My gaze then drifted to the flooring section, and a spark of hope ignited. Here were tongue and groove boards in precisely the right size! But alas, my excitement was short-lived. To my dismay, they were only sold in large, expensive packs – a $50 investment for far more material than I needed for a few photography boards. Defeated, I considered postponing my project, resigned to the idea of a future trip to Home Depot in another town.
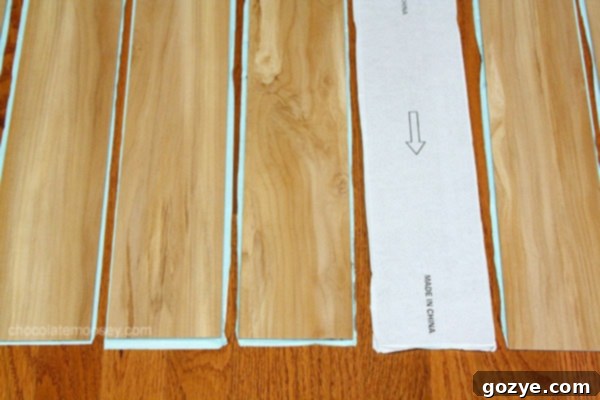
Just as I was about to abandon my mission at Lowe’s, my eyes caught sight of them: individual vinyl planks designed to mimic the look of real wood. It was an “aha!” moment that completely shifted my perspective. These planks offered the perfect texture and appearance without any of the real wood drawbacks. Crucially, they were sold individually, eliminating the need to buy an entire box. (A helpful tip: if you only see boxed sets, don’t hesitate to ask a store associate if they can open a box or have individual pieces available).
The most appealing feature was their self-adhesive backing – no messy gluing, no nails, just peel-and-stick application. While the vinyl boards themselves were quite flexible, I quickly realized they would need a sturdy base. My immediate thought was foam board, which promised to provide the necessary support. Unfortunately, my initial estimation of quantities was a bit off, leading to a second, unplanned trip back to the store. This wouldn’t have been a huge issue, except for the fact that Lowe’s is a good 40-minute drive one way. Lesson learned: always double-check your material list!
Gathering Your Materials: The Smart, Cost-Effective Way
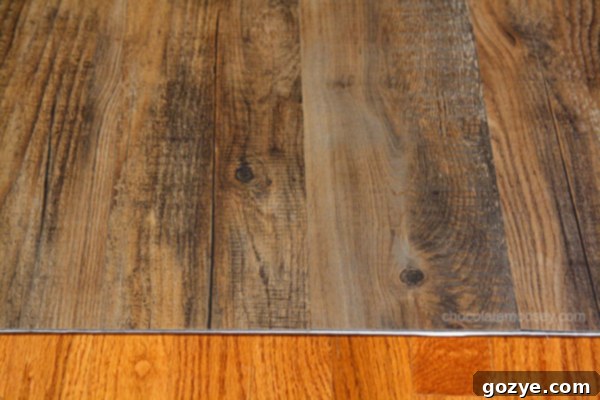
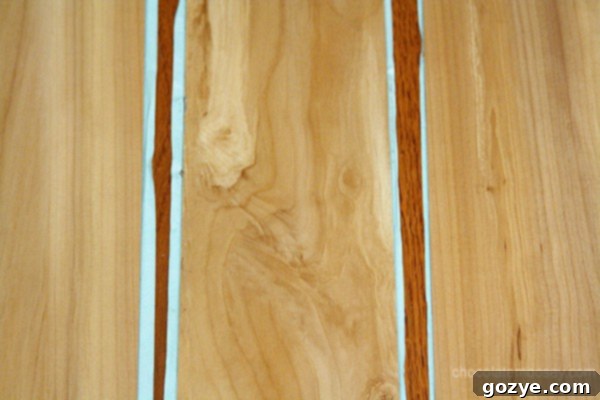
The cost-effectiveness of this project is truly remarkable. These vinyl plank pieces typically range from $1 to $3 each, making them incredibly budget-friendly. For instance, the lighter brown planks I used, labeled “Sunlit Maple 399158,” were priced at just $0.98 each. The slightly wider, darker brown planks, known as “Antique Woodland Oak 399147,” cost $2.36 each. For my two boards, I ended up using 8 light brown pieces and 6 dark brown pieces.
For the crucial support base, I opted for a trifold poster board, which I found at Dollar General for a mere $2.50 apiece. These are perfect because they are lightweight yet rigid, and the folds can even be utilized for built-in reflectors or backdrops. All told, my two custom photography boards cost approximately $10 and $17 respectively. Compare this to the cost of purchasing pre-made wooden boards or the expense and labor of crafting real wood surfaces from scratch, and the savings are undeniable. You get professional-looking results without breaking the bank or dedicating an entire weekend to construction.
Efficiency at Its Best: Quick Assembly for Instant Gratification
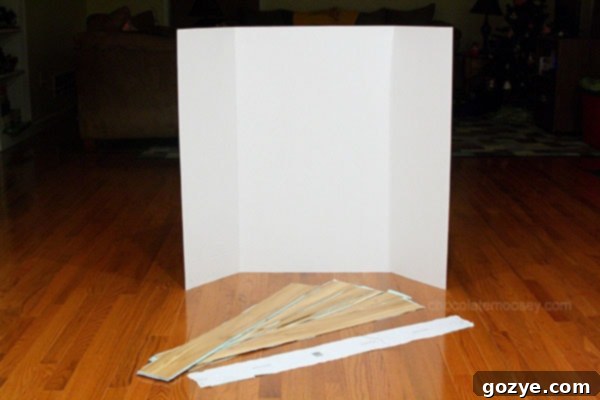
Once you have all your materials neatly laid out and a clear vision of your desired layout, the actual assembly process for a single board is incredibly swift—you’re looking at roughly 10 minutes from start to finish. My own experience involved creating two boards and a small backdrop, which took me about 45-60 minutes. However, it’s important to remember that this time included pausing to photograph each step of the process. If you’re simply focused on assembly, you’ll be amazed at how quickly these beautiful, professional-grade boards come together. This speed means less time on DIY and more time capturing stunning food photos.
How To Make Faux Wooden Photography Boards: A Step-by-Step Guide
Crafting your perfect photography backdrop is simple with these easy steps.
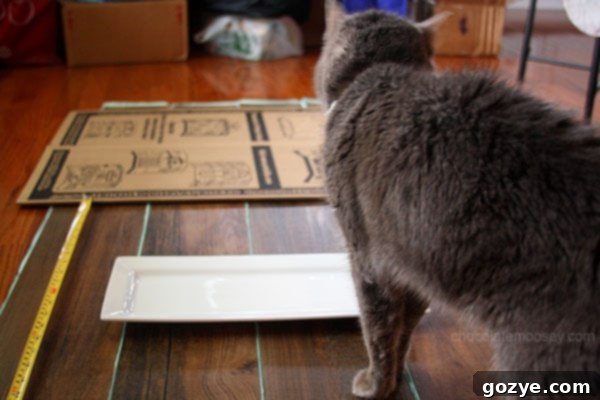
1. Prepare Your Workspace (and Remove Distractions)
Before you begin, ensure your crafting area is clean, flat, and free of any obstructions. This includes any curious pets who might want to “help.” If you have a feline assistant, politely (or firmly, if necessary) relocate them to a safe distance to prevent accidental stickiness or hair on your new board. A clear space makes the assembly process smoother and more efficient.
2. Double-Check Your Materials: Avoid a Second Trip!
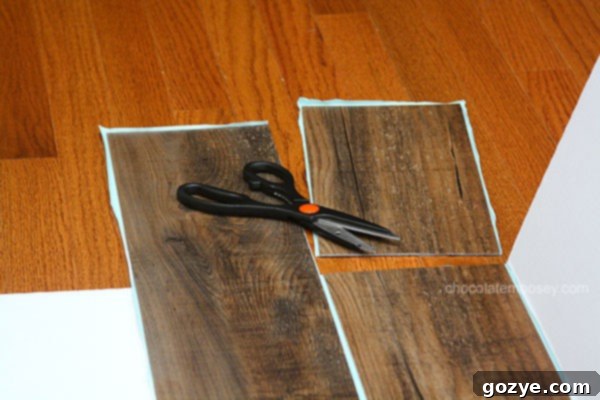
As I learned the hard way, ensuring you have all the necessary pieces from the start is paramount, especially if your hardware store is a significant drive away. Count your vinyl planks and confirm you have enough to cover your poster board, with a few extra for potential errors or future projects. Having everything ready saves time and frustration.
3. Plan Your Layout: Dry Fit Before You Stick
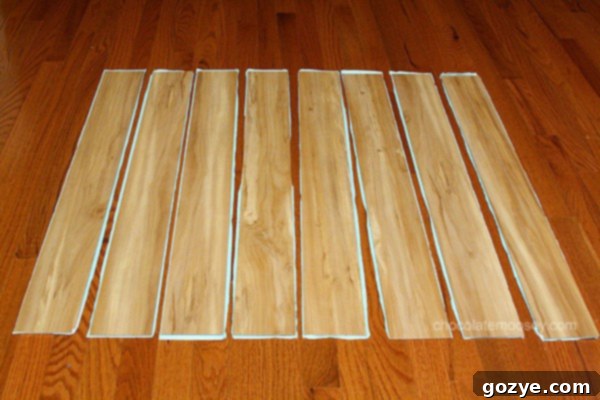
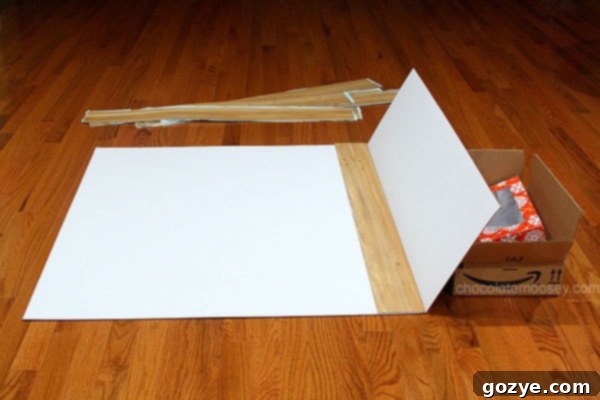
Lay out all your vinyl pieces on the poster board without peeling off the backing. This crucial step allows you to visualize the final look, make any necessary cuts, and ensure a perfect fit. For my lighter brown pieces, I managed to arrange them perfectly to the left of one of the poster board’s flaps, effectively creating a built-in “reflector” or additional surface. With the wider, dark brown pieces, however, I wasn’t quite as lucky and needed to trim them to size. Planning ahead minimizes mistakes and ensures a professional finish.
4. Apply the Vinyl Planks: Patience is Key
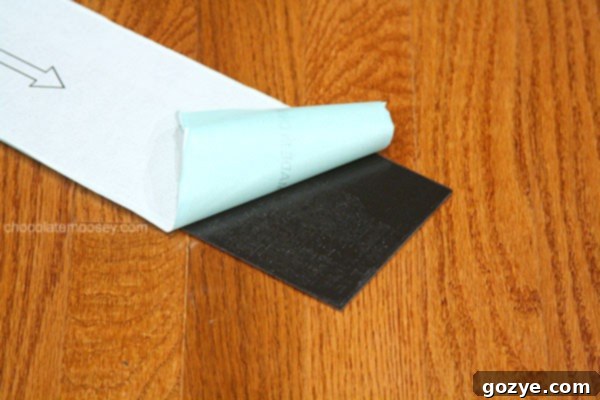
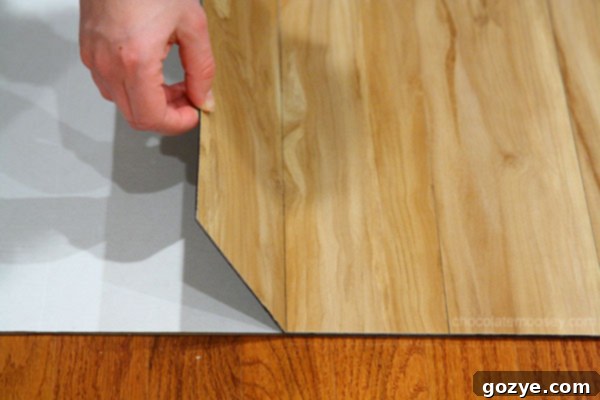
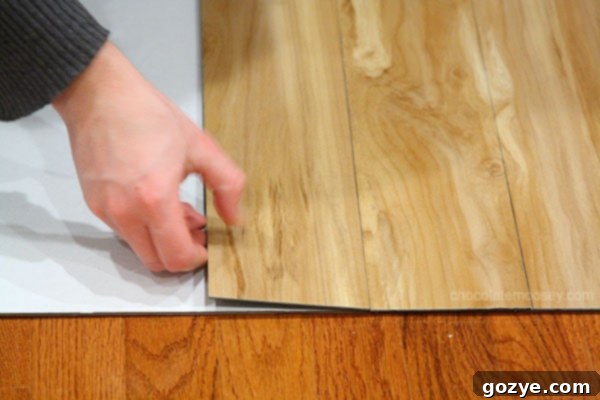
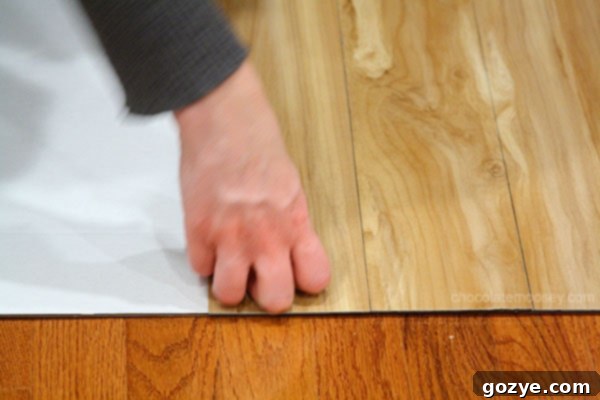
Now for the main event! Take one vinyl piece, carefully peel off the backing paper, exposing the adhesive. Slowly and meticulously, line it up straight along your poster board, ensuring it’s exactly where you want it before pressing it down firmly. Once positioned, apply consistent pressure to secure it in place. I found that my fingers got a bit sticky, so using my knuckles provided a better, cleaner press. Repeat this process for all remaining pieces. Because the vinyl planks can be a bit flimsy on their own, take your time during alignment. While I managed to assemble everything solo, an extra set of hands can certainly make the process easier, especially for maintaining straight lines.
5. Ensure Strong Adhesion: Apply Pressure
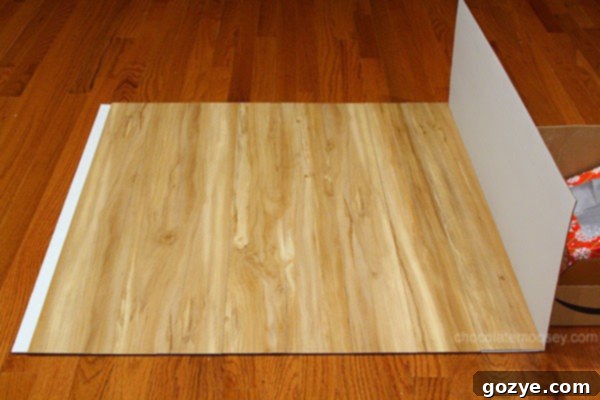
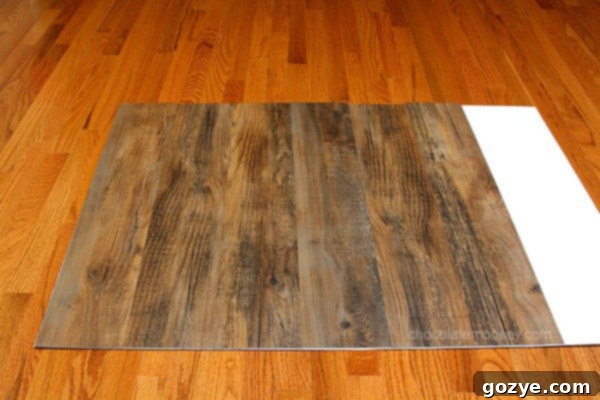
Once all your vinyl planks are in place, it’s a good practice to apply sustained pressure across the entire surface. Stack a few heavy books, or use anything substantial you have on hand, and let them sit for a few hours. This ensures that the adhesive forms a strong bond with the poster board, preventing any lifting or bubbling over time and guaranteeing the longevity of your beautiful new photography surface.
Bonus Tip: Create Matching Backdrops!
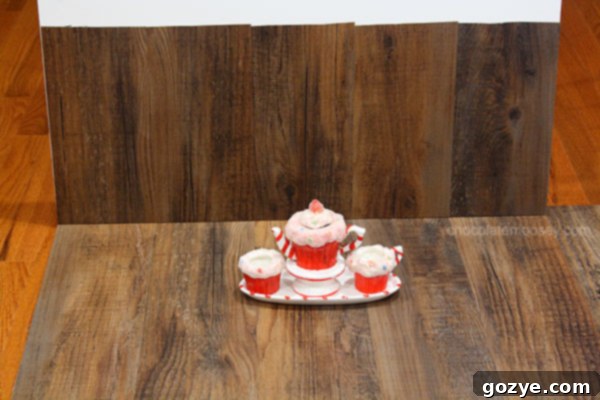
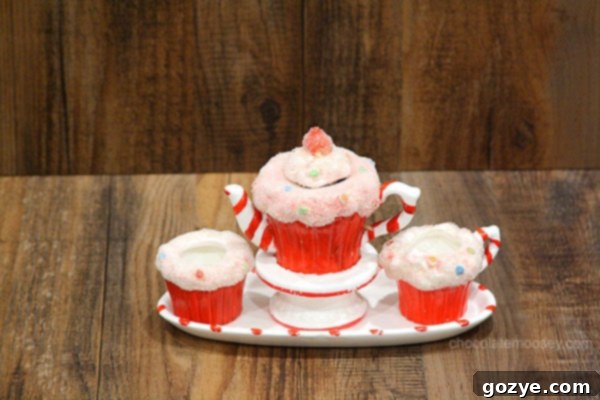
Don’t let any leftover vinyl pieces go to waste! Since I had some decent-sized offcuts from the dark wood planks, I decided to create a small, complementary backdrop. This adds versatility to my photography setup, allowing for consistent visual themes. I’m already planning to grab more light brown planks to make another backdrop, expanding my creative options even further. It’s an excellent way to maximize your materials and create a cohesive look for your photography.
Dealing with Sticky Situations and Future Plans
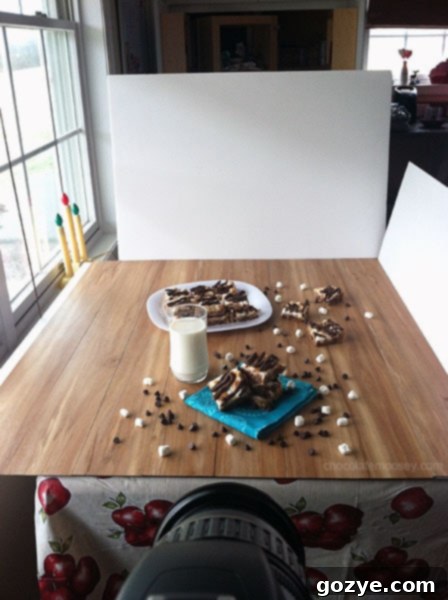
The most minor inconvenience during this project was undoubtedly the sticky residue left on my fingers after peeling the paper backing off the vinyl planks. I found myself washing my hands several times to get rid of the tacky feeling. However, this is a very small price to pay, considering the minimal effort involved and the fantastic results achieved. The ease and speed of this DIY make it a worthwhile endeavor despite a little stickiness.
While I initially focused on realistic wood tones, I’m always on the lookout for new textures and colors. I couldn’t find any vinyl planks that convincingly mimicked white wood during my initial search. As a result, I did eventually find a small pack of actual tongue and groove boards that are perfect for painting. My next project might just involve creating boards in crisp white and a vibrant teal, expanding my range of photography backdrops even further. The possibilities are truly endless once you master this simple, affordable technique!
Explore More DIY Photography Board Tutorials
If you enjoyed this tutorial and are keen to explore other DIY options, here are some fantastic tutorials from fellow food bloggers who utilize actual wood for their photography boards. While my faux wood method offers a quick and clean alternative, these traditional methods also yield beautiful results:
- DIY Wood Photography Boards from Table For Two
- DIY Distressed Wood Photo Backdrop from Love & Olive Oil
- DIY Photography Background from Running To The Kitchen
No matter which method you choose, creating your own photography surfaces is a rewarding way to enhance your food styling and bring your culinary photos to life!
