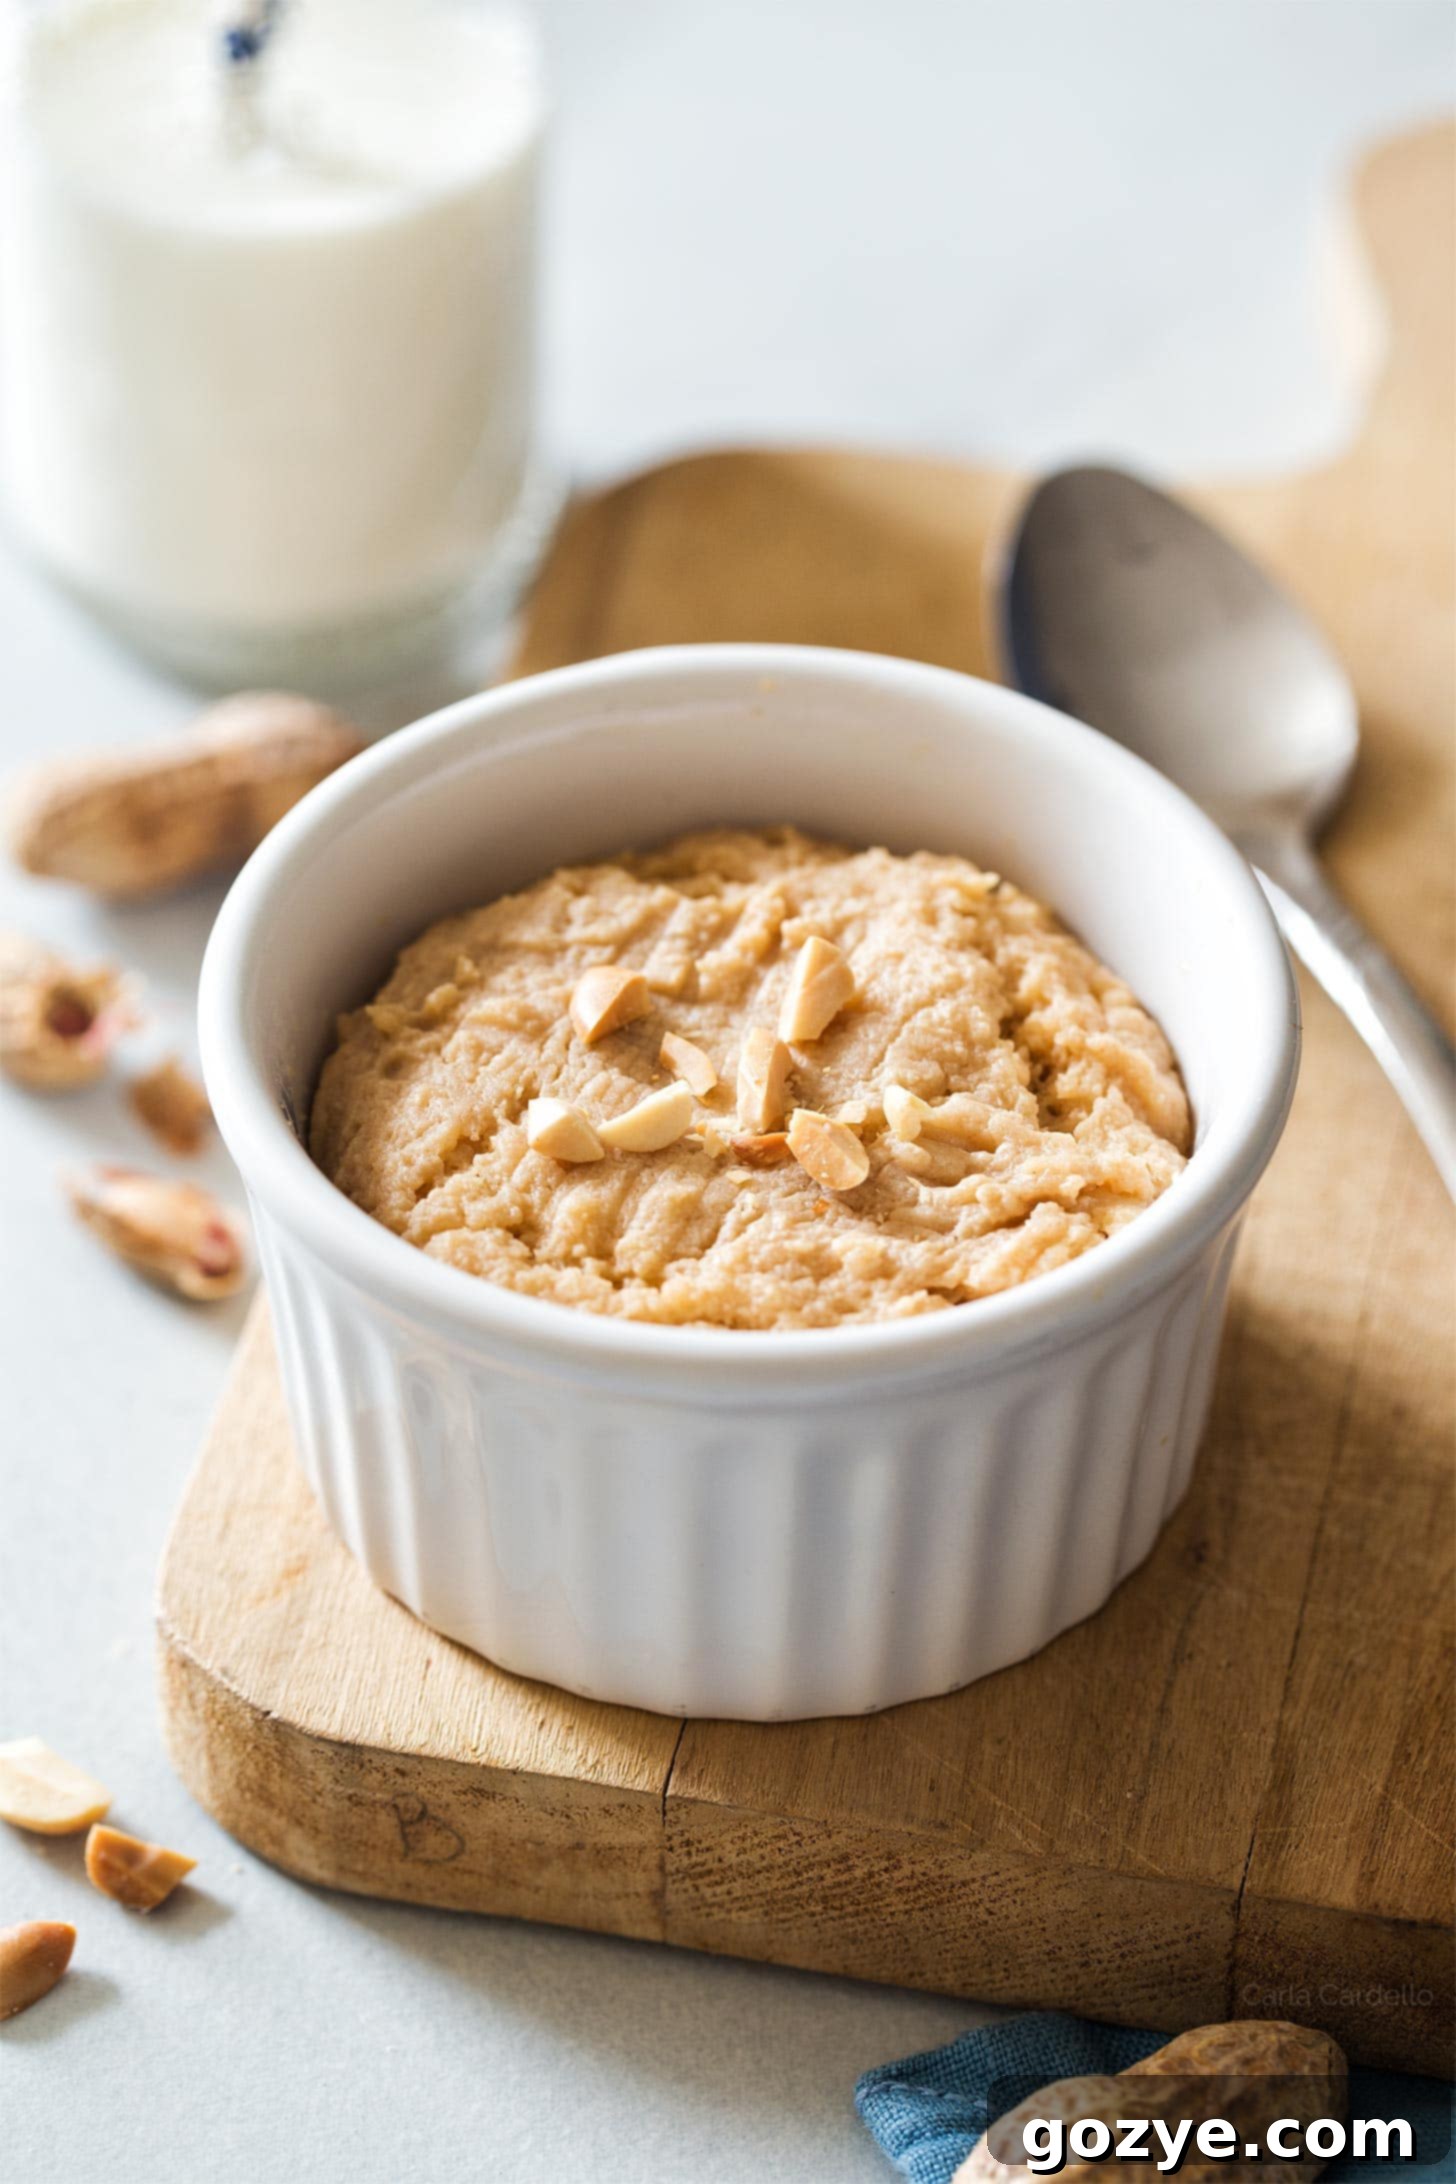
Indulge in Minutes: The Ultimate Microwave Peanut Butter Cookie (Single Serving & No Egg!)
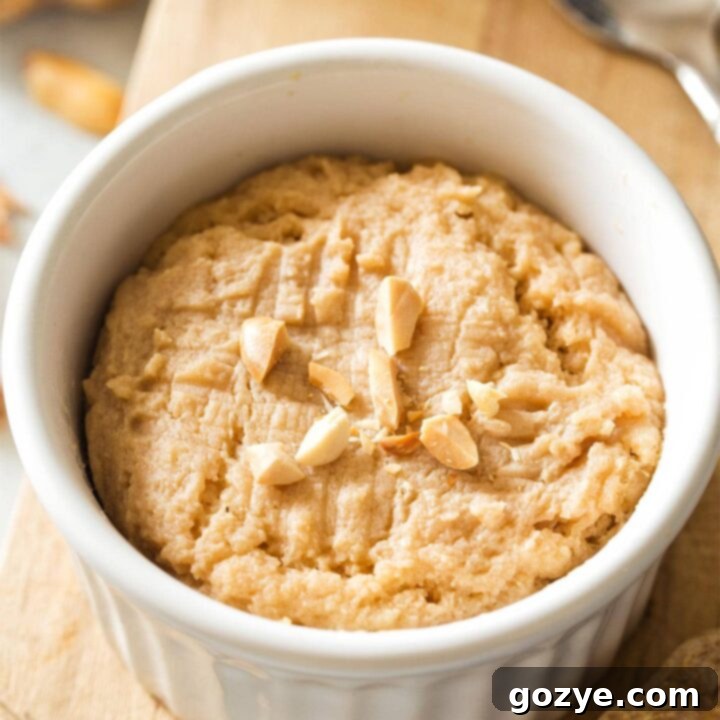
Craving something sweet, warm, and satisfying, but don’t want the fuss of baking an entire batch of cookies? Meet your new best friend: the **Microwave Peanut Butter Cookie**. This delightful, warm, and nutty treat is designed for one, cooked perfectly in your microwave, and ready from start to finish in under 5 minutes! Forget preheating the oven or dealing with extra dishes; this no-egg recipe is the ultimate solution for those sudden, irresistible sweet tooth moments. It’s truly a game-changer for anyone who loves instant gratification.
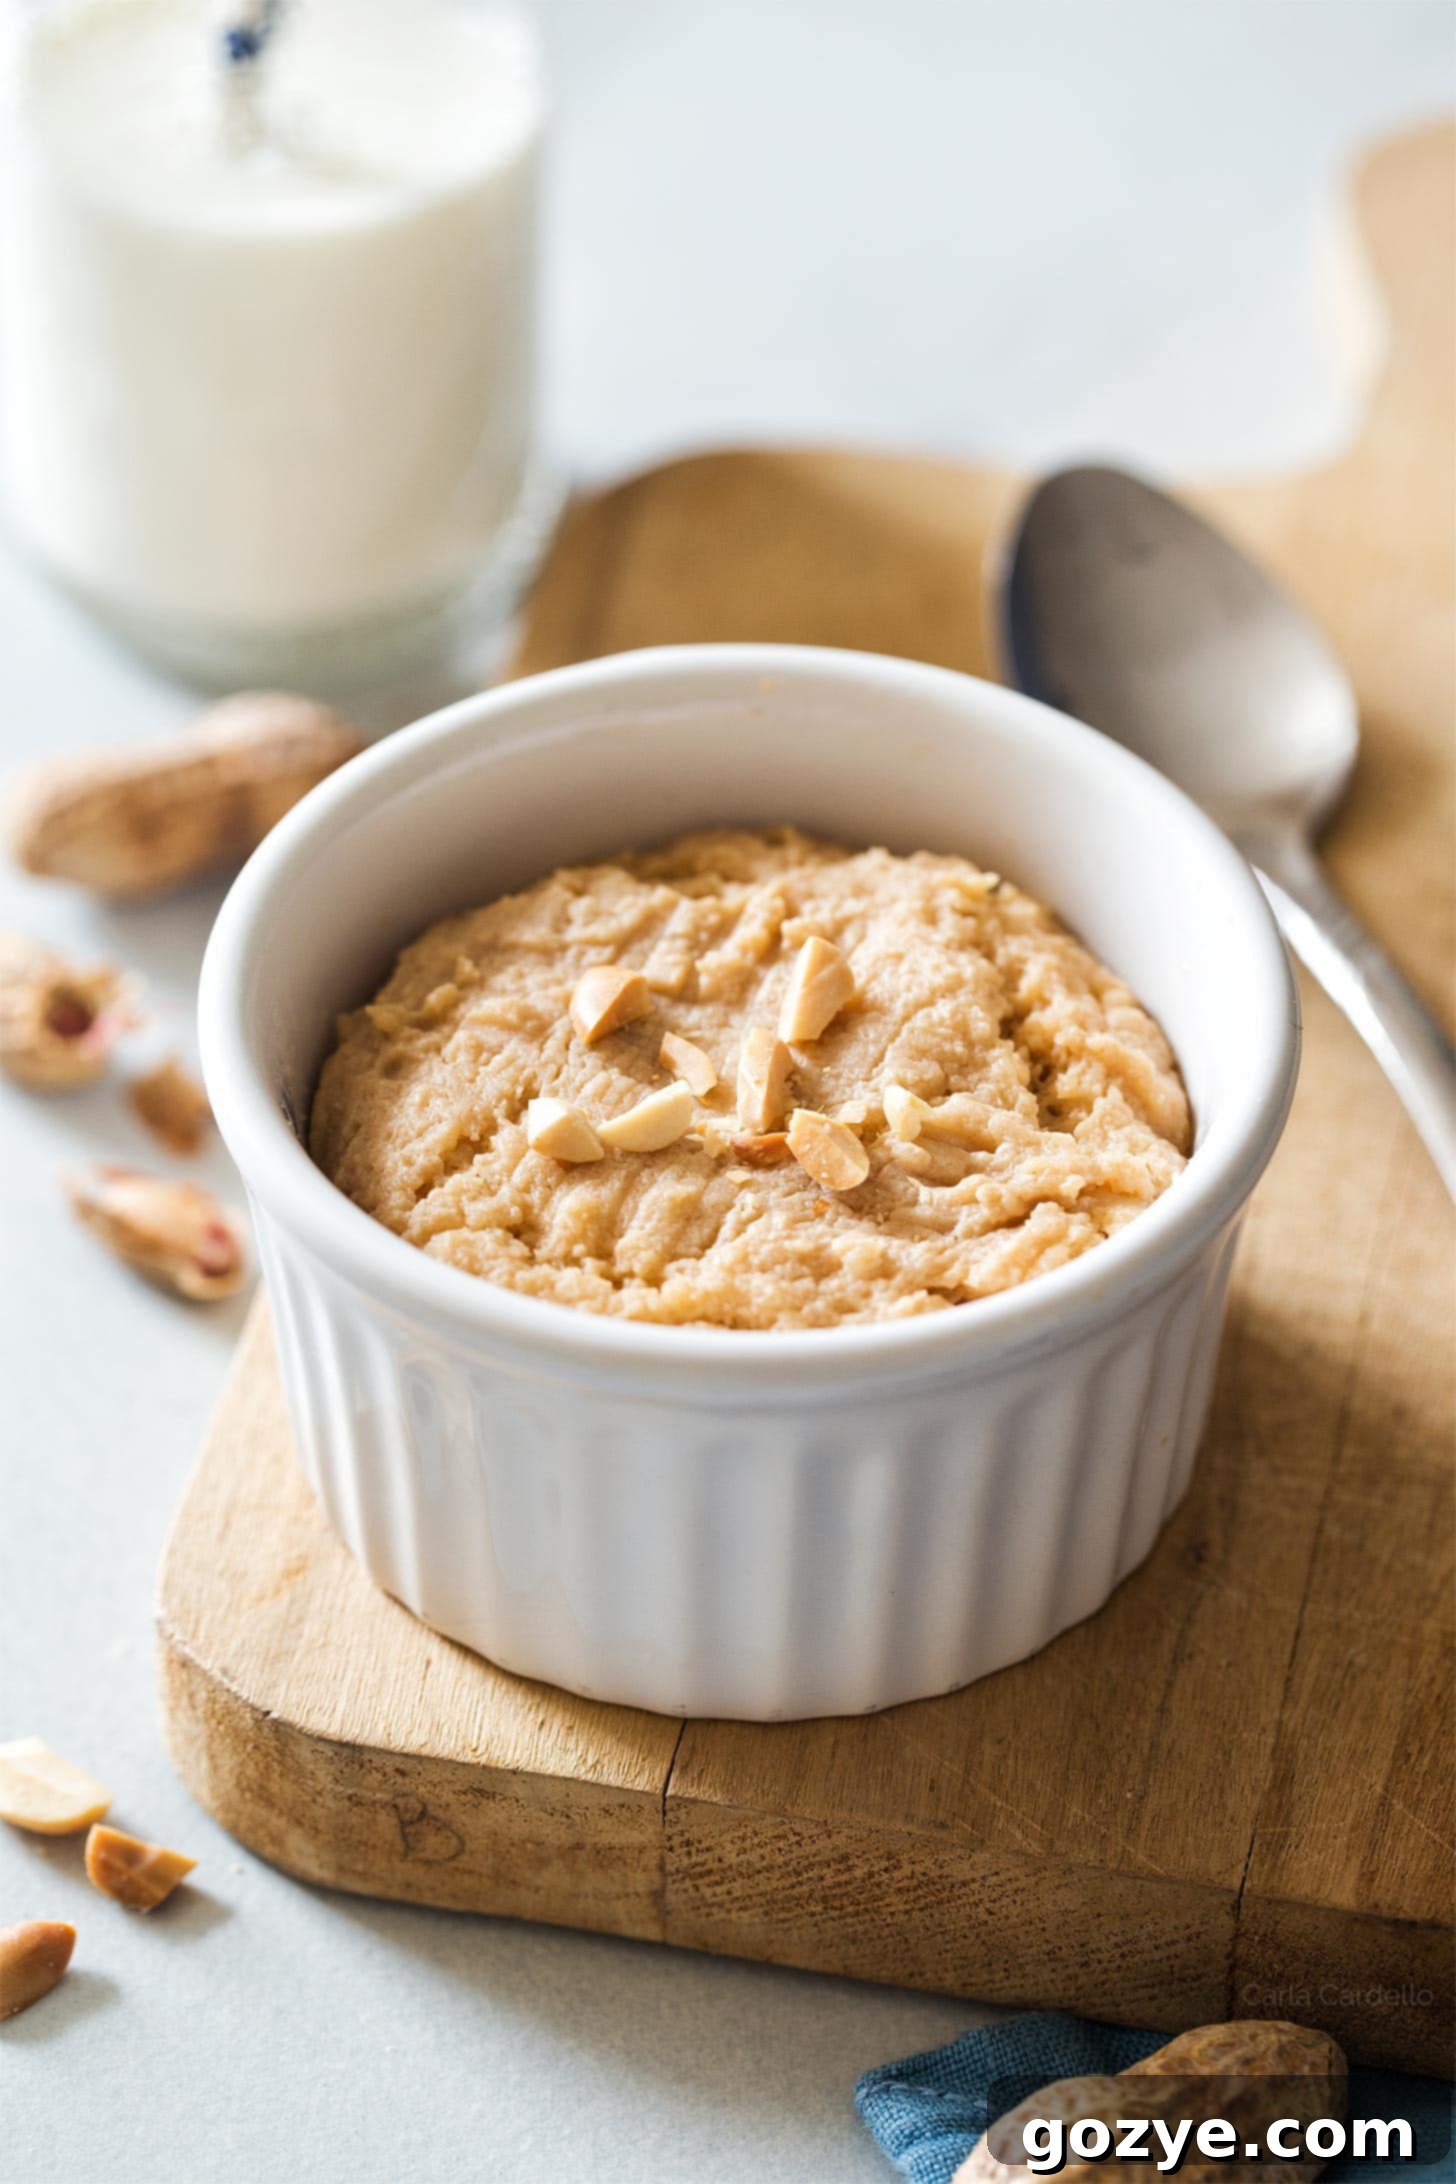
If you’re already a fan of my popular microwave chocolate chip cookie, microwave oatmeal cookie, microwave sugar cookie, and microwave brownie recipes, then prepare to fall in love all over again with this incredible **Microwave Peanut Butter Cookie**! It’s another fantastic addition to your repertoire of easy single-serve desserts, ensuring you can whip up a comforting treat faster than you can say “peanut butter paradise.” This recipe is especially useful for those late-night snack attacks when making a small batch of oven-baked peanut butter cookies feels like too much effort.
Why This 5-Minute Microwave Peanut Butter Cookie Will Be Your New Favorite Treat
Life gets busy, and sometimes a sudden craving hits when you least expect it. That’s where this microwave marvel shines! Here’s why this single-serving peanut butter cookie recipe will quickly become your favorite go-to:
- Unbelievably Fast: From gathering your simple ingredients to taking your first delicious bite, this cookie is truly ready in under 5 minutes. It’s perfect for satisfying sudden cravings, a quick dessert after dinner, or an afternoon pick-me-up without any delay.
- No Oven Required: Say goodbye to preheating the oven and heating up your kitchen. This is especially beneficial during hot summer months when turning on the oven is the last thing you want to do. Enjoy a warm, homemade cookie without breaking a sweat!
- Perfect Portion Control: This recipe makes one generously sized cookie, perfectly portioned to satisfy your craving without the temptation of an entire batch. It’s ideal for solo dessert indulgence, ensuring you get just enough sweetness.
- Simple, Accessible Ingredients: You likely already have most of these pantry staples on hand. Plus, it’s a convenient no-egg recipe, making it accessible for those with egg sensitivities or when you’re simply out of eggs.
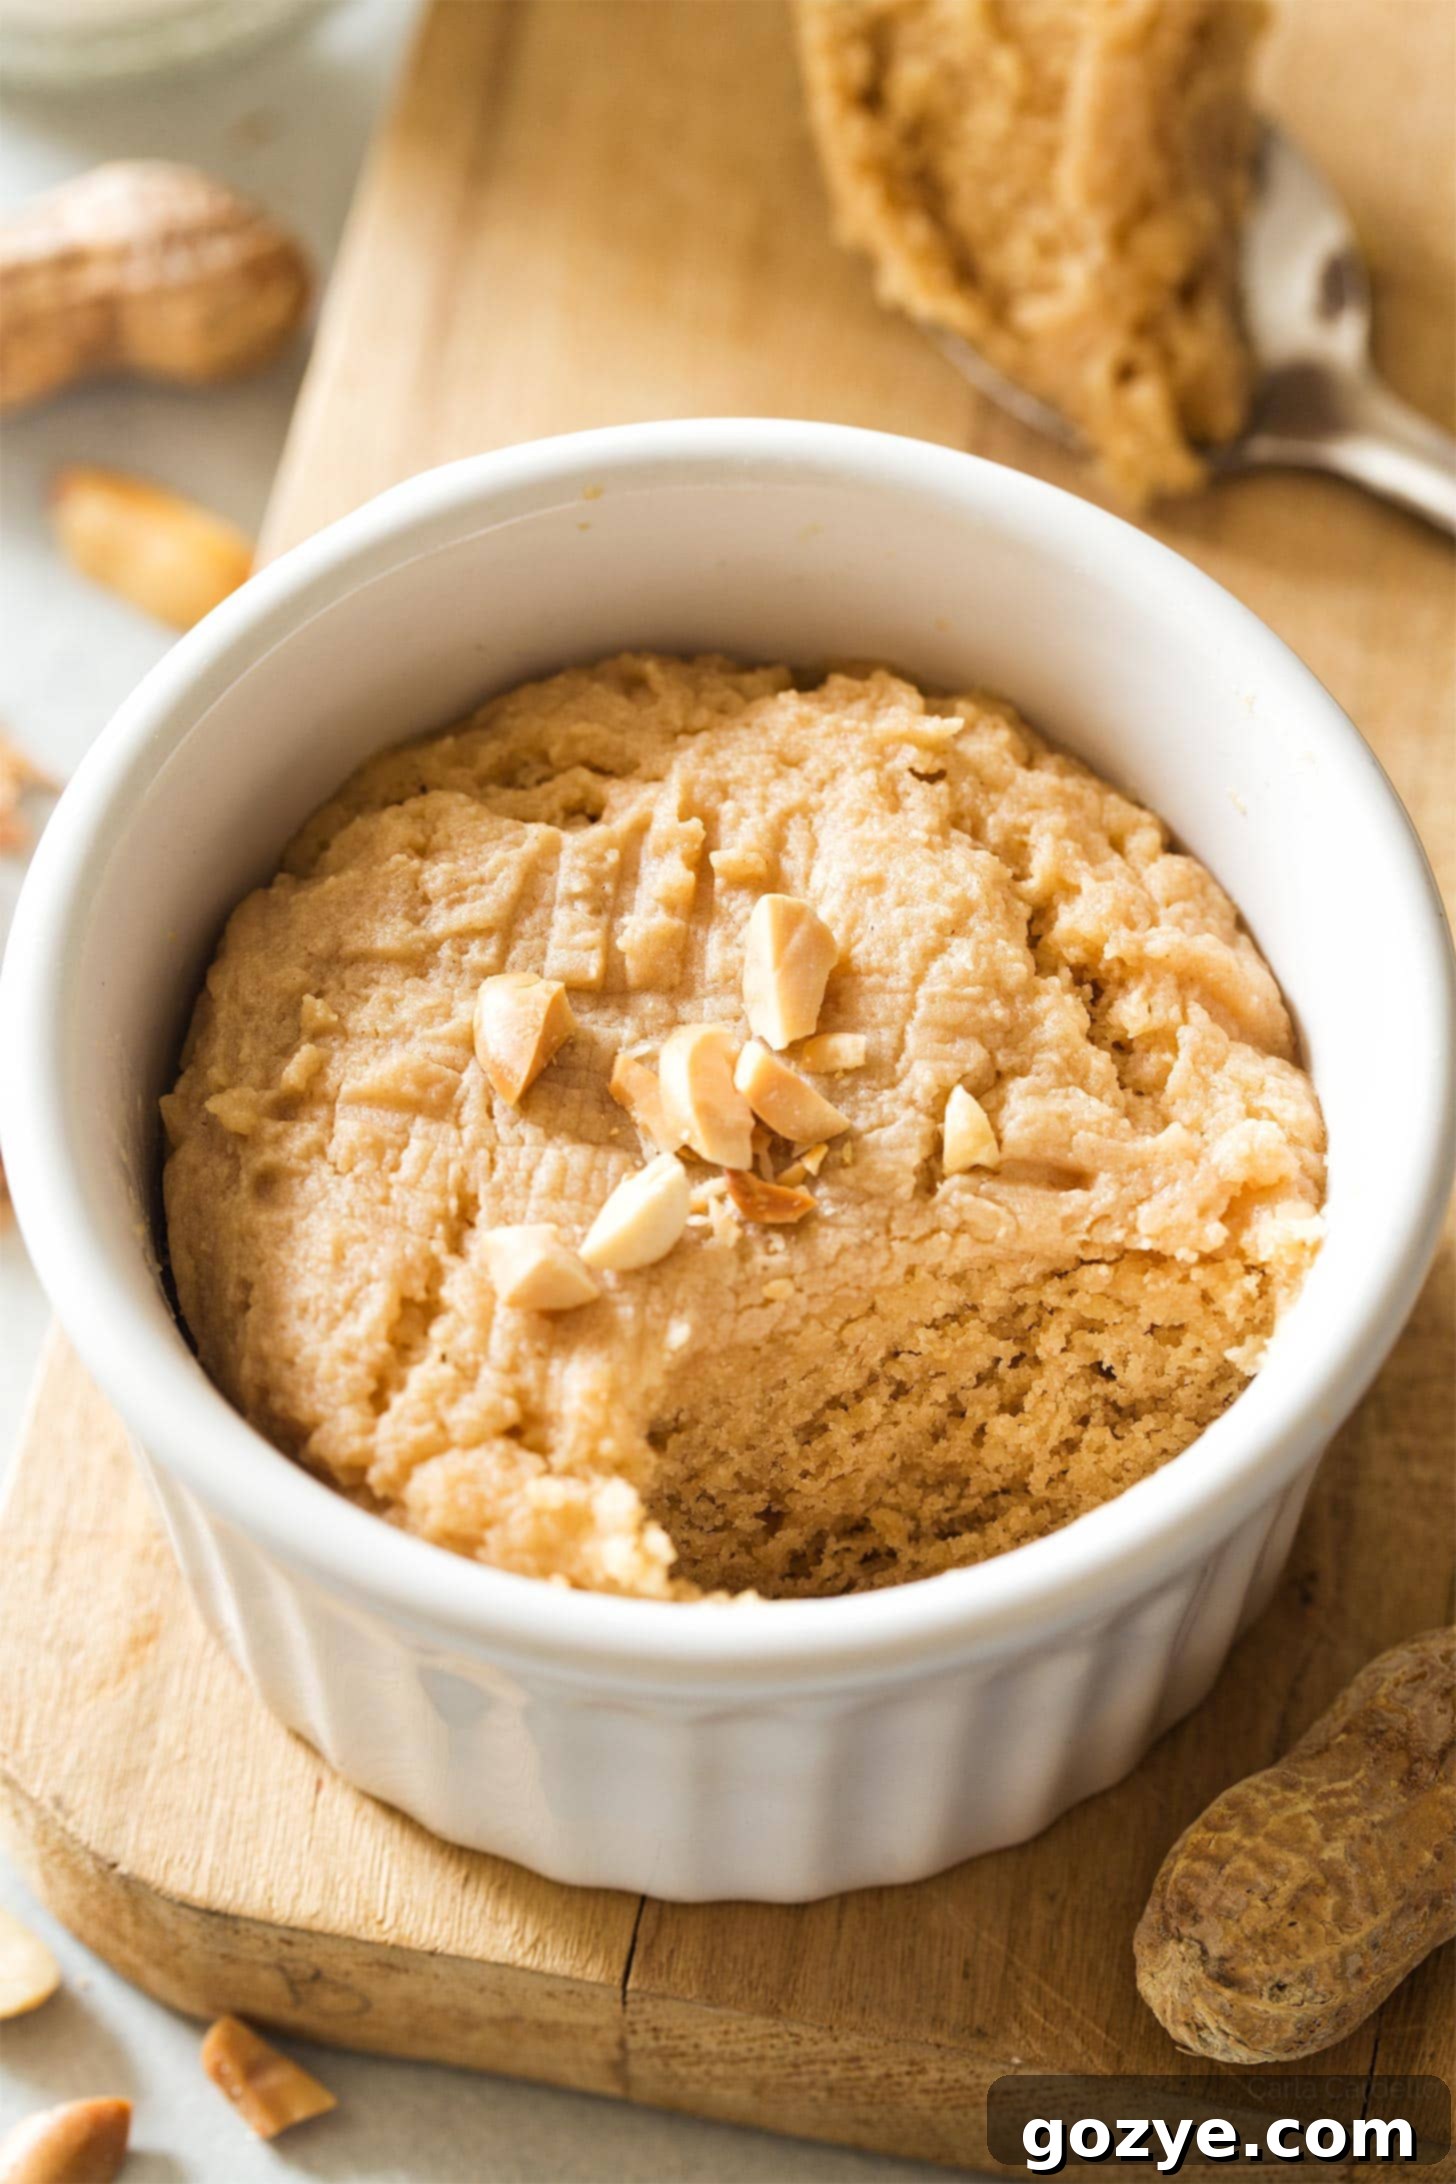
- Delightful Texture and Flavor: Expect a tender, wonderfully nutty, and perfectly chewy cookie with a slight softness, thanks to the addition of milk. It delivers all the rich, comforting flavor you associate with a classic peanut butter cookie, but in a fraction of the time.
You “bake” your single peanut butter cookie in a mug or ramekin, right in the microwave. It’s an effortless process that consistently yields a warm, comforting dessert exactly when you need it most. The rich peanut butter flavor means you’ll probably reach for a glass of cold milk to pair with it, creating a classic combination.
Choosing the Right Vessel: Mug vs. Ramekin for Your Perfect Microwave Cookie
One of the key factors for a successful and evenly cooked microwave peanut butter cookie is selecting the appropriate cooking vessel. The size and shape of your mug or ramekin can significantly impact the cook time and the final texture of your single-serving treat.
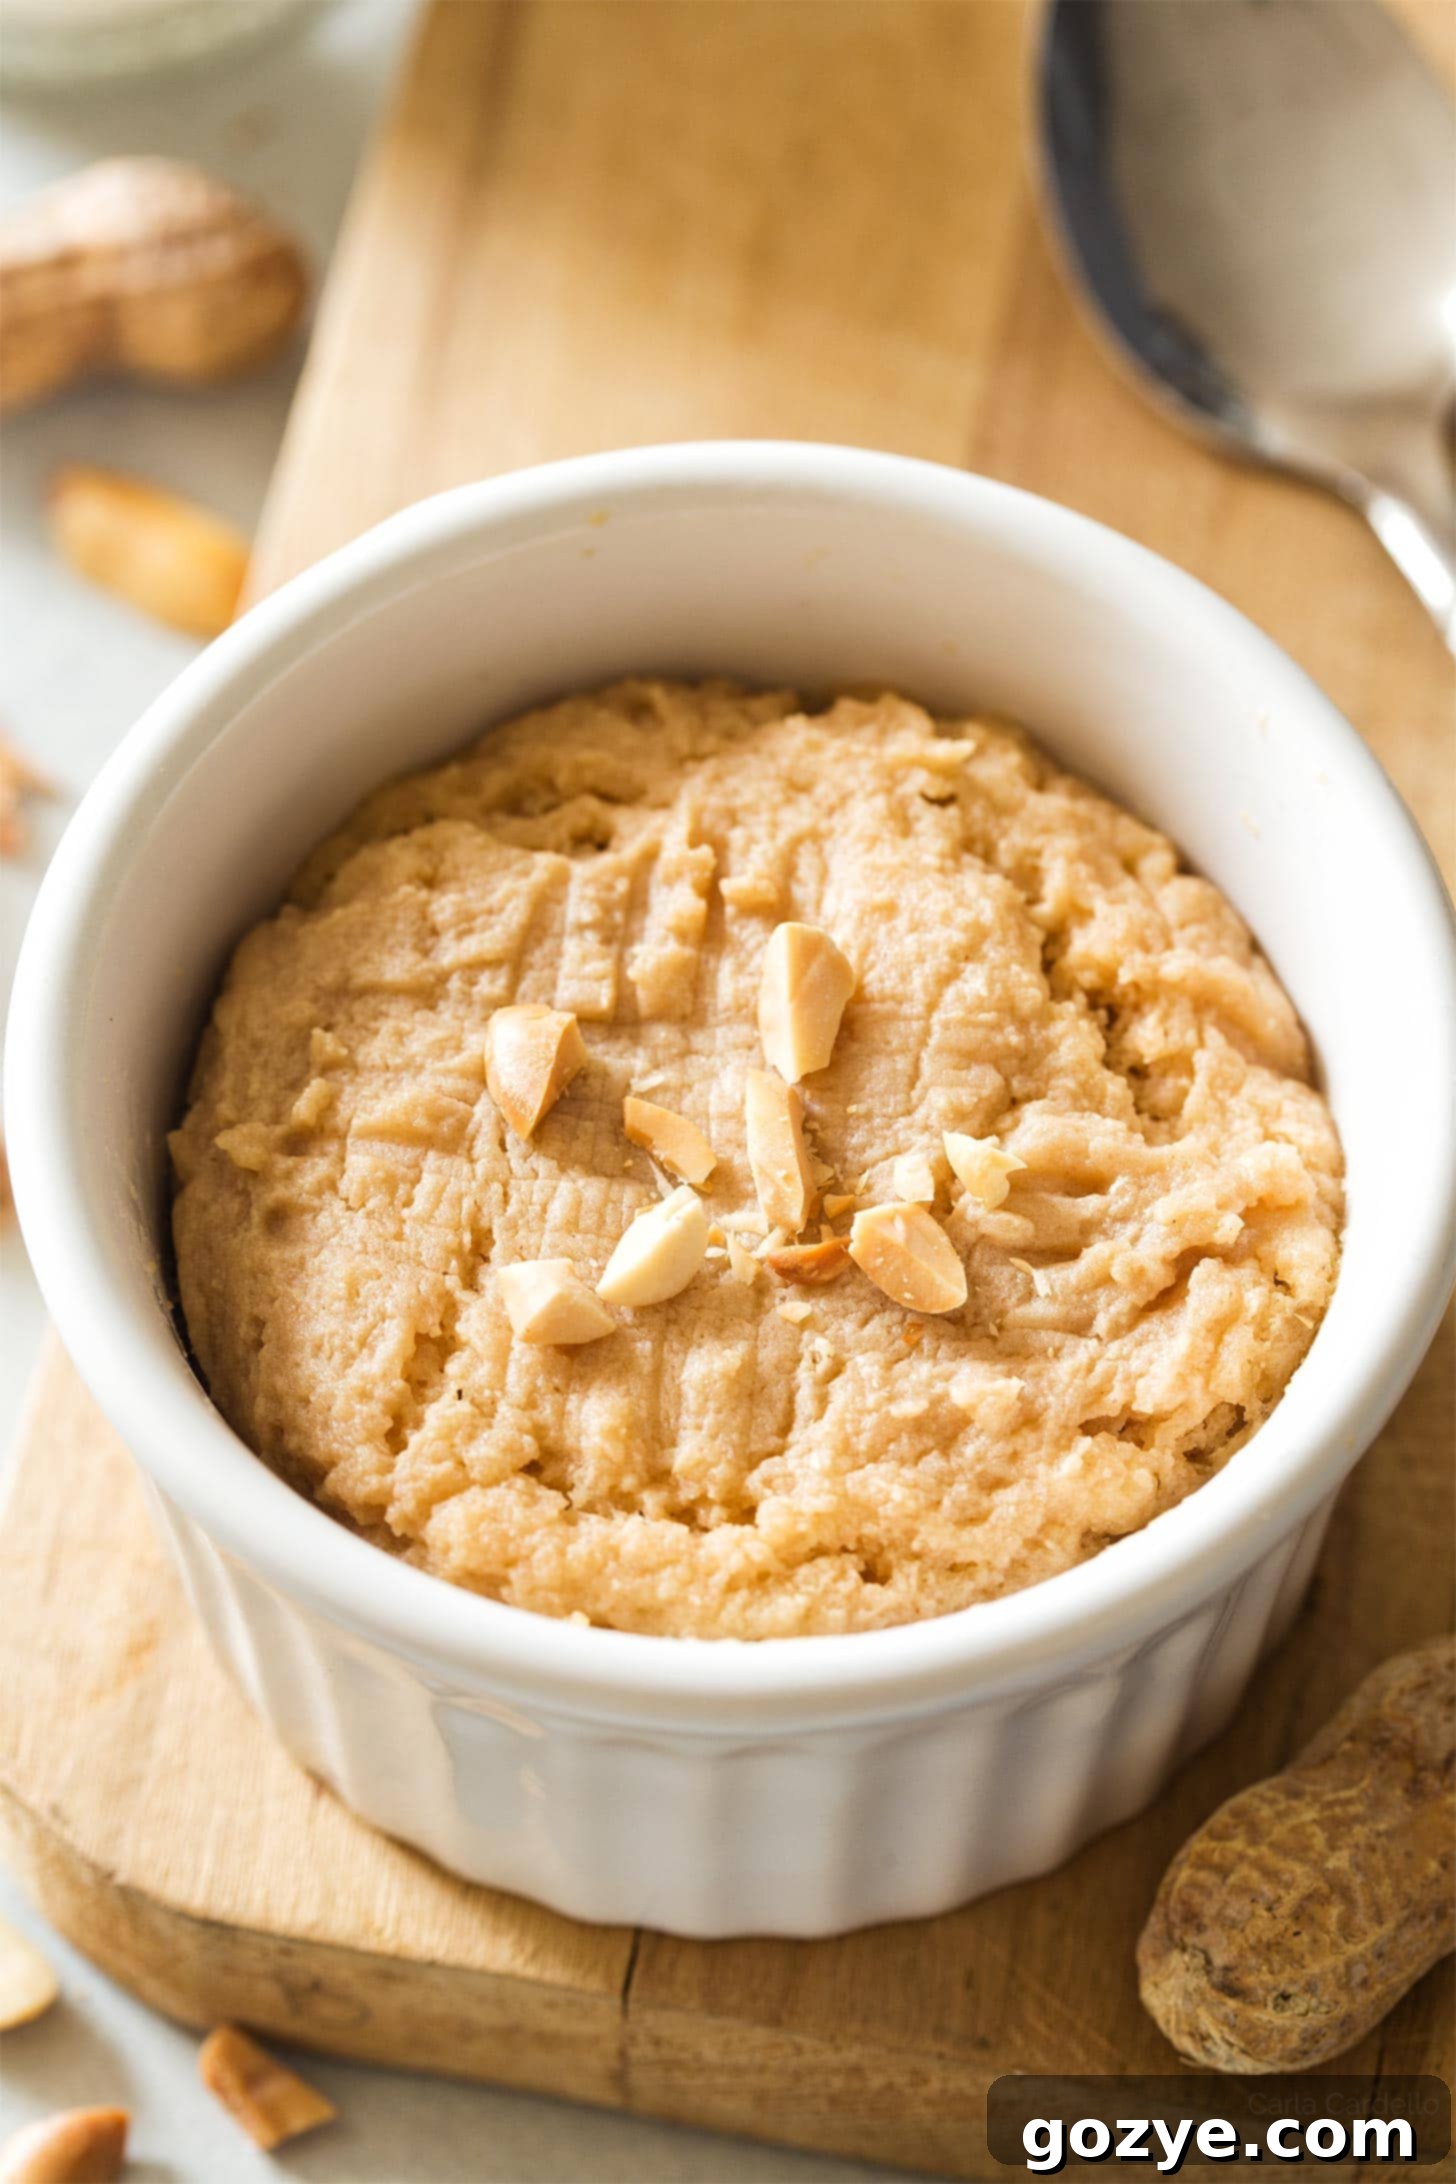
I personally prefer making a ramekin cookie in my standard 6-ounce ramekin. These are widely available online, for instance, on Amazon (affiliate link), or can often be found at thrift stores. Their consistent size and relatively shallow depth make them ideal for even cooking, resulting in a more uniform cookie texture.
However, if you don’t own ramekins, a standard 12-ounce mug also works wonderfully. I’ve used this size successfully for my chocolate peanut butter mug cake. You can find suitable options, like this 12-ounce standard mug (affiliate link), online or in most kitchenware stores.
Important Note on Vessel Size and Cook Time: The dimensions of your chosen vessel matter more than you might think. A wider mug or ramekin will generally require less cooking time because the heat distributes more evenly across a larger surface area, and the dough isn’t as thick. Conversely, a deeper, narrower mug might need a few extra seconds for the center to cook through. My 6-ounce ramekin strikes a good balance between width and depth, offering a reliable and consistent cooking time.
Unsure of your mug’s capacity? It’s simple to check! Fill your mug to the brim with water, then carefully pour that water into a liquid measuring cup. This will tell you exactly how many ounces your mug holds, helping you adjust cooking times accordingly and ensuring your microwave cookie is cooked to perfection every time.
Essential Ingredients for Your Perfect Microwave Peanut Butter Cookie
Creating this delicious, single-serving peanut butter cookie requires just a handful of common ingredients. Each component plays a crucial role in achieving that perfect tender texture and rich, nutty flavor:
- Melted Butter: Using melted butter is a major convenience hack – it means no electric mixer is needed, just a whisk! The butter adds essential richness and helps create that wonderfully chewy texture characteristic of a good cookie. Unsalted butter allows you to control the salt level yourself.
- Peanut Butter: For the best results in this quick recipe, I strongly recommend using a standard processed peanut butter (like Jif, Skippy, or Peter Pan). These varieties have a more consistent, creamy texture and emulsified oils, which are crucial for the dough’s consistency. If you *do* opt for organic or natural peanut butter (which often separates), ensure it’s stirred exceptionally well until completely smooth, or your cookie might turn out dry or crumbly due.
- Milk: A small amount of whole milk (room temperature is ideal for easier mixing) is a hero ingredient. Since this is a no-egg cookie, the milk adds much-needed moisture and acts as a tenderizer, ensuring the cookie remains soft and prevents it from drying out in the microwave. If you prefer a more crumbly, less soft cookie texture, you could experiment with reducing or omitting the milk, but I find it vastly improves the final product.
- Brown Sugar: This is my secret weapon for both depth of flavor and that irresistible chewiness. Brown sugar contains molasses, which not only gives the cookie a richer, more complex taste than granulated white sugar but also significantly contributes to a moist, soft, and chewy texture. Don’t substitute with granulated sugar if you can help it!
- Vanilla Extract: Often underestimated, vanilla extract doesn’t just add its own pleasant aroma and flavor; it profoundly enhances and brings out the robust, nutty notes of the peanut butter. I use a generous amount for such a small cookie to ensure that rich, comforting aroma and taste truly shine through.
- All-Purpose Flour: This provides the necessary structure to hold your cookie together. Proper measurement is absolutely crucial for the right dough consistency and final cookie texture. Always use the spoon and level method: spoon flour into your measuring cup and then level off the top with a straight edge (like the back of a knife), rather than scooping directly from the bag, which can compact the flour and lead to a dense, dry cookie.
- Baking Powder: This chemical leavening agent is vital for a light and tender cookie. It helps the cookie rise slightly and prevents it from becoming overly dense or rubbery, which can easily happen in the microwave. I’ve tested this recipe without baking powder, and the result was indeed quite terrible – a flat, hard disc.
- Salt: A tiny pinch of salt is crucial for balancing the sweetness of the sugar and enhancing all the other flavors, preventing a bland, one-note cookie. If you’re using salted butter, you can safely omit the added salt.
Delicious Variations & Customization for Your Microwave Peanut Butter Cookie
While this classic no-egg peanut butter cookie is fantastic on its own, there’s always room for personalization! If you’re a true fan of the timeless peanut butter chocolate chip cookie combination, it’s incredibly easy to add some chocolatey goodness to your single-serving treat. But why stop there? Here are a few ways to customize your microwave cookie:
- Chocolate Chip Delight: Simply stir in about 2 tablespoons of semisweet chocolate chips (or milk chocolate, dark chocolate, or even mini chocolate chips for a different texture) into the cookie dough before transferring it to your mug or ramekin. The warm cookie will melt them into gooey pockets of joy.
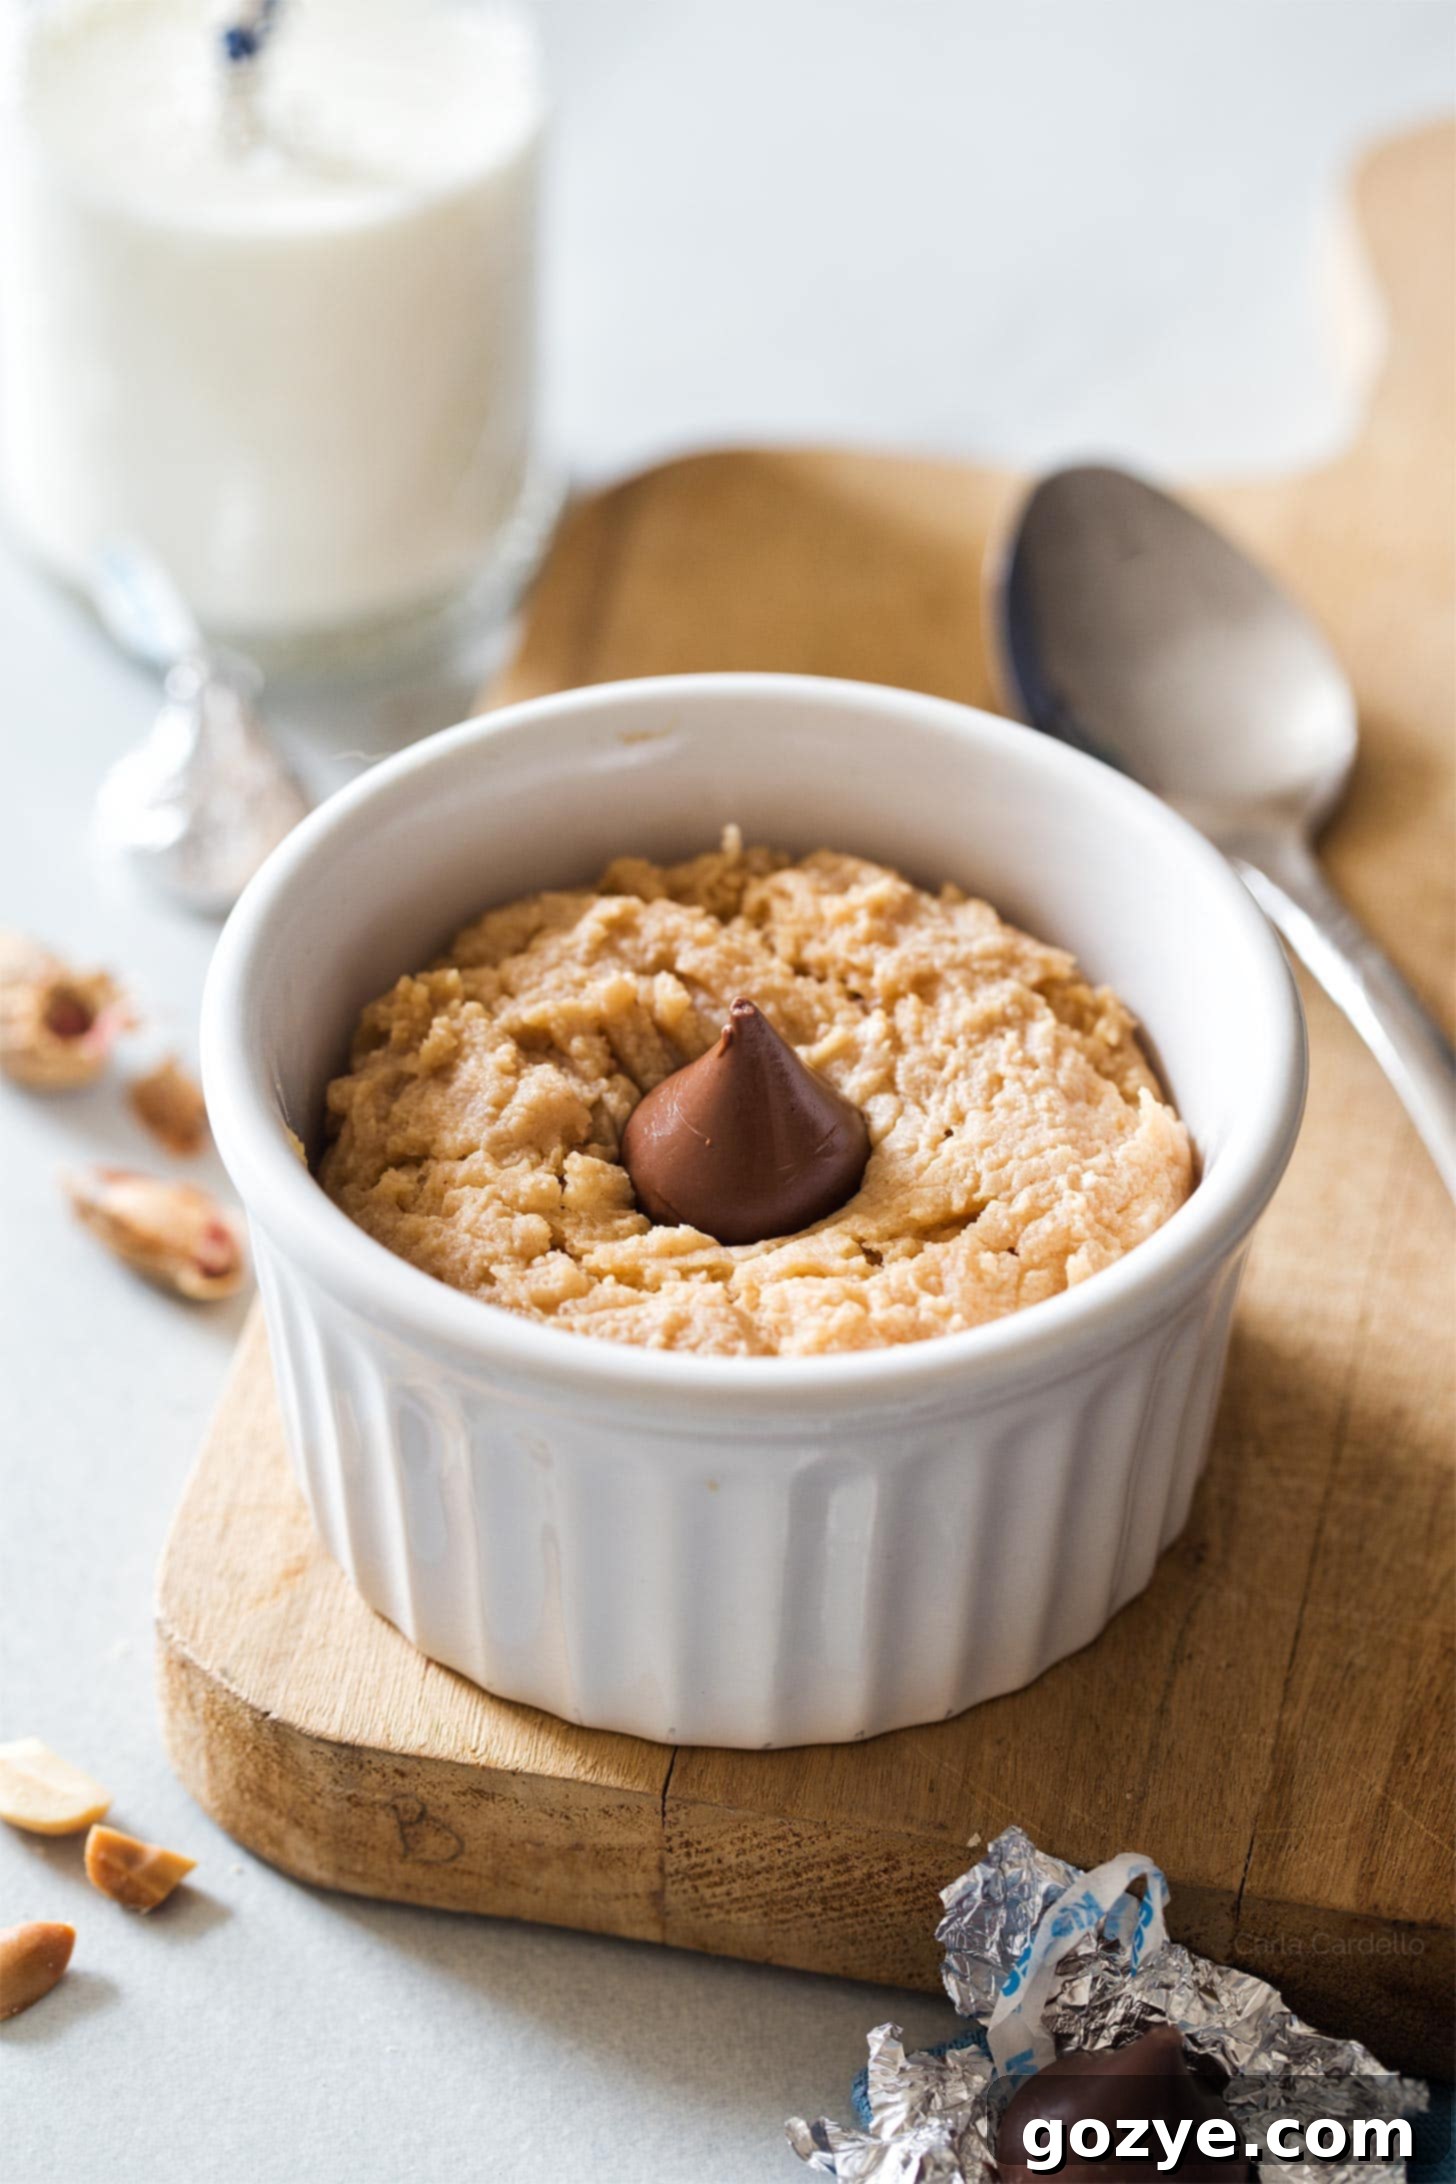
- Peanut Butter Blossom Style: For a delightful twist reminiscent of classic peanut butter blossom cookies, immediately press an unwrapped Hershey’s kiss (or your favorite small chocolate candy) into the top of your warm cookie as soon as it comes out of the microwave. The residual heat will soften the chocolate, creating a gooey, irresistible center.
- Add Some Crunch: For extra texture, stir in a tablespoon of finely chopped roasted peanuts, mini M&Ms, or even a few toffee bits with the dry ingredients.
- Sweet & Salty Perfection: A tiny sprinkle of flaky sea salt on top of the dough before microwaving can elevate the flavors, creating that perfect balance between sweet and salty that peanut butter lovers adore.
Feel free to experiment with these delicious variations and make this quick dessert truly your own personal indulgence!
How To Make Your Microwave Peanut Butter Cookie in 3 Easy Steps
Get ready for instant gratification! Here’s a detailed, step-by-step guide to making your single-serving peanut butter cookie in a mug or ramekin, ensuring perfect results every time:
- Prepare the Wet Ingredients: In a small mixing bowl (a standard cereal bowl works great), combine the melted unsalted butter, creamy peanut butter, packed brown sugar, room temperature whole milk, and vanilla extract. Use a fork or a small whisk to mix these ingredients together vigorously. Continue whisking until the brown sugar is completely dissolved and the mixture is smooth and well combined. This step is crucial – don’t skimp on the whisking! Thorough mixing here prevents a grainy texture in your final cookie and ensures all flavors are integrated.
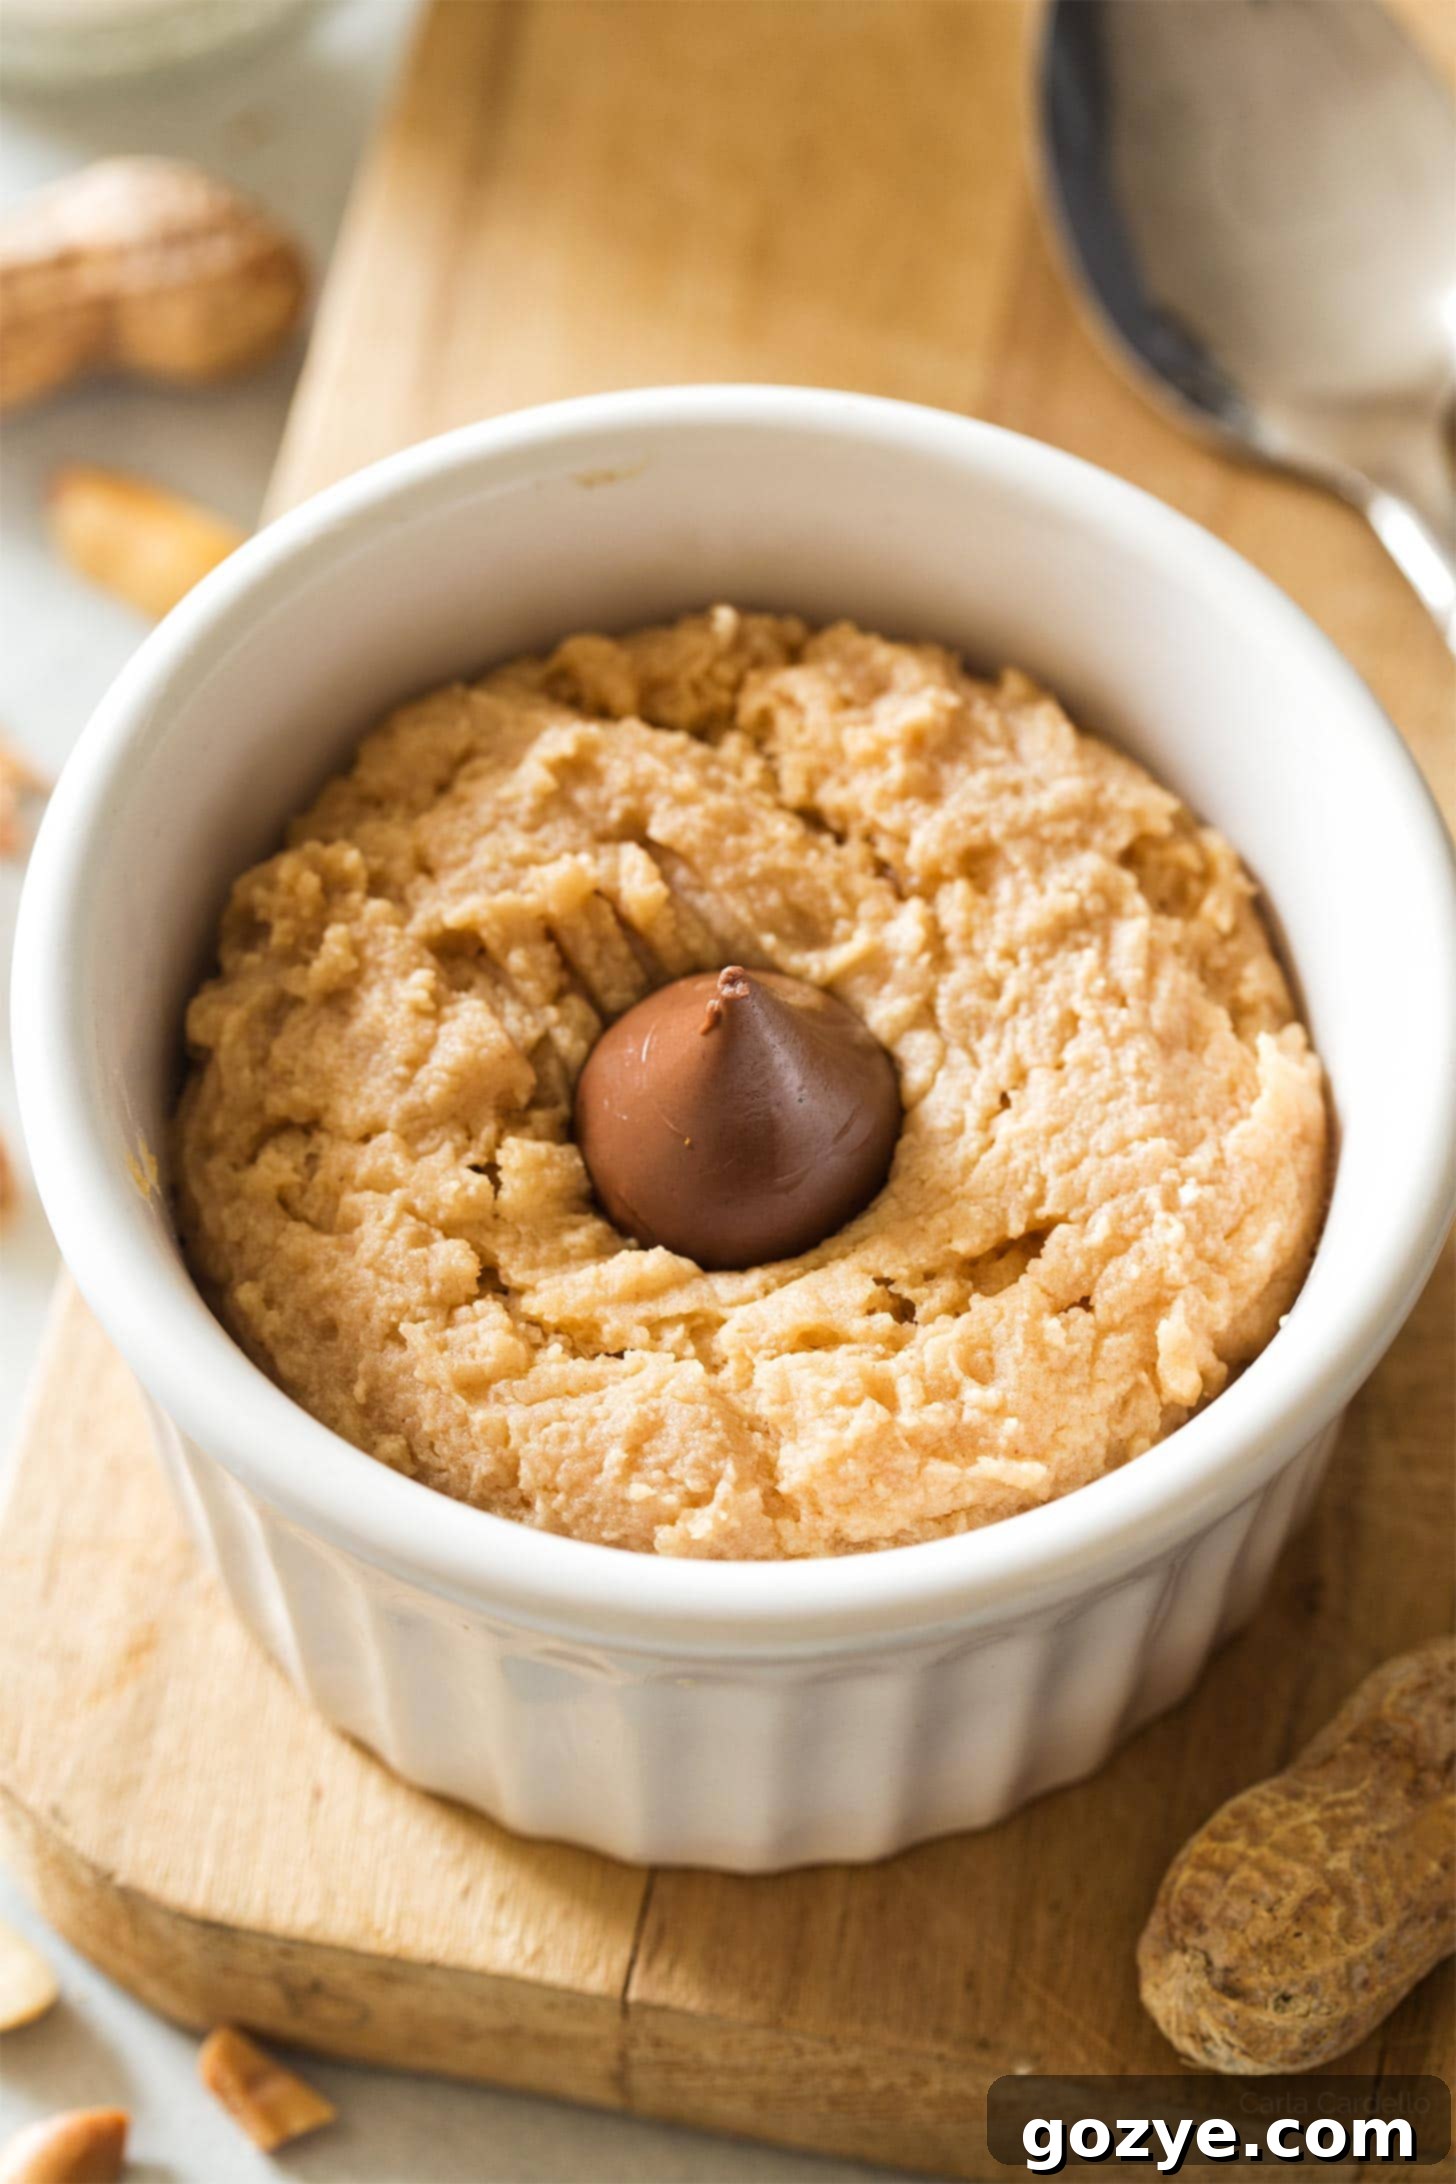
- Incorporate Dry Ingredients & Form Dough: To the wet mixture, add the all-purpose flour (remember to measure using the spoon and level method for accuracy!), baking powder, and salt. Stir gently with a spoon or spatula until just combined. Be careful not to overmix the dough, as overworking the flour can develop gluten and lead to a tough, rather than tender, cookie. The dough should come together as a soft, slightly sticky consistency. If you’re adding chocolate chips or other optional mix-ins, gently fold them in now. Carefully transfer the entire ball of dough into your chosen 6-ounce ramekin or 12-ounce microwavable mug. For that classic homemade peanut butter cookie look, you can gently press the top with a fork to create a decorative criss-cross pattern.
- Microwave to Perfection: Place your ramekin or mug in the microwave and cook on high power for an initial 45 seconds. After this time, carefully remove it (it might be hot!) and check the cookie. The top should appear mostly set and no longer look wet or glossy. If the edges still look a little too moist or slightly undercooked, return it to the microwave and cook for an additional 5-10 seconds. It is incredibly important not to overcook your cookie! Microwaves vary greatly in wattage and heating patterns, and exceeding the optimal cook time (generally not more than 1 minute for most microwaves) can quickly turn your soft, chewy cookie into a hard, dry puck. When in doubt, it’s always better to slightly undercook it; a slightly gooey center is far more enjoyable than a tough, dry one.
If you’re making a peanut butter blossom variation, immediately after removing the cookie from the microwave, gently press an unwrapped Hershey’s kiss into the center of the warm cookie. Let the cookie cool for at least 10 minutes before digging in. This cooling period is essential – not only to prevent burning your tongue but also because the cookie will continue to firm up and set as it cools, developing that ideal chewy cookie texture. This microwave peanut butter cookie is truly best enjoyed fresh, warm, and within 10-15 minutes of making it. It doesn’t store well for the next day, so consider it a delicious, ephemeral treat!
Troubleshooting: Why is My Microwave Cookie Hard and Dry?
This is the most common issue encountered when making microwave cookies, and it almost always comes down to one critical factor: overcooking. Microwaves, much like traditional ovens, have varying wattages, ages, and heating efficiencies. What takes 45 seconds in one microwave might require 60 seconds in another, or even slightly less. Understanding your microwave is key!
Here are some essential tips to prevent a hard, dry, or rubbery cookie:
- Start Low and Go Slow: Always begin with the recommended cook time of 45 seconds. After this initial period, observe your cookie carefully. If the top looks mostly set and matte (not glossy or wet), but the edges seem a tiny bit undercooked, then go for another small increment of 5-10 seconds. Never blindly set it for 60 seconds the first time you try the recipe.
- Underbaked is Better Than Overcooked: Seriously, if you’re ever in doubt, err on the side of underbaking. An underbaked cookie might be a little gooey or soft in the center, which is still incredibly delicious and edible! An overcooked cookie, however, will quickly become tough, crumbly, and far less enjoyable – almost like a brick.
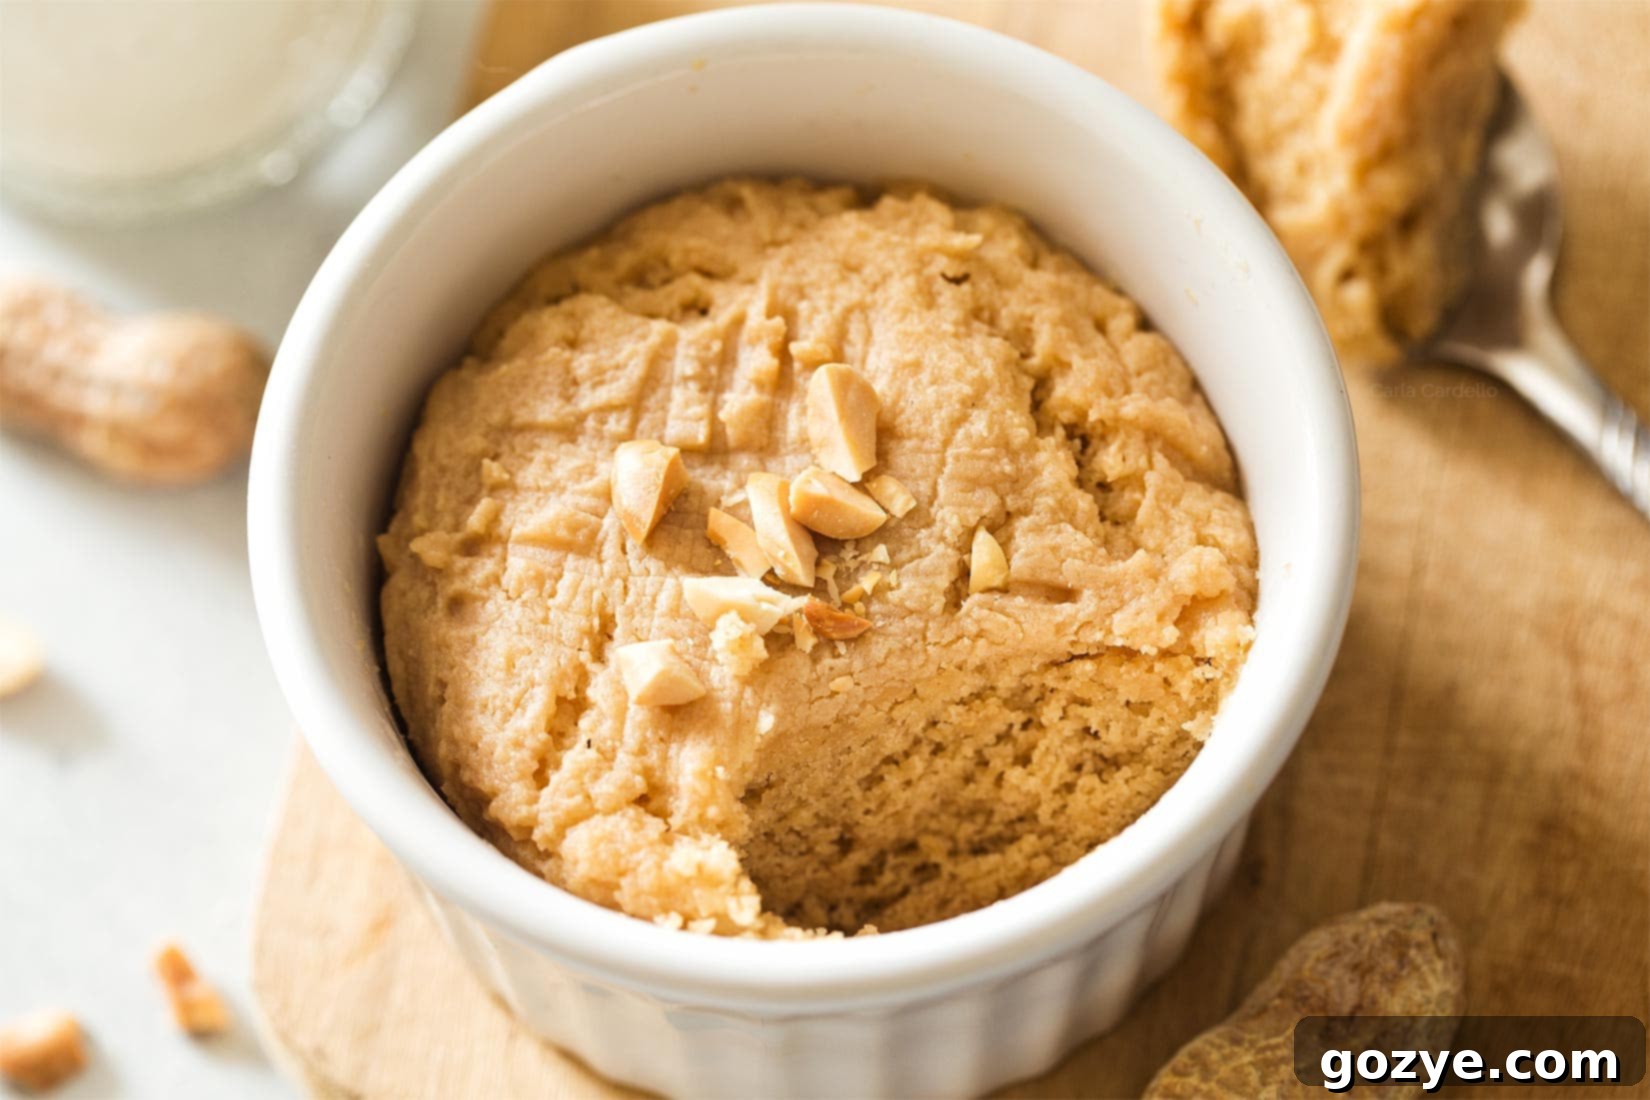
- Pay Attention to Visual Cues: Your cookie is done when the top looks set and no longer appears raw or liquidy. The edges might also pull away slightly from the ramekin or mug. The center may still look slightly soft, and that’s usually perfect as it will continue to cook a tiny bit as it rests.
- The “Do Not Exceed 1 Minute” Rule: For most modern, standard-wattage microwaves and the recommended mug/ramekin sizes, it is very rare for this cookie to need more than 1 minute of total cooking time. Unless you have an exceptionally low-wattage microwave (e.g., a very old model) or a particularly deep and narrow mug, do not exceed 1 minute. Past this point, you risk drying out your cookie significantly.
- Practice Makes Perfect: The more you make this recipe, the better you’ll understand the nuances of your specific microwave and the perfect timing for your preferred cookie texture. It’s a skill you’ll hone with each delicious microwave cookie you create!
Patience, observation, and a willingness to learn your microwave’s quirks are key to achieving a perfectly tender, chewy, and moist microwave peanut butter cookie every single time!
Elevate Your Treat: What To Serve With Your Microwave Peanut Butter Cookie
The whole point of making your no-egg peanut butter cookie in the microwave is for immediate gratification – you can enjoy it right away! But if you’re looking to turn this simple pleasure into an even more decadent and special dessert for one, here are some fantastic serving suggestions that perfectly complement its rich, nutty flavor:
- A Scoop of Ice Cream: This is a classic pairing for a reason! A generous scoop of cold vanilla bean ice cream melting gloriously over the warm peanut butter cookie is pure bliss. Don’t limit yourself to vanilla; chocolate, coffee, or even a peanut butter swirl ice cream would be incredible pairings.
- Homemade Whipped Cream: Light, airy, and a delightful contrast to the rich density of the cookie. Whip up a small batch of homemade whipped cream for an elegant touch. For an extra layer of flavor, consider making peanut butter whipped cream or chocolate whipped cream to truly elevate the experience.
- Rich Chocolate Drizzle: A simple drizzle of melted chocolate, chocolate syrup, or even a decadent store-bought hot fudge sauce can add a gourmet touch and enhance the peanut butter and chocolate flavor combination.
- Warm Caramel Sauce: The sweet, buttery notes of caramel pair beautifully with peanut butter. A warm caramel drizzle can be incredibly comforting and adds another layer of indulgence.
- Extra Peanut Butter Drizzle: For the ultimate peanut butter lover, warm a spoonful of peanut butter in the microwave for a few seconds until it becomes pourable, then drizzle it generously over your cookie.
- A Dusting of Powdered Sugar: A light dusting of powdered sugar adds a touch of sweetness and a pretty presentation, especially if you’ve added other toppings.
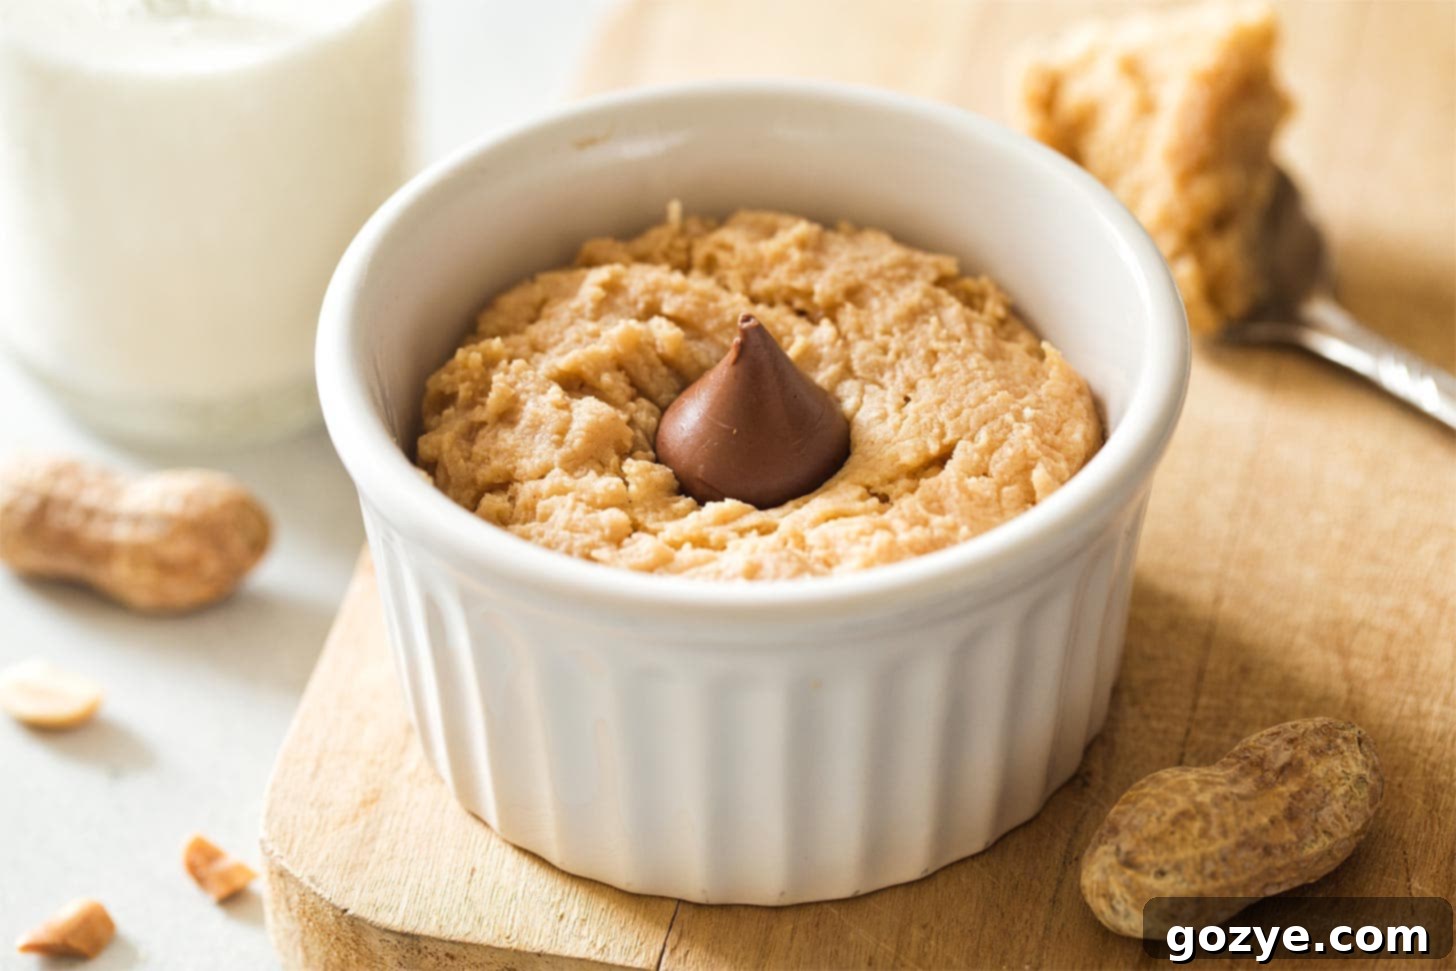
- A Tall, Cold Glass of Milk: Sometimes, the simplest pairings are truly the best. The creamy richness and slight stickiness of the peanut butter cookie naturally calls for a tall, cold glass of milk – a timeless and comforting combination that can’t be beat.
No matter how you choose to enjoy it, this quick microwave cookie is guaranteed to hit the spot and satisfy your deepest dessert cravings!
More Irresistible Ramekin & Mug Desserts for One
If you’ve fallen in love with the incredible convenience and sheer deliciousness of this 5-minute microwave peanut butter cookie, you’ll be thrilled to discover my other single-serving Ramekin Dessert Recipes. These are perfect for satisfying any sweet craving without the commitment of baking a full batch, offering variety and instant gratification.
- Microwave Brownie: A fudgy, intensely chocolatey brownie that’s ready in a flash – perfect for chocolate lovers.
- Single Serve Chocolate Chip Cookie: The classic favorite cookie, reimagined for easy single-serving indulgence in minutes.
- Single Serving Sugar Cookie: A soft, sweet, and customizable treat, perfect for adding sprinkles and brightening your day.
- Microwave Chocolate Chip Cookie: Another fantastic variation on the beloved chocolate chip cookie for quick indulgence.
- Microwave Oatmeal Cookie: A comforting and hearty option that feels like a warm hug, ready in minutes.
- Microwave Sugar Cookie: Simple, sweet, and utterly satisfying for immediate gratification.
- Chocolate Peanut Butter Mug Cake: For those times when you crave both cake and the perfect flavor combination of chocolate and peanut butter.
Explore these incredibly easy and delicious recipes and make every craving a delightful reality!
Microwave Peanut Butter Cookie Recipe Card
1 serving
2 minutes
45 seconds
2 minutes 45 seconds
This Microwave Peanut Butter Cookie is a warm and nutty no egg peanut butter cookie for one cooked in the microwave. Ready in under 5 minutes from start to finish! Perfect for quick cravings and an instant dessert.
Ingredients
- 1 tablespoon unsalted butter, melted
- 1 tablespoon standard processed peanut butter (not natural, for best consistency)
- 1 tablespoon brown sugar (soft and moist, packed tightly)
- 1 teaspoon whole milk, room temperature
- 1 teaspoon vanilla extract
- 1/3 cup all-purpose flour (measured properly using the spoon and level method)
- 1/4 teaspoon baking powder
- 1/8 teaspoon table salt (omit if using salted butter)
Optional Add-ins
- 1 unwrapped Hershey’s kiss (for peanut butter blossom style)
- 2 tablespoons semisweet chocolate chips
Instructions
- In a medium bowl, whisk together the melted butter, peanut butter, brown sugar, milk, and vanilla until the sugar has completely dissolved and the mixture is smooth. Whisk well to ensure a non-grainy cookie texture.
- Stir in the flour, baking powder, and salt until it just comes together, forming a soft and slightly sticky cookie dough. If using chocolate chips, gently fold them in now.
- Transfer the cookie dough to a 6-ounce ramekin or a 12-ounce standard microwavable mug. If desired, create a classic criss-cross pattern on top with a fork.
- Microwave on high power for 45 seconds. Check the cookie; the top should appear set. If the edges still look slightly wet, microwave for an additional 5-10 seconds. It is crucial not to overcook your cookie; an underbaked, slightly gooey cookie is much better than a dry, hard one.
- If adding a Hershey’s kiss, immediately press it into the center of the warm cookie. Allow the cookie to cool for at least 10 minutes before serving. This cooling time allows it to firm up to the perfect cookie texture. Enjoy fresh!
Recipe Notes & Tips
- Microwave Wattage Varies: Cooking times can vary significantly based on your microwave’s wattage and age. For reference, I used a 5-year-old 700-watt microwave, and found 50 seconds to be the sweet spot. Always start with 45 seconds and adjust in small 5-10 second increments as needed for your specific appliance.
- Doubling the Recipe: To make more than one cookie, simply double all the ingredients, but cook each cookie individually in its own ramekin or mug. Do not attempt to cook two cookies at once, as this will affect even cooking and likely lead to uneven results.
- Storage: This microwave cookie is truly best enjoyed immediately after cooling for 10 minutes. It does not store well and will become dry and hard overnight. Consider it a fresh, instant indulgence!
- Explore More Single-Serve Desserts: If you loved the simplicity and speed of this dessert, be sure to check out my other quick microwave treats: Microwave Chocolate Chip Cookie, Microwave Oatmeal Cookie, Microwave Sugar Cookie, Microwave Brownie, and Chocolate Peanut Butter Mug Cake.
Recommended Products
As an Amazon Associate and member of other affiliate programs, I earn from qualifying purchases.
- 6 ounce Ramekins
- 12 Ounce White Mug
Did you make this recipe?
Let me know what you think! Rate the recipe above, leave a comment below, and/or share a photo on Instagram using #HITKrecipes
