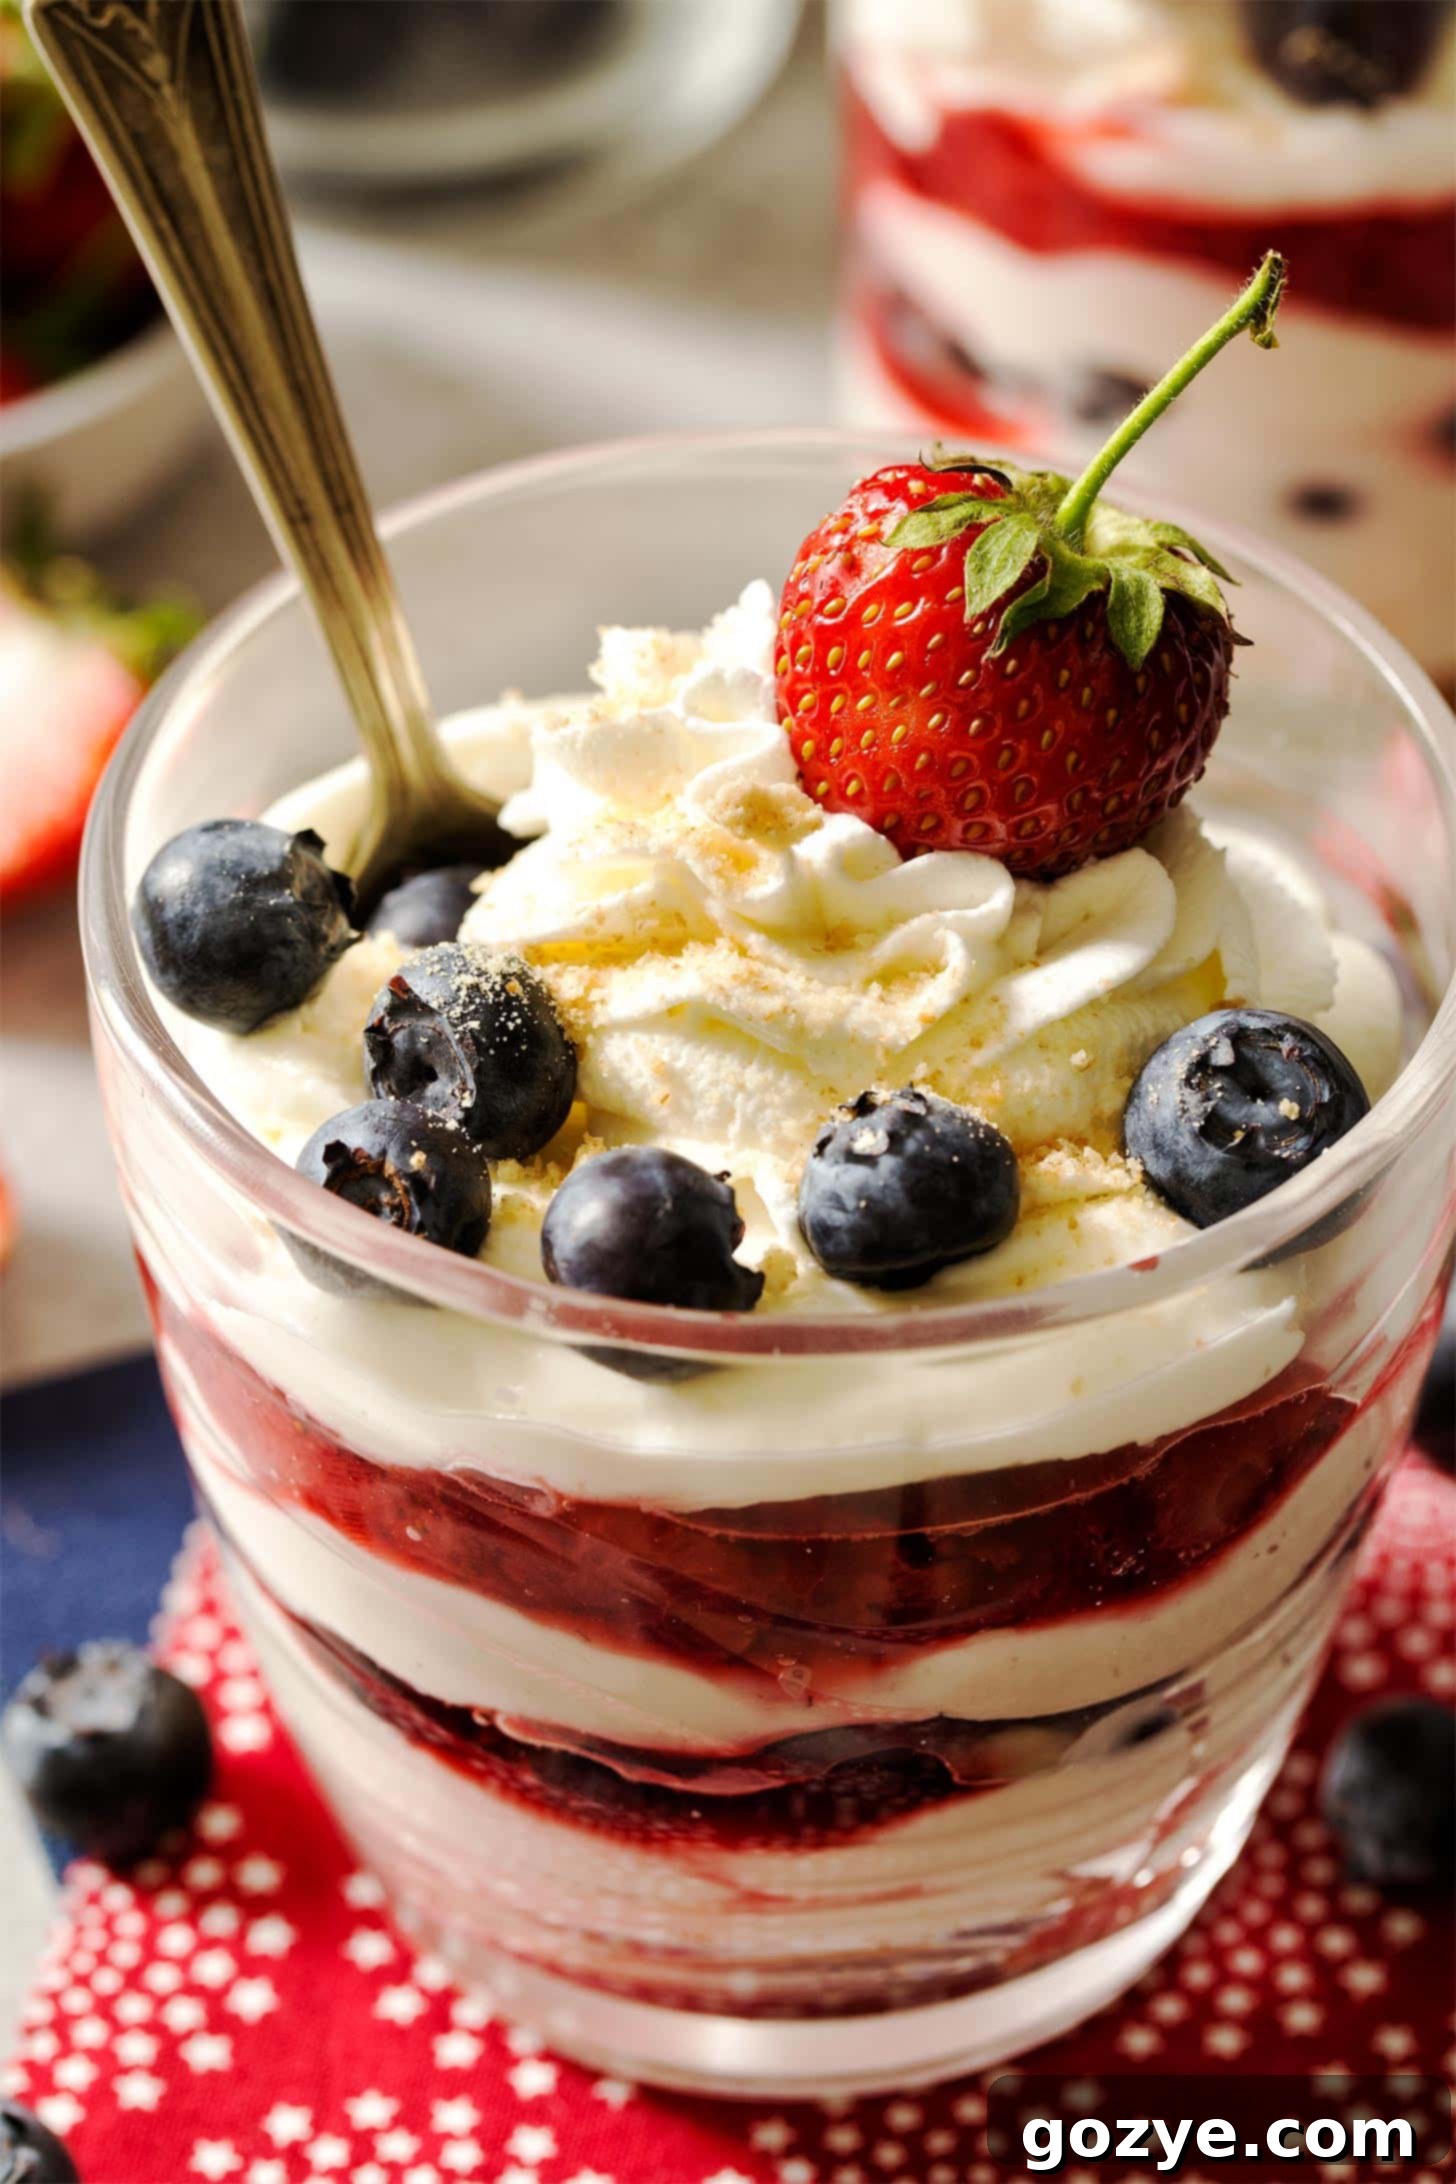
Easy No Bake Cheesecake Cups: Your Perfect Red, White & Blue Summer Dessert
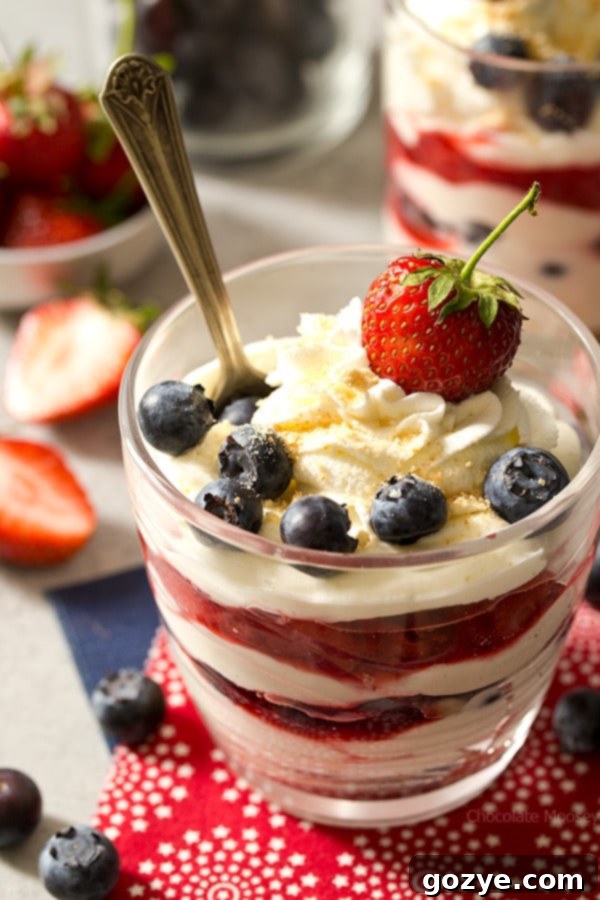
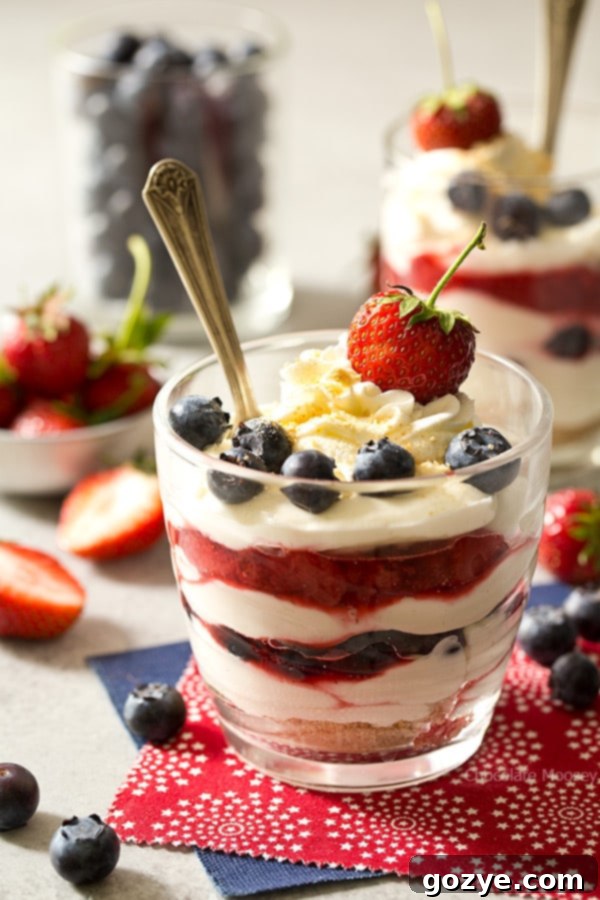
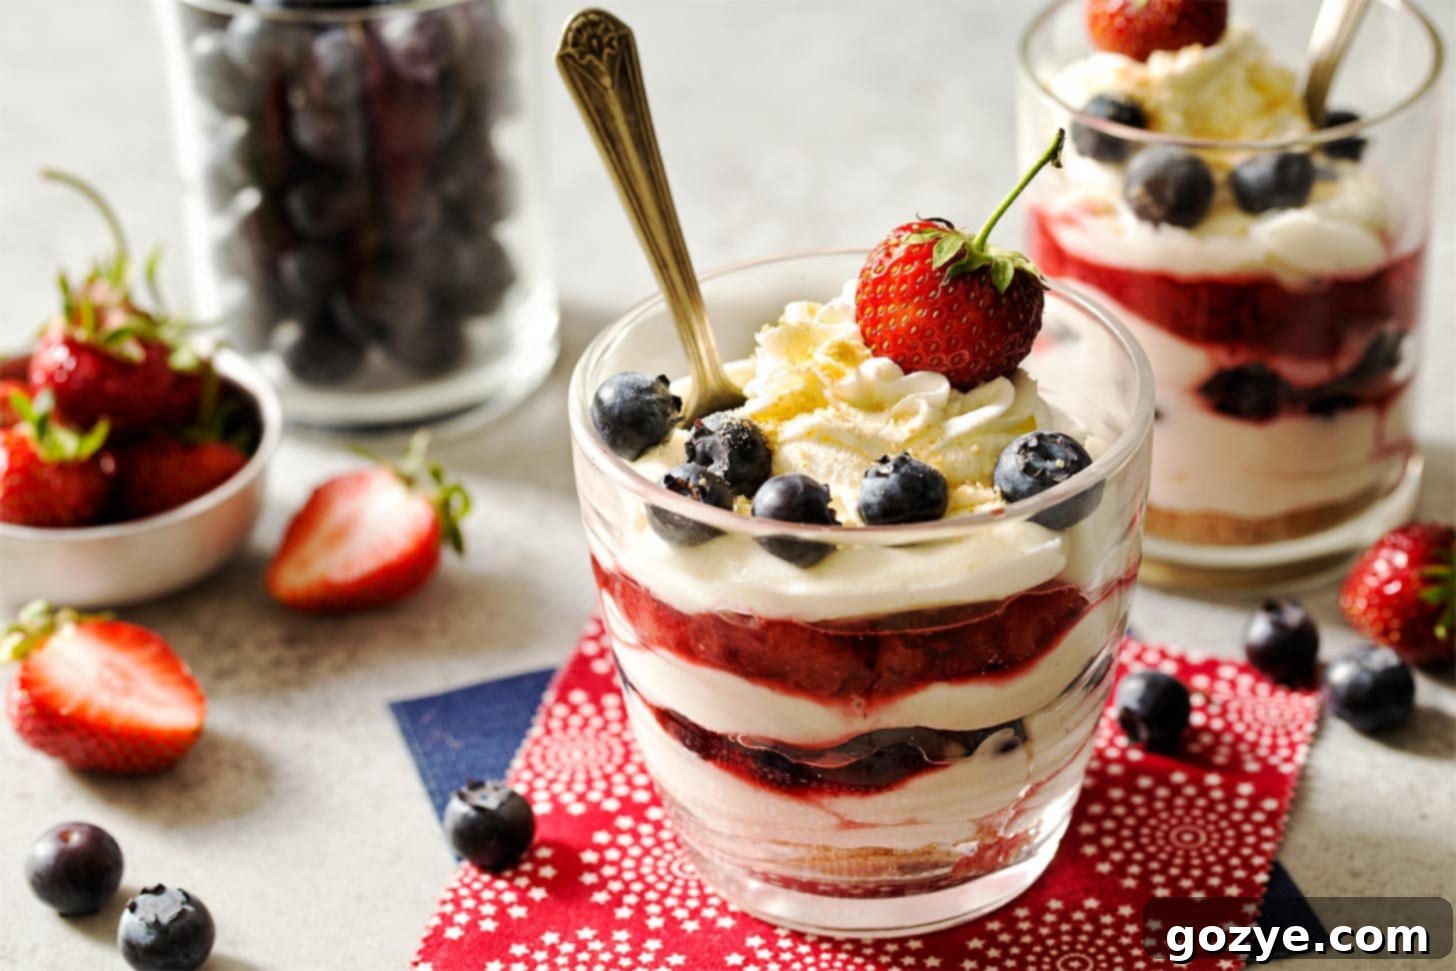
Beat the heat and delight your taste buds with these incredibly refreshing No Bake Cheesecake Cups! This recipe delivers a creamy, vibrant red, white, and blue cheesecake in a convenient cup, layered with juicy fresh strawberries and blueberries. It’s an effortlessly elegant cheesecake parfait dessert, crafted without the need for an oven or even Cool Whip, making it your go-to summer treat.
Embrace Summer with No-Oven Desserts
What defines your ideal summer experience? Are you the type who craves every ray of sunshine, spending as much time outdoors as possible, perhaps lounging by the pool or adventuring in nature?
Or do you, like me, prefer the cool sanctuary of air conditioning, opting to hibernate indoors, perhaps with a frosty glass of iced tea or a refreshing strawberry popsicle in hand? While I certainly appreciate a good evening stroll under the setting sun, given the choice between a scorching pool deck and my cool home, my vote is unequivocally for indoors (and truth be told, I’m not much of a swimmer!). The only real exception might be a serene beach visit – I’d happily listen to the waves, dip my toes in the water, then retreat to find an ice cream cone.
Regardless of your summer preference, there’s one thing we can all agree on: nobody wants to crank up the oven when the temperatures soar. While I’ve certainly been known to bake in the summer, it always comes with the consequence of turning up the A/C to compensate. So, if there’s a way to create a sensational dessert without transforming my kitchen into a sauna, I’m absolutely on board. This is where the magic of No Bake Cheesecake Cups truly shines as the ultimate refreshing summer dessert.
With Fourth of July celebrations just around the corner, or simply any warm summer day, these No Bake Cheesecake Cups are the ultimate festive and refreshing treat. They are beautifully red, white, and blue, making them perfect for patriotic holidays, but versatile enough for any occasion where you crave a light, creamy, and delightful individual dessert.
Imagine: enjoying a rich, easy no bake cheesecake, layered with the vibrant flavors of fresh strawberries and blueberries, all presented in an individual cup. It’s a decadent cheesecake parfait that satisfies your sweet tooth without the fuss or the heat. Pure summer bliss!
No Bake vs. Baked Cheesecake: Understanding the Difference
Beyond the obvious fact that one uses an oven and the other doesn’t, what truly differentiates the batter and texture of a no-bake cheesecake from its baked counterpart? Both styles proudly feature cream cheese as their star ingredient, delivering that signature tangy richness we all love. However, the preparation and resulting consistency are quite distinct.
A traditional baked cheesecake, like my classic 9-inch cheesecake, is essentially a custard. It relies on eggs to set the filling during the baking process, giving it a dense, smooth, and often incredibly rich texture. Some baked cheesecakes, such as my 6-inch version, even require a water bath to ensure even cooking and prevent cracking, adding another layer of complexity to the process.
No bake cheesecake, on the other hand, is wonderfully straightforward and often quicker to prepare. It achieves its creamy, yet stable, consistency by folding light and airy homemade whipped cream into a velvety smooth, beaten cream cheese mixture. While many no-bake recipes traditionally call for store-bought Cool Whip, this particular recipe prioritizes fresh, high-quality ingredients, utilizing real heavy cream for a superior flavor and texture – no Cool Whip needed here! The result is a lighter, airier, and incredibly refreshing dessert that chills to perfection.
A fantastic bonus of this specific no bake cheesecake cups recipe is its ingenious design: you don’t even need to wash your mixing bowl between steps! By simply scraping the bowl thoroughly, you can efficiently transition from making the whipped cream to preparing the cream cheese base. Plus, I’ve ensured you’ll whip up enough homemade whipped cream in one go, so there’s plenty to incorporate into the filling and a generous amount left for garnishing your delightful strawberry blueberry cheesecake cups. This streamlined approach makes the entire process quicker and cleaner, perfect for those hot summer days when you want an easy cheesecake dessert.
Essential Ingredients for Irresistible No Bake Cheesecake Cups
Crafting these perfectly portioned no bake cheesecake cups for two (or more, if you scale the recipe!) requires just a handful of simple, high-quality ingredients. Here’s what you’ll need to create this creamy, dreamy dessert:
- Graham Cracker Crumbs: The classic foundation for any cheesecake. While graham crackers provide a wonderful buttery, slightly sweet base, feel free to experiment with other crumbs like crushed Oreo cookies, digestive biscuits, or even shortbread for a unique twist. A food processor is your best friend for achieving perfectly fine crumbs.
- Butter: Essential for binding the crust ingredients together, giving it that characteristic firm yet crumbly texture. Melted butter ensures everything is well combined.
- Salt: A tiny pinch of salt in the crust elevates the flavor, especially if you’re using unsalted butter. It balances the sweetness beautifully.
- Heavy Cream: This is crucial for making the homemade whipped cream that thickens and lightens our no-bake filling. Opting for fresh heavy cream instead of Cool Whip provides a richer, more natural flavor and superior texture. Ensure it’s very cold for the best whipping results.
- Cream Cheese: The undisputed star of any cheesecake! For the creamiest, most luxurious filling, always use a block of full-fat cream cheese. Low-fat or fat-free versions contain more water, which can lead to a less stable and potentially watery filling for a no-bake dessert. Make sure it’s softened to room temperature for a lump-free mixture.
- Powdered Sugar (Confectioners’ Sugar): Not only does powdered sugar sweeten the filling, balancing the tanginess of the cream cheese, but its fine texture also helps to stabilize the whipped cream and the overall cheesecake filling, contributing to its smooth consistency.
- Vanilla Extract: A touch of pure vanilla extract is key to enhancing all the other flavors, adding a warm, aromatic depth that completes the cheesecake experience.
Customize Your Cheesecake Cups: Fruit Variations
While fresh strawberries and blueberries offer a classic combination, especially for a red, white, and blue theme, these versatile cheesecake cups are incredibly adaptable to other fruits! Don’t hesitate to get creative with your favorite seasonal produce for your cheesecake parfait.
For inspiring ideas beyond berries, explore my delightful No Bake Caramel Apple Cheesecake Parfaits and these refreshing No Bake Peach Cheesecake Parfaits. Both offer unique flavor profiles that are equally delicious in a cup.
If you’re looking to serve a larger crowd or prefer a different format, these no-bake cheesecake concepts can be scaled up. Check out my recipes for a full No Bake Blueberry Cheesecake Pie or convenient No Bake Cheesecake Bars, which provide the same great taste in a shareable form.
How To Make No Bake Cheesecake Cups: A Step-by-Step Guide
Creating these easy, creamy no bake cheesecake cups is a breeze. Follow these simple steps for a perfect dessert every time:
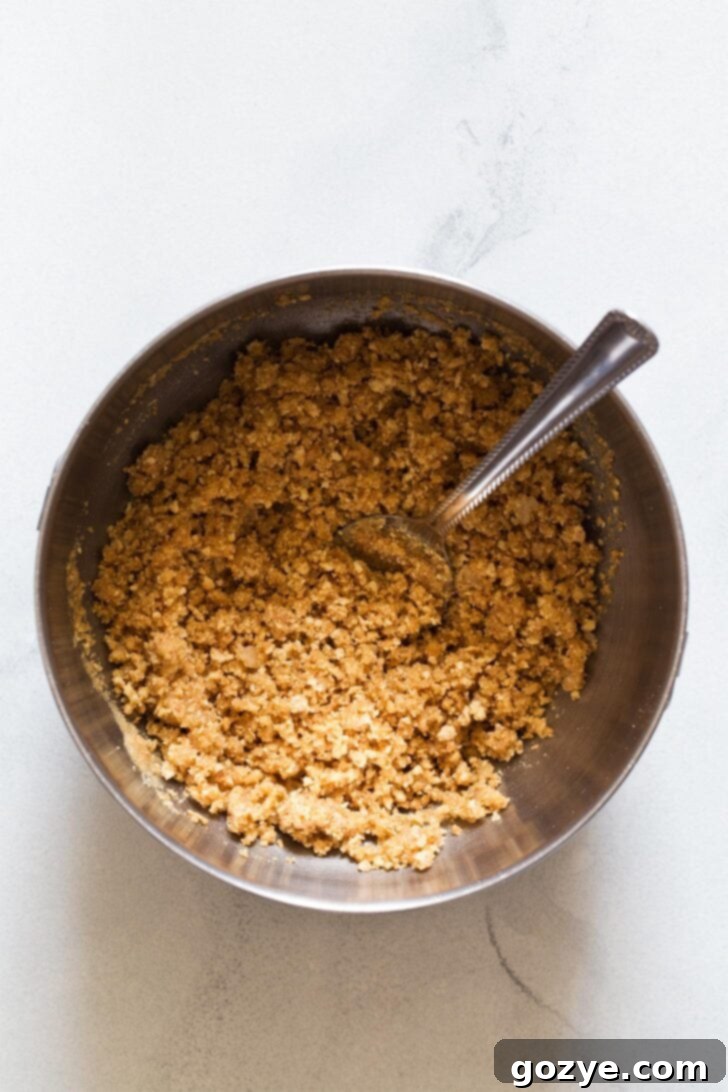
1. Prepare the Crust: In a small bowl, combine your finely crushed graham cracker crumbs with the melted butter and a pinch of salt. Mix until the crumbs are evenly moistened and resemble wet sand. Press this mixture firmly into the bottom of two individual parfait glasses or small ramekins. This will form your sturdy, delicious crust. Place them in the refrigerator to chill while you prepare the filling, allowing the butter to set and bind the crumbs firmly.
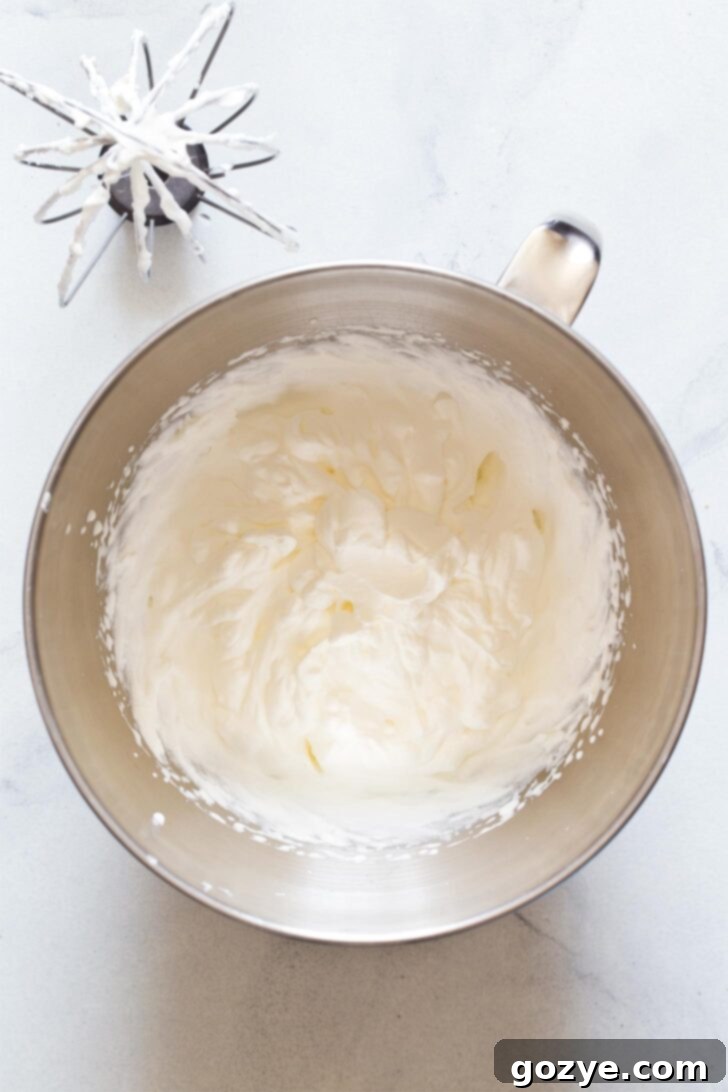
2. Whip the Cream: In a large mixing bowl (preferably chilled for best results), beat the very cold heavy cream, a portion of the powdered sugar, and a dash of vanilla extract on medium-high speed until stiff peaks form. This means that when you lift the beaters, the peaks of cream stand tall and hold their shape without flopping over. Be careful not to over-beat, or you’ll end up with butter! Once ready, gently transfer the whipped cream to a separate bowl and keep it chilled in the refrigerator. Remember to reserve about two tablespoons for garnish later.
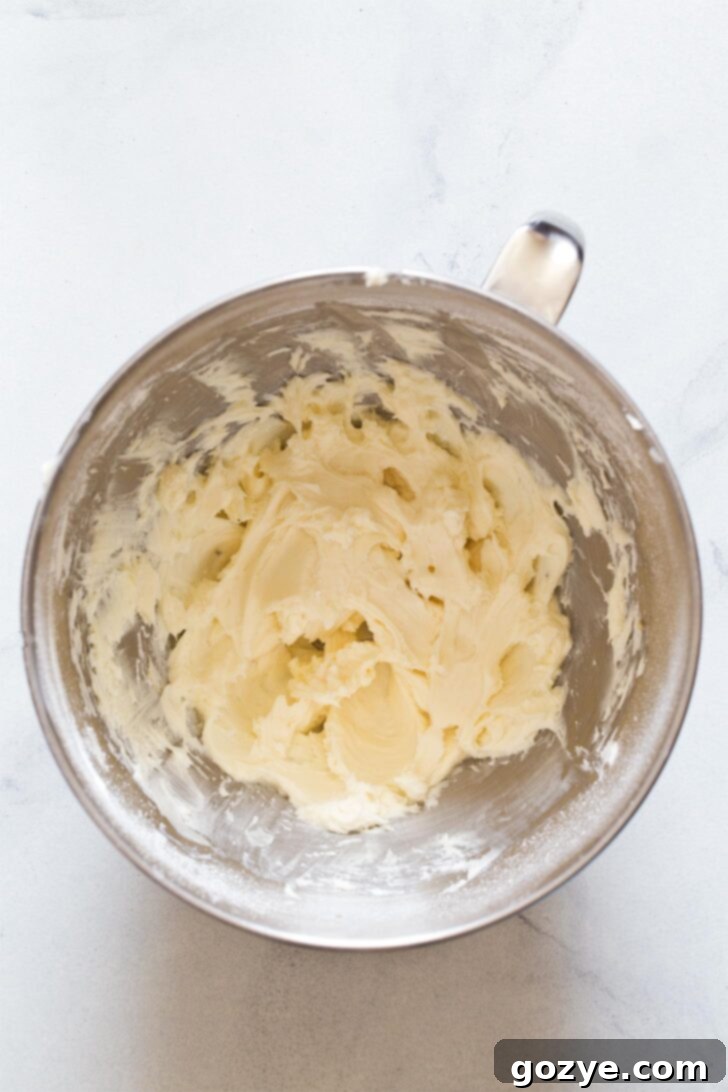
3. Create the Cream Cheese Base: Using the same large mixing bowl (no need to clean it, just scrape down any residual cream from the sides with a spatula!), beat together the room-temperature full-fat cream cheese, the remaining powdered sugar, and vanilla until the mixture is completely smooth, light, and creamy. Ensure there are no lumps by thoroughly scraping down the sides of the bowl with a spatula several times. The key here is room-temperature cream cheese for a perfectly smooth result, which is crucial for a luscious no bake cheesecake.
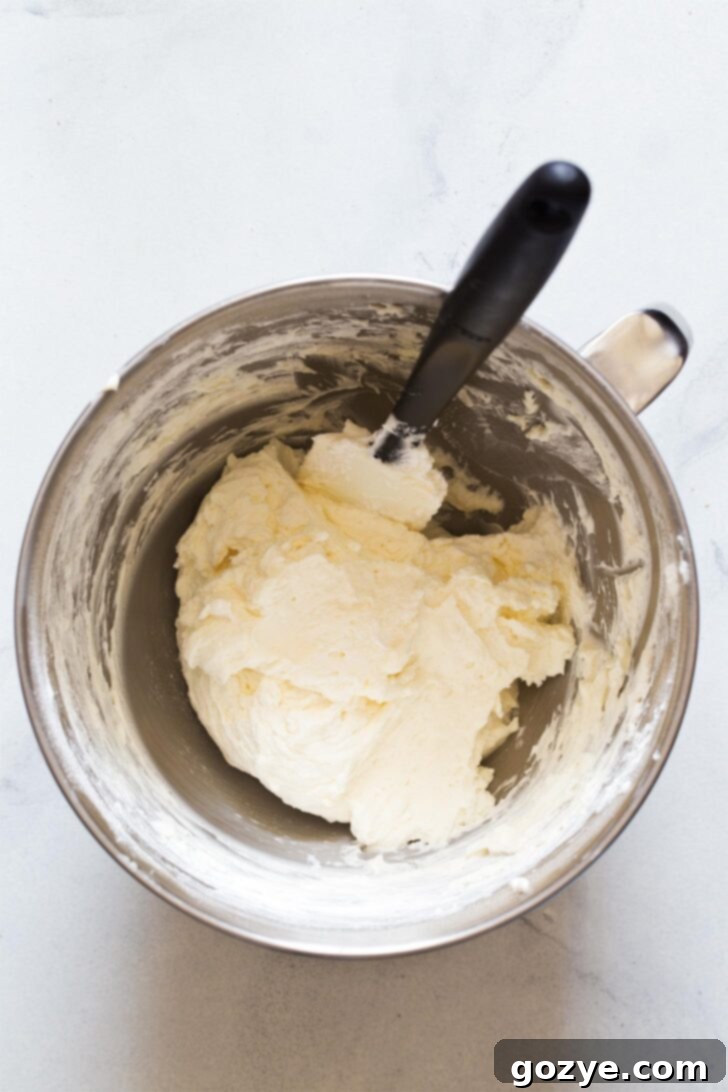
4. Combine for Cheesecake Filling: Now, gently fold the prepared whipped cream (the larger portion, not the reserved garnish) into the smooth cream cheese mixture. Use a spatula and a light hand, employing an up-and-over motion, to preserve the airiness of the whipped cream. Continue folding until the two components are fully incorporated, creating a unified, fluffy, and creamy cheesecake filling. Avoid overmixing to maintain the light texture of your easy cheesecake.
5. Layer and Chill: Spoon a layer of your luscious cheesecake filling into each chilled glass, on top of the graham cracker crust. Then, artfully add a layer of fresh blueberries and a generous swirl of homemade strawberry sauce (or freshly sliced strawberries). Repeat the layers, finishing with the cheesecake filling on top. For the best flavor and texture, refrigerate your cheesecake cups for at least 1 hour, allowing the flavors to meld beautifully and the filling to set completely. A longer chill time (2-4 hours or even overnight) is even better for these no bake cheesecake cups!
Once chilled, garnish with the reserved whipped cream and additional fresh berries just before serving for a stunning presentation. Leftover no bake cheesecake cups can be stored in an airtight container in the refrigerator for up to 5 days, maintaining their delicious freshness and creamy texture.
Red, White, and Blue Cheesecake Perfection
These No Bake Cheesecake Cups are naturally festive, making them an ideal choice for patriotic celebrations like the Fourth of July, Memorial Day, or Labor Day. The red, white, and blue theme is not just visually appealing but also a delicious combination of flavors. Just like my popular No Bake Mini Cheesecakes, these individual desserts effortlessly capture the spirit of these holidays.
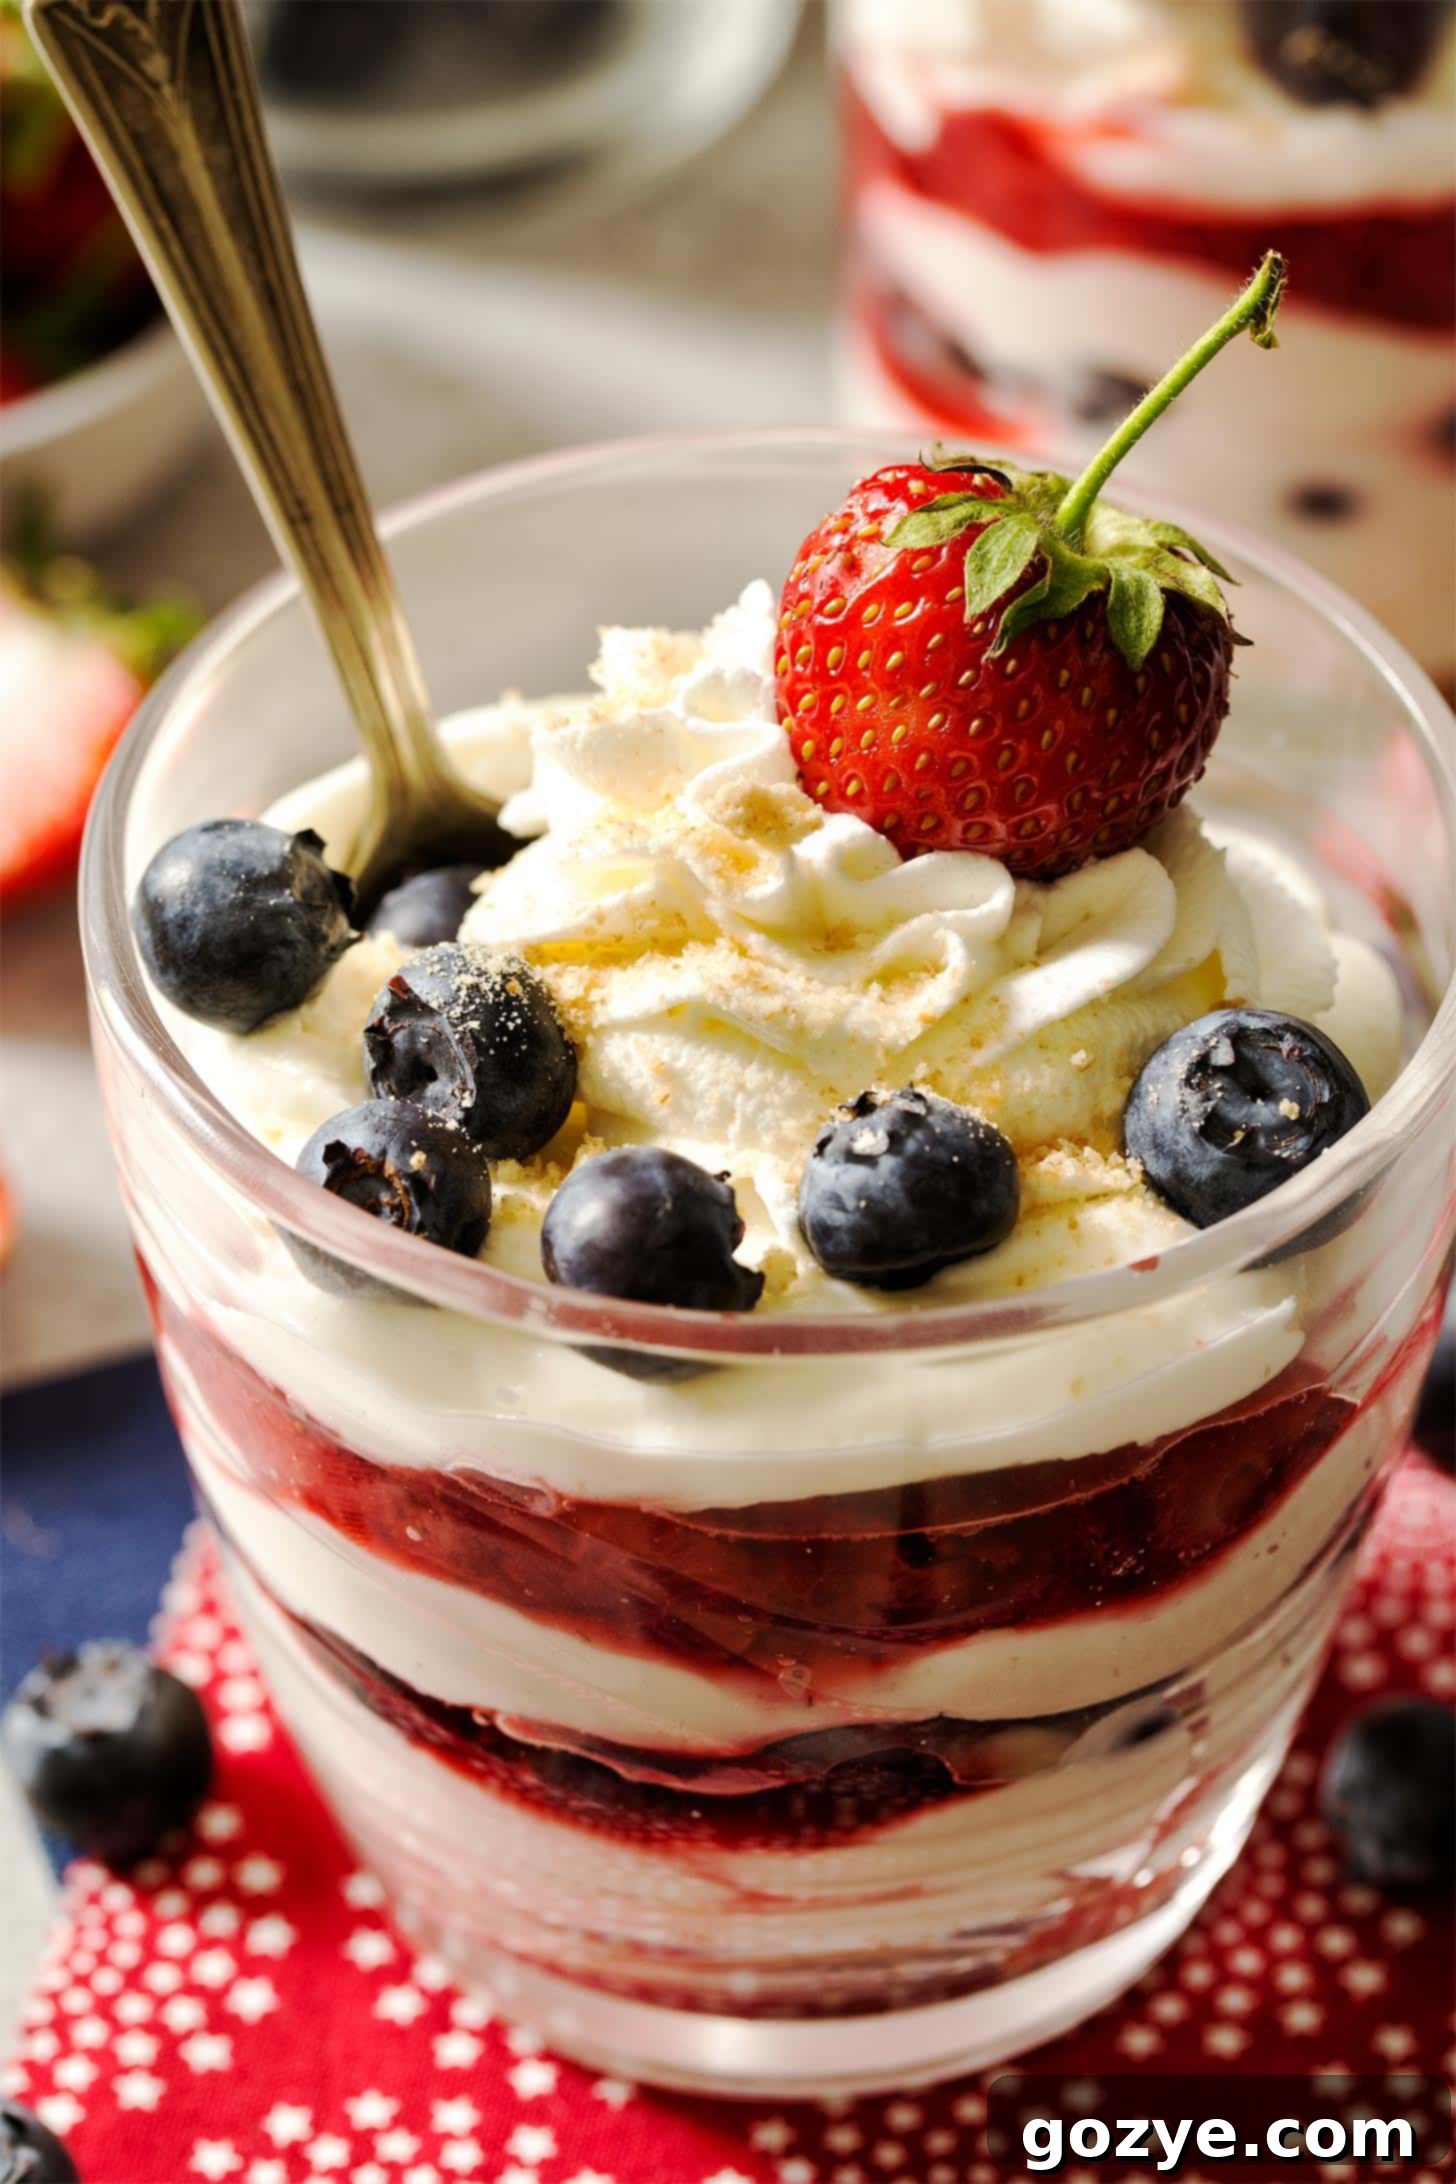
- White: The creamy, smooth cheesecake filling itself provides the elegant white layer, beautifully complemented by the dollop of fluffy homemade whipped cream on top. This clean, bright color forms the perfect base for the vibrant fruits.
- Blue: Fresh, plump blueberries are the perfect choice for the blue component. I prefer to leave them whole and uncooked to maintain their vibrant color and slight tartness, ensuring they remain distinctly blue and don’t turn purple, which can happen if cooked down into a blueberry pie filling or blueberry jam. Their fresh burst of flavor is delightful against the creamy cheesecake.
- Red: For the red layer, I highly recommend using a homemade strawberry sauce. The sauce adds a wonderful liquid element that infuses rich strawberry flavor throughout the cheesecake, creating an extra dimension of deliciousness and a beautiful swirl of color. While you can certainly use freshly sliced strawberries for simplicity, the sauce truly elevates the experience. The good news is you can prepare the strawberry sauce on a separate day and have it ready for assembly when you’re making your no bake cheesecake cups.
Beyond strawberry sauce, other fantastic red options include layering your cheesecake with strawberry jam without pectin, a luscious strawberry curd, or a sweet strawberry pie filling. Feel free to explore these variations to find your favorite red component and customize your perfect red, white, and blue cheesecake parfait!
No Bake Cheesecake Cups: Frequently Asked Questions
The most common culprit for a lumpy cheesecake filling is cream cheese that’s too cold. For a perfectly smooth, velvety texture in your no bake cheesecake, it’s absolutely crucial that your full-fat cream cheese is at room temperature – meaning it’s soft to the touch and has lost all its chill. If you’re short on time, you can carefully microwave the unwrapped cream cheese in 5 to 10-second increments, but be very cautious not to accidentally melt it, as this can affect the texture. A little patience in bringing it to room temperature goes a long way here!
While you might be tempted to opt for low-fat or fat-free cream cheese to reduce calories, I strongly advise against it for no-bake recipes. These lighter versions contain a significantly higher water content compared to full-fat cream cheese. This excess moisture can result in a cheesecake filling that is less firm, potentially watery, and doesn’t set as beautifully. For the best creamy texture, rich flavor, and stability in your no bake cheesecake cups, always stick to full-fat cream cheese.
Absolutely, and in fact, making these no bake cheesecake cups ahead of time is highly recommended! No-bake cheesecakes actually benefit significantly from a longer chilling period, as it allows all the delicious flavors to meld together and the filling to firm up beautifully. You can easily prepare these 1 to 2 days in advance, making them a fantastic stress-free dessert for entertaining or holiday gatherings. Just cover them loosely and keep them refrigerated until you’re ready to serve, then garnish just before presentation for a fresh look.
More Delightful Cheesecake for Two Recipes
If you’ve fallen in love with these individual cheesecake cups and are looking for more perfectly portioned cheesecake delights, you’ll be thrilled to discover more of my favorite small-batch cheesecake recipes, ideal for sharing (or enjoying all to yourself!):
- For a classic baked experience, try my Classic Cheesecake For Two baked to perfection in individual ramekins, offering a rich and dense texture.
- If you prefer a different format, my Small Batch Strawberry Swirl Cheesecake Bars are a fantastic option, baked conveniently in a loaf pan and easy to slice.
- And for a truly unique and surprisingly quick method, don’t miss my Air Fryer Cheesecake, offering a surprisingly simple way to enjoy a delicious baked cheesecake with minimal fuss.
No Bake Cheesecake Cups: The Full Recipe
2 delightful servings
30 minutes
1 hour
1 hour 30 minutes
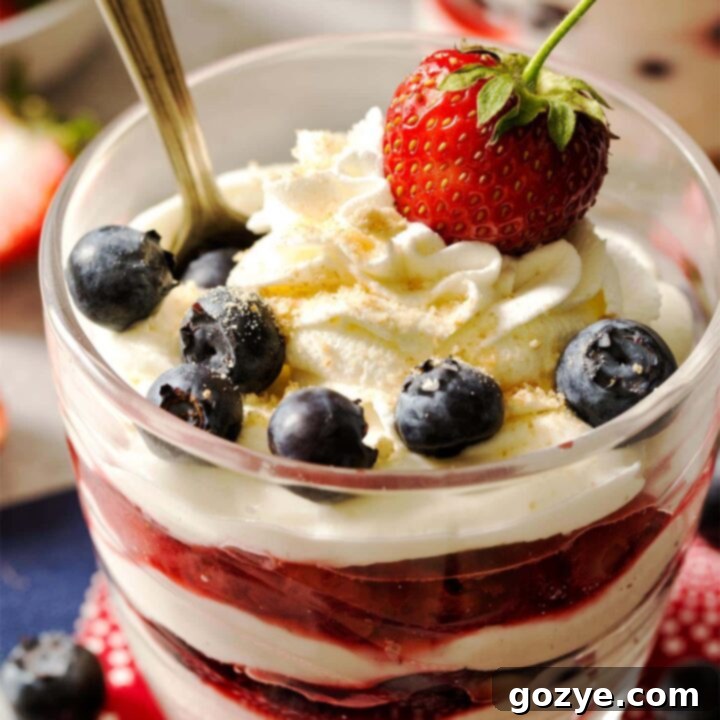
Indulge in these easy, creamy, and refreshing No Bake Cheesecake Cups! They’re a vibrant red, white, and blue cheesecake parfait, featuring fresh strawberries and blueberries. Perfect for a quick summer dessert, made without baking and without Cool Whip.
Ingredients You’ll Need
-
For the Graham Cracker Crust:
- 1/4 cup graham cracker crumbs (plus a little extra for optional garnish)
- 2 tablespoons unsalted butter, melted
- 1 teaspoon granulated sugar
- Pinch of table salt (omit if using salted butter)
-
For the Creamy Cheesecake Filling:
- 1/4 cup cold heavy whipping cream
- 3 tablespoons powdered sugar (confectioners’ sugar), divided
- 1/2 teaspoon vanilla extract, divided
- 4 ounces (1/2 block) full-fat cream cheese, softened to room temperature (absolutely do not substitute low-fat or fat-free)
-
For Layering and Garnish:
- Fresh blueberries, for vibrant blue layers and topping
- Homemade Strawberry Sauce (or freshly sliced strawberries) for the rich red layers
Step-by-Step Instructions
- Prepare the Crust: In a small bowl, thoroughly mix together the graham cracker crumbs, melted butter, granulated sugar, and salt until well combined. Divide the mixture evenly and firmly press it into the bottom of two individual serving glasses or ramekins. Place these in the refrigerator to chill while you prepare the creamy filling.
- Make the Whipped Cream: In a large, clean mixing bowl (preferably chilled), beat the very cold heavy cream on medium-high speed until it begins to thicken, which usually takes about 1 minute.
- Sweeten and Flavor Whipped Cream: Gradually add 1 tablespoon of powdered sugar and 1/4 teaspoon of vanilla extract to the thickening cream. Continue beating until stiff peaks form. Stiff peaks are achieved when you lift the beaters and the cream holds its shape without collapsing.
- Reserve Whipped Cream: Carefully transfer the majority of the whipped cream to a separate bowl. Reserve approximately 2 tablespoons of this whipped cream for garnishing your finished cheesecake cups. Keep both bowls of whipped cream chilled in the refrigerator.
- Prepare Cream Cheese Base: Using the same large mixing bowl (no need to wash it, just scrape down any residual cream from the sides), beat together the room-temperature full-fat cream cheese, the remaining 2 tablespoons of powdered sugar, and the remaining 1/4 teaspoon of vanilla extract. Beat until the mixture is completely smooth, creamy, and lump-free, typically 1-2 minutes. Make sure to scrape down the bowl frequently.
- Fold in Whipped Cream: Gently fold the prepared whipped cream (the larger portion, not the reserved garnish) into the smooth cream cheese mixture using a spatula. Continue folding until the whipped cream is fully incorporated and the cheesecake filling is light, airy, and consistent. Be careful not to overmix.
- Assemble the Cheesecake Cups: Retrieve your chilled crusts. Spoon a generous layer of the cheesecake filling over each crust. Then, artfully add a layer of fresh blueberries and a swirl of strawberry sauce. Continue alternating layers of cheesecake filling, blueberries, and strawberry sauce, finishing with a final layer of cheesecake filling.
- Chill and Serve: Garnish each cup with the reserved 2 tablespoons of whipped cream and additional fresh berries just before serving. Refrigerate the assembled cheesecake cups for at least 1 hour (preferably longer, up to 4 hours or overnight) to allow the flavors to develop fully and the filling to set beautifully. Keep them chilled until you are ready to serve.
Any leftover cheesecake cups should be stored in an airtight container in the refrigerator and will remain delicious for up to 5 days.
Helpful Tips & Variations
- For more individual no-bake cheesecake inspiration, explore my recipes for Mini No Bake Cheesecakes, convenient No Bake Cheesecake Bars, and a delightful No Bake Blueberry Cheesecake Pie.
- Beyond fresh berries and strawberry sauce, consider other delicious layering options such as homemade Strawberry Jam, Blueberry Jam, Blueberry Pie Filling, Strawberry Pie Filling, or even a rich Cherry Pie Filling for different flavor profiles.
- Make-Ahead Tip: These cups are fantastic for preparing in advance! Make them 1-2 days ahead for even deeper flavors. This also frees up time on the day of serving.
- Crust Variations: Instead of graham crackers, try using crushed vanilla wafers, chocolate cookies, or gingersnaps for a different flavor base.
- Cream Cheese Tip: Ensure your cream cheese is truly at room temperature. If it’s too cold, your filling will be lumpy. You can warm it gently in the microwave (out of foil) in 5-second bursts if needed, stirring well between each burst.
Did you make this delicious recipe?
I’d love to hear from you! Please rate the recipe above, leave a comment below sharing your experience, and/or share a photo of your beautiful creation on Instagram using the hashtag #HITKrecipes. Your feedback makes my day!
Originally published on June 23, 2016. Updated and enhanced for clarity, SEO, and new tips.
