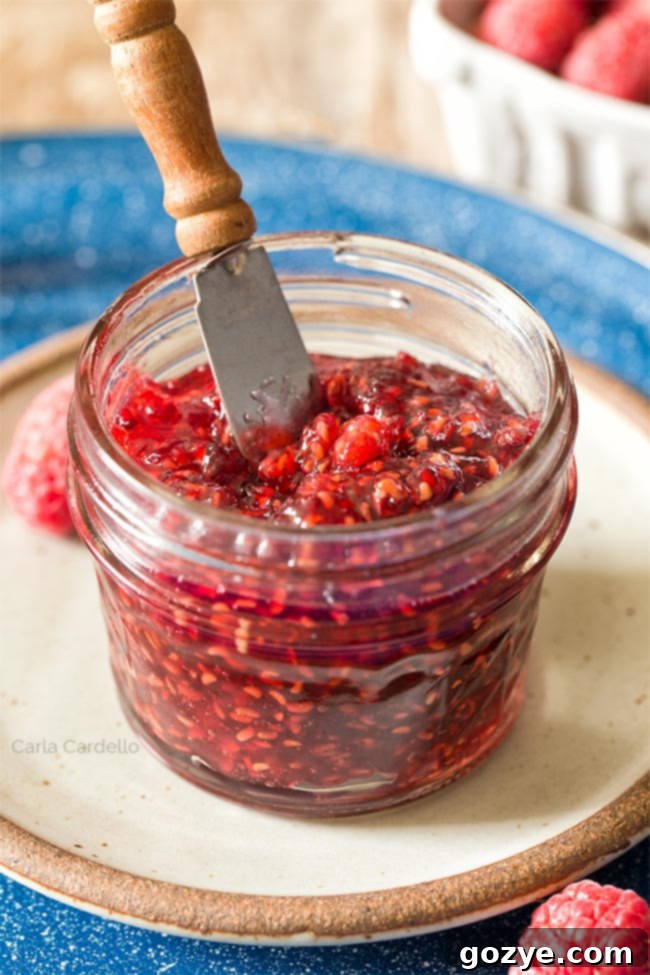
Homemade Raspberry Jam Without Pectin: An Easy Small Batch Recipe for Beginners
Welcome to the wonderful world of homemade jam! If you’ve ever dreamt of preserving the vibrant taste of fresh summer berries but felt intimidated by complicated canning processes or the need for extra ingredients like pectin, this recipe is for you. Our easy 3-ingredient Raspberry Jam without pectin is tailor-made for beginners, yielding a single delightful 6-ounce jar. It’s the perfect introduction to jam-making, simple enough for a quick morning project, yet rewarding enough to transform your breakfasts, desserts, and culinary creations.
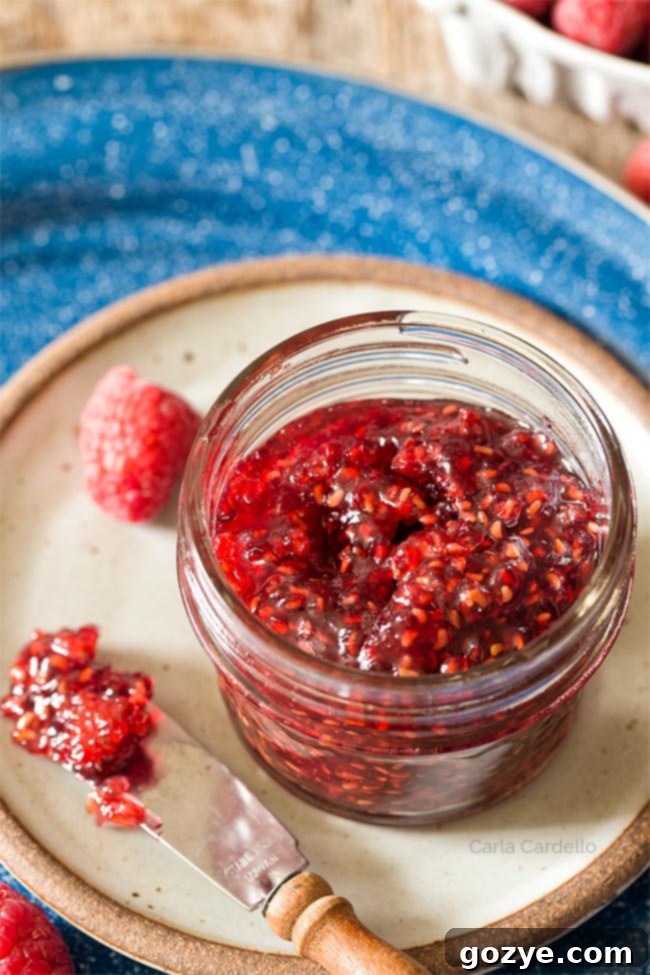
As summer peeks its head around the corner, so does the much-anticipated fresh berry season. Imagine strolling through bustling farmer’s markets, basket in hand, eyeing pint after pint of plump, juicy raspberries, just begging to be taken home. If you’re fortunate, you might even visit a local farm that allows you to pick your own, a truly immersive experience that connects you with your food. While I often find myself in strawberry fields, the joy of freshly picked raspberries, whether by my hand or a diligent farmer’s, is unparalleled. It’s the best of both worlds: peak freshness with minimal effort on your part!
Eating these ruby gems by the handful is a pure delight, but what if you could capture that fleeting taste of summer and enjoy it for weeks to come? Or perhaps you have a punnet of raspberries nearing their peak, needing a purpose beyond immediate consumption? Maybe a tantalizing dessert recipe caught your eye, calling for a dollop of exquisite raspberry jam. Or, like me, you might prefer the rich flavor of raspberries transformed into a luscious sauce or jam rather than eaten plain in a bowl. Whatever your reason, this easy Raspberry Jam recipe is your answer.
Why This Small Batch Jam Recipe is Perfect for Beginners
If the thought of making homemade jam for the first time makes you a little nervous, take a deep breath and relax! This recipe is designed with you in mind. Unlike traditional large-batch canning projects that can seem overwhelming, this small-batch approach minimizes stress and maximizes enjoyment. Much like my popular blueberry jam without pectin, sour cherry jam, and peach jam without pectin, this Raspberry Jam recipe yields only one small jar (approximately 6 ounces). This means:
- No Canning Stress: You won’t need to sterilize 20 jars or master complex water bath canning techniques, unless you choose to double or triple the recipe later.
- Quick Enjoyment: The small quantity means you’ll likely devour your homemade jam in no time, making canning less of a necessity.
- Minimal Waste: If, by some slim chance, you make a mistake (which you absolutely won’t!), you haven’t wasted an entire bounty of precious berries. It’s a low-risk, high-reward endeavor.
- Fast & Easy: With just 3 ingredients and roughly 10 minutes of cooking time, you’re just moments away from pure berry bliss.
For years, my blog featured a Raspberry Jalapeno Jam recipe, which is fantastic for savory dishes. However, it’s not ideal for delicate desserts like my Lemon Raspberry Cake. That’s why I felt it was essential to share this incredibly simple, pectin-free Raspberry Jam recipe. It’s a versatile, sweet spread that’s perfect for everything from spreading on toast for breakfast to creating luxurious fillings for cakes, swirling into Strawberry Swirl Cheesecake, adding a vibrant touch to your Charcuterie Board For Two, or even blending into a delicious Raspberry Cream Cheese Frosting. The possibilities are endless!
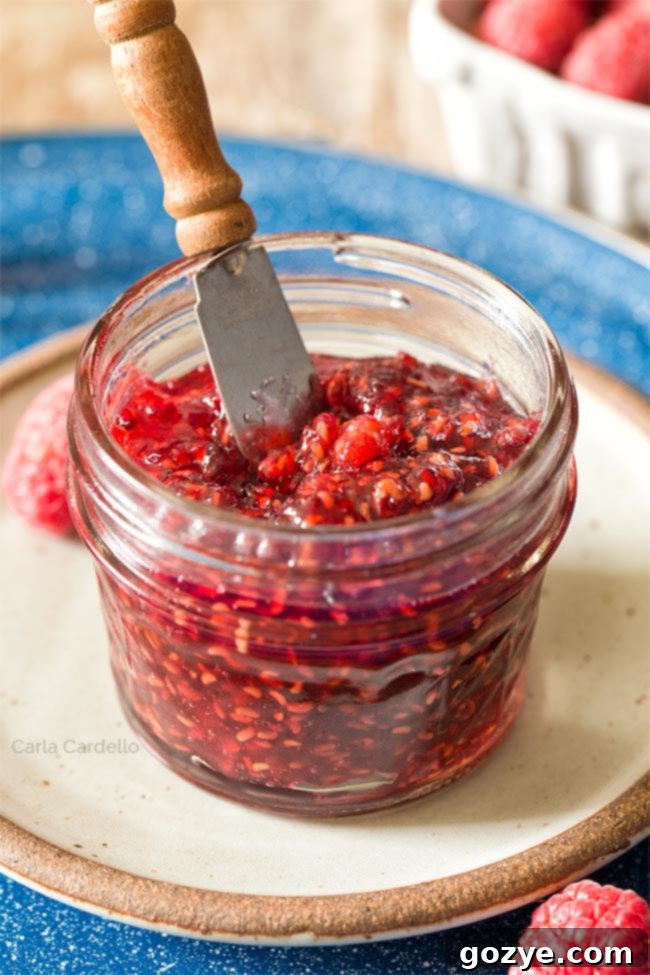
The Magic of 3 Ingredients For Your Raspberry Jam
To craft the most delicious raspberry jam without any added pectin, you truly only need three humble ingredients. Each plays a crucial role in transforming fresh berries into a spreadable, flavorful delight:
- Raspberries: The star of our show, fresh raspberries are non-negotiable! What makes raspberries particularly jam-friendly is their natural pectin content. While some fruits require extra pectin to gel, raspberries possess just enough of this natural thickener within their cell walls to set beautifully on their own when combined with sugar and acid. This natural gift is precisely why we can skip the store-bought pectin.
- Granulated Sugar: More than just a sweetener, sugar is a powerhouse in jam making. It not only balances the tartness of the raspberries, enhancing their natural flavor, but also acts as a vital preservative. When the berries cook, they release their inherent water. Sugar bonds with this water, reducing its “free” form and preventing the growth of microorganisms. This is crucial for both the jam’s texture and its shelf life, whether you’re canning or simply refrigerating. It contributes to the beautiful glossy finish and the perfect consistency of the jam.
- Lemon Juice: Don’t skip this seemingly small but mighty ingredient! Lemon juice performs a dual function in our pectin-free jam. Firstly, its acidity brilliantly balances the sweetness of the sugar and the fruit, adding a bright, fresh note that prevents the jam from being cloyingly sweet. Secondly, and perhaps most importantly for setting, the acidity from the lemon juice helps activate the natural pectin already present in the raspberries, aiding significantly in the gelling process. Without it, your jam might be too runny, struggling to achieve that perfect spreadable consistency.
Can You Make Raspberry Jam Without Pectin? Absolutely!
This is a question many first-time jam makers ask, and the answer is a resounding “Yes!” Pectin is a natural carbohydrate found in the cell walls of fruits, and when heated with sugar and acid, it forms a gel. While commercial pectin, available in the canning section of grocery stores, is often used to ensure a firm set, many fruits, including raspberries, contain enough natural pectin to thicken on their own.
Raspberries are considered a moderate-to-high pectin fruit. When they break down during cooking, their natural pectin is released. The combination of heat, sugar (which helps extract pectin and binds water), and the acidity of lemon juice (which activates the pectin) is usually all you need to achieve a beautiful, thick jam. So, rest assured, you can achieve a wonderfully set raspberry jam without needing any additional pectin, making this recipe even simpler and more natural.
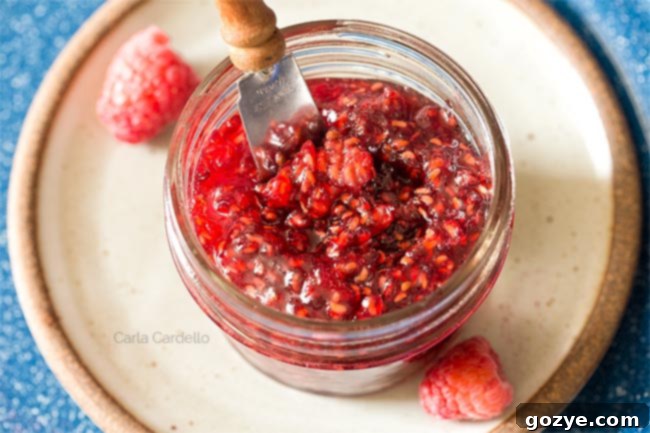
How To Make Homemade Raspberry Jam: A Simple Step-by-Step Guide
Making your own raspberry jam is an incredibly rewarding process, and with this recipe, it’s surprisingly straightforward. Follow these steps to create your delicious homemade spread:
- Prepare for Testing: Before you even start cooking, place a small, clean plate in your freezer. This chilled plate is absolutely essential for testing your jam’s doneness later, as it will rapidly cool a small amount of jam, allowing you to accurately gauge its final consistency.
- Combine Ingredients: In a large 12-inch skillet (a wide pan is best as it allows for quicker evaporation and faster cooking), combine your fresh raspberries, granulated sugar, and lemon juice. Ensure your skillet is large enough to comfortably stir the mixture without it overflowing once it starts to boil.
- Bring to a Boil: Place the skillet over medium-high heat. Bring the mixture to a rolling boil, stirring frequently to prevent sticking and ensure the sugar dissolves evenly. A “rolling boil” means the bubbles continue to form even when you stir.
- Simmer and Thicken: Once a vigorous rolling boil is achieved, continue to cook the jam, stirring often, for about 8-10 minutes. During this time, the raspberries will naturally break down, releasing their juices and thickening into a glorious jam. If you notice any larger chunks of fruit, you can gently break them up with the back of your spoon or a potato masher, if you prefer a smoother jam. The goal is to reduce the liquid until it starts to coat the back of your spoon.
How To Know When Your Raspberry Jam Is Done: The Frozen Plate Technique
Determining when your jam has reached the perfect consistency is often the trickiest part for beginners, as jam continues to thicken as it cools. If you wait until it looks perfectly thick in the hot pan, it will likely be overcooked and too firm once cooled. This is where our frozen plate technique becomes your best friend!
Here’s how to use this invaluable method:
- Retrieve the Frozen Plate: Once your jam has cooked for the recommended 8-10 minutes and appears to have thickened, carefully remove the small plate you placed in the freezer earlier.
- Test a Small Amount: Spoon a very small amount (about a teaspoon) of the hot jam onto the cold plate.
- Wait and Observe: Let the jam sit on the plate for about 30 seconds to allow it to cool rapidly.
- Perform the Tilt Test: Now, tilt the plate vertically.
- Too Runny: If the jam slides down the plate quickly and fluidly, it needs more cooking time. Return the skillet to the heat and cook for another 1-2 minutes, then repeat the test with a fresh spot on the cold plate.
- Perfectly Set: If the jam moves slowly, wrinkles slightly when pushed with your finger, or doesn’t move much at all, it’s done! It will continue to firm up as it cools completely in the jar.
- Overcooked: If the jam doesn’t move at all and feels very stiff or gummy, you may have slightly overcooked it. While still edible, it might not have the ideal spreadable texture.
It’s always better to test frequently in short increments (1-2 minutes) rather than risk overcooking. Jam can go from perfectly set to overdone in a very short amount of time, so pay close attention during the final minutes of cooking.
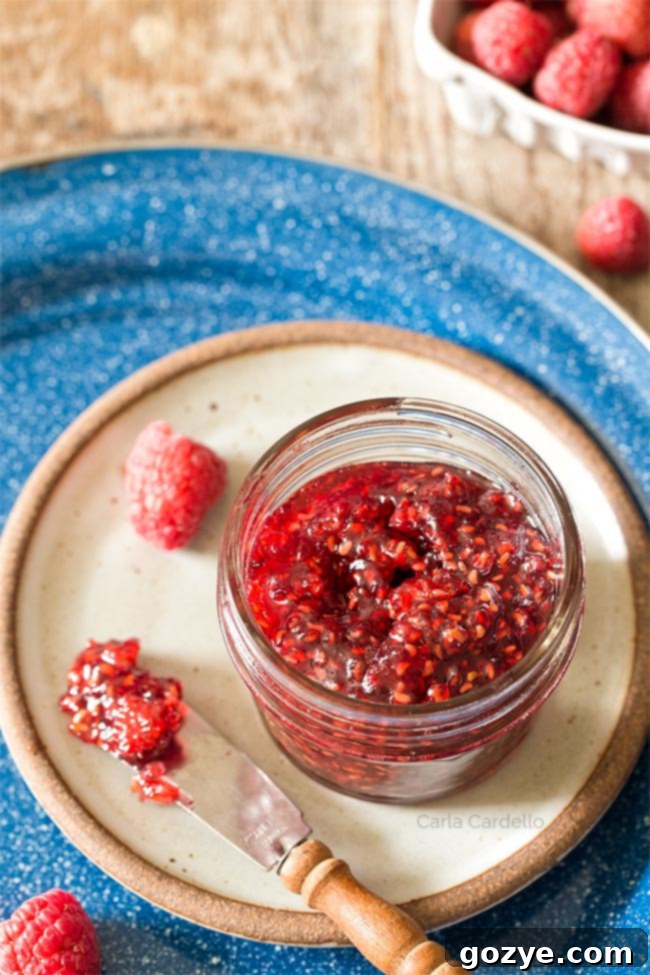
Small Batch, Big Flavor: How Much Does This Raspberry Jam Recipe Make?
True to the philosophy of my blog, this is genuinely a small batch raspberry jam recipe. When I describe something as “small batch,” I mean it literally. I’ve often seen recipes labeled “small batch” that still yield several jars, which can be misleading for someone looking for a truly manageable quantity. My promise to you is that this particular raspberry jam recipe makes exactly ONE mini jar, approximately 6 ounces. This is the ideal amount for:
- First-time jam makers who want to test the waters without commitment.
- Those who want to enjoy fresh homemade jam without having too much on hand.
- A delightful, thoughtful gift for a friend or neighbor.
- Ensuring you have the freshest jam possible, consumed within a few weeks.
It’s 6 ounces of concentrated summer berry flavor, ready to brighten your day!
Canning Your Raspberry Jam (Optional)
Given that this recipe yields a single small batch of raspberry jam, traditional canning methods are usually not necessary, as you’ll likely finish the jar long before it spoils. However, if you decide to double or triple the recipe because you’ve been blessed with an abundant harvest of freshly picked raspberries, or if you simply prefer the extended shelf life and pantry storage that canning offers, it’s a fantastic option.
To learn the ropes of safe and successful home canning, I highly recommend consulting my comprehensive Strawberry Jam Without Pectin post. It’s packed with detailed tips, tricks, and step-by-step guidance on water bath canning that apply perfectly to this raspberry jam as well.
How Long Does Raspberry Jam Last? Storage Tips
Proper storage ensures you get the most out of your delicious homemade raspberry jam:
- Refrigerated Jam (Uncanned): If you are not canning your jam, it will last approximately 2-4 weeks when stored in an airtight container in the refrigerator. Always use your best judgment. If the jam develops an off smell, color, or any visible mold after two weeks, it’s best to discard it to be safe.
- Canned Jam: Properly water bath canned jam can last for up to 1 year in a cool, dark pantry. Once a canned jar is opened, it must be refrigerated and consumed within 2-4 weeks.
- Freezing Jam: For an even longer storage solution without canning, you can freeze your homemade jam! Transfer the cooled jam to freezer-safe containers, leaving about ½ inch headspace for expansion. It can be stored in the freezer for up to 6 months. Thaw in the refrigerator before using.
What To Do With Raspberry Jam: Beyond the Toast
While slathering homemade raspberry jam on a slice of warm toast with a dollop of butter is a classic and undeniably delightful experience, your homemade jam is incredibly versatile! Don’t limit its potential; here are some creative and delicious ways to enjoy your sweet creation:
- Baking & Desserts:
- Bars & Squares: Use it as a luscious filling for delectable Raspberry Crumb Bars or rich Raspberry Cheesecake Bars. The tartness of the raspberries beautifully cuts through the richness.
- Cheesecake Swirl: Swirl ribbons of jam into a Loaf Pan Cheesecake or a full-sized Strawberry Swirl Cheesecake for a burst of berry flavor and stunning visual appeal.
- Cake & Pastry Fillings: Elevate your baked goods by filling your Small Vanilla Cake layers, turning simple cupcakes into gourmet treats, or stuffing flaky Puff Pastry Danish for a delightful breakfast or dessert.
- Thumbprint Cookies: Use it as the sweet center for classic thumbprint cookies.
- Ice Cream Topping: Warm it slightly and spoon it over vanilla ice cream, yogurt, or pancakes and waffles for an instant upgrade.
- Savory Pairings:
- Cheese Boards: Raspberry jam is a fantastic accompaniment to a Charcuterie Board. Its sweet and tart profile pairs wonderfully with soft cheeses like brie or goat cheese, and even aged cheddars.
- Appetizers: Top creamy Cranberry Baked Brie with a spoonful of raspberry jam for a sweet-savory sensation.
- Meat Glaze: For a surprisingly delicious dinner, use it to glaze savory dishes! Try serving it alongside Sweet and Spicy Meatballs by Le Creme de la Crumb, or as a glaze for pork or chicken.
- Beverages:
- Stir a spoonful into hot tea or sparkling water for a refreshing and naturally flavored drink.
- Mix into cocktails or mocktails for a fruity twist.
With its vibrant color and irresistible flavor, your homemade raspberry jam is sure to be a star in your kitchen!
Raspberry Jam (Without Pectin)
6 ounces
10 minutes
10 minutes
20 minutes
This easy 3-ingredient Raspberry Jam without pectin is perfect for beginners because it only makes one 6-ounce jar. It’s a quick, low-stress recipe to capture the taste of fresh summer berries, ideal for breakfast, desserts, and beyond!
Ingredients
- 2 cups fresh raspberries
- 3/4 cup granulated sugar
- 1 tablespoon lemon juice
Instructions
- Place a small, clean dish in the freezer to use later for testing the jam’s consistency.
- In a large 12-inch skillet, combine the fresh raspberries, granulated sugar, and lemon juice. Bring the mixture to a rolling boil over medium-high heat, stirring often to ensure the sugar dissolves and prevents sticking. Once boiling vigorously, continue to cook until the jam visibly thickens, which typically takes about 8-10 minutes. Gently mash any larger raspberry chunks with the back of your spoon if you prefer a smoother jam.
- To test for doneness, retrieve your chilled plate from the freezer. Spoon a small amount (about a teaspoon) of the hot jam onto the cold plate and let it sit for 30 seconds to cool quickly. Then, tilt the plate. If the jam slides too fast, it needs more cooking time; continue to cook in 1-2 minute increments, testing again. If it moves slowly, wrinkles slightly when pushed, or sets firmly, it is done.
- Carefully transfer the hot jam to a clean, heat-proof container, such as a glass jar. Allow it to cool completely to room temperature. If you are not canning the jam, cover it tightly and store it in the refrigerator, where it will last for about 2-4 weeks. Once opened, always store in the refrigerator.
Notes
- Spice It Up: Looking for a unique twist? Explore my Raspberry Jalapeno Jam for a sweet and spicy kick perfect for savory applications.
- Serving Suggestions: Use your versatile raspberry jam to fill Raspberry Crumb Bars, as a delicious layer in Lemon Raspberry Cake, or swirl it into a creamy Strawberry Swirl Cheesecake.
- More Jam Ideas: Craving more homemade preserves? Discover other fantastic small-batch, pectin-free recipes like strawberry jam, blueberry jam, peach jam, and sour cherry jam.
Recommended Products
As an Amazon Associate and member of other affiliate programs, I earn from qualifying purchases.
- Mason Jar
Did you make this recipe?
Let me know what you think! Rate the recipe above, leave a comment below, and/or share a photo on Instagram using #HITKrecipes
