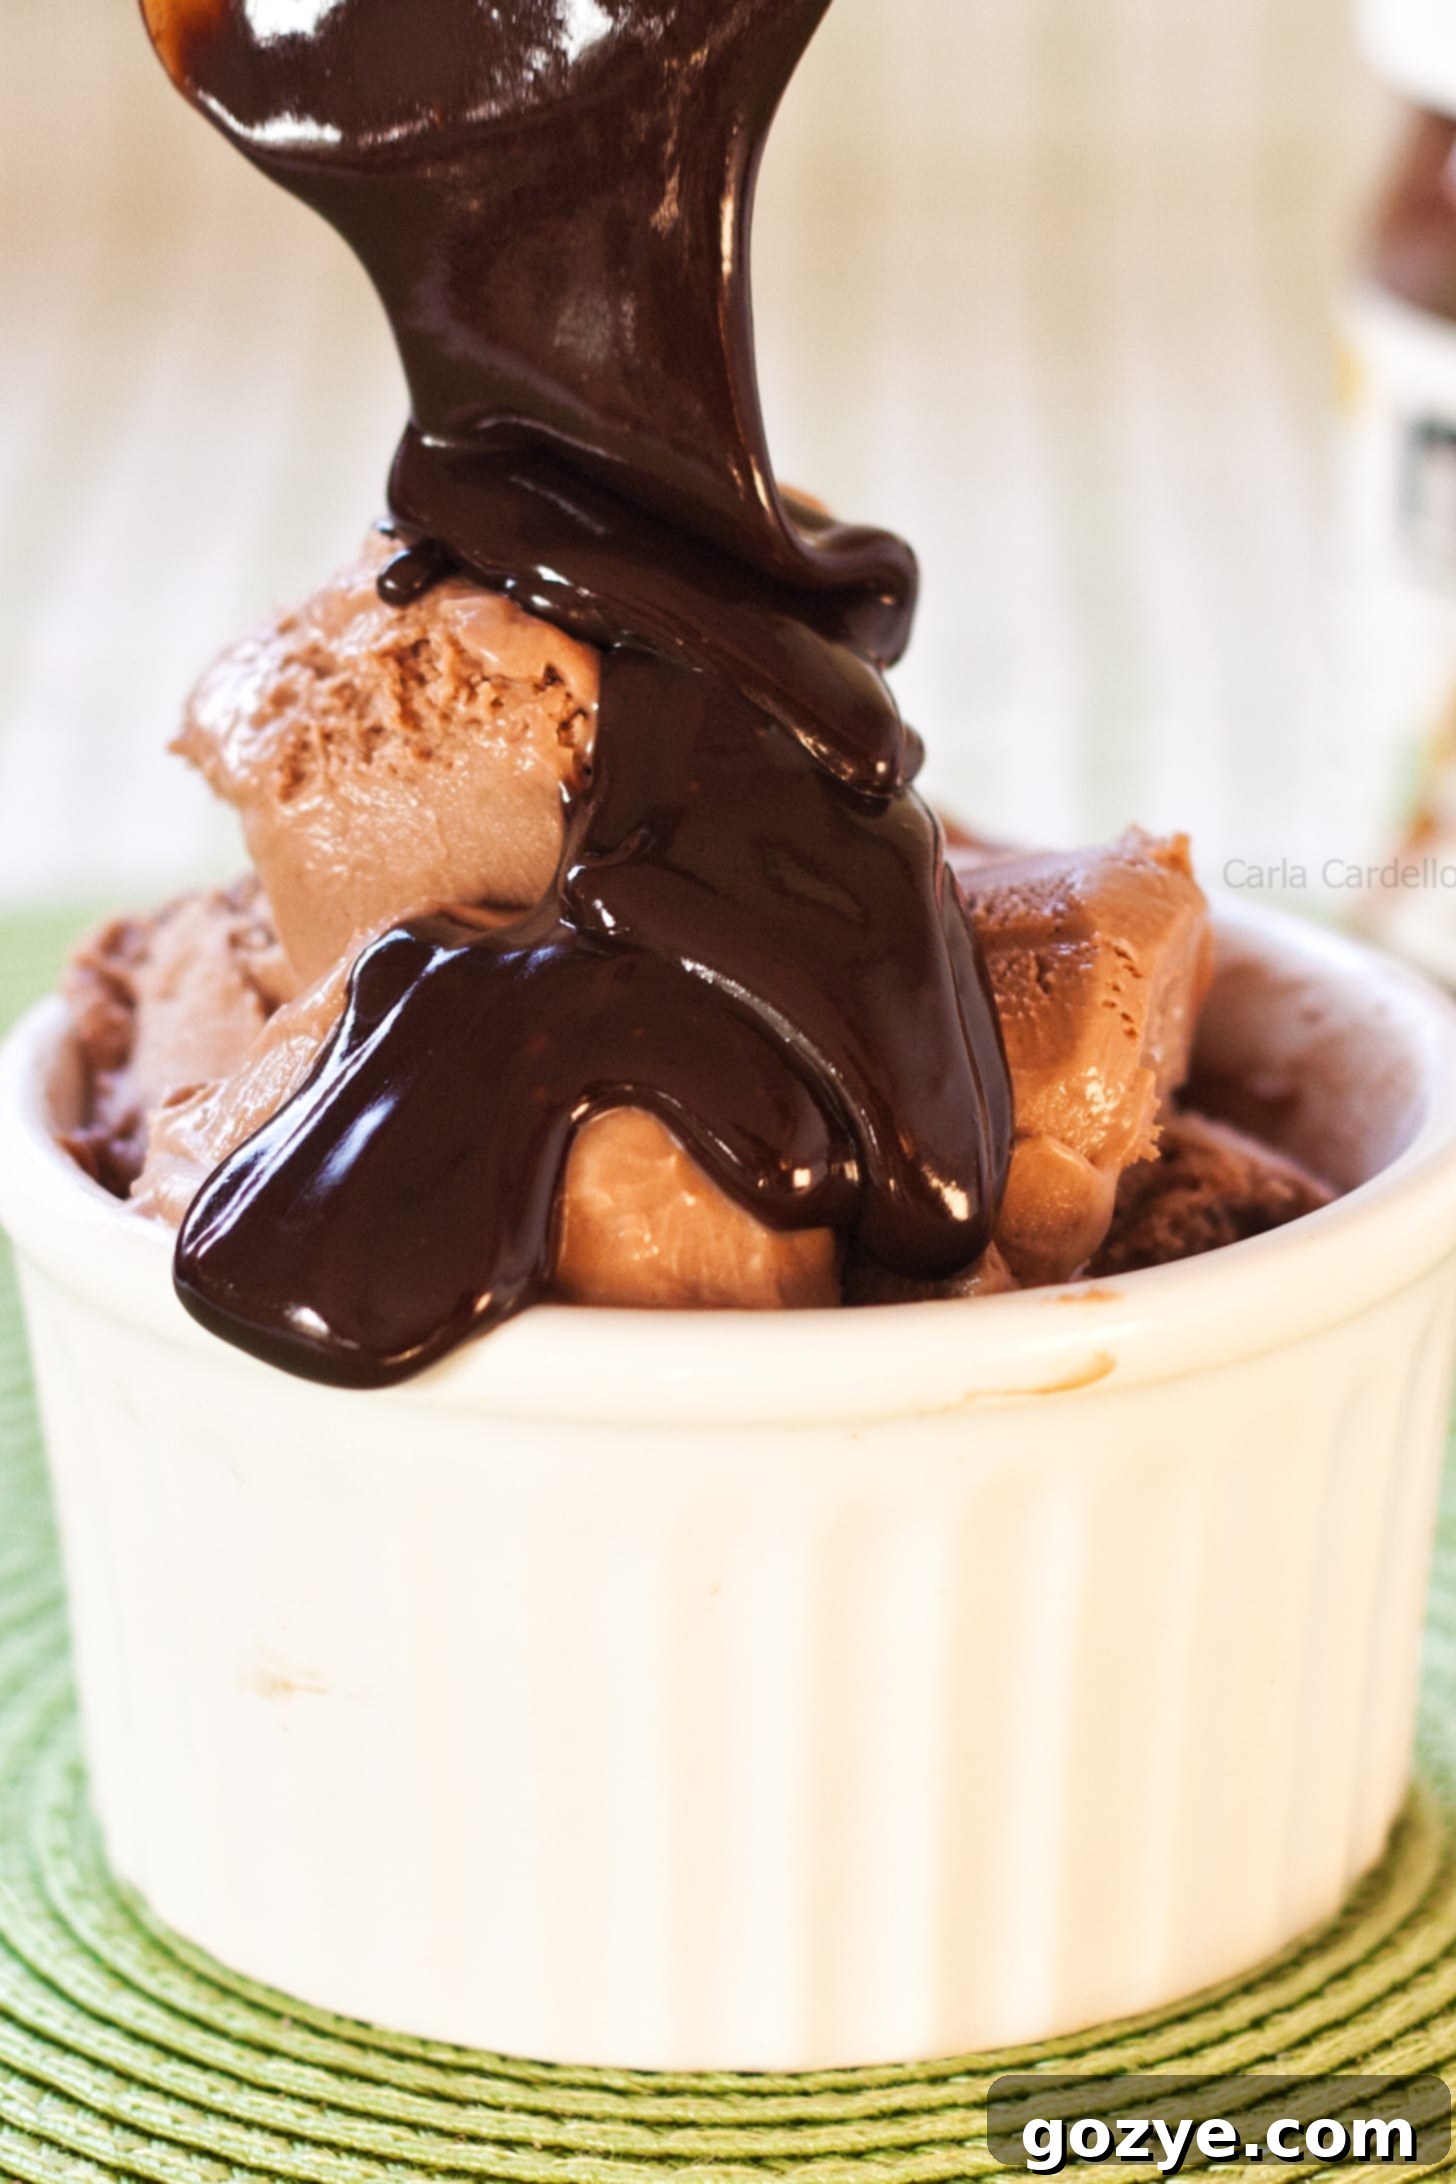
Easy No-Cook Nutella Ice Cream: The Ultimate 5-Ingredient Eggless Recipe for Creamy Bliss
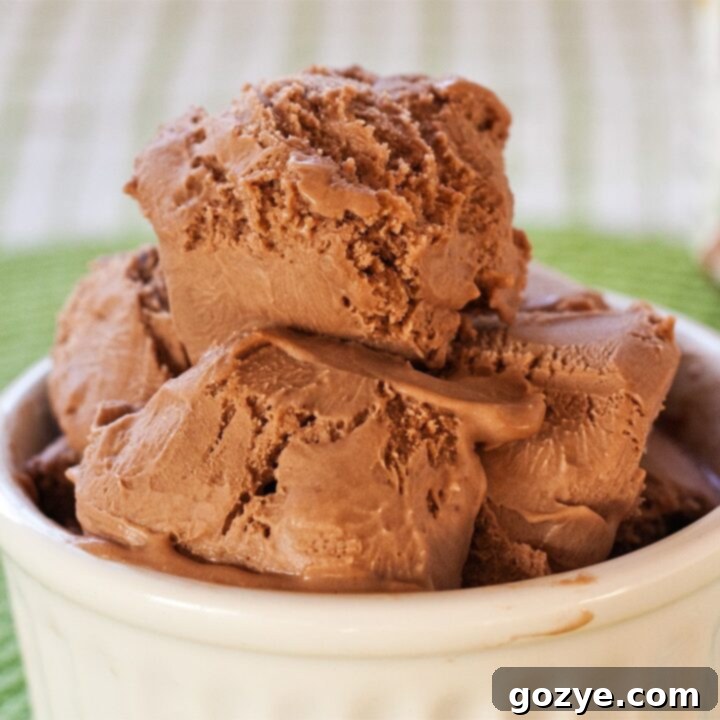
Indulge your sweet tooth with this rich, chocolaty, and incredibly easy Nutella Ice Cream. Made with just 5 simple ingredients and requiring no cooking, this homemade treat comes together effortlessly in a blender. It’s the perfect eggless solution for satisfying your ice cream cravings, especially on those warm days when turning on the stove is simply out of the question.
If I had to pick one dessert to enjoy for the rest of my life, without a doubt, it would be ice cream. My love for this frozen delight runs deep – so deep, in fact, that it influences my travel plans! Every time I visit a new city, I make it a mission to explore local ice cream shops, often hitting one or even two spots daily. Forget national chains; I’m always on the hunt for unique, homemade flavors that tell a story.
My passion isn’t just for eating; it extends to creating. Over the years, I’ve developed a collection of small-batch ice cream recipes, each designed to yield about a pint. This “small batch” approach is perfect for enjoying fresh, homemade ice cream without the commitment of an entire quart. After all, a little indulgence goes a long way!
Following the success of my beloved Peanut Butter Ice Cream, I knew I had to share another equally delightful and effortless variation: this incredible Nutella Ice Cream. What makes this recipe truly special is its simplicity: it’s an eggless, no-cook concoction. All you need to do is combine the ingredients in a blender, give it a quick whirl, and then freeze. It couldn’t be easier!
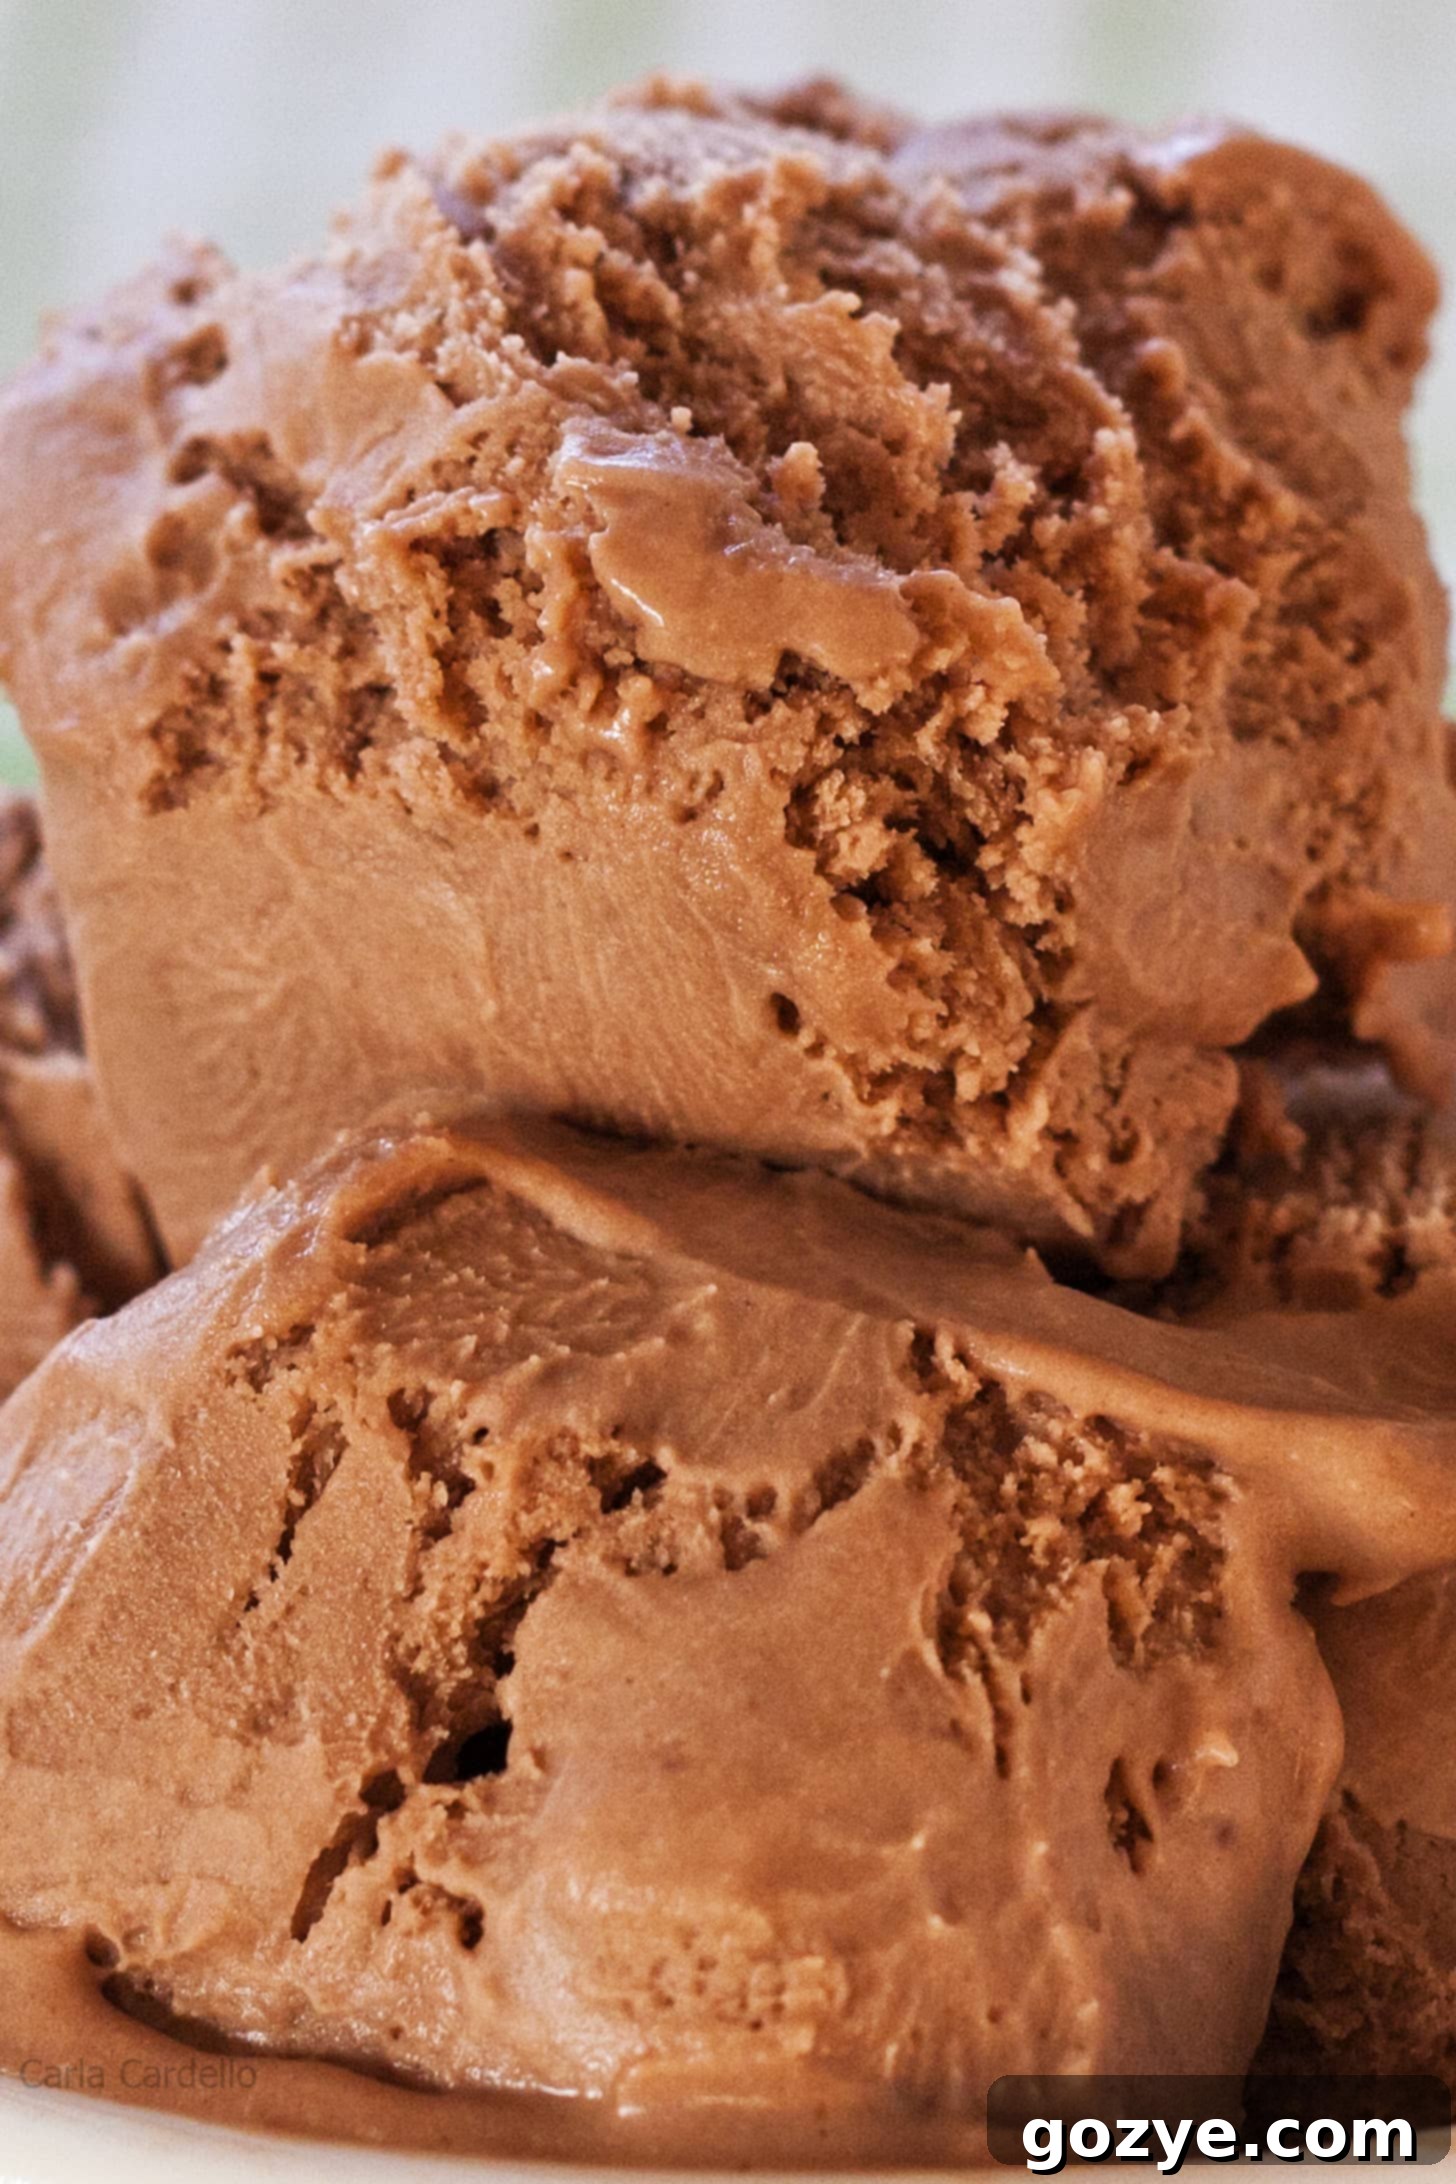
Traditional homemade ice cream often calls for eggs to achieve that luxurious, creamy texture. However, Nutella, with its rich fat content and velvety consistency, brilliantly steps in to provide the same decadent mouthfeel without any need for tempering eggs or cooking a custard. This means you get a wonderfully smooth and rich ice cream with minimal effort and no stovetop required – a huge bonus, especially when the weather is warm!
This 5-ingredient Nutella ice cream recipe is destined to become your go-to summer treat, offering a perfect blend of convenience, flavor, and pure frozen joy. Get ready to churn up some magic!
What is Nutella and Why is it Perfect for Ice Cream?
Nutella is a globally recognized chocolate hazelnut spread, renowned for its smooth, creamy texture and irresistible flavor. Imagine the richness of chocolate combined with the nutty warmth of roasted hazelnuts, all blended into a spreadable consistency much like peanut butter. My first encounter with Nutella was during a study abroad trip in Ireland, and it was a revelation! I was amazed to later discover its widespread popularity in the US, too.
Originating in Italy, Nutella has grown from a humble post-WWII innovation to a household staple worldwide. Its unique flavor profile is a delicate balance of sweet chocolate and earthy hazelnut, making it incredibly versatile. From spreading it on toast to incorporating it into baked goods, Nutella adds a touch of gourmet decadence to almost anything. For ice cream, Nutella is a dream ingredient. Its high fat content contributes significantly to the ice cream’s creamy texture, eliminating the need for eggs. Moreover, its intense flavor means a little goes a long way in delivering that signature chocolate-hazelnut taste without requiring a multitude of other flavorings. It truly transforms a simple cream base into a sophisticated dessert.
Choosing the Right Ice Cream Maker (or Going Without!)
While this recipe focuses on ease, using an ice cream maker is definitely the most convenient way to achieve a perfectly smooth, crystal-free texture. I personally use this 1.5-quart ice cream maker. While smaller models exist, I appreciate the flexibility of a slightly larger capacity, allowing me to scale recipes up or down as needed. You never know when you might want to whip up a bigger batch for a party or a special ice cream cake!
Most standard ice cream makers, including mine, operate by freezing a special canister ahead of time. It’s crucial to plan, as this canister needs at least 18-24 hours in the freezer to get sufficiently cold. If you churn your mixture in a room-temperature canister, it simply won’t freeze properly. My tip? Store your canister in the freezer indefinitely so it’s always ready for an impromptu ice cream craving!
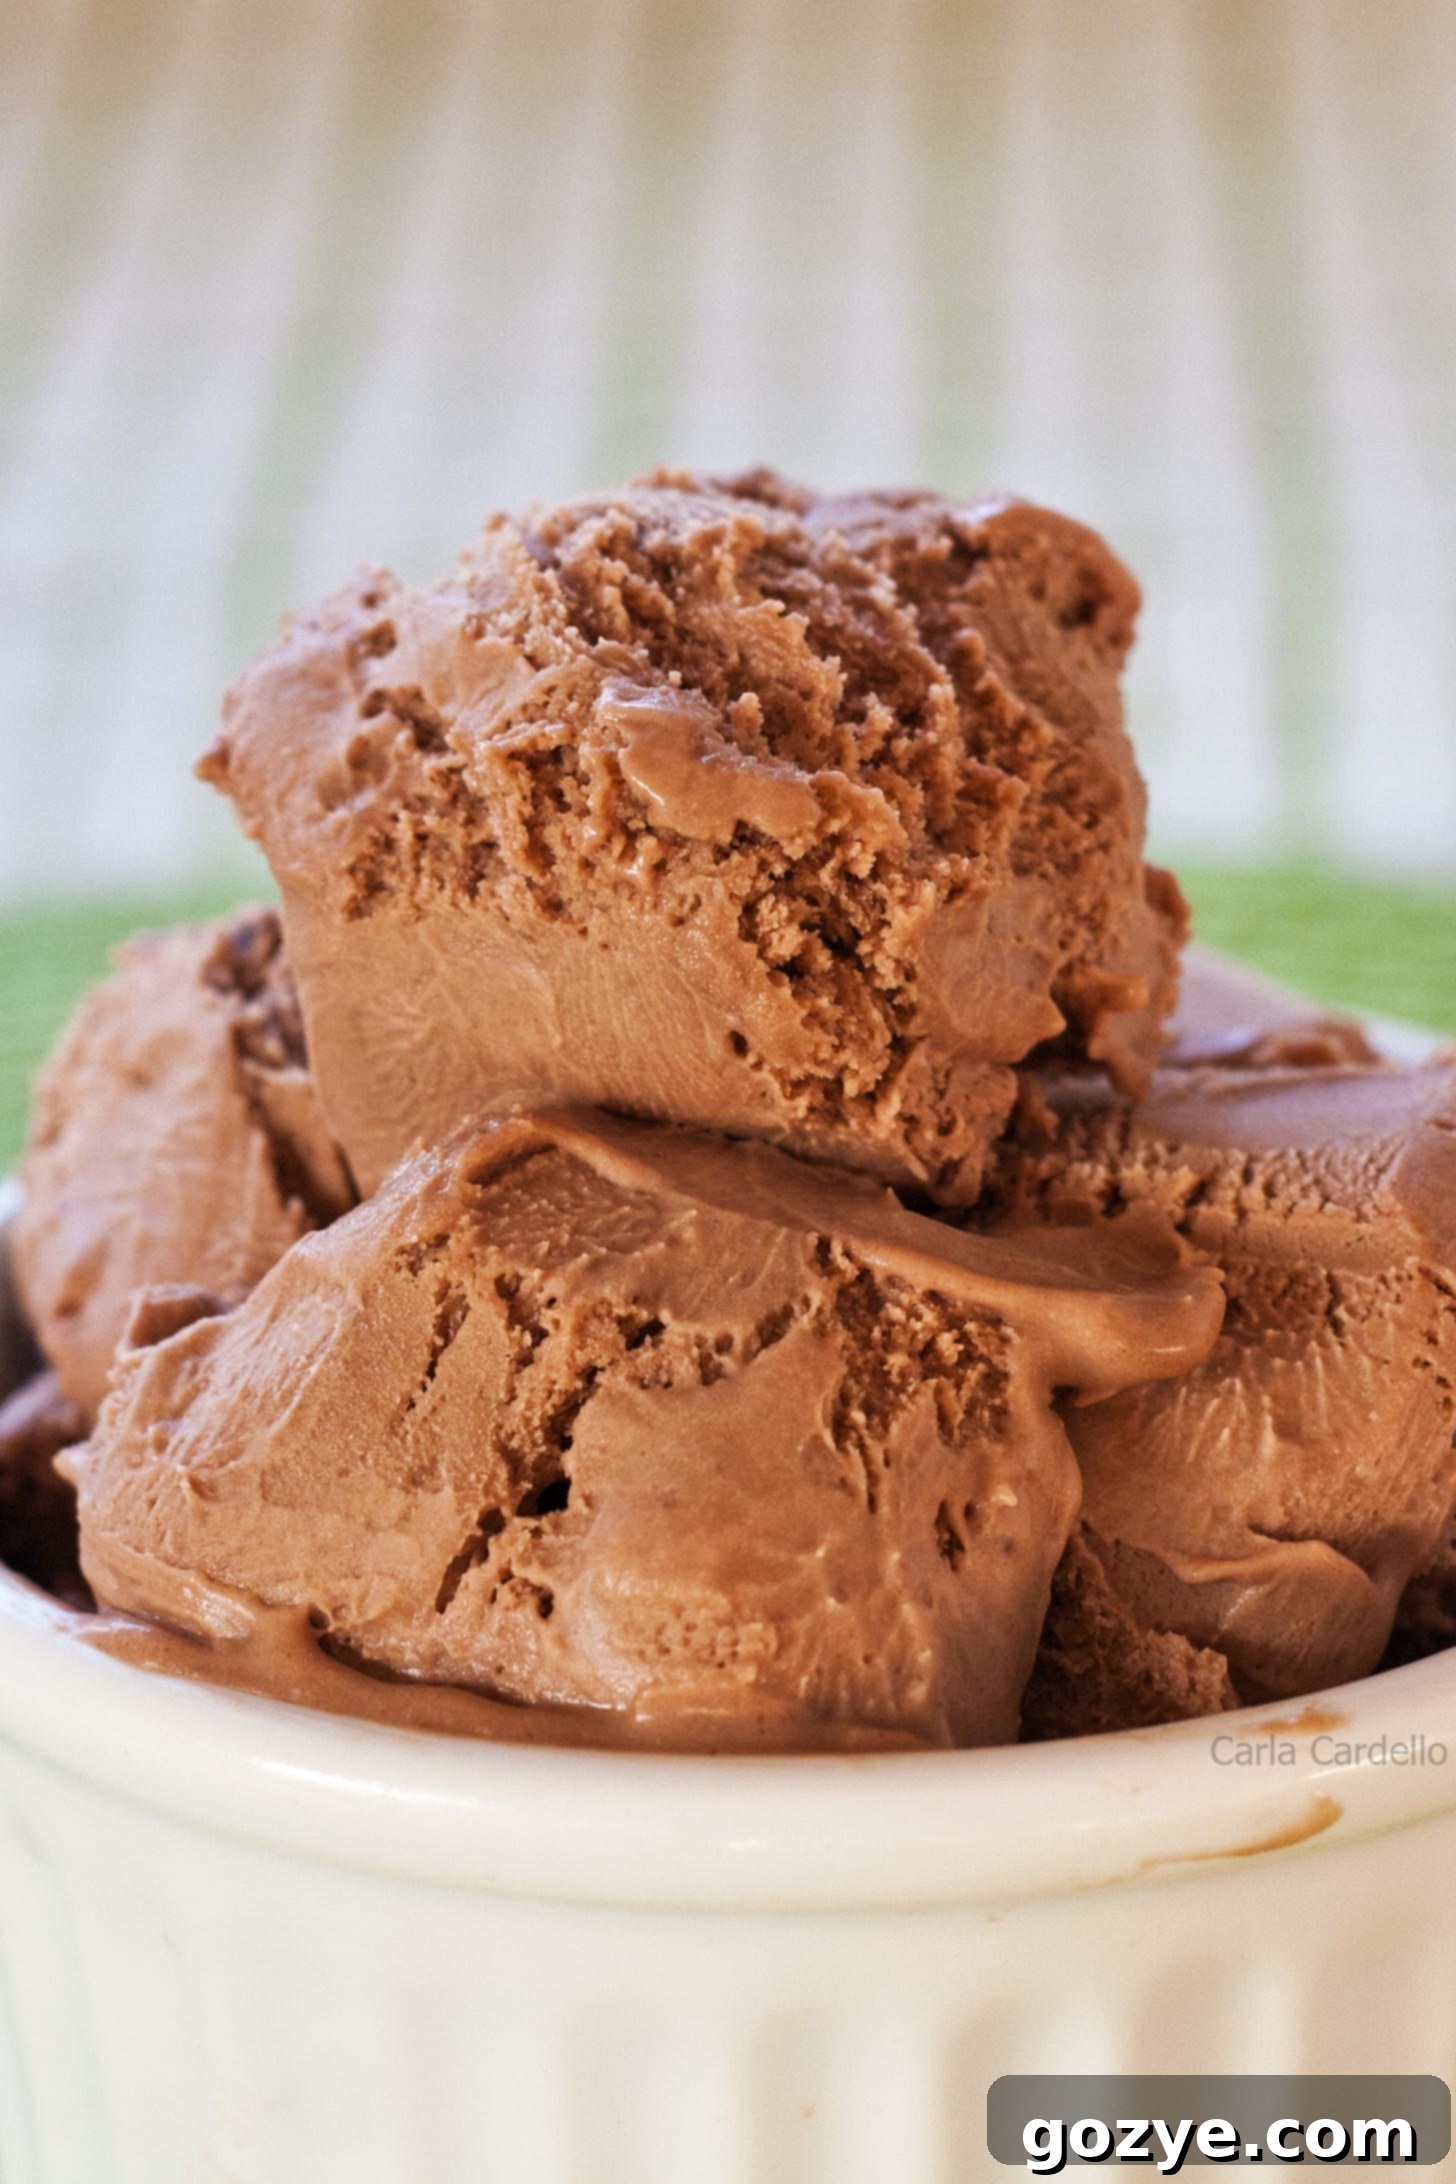
While machines often state a 20-minute churning time, I find that pint-sized recipes like this Nutella ice cream typically reach the soft-serve stage in about 15 minutes due to the smaller volume. At this point, you can enjoy it immediately as a soft-serve treat, or transfer it to a freezer-safe container to firm up for a scoopable consistency, which usually takes around 4 hours.
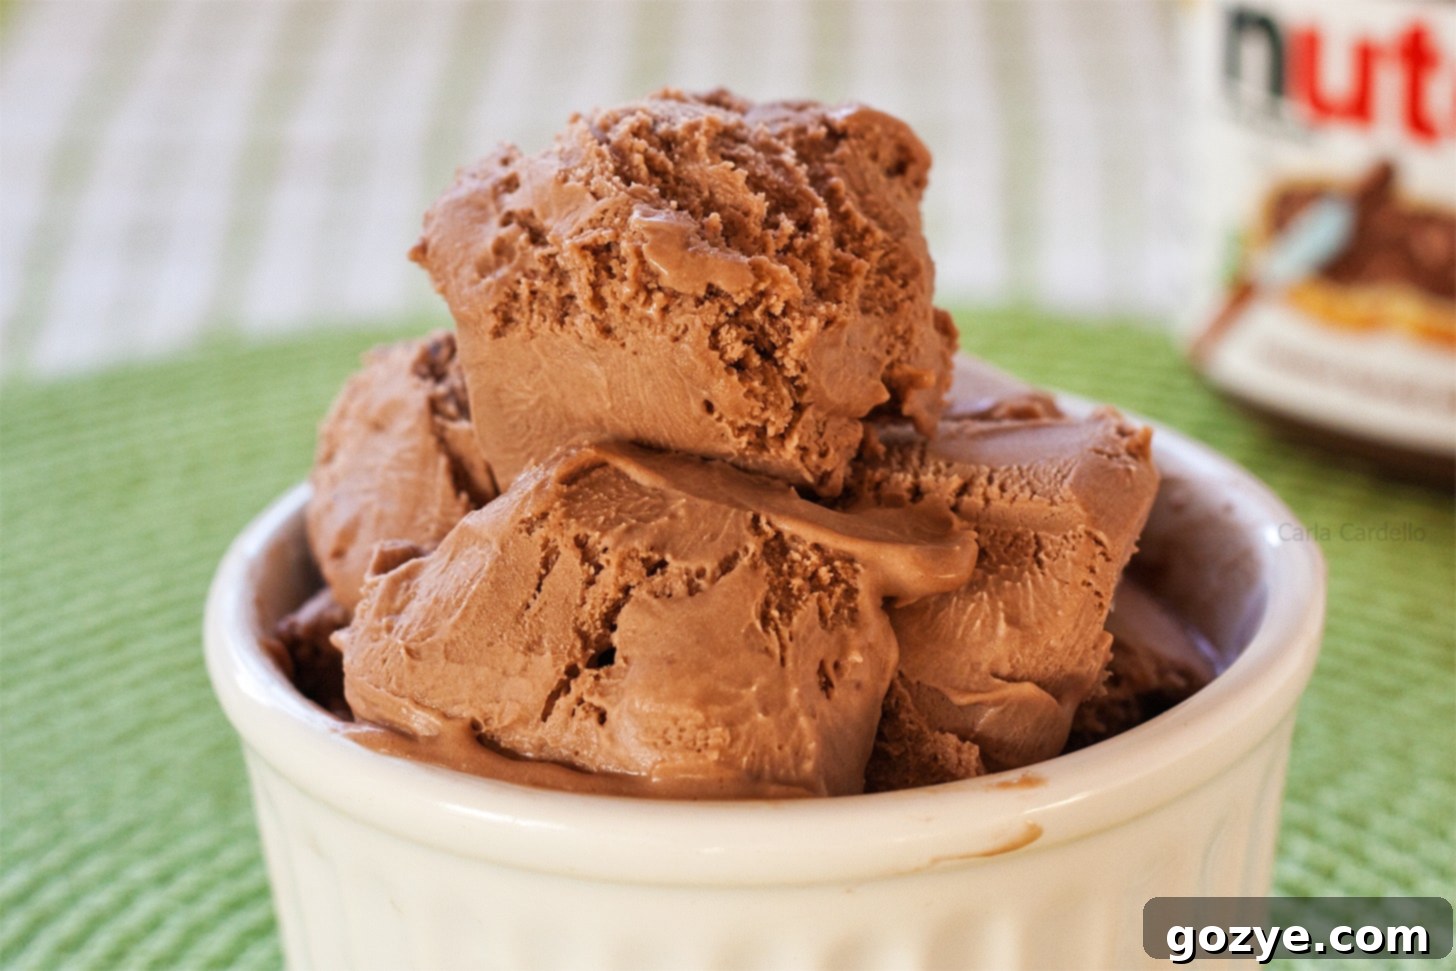
Essential Ingredients for Your Dreamy Nutella Ice Cream
Crafting this homemade Nutella ice cream requires a handful of key ingredients, each playing a vital role in achieving its rich flavor and smooth texture:
- Nutella: This is, of course, the star! While other chocolate hazelnut spreads can be used, authentic Nutella offers that distinct, unparalleled flavor. For the truly adventurous, you can even try making homemade Nutella from scratch! The fat and sugar content of Nutella is crucial here, contributing to both the flavor and the creamy mouthfeel, allowing us to skip the eggs.
- Granulated Sugar: Even though Nutella is sweet, additional sugar is necessary. Beyond adding sweetness, sugar acts as an antifreeze, significantly lowering the freezing point of the mixture. Without it, your ice cream would turn into an unpleasantly hard ice block, impossible to scoop.
- Heavy Whipping Cream: The foundation of any great ice cream! Heavy cream boasts a high milk fat content (typically 36% or more), which is absolutely essential for creating that silky-smooth, luxurious texture. The fat globules and air pockets incorporated during churning prevent large ice crystals from forming. Please do not substitute with lighter creams or milk, as a lower milk fat content will result in an icier, less satisfying ice cream.
- Vanilla Extract: A touch of vanilla might seem subtle, but it’s a powerful flavor enhancer. It doesn’t just add its own aroma; it brightens and deepens the chocolate and hazelnut notes, preventing the ice cream from tasting one-dimensional. Don’t skip it!
- Salt: Just like vanilla, a small pinch of salt works wonders. It helps to balance the sweetness of the Nutella and sugar, and more importantly, it magnifies and enriches the chocolate-hazelnut flavors, making them truly pop. Kosher salt is often preferred for its clean taste and easy dissolution.
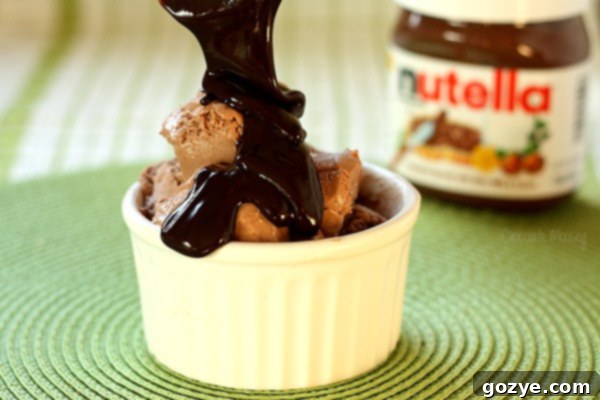
How To Make This Easy Nutella Ice Cream
This blender-made Nutella ice cream recipe is so remarkably simple that gathering your ingredients might just take longer than the actual blending process! Here’s your straightforward guide to creating this delectable dessert:
- Combine and Blend: In your blender, add the Nutella, granulated sugar, cold heavy whipping cream, vanilla extract, and salt. Blend on a low speed until the mixture is completely smooth and all ingredients are well incorporated. Avoid using a high speed initially, as excessive aeration at this stage can sometimes curdle the cream.
- Chill Thoroughly: Transfer the blended mixture into a bowl. Cover it and refrigerate for at least 1 hour, or until it is thoroughly chilled. This step is crucial! A very cold base ensures that your ice cream maker can freeze the mixture efficiently and quickly, resulting in a creamier texture and preventing the formation of large ice crystals.
- Churn for Perfection: Once your mixture is perfectly chilled, pour it into your ice cream maker and churn according to the manufacturer’s instructions. This usually takes about 15-20 minutes until it reaches a soft-serve consistency.
- Freeze Until Firm: Transfer the freshly churned ice cream into a freezer-safe, airtight container. Freeze for approximately 4 hours, or preferably overnight, until it reaches a firm, scoopable consistency.
For best results, store your homemade Nutella ice cream in the freezer for up to 2 weeks, ensuring it’s always ready for a delicious scoop!
Do You Need an Ice Cream Maker for Homemade Ice Cream? No!
For a long time, before I owned an ice cream maker, I made all my frozen treats by hand. While a machine offers convenience and guarantees a super-smooth texture by continuously churning and preventing large ice crystals from forming, it is certainly not a necessity. Think of an ice cream maker as a luxury rather than an absolute requirement.
If you plan on making ice cream frequently, investing in a good machine is definitely worthwhile. However, for occasional homemade batches, the no-churn, by-hand method works beautifully, though it does require a bit more attention and effort. But trust me, the delicious results are absolutely worth it!
The No-Churn, By-Hand Method:
Start by pouring your already-chilled ice cream base into a shallow, freezer-safe pan with deep edges (an 8×8 inch metal baking pan works perfectly). Place it in the freezer.
Every 30-45 minutes, remove the pan from the freezer. Using a sturdy whisk or an electric hand mixer, vigorously whisk the mixture to break up any ice crystals that are beginning to form along the edges and in the center. This constant disruption of ice crystal formation is what mimics the churning process of an ice cream maker.
Repeat this process diligently for the next few hours, usually 3-4 hours, or until your ice cream becomes mostly solid and is too firm to whisk effectively. This method requires a bit more elbow grease, but it yields surprisingly creamy results and allows everyone to enjoy homemade ice cream, machine or not!
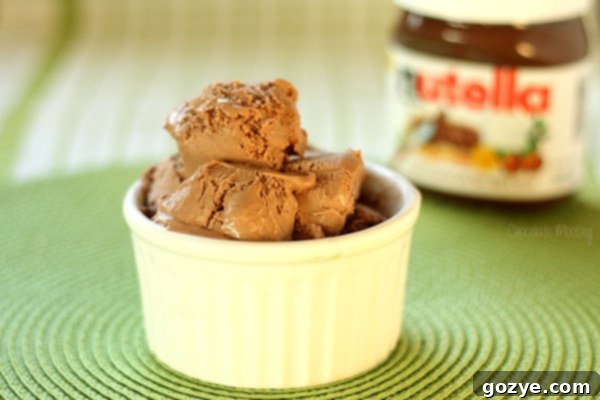
How To Store Homemade Nutella Ice Cream for Optimal Freshness
Proper storage is just as crucial as the preparation itself for maintaining the quality of your homemade Nutella ice cream. If not stored correctly, your delicious eggless creation can develop unwanted ice crystals on the surface or, worse, suffer from freezer burn, compromising its creamy texture and flavor.
I highly recommend using small round freezer-proof plastic containers that perfectly fit a pint of ice cream. You can usually find similar options in the storage container aisle of your local grocery or kitchen supply store. Always double-check that the container is explicitly labeled “freezer-proof,” as not all plastics are designed to withstand extreme cold without becoming brittle or affecting the food.
Other excellent storage options include specialty ice cream containers (which, while often cuter, can be a bit more expensive), a loaf pan tightly covered with several layers of plastic wrap and then foil, or even a glass baking dish with a secure lid. The key is to ensure an airtight seal to prevent air exposure, which is the main culprit for ice crystal formation and freezer burn. For an extra layer of protection, press a piece of plastic wrap directly onto the surface of the ice cream before securing the lid. Store the container at the back of your freezer, where temperatures are most consistent, for the best quality and longest shelf life, typically up to two weeks.
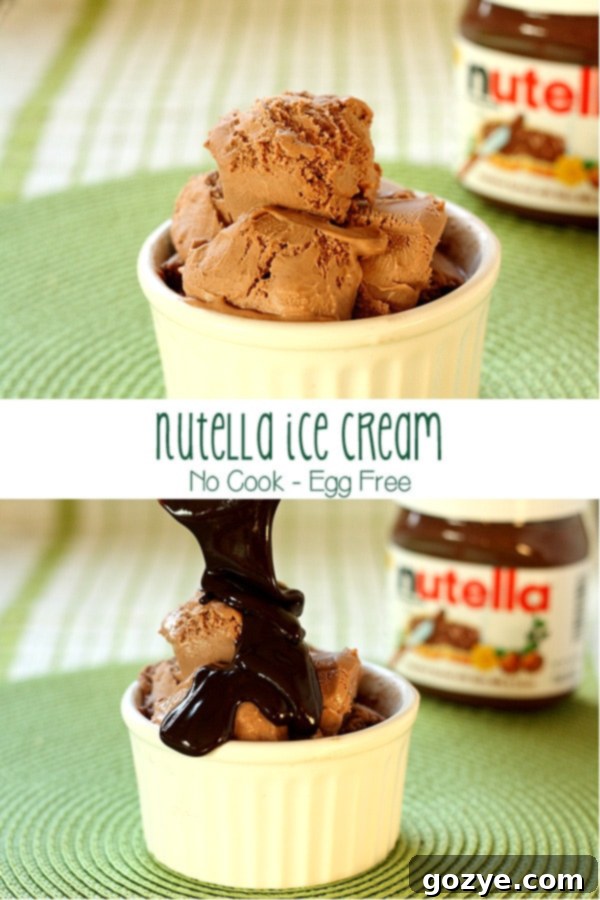
Creative Ways to Serve Your Nutella Ice Cream
Your homemade Nutella ice cream is undeniably delicious on its own, a perfect scoop of pure satisfaction. However, for those moments when you desire an extra touch of indulgence or a complementary flavor, there are countless ways to elevate your dessert experience!
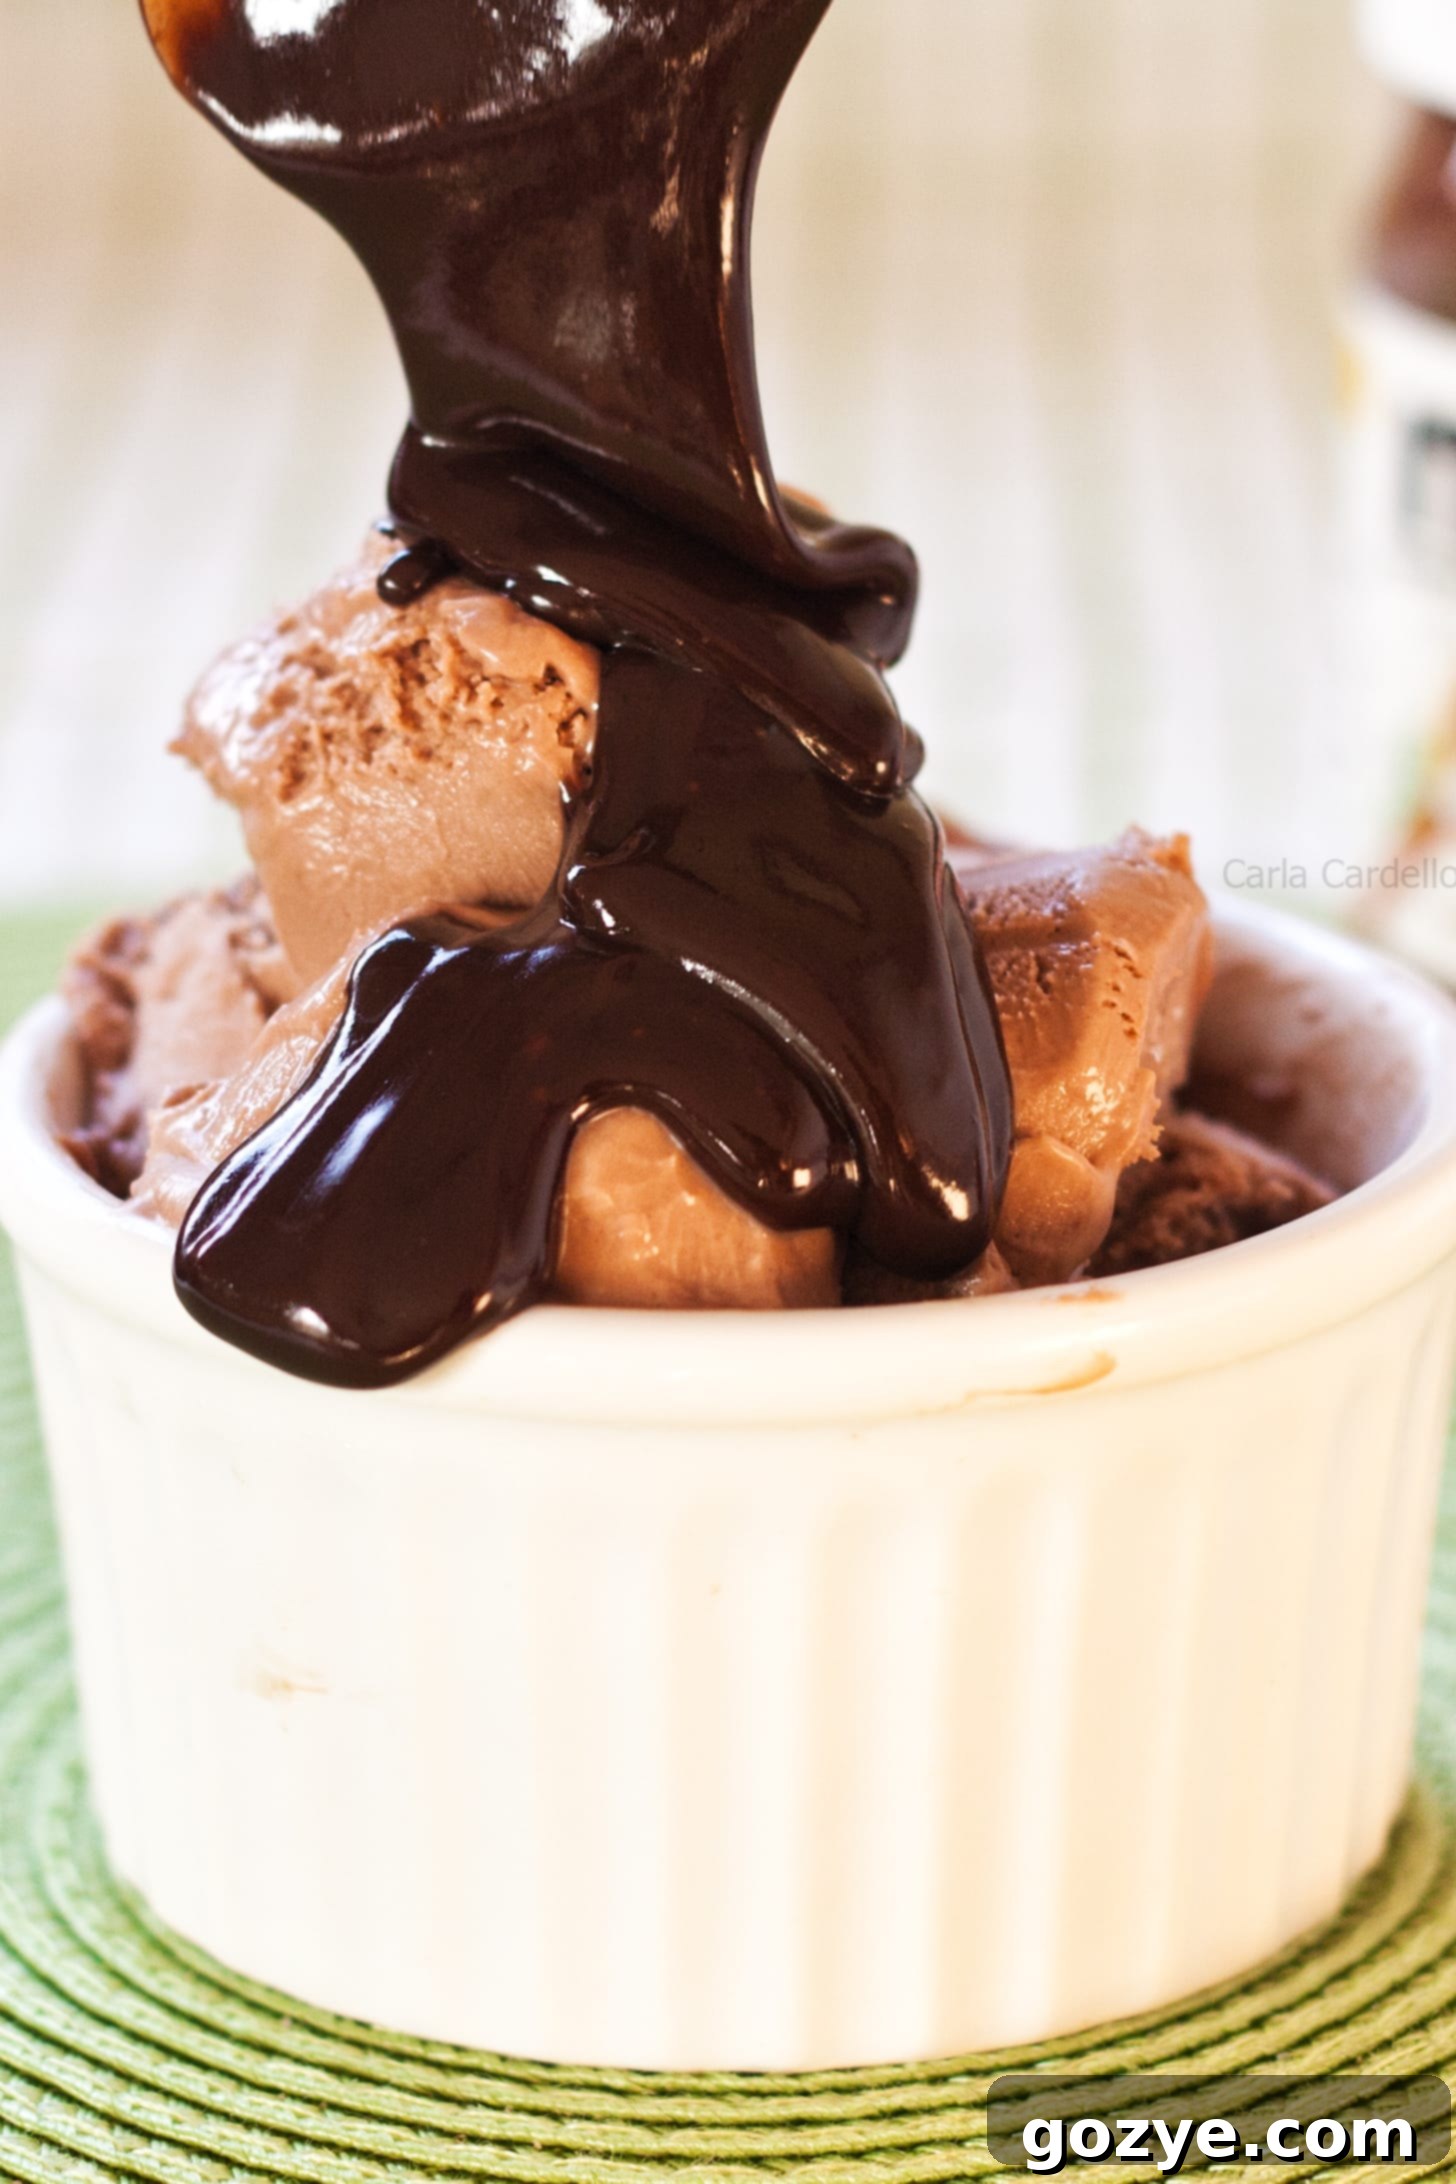
- Double Chocolate Dream: Drizzle a generous amount of warm Nutella sauce or classic hot fudge sauce over your scoop for an intensified chocolate-hazelnut sensation.
- Fruity Freshness: Brighten the rich flavors with a vibrant strawberry sauce. The tartness of the berries provides a wonderful contrast to the sweetness of the ice cream. Other berry sauces, like raspberry or cherry, would also be fantastic.
- Whipped Cream Wonders: For a lighter, airy topping, garnish with a dollop of homemade whipped cream. Or, take it up a notch with chocolate whipped cream for more cocoa depth, or peanut butter whipped cream for a delightful flavor mashup.
- Crunchy Toppings: Add texture with a sprinkle of chopped toasted hazelnuts, mini chocolate chips, or even a few crushed chocolate wafer cookies.
- Espresso Kick: For coffee lovers, a light dusting of espresso powder or a shot of espresso poured over the ice cream (an affogato style!) can create an incredible adult treat.
What To Do With Leftover Nutella
Since this delightful no-cook ice cream recipe won’t require an entire jar of Nutella, you’ll likely find yourself with some leftover chocolate hazelnut goodness. Don’t let it go to waste! Nutella is incredibly versatile and can be used in a myriad of other delicious recipes. Here are some fantastic ideas to enjoy every last spoonful:
- Nutella Fudge – A simple, decadent fudge with an irresistible chocolate hazelnut twist that’s perfect for gifting or a quick sweet fix.
- Peanut Butter Nutella Crinkle Cookies – Combine two beloved spreads into one amazing cookie. The crinkled, powdered sugar coating makes them as pretty as they are delicious.
- Nutella Buckeyes – A twist on the classic peanut butter buckeyes, these delightful treats substitute chocolate hazelnut spread for peanut butter, creating a truly addictive confection.
- Simple Spreads: Of course, you can always go back to basics and enjoy it spread on toast, pancakes, waffles, or even fresh fruit like bananas and strawberries for a quick, satisfying snack.
Nutella Ice Cream
1 pint
15 minutes
4 hours
4 hours 15 minutes
Nutella Ice Cream is a rich chocolaty eggless ice cream made in a blender. This no-cook homemade ice cream requires only 5 ingredients and minimal effort for maximum flavor!
Ingredients
- 1/3 cup Nutella
- 1/4 cup granulated sugar (do not reduce or substitute)
- 1 + 1/3 cup heavy whipping cream, cold (do not substitute)
- 1/4 teaspoon vanilla extract
- 1/8 teaspoon salt (preferably kosher)
Instructions
- In a blender, combine Nutella, sugar, cold heavy cream, vanilla, and salt. Blend on low speed until smooth and fully incorporated. Do not use high speed or over-blend, as this can sometimes curdle the cream. Transfer the mixture to a bowl, cover, and refrigerate for at least 1 hour until thoroughly cold. This chilling step is essential for proper freezing.
- Pour the chilled ice cream base into your ice cream maker and churn according to the manufacturer’s instructions, typically 15-20 minutes, until it reaches a soft-serve consistency. Alternatively, use the no-churn, by-hand method described in the article. Transfer the churned ice cream to a freezer-proof, airtight container then freeze until firm, about 4 hours or overnight.
Store in the freezer for up to 2 weeks for the best texture and flavor.
Notes
- Enhance your serving with a drizzle of Nutella Sauce, a dollop of homemade whipped cream, or a fresh Strawberry Sauce.
- Loved this easy blender recipe? You’ll also enjoy my Peanut Butter Ice Cream, made with the same simple no-cook, eggless method.
- Explore more delicious options with my full list of Small Batch Ice Cream Recipes.
Recommended Products
As an Amazon Associate and member of other affiliate programs, I earn from qualifying purchases.
- Blender
- Ice Cream Maker
Did you make this recipe?
Let me know what you think! Rate the recipe above, leave a comment below, and/or share a photo on Instagram using #HITKrecipes
First published September 4, 2012. Updated and expanded for ultimate deliciousness and ease.
