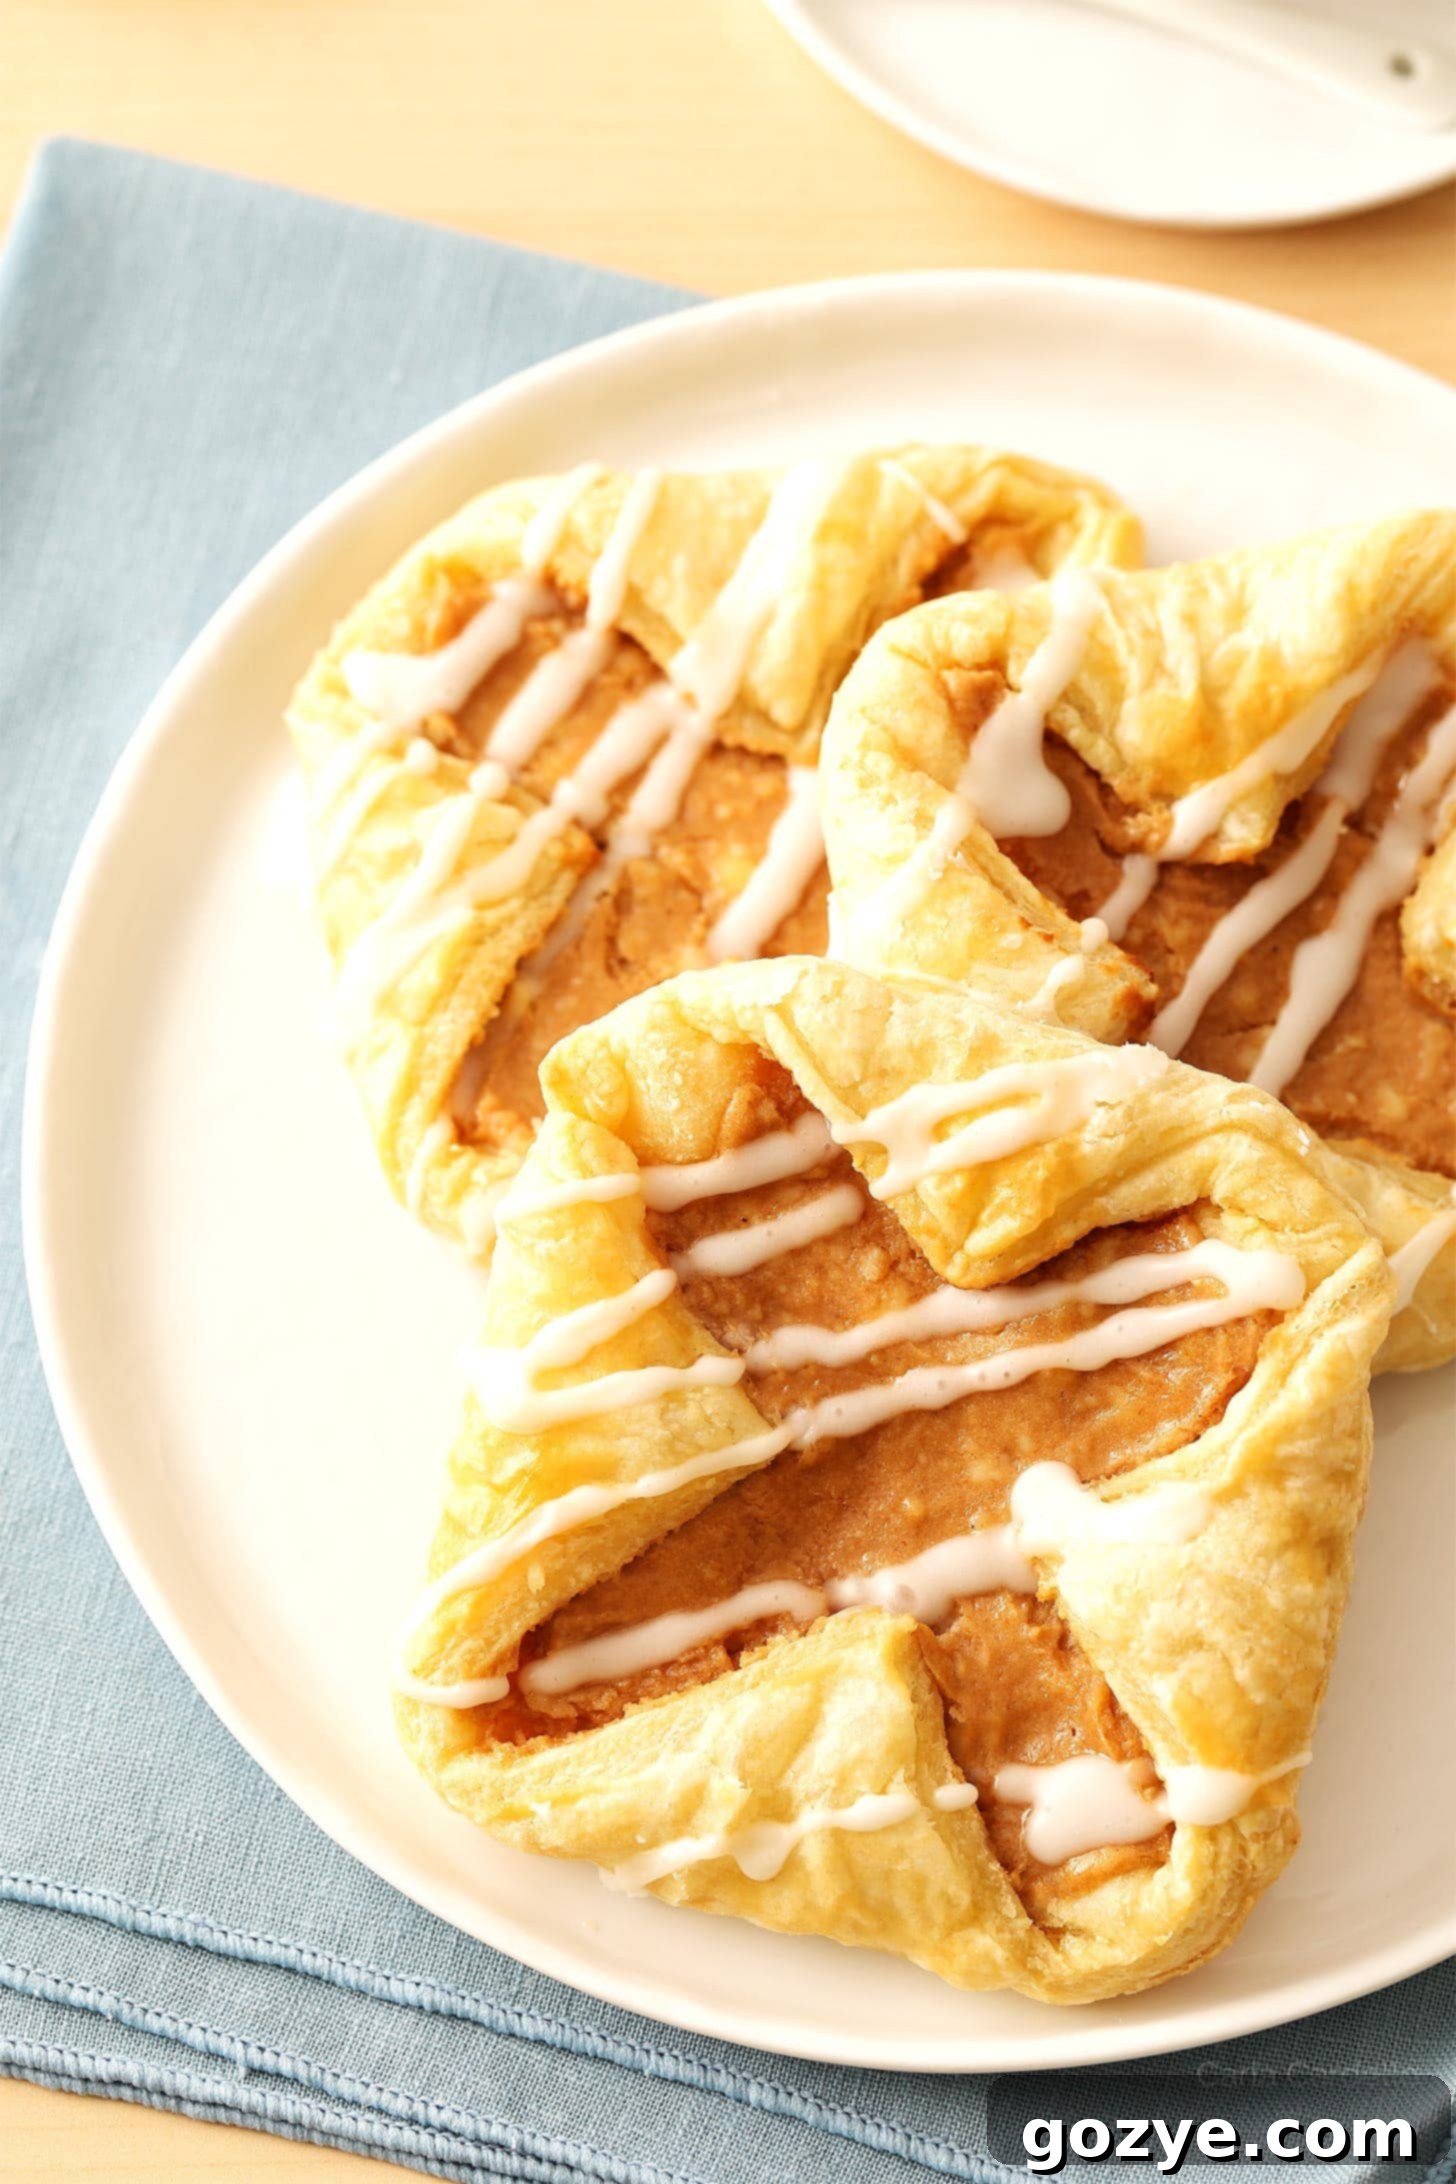
Easy Homemade Puff Pastry Danish: Bakery-Quality Treats with Frozen Dough
Forget the morning bakery run! You can effortlessly create irresistibly flaky and flavorful Puff Pastry Danishes right in your own kitchen using convenient frozen puff pastry. Imagine warm pastries filled with luscious cream cheese, spiced apple butter, or your favorite fruit jam, all without the hassle of making dough from scratch.
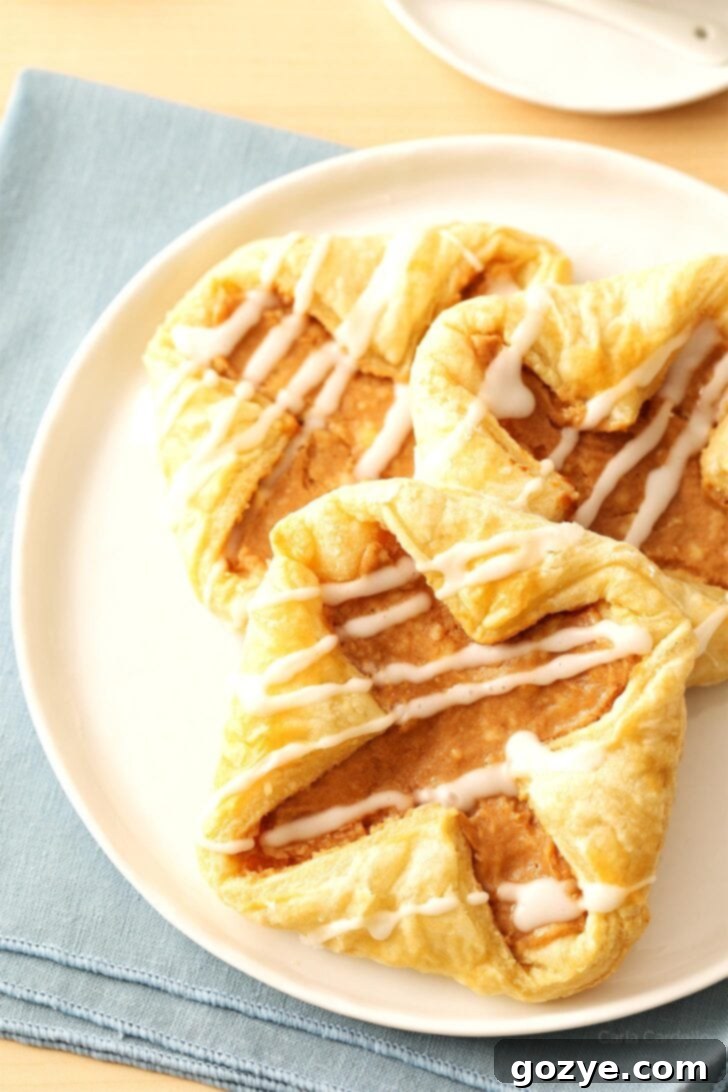
My love for sweet treats often dictates my breakfast choices. While I know a healthy start usually involves fruit and yogurt or a refreshing banana mango smoothie, the allure of a freshly baked pastry is hard to resist. And when there’s dessert in the house, it frequently doubles as my morning meal.
Pastries hold a special place in my heart – whether it’s puff pastry cinnamon rolls, comforting apple turnovers, rich puff pastry chocolate croissants, or especially the delightful Puff Pastry Danish. These sweet, flaky treats evoke wonderful childhood memories.
Growing up, a trip to the grocery store bakery for Danishes was a cherished special occasion. I remember the excitement of choosing between different flavors. My absolute favorite was always the cream cheese Danish, with cherry coming in at a very close second. The combination of sweet, tangy filling and the delicate, buttery pastry was simply irresistible.
Even today, Danishes remain a popular choice, often gracing breakfast buffet tables or coffee shop display cases. My dad, in particular, has a soft spot for them, often picking one up when we meet for coffee. Seeing his enjoyment, and recalling my own fond memories, inspired me to recreate these beloved pastries at home. The goal? To make homemade Danish pastries accessible and easy for everyone, leveraging the magic of store-bought frozen puff pastry.
This recipe features a mouthwatering apple Danish, crafted with a delicious blend of apple butter and cream cheese. However, the beauty of these homemade Danishes lies in their versatility. You can easily customize them with your favorite fruit jams, such as vibrant blueberry jam or sweet peach jam without pectin, offering endless flavor possibilities.
While I truly appreciate the craft of making dough from scratch, there’s an undeniable joy in the convenience of frozen puff pastry. It allows you to whip up a batch of impressive, bakery-style Danishes in under an hour. Some might call it a shortcut; I call it smart, efficient baking that brings delicious results with minimal effort. It’s the perfect solution for satisfying those sweet cravings without spending hours in the kitchen.
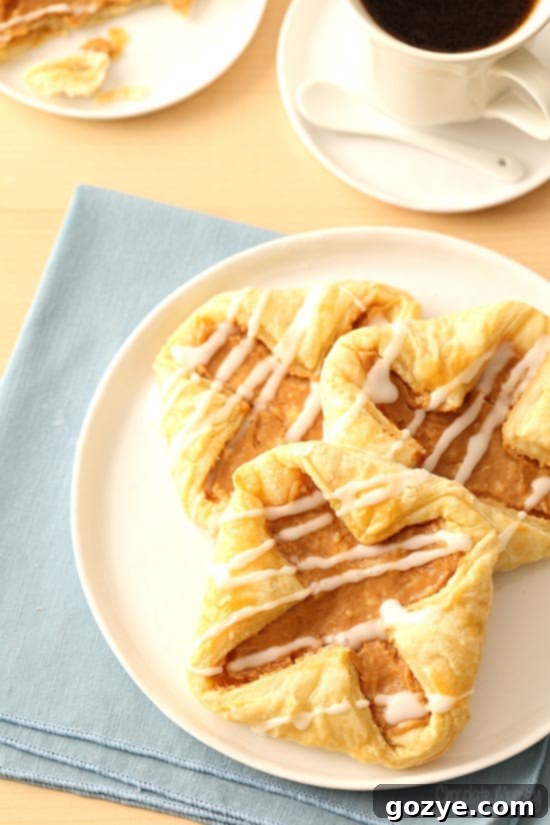
Understanding the Danish: A Sweet Pastry Tradition
At its heart, a Danish is a sweet pastry known for its flaky, buttery layers and delightful filling, typically finished with a sweet glaze. Originating from Denmark, these pastries have captured the hearts (and taste buds) of many around the world.
Traditionally, authentic Danishes are made with a specific type of dough called Danish pastry dough (wienerbrød). This dough is a richer, yeast-leavened variant of puff pastry, which gives it a slightly denser, more bread-like texture – somewhere between a croissant and a brioche. The yeast helps the dough rise, creating a unique lightness, while the repeated folding and butter layers ensure that signature flakiness.
However, for the home baker seeking an easier, quicker path to this beloved treat, frozen puff pastry offers an excellent alternative. While not technically “authentic” in the traditional sense, using pre-made puff pastry still delivers a wonderfully buttery, incredibly flaky, and utterly delicious pastry. It’s a fantastic shortcut that allows you to enjoy the essence of a Danish without the time-consuming process of laminating yeast dough. This method makes homemade Danish pastries accessible to everyone, from novice bakers to those short on time.
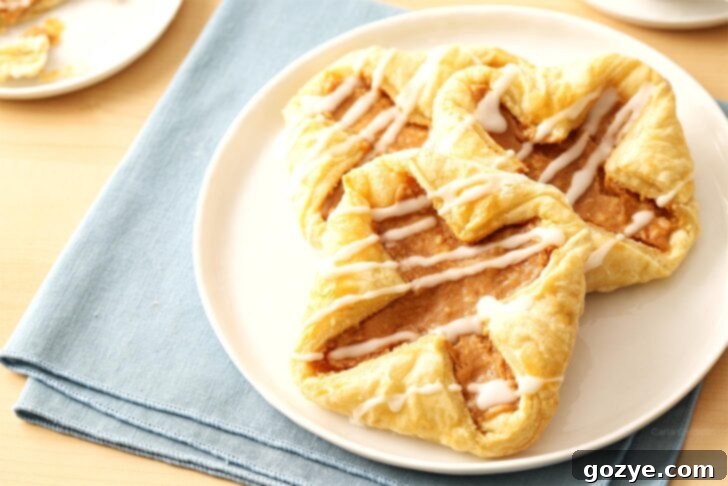
Why Choose Frozen Puff Pastry for Your Homemade Danishes?
Opting for frozen puff pastry is a game-changer when making homemade Danishes. Here’s why this ingredient is a smart choice for home bakers:
- Unbeatable Convenience: Frozen puff pastry eliminates the most time-consuming step of traditional Danish making – laminating the dough. This means no hours spent chilling, rolling, and folding butter into dough. Just thaw and go!
- Consistent Results: Store-bought puff pastry is professionally prepared to ensure perfect layers every time. This guarantees a consistently flaky texture that’s often challenging to achieve with homemade dough, especially for beginners.
- Time-Saving: From freezer to oven, you can have a batch of these delectable pastries ready in under an hour. This makes them perfect for last-minute breakfast treats, brunch additions, or a quick dessert.
- Bakery-Quality Finish: Despite being a shortcut, frozen puff pastry delivers a sophisticated, elegant finish that rivals pastries from high-end bakeries. Your guests will be amazed when they learn these beautiful Danishes were made at home.
- Versatility: Puff pastry is a blank canvas for both sweet and savory creations. While we’re focusing on sweet Danishes today, the dough itself can be used for countless other recipes.
Essential Ingredients for Perfect Puff Pastry Danishes
Creating these delightful Danishes requires just a handful of readily available ingredients. Each component plays a crucial role in achieving the perfect balance of flavor and texture:
- Puff Pastry: The star of our show! Look for it in the freezer aisle of your grocery store, usually near frozen pie crusts. It’s crucial to note that puff pastry is distinctly different from phyllo dough; they behave differently and are not interchangeable for this recipe. Ensure it’s properly thawed according to package directions before use, typically in the refrigerator overnight or at room temperature for a short period.
- Cream Cheese: For that signature rich and tangy filling, always opt for a block of full-fat cream cheese. It provides the best structure, flavor, and creamy consistency. Avoid whipped, low-fat, or fat-free varieties, as they contain more water and can result in a runny filling that won’t set properly during baking. Make sure it’s at room temperature for easy blending.
- Granulated Sugar: A touch of sugar is essential to sweeten the cream cheese and balance the flavors of your chosen filling, whether it’s apple butter or jam.
- Large Egg: You’ll use both parts of the egg. The egg yolk is vital for firming up the cream cheese filling, adding richness and ensuring it holds its shape beautifully. The egg white, whisked with a little water, creates an “egg wash” that, when brushed over the pastry, helps achieve that gorgeous golden-brown, shiny crust.
- Apple Butter or Fruit Jam: This is where you can truly personalize your Danishes! Apple butter provides a wonderfully spiced apple sweetness and a smooth consistency. You can either purchase a good quality jar or easily make your own, like a delicious Crockpot Apple Butter. For more inspiration on how to use this versatile ingredient, check out my guide on what to do with apple butter. Alternatively, any fruit jam (like raspberry, strawberry, or peach) can be used, offering endless flavor combinations.
- Vanilla Extract: A dash of pure vanilla extract enhances and balances all the flavors in the cream cheese filling, adding a comforting aroma and taste.
- Vanilla Glaze: This simple yet essential finishing touch adds sweetness and a beautiful sheen to your baked Danishes. It’s made from powdered sugar, milk, and a hint of vanilla, creating that classic bakery-style appeal.
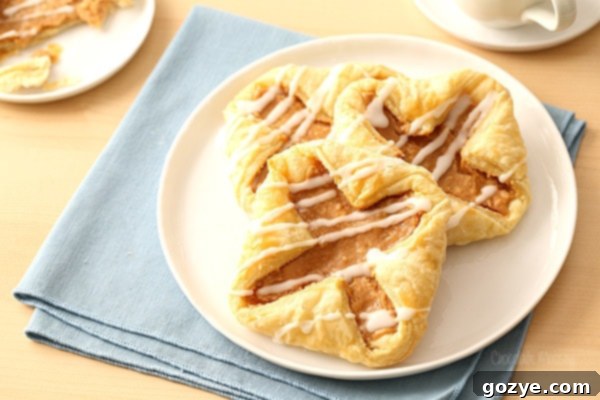
Step-by-Step Guide: How To Make Danish Pastries With Puff Pastry
Ready to transform simple ingredients into stunning Puff Pastry Danishes? Follow these detailed steps for a perfectly baked, flaky, and flavorful treat:
- Prepare Your Workstation & Oven: Begin by preheating your oven to 400°F (200°C). Line two baking sheets with parchment paper or lightly grease them with cooking spray. This prevents sticking and ensures easy cleanup. Ensure your puff pastry sheets are thawed according to the package directions – typically in the refrigerator overnight or at room temperature for 30-40 minutes until pliable but still cold.
- Create the Cream Cheese Filling: In a large mixing bowl (using a stand mixer with a paddle attachment or a hand mixer on medium-high speed), beat together the softened full-fat cream cheese and granulated sugar until the mixture is completely smooth and creamy. Scrape down the sides of the bowl to ensure everything is well incorporated.
- Enhance the Filling: Next, beat in the egg yolk, your chosen apple butter or fruit jam, and vanilla extract until everything is fully combined and smooth. This creates a rich, flavorful, and stable filling for your Danishes.
- Prepare the Puff Pastry: On a lightly floured surface, carefully unfold one of your thawed puff pastry sheets. Gently roll it out slightly with a rolling pin to achieve an approximate 10×10 inch (25×25 cm) square. Using a sharp knife or pizza cutter, cut the large square into 4 equal, smaller squares. To help the pastry rise evenly and prevent large bubbles, lightly prick the center of each square all over with a fork, leaving the edges unpricked. Repeat this process with the second sheet of puff pastry, giving you a total of 8 squares.
- Assemble Your Danishes: Spoon about 2 tablespoons of the prepared cream cheese filling into the center of each puff pastry square. Using the back of a spoon or a small knife, spread the filling evenly, leaving about a 1/2-inch border around the edges. To form the classic Danish shape, gently fold each corner of the pastry square in towards the center of the filling, overlapping them slightly to create an “X” shape. Carefully transfer the assembled Danishes to your prepared baking sheets. If the dough has become too warm and soft during handling, refrigerate the baking sheets for 15 minutes before baking; this helps maintain flakiness.
- Egg Wash & Bake: In a small bowl, whisk together the large egg white with a tiny splash of water (about 1 teaspoon) to create an egg wash. Lightly brush this mixture over the exposed puff pastry dough of each Danish. This egg wash contributes to a beautiful golden-brown and glossy finish. Bake for 20 minutes, or until the pastries are puffed up, beautifully golden brown, and the filling is set.
- Glaze and Serve: While the Danishes are cooling (after about 15 minutes out of the oven), prepare your vanilla glaze. In a medium bowl, whisk together the sifted powdered sugar, 1 tablespoon of whole milk, and 1/8 teaspoon of vanilla extract until smooth. If the glaze is too thick, add the remaining tablespoon of milk, a tiny bit at a time, until it reaches a drizzling consistency. Drizzle the glaze generously over the cooled Danishes. Serve them warm or at room temperature for the best experience.
Storage: Store any leftover homemade Puff Pastry Danishes in an airtight container in the refrigerator for up to 2 days to maintain their freshness.
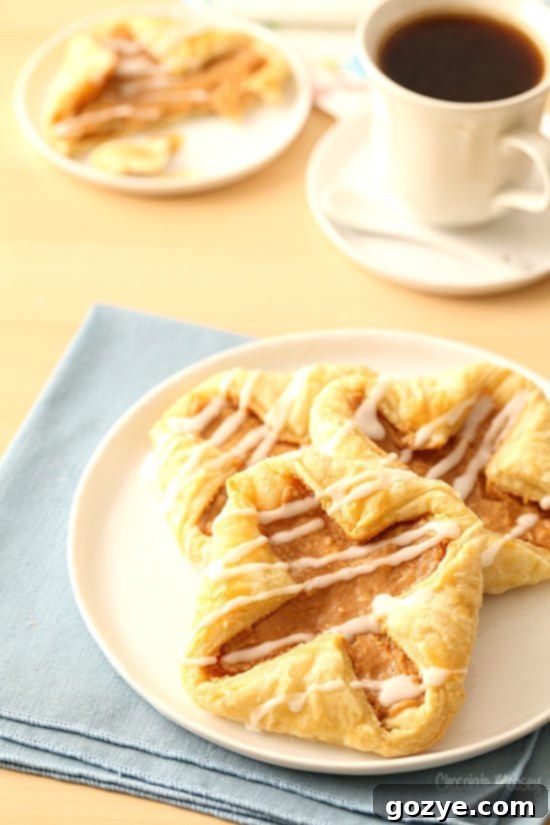
Creative Filling Ideas for Your Puff Pastry Danish
The beauty of making Danishes at home is the endless possibilities for customization, especially when it comes to fillings. While my childhood favorites included classic cream cheese, cherry, apricot, apple, lemon, and even pineapple, you can let your imagination run wild! Beyond the apple butter and cream cheese combination shown here, consider these delicious ideas:
- Jam Varieties: Easily substitute your favorite fruit jam. Some popular and delightful choices include:
- Raspberry Jam without pectin: For a tart, sweet burst of berry flavor.
- Small Batch Strawberry Jam: A timeless and universally loved flavor.
- Sour Cherry Jam: Offers a wonderful balance of sweet and tangy.
- Apricot Jam: For a sunny, slightly tart and sweet option.
- Blueberry Jam: Sweet and juicy, a classic pairing with cream cheese.
- Just Cream Cheese: For a purist’s delight, simply omit the apple butter or jam from the filling recipe to create classic puff pastry cream cheese Danishes. You can add a hint of lemon zest for extra brightness.
- Fresh Fruit: After spreading the cream cheese base, top with finely diced fresh fruit like berries (strawberries, blueberries), thinly sliced peaches, or small apple chunks (tossed with a pinch of cinnamon and sugar).
- Nutty Delights: Mix finely chopped nuts (pecans, walnuts, almonds) into the cream cheese filling, or sprinkle them on top before baking for added texture and flavor.
- Chocolate Indulgence: Swirl in a tablespoon of Nutella or sprinkle mini chocolate chips over the cream cheese filling before folding.
- Lemon Curd: For a bright and zesty flavor, combine lemon curd with the cream cheese or use it as a standalone topping.
Experiment with different combinations to find your perfect homemade Danish!
Puff Pastry Danish FAQ
To bring your Danishes back to their crispy glory, reheat them in a preheated oven at 350°F (175°C) for 5-10 minutes. This method ensures the pastry becomes flaky again and heats through evenly. Avoid using a microwave, as it tends to make the pastry soggy and lose its desirable texture.
Absolutely! Freezing Danishes with puff pastry is an excellent way to prepare them ahead. First, place each Danish on a baking sheet and freeze them uncovered for about 30 minutes. This step is crucial as it helps the filling firm up, preventing plastic wrap from sticking. Once partially frozen, wrap each Danish individually in plastic wrap, then transfer them to a freezer-safe bag or airtight container. They can be frozen for up to 2 months.
To defrost, thaw the frozen pastries in the refrigerator overnight. Once thawed, reheat them in the oven at 350°F (175°C) for 10-15 minutes, or until they are heated through and the pastry is crispy again.
Look for all-butter puff pastry in the frozen section of your grocery store for the best flavor and flakiness. Brands like Pepperidge Farm are widely available and work great. Make sure it’s fully thawed but still cold before you begin working with it to ensure optimal results.
Yes, you can assemble the Danishes (up to the point of brushing with egg wash) and then cover them loosely with plastic wrap. Refrigerate them for up to 24 hours. When ready to bake, preheat your oven and proceed with the egg wash and baking steps. This is a great time-saver for entertaining or busy mornings.
More Delightful Puff Pastry Recipes
If you’ve enjoyed making these easy puff pastry Danishes, you’ll love exploring other recipes that utilize this versatile dough. Puff pastry is a fantastic shortcut for creating a wide array of sweet and savory treats. Here are some more delicious ideas to inspire your next baking adventure:
- Puff Pastry Peach Turnovers: Sweet peaches and creamy cheesecake wrapped in flaky pastry.
- Blueberry Turnovers: Bursting with juicy blueberries, perfect for breakfast or dessert.
- Cherry Turnovers: A classic fruit pastry, tart and sweet.
- Strawberry Turnovers: Fresh strawberries encased in a golden, flaky crust.
- Apple Butter Palmiers: Elegant, crispy “elephant ears” with a hint of spiced apple.
- Puff Pastry Tomato Tart: A savory option, great for appetizers or light meals.
- Puff Pastry Chocolate Croissants: Indulge in rich chocolate-filled pastries, simplified with puff pastry.
- Puff Pastry Cinnamon Rolls: A quicker way to enjoy classic cinnamon rolls with a lighter, flakier texture.
Puff pastry truly opens up a world of possibilities for delicious homemade treats with minimal effort!

Puff Pastry Danish Recipe
8 pastries
30 minutes
20 minutes
50 minutes
No need to make a bakery run when you can easily make bakery-quality Puff Pastry Danishes at home using frozen puff pastry! Fill with creamy cheese, sweet apple butter, your favorite jam, and more.
Ingredients
For the Danishes:
- 2 sheets puff pastry, thawed according to package directions
- 4 ounces (1/2 block or 4 tablespoons) full-fat cream cheese, room temperature (do not substitute low fat or fat free for best results)
- 2 tablespoons granulated sugar
- 1 large egg yolk, room temperature
- 1/4 cup apple butter or your favorite fruit jam*
- 1/2 teaspoon vanilla extract
- 1 large egg white, room temperature
For the Vanilla Glaze:
- 3/4 cup powdered sugar, sifted
- 1-2 tablespoons whole milk
- 1/8 teaspoon vanilla extract
Instructions
- Preheat oven to 400°F (200°C). Line two baking sheets with parchment paper or lightly grease with cooking spray.
- In a large mixing bowl on medium-high speed (with paddle attachment if using stand mixer), beat together the cream cheese and sugar until smooth and creamy.
- Scrape down the bowl then beat in the egg yolk, apple butter (or fruit jam), and vanilla extract until fully combined.
- On a lightly floured surface, unfold one of the puff pastry sheets. Roll it out slightly to a 10×10 inch (25×25 cm) square. Cut the dough into 4 even squares then lightly prick the center of each square all over with a fork (avoiding the edges). Repeat with the second puff pastry sheet for a total of 8 squares.
- Spoon about 2 tablespoons of cream cheese filling into the center of each square and spread evenly with a knife, leaving a 1/2-inch border. Fold each corner in towards the center, overlapping slightly to create an “X” shape. Place the assembled Danishes on the prepared baking sheets. If the dough feels too warm, refrigerate for 15 minutes before baking.
- In a small bowl, beat together the egg white and about 1 teaspoon of water to make an egg wash. Brush the exposed pastry dough of each Danish with this wash. Bake for 20 minutes, or until puffed and beautifully golden brown. Cool on the baking sheets for 15 minutes.
- After 15 minutes of cooling, prepare the glaze. In a medium bowl, whisk together the sifted powdered sugar, 1 tablespoon of whole milk, and vanilla extract until smooth. If needed, add the remaining milk, a few drops at a time, to reach a drizzling consistency. Drizzle the glaze generously over the top of each cooled Danish. Serve warm or at room temperature.
Store leftover Danishes in an airtight container in the refrigerator for up to 2 days.
Notes
- *Customize your Danish with various fruit jams like blueberry jam, raspberry jam, peach jam, sour cherry jam, or strawberry jam.
- For a pure cream cheese Danish, simply omit the apple butter or jam from the filling recipe.
- Craving more puff pastry delights? Explore recipes like apple turnovers, puff pastry cinnamon rolls, and puff pastry peach turnovers.
Did you make this recipe?
Let me know what you think! Rate the recipe above, leave a comment below, and/or share a photo on Instagram using #HITKrecipes
First published May 4, 2015. Updated and expanded for enhanced clarity and improved reader experience.
