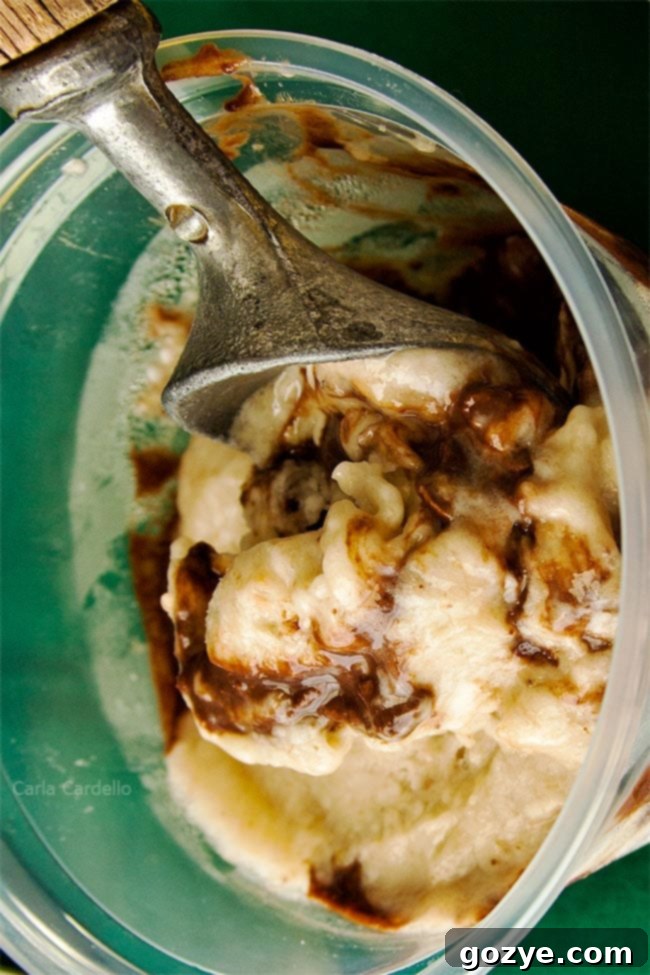
Easy 2-Ingredient No-Churn Banana Fudge Ice Cream: Vegan & Dairy-Free Delight
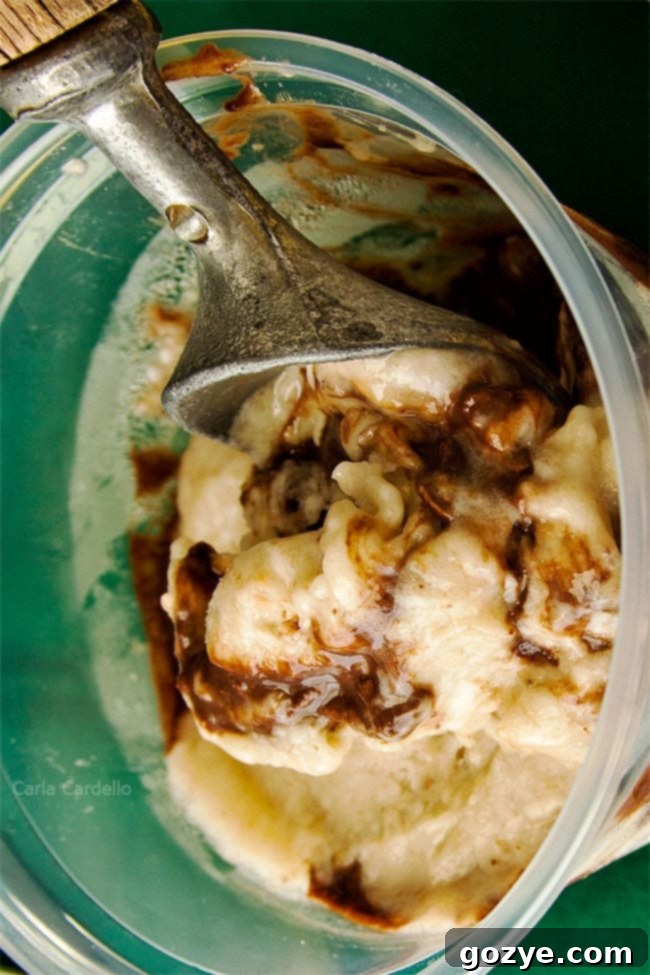
Bananas truly are one of nature’s most extraordinary fruits, often hailed as a ‘superfruit’ for their incredible versatility and health benefits. Beyond being a convenient snack, a source of vital nutrients, and a natural energy booster, bananas hold a secret that revolutionizes homemade desserts: they can transform into luscious, creamy ice cream without a drop of dairy. This simple magic allows anyone to create a delightful frozen treat right in their own kitchen, no fancy equipment required.
Remember those scenes in movies where bananas were touted for their high potassium content, offering a natural remedy or essential nutrient boost? Or perhaps you’ve heard personal anecdotes about their benefits for various health issues, from digestive support to aiding recovery. It’s no wonder this humble fruit has been celebrated for centuries. And now, bananas unlock a whole new world of delicious possibilities: creating incredibly rich, naturally sweet ice cream without the need for cream, eggs, or even an ice cream maker.
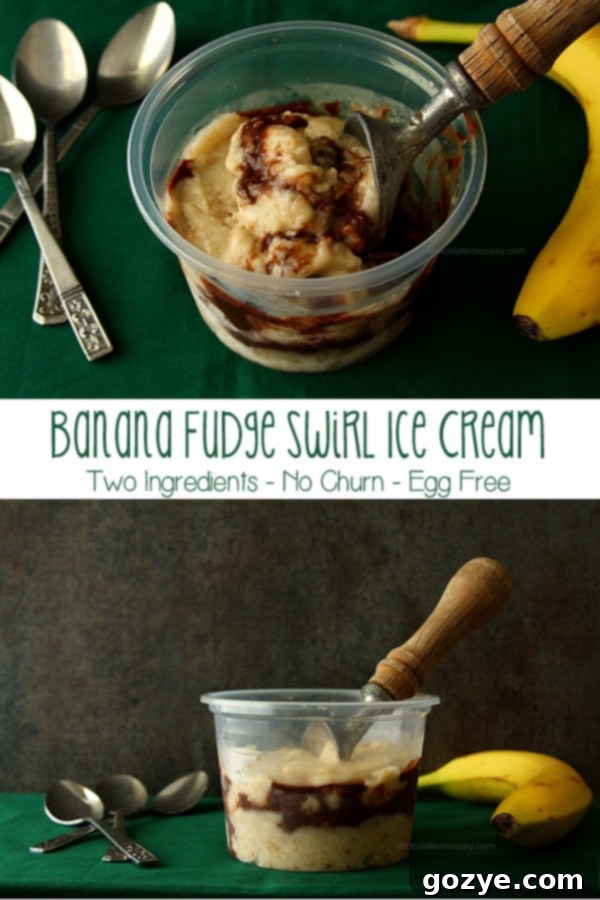
Prepare to be amazed by the simplicity and deliciousness of our Two-Ingredient No-Churn Banana Fudge Ice Cream. This recipe delivers a truly vegan banana ice cream that’s surprisingly creamy, bursting with natural banana flavor, and elegantly swirled with decadent hot fudge sauce. It’s proof that sometimes, the most extraordinary desserts come from the most unassuming ingredients.
The core of this delightful dessert lies in just one main ingredient: ripe, frozen bananas. When processed correctly, they achieve an astonishingly smooth, soft-serve-like consistency that mimics traditional ice cream, often referred to as “nice cream” in the health food community. The science isn’t overly complicated – freezing the bananas crystalizes their natural sugars and starches, and when blended at high speed, these crystals break down, creating a smooth, almost emulsified texture similar to churned ice cream. It’s pure banana goodness, unmasked by heavy cream or artificial flavors, making it a naturally sweet and guilt-free indulgence.
To elevate this already fantastic base, we’ve introduced a luscious swirl of homemade hot fudge sauce. The classic pairing of banana and chocolate is simply irresistible, and the rich, deep flavor of fudge perfectly complements the sweet, fruity notes of the banana. The best part? You’re in complete control of the ingredients, ensuring your hot fudge is dairy-free if you’re keeping this dessert strictly vegan.
While the fudge swirl adds a touch of decadence, this versatile banana ice cream can also be customized to your heart’s content. Craving a nutty twist? Turn it into peanut butter banana ice cream. Or, if you prefer the unadulterated taste of banana, simply enjoy it as a plain, refreshing banana soft serve. No matter your preference, this Banana Fudge Ice Cream promises to be one of the easiest, most satisfying frozen desserts you’ll ever create.
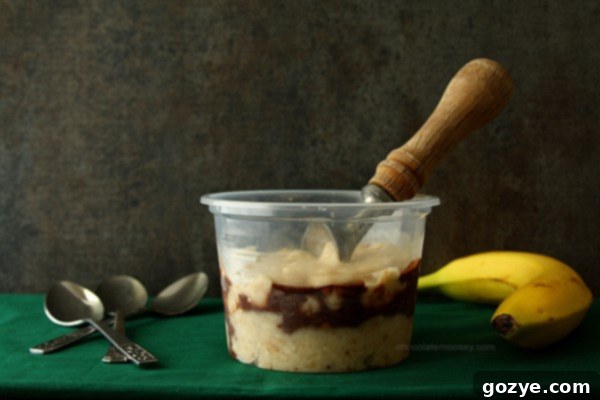
Ingredients for the Perfect 2-Ingredient Banana Fudge Ice Cream
The beauty of this simple banana ice cream recipe lies in its minimal ingredient list. You only need two core components to achieve this creamy, dreamy dessert:
- Ripe Bananas: This is your foundation. The key to the best flavor and texture is to use very ripe bananas – think brown spots, not green. Overripe bananas are naturally sweeter and blend into a much creamier consistency due to their softer texture and higher sugar content. Green or underripe bananas will result in a less sweet, potentially icy, and crumbly mixture. Freeze them in slices for easier processing.
- Hot Fudge Sauce: This provides the decadent chocolate swirl. For a truly vegan dessert, ensure your hot fudge sauce is dairy-free. Many store-bought varieties are available, or you can easily make your own vegan hot fudge sauce from scratch. The richness of the chocolate beautifully complements the sweet banana base.
Looking for an even lighter, refreshing treat? Try my banana mango smoothie, also made with frozen bananas, for a quick and healthy option.
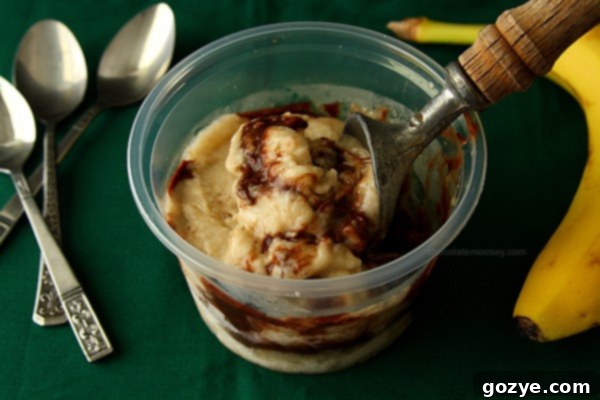
How to Make Homemade No-Churn Banana Fudge Ice Cream: Step-by-Step
Creating this creamless banana ice cream is incredibly simple, but it does require a little foresight. The secret weapon is perfectly frozen banana slices, so a bit of planning ahead will ensure your success.
-
Prepare Your Bananas for Freezing:
The first crucial step is to prepare your bananas. Wait until they are very ripe, with plenty of brown spots on the peel, indicating maximum sweetness. Peel the ripe bananas and slice them into roughly 1-inch thick rounds. Lay the slices in a single layer on a baking sheet lined with parchment paper, or place them directly into freeze-proof containers. Freezing them in a single layer initially prevents them from sticking together in one big clump, making them easier to process later. Once frozen solid (this usually takes 2-4 hours), you can transfer them to a freezer-safe bag or container for long-term storage, ready whenever a craving strikes.
-
Process the Frozen Bananas:
Once your banana slices are thoroughly frozen, add them to a sturdy food processor. Begin processing them for several minutes. Initially, the bananas will look crumbly, almost like frozen bits. Don’t be alarmed! Keep processing, stopping occasionally to scrape down the sides of the bowl. The mixture will gradually transform from crumbly to a thick, pasty consistency, then to a surprisingly smooth, creamy, soft-serve-like texture. This can take anywhere from 3-8 minutes, depending on your food processor’s power. Patience is key here; resist the urge to add liquid unless absolutely necessary, as it can make the ice cream icier.
-
Troubleshooting Tip:
If, after several minutes, the mixture is still a little crumbly and refusing to become perfectly smooth, try smashing the pieces together with a spatula or briefly pulsing it again. Sometimes the bananas just need a little extra encouragement. If it’s still too thick to move, you can add a tiny splash (1-2 teaspoons) of plant-based milk (like almond or soy milk) to help it along, but use it sparingly.
-
Layer with Hot Fudge Sauce:
Once you have your perfectly creamy banana ice cream base, it’s time to add the fudge swirl. Take a freeze-proof container and alternate layers of the banana ice cream with spoonfuls of your hot fudge sauce. Use a knife or skewer to gently swirl the fudge through the banana mixture, creating beautiful ribbons of chocolatey goodness. Don’t overmix, or you’ll lose the distinct swirl effect.
-
Chill Before Serving:
For a firmer, more traditional ice cream consistency, place the layered banana fudge ice cream into the freezer for at least one hour before serving. This allows it to firm up beautifully. If you prefer a softer, fresh-churned soft-serve texture, you can enjoy it immediately after processing and swirling.
Tips for the Creamiest Banana Ice Cream Every Time:
- Use Ripe Bananas: We can’t stress this enough! The brown spots mean sweeter, creamier results.
- Slice Before Freezing: This makes it much easier on your food processor and helps achieve a smoother consistency faster.
- Don’t Rush the Processing: It takes a few minutes for the bananas to go from chunky to creamy. Let your food processor do its job.
- Avoid Too Much Liquid: If you must add liquid to help blend, use a tiny amount of plant-based milk. Too much will make your ice cream icy.
- High-Speed Blender Alternative: While a food processor is ideal, a high-speed blender can also work. You might need to use the tamper to push the bananas down and blend in smaller batches.
Enjoyed this recipe? Explore my other delightful Small Batch Ice Cream Recipes for more frozen dessert inspiration!
Frequently Asked Questions About Banana Nice Cream
- Can I use fresh bananas? No, frozen bananas are absolutely essential for the “ice cream” texture. Fresh bananas will result in a smoothie or a banana puree, not ice cream.
- How long does banana fudge ice cream last in the freezer? This ice cream is best enjoyed within a week. After that, it tends to get very hard and may develop ice crystals. You might need to let it thaw for 10-15 minutes on the counter before scooping.
- Can I make this without a food processor? A powerful food processor or high-speed blender is highly recommended. Regular blenders might struggle to break down the frozen bananas into a smooth consistency.
- Are there any other flavor variations? Absolutely! Instead of fudge, you can swirl in peanut butter, a drizzle of maple syrup, a sprinkle of cinnamon, or even some cocoa powder during processing for a chocolate banana ice cream base. Mini chocolate chips or chopped nuts can be folded in as well.
- Is this suitable for a healthy diet? Yes, this banana ice cream is a fantastic healthy alternative to traditional ice cream. It’s naturally sweetened, vegan, dairy-free, and contains no refined sugars (depending on your hot fudge choice).
More Delicious Banana Recipes to Explore
Loved this creamy banana ice cream? Don’t stop there! Bananas are incredibly versatile in baking and cooking. Check out these other delightful banana recipes:
- Small Batch Banana Muffins: Perfect for when you have just a few ripe bananas and want a quick, comforting treat.
- Small Batch Chocolate Banana Muffins: A delicious twist on classic banana muffins, infused with rich chocolate.
- Mini Banana Bread: A delightful, perfectly portioned classic for a snack or breakfast.
- Vegan Banana Chocolate Chip Snack Cake: A moist and flavorful dairy-free cake, ideal for any occasion.
Banana Fudge Ice Cream
1 pint
15 minutes
1 hour
1 hour 15 minutes
This simple, two-ingredient no-churn Banana Fudge Ice Cream is a vegan banana ice cream, completely free of cream or eggs. It’s incredibly easy to make with just frozen bananas and a luscious swirl of hot fudge sauce – no ice cream maker needed for this delightful dairy-free dessert!
Ingredients
- 2 cups sliced bananas, very ripe and frozen (roughly 2-3 overripe medium bananas)
- 1/4 cup hot fudge sauce (store-bought or homemade – ensure it’s dairy-free if vegan)
Instructions
- Add the very ripe, frozen banana slices to a powerful food processor. Process for several minutes, scraping down the sides as needed, until the mixture becomes completely smooth and creamy, resembling soft-serve ice cream. If it remains crumbly, continue processing and gently press it together.
- Layer the creamy banana ice cream into a freezer-proof container, alternating with spoonfuls of hot fudge sauce. Use a knife or skewer to gently swirl the fudge throughout the banana mixture.
- For a firmer ice cream consistency, freeze for at least 1 hour before serving. For a softer, immediate treat, enjoy straight after swirling.
Notes
- Banana Ripeness: Always use very ripe bananas with brown spots for the best flavor and creamiest texture.
- Freezing Method: Slice bananas before freezing them in a single layer to prevent sticking and ease processing.
- Consistency Control: If the mixture is too thick in the food processor, add 1-2 teaspoons of plant-based milk sparingly to help it blend.
- Explore more delicious Small Batch Ice Cream Recipes for inspiration.
Recommended Products
As an Amazon Associate and member of other affiliate programs, I earn from qualifying purchases.
- Food Processor
Did you make this recipe?
Let me know what you think! Rate the recipe above, leave a comment below, and/or share a photo on Instagram using #HITKrecipes
Originally published July 18, 2013, this timeless recipe continues to be a favorite for its simplicity and delicious results.
