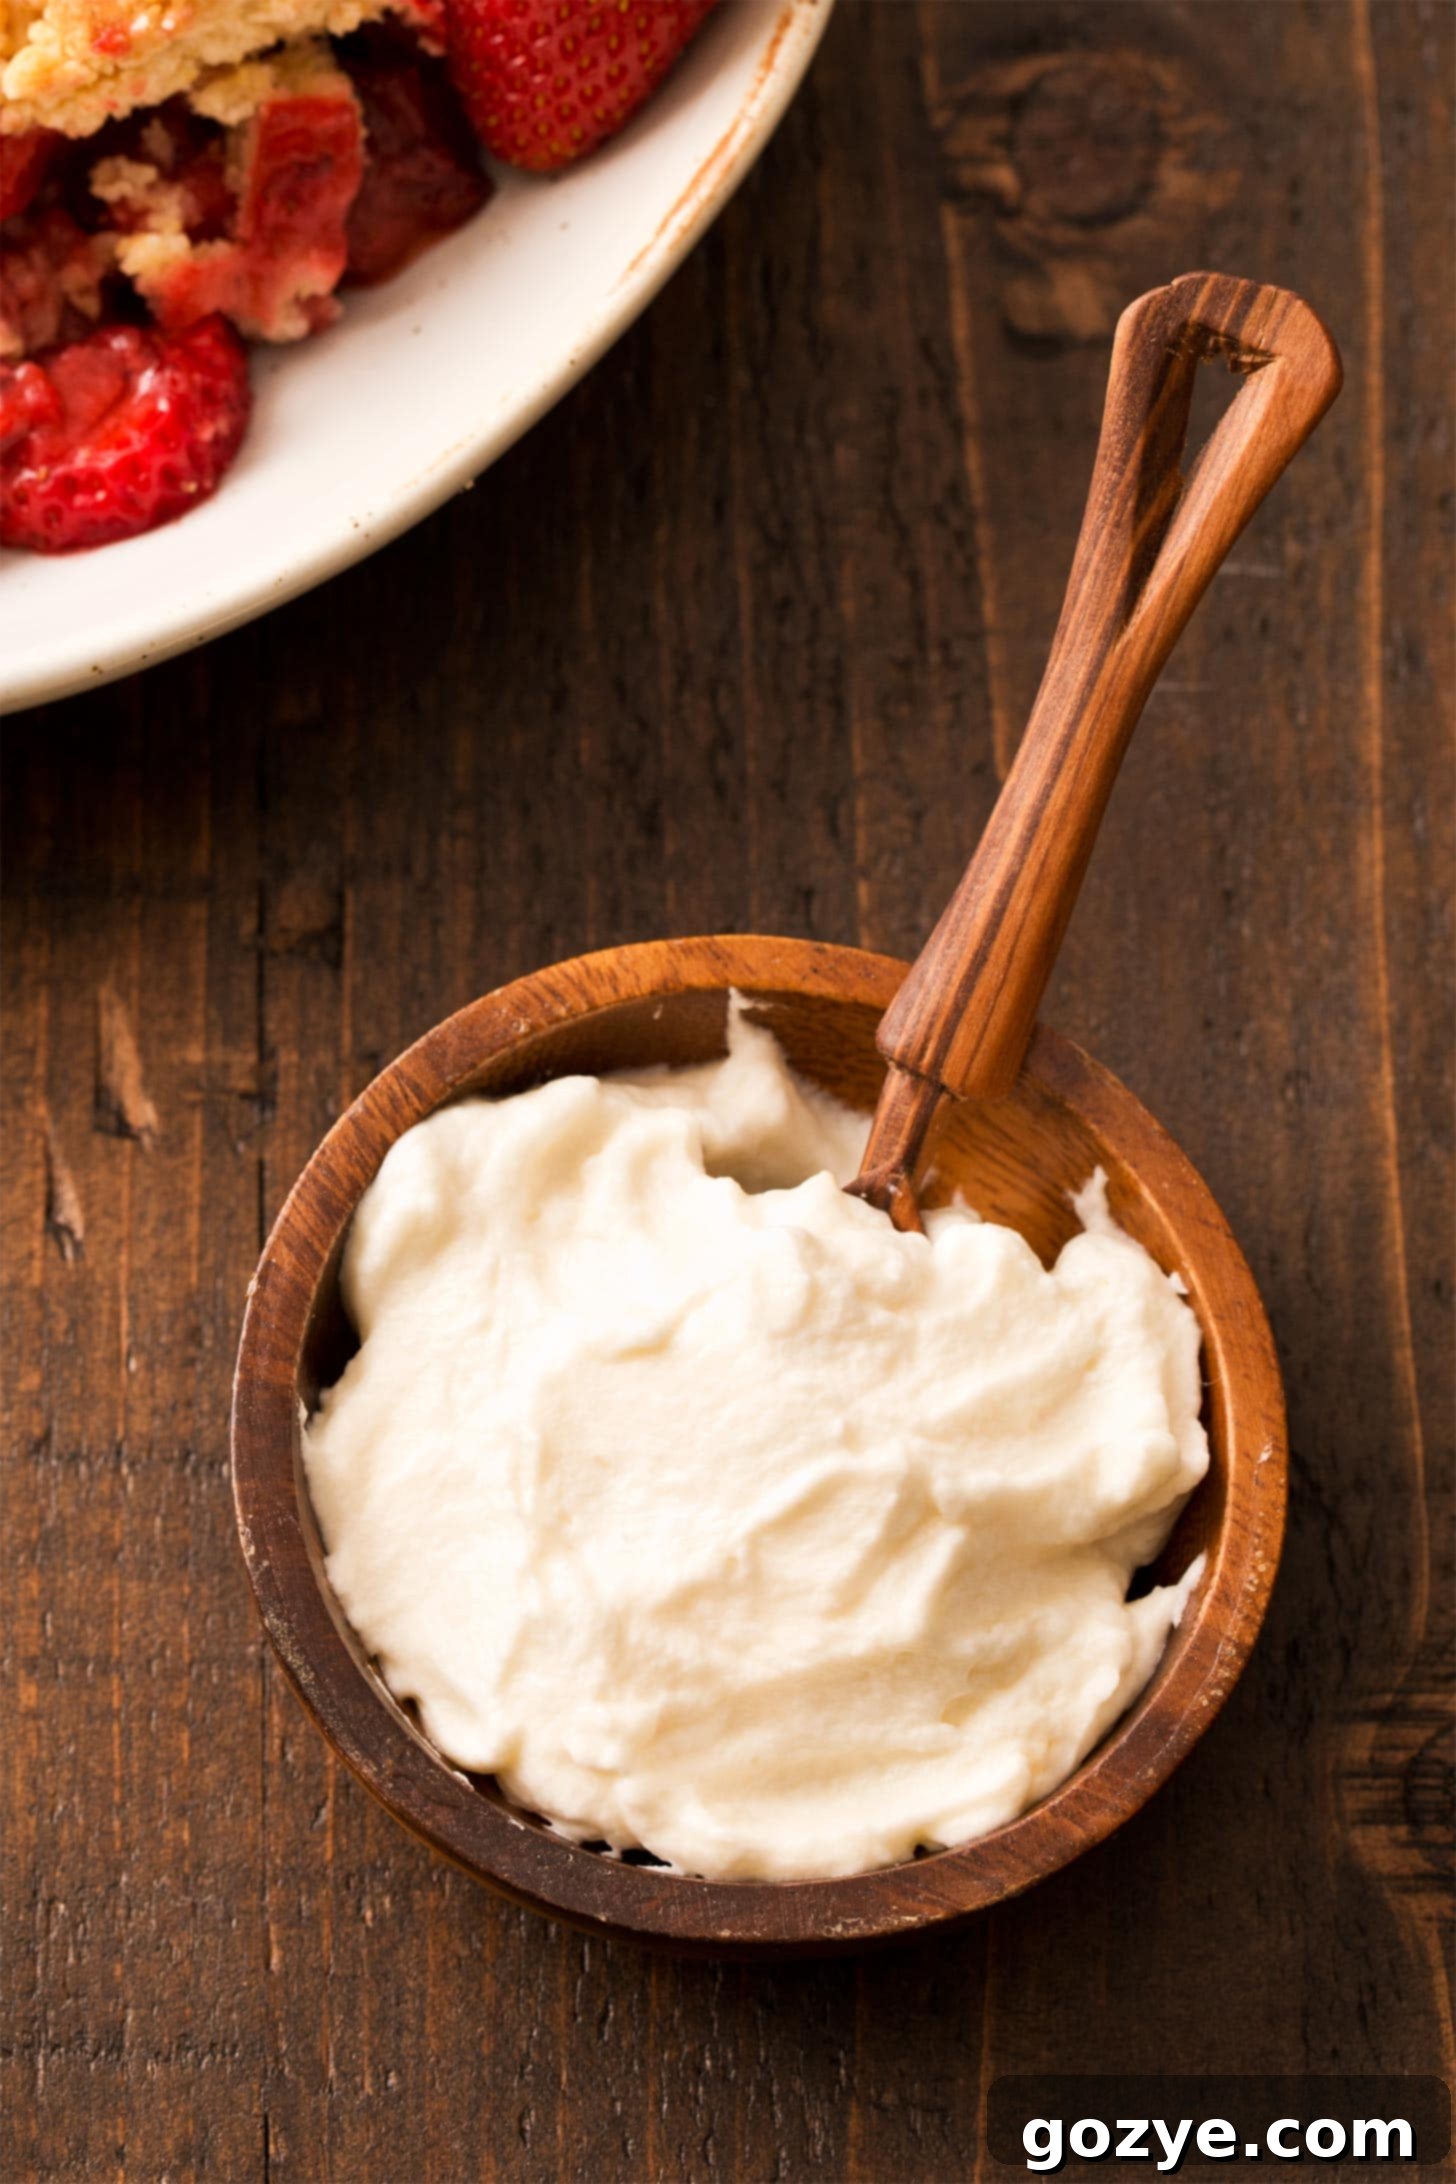
Easy 3-Ingredient Honey Whipped Cream: Your Go-To Naturally Sweetened Dessert Topping
Searching for a light, airy, and effortlessly elegant topping to elevate your favorite desserts? Look no further than this incredible 3-ingredient Honey Whipped Cream! Unlike heavy buttercream frostings or overly sweet sugar-laden alternatives, this homemade whipped cream is delicately sweetened with pure honey, offering a uniquely natural and nuanced flavor that truly shines.
Its fluffy, creamy texture is a dream come true, making it the perfect companion for a vast array of treats. Imagine it gently melting over fresh summer berries, providing a cloud-like contrast to rich cheesecake, or adding a touch of sweetness to warm, fluffy waffles. This recipe is not just simple; it’s a game-changer for anyone seeking a healthier, more flavorful alternative to traditional dessert garnishes.
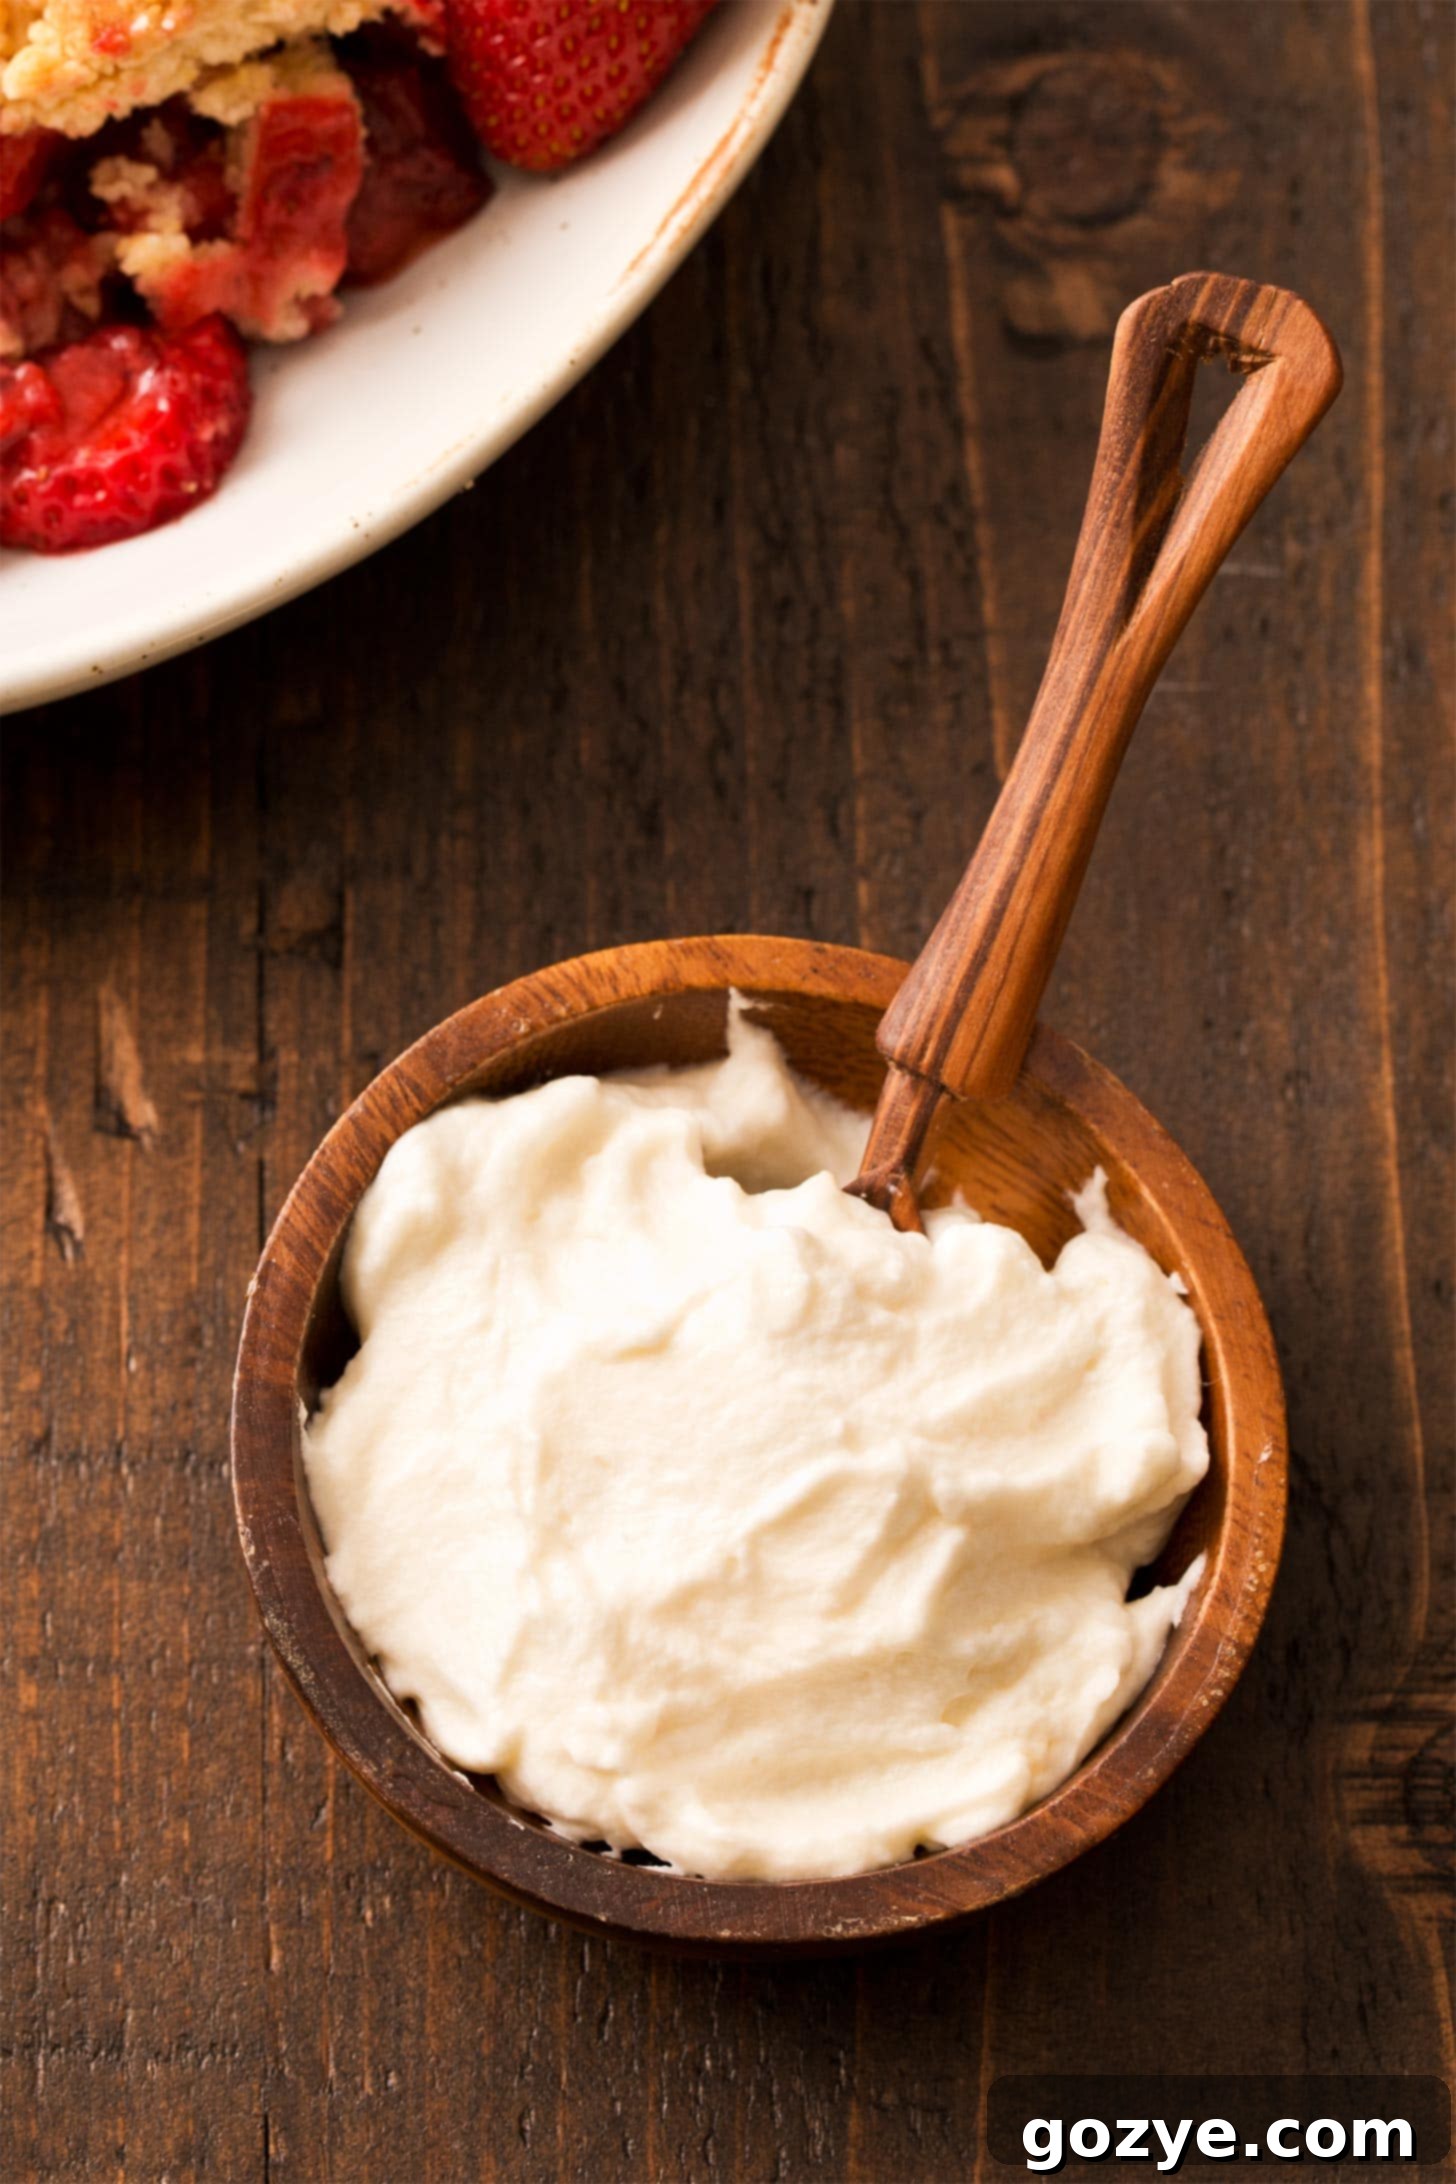
Why Choose Honey Whipped Cream?
When it comes to garnishing desserts, the choice often falls between decadent buttercream frosting or classic whipped cream. While buttercream offers richness, it can sometimes be a bit too heavy and intensely sweet for lighter fare, especially during warmer months. That’s precisely where homemade whipped cream steps in, offering a delicate balance and refreshing lightness.
During the glorious summer months, when an abundance of fresh, seasonal fruit is available, pairing them with a light and naturally sweet topping is ideal. This is why Honey Whipped Cream becomes the perfect complement. It’s whipped cream made from scratch, sweetened exclusively with pure honey, eliminating the need for traditional granulated sugar or artificial extracts. This simple substitution allows the natural aroma and complex sweetness of honey to take center stage, creating a truly memorable flavor profile.
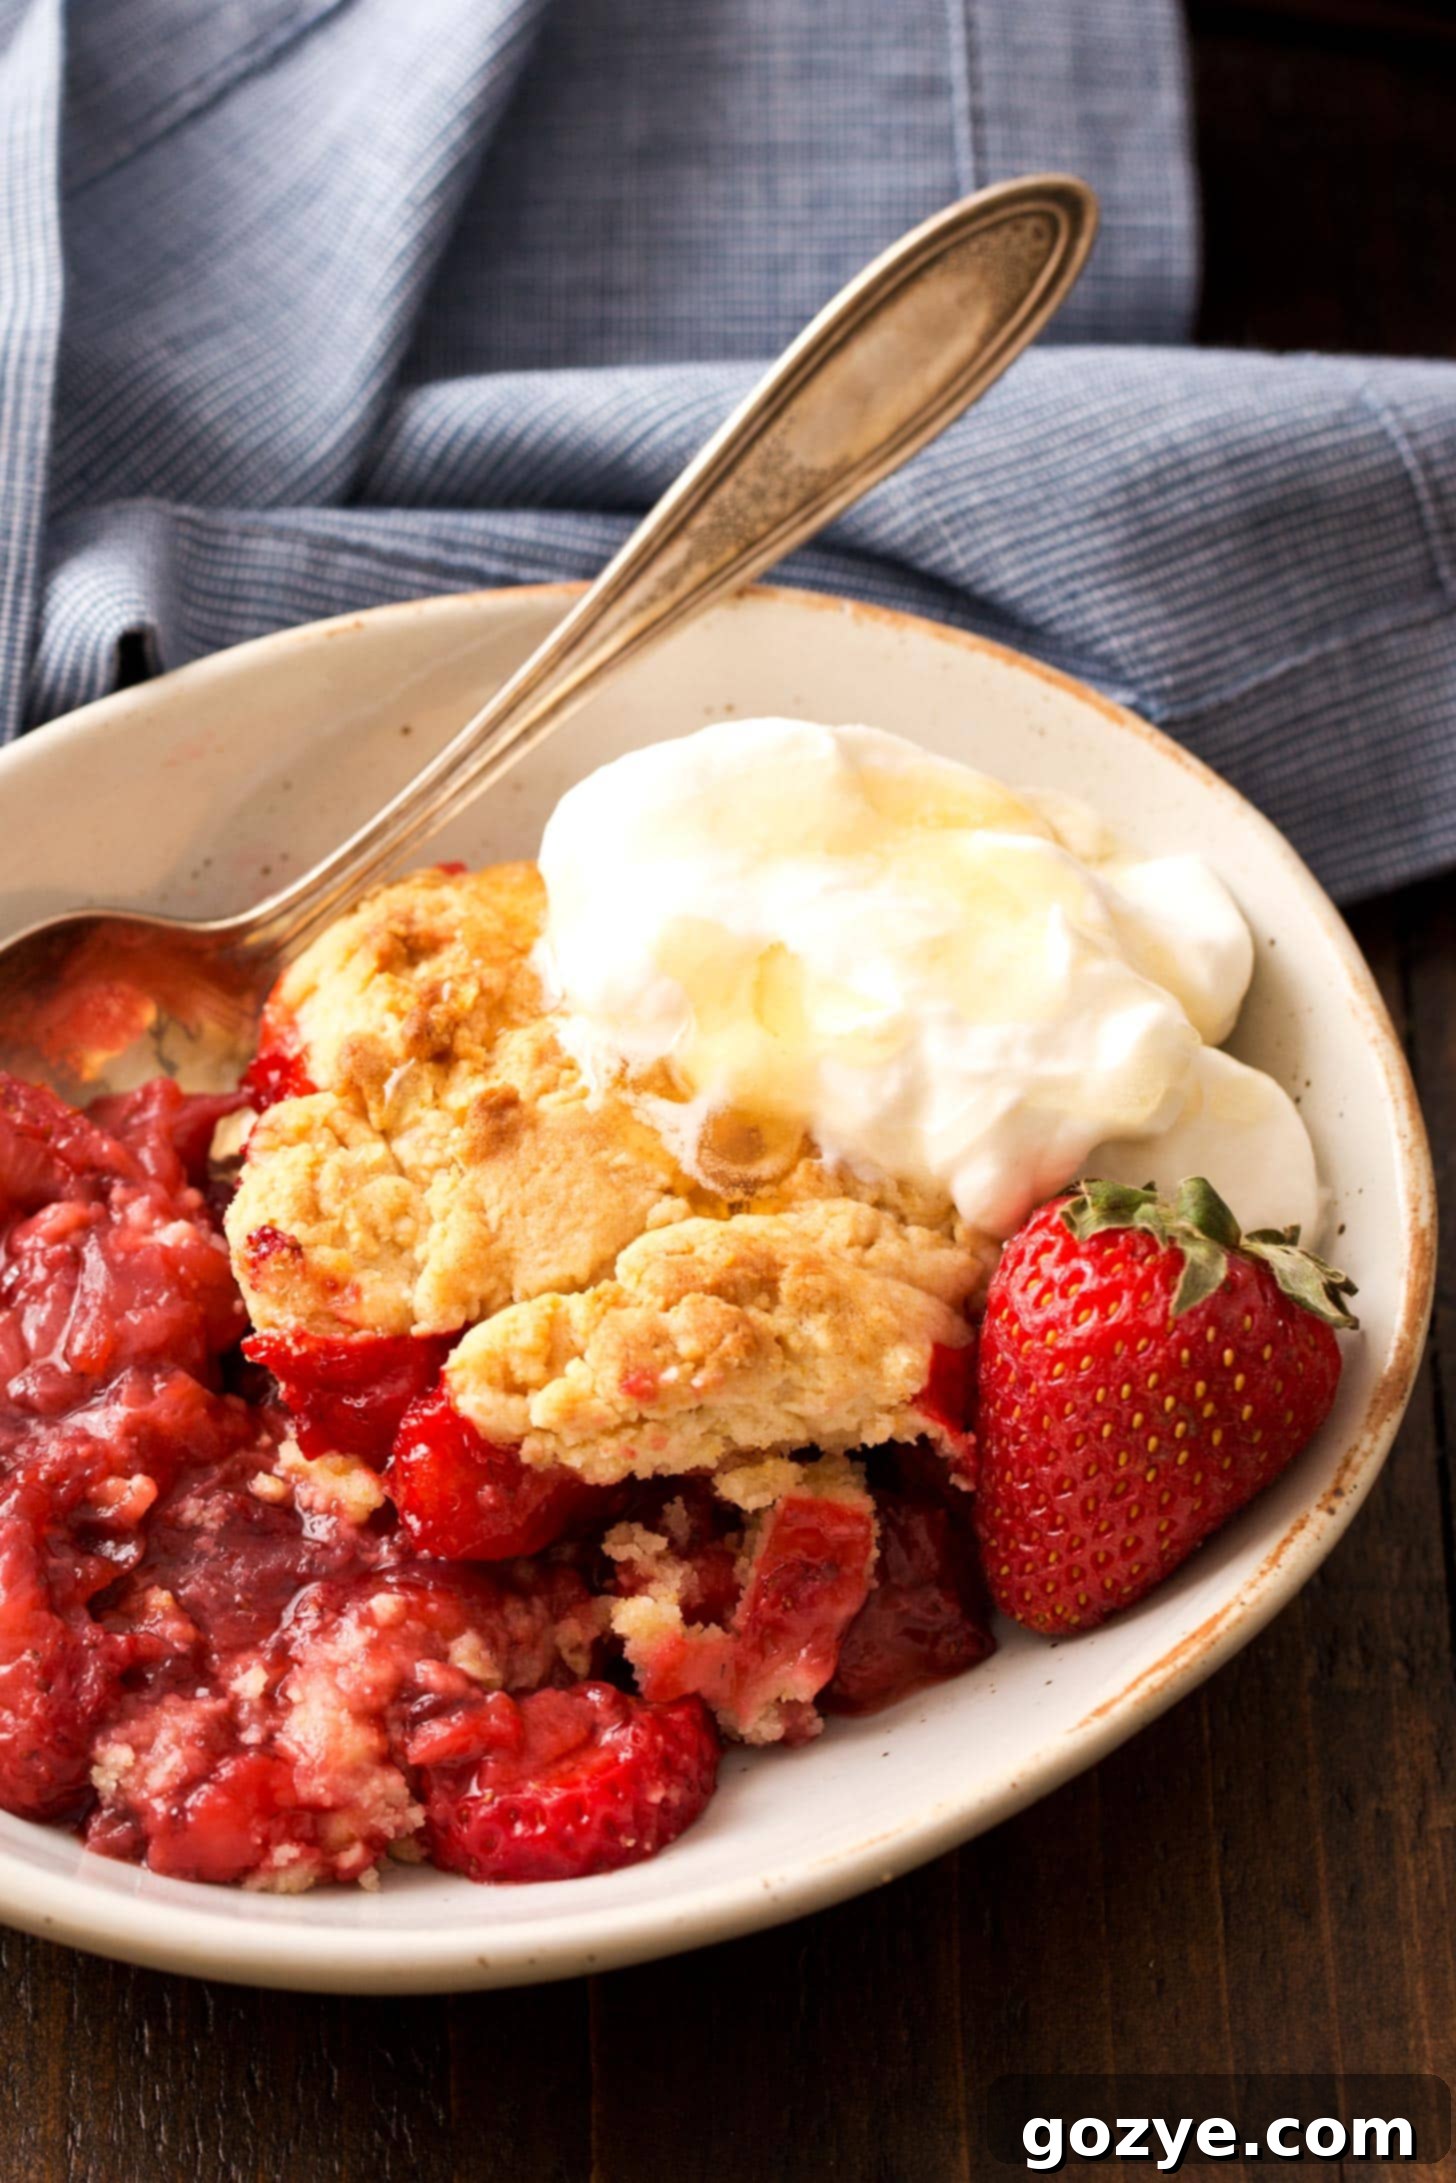
Many have explored various flavored whipped creams, from rich chocolate whipped cream and decadent peanut butter whipped cream to vibrant strawberry whipped cream and tangy cream cheese whipped cream. However, for a truly light and refreshing option, especially for pairing with warm fruit desserts like a strawberry cobbler or mini peach pies, this honey version is unparalleled. Similar to a maple whipped cream, it relies on heavy cream whipped with a natural sweetener until beautiful, stiff peaks are formed.
The simplicity of just three ingredients means the exquisite flavor of the honey isn’t masked, but rather celebrated. This versatile topping is an ideal garnish for everything from a cozy blueberry cobbler for two, a festive small pumpkin cheesecake, a delightful stack of waffles for two, and countless other sweet treats.
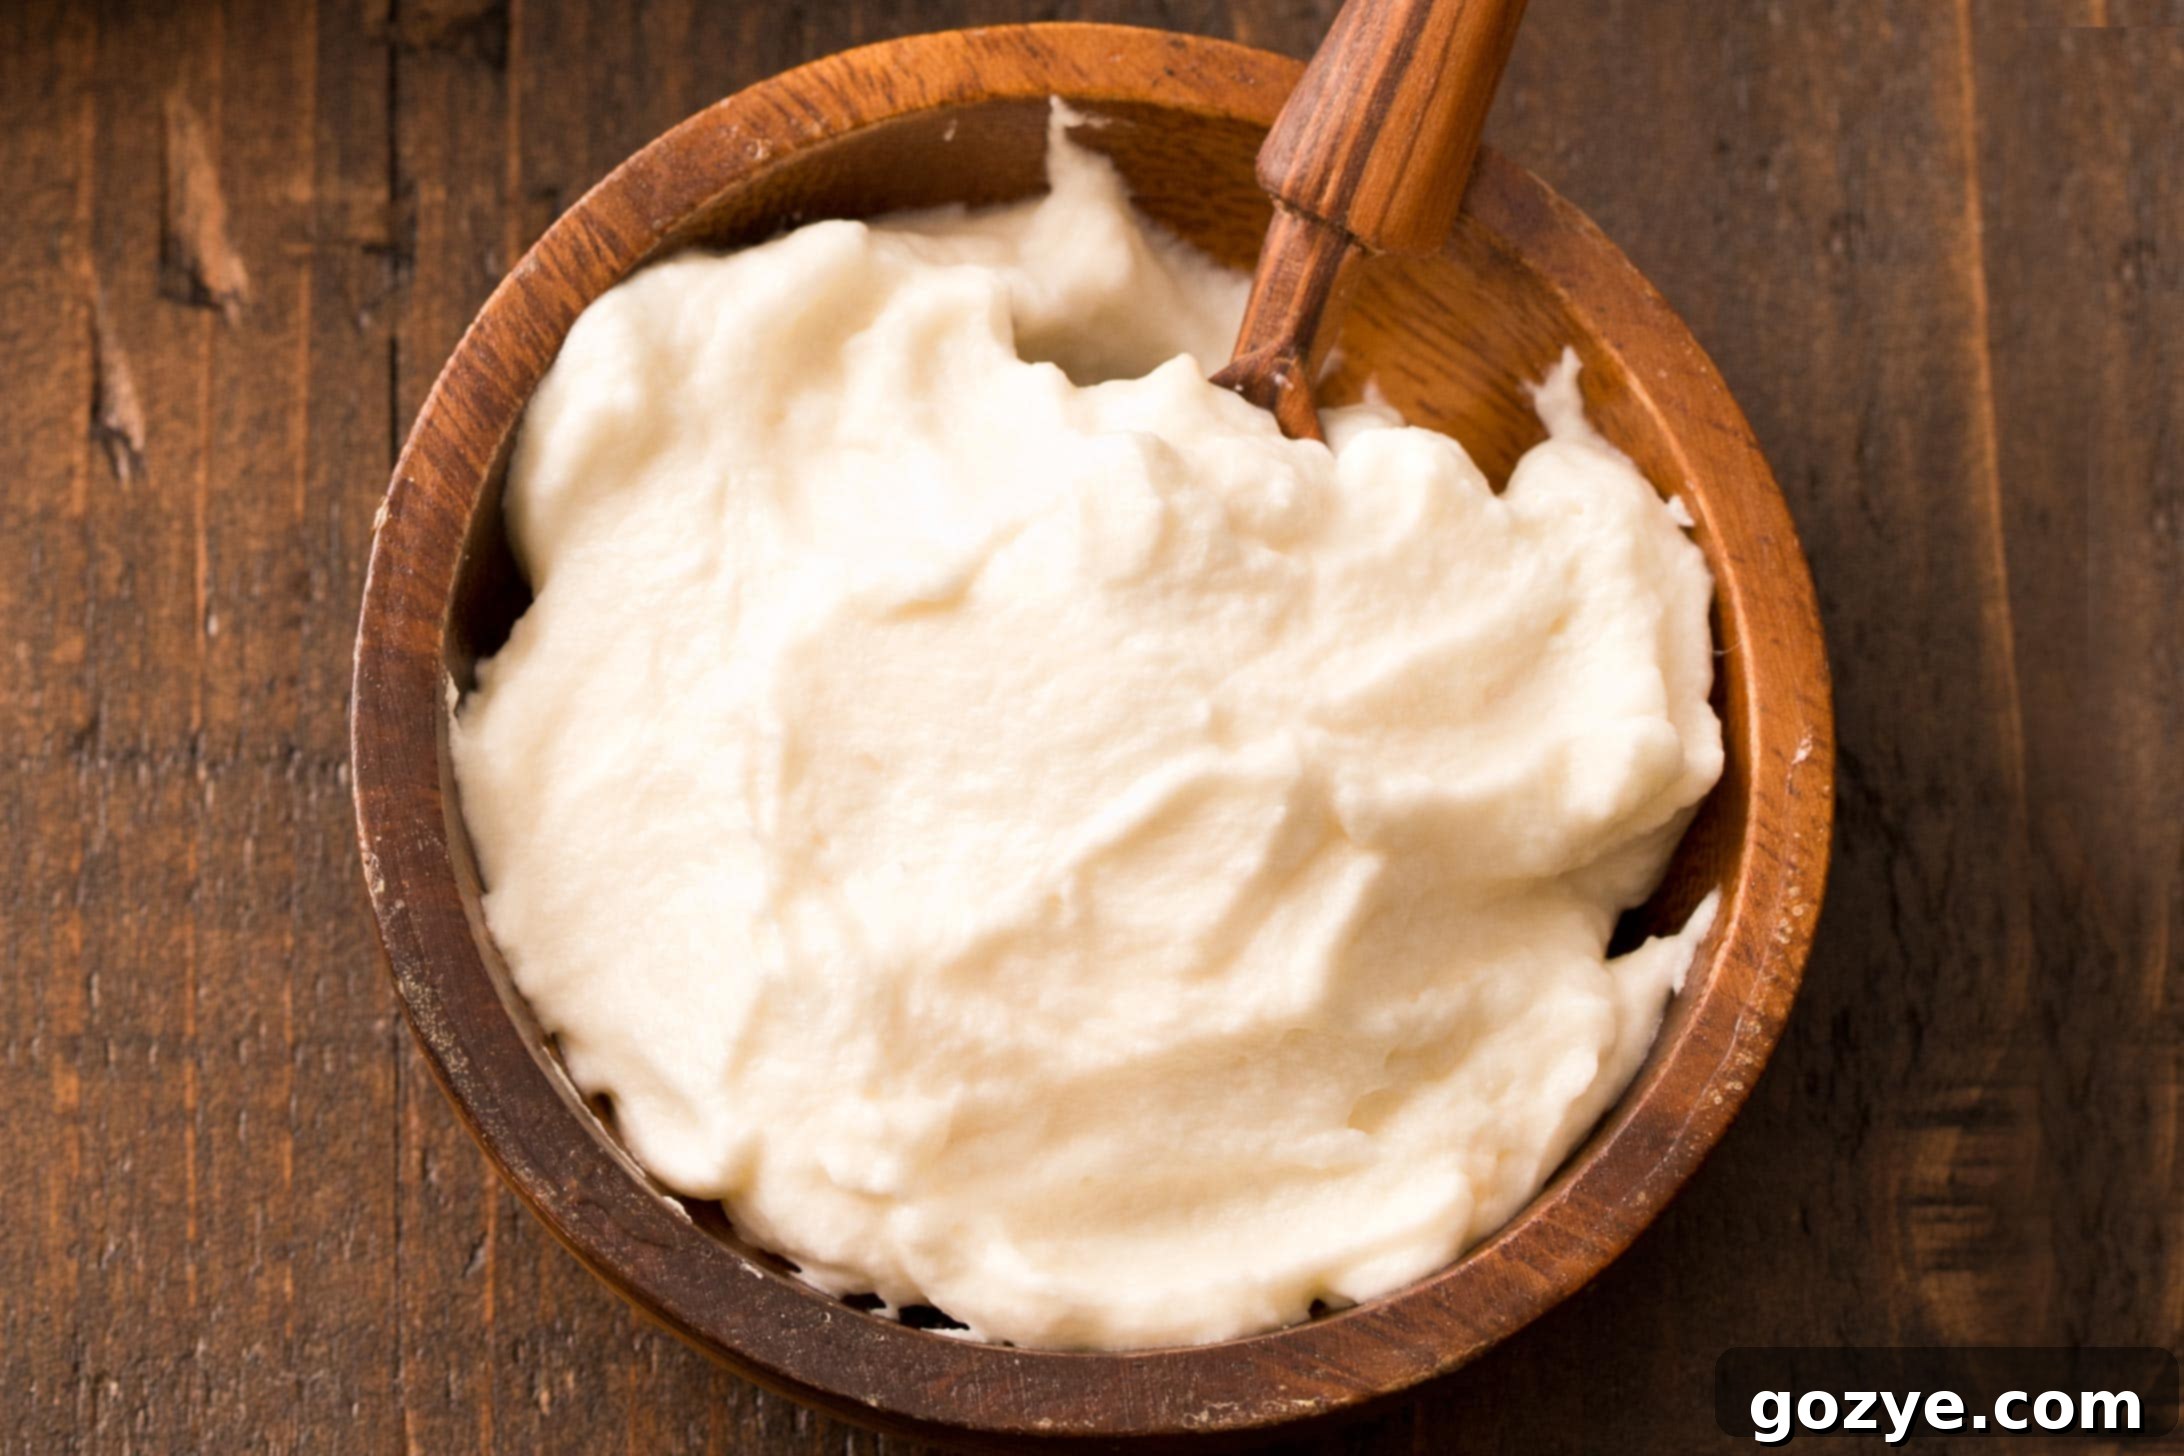
Essential Ingredients for Perfect Honey Whipped Cream
Crafting this delicious homemade whipped cream with honey is incredibly straightforward, requiring only three key ingredients. The quality and type of these ingredients can significantly impact the final texture and flavor, so choose wisely!
- Heavy Whipping Cream: This is the cornerstone of any great whipped cream. It’s crucial to use “heavy whipping cream” and not just “whipping cream.” Heavy cream contains a higher fat content (typically 36% or more), which is essential for achieving stable, firm peaks that hold their shape. Ensure your cream is very cold; cold fat globules emulsify better, resulting in a quicker whip and a more stable structure. Some even recommend chilling your mixing bowl and whisk attachment for 10-15 minutes beforehand for optimal results, especially in warm kitchens.
- Honey: This is our star sweetener and flavor enhancer, replacing traditional powdered sugar. Any type of pure honey will work beautifully, and each will impart a slightly different nuance to your whipped cream. Clover honey is a common and reliable choice, offering a mild, sweet flavor that blends well. However, feel free to experiment with local wildflower honey for a unique regional taste, orange blossom honey for a floral note, or even a darker, richer buckwheat honey for a more robust flavor, depending on what you’re pairing it with. The natural liquid form of honey also helps create a smooth, homogenous mixture without any grainy texture.
- Vanilla Extract: A touch of vanilla extract is a magical addition that enhances and rounds out the flavors of both the cream and the honey. It’s a classic pairing that adds depth and a comforting aroma without overpowering the delicate honey notes. While pure vanilla extract is recommended for the best flavor, a good quality imitation vanilla can also be used in a pinch.
Optional Enhancements for Your Honey Whipped Cream:
While the basic recipe is perfect as is, you can customize it further:
- Spices: A pinch of cinnamon or nutmeg can add a warm, cozy touch, especially for fall desserts.
- Citrus Zest: A little lemon or orange zest can brighten the flavor, perfect for summer fruit tarts.
- Almond Extract: For a subtle nutty flavor, a drop of almond extract can be delightful.
How to Master Making Honey Whipped Cream
Making whipped honey cream is an incredibly rewarding and straightforward process. You’ll be amazed at how quickly you can transform a few simple ingredients into a luxurious topping! Follow these easy steps to achieve perfect, stable whipped cream every time:
- Whip the Heavy Cream: Begin by pouring your very cold heavy cream into a large, cold mixing bowl. Using an electric mixer (either a stand mixer with a whisk attachment or a handheld mixer), start beating the cream on medium-high speed. Initially, the cream will look foamy, then it will begin to thicken. Continue beating until soft peaks form. This stage is reached when you lift the beater straight up, and peaks form, but their tops gently curl or fall over. Be patient, as this usually takes 1-2 minutes depending on your mixer and cream temperature.
- Incorporate Honey and Vanilla: Once soft peaks have formed, gradually add the honey and vanilla extract to the bowl while the mixer is still running on a lower speed. Once incorporated, increase the speed back to medium-high and continue beating.
- Achieve Stiff Peaks: Keep beating until stiff peaks form. This means when you pull the beater straight up, the peaks will stand tall and hold their shape without wilting. This usually takes an additional 2-3 minutes after adding the honey and vanilla. Keep a close eye on it during this stage, as whipping too long can lead to over-beating.
That’s all there is to it! Your homemade honey whipped cream is best enjoyed immediately after it’s made, when it’s at its freshest and fluffiest. If you have any leftovers, refrigerate them in an airtight container for up to 2 days. It might deflate slightly over time, but a quick re-beat with a whisk (be careful not to over-beat!) can often bring back some of its fluffiness.
Understanding Soft Peak and Stiff Peak Stages
When making whipped cream, understanding the difference between soft peaks and stiff peaks is key to achieving the perfect consistency. These terms refer to the visual cues you’ll see as the cream is being whipped:
- Soft Peak Stage: This is when you’ve beaten the heavy cream just enough for it to noticeably thicken. When you lift the beater straight up from the cream, peaks will form, but the very tops will gently curl over and not hold their upright shape. The cream will still be somewhat fluid, but no longer liquid.
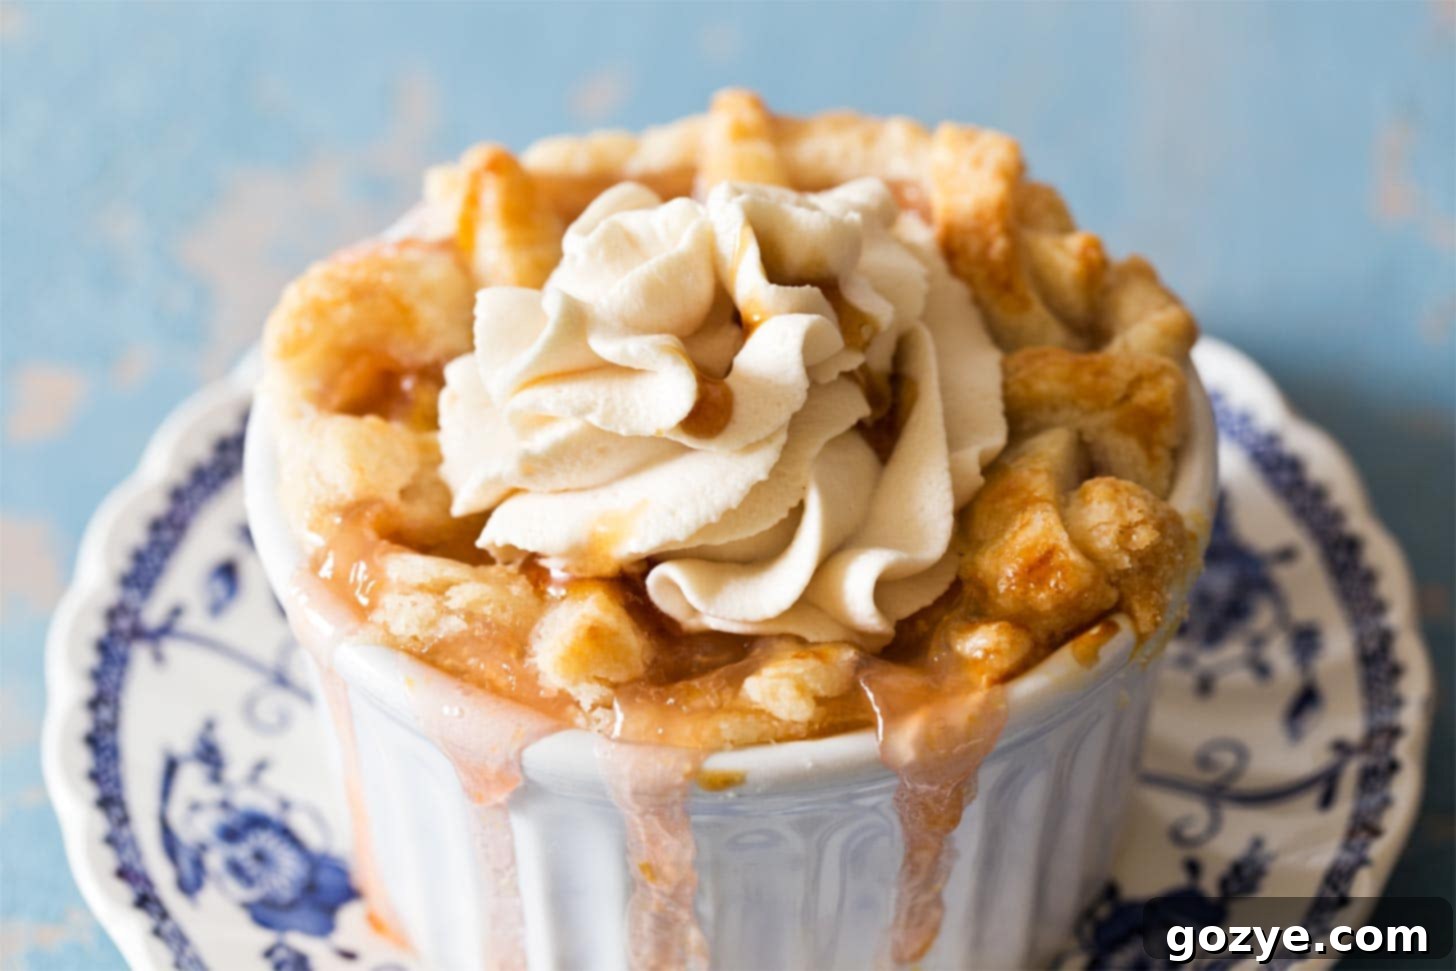
- Stiff Peak Stage: This is the ideal stage for most dessert toppings, where the whipped cream will hold its form robustly. When you pull the beater straight up, the peaks will stand erect and firm, without falling over. The cream will have a much firmer, more sculptural texture. This is what you want for piping or spooning on top of desserts to ensure it holds its shape beautifully.
It’s vital to be vigilant during the stiff peak stage! Stop beating as soon as the peaks hold. Over-beating can quickly turn your light, airy whipped cream into a grainy, separated mess, and eventually into honey butter – which is delicious in its own right, but not what we’re aiming for here!
Extend Freshness: Can You Freeze Whipped Cream?
Did you know you can make your honey whipped cream last even longer? Freezing whipped cream is a fantastic hack for meal prep and ensures you always have a delightful topping on hand. You can freeze it for up to 2 months, making spontaneous dessert moments even easier!
How to Freeze Honey Whipped Cream:
- Portion and Shape: Line a baking sheet with parchment paper or a silicone mat. Using a spoon or a piping bag fitted with a large tip, portion dollops of your freshly made stiff-peak whipped cream onto the prepared sheet. Make them roughly the size you’d use for an individual serving.
- Flash Freeze: Place the baking sheet with the whipped cream dollops into the freezer. Freeze until the dollops are completely firm, typically 1-2 hours. This “flash freezing” prevents them from sticking together.
- Store: Once firm, carefully transfer the frozen whipped cream dollops to a freezer-safe, airtight bag or container. Label it with the date.
This method ensures they’re already perfectly portioned for individual desserts. You don’t even need to thaw them for hot beverages like hot chocolate or coffee; simply drop a frozen dollop right in, and it will slowly melt into a creamy, sweet cloud! For cold desserts, let them thaw for a few minutes on the counter or directly on the dessert. While the texture might be slightly less airy than freshly made, it’s still wonderfully delicious.
Delightful Recipes Using Honey Whipped Cream
Now that you’ve mastered making this incredible honey whipped cream, the possibilities for pairing are endless! Its natural sweetness and light texture make it a versatile complement to a wide range of desserts and breakfast treats. Here are some delectable ideas to inspire you:
- Peach Cobbler For Two: The warmth of the cobbler with the cool, sweet cream is pure bliss.
- Chocolate Strawberry Shortcake: A fresh twist on a classic, the honey cream adds an elegant touch.
- Mini Strawberry Pies: A perfect individual serving crowned with a dollop of honey goodness.
- Mini Cherry Pies: The tartness of cherries beautifully contrasts with the sweet honey cream.
- Angel Food Cake in loaf pan: A light cake deserves an equally light and flavorful topping.
- Mini Angel Food Cake: Ideal for individual servings or a charming dessert spread.
- Chocolate Pancakes: Elevate your breakfast or brunch with a sweet, creamy topping.
- French Toast For Two: A luxurious addition to a romantic breakfast.
- 4 Inch Cheesecake: A smaller, personal cheesecake made even more special.
- 6 Inch Cheesecake: Perfect for sharing, with a generous swirl of honey cream.
- Air Fryer Cheesecake: An innovative dessert that benefits from a classic, delicious topping.
- Fresh Fruit Bowls: Simply serve with a bowl of mixed berries, sliced peaches, or any seasonal fruit.
- Hot Beverages: Swirl into hot chocolate, coffee, or even chai tea for a decadent treat.
- Crepes or Waffles: A fantastic alternative to maple syrup, especially with fresh fruit.
- Fruit Tarts or Parfaits: Layer it with fruit and granola for a beautiful and satisfying dessert.
The versatility of this honey whipped cream means it can enhance virtually any sweet dish you can imagine!
Frequently Asked Questions About Honey Whipped Cream
Even though making whipped cream is simple, a few common questions often arise. Here are some answers to help you achieve perfection:
What’s the difference between “heavy cream” and “whipping cream”?
This is a crucial distinction! “Heavy cream” or “heavy whipping cream” must contain at least 36% milk fat. “Whipping cream” (or “light whipping cream”) contains between 30% and 36% milk fat. The higher fat content in heavy cream allows it to whip up thicker, hold its shape better, and remain stable for longer. While you can whip whipping cream, it won’t achieve the same firm, lasting peaks as heavy cream, making heavy cream the preferred choice for this recipe.
My whipped cream isn’t getting stiff. What am I doing wrong?
There are a few common culprits:
- Not cold enough: Ensure both your heavy cream and your mixing bowl/beaters are very cold. Warm cream takes longer to whip and may not achieve stiff peaks.
- Low fat content: Double-check that you’re using heavy whipping cream (36% fat or more).
- Over-full bowl: If your bowl is too large for a small batch, the whisk might not be able to properly aerate the cream. Use a smaller bowl for small quantities.
- Not enough time: Be patient! It can take several minutes, especially with a hand mixer.
- Adding honey too early: While this recipe adds honey after soft peaks, adding it at the very beginning can sometimes inhibit the whipping process slightly. Stick to the recipe’s timing.
Can I make Honey Whipped Cream ahead of time?
Whipped cream is always best when freshly made, as it is at its lightest and fluffiest. However, you can make it up to 2 days in advance and store it in an airtight container in the refrigerator. It may deflate slightly, but you can often re-whip it for a minute or two before serving to restore some of its volume. Just be careful not to overbeat!
Can I make this dairy-free?
While this recipe specifically calls for heavy dairy cream, you can experiment with dairy-free alternatives. Full-fat canned coconut cream (chilled thoroughly, then scoop out the thick cream from the top) is a popular substitute, though it will impart a coconut flavor. There are also plant-based whipping creams available in some stores that could work. Results may vary in terms of texture and stability compared to dairy cream.
What kind of mixer should I use?
Both a stand mixer with a whisk attachment and a handheld electric mixer work wonderfully for making whipped cream. A stand mixer is generally more powerful and hands-free, making the process quicker and easier. A handheld mixer is great for smaller batches or if you don’t have a stand mixer, but it might take a little longer and require more active participation.
Honey Whipped Cream
2 servings
5 minutes
5 minutes
10 minutes
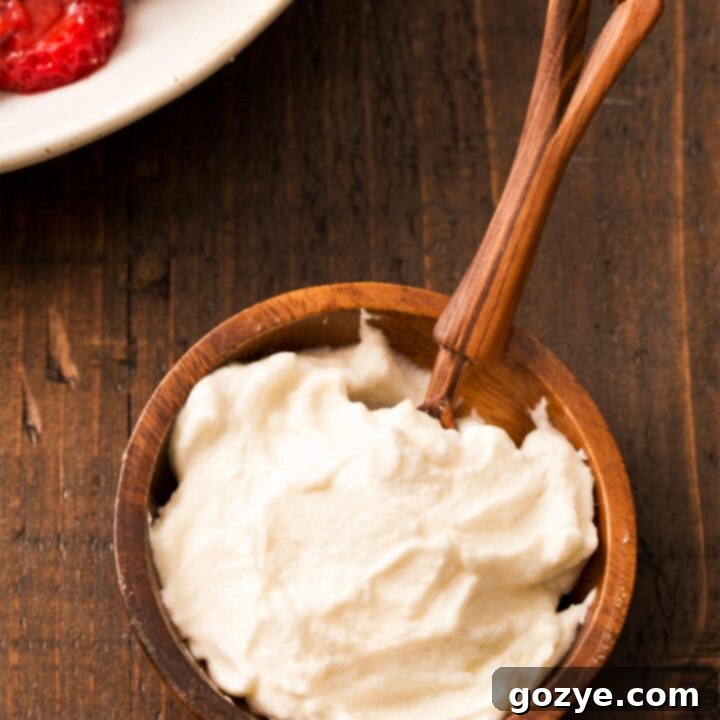
This 3 ingredient Honey Whipped Cream is a light and airy frosting-like topping, naturally sweetened with honey. Its fluffy, creamy texture pairs perfectly with berries, cheesecake, waffles, and more! Quick to make and wonderfully versatile.
Ingredients
Small Batch Honey Whipped Cream
- 1/4 cup cold heavy whipping cream
- 1 tablespoon clover honey
- 1/2 teaspoon vanilla extract
Full Batch Honey Whipped Cream
- 1 cup cold heavy whipping cream
- 1/4 cup clover honey
- 1 tablespoon vanilla extract
Instructions
- In a large cold mixing bowl on medium-high speed (with whisk attachment if using a 5 quart stand mixer), beat the heavy cream until it starts to thicken and soft peaks begin to form, about 1 minute.
For small batches, ensure your bowl isn’t too large (not larger than 5 quarts for a stand mixer). If using a smaller amount of cream or experiencing difficulty, a handheld mixer with a smaller bowl often yields better results.
- Gradually beat in the honey and vanilla extract. Continue beating on medium-high speed until stiff peaks form (when you pull the beater up, peaks will stand tall and not fall over), typically another 3-4 minutes.
Serve your delicious honey whipped cream immediately for the best texture. Refrigerate any leftovers in an airtight container for up to 2 days. While it may deflate slightly over time, it will remain flavorful. A quick whisk can often revive some of its fluffiness if needed.
Notes
- For longer storage, you can freeze whipped cream for up to 2 months. To do this, portion the whipped cream onto a cookie sheet (either by piping or spooning), freeze until firm, then transfer the frozen dollops to a freezer-safe bag or container.
- Explore other delightful whipped cream recipes, including Homemade Whipped Cream, Peanut Butter Whipped Cream, Chocolate Whipped Cream, Strawberry Whipped Cream, Maple Whipped Cream, and Cream Cheese Whipped Cream.
Recommended Products
As an Amazon Associate and member of other affiliate programs, I earn from qualifying purchases.
- Stand Mixer
- Hand Mixer
Did you make this recipe?
Let me know what you think! Rate the recipe above, leave a comment below, and/or share a photo on Instagram using #HITKrecipes
In conclusion, this 3-ingredient Honey Whipped Cream is more than just a simple topping; it’s a versatile and naturally delicious addition that elevates any sweet creation. Its ease of preparation, combined with the wholesome sweetness of honey, makes it a superior alternative to traditional sugar-laden options. Whether you’re topping a rustic cobbler, a delicate cheesecake, or simply a bowl of fresh fruit, this fluffy, aromatic cream is guaranteed to impress. Give it a try, and discover your new favorite way to sweeten and garnish your desserts!
