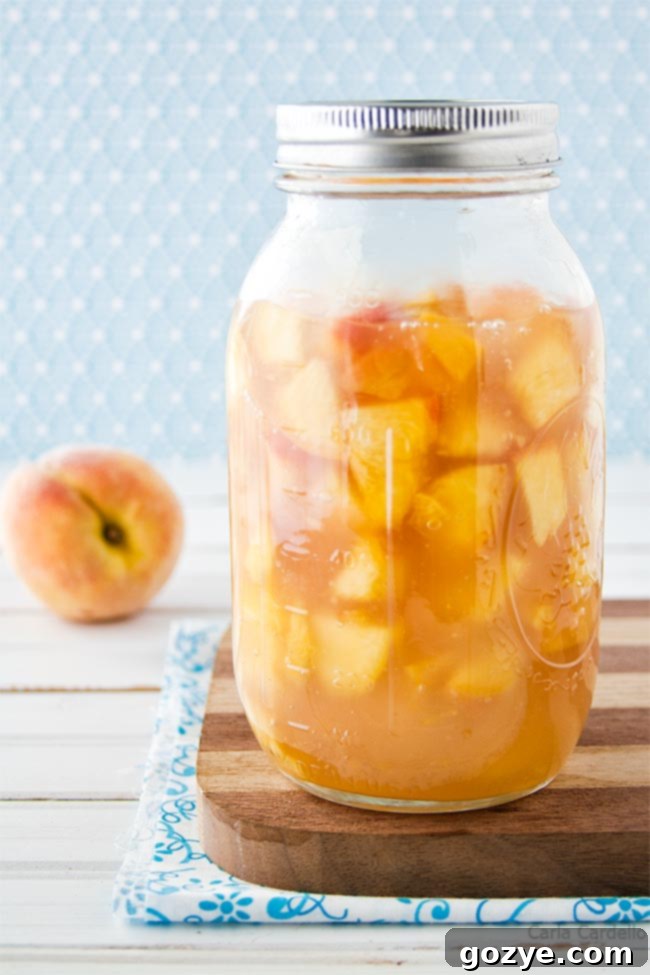
Homemade Peach Pie Filling: Easy Recipe for Fresh & Delicious Desserts
Say goodbye to bland, overly sweet canned pie filling! Embrace the vibrant flavors of summer by learning how to make the most exquisite homemade Peach Pie Filling from scratch. Crafted with fresh, succulent peaches, this recipe is a game-changer for your favorite desserts. Use it to create a classic peach pie, a comforting peach cobbler, or even a refreshing no-bake cheesecake. It’s truly versatile and incomparably delicious.
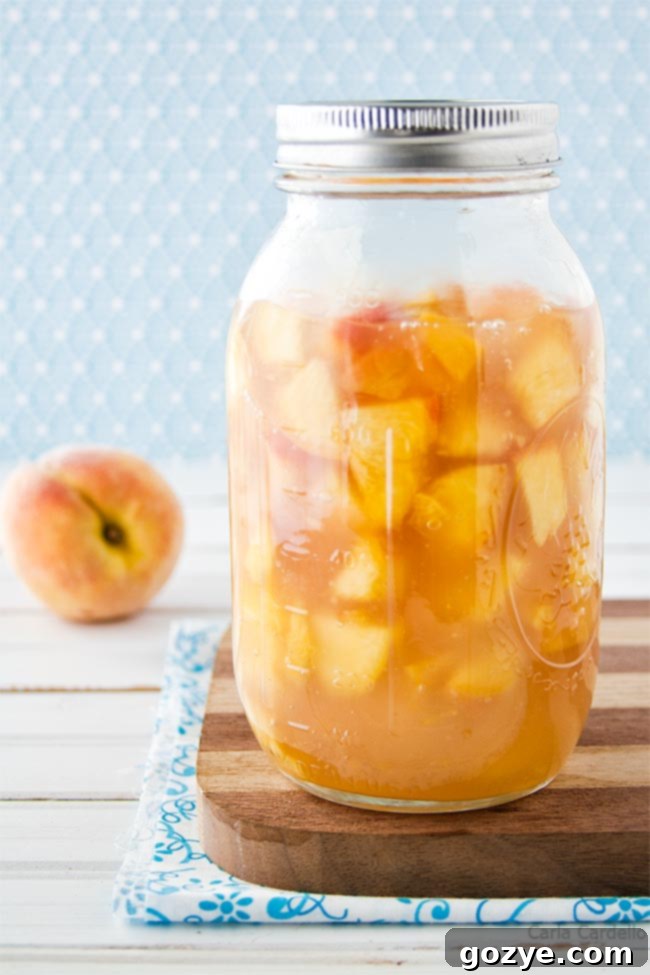
The arrival of summer in Pennsylvania is synonymous with one glorious thing: peach season! And when those juicy, sun-ripened peaches become available, you can bet I’m first in line to enjoy them. There’s an undeniable magic in a freshly picked peach that simply can’t be replicated, and incorporating that fresh flavor into a homemade pie filling is a tradition I cherish.
For years, my dad and I would venture out to local farms for “pick-your-own-peaches” excursions. The thrill of finding the perfect fruit, combined with the anticipation of all the delicious treats we’d make, was a highlight of our summer. However, when I lived a few hours away in south-central PA, coordinating a weekend trip to our favorite farm became a challenge. In those instances, I’d rely on the trusty roadside fruit stands, where I knew the peaches, though not hand-picked by me, were still bursting with farm-fresh goodness.
I’ve previously shared recipes for other delightful homemade fillings, including strawberry pie filling, apple pie filling, cherry pie filling, and blueberry pie filling. Expanding my repertoire to include a dedicated recipe for Homemade Peach Pie Filling was a natural next step.
This peach filling recipe offers a wonderfully fresh alternative to its canned counterparts. It achieves a similar luscious consistency but without the artificial preservatives or high corn syrup often found in store-bought versions. While I personally might not be overly concerned about those last two points, I understand their importance to many home bakers. Regardless of your dietary preferences, this recipe promises an easy, delicious, and deeply satisfying result that truly lets the natural flavor of peaches shine.
This homemade peach pie filling is the perfect foundation for a variety of desserts. Imagine the aroma of freshly baked mini peach pies wafting through your kitchen, or the delightful texture of Peach Crumb Bars. It also elevates simpler treats like No Bake Peach Cheesecake Parfaits, adding a burst of summery goodness.
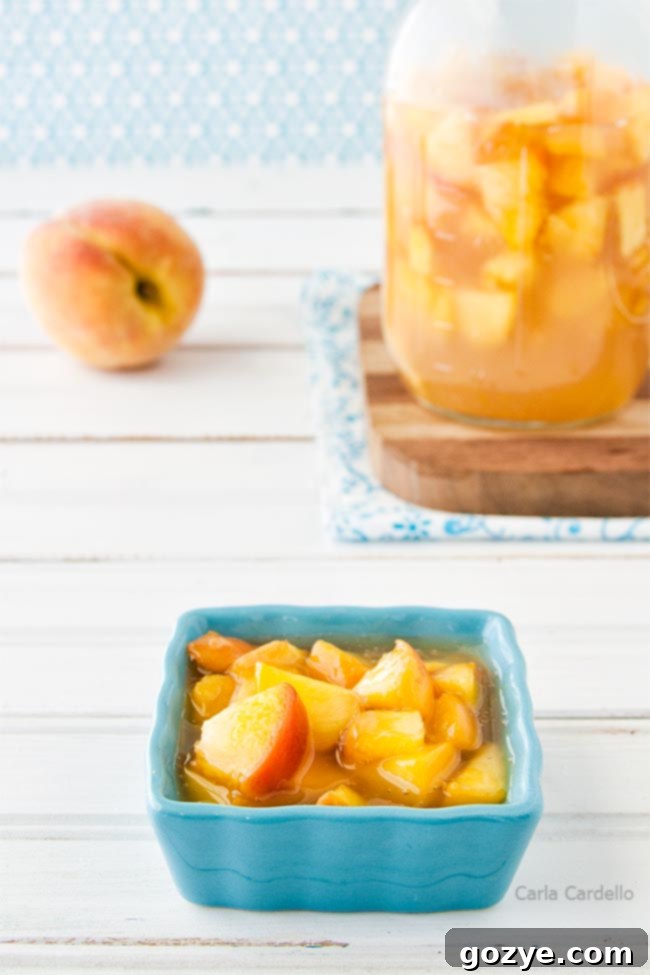
Essential Ingredients for the Best Peach Pie Filling
Creating this incredibly easy and flavorful peach pie filling requires just a handful of simple ingredients. Each component plays a crucial role in achieving that perfect balance of sweetness, tang, and luscious texture.
- Granulated Sugar: While fresh peaches are naturally sweet, a bit of extra sugar is essential to create the syrupy base and enhance their flavor, especially when cooked. You can adjust the amount slightly based on the sweetness of your peaches and your personal preference.
- Water: This forms the liquid base for our syrup. For an even more intense peach flavor, consider substituting a portion or all of the water with peach juice (store-bought or homemade) or even a light peach-flavored tea.
- Cornstarch: This is our chosen thickener. Cornstarch creates a beautifully clear, glossy, and smooth filling. It’s important to whisk it thoroughly with the cold water and sugar *before* heating to prevent lumps.
- Lemon Juice: A splash of fresh lemon juice is non-negotiable! It brightens the flavors, balances the sweetness of the peaches, and helps prevent the peaches from browning excessively, keeping your filling visually appealing.
- Vanilla Extract: A touch of vanilla adds depth and warmth, subtly enhancing the natural peach flavor without overpowering it. Use a good quality pure vanilla extract for the best results.
- Fresh Peaches: The star of the show! For the best pie filling, opt for ripe, freestone yellow peaches. They offer a perfect balance of sweetness and tartness, and their flesh holds up well during cooking. While white peaches are delicious for eating fresh, they tend to be less acidic and can become mushier when cooked. Choose peaches that are fragrant and yield slightly to gentle pressure.
The beauty of this simple peach pie filling recipe lies in its versatility. It provides a fantastic blank canvas for additional flavor enhancements, allowing you to customize it to your taste:
- Warm Spices: For a comforting, spiced peach pie, add a pinch of cinnamon, nutmeg, a tiny touch of clove, or even a dash of allspice. These flavors complement peaches beautifully, especially in the cooler months.
- Herbal Notes: For a more sophisticated and fresh twist, experiment with a hint of fresh thyme or basil. These herbs pair surprisingly well with peaches, adding an unexpected layer of flavor.
- Fruit Medley: Combine peaches with other summer fruits! Raspberries, blueberries, or even a few sliced strawberries can create a delightful mixed fruit filling.
- Nutty Crunch: Stir in some toasted pecans or walnuts for added texture and a rich, nutty flavor, perfect for cobblers or crisps.
Should Peaches Be Peeled for Pie? The Definitive Answer
Before we dive into the step-by-step process of making this luscious peach pie filling, let’s address a common and important question that often comes up with most peach recipes: should you peel the peaches?
While peach skin is entirely edible and packed with nutrients, for pie filling, the consensus among bakers is a resounding yes, it’s best to peel them. Here’s why:
- Texture: Peach skins, even when cooked, can retain a slightly fuzzy or leathery texture that can be unpleasant in a smooth pie filling. Peeling ensures a silky, melt-in-your-mouth consistency.
- Flavor: The skin can sometimes impart a slightly bitter or astringent note to the cooked filling, detracting from the sweet, pure peach flavor we’re aiming for.
- Appearance: A peeled peach filling has a more uniform and appealing color, free from dark specks of skin.
Don’t worry, peeling peaches is easier than you might think! Learn how to peel peaches with step-by-step photos using the blanching method, which makes the skins slip right off.
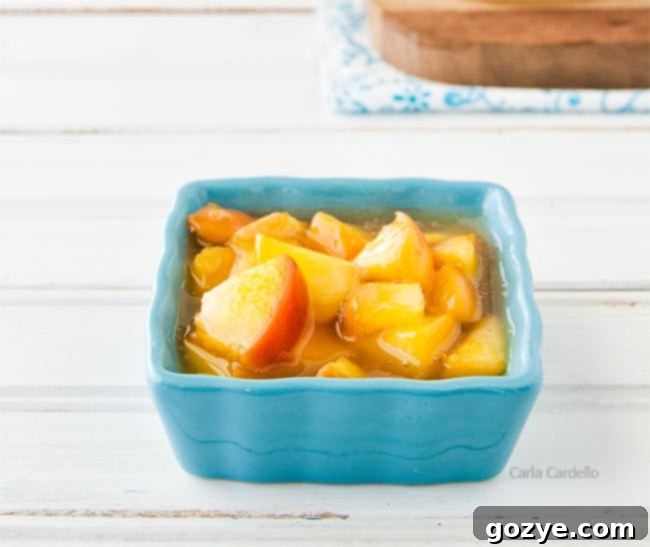
How to Make Homemade Peach Pie Filling: Step-by-Step Guide
This peach pie filling recipe is incredibly straightforward, almost as easy as boiling water – primarily because that’s a key part of the process! With just a few simple steps, you’ll have a rich, flavorful filling ready for all your baking adventures.
- Whisk the Base: In a medium to large saucepan, whisk together the granulated sugar, water, cornstarch, and lemon juice. It’s crucial to mix the cornstarch thoroughly with the cold liquids before heating to prevent any lumps from forming. A smooth start ensures a smooth finish.
- Bring to a Boil & Thicken: Place the saucepan over medium heat. Bring the mixture to a rolling boil, stirring frequently. As it heats, the sugar will dissolve, and the cornstarch will begin to activate. Continue to stir and boil for about 2-3 minutes, or until the mixture has significantly thickened to a syrupy consistency. It should coat the back of a spoon.
- Remove from Heat & Add Flavors: Once thickened, immediately remove the saucepan from the heat. Stir in the vanilla extract and your peeled and chopped fresh peaches. Because peaches are delicate and become soft quickly, we add them at the very end to prevent them from turning mushy. The residual heat from the syrupy base will gently cook them to perfection without overdoing it.
- Cool Completely: Allow the filling to cool down to room temperature before using. As it cools, it will thicken further and the flavors will meld beautifully. If you try to use it while hot, it might make your pie crust soggy or affect the texture of your dessert.
Pro Tip: If you plan to refrigerate the filling, it might separate slightly. Don’t worry, this is normal! Simply reheat it gently in a saucepan over low heat, stirring constantly, until it becomes smooth and homogenous again before using.
Transforming Your Filling into a Perfect Peach Pie
Now that your glorious homemade peach pie filling is ready, it’s time for the ultimate test: baking a delicious peach pie!
- Preheat Your Oven: Begin by preheating your oven to 400°F (200°C). This high initial temperature helps to set the crust and ensure a golden-brown finish.
- Prepare the Crust: Line a standard 9-inch pie plate with your preferred pie dough. This can be a homemade all-butter crust for superior flavor, or a high-quality store-bought crust for convenience. Gently press the dough into the plate, ensuring it covers the bottom and sides evenly.
- Add the Filling: Pour your cooled peach pie filling into the prepared pie crust. Distribute it evenly, but avoid overfilling, which can lead to spills.
- Top the Pie: Take your second piece of pie dough (for a double-crust pie). You can simply lay it over the top, or get creative with a lattice design for an elegant touch. Carefully seal the edges of the top and bottom crusts together. You can crimp them with your fingers or a fork for a decorative finish.
- Vent for Steam: Crucially, make at least 3-4 slits (or more if using a solid top crust) into the top crust. These vents allow steam to escape during baking, preventing the crust from becoming soggy and ensuring the filling cooks evenly.
- Bake to Perfection: For easy cleanup and to catch any potential spills, place your pie on a baking sheet before putting it in the oven. Bake for approximately 45-60 minutes, or until the crust is beautifully golden brown and the filling is bubbly. If the crust starts to brown too quickly, you can loosely tent the edges with aluminum foil.
- Cool Before Serving: This is perhaps the hardest part: allow your pie to cool completely on a wire rack before slicing and serving. This allows the filling to set properly, ensuring clean slices and preventing a runny mess.
Feel free to adapt instructions from other pie recipes, such as my Mini Cherry Pie, Mini Apple Pies, or Cherry Crumble Pie, simply by substituting the fruit filling with your fresh peach creation. Serve your warm, golden-brown peach pie with a generous scoop of creamy peach ice cream or a dollop of fresh whipped cream for an unforgettable dessert experience.
Crafting Comforting Peach Cobbler with Your Homemade Filling
Perhaps you’re craving the rustic charm of a cobbler instead of a classic pie? Your homemade peach pie filling is the perfect shortcut to a delectable peach cobbler. Cobblers are wonderfully versatile and forgiving, often featuring a sweet biscuit or cake-like topping baked over a fruit base.
You can easily adapt this filling for the base of my Peach Cobbler for Two, a perfectly portioned dessert. Alternatively, use it as the fruit layer for Cherry Cobbler Bars, swapping out the cherries for peaches to create a delightful handheld treat. The beauty of a cobbler is its simplicity – just spoon the warm filling into a baking dish, top with your chosen dough or batter, and bake until golden and bubbly. It’s comfort food at its finest!
Can You Can Homemade Peach Pie Filling for Long-Term Storage?
A frequent question I receive about my fresh peach pie filling is whether it’s suitable for canning. This is an excellent question regarding food safety, and the answer is an emphatic no for this particular recipe, primarily due to the cornstarch content.
Here’s why cornstarch and traditional home canning don’t mix:
- Stability: Cornstarch tends to break down over time and with the high heat required for canning. This breakdown can result in a watery, unappealing texture and can affect the acidity and safety of the canned product.
- Food Safety: For safe home canning, recipes must be rigorously tested to ensure the correct acidity and processing times. Thickening agents like cornstarch can interfere with heat penetration during canning, meaning the product might not reach a high enough temperature to destroy all spoilage microorganisms. This creates a risk for bacterial growth, including dangerous pathogens like botulism.
To safely store your delicious homemade peach pie filling, refrigeration and freezing are your best bets:
- Refrigeration: Transfer the cooled filling to an airtight container and refrigerate for up to 2 weeks. As mentioned, it might separate slightly, but a gentle reheat will bring it back to its smooth consistency.
- Freezing: Freezing is an excellent option for longer-term storage, allowing you to enjoy summer’s bounty months later.
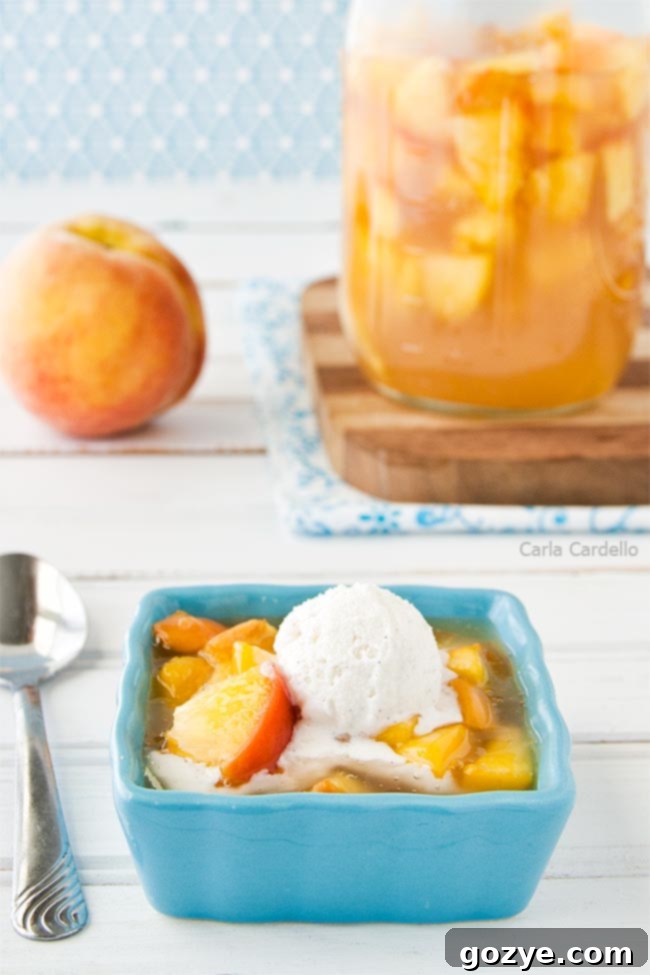
How to Freeze Homemade Peach Pie Filling for Future Baking
Just like you can freeze a whole peach pie, this homemade peach filling freezes beautifully, allowing you to capture the taste of summer for months to come. Freezing offers incredible convenience, letting you pull out a ready-to-use filling whenever a craving strikes. There are two primary methods for freezing your peach pie filling:
- Freezing as a Pre-Assembled Pie:
- Line a freezer-safe pie plate (avoid glass, as it can shatter when baked directly from frozen) with your pie dough.
- Fill the crust with your cooled peach pie filling.
- Cover the top with a second piece of pie dough, creating your vents for steam.
- Wrap the entire pie tightly with several layers of plastic wrap, then place it inside a large freezer-safe plastic bag. This double-layer protection helps prevent freezer burn.
- Label clearly with the date and contents.
- Freezing the Filling Separately (Pie-Shaped):
- Transfer the cooled peach pie filling into a large freezer-safe plastic bag.
- Place the bag inside an empty 9-inch pie plate. Gently spread the filling within the bag so it conforms to the shape of the pie plate. This creates a ready-made “pie-shaped puck” of filling.
- Freeze until solid and firm. Once frozen, you can remove the pie plate and simply store the frozen bag of filling, saving valuable freezer space.
- When you’re ready to bake, you can easily slip this frozen filling into a prepared pie crust.
Whichever method you choose, your homemade peach pie filling can be frozen for up to 3 months for optimal freshness and flavor. To bake a frozen pie (either pre-assembled or with a frozen filling puck):
- Preheat your oven to 400°F (200°C).
- If baking a pre-assembled pie, ensure the top crust has slits for steam. If using a frozen filling puck, place it into your fresh pie crust, then top with another crust with slits.
- Bake directly from frozen (do not thaw) for approximately 45-60 minutes, or potentially longer (up to 75-90 minutes for a full pie) until the crust is golden brown and the filling is bubbly and heated through. Keep an eye on the crust and tent with foil if it’s browning too quickly.
Beyond Pie: Creative Uses for Your Peach Pie Filling
While peach pie is a classic, this versatile homemade filling can elevate countless other desserts and breakfast treats. Don’t limit yourself! Here are even more delightful ways to use your delicious peach pie filling:
- Stuffed Pastries: Fill Peach Turnovers or Mini Apple Hand Pies (swapping apples for peaches) for a quick, portable treat.
- Cheesecake Topping: Spoon it generously over Mini Cheesecakes, No Bake Mini Cheesecakes, or a luscious No Bake Blueberry Cheesecake (again, substituting peaches for blueberries) for a burst of fresh flavor.
- Breakfast Booster: Swirl it into oatmeal, top pancakes or waffles, or mix it into yogurt parfaits for a luxurious breakfast.
- Dessert Bars: Use it as the fruit layer in a crumb bar or square recipe for an easy-to-serve dessert.
- Peach Dump Cake: Add it to the bottom of a cake pan for this incredibly simple Peach Dump Cake made without cake mix by Lynn’s Kitchen Adventures.
- Ice Cream Topping: Serve it warm over vanilla bean ice cream for a quick and satisfying dessert.
- Muffins & Scones: Gently fold cooled filling into muffin batter or scone dough for a delightful peach twist.
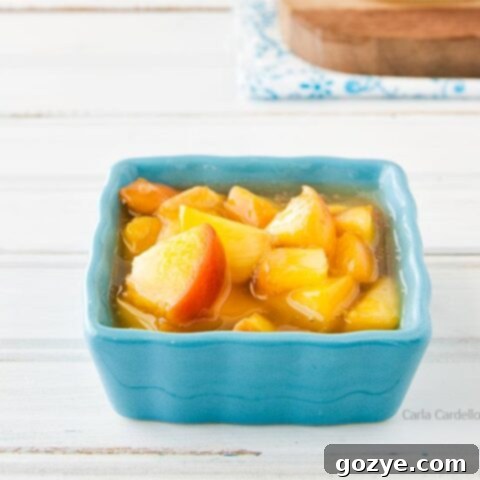
Homemade Peach Pie Filling
4 cups
20 minutes
10 minutes
30 minutes
No more bland, canned pie filling! Learn how to make luscious homemade Peach Pie Filling from scratch using fresh, juicy peaches. This easy recipe is perfect for peach pie, peach cobbler, or even a refreshing no-bake cheesecake.
Ingredients
- 1 cup granulated sugar
- 1 cup water
- 1/4 cup cornstarch
- 1 tablespoon lemon juice (freshly squeezed for best flavor)
- 1 teaspoon vanilla extract (pure vanilla is recommended)
- 4 cups peeled and chopped fresh peaches (approximately 6-8 medium peaches; learn how to peel peaches)
Instructions
- In a large saucepan, whisk together the sugar, water, cornstarch, and lemon juice until smooth. Place over medium heat and bring to a rolling boil, stirring frequently. Continue to cook and stir for 2-3 minutes until the mixture has significantly thickened to a syrupy consistency.
- Remove the saucepan from the heat. Stir in the vanilla extract and the peeled, chopped peaches. Allow the filling to cool completely to room temperature before using in your desired recipe or refrigerating.
Storage Notes:
- The filling can be refrigerated in an airtight container for up to 2 weeks. Please note that this recipe is not suitable for canning due to the cornstarch, which can break down and affect food safety.
- If the filling separates upon refrigeration, simply reheat gently in a saucepan over low heat, stirring until smooth again.
To make a delicious peach pie:
- Preheat your oven to 400°F (200°C). Add the cooled peach filling to a prepared 9-inch pie crust (homemade or store-bought). Top with a second 9-inch pie crust, ensuring to cut several slits into the top to allow steam to escape during baking.
- Place the pie on a baking sheet to catch any potential drips, then bake for 40-45 minutes, or until the crust is beautifully golden brown and the filling is bubbly.
- Allow the pie to cool completely on a wire rack before slicing and serving. This is crucial for the filling to set properly.
Notes
- Beyond traditional pie, use your versatile peach filling in mini peach pies, as the base for peach cobbler for two, in delightful peach crumb bars, flaky peach turnovers, or as a vibrant layer in no bake peach cheesecakes. It’s also fantastic as an ice cream topping or mixed into yogurt.
- Loved this recipe? Be sure to explore my other homemade fruit fillings, including cherry pie filling, blueberry pie filling, strawberry pie filling, and apple pie filling for year-round baking inspiration.
Did you make this recipe?
Let me know what you think! Rate the recipe above, leave a comment below, and/or share a photo on Instagram using #HITKrecipes
Originally posted August 6, 2013
