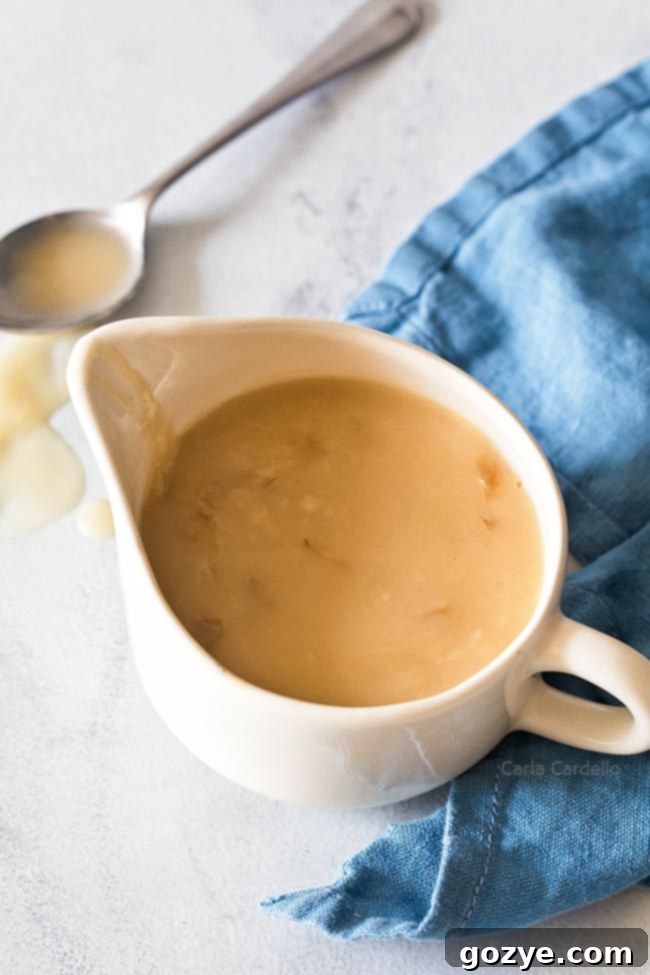
Easy Homemade Gravy Without Drippings: The Ultimate Make-Ahead Recipe for Any Meal
Forget waiting for meat drippings! This easy homemade gravy recipe is made from scratch without pan drippings, meaning you can whip up rich, flavorful gravy anytime. Perfect for Thanksgiving, Christmas, Easter, or any weeknight meal, this make-ahead gravy reduces holiday stress and guarantees a delicious addition to your table.
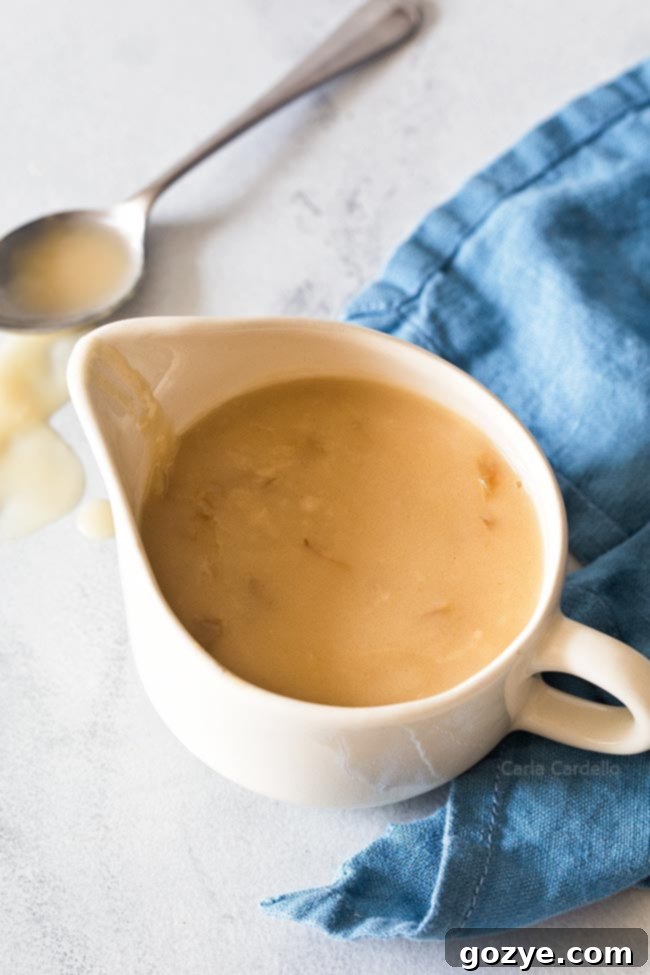
As the holiday season approaches, have you started mapping out your festive menus? We’ve already shared delightful dessert ideas like our Small Pumpkin Pie and Small Pecan Pie, designed for intimate gatherings. Now, let’s turn our attention to something savory – a true cornerstone of any celebratory meal: gravy.
Every year, especially for Thanksgiving, I rely on my tried-and-true recipe for Homemade Gravy Without Drippings. This might sound revolutionary, but yes, you absolutely do not need to wait for your Thanksgiving turkey or Sunday roast to be finished to craft a rich, savory gravy. No more last-minute scrambling! Whether you’re deep-frying your turkey, preparing a smaller roast that yields minimal drippings, or simply looking for a fantastic gravy to pour over your mashed potatoes without any meat at all, this recipe is your answer.
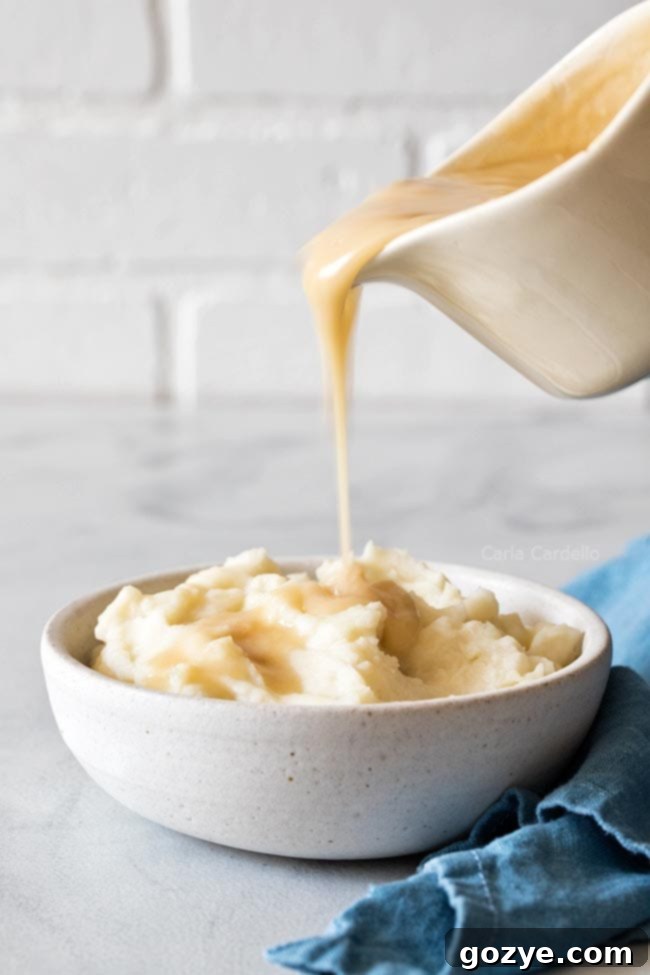
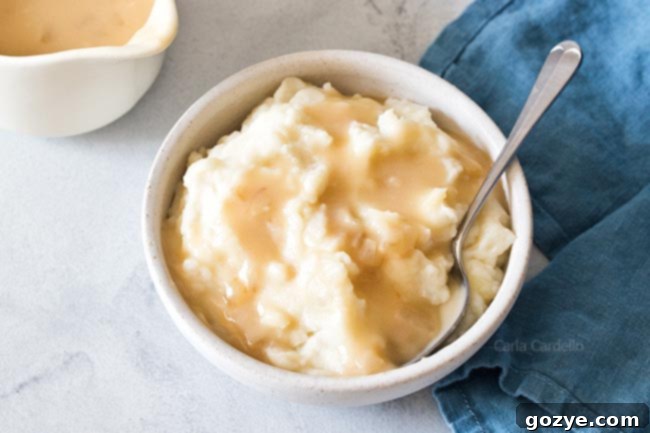
This remarkable gravy recipe can be made entirely ahead of time, transforming your holiday cooking experience into a much more relaxed affair. While this particular recipe shines during the festive season, complementing everything from Thanksgiving Dinner For Two to Christmas Dinner For Two and Easter For Two, its versatility extends far beyond. Imagine enjoying this luscious homemade gravy all year round, enhancing dishes like creamy garlic mashed potatoes, even when you’re not serving a traditional meat entrée. The best part? You only need a few basic pantry staples: butter, flour, and a good quality broth.
Key Ingredients for Homemade Gravy Without Drippings
Crafting a truly exceptional homemade gravy from scratch is surprisingly simple when you have the right components. Here’s a closer look at the essential ingredients that make this gravy so flavorful and easy:
- Butter: Since we’re foregoing meat drippings, butter steps in as our primary fat source. It provides a rich, foundational flavor and is crucial for creating the roux. While I always advocate for real butter for the best taste, I’ve successfully used margarine in a pinch, so don’t let that stop you. The browning of the butter also adds a nutty depth to your gravy.
- Onion: Though often considered optional in some gravy recipes, I highly recommend including a diced onion. As it slowly cooks in the butter, it caramelizes and releases incredible aromatic compounds, building a profound depth of flavor that genuinely elevates the gravy base. This step compensates beautifully for the absence of meat drippings.
- All-Purpose Flour: This is your thickening agent, transforming the buttery onion mixture into a classic roux. A well-cooked roux is the secret to a smooth, lump-free gravy. For those following a gluten-free diet, cornstarch is an excellent alternative, allowing you to enjoy this delicious gravy without compromise.
- Salt: A culinary non-negotiable! Salt is vital for balancing and enhancing all the flavors in your gravy, taking it from bland to brilliant. The exact amount will vary depending on the sodium content of your chosen broth, so always taste and adjust as you go.
- Broth/Stock: This is the liquid that transforms your roux into a luscious sauce. The type of broth you choose will dictate the primary flavor profile of your gravy. Select a flavor that best complements what you’re serving – chicken, beef, or vegetable broth are all excellent choices.
- Milk: A small splash of milk is added at the end to lend a touch of richness and a creamy finish to the gravy, giving it a beautifully opaque appearance and a velvety texture.
For my Thanksgiving menu, I typically opt for chicken broth to perfectly accompany my Stuffed Cornish Hen. However, this recipe is incredibly adaptable. You can effortlessly switch to beef broth for a hearty beef pot roast, or use vegetable broth for an indulgent topping for mashed potatoes, making it suitable for vegetarian options like vegetarian biscuits and gravy for two, an excellent alternative to a sausage gravy recipe. For a more intensely savory vegetarian option, consider exploring my Vegan Mushroom Gravy.
Why Choose Homemade Gravy Without Drippings?
Traditionally, making gravy involves utilizing the rich, flavorful drippings left behind after roasting meat. This is indeed a fantastic way to capture the essence of your main dish. But what happens when you don’t have any drippings, or not enough to make a substantial batch? This is where homemade gravy without drippings truly shines, offering a versatile and equally delicious solution for various culinary situations.
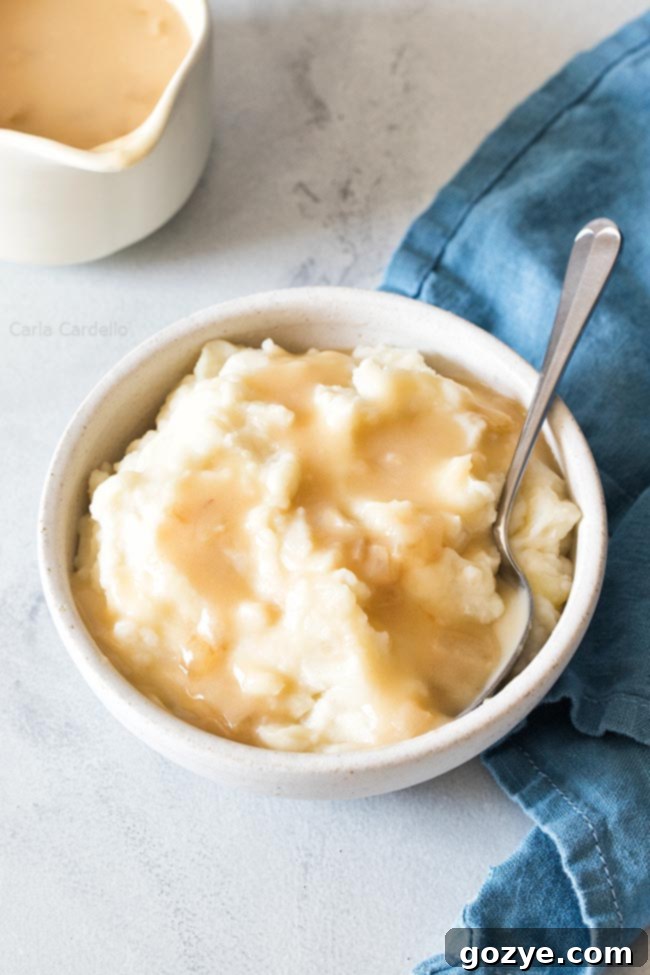
- No Roast, No Problem: Perhaps you’re making mashed potatoes to go alongside a quick ham steak dinner for two, or preparing a simple chicken breast, none of which yield much in the way of pan drippings. This gravy ensures you never have to serve plain potatoes again.
- Perfect for Vegetarian Meals: Gravy shouldn’t be exclusive to meat-eaters! For a vegetarian Thanksgiving dinner featuring dishes like Stuffed Butternut Squash and Cranberry Stuffing, a flavorful vegetarian gravy made with vegetable broth is an absolute must-have. Everyone deserves a generous pour of delicious gravy!
- Deep-Fried Turkey & Smoked Meats: When you’re deep-frying a turkey or smoking meats, you won’t get any pan drippings at all. This recipe ensures you still have that essential, comforting gravy for your holiday feast.
- Ultimate Convenience & Stress Reduction: The most significant benefit is the ability to make this gravy ahead of time. On busy holiday mornings or during hectic dinner prep, having the gravy ready to simply reheat means one less thing to worry about.
If you’re concerned that the absence of pan drippings will result in a lack of flavor, fear not! The secret lies in the careful browning of the onions in butter, which creates a deep, caramelized foundation. This, combined with a high-quality broth of your choice, ensures a gravy that is robust, rich, and bursting with savory goodness.
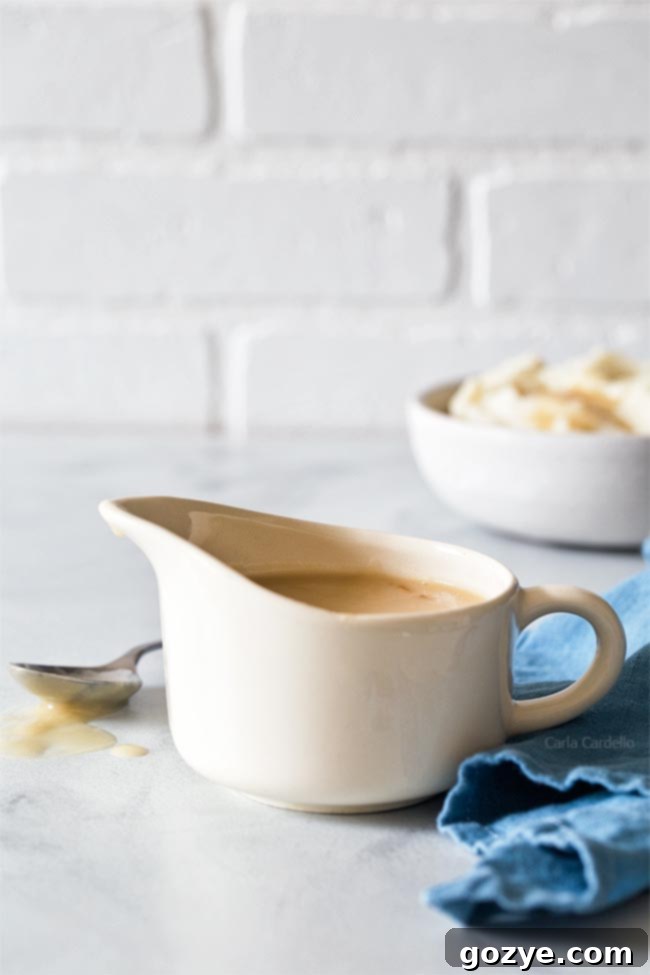
How To Make Homemade Gravy Without Drippings: A Step-by-Step Guide
Creating this delicious, from-scratch gravy is a straightforward process. Follow these steps for a perfectly smooth and flavorful result every time:
- Melt the Butter: Begin by melting your butter in a large saucepan over medium heat. Ensure it’s fully melted and slightly shimmering before proceeding.
- Sauté the Onions: Once the butter is melted and hot, add your diced onion along with a generous pinch of salt. Cook the onions, stirring occasionally, until they become softened and begin to turn a light golden brown. This browning step is crucial for developing deep, savory flavors that will form the backbone of your gravy. The darker your onions (without burning them!), the richer and deeper the color of your final gravy will be.
- Create the Roux: Stir in the all-purpose flour. This will combine with the melted butter and sautéed onions to form a paste, known as a roux. Cook the roux for about 1 minute, stirring constantly, to cook out the raw flour taste. This step is essential for both flavor and thickening power.
- Whisk in Broth: Gradually and slowly whisk in your chosen broth or stock. It’s important to add the liquid a little at a time at first, whisking vigorously to incorporate it smoothly and prevent lumps. Continue whisking until the mixture is completely smooth (any remaining “lumps” will be from the cooked onion). Bring the gravy to a gentle boil.
- Thicken to Perfection: Once boiling, reduce the heat to a simmer and continue to cook, stirring occasionally, for about 3-5 minutes, or until the gravy has thickened to your desired consistency. It should coat the back of a spoon.
- Add Richness: Remove the saucepan from the heat and stir in the milk. This adds a lovely creaminess and helps to round out the flavor profile.
- Taste and Adjust: Finally, taste your homemade gravy and adjust the seasoning. Add more salt if it tastes flat or bland, as broth sodium levels can vary widely. A dash of black pepper or a pinch of herbs can also be added here if desired.
Serve your gravy hot and enjoy its comforting, savory goodness!
How To Make Homemade Gravy Without Flour: A Gluten-Free Option
For those seeking a delicious homemade gravy without flour, creating a gluten-free version is incredibly easy using cornstarch as your thickening agent. Cornstarch works slightly differently than flour, so a minor adjustment in technique is needed:
- Prepare the Slurry: Instead of adding cornstarch directly to the hot butter, you’ll first create a “slurry.” In a separate small bowl, whisk together the cornstarch with a small amount of cold broth (about 2-3 tablespoons) until a smooth paste forms.
- Follow Initial Steps: Proceed with melting the butter and sautéing the onions as described above.
- Add Broth: Once the onions are softened, add the remaining broth directly to the pan and bring it to a gentle simmer.
- Thicken with Slurry: Slowly pour the cornstarch slurry into the simmering broth, whisking continuously. The gravy will begin to thicken almost immediately. Cook for just 1-2 minutes, stirring, until it reaches your desired consistency. Be careful not to overcook, as cornstarch can lose its thickening power with prolonged boiling.
- Finish and Season: Remove from heat, stir in the milk, and taste for seasoning, adjusting salt as needed.
Remember that cornstarch is a more potent thickener than flour, so you’ll typically use half the amount. For this recipe, you would use approximately 1 tablespoon of cornstarch instead of 2 tablespoons of flour.
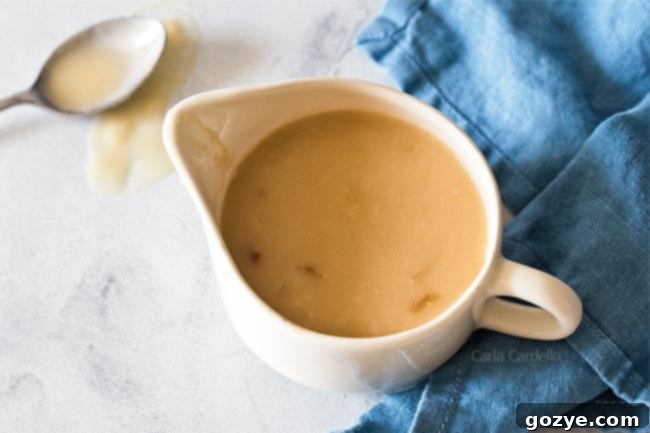
How To Make Homemade Gravy Ahead Of Time: The Ultimate Holiday Hack
One of the most significant advantages of this recipe is the ability to make homemade gravy without drippings ahead of time. Unlike gravy made from drippings, which often requires last-minute preparation after the meat is cooked, this version allows you to prepare it whenever it’s most convenient, freeing up precious time on busy cooking days.
Imagine Thanksgiving morning: you’re already juggling a million tasks—prepping side dishes, tending to the turkey, and coordinating oven space. Having your homemade gravy already prepared and ready to reheat is a true game-changer. While you could start the gravy when everything else in the oven has about 15 minutes left, ensuring it’s ready right as the main course is served, the make-ahead option offers unparalleled peace of mind.
To make homemade gravy ahead of time:
- Prepare the gravy exactly as described in the recipe.
- Allow it to cool completely before transferring it to an airtight container.
- Refrigerate for up to 3 days.
Reheating your make-ahead gravy:
Gravy naturally thickens considerably as it chills in the refrigerator. Right before serving, simply transfer your chilled gravy to a small saucepan over medium-low heat. Gently warm it, whisking continuously, until it becomes smooth and pourable again. You will almost certainly need to stir in a little more broth (or even water) to thin it out to your desired consistency. Add it gradually, a tablespoon at a time, until it’s perfectly smooth and flowing.
This simple trick ensures that even on the busiest of holidays, you can present a perfectly smooth, rich, and delicious gravy without any last-minute stress. It’s truly a secret weapon for any home cook!
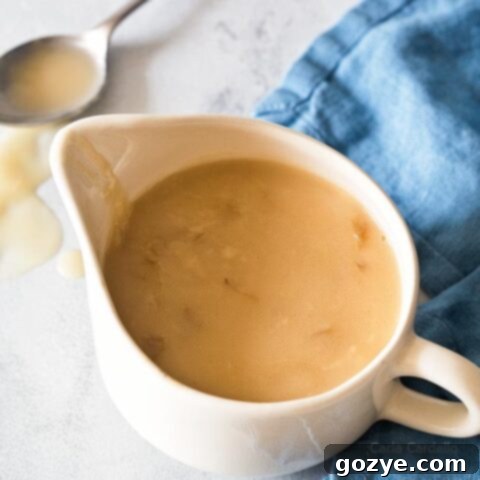
Homemade Gravy Without Drippings
1 cup (4 servings)
15 minutes
15 minutes
30 minutes
This Homemade Gravy Without Drippings is an incredibly easy, from-scratch gravy recipe perfect for any meal. Make it ahead of time to significantly reduce your holiday stress!
Ingredients
- 1/4 cup (2 ounces or 4 tablespoons) unsalted butter, cut into 4 pieces
- 1/4 cup diced yellow or white onion
- 2 tablespoons all-purpose flour (*see Note about substituting cornstarch)
- 1/2 teaspoon salt plus more to taste
- 1 cup broth or stock, any flavor
- 1 tablespoon whole milk
Instructions
- In a large saucepan, melt the butter over medium heat. Once hot, add the diced onion and a big pinch of salt. Cook, stirring occasionally, until the onion is softened and begins to brown, about 5-7 minutes.
- Stir in the flour and cook for 1 minute, stirring constantly, to create a roux and cook out the raw flour taste.
- Slowly whisk in the broth/stock, adding it gradually to prevent lumps. Bring the mixture to a gentle boil, then reduce heat and simmer for 3-5 minutes, whisking until the gravy thickens to your desired consistency.
- Remove the saucepan from the heat and whisk in the milk. Taste the gravy and adjust for salt as needed. Serve immediately while hot.
Make-Ahead Tip: Gravy will thicken significantly as it cools. When reheating, place it in a small saucepan over low heat and gradually whisk in a little more broth or water until it’s smooth and pourable again. Refrigerate leftover gravy in an airtight container for up to 3 days.
Notes
- For Gluten-Free Gravy: Substitute 1 tablespoon of cornstarch for the all-purpose flour. Instead of stirring directly into the butter, create a cornstarch slurry by whisking it with 2-3 tablespoons of cold broth until smooth. Add the remaining broth to the pan with the sautéed onions, bring to a simmer, then slowly whisk in the slurry until thickened. Cook for 1-2 minutes.
- If You Have Drippings: For a traditional gravy using pan drippings, check out my recipe for Homemade Pan Gravy With Drippings.
- Need a Dairy-Free Option? Explore my Vegan Mushroom Gravy for a rich, plant-based alternative.
- Serving Suggestions: This versatile gravy is perfect over Mashed Potatoes For Two, roasted chicken, turkey, pork, or even vegetarian dishes like biscuits.
- Holiday Menu Planning: For complete menu ideas, refer to my recipes for Thanksgiving Dinner For Two, Easter Dinner For Two, and Christmas Dinner For Two.
Did you make this recipe?
Let me know what you think! Rate the recipe above, leave a comment below, and/or share a photo on Instagram using #HITKrecipes

Concluding Thoughts: Your New Go-To Gravy Recipe
This Homemade Gravy Without Drippings recipe truly stands out as a versatile, flavorful, and incredibly convenient option for any occasion. Whether you’re navigating the complexities of a holiday feast or simply enhancing a weeknight meal, this from-scratch gravy ensures you’ll always have a rich, savory accompaniment ready to go. Its ability to be made ahead of time is a game-changer, dramatically reducing stress and allowing you to focus on enjoying your time with loved ones.
Embrace the freedom of not relying on pan drippings and discover how simple it is to create a deeply flavorful gravy with just a few basic ingredients. From its rich buttery base and aromatic onions to its perfectly thickened consistency, this gravy is a testament that deliciousness doesn’t always require complicated steps or last-minute efforts. So go ahead, whip up a batch, and elevate your next meal with this incredible, stress-free homemade gravy!
