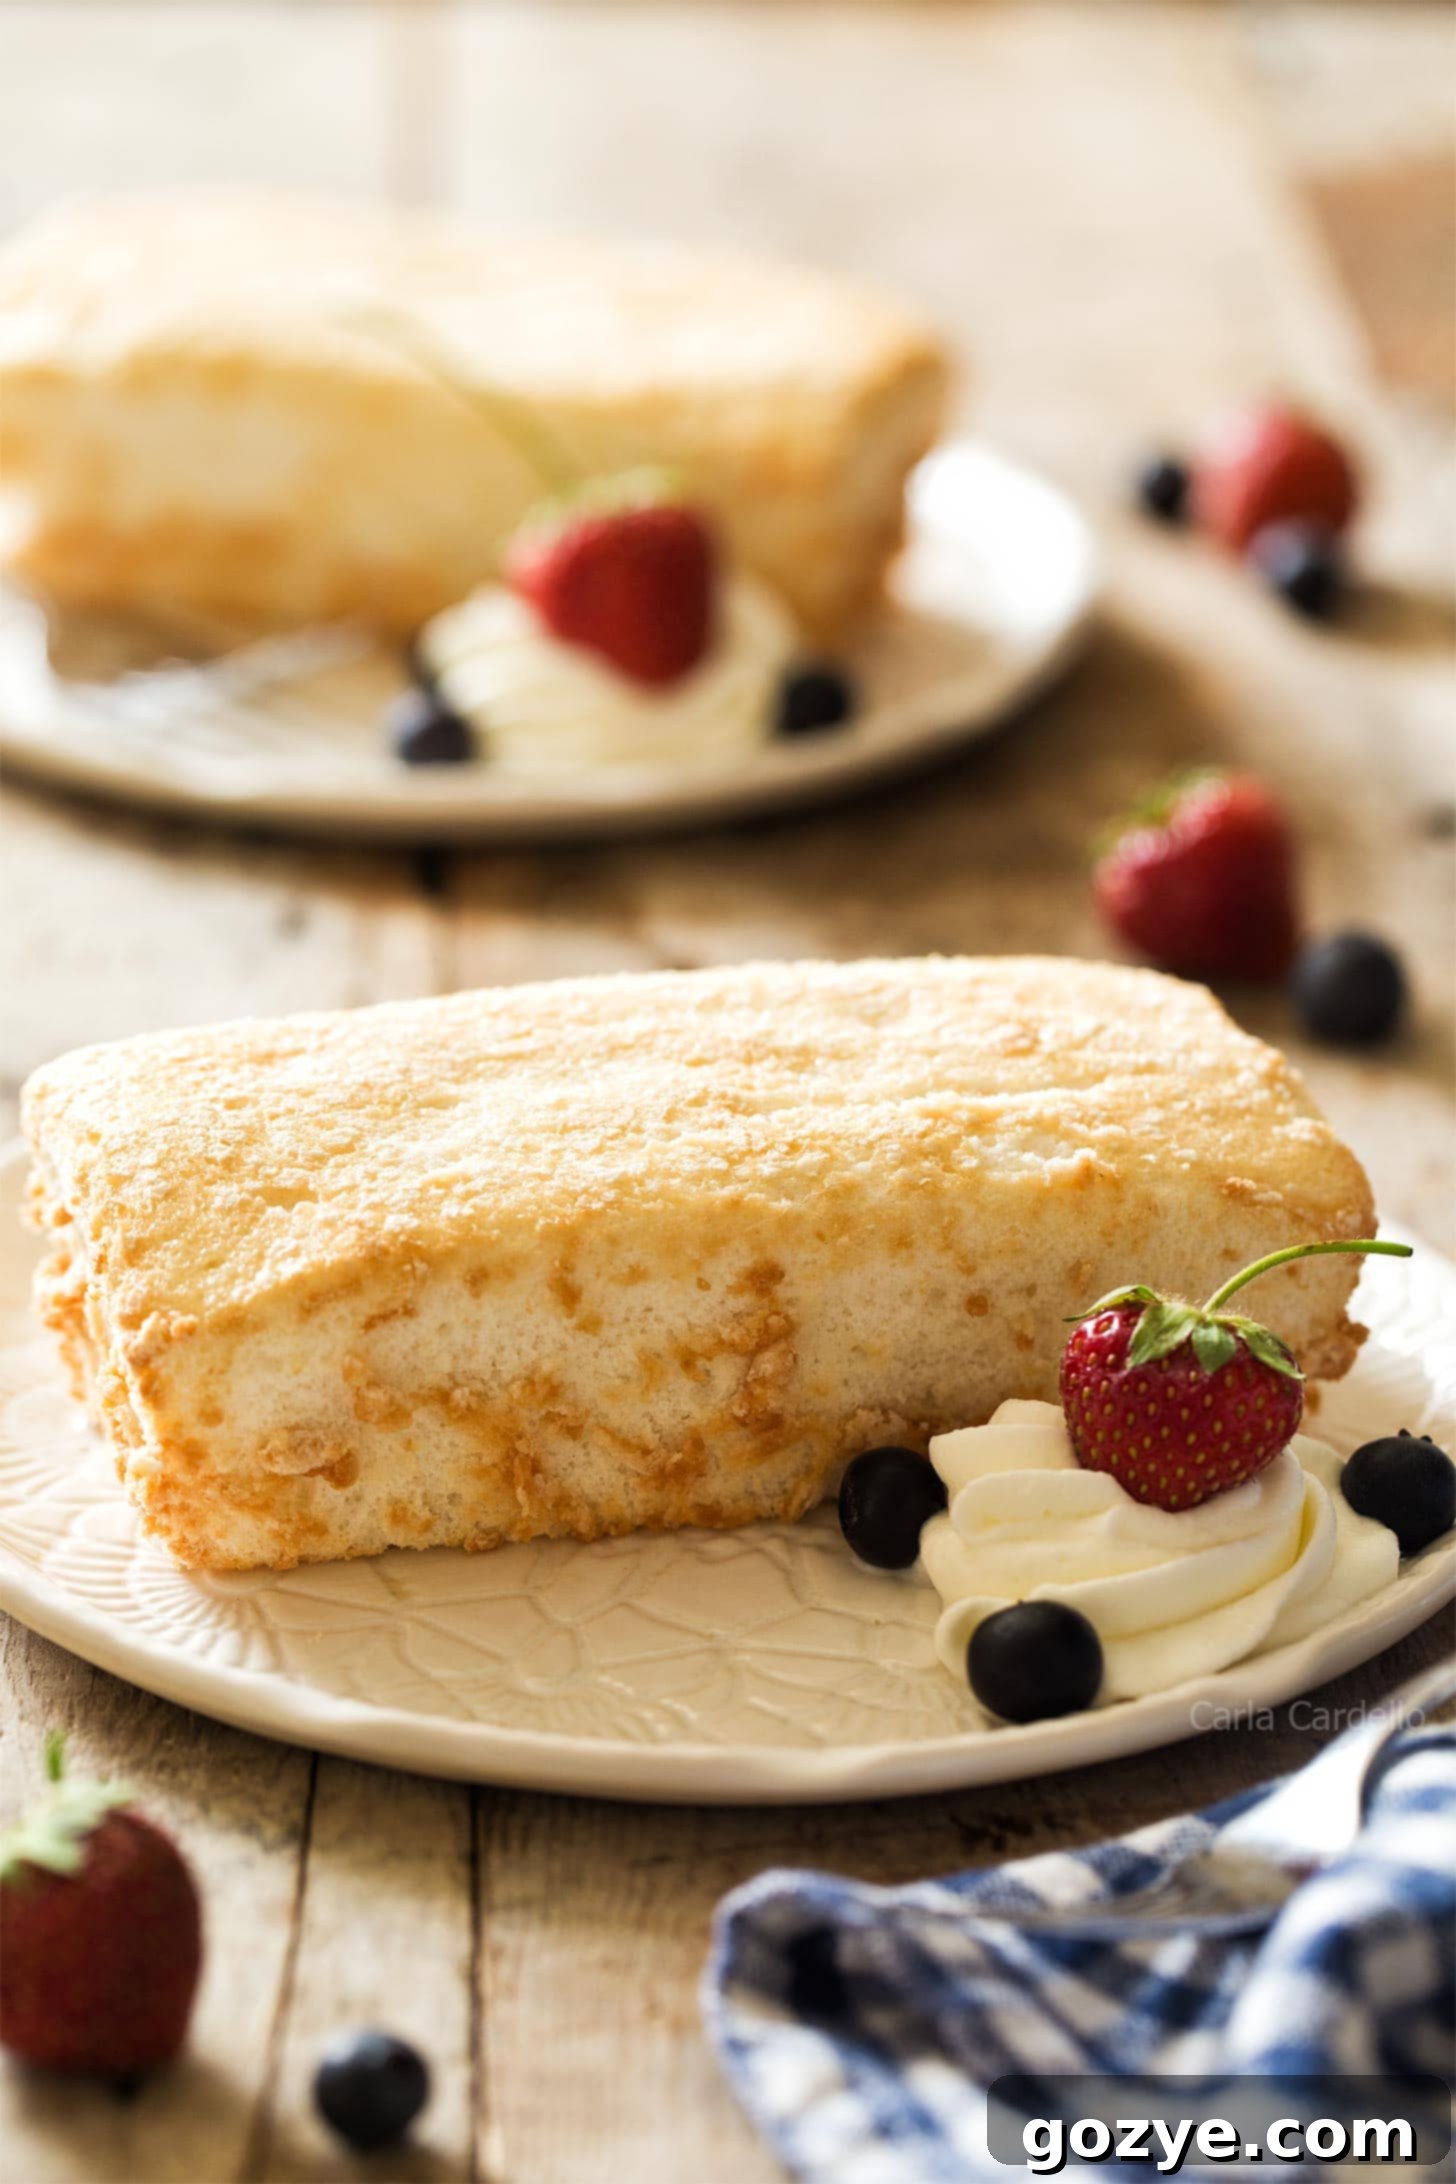
Easy Mini Angel Food Cake Recipe: No Tube Pan & No Cream of Tartar Required!
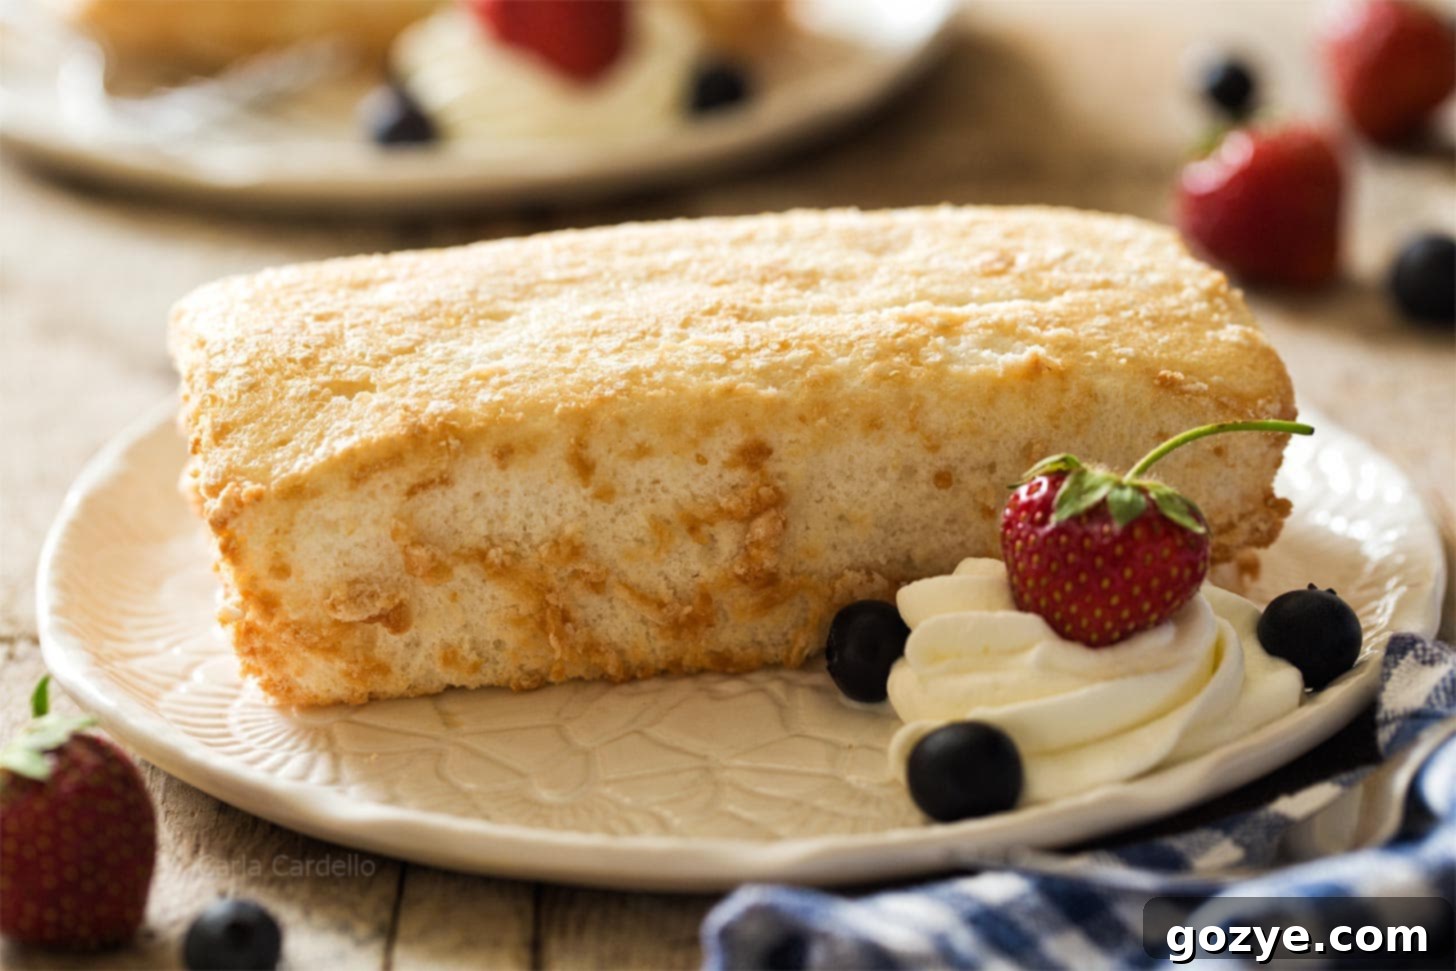
Delicate, airy, and wonderfully light, this Mini Angel Food Cake recipe is baked right in two mini loaf pans, meaning there’s no need for a specialized tube pan! Crafted from whipped egg whites and uniquely made without cream of tartar, this delightful dessert is perfect for a small gathering or a romantic treat for two. Serve these charming individual cakes with a generous dollop of fresh whipped cream and an abundance of seasonal berries for a truly unforgettable experience.
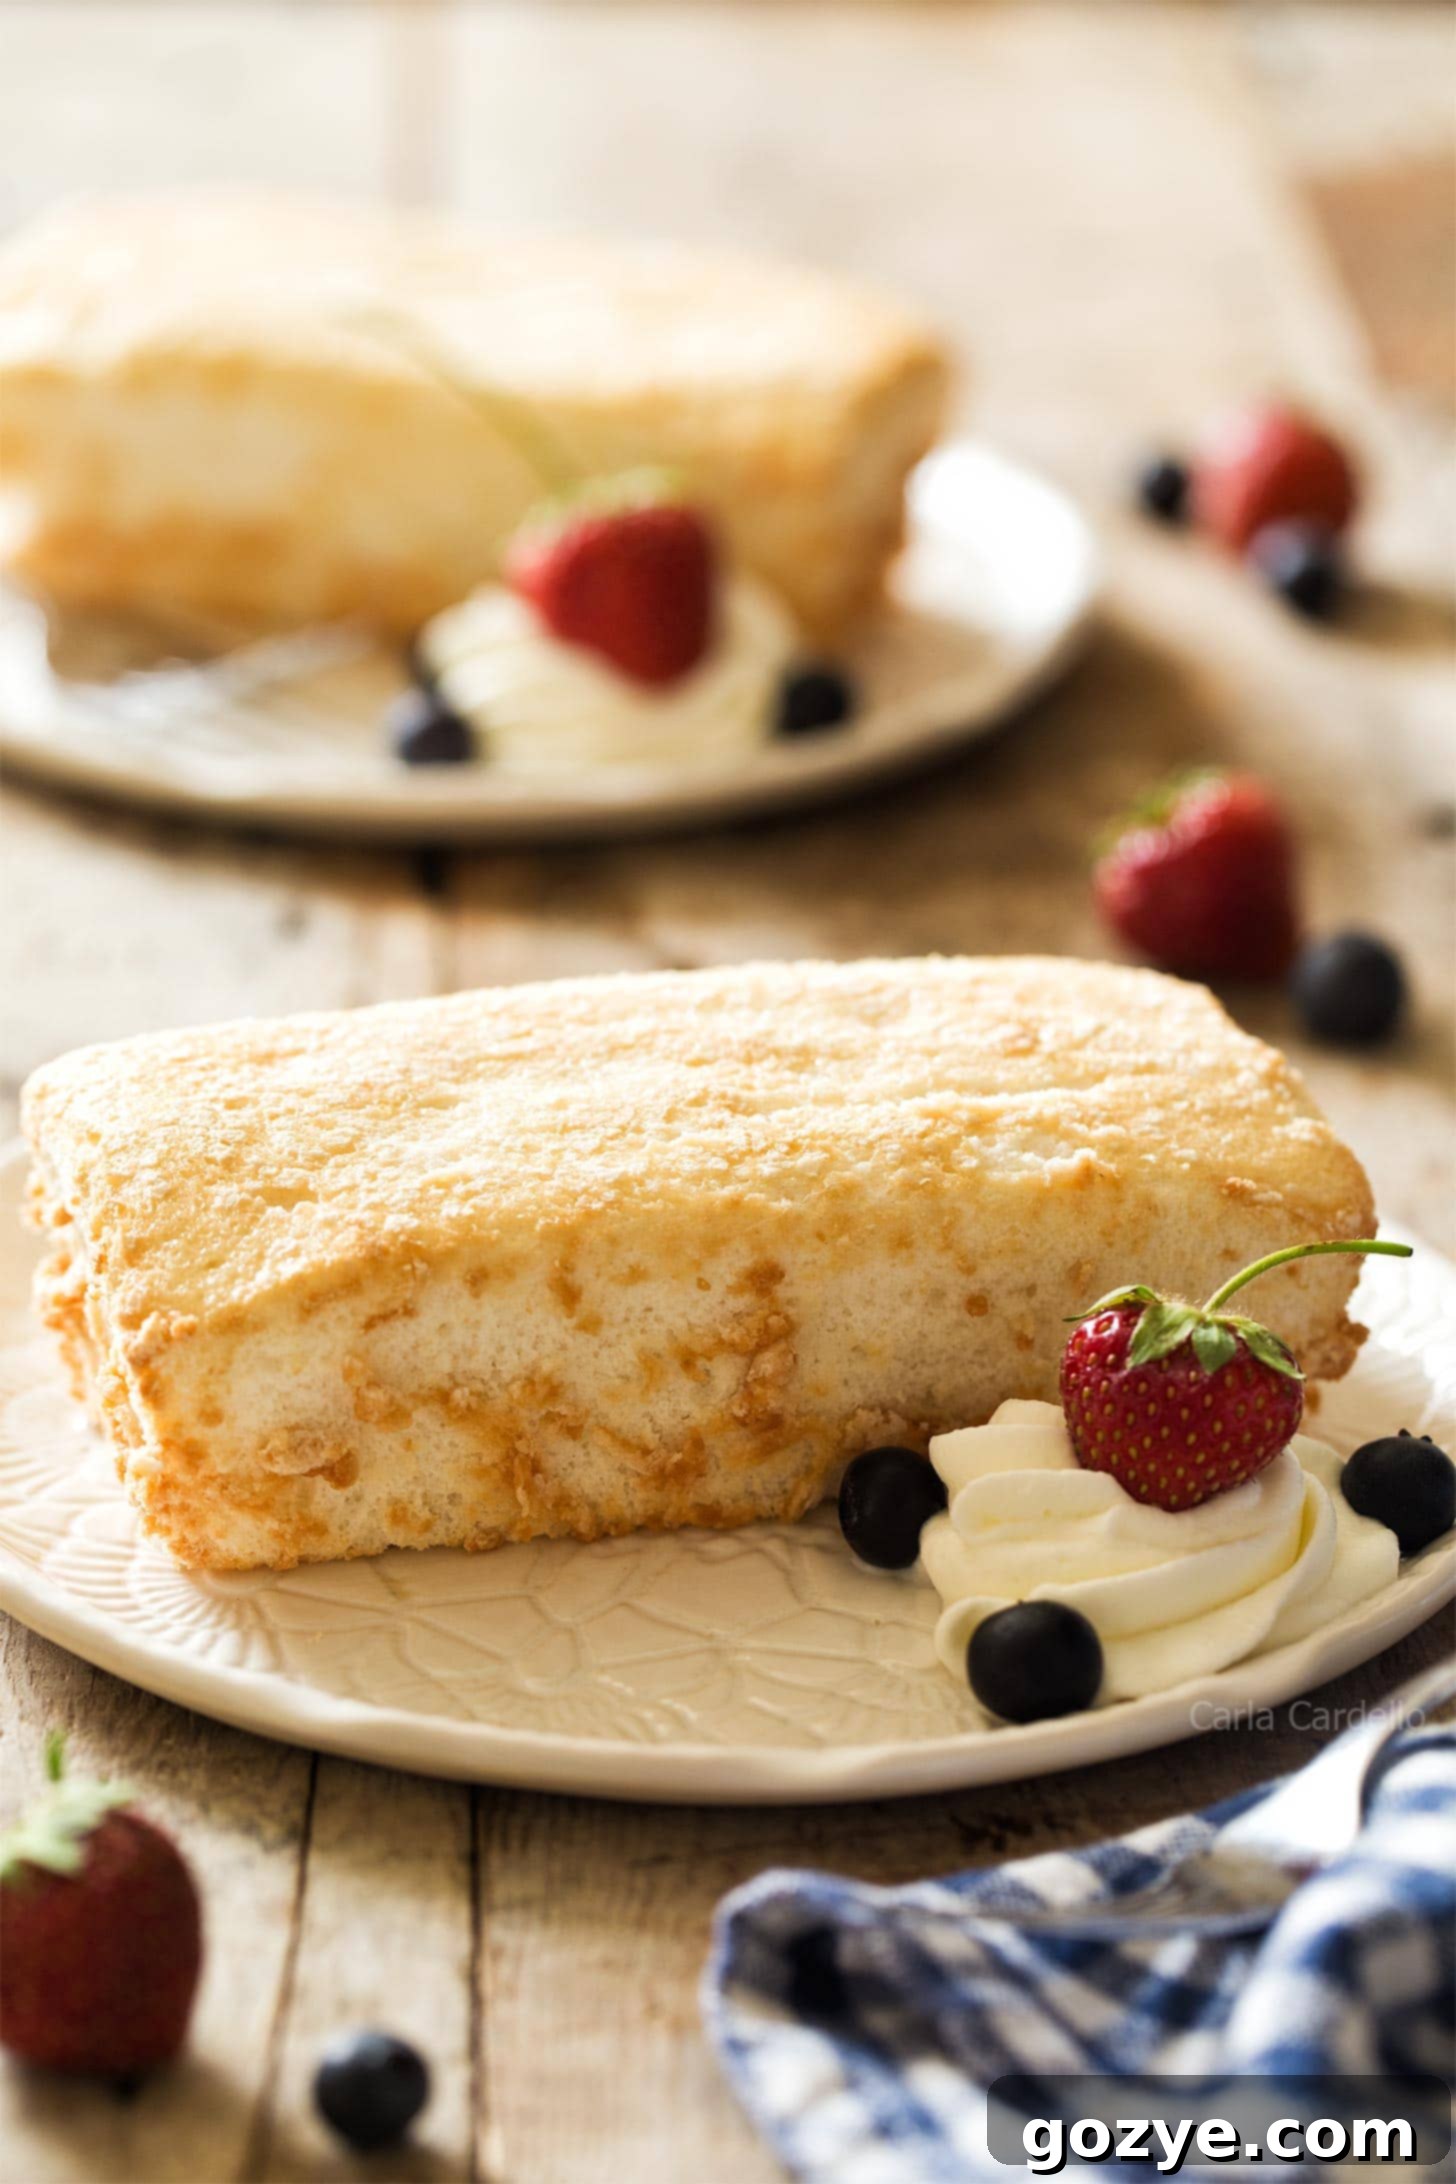
Angel food cake has always held a special place in my heart. Its cloud-like texture and pure, sweet flavor are simply irresistible. However, the traditional method often calls for a large tube pan, an item many home bakers, including myself, don’t keep in their kitchen arsenal. My solution has always been to bake a full-sized angel food cake in a standard 9×5 inch loaf pan. This works beautifully, but it typically requires six egg whites, resulting in a considerable cake – often too much for just one or two people.
The inspiration for these mini versions struck after I found myself with three leftover egg whites while developing a microwave chocolate chip cookie recipe that uses egg yolks. Since three egg whites are exactly half of what’s needed for a full loaf, the idea for a smaller, more manageable angel food cake, perfectly portioned for two, was born!
These mini angel food cakes are wonderfully delicate and incredibly airy white cakes. They are designed to be an elegant, fuss-free dessert for two, without the need for cream of tartar. Much like my popular mini banana bread, but with a lighter, fluffier texture, they make an ideal romantic dessert for any occasion.
While making this mini angel food cake recipe involves a few specific techniques, don’t be intimidated! As long as you follow my detailed instructions and helpful tips, you’re guaranteed a successful (and delicious) outcome. You’ll be enjoying these heavenly bites in no time!
What Exactly is Angel Food Cake?
Angel food cake is a beloved variety of sponge cake, renowned for its light, ethereal texture. It’s distinctively made using only egg whites, flour, and sugar. What sets it apart is the complete absence of any added fats, such as butter or egg yolks, making it a “low-fat” dessert option. This unique composition is what gives angel food cake its signature snow-white appearance and incredibly delicate crumb.
Traditionally, angel food cakes are baked in a specific tube pan featuring a hollow center and straight, ungreased sides. This design allows the cake batter to cling to the sides as it rises, creating that impressive height and airy structure. However, as demonstrated by this recipe, a tube pan is not a prerequisite for enjoying this delightful cake. Modern adaptations, like baking in loaf pans, make this classic dessert accessible to everyone.
Why Bake Mini Angel Food Cakes? The Benefits of Small Batch Baking
There are numerous advantages to scaling down a classic recipe like angel food cake into mini portions:
- Perfect for Two: This recipe is ideal for couples, small families, or anyone who doesn’t need a large cake. It’s designed to yield just the right amount without overwhelming you with leftovers.
- No Special Pan Required: Forget the tube pan! This recipe leverages common mini loaf pans, making it accessible for most home kitchens.
- Portion Control: Mini cakes naturally encourage portion control, making it easier to enjoy a sweet treat without overindulging.
- Quick Dessert Fix: With fewer ingredients and a shorter baking time, you can whip up these mini cakes much faster than a full-sized version.
- Reduce Waste: If you often find yourself with leftover egg whites from other recipes (like custards or hollandaise), this recipe is a perfect way to use them up efficiently, preventing food waste.
- Elegant Presentation: Individual mini loaf cakes offer a charming and sophisticated presentation, perfect for special occasions or a romantic dinner.
What Pans Do I Need to Bake Mini Angel Food Cake?
The beauty of this recipe is that it completely sidesteps the need for a traditional angel food tube pan. You have a couple of flexible options for mini loaf pans:
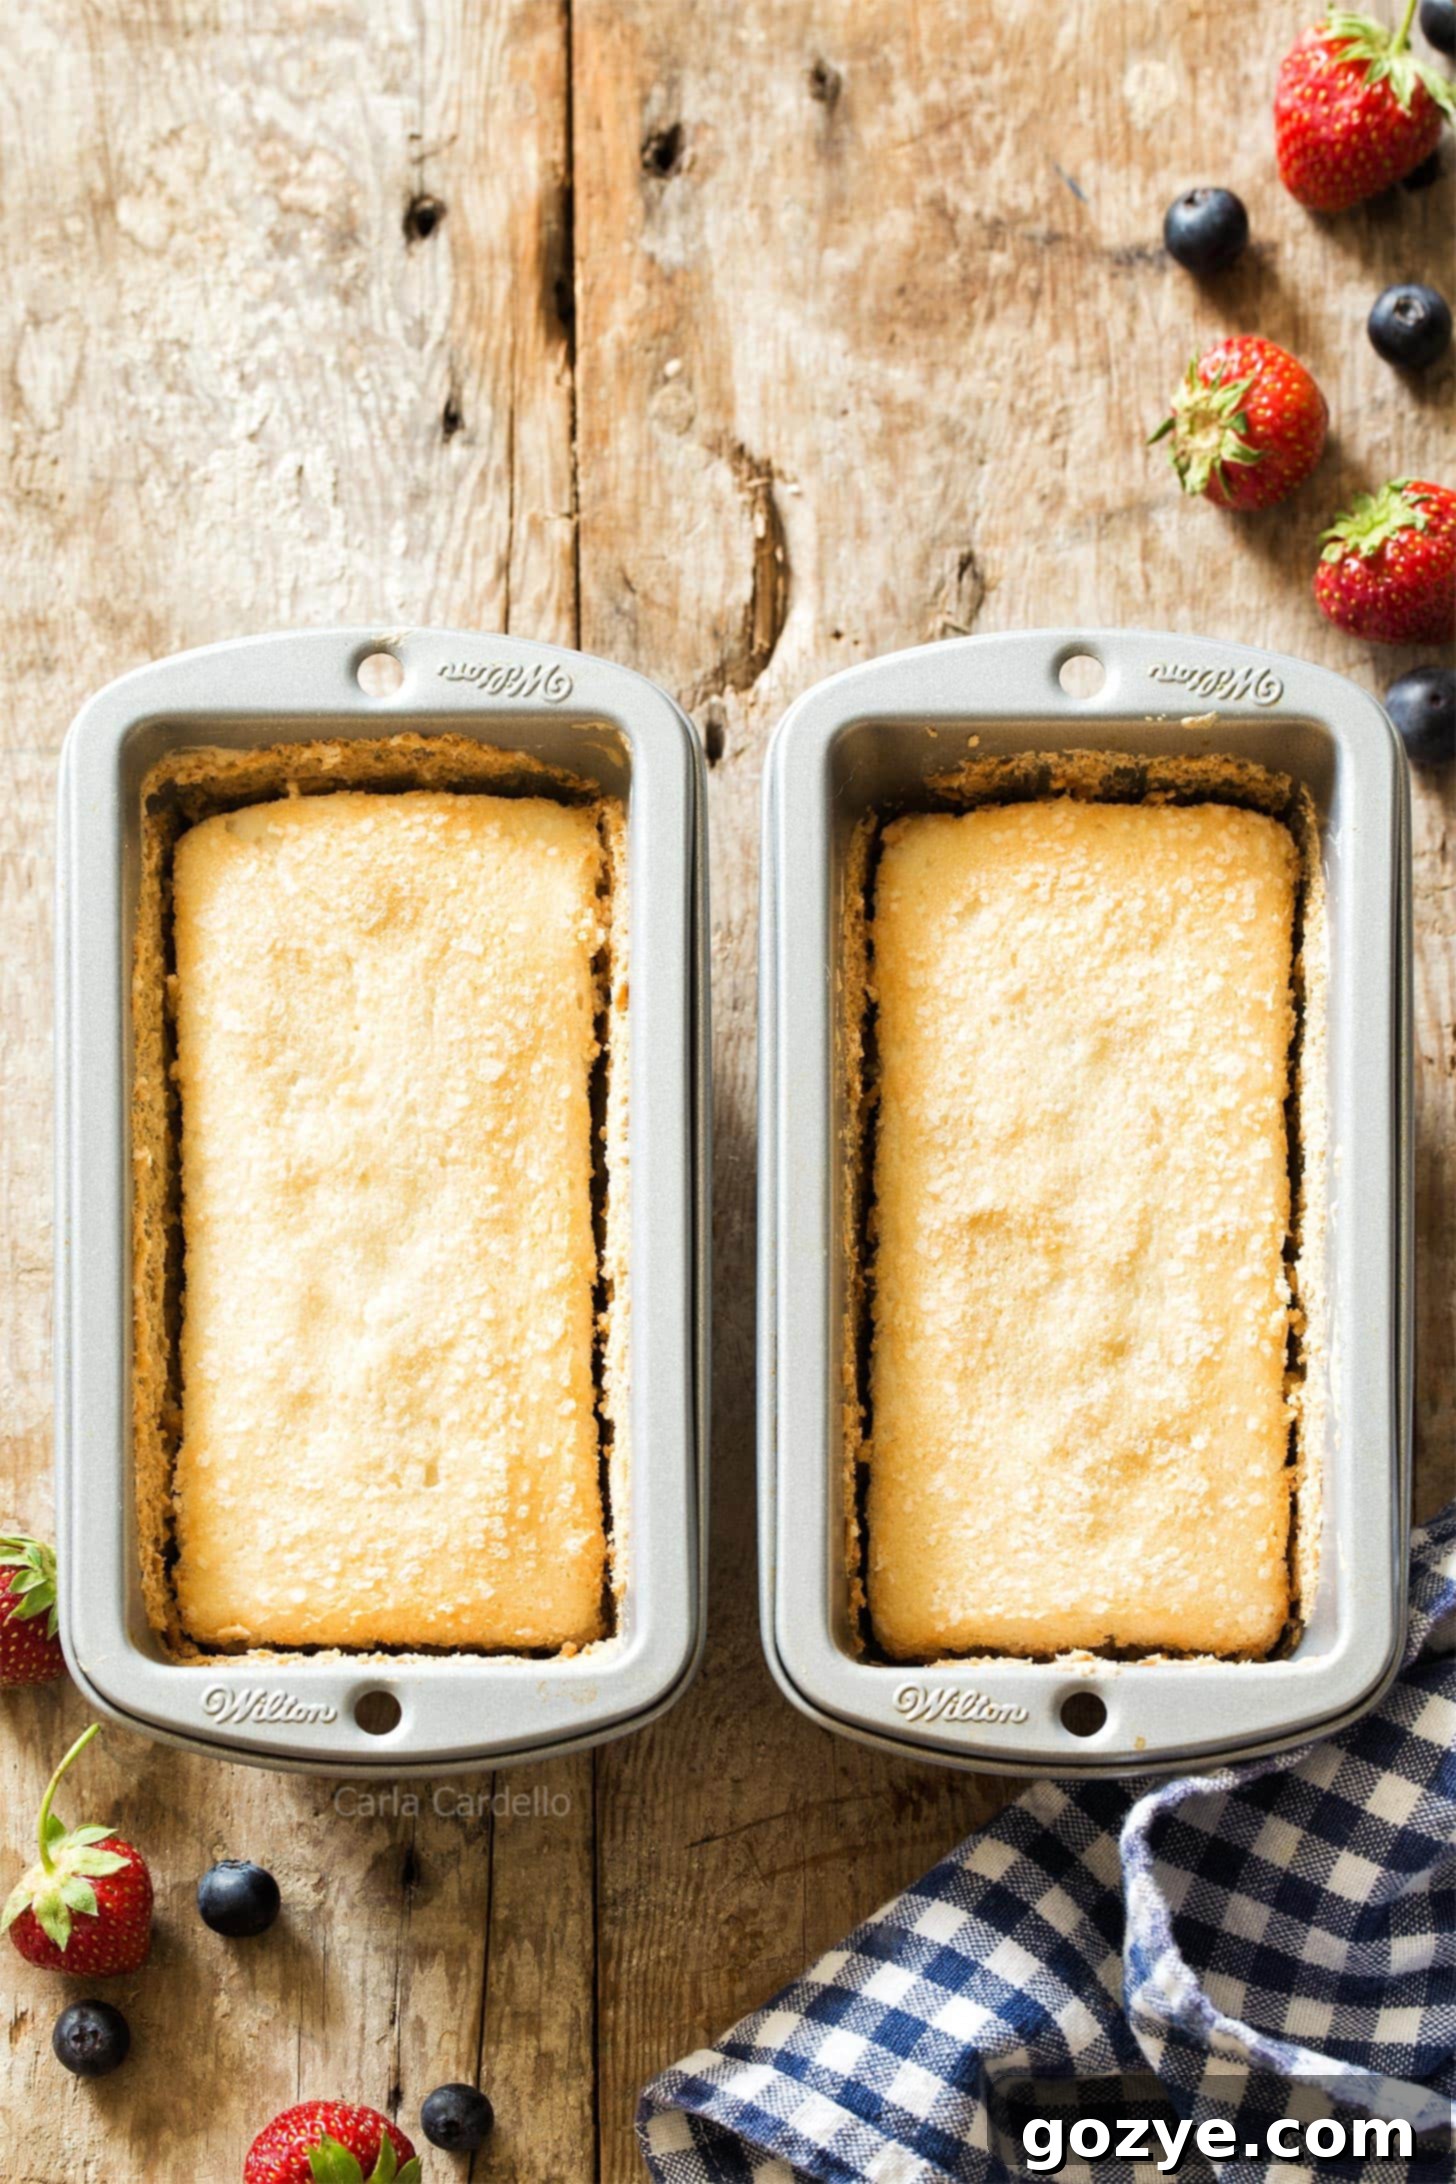
- Two Individual Mini Loaf Pans: Opt for two separate 5.74×3 inch mini loaf pans. These are great for creating two distinct, personal-sized angel food cakes.
- One Multi-Cavity Mini Loaf Pan: Alternatively, you can use one 8-cavity mini loaf pan. Each cavity is typically around 2.5×3 inches. Using this type of pan will allow you to make four smaller mini loaves from this recipe, perfect if you want to share a little more!
If you find yourself without mini loaf pans entirely, don’t worry! You can still enjoy angel food cake. Consider making Angel Food Cupcakes instead, which use a standard muffin tin!
Essential Ingredients For Mini Angel Food Cake
Crafting your mini angel food cakes requires a few simple ingredients, each playing a crucial role in achieving that signature light and airy texture:
- Granulated Sugar: More than just a sweetener, sugar is vital for the structure of angel food cake. It stabilizes the whipped egg whites, helping them hold their volume, and also contributes to the cake’s beautiful golden-brown crust and moist crumb.
- All-Purpose Flour: This provides the necessary structure to the cake. It’s carefully folded into the egg whites to prevent them from collapsing, ensuring the cake maintains its height and delicate texture.
- Cornstarch: Since we’re not using specialized cake flour, cornstarch steps in to achieve a similar tenderness. It effectively reduces the gluten development in the all-purpose flour, resulting in a softer, more delicate crumb characteristic of angel food cake.
- Egg Whites: These are the star of the show! For successful whipping, your egg whites must be absolutely clean, with no trace of egg yolk or any fat in the bowl or on your beaters. Even a tiny speck of fat can prevent the whites from whipping properly into stiff, voluminous peaks. It’s also crucial to use egg whites from actual eggs, not carton egg whites, as they often contain additives that hinder proper whipping.
- Vinegar or Lemon Juice: This is our fantastic substitute for cream of tartar! This acidic ingredient is essential for stabilizing the egg whites during whipping, helping them reach their full volume and preventing them from deflating.
- Vanilla Extract: Because angel food cake contains no fat, vanilla is crucial for infusing a wonderful depth of flavor. Don’t skip it!
- Salt: A pinch of salt enhances all the other flavors in the cake, making the sweetness more pronounced and the vanilla notes more vibrant.
How To Substitute For Cream Of Tartar
Many classic angel food cake recipes explicitly call for cream of tartar, a powdered acid integral for stabilizing egg whites as they are beaten into voluminous peaks. However, cream of tartar is an ingredient many home bakers rarely use, and it can expire if left in the pantry too long. My solution offers an incredibly easy and effective substitute.
The key function of cream of tartar is to provide an acidic environment, which strengthens the protein structure of the egg whites. It doesn’t matter if this acid comes in powder or liquid form, as long as it’s present. That’s why I confidently substitute white distilled vinegar – an item I always have on hand in my pantry – for cream of tartar. Alternatively, fresh lemon juice works equally well if you have some in your fridge.
Under no circumstances should you omit the acidic component. Angel food cake relies entirely on the stable, voluminous egg whites for its delicate structure and impressive height. Without the acid, your egg whites are more likely to collapse, resulting in a dense, disappointing cake.
Step-by-Step: How To Make Mini Angel Food Cakes
Follow these precise steps to create individual angel food cakes that are light, fluffy, and absolutely perfect:
- Prepare Your Dry Ingredients: In a medium bowl, sift together the granulated sugar, all-purpose flour, and cornstarch. Sifting is crucial here as it aerates the dry ingredients and ensures there are absolutely no lumps, leading to a smoother, more uniform batter and a finer crumb.
- Whip the Egg Whites: In a meticulously clean stand mixer bowl (free from any grease or fat) fitted with the whisk attachment, or using a hand mixer, begin by beating the room-temperature egg whites, vinegar (or lemon juice), vanilla, and salt on medium speed until they become foamy. This usually takes about 30 seconds. Once foamy, increase the speed to high. Gradually, add the remaining granulated sugar, one tablespoon at a time, allowing it to fully incorporate. Continue beating until soft peaks form. This means when you lift the whisk, the peaks will stand up but gently curl over at the tips. Be careful not to overbeat to stiff peaks, as this can make the cake dry.
- Gently Fold in the Flour Mixture: This is a critical step! Using a rubber spatula, gently fold the sifted flour mixture into the whipped egg whites, adding about a quarter of the flour at a time. The key word here is “fold” – use a light hand and a figure-eight motion to incorporate the flour without deflating the precious air you’ve beaten into the egg whites. Do not stir, or you will lose the volume and your cake will be dense. Continue until all the flour is just incorporated and no dry streaks remain.
- Bake to Perfection: Carefully transfer the batter evenly into your prepared, ungreased mini loaf pans. Bake in a preheated oven at 325°F (160°C) for 20-25 minutes. The cakes are done when they turn a beautiful golden brown on top and spring back gently when lightly touched. If an indentation remains, bake for an additional 5-minute increment until fully cooked.
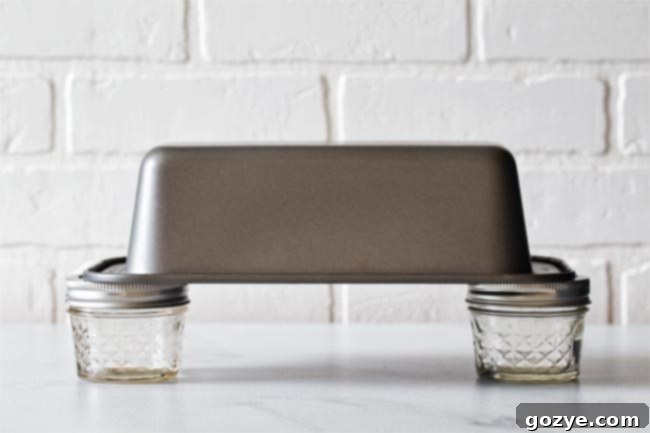
- Cool Upside Down – Do Not Skip This! Immediately after removing from the oven, invert the pans and rest their handles on top of two sturdy jars or canned goods. This ingenious method prevents the cake from deflating under its own weight as it cools. Allow them to cool completely upside down for at least 1 hour. This step is non-negotiable for maintaining the cake’s airy volume.
- Release and Serve: Once completely cooled, carefully remove the cakes from their pans (detailed instructions below). Serve these delightful mini angel food cakes with your favorite toppings, such as luscious homemade whipped cream and a medley of fresh berries.
Top Tips For Making The Best Mini Angel Food Cake
Achieving the perfect angel food cake, even in mini form, relies on understanding a few key principles. Keep these expert baking tips in mind for consistently stellar results:
- Separate Egg Whites Cold, Whip Them at Room Temperature: This seemingly contradictory advice is the secret to perfect egg whites. Eggs are easiest to separate when they are cold; the yolks are firmer and less likely to break, preventing any fat from contaminating your whites. However, egg whites whip to maximum volume and stability when they are at room temperature. Plan ahead and let your separated egg whites sit on the counter for 30 minutes to an hour before whipping.
- Master the Art of Gentle Folding (Don’t Stir!): The delicate, airy texture of angel food cake comes from the trapped air in the whipped egg whites. When incorporating the dry ingredients, the trick is to use a light hand and a folding technique. Stirring will quickly deflate the egg whites, leading to a dense, rubbery cake. Use a rubber spatula to gently “cut” through the mixture and then “fold” it over, preserving as much air as possible. You can find excellent visual guides on how to fold in flour for cakes.
- Never Grease Your Pan (Seriously!): This is contrary to most baking advice, but it’s absolutely critical for angel food cake. Do not grease your pan, and do not line it with parchment paper. Angel food cake batter needs to cling to the sides of the pan as it rises to achieve its characteristic height and airy structure. If the pan is greased, the batter will slide down, and the cake will deflate.
- The Upside-Down Cooling Rule is Golden: The moment your angel food cakes come out of the oven, they are delicate and prone to collapsing under their own weight. Inverting them immediately and cooling them upside down is paramount. This allows the cake to set while being supported by the pan, preventing gravity from causing it to deflate. Rest each end of your mini loaf pan (where the handles are) on top of two sturdy jars or canned goods. Allow them to cool completely for at least 1 hour before attempting to remove them.
How To Release Angel Food Cake From The Pan
Since the angel food cake is designed to stick to the pan sides for structural support, you can’t just flip it over to release it like a typical cake. Removing it requires a bit of gentle finesse:
Once the cake is completely cooled (after its essential upside-down cooling period), take a thin butter knife or an offset spatula. Carefully run the knife around the inside edges of the loaf pan, making contact with the cake. Do this a few times to ensure the sides are fully detached.
Next, gently lay the loaf pan on its side, with the cake facing you. Continue to run your knife or spatula carefully around the edges and along the bottom, gently pulling away from the pan as you go. Work slowly and patiently. Don’t panic if it doesn’t immediately slide out; with gentle encouragement and a bit of wiggling, your perfectly baked cake will release itself from the pan. The goal is to separate it cleanly without tearing the delicate cake.
How To Cut Angel Food Cake Like a Pro
Angel food cake, with its moist and airy texture, can sometimes be a bit sticky and challenging to slice neatly. To achieve clean, beautiful slices for your mini angel food cakes, try this simple trick:
The best method is to use a serrated knife. Before each cut, run your serrated knife under hot water and then quickly wipe it dry. The heat helps the knife glide through the cake without sticking or tearing. Instead of pushing the knife straight down, use a gentle sawing motion back and forth. This technique prevents the delicate cake from being squished or compressed, ensuring each slice maintains its light and fluffy structure.
How Long Will Mini Angel Food Cake Last?
For the absolute best flavor and texture, mini angel food cake is best enjoyed within 2 days when stored at room temperature. After this period, due to its high egg white content, the cake can start to “weep” or release moisture, leading to a sticky and slightly wet top surface.
To extend the freshness of your cake, you have a couple of excellent options:
- Refrigeration: Store the cake in an airtight container in the refrigerator for up to 1 week. Bring it back to room temperature for about 15-20 minutes before serving for optimal enjoyment.
- Freezing: For longer storage, angel food cake freezes beautifully. Wrap individual mini cakes tightly in plastic wrap, then place them in an airtight freezer-safe bag or container. They can be frozen for up to 4-6 months. Thaw in the refrigerator overnight or at room temperature for a few hours before serving.
Creative Ways To Serve Your Mini Angel Food Cake
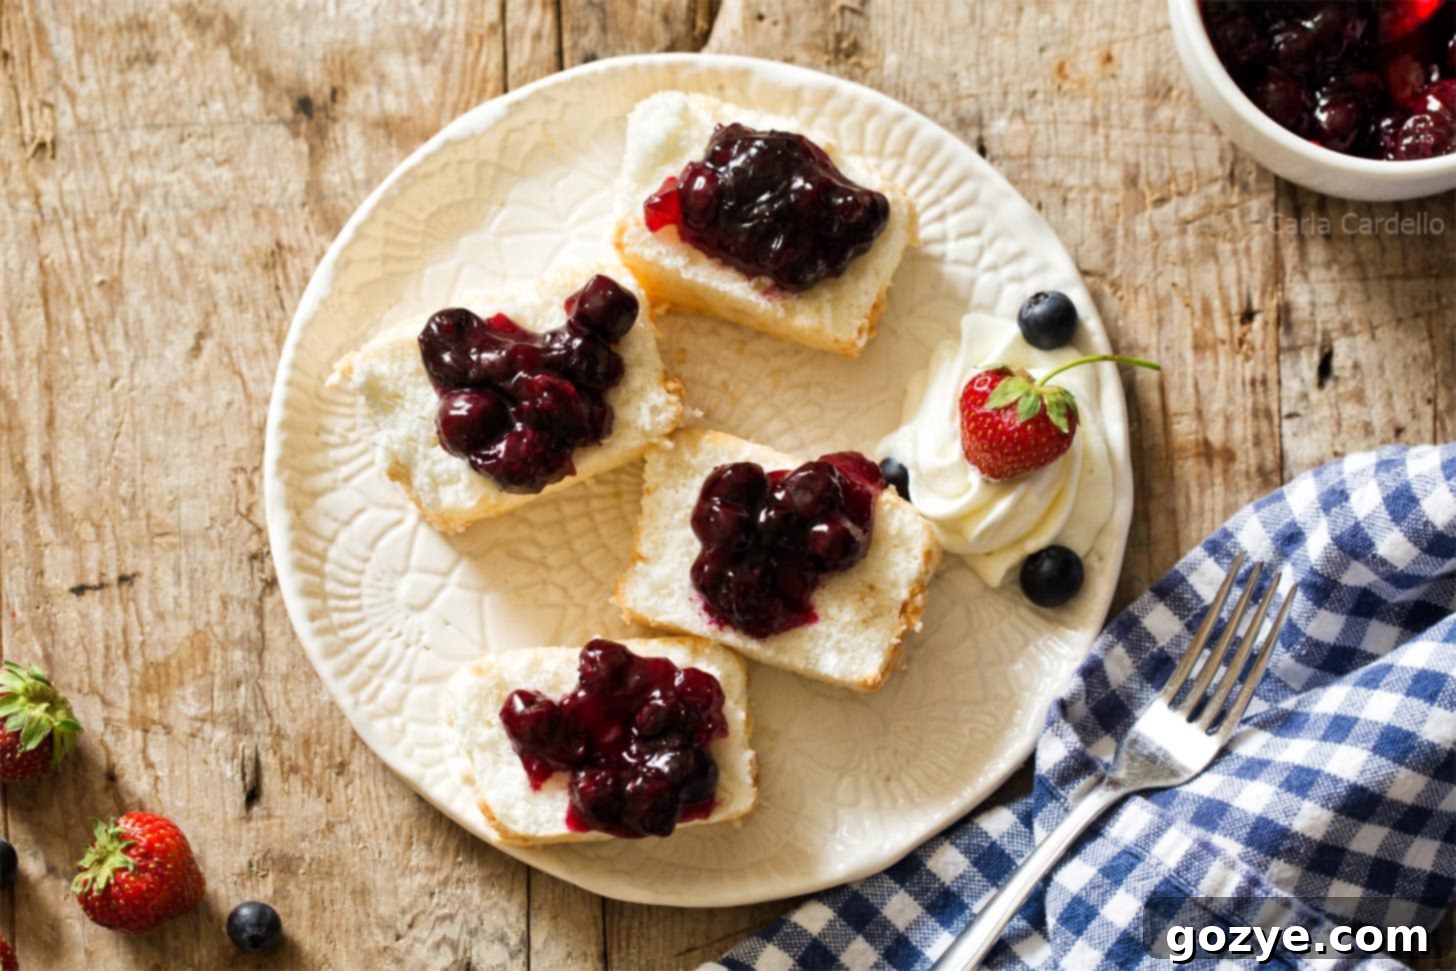
The beauty of mini angel food cake lies in its versatility. Its neutral, sweet flavor makes it a perfect canvas for a wide array of toppings. Here are some delicious ideas to elevate your serving experience:
- Classic Simplicity: The easiest and often most beloved way to serve your angel food cake for two is with a generous dollop of homemade whipped cream and an assortment of fresh berries like strawberries, blueberries, or raspberries. The creaminess and tartness perfectly complement the cake’s lightness.
- Decadent Chocolate Twist: For chocolate lovers, consider pairing your mini cakes with chocolate whipped cream. A drizzle of chocolate syrup or a few chocolate shavings would also be delightful.
- Berry Overload: Double down on the fruity goodness! Alongside fresh berries, serve your cake with strawberry whipped cream for an explosion of berry flavor.
- Naturally Sweetened Cream: Add a touch of natural sweetness by making honey whipped cream or maple whipped cream. These subtle flavors beautifully enhance the cake without overpowering it.
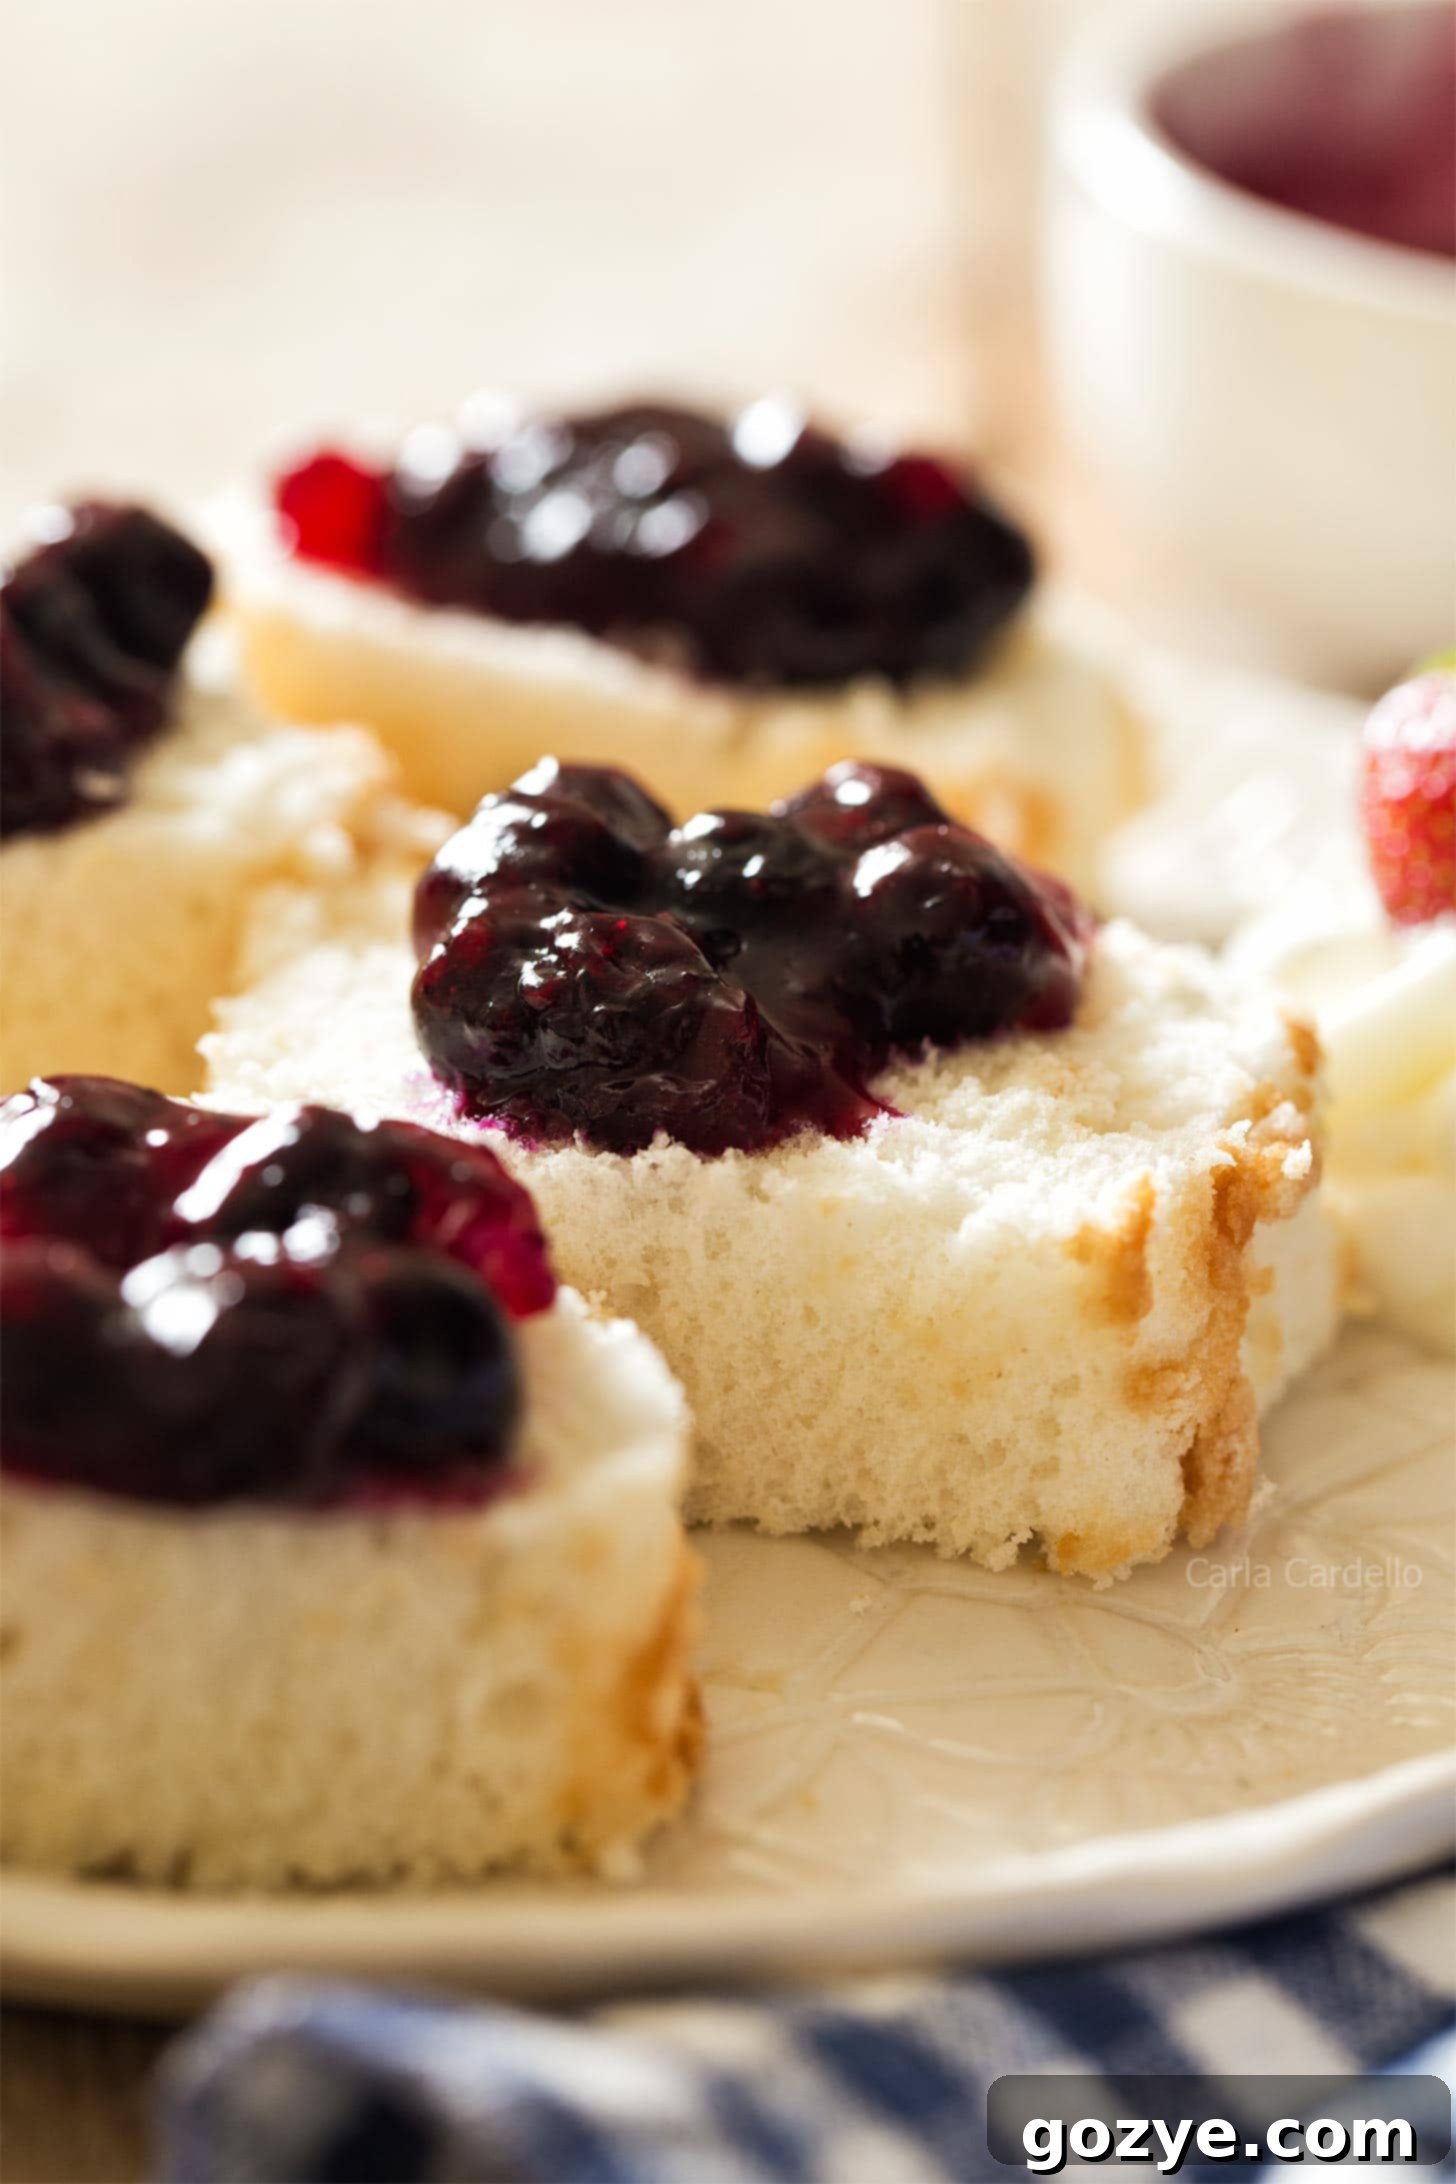
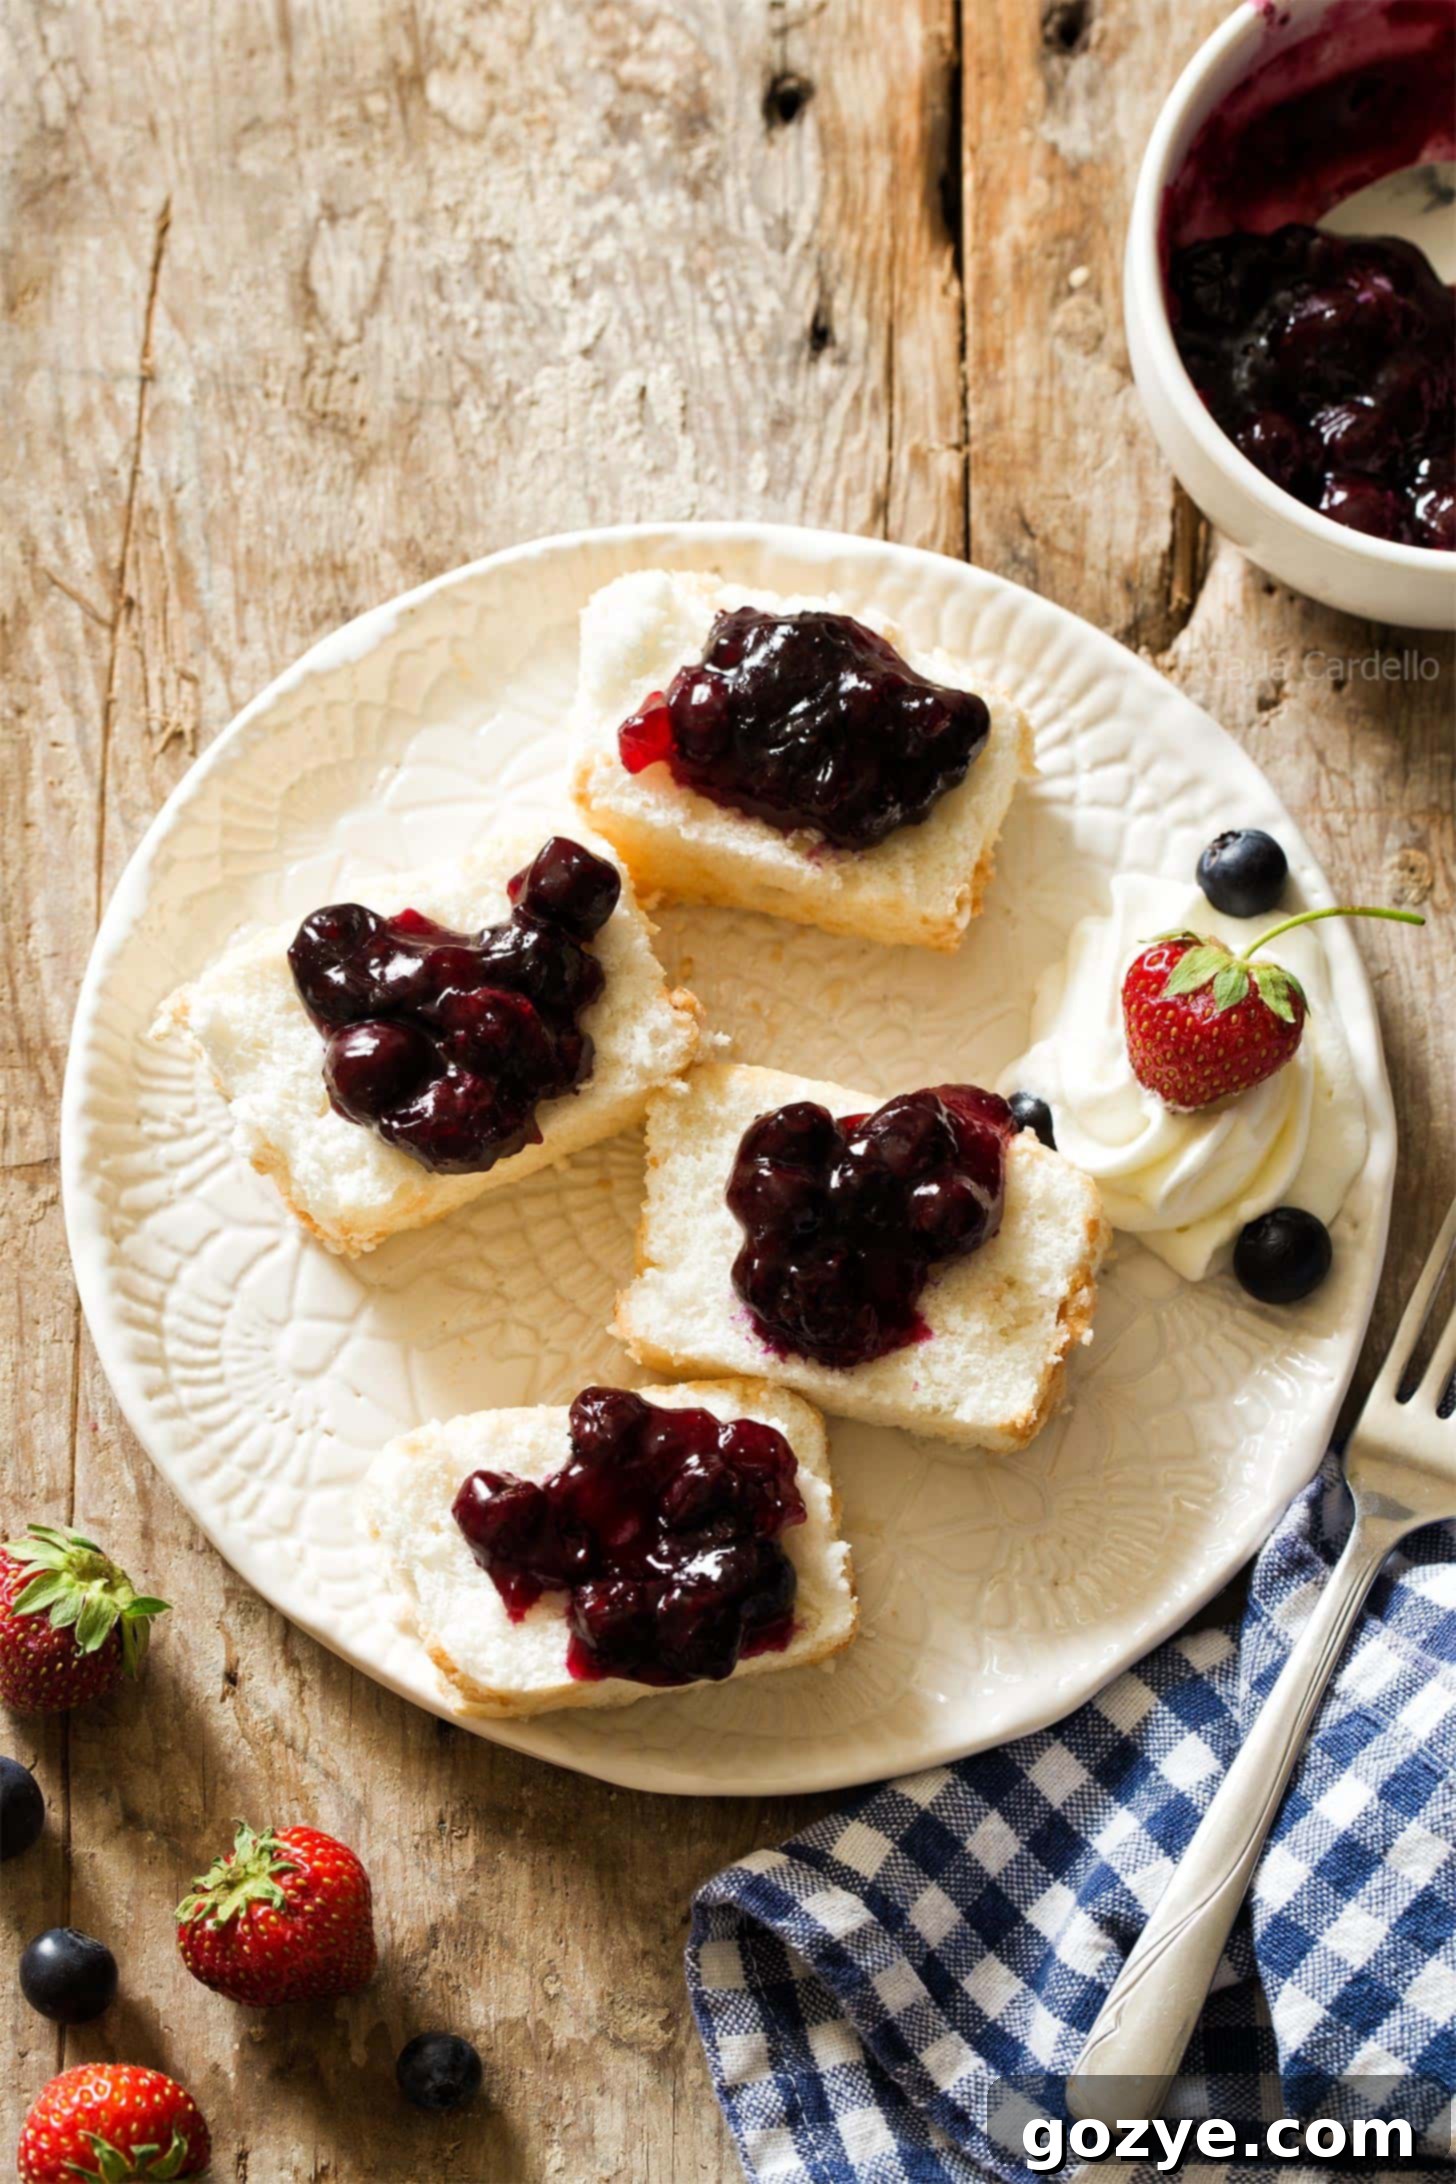
- Fruit Sauces & Fillings: Take your fruit game one step further by adding a vibrant fruit sauce or filling. Consider a luscious strawberry sauce, a rich strawberry pie filling, or a sweet-tart blueberry pie filling. These add moisture, flavor, and a beautiful visual appeal.
- Citrus Zest: A light dusting of lemon or orange zest can add a bright, refreshing note that beautifully cuts through the cake’s sweetness.
- Nutty Crunch: A sprinkle of toasted slivered almonds or finely chopped pistachios can add a delightful textural contrast.
Don’t Waste Those Leftover Egg Yolks!
Since angel food cake is an egg white-only affair, you’re guaranteed to have some leftover egg yolks. Don’t let them go to waste! There are countless delicious ways to utilize them. Explore my collection of recipes specifically designed for leftover egg yolks, including:
- Small Batch Chocolate Chip Cookies: Rich, chewy cookies that benefit from the extra yolks.
- Small Batch Peanut Butter Cookies: Another classic where egg yolks add moisture and tenderness.
- German Chocolate Ice Cream: Luxurious homemade ice cream often calls for an egg yolk custard base.
- Homemade Custards or Puddings: Yolks are the key to creamy, rich custards, crème brûlée, or banana pudding.
- Mayonnaise or Hollandaise Sauce: For savory options, yolks are essential emulsifiers for these classic sauces.
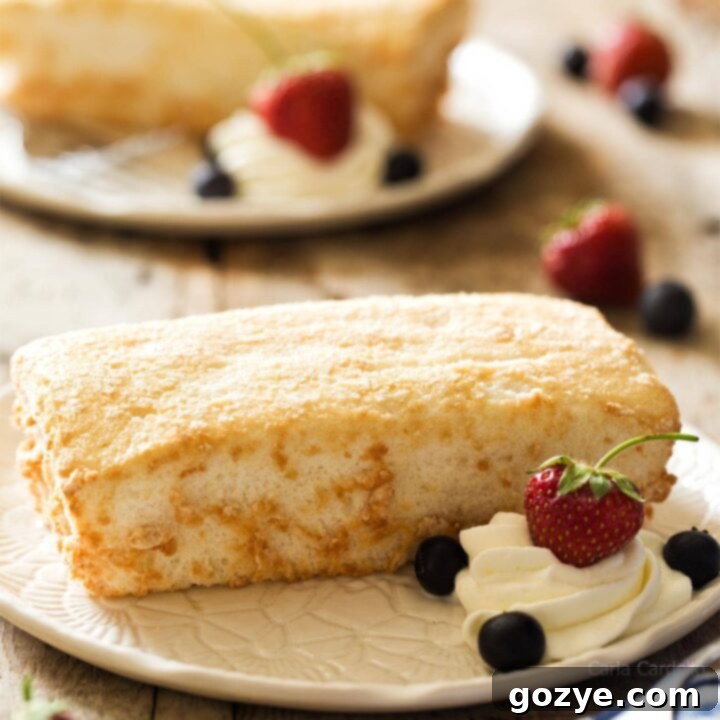
Mini Angel Food Cake
2 servings
20 minutes
25 minutes
1 hour
1 hour 45 minutes
Mini Angel Food Cake baked in two mini loaf pans is a delicate yet airy cake made from whipped egg whites and without cream of tartar. No tube pan required!
Ingredients
- 6 tablespoons granulated sugar
- 1/4 cup all-purpose flour
- 1 + 1/2 teaspoons cornstarch
- 3 egg whites, room temperature (clean with no trace of yolk and NOT egg whites in a carton – must be from actual eggs)*
- 1 + 1/2 teaspoons white distilled vinegar or lemon juice
- 1/2 teaspoon vanilla extract
- 1/8 teaspoon table salt
- Homemade Whipped Cream, for serving (get recipe here)
Instructions
- Preheat your oven to 325°F (160°C). Have two ungreased 5.75×3 inch mini loaf pans or 4 cavities of an 8-cavity mini loaf pan ready. It is crucial NOT to grease or line the pans with parchment paper, as the cake needs to stick to the pan sides to climb and achieve its height.
- In a medium bowl, thoroughly sift together 2 tablespoons of the granulated sugar, all-purpose flour, and cornstarch. This step ensures there are no lumps and helps aerate the dry ingredients.
- In a meticulously clean stand mixer bowl (absolutely no trace of fat or grease) fitted with the whisk attachment (or using a hand mixer), beat the room-temperature egg whites, vinegar (or lemon juice), vanilla extract, and salt on medium speed until they become foamy, typically around 30 seconds.
- Increase the mixer speed to high. Gradually, add the remaining 4 tablespoons of sugar, incorporating it one tablespoon at a time while the mixer continues to run. Continue beating until soft peaks form. This means when you lift the whisk, the peaks will hold their shape but their tips will gently fold over. Do not overbeat to stiff peaks, as this can make the cake dry and difficult to fold. Beat for approximately 3-4 minutes after all sugar is added.
- Using a rubber spatula, carefully and gently fold the sifted flour mixture into the whipped egg whites. Add about 1/4 of the flour mixture at a time. The goal is to incorporate all the flour without deflating the egg whites, so take your time and use a light hand. Ensure there are no dry pockets of flour left at the bottom of the bowl.
- Carefully transfer the delicate batter into your prepared mini loaf pans, spreading it evenly. Bake for 20-25 minutes, or until the tops are golden brown and spring back when gently touched. If an indentation remains, it indicates the cake needs a bit more time to bake; return to the oven in 5-minute increments.
- Immediately upon removing from the oven, turn the pan(s) upside down. Rest the handles of the loaf pan on top of two sturdy jars or canned goods. This crucial step prevents the cake from deflating under its own weight. Allow the cakes to cool completely upside down for a minimum of 1 hour. Do not skip this step!
- Once the cakes are fully cooled and ready to serve, carefully run a thin butter knife or offset spatula around the inside edges of each pan. Then, lay the pan on its side and carefully use your knife to gently pull the cake out. If you encounter any resistance, you can gently slide an offset spatula under the bottom of the cake to help release it completely.
- To slice the cake neatly, use a serrated knife. For the cleanest cuts, run the knife under hot water and wipe it dry between each slice. Use a gentle sawing motion rather than pushing down to avoid compressing the airy cake. Serve your delightful mini angel food cakes with fresh strawberries, blueberries, and a generous dollop of homemade whipped cream.
Store any leftovers in an airtight container at room temperature for up to 2 days, in the refrigerator for up to 1 week, or in the freezer for up to 4-6 months.
Notes
- *For best results, separate egg whites when they are cold, as the yolks are firmer and less likely to break. However, allow the separated egg whites to come to room temperature (about 30-60 minutes) before whipping, as they will achieve maximum volume. If any yolk contaminates the egg whites, you must start over with fresh, clean whites, as even a tiny bit of fat will prevent them from whipping properly.
- Don’t know what to do with the extra egg yolks? Check out my dedicated page for recipes using leftover egg yolks – there are many delicious options!
- If you don’t have mini loaf pans, you can still enjoy angel food cake! Try my recipe for a full-sized Angel Food Cake in a standard 9×5 inch Loaf Pan, or make charming Angel Food Cupcakes in a muffin tin.
Recommended Products
As an Amazon Associate and member of other affiliate programs, I earn from qualifying purchases.
- 5.75×3 Mini Loaf Pans
- 8-Cavity Mini Loaf Pan
Did you make this recipe?
Let me know what you think! Rate the recipe above, leave a comment below, and/or share a photo on Instagram using #HITKrecipes
