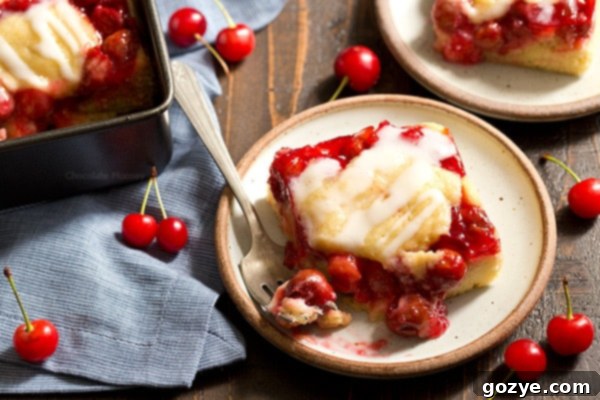
Irresistible Cherry Cobbler Bars: Easy Recipe with Homemade Pie Filling
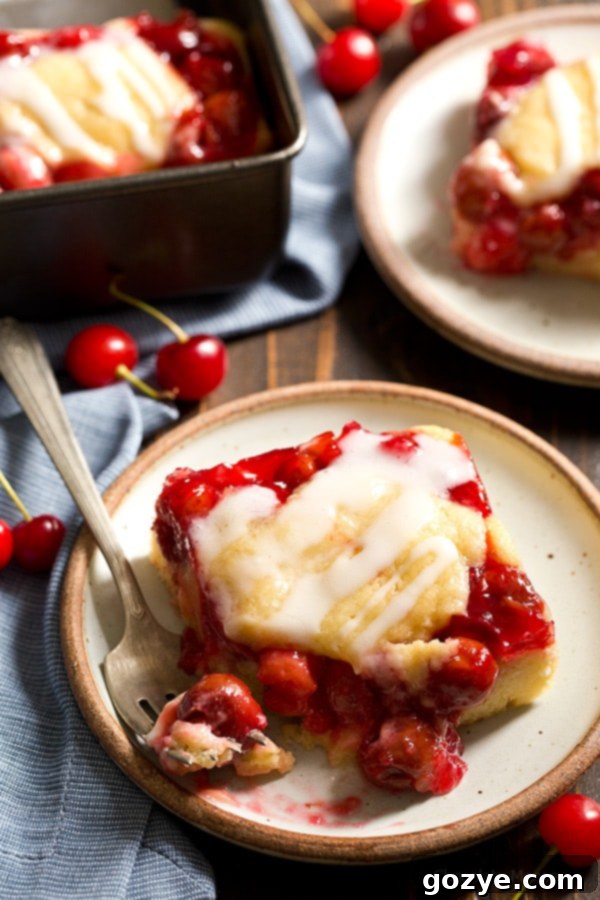
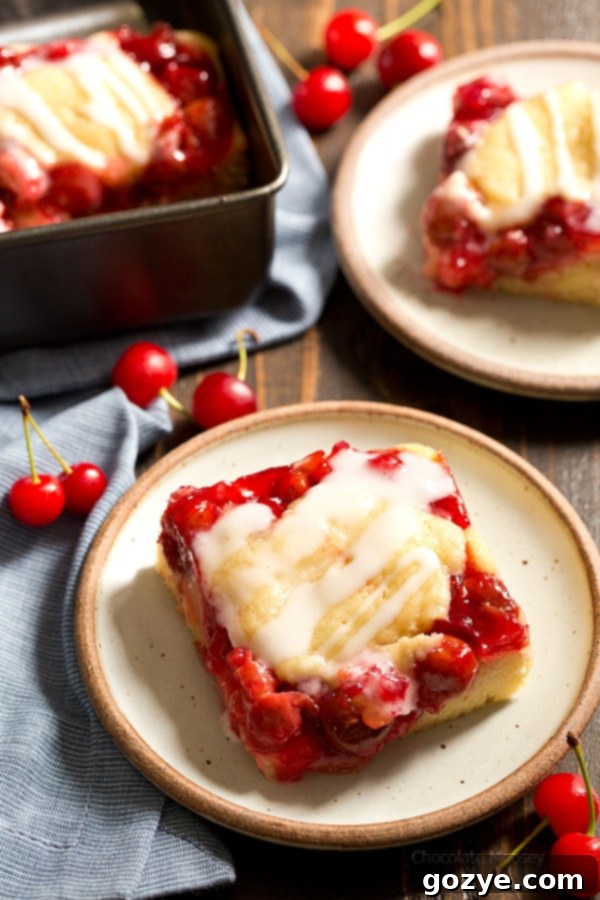
Craving the comforting taste of cherry cobbler but looking for a simpler, more portable way to enjoy it? Look no further than these delightful Cherry Cobbler Bars! Featuring a rich, homemade cherry pie filling nestled between layers of tender, buttery cobbler dough, these bars offer all the classic flavor of a traditional cobbler in a convenient, grab-and-go format. They’re perfect for picnics, potlucks, or simply as an easy dessert at home. With a homemade filling, you control the sweetness and flavor, ensuring a truly unforgettable treat. Wrap them up and take them on the go; pick one up with your hands or grab a fork. Share, or don’t share – they’re that good!
The Inspiration: Fresh Cherries and a Convenient Twist
My culinary adventures often begin with fresh, seasonal ingredients, and these Cherry Cobbler Bars are no exception. A few weeks ago, my trusty old car decided it needed some significant attention – specifically, its muffler was on the verge of detachment. With an inspection looming in July, I decided to tackle the inspection first. There was no point investing heavily in repairs if a new car was immediately necessary. While the damage was more extensive than anticipated, and the repair bill slightly painful for an older vehicle, it bought me a comfortable 365 days to find a “new-to-me” car, rather than a frantic 30-day scramble.
With my car in the shop for the day, I seized the opportunity for a family outing. My parents picked me up, and we headed straight to a local farm for cherry picking. The season for sour (or tart) cherries is notoriously fleeting, and this year, it was even shorter due to challenging weather conditions that severely impacted the cherry crops. The farmer shared that his yield was only about 20 percent of what he had harvested the previous year. Despite the scarcity, we managed to fill a bucket, largely thanks to my dad’s impressive ladder-climbing skills, reaching for those prized cherries at the very top of the trees.
Last year, my first creation from our cherry haul was a batch of Mini Cherry Pies. However, this year’s cherry picking coincided perfectly with the lead-up to Father’s Day, and my dad already had his heart set on a coconut cream pie. So, I needed a fresh idea, something different from another pie. As I reviewed my list of recipe concepts, the scribble “Cherry Cobbler Bars” immediately caught my eye. The idea of transforming a classic into an easily shareable, hand-held treat felt like the perfect solution to utilize our fresh sour cherry bounty.
Why Cherry Cobbler Bars Are a Game Changer
Traditional cherry cobbler is a beloved dessert, typically featuring a spoon-dropped biscuit-like topping over a rich cherry pie filling, served warm with a scoop of vanilla ice cream. While undeniably delicious, it can sometimes be a bit messy to serve, especially for a crowd, at a potluck, or when dining outdoors. That’s where Cherry Cobbler Bars truly shine. They take the essence of a cobbler – a luscious fruit filling and a tender, comforting dough – and reimagines it in a convenient bar form.
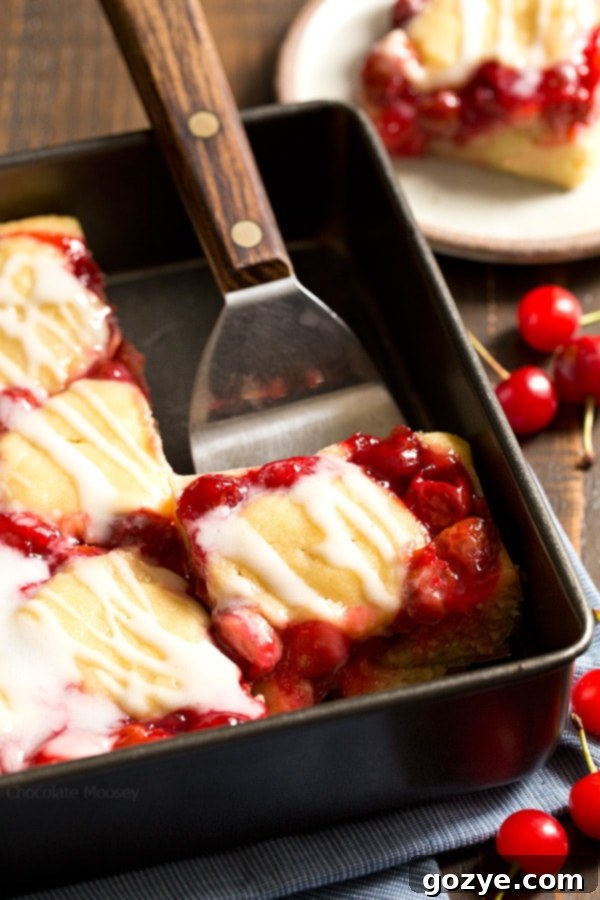
Imagine a sturdy bottom layer of buttery cobbler dough, a generous spread of vibrant homemade cherry pie filling, and then another scattering of that same delightful dough on top, creating that signature cobbled appearance. Once baked and cooled, these bars are easily sliced into individual portions, making serving a breeze. No need for bowls or spoons unless you prefer them. You can simply pick them up with your hands, making them ideal for parties, lunchboxes, road trips, or a quick snack on the go. They’re perfect for sharing with friends and family, but so good you might just want to keep them all to yourself!
Crafting the Perfect Cherry Pie Filling
The heart of these Cherry Cobbler Bars lies in the filling. For this recipe, I highly recommend using sour cherries, also known as tart cherries. Their bright, intense flavor provides a wonderful contrast to the sweet cobbler dough and glaze. Freshly picked sour cherries are truly unparalleled, offering a depth of flavor that’s hard to replicate. However, if fresh sour cherries aren’t readily available – and they can be tricky to find in regular grocery stores outside of peak season – frozen sour cherries are an excellent substitute. Just be sure to thaw them first and drain any excess liquid to prevent a watery filling.
If you can only find sweet cherries, don’t despair! You can absolutely use them for your pie filling. Just be mindful of the sugar content. Sweet cherries naturally contain more sugar, so you’ll want to taste your filling mixture before baking and adjust the granulated sugar quantity accordingly. Generally, sour cherries require more sugar to balance their tartness, so a direct swap with sweet cherries might result in an overly sweet filling if you don’t reduce the sugar. The goal is a harmonious balance of sweet and tart that makes your taste buds sing. Whether using homemade or canned filling, ensure it’s of good quality for the best results.
Beyond Cherries: Versatile Fruit Filling Options
While cherry is a classic choice, the beauty of this cobbler bar recipe lies in its adaptability. You can easily substitute the cherry pie filling with a variety of other fruit fillings, making this a year-round favorite. Imagine the possibilities:
- Blueberry: A vibrant blueberry pie filling would create a delightful twist, perfect for summer gatherings and a beautiful purple hue.
- Peach: Sweet and fragrant peach pie filling offers a taste of late summer sunshine and pairs wonderfully with the buttery dough.
- Apple: Comforting apple pie filling brings warmth and familiarity, ideal for cooler months, perhaps with a touch of cinnamon.
- Mixed Berry: A medley of berries like raspberries, blackberries, and strawberries could also be used for a complex and fruity flavor profile that bursts with freshness.
- Rhubarb: For a unique tart flavor, a rhubarb or strawberry-rhubarb filling would be fantastic.
Don’t want to commit to bars? If you’re looking for a more traditional cobbler experience, especially for a smaller serving, check out my recipes for peach cobbler for two or blueberry cobbler for two. These offer individual portions of warm, bubbly cobbler perfect for a cozy night in, proving that delicious desserts can be scaled for any occasion.
Tips for Baking Perfect Cobbler Bars
Achieving the perfect Cherry Cobbler Bar is simpler than you might think. Here are a few essential tips to ensure your baking success and create a truly irresistible dessert:
- Pan Size Matters: The recipe specifically calls for an 8×8 inch pan. Using a 9×9 inch pan will result in thinner bars and you might find yourself short on dough for the top layer. An 8×8 pan ensures thicker, more substantial bars with a good ratio of tender dough to luscious filling. Don’t forget to grease your pan thoroughly to prevent sticking.
- Dough Consistency: The cobbler dough should be soft and slightly sticky. This is normal and desired. If your kitchen is particularly warm and the dough becomes too difficult to handle or spread, don’t hesitate to pop it into the refrigerator for about 15 minutes. This will firm it up slightly and make it much easier to work with.
- Spreading the Dough: For the bottom layer, gently press about three-quarters of the dough evenly into the prepared pan. A good trick is to lightly flour your fingertips or use a piece of parchment paper or the back of a spoon to help press it down without sticking. For the top layer, use spoonfuls of the remaining dough, dropping them somewhat randomly over the cherry filling. This creates that charming “cobbled” effect and allows some of the fruit filling to peek through.
- Don’t Overbake: Bake until a toothpick inserted into the doughy parts comes out clean. The filling will be visibly bubbly, and the top cobbler pieces will be golden brown. Keep an eye on the edges; they should be lightly browned. Overbaking can lead to dry bars, so it’s better to slightly underbake than overbake.
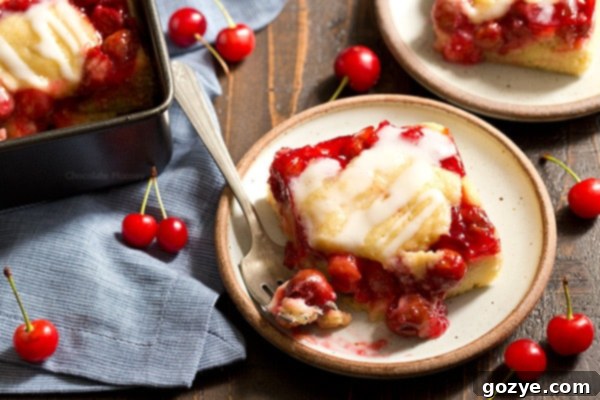
- The Glaze Finish: The simple powdered sugar glaze adds a lovely touch of sweetness and a beautiful sheen, enhancing both the flavor and appearance. Make sure to drizzle it over the bars while they are still warm but not piping hot. This allows the glaze to melt slightly and adhere beautifully without disappearing entirely. Let the glaze set and harden completely before slicing for the cleanest cuts and a delightful texture contrast.
Storage and Serving Suggestions
Once your Cherry Cobbler Bars are glazed and cooled, they are ready to be enjoyed! They are wonderful at room temperature and maintain their freshness for several days, making them excellent for meal prepping desserts, packing in lunchboxes, or bringing to a gathering. Store them in an airtight container at room temperature for up to 3 days, or in the refrigerator for up to 5 days. If refrigerated, you might want to bring them back to room temperature or gently warm them in the microwave for a few seconds before serving to soften the dough slightly and enhance the flavors.
These bars are also freezer-friendly, making them ideal for preparing ahead of time! To freeze, ensure they are completely cooled and the glaze is fully set. Cut them into individual bars, then wrap each bar tightly in plastic wrap, followed by a layer of aluminum foil. Store in a freezer-safe bag or container for up to 3 months. Thaw at room temperature or in the refrigerator before enjoying. You can even pop a frozen bar directly into the microwave for a quick warm treat.
Serve these bars as a delightful dessert on their own, or elevate them with a scoop of creamy vanilla ice cream, a dollop of fresh whipped cream, or a sprinkle of toasted almonds for added crunch and texture. They’re also fantastic with a cup of coffee or tea.
More Cherry Delights to Explore
If you find yourself with an abundance of cherries or simply can’t get enough of their delightful flavor, be sure to check out my comprehensive post on Cherry Pie Filling Desserts. This collection features a variety of creative ways to use cherry pie filling, from quick treats to more elaborate baked goods, including my highly popular Cherry Turnovers. There’s a cherry dessert for every occasion and every craving!
Cherry Cobbler Bars
9-12 bars
45 minutes
30 minutes
1 hour 15 minutes
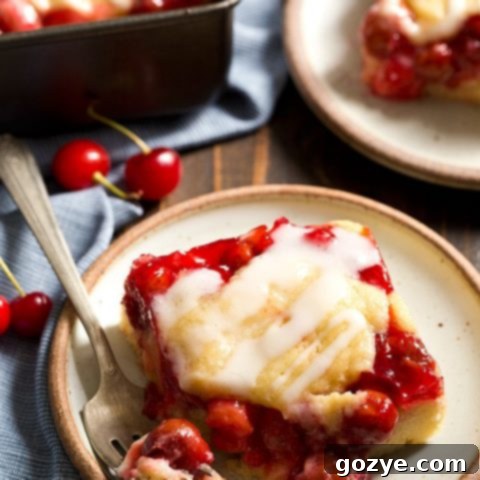
Want an easier way to serve cobbler? These Cherry Cobbler Bars with homemade cherry pie filling make it effortless to serve for dessert.
Ingredients
- 2 cups cherry pie filling (homemade or canned)
- 1 1/2 cups all-purpose flour
- 1 teaspoon baking powder
- 1/4 teaspoon salt
- 1/2 cup butter, softened
- 3/4 cup granulated sugar
- 2 eggs, room temperature
- 1/2 teaspoon vanilla extract
Glaze
- 1/4 cup powdered sugar
- 1-2 teaspoons milk
- 1/8 teaspoon vanilla extract
Instructions
- Preheat oven to 350F (175C). Grease an 8×8 inch pan thoroughly (using a 9×9 inch pan will result in thinner bars and you may run out of dough for the top layer).
- In a medium bowl, whisk together the all-purpose flour, baking powder, and salt until well combined. Set aside.
- In a separate large bowl, using an electric mixer, beat together the softened butter and granulated sugar until the mixture is light, fluffy, smooth, and creamy, which usually takes about 2-3 minutes. Scrape down the sides of the bowl as needed.
- Beat in each egg, one at a time, ensuring each is fully incorporated before adding the next. Stir in the vanilla extract until just combined.
- Gradually add the dry flour mixture (from step 2) to the wet ingredients, beating on low speed until just combined and no streaks of flour remain. Be careful not to overmix the dough, as this can make the bars tough. The dough will be soft and slightly sticky. If your kitchen is warm and the dough is too soft to handle easily, refrigerate it for about 15 minutes to firm it up slightly.
- Take approximately three-quarters of the dough and spread it evenly into the bottom of your prepared 8×8 inch pan. You can lightly flour your fingertips or use the back of a spoon to help press it down smoothly. Evenly spread the cherry pie filling over this bottom dough layer. Then, drop the remaining dough by spoonfuls over the pie filling, creating a rustic, “cobbled” look.
- Bake for 30-35 minutes, or until the top is golden brown and a toothpick inserted into the cobbler dough comes out clean. The filling will be visibly bubbly. Once baked, remove the pan from the oven and cool on a wire rack for at least 15 minutes before glazing.
- While the bars are still warm (but not piping hot), prepare the glaze: In a small bowl, whisk together the powdered sugar, 1 teaspoon of milk, and vanilla extract until smooth and free of lumps. If the glaze is too thick to drizzle, add the remaining 1 teaspoon of milk, a tiny bit at a time, until you reach your desired drizzling consistency. Drizzle the glaze evenly over the still-warm bars. Allow the glaze to set and harden completely before slicing and serving for the best results.
Did you make this recipe?
Let me know what you think! Rate the recipe above, leave a comment below, and/or share a photo on Instagram using #HITKrecipes
Source: Adapted from Taste Of Home
