Homemade Copycat Dairy Queen Ice Cream Cake: Your Ultimate Recipe Guide
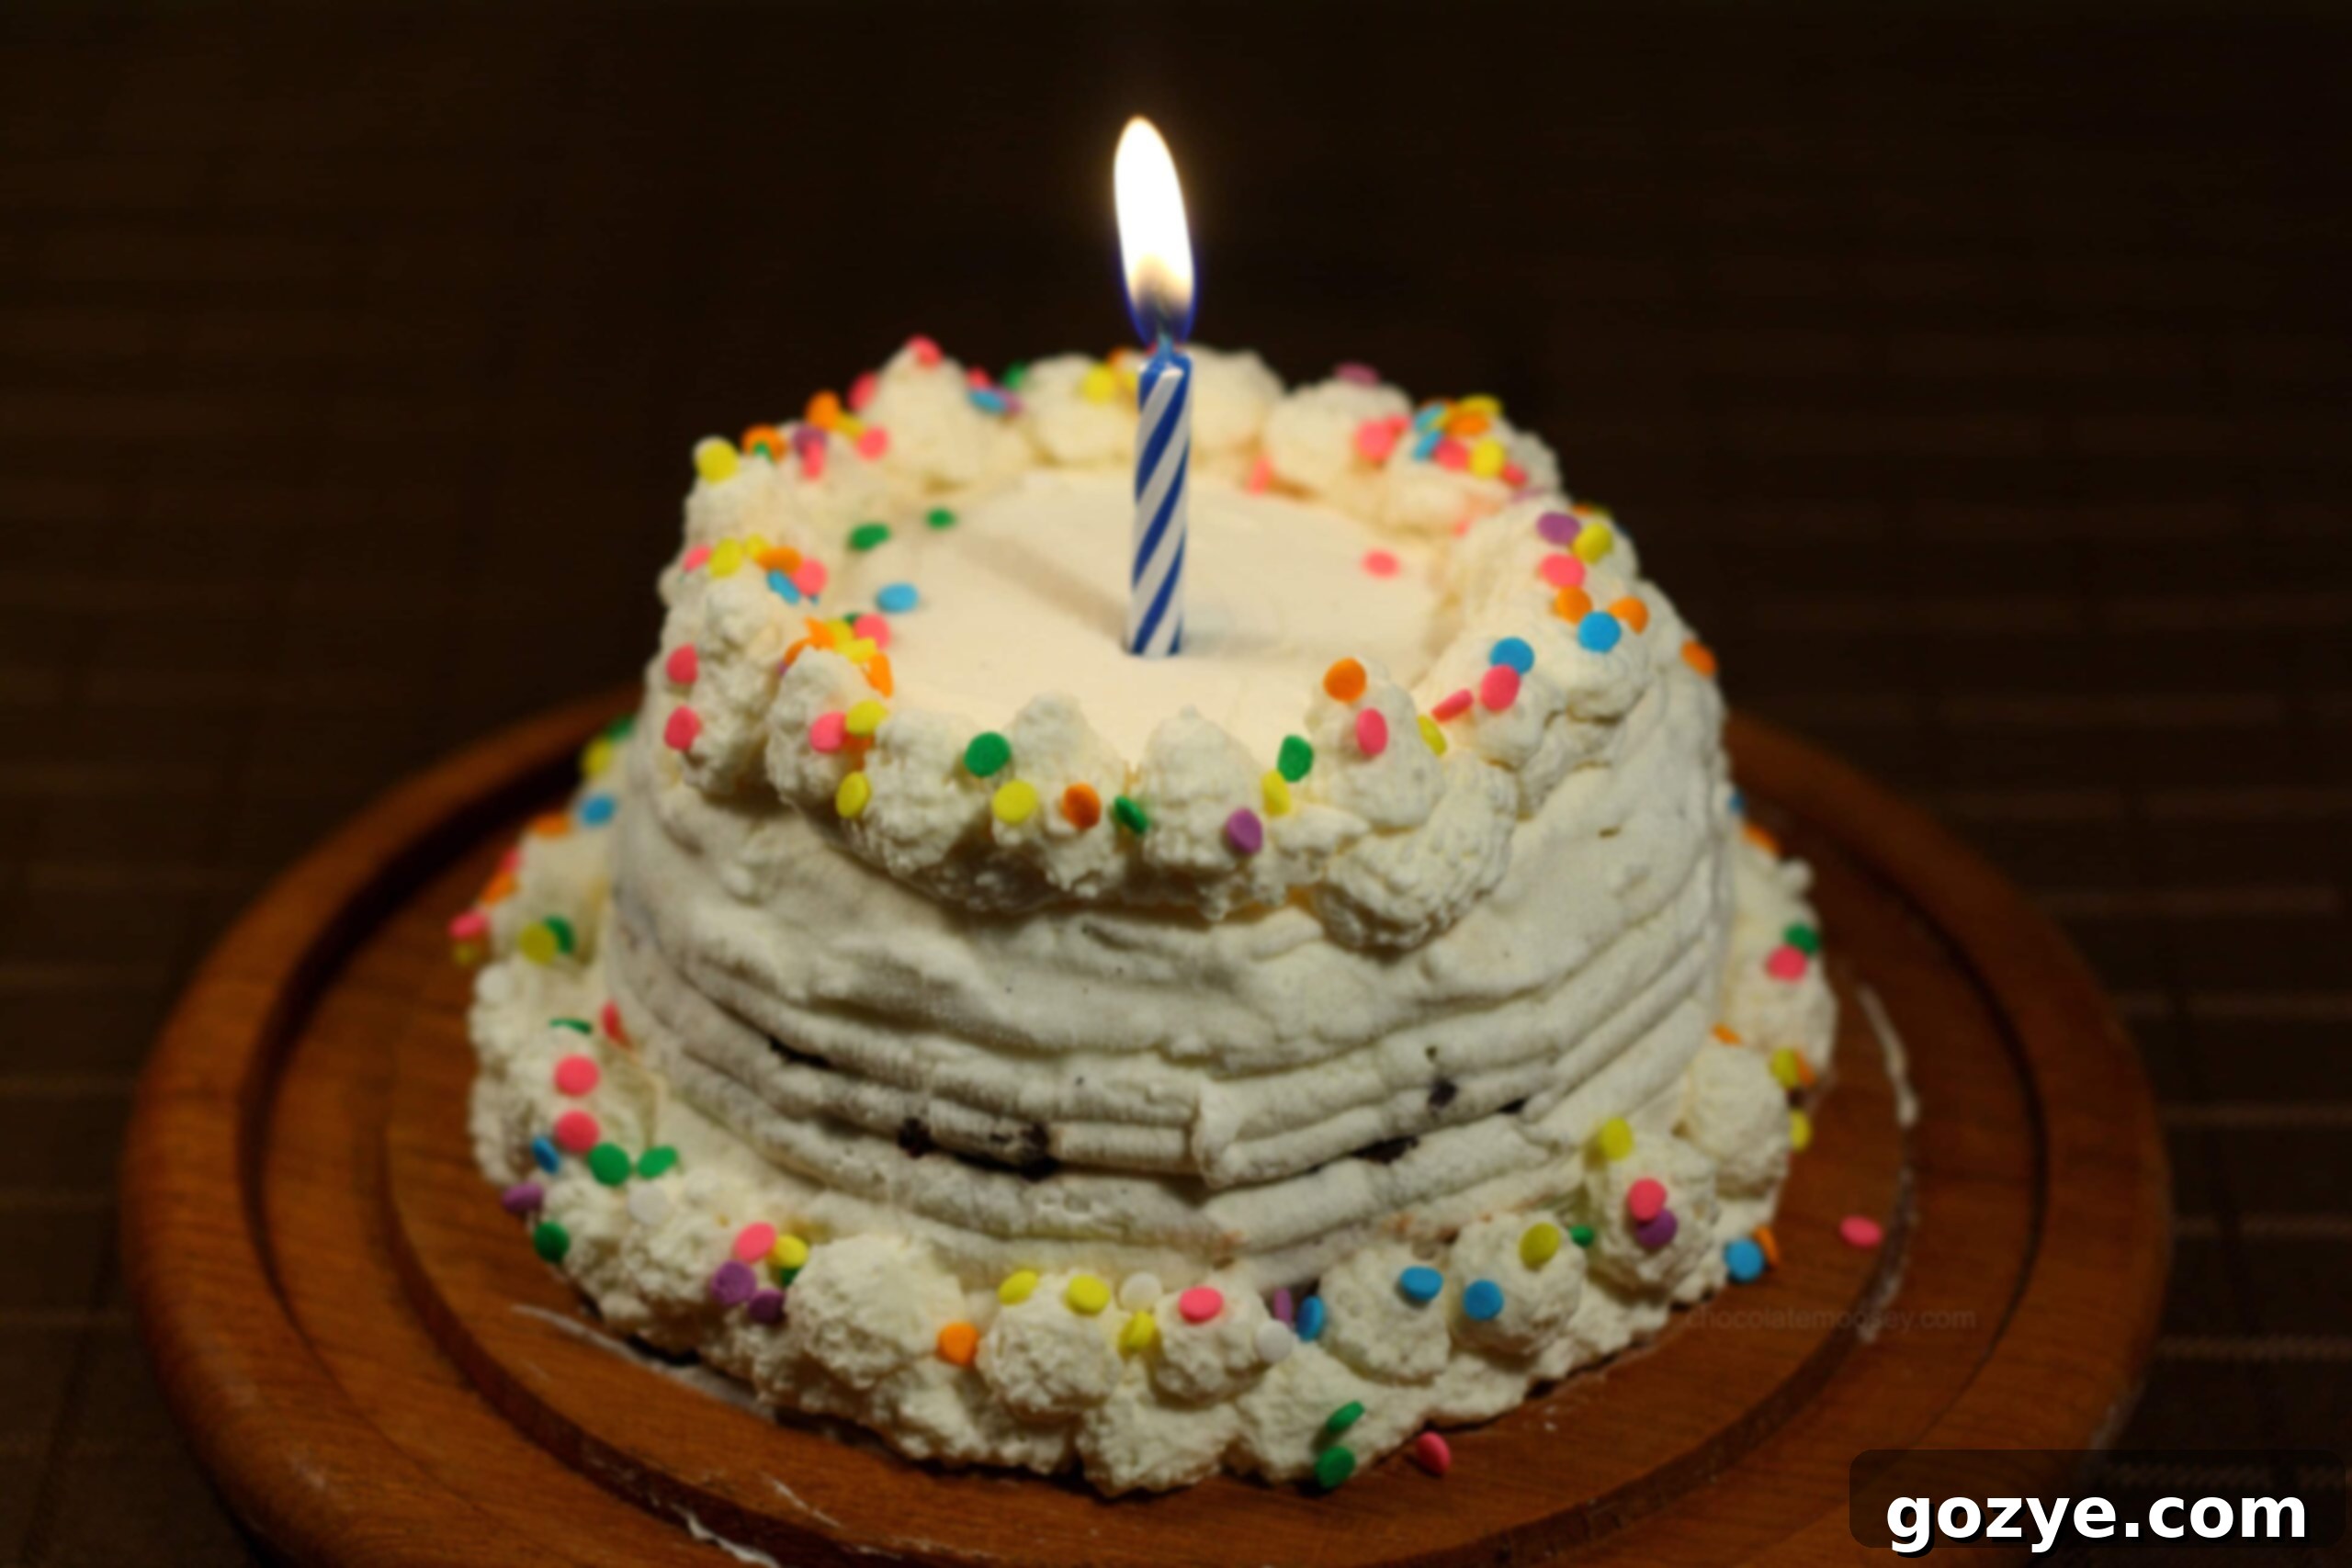
Step right up, dessert enthusiasts! We’re celebrating the joy of sweet treats with a magnificent creation that will transport you straight back to your fondest childhood memories: a Homemade Copycat Dairy Queen Ice Cream Cake. This isn’t just any dessert; it’s a celebration in itself, a delightful symphony of textures and flavors that will undoubtedly steal the show at any gathering. Forget the dread of “dessert week” ending – let’s end it with a bang, complete with sprinkles and perhaps even a lit candle, because every homemade ice cream cake deserves a moment of glory!
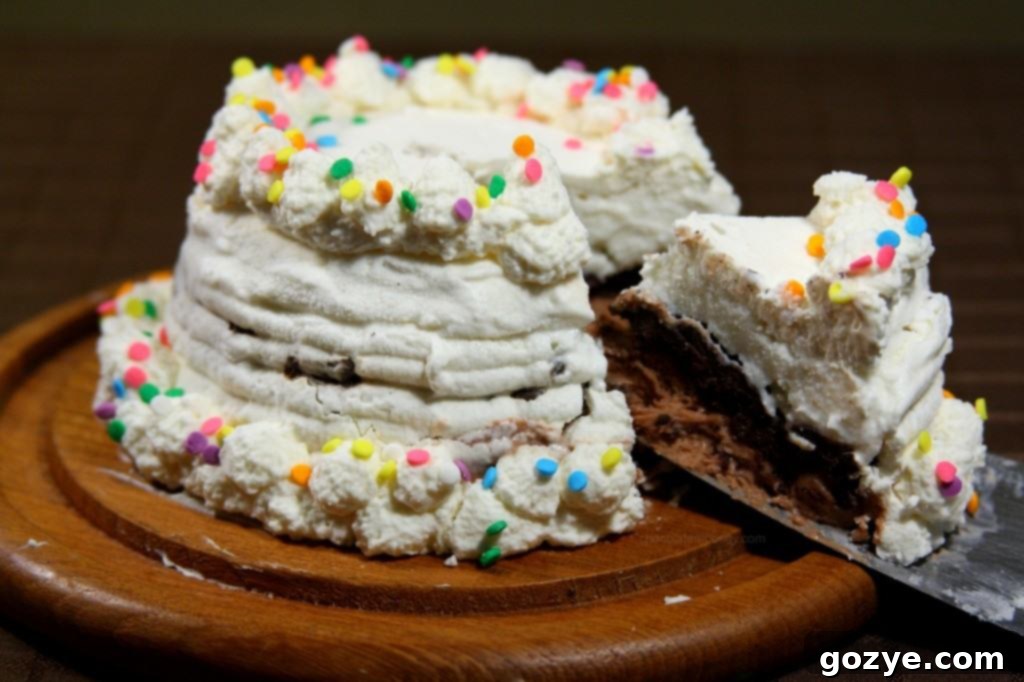
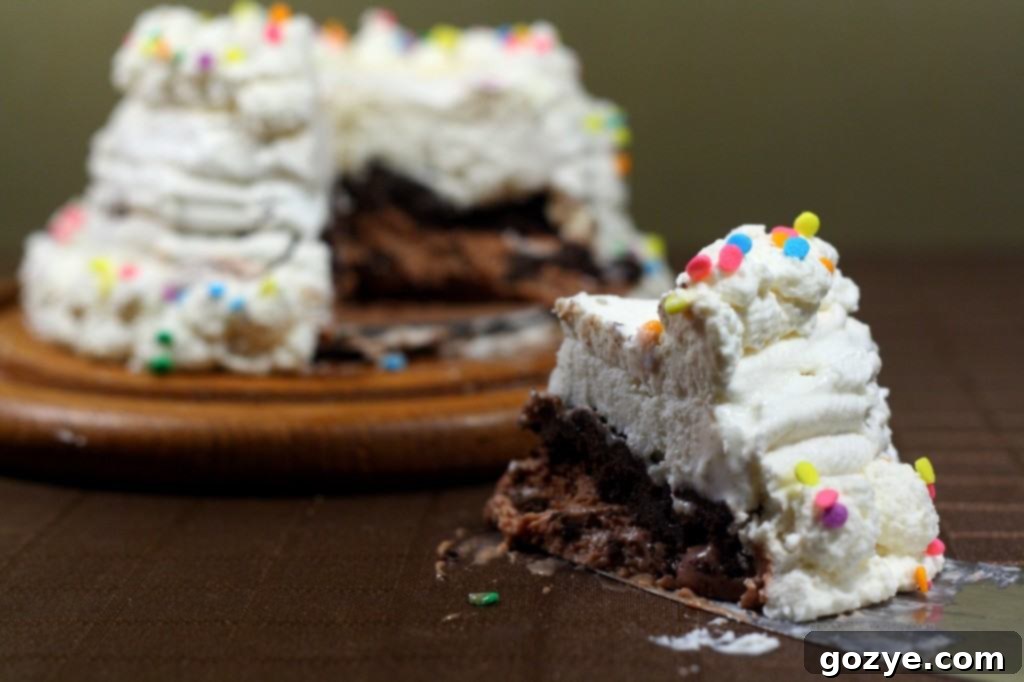
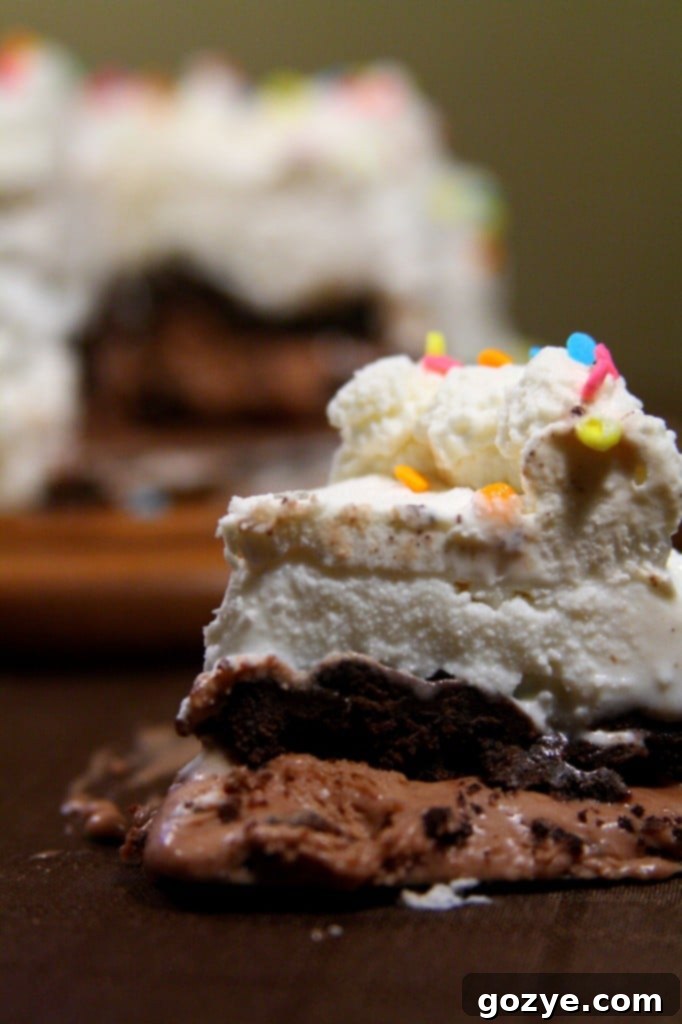
Imagine sinking your spoon into layers of rich, creamy chocolate ice cream, followed by a blissful, crunchy interlude of chopped Oreos swirled with warm hot fudge sauce, all topped with smooth vanilla ice cream and enveloped in a cloud of fluffy whipped cream. Sounds divine, doesn’t it? This recipe brings that iconic Dairy Queen magic right into your kitchen, offering a fun, rewarding, and surprisingly easy baking (or rather, freezing!) project.
Why Make Your Own Dairy Queen Ice Cream Cake at Home?
The classic Dairy Queen Ice Cream Cake holds a special place in many hearts, largely thanks to its unique crunchy fudge center. Perhaps you, like many, have received one for a birthday or enjoyed it at a special event. While store-bought convenience is tempting, crafting your own copycat version at home is a truly rewarding experience, and it’s far easier than you might think!
One of the biggest advantages of a homemade ice cream cake is the complete control you gain over the ingredients. You can select your favorite high-quality ice cream brands, ensure the freshest whipped cream, and even customize the sweetness levels to your liking. This personal touch not only guarantees a delicious outcome but also allows for dietary adjustments if needed. Moreover, creating this dessert from scratch often proves to be more economical than purchasing a ready-made one, especially for a larger cake. The pride and joy of serving a beautiful, personalized ice cream cake that you’ve made yourself are truly unmatched, making it worth every moment of patience during the freezing process.
Deconstructing the Classic: The Iconic Layers of Your DIY DQ Cake
The magic of a Dairy Queen Ice Cream Cake lies in its carefully constructed layers, each contributing to the overall deliciousness. Replicating this at home means understanding and mastering each distinct component. This recipe, initially designed for a small 4-inch cake, can easily be scaled up for a standard 9-inch springform pan by simply tripling the ingredients.
The Creamy Chocolate Ice Cream Base
The journey begins with a solid foundation of rich chocolate ice cream. This layer provides a deep, satisfying flavor and a sturdy base for the entire cake. The secret to a perfectly smooth and even layer is to allow the ice cream to soften just enough to be easily spreadable, much like soft-serve. However, be careful not to let it melt completely, as this will affect its texture when refrozen. Spread it evenly and firmly into your springform pan, ensuring it’s compacted before chilling it thoroughly until completely firm. This initial freeze is crucial for preventing layers from mixing.
The Irresistible Oreo Fudge Crunch Layer
This is the heart and soul of the Dairy Queen Ice Cream Cake – the legendary, crunchy middle layer that everyone craves. It’s a simple yet genius combination of roughly chopped Oreo cookies and decadent hot fudge sauce. The key here is using chopped cookies, not crumbs, to ensure you get that satisfying textural contrast. Mix these two ingredients thoroughly, then spread this glorious concoction evenly over your now-firm chocolate ice cream layer. This layer needs to be frozen until firm as well, ensuring it provides that delightful bite in every slice without being too gooey.
The Sweet Vanilla Ice Cream Top Layer
To complete the ice cream layers, a generous portion of classic vanilla ice cream is added. This traditional pairing of chocolate and vanilla is what makes the cake so universally appealing, offering a balanced sweetness that complements the rich chocolate and the fudgy crunch. Just like the chocolate layer, the vanilla ice cream should be softened to a spreadable consistency before being spread smoothly over the Oreo fudge layer. Take your time to create an even top surface before returning the cake to the freezer for its final substantial freeze, ideally overnight, to ensure it’s rock-solid.
The Fluffy Whipped Cream Frosting
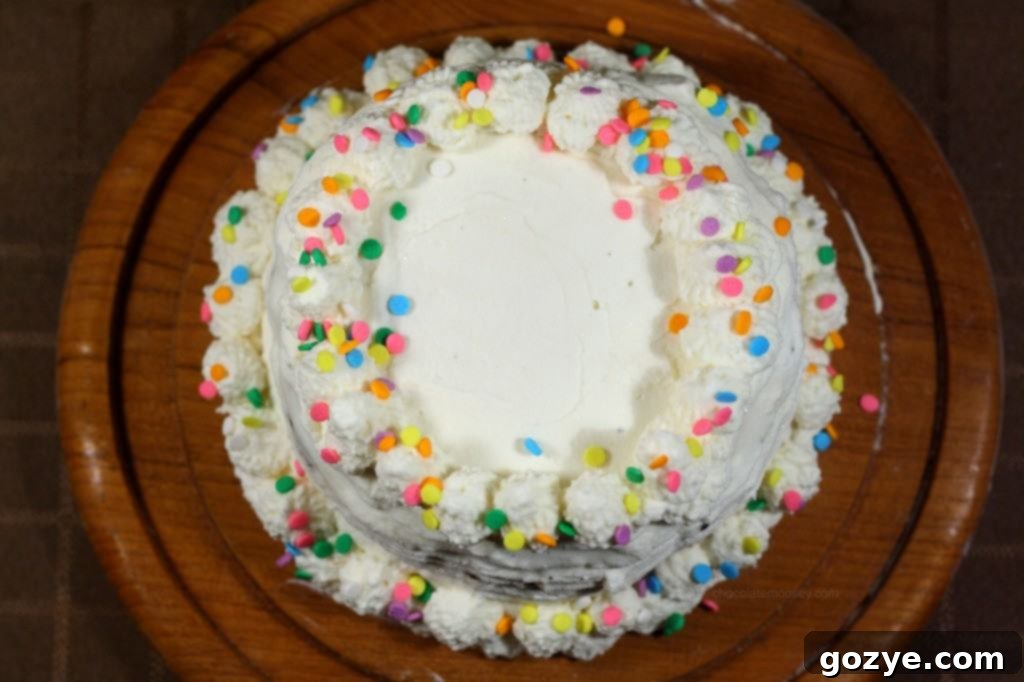
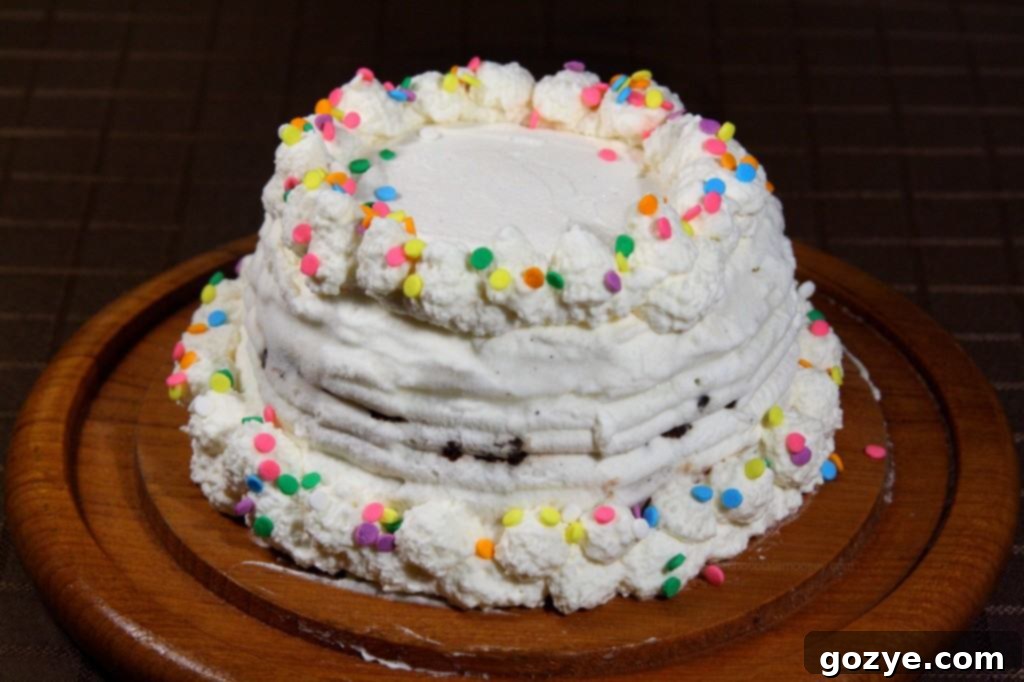
Finally, your masterpiece is crowned with a light, airy, and utterly delicious whipped cream frosting. Homemade whipped cream, crafted from cold heavy whipping cream, a touch of powdered sugar, and a hint of vanilla extract, offers a superior flavor and texture compared to store-bought alternatives. Beat it until stiff peaks form, creating a stable frosting that spreads beautifully. This creamy exterior not only provides a final textural contrast but also acts as a perfect canvas for decorating. Once covered, decorative touches like piped edges and colorful sprinkles complete the classic, festive look.
Unleashing Your Creativity: Customization Options for Your Ice Cream Cake
While the classic chocolate and vanilla ice cream combination with an Oreo fudge crunch is undeniably a crowd-pleaser, the beauty of making your own ice cream cake lies in its incredible versatility. This recipe is a fantastic starting point for unleashing your culinary creativity and crafting a unique frozen dessert tailored to your exact preferences.
Ice Cream Flavor Adventures
Don’t feel constrained by just chocolate and vanilla! The possibilities for ice cream flavors are virtually endless:
- Fruity Fun: Pair strawberry ice cream with vanilla, or even a tangy raspberry sorbet for a lighter, refreshing twist.
- Nutty Indulgence: Chocolate and peanut butter ice cream create a Reese’s-like dream. Coffee and almond swirl could offer a sophisticated flavor profile.
- Cookie & Cream Galore: Use different cookie-flavored ice creams – mint chocolate chip, cookie dough, or even a brownie batter ice cream.
- Single Flavor Focus: If you have one absolute favorite, feel free to use it for both layers! Imagine an all-cookie dough or all-mint chip ice cream cake.
- Seasonal Specials: Pumpkin spice ice cream for fall, or peppermint for winter holidays, can make this cake a year-round treat.
The Ultimate Crunch Layer
The Oreo fudge crunch is legendary, but you can certainly put your own spin on it:
- Alternative Cookies: Experiment with crushed vanilla wafers, graham crackers, gingersnaps, chocolate chip cookies, or even peanut butter cookies for a different flavor and texture.
- Sauce Substitutions: While hot fudge is a staple, a rich caramel sauce (especially salted caramel!), dulce de leche, or even a berry compote could be used. For an adventurous twist, consider the original author’s Nutella Espresso Hot Fudge Sauce. Just ensure your chosen sauce is thick enough to bind the cookie pieces.
- Added Textures: Boost the crunch factor by mixing in chopped nuts (pecans, walnuts, almonds), toasted coconut flakes, mini chocolate chips, or even some crushed pretzel pieces for a sweet and salty surprise.
Whipped Topping and Decorations
The final flourish is where you can truly let your creativity shine:
- Flavored Whipped Cream: Add a touch of cocoa powder for a chocolate whipped cream, a hint of almond extract for a subtle nuttiness, or a splash of peppermint extract for a festive touch.
- Toppings Galore: Beyond classic sprinkles, consider chocolate shavings, mini M&M’s, a generous drizzle of extra hot fudge or caramel, fresh fruit (like berries or sliced bananas), or even edible glitter for extra sparkle.
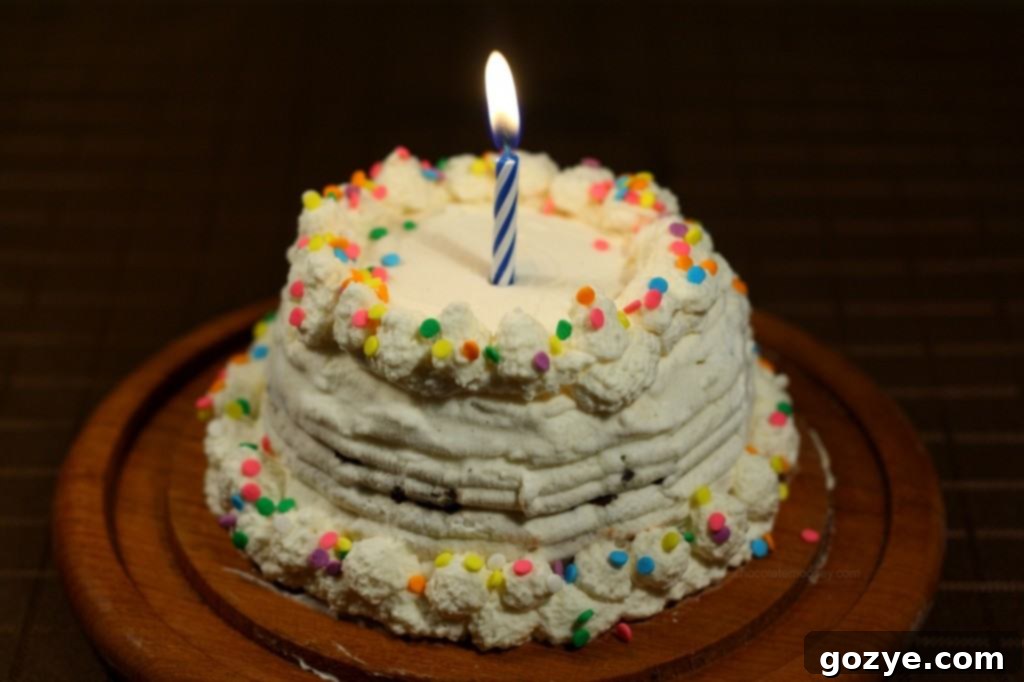
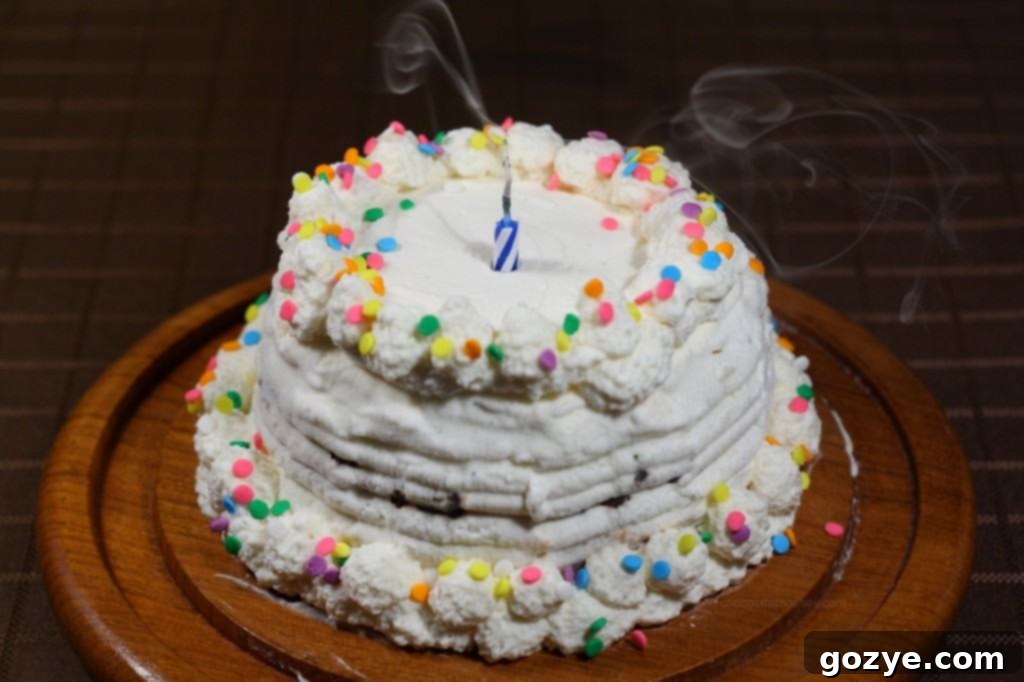
As you can see, the possibilities are only limited by your imagination! For example, one variation could be Nutella ice cream as the bottom layer, the original author’s Nutella Espresso Hot Fudge Sauce mixed with chopped regular Oreos for the middle, and store-bought vanilla ice cream for the top (because sometimes, we run out of time and freezer space for homemade everything!). Then, frost it with regular whipped cream, smooth it out, add some decorative lines with a plastic tool, pipe borders, and sprinkle generously. The result is always a showstopper.
Essential Tips for a Perfect Homemade Ice Cream Cake
Crafting a layered ice cream cake at home is surprisingly straightforward, but a few key techniques and a little patience will ensure your dessert is a smashing success.
Choosing the Right Pan
A springform pan is indispensable for this recipe. Its removable sides allow you to effortlessly release the frozen cake without any damage to its beautiful layers. The recipe is written for a 4-inch springform pan, which yields a lovely mini cake perfect for 4 servings. If you’re hosting a larger gathering, simply use a 9-inch springform pan and remember to multiply all the ingredient quantities by three. For even easier removal, you can lightly grease the inside of the pan or line the bottom with a circle of parchment paper.
Mastering Ice Cream Softening and Spreading
This is arguably the most critical step. Ice cream that’s too hard will be challenging to spread evenly, potentially creating gaps or uneven layers. Conversely, ice cream that’s too melted will result in a messy, liquid layer that won’t set properly, causing your layers to bleed into each other. The sweet spot is when the ice cream has softened to the consistency of soft-serve, making it pliable and easy to spread with an offset spatula or the back of a spoon. Take your ice cream out of the freezer about 15-20 minutes before you plan to use it, depending on your room temperature. Work quickly and efficiently to spread each layer before it melts too much.
Patience with Freezing Times
Each individual layer of the cake needs to be completely firm before you add the next component. This step is non-negotiable for achieving clean, distinct layers and a structurally sound cake. Typically, 30-60 minutes in a cold freezer per layer is sufficient, but if your freezer isn’t operating at peak chill, allow a bit more time. For best results and to minimize stress, plan to make this cake at least a day in advance. An overnight freeze after the final ice cream layer is highly recommended to ensure the cake is perfectly solid and easy to slice.
Whipping Cream to Perfection
For the freshest and most delicious frosting, make your own whipped cream. Start with very cold heavy whipping cream, and consider chilling your mixing bowl and beaters for 10-15 minutes beforehand. Beat the cream with powdered sugar (and a few drops of vanilla extract, if desired) until stiff peaks form. This means that when you lift the beaters, the peaks hold their shape firmly and don’t collapse. Be careful not to over-beat, as this can turn the cream grainy. While a cake spinning stand can help achieve a perfectly smooth finish, a simple knife or offset spatula will work wonderfully for spreading the whipped cream evenly around the cake.
Decoration and Serving Techniques
Once your cake is frosted and decorated, return it to the freezer for at least another hour to allow the whipped cream to firm up. This makes for much cleaner slicing. When it’s time to serve, remove the cake from the freezer a few minutes before cutting to allow it to soften just slightly. For impeccably neat slices, dip your knife in hot water and wipe it clean between each cut. And of course, don’t forget the sprinkles – they add that essential pop of color and festive spirit!
For those moments when ambition meets a busy schedule, remember that this recipe is incredibly adaptable for a “semi-homemade” approach. You can easily opt for store-bought chocolate and vanilla ice cream, pre-made Oreo cookies, bottled hot fudge or chocolate syrup, and even a convenient tub of whipped topping like Cool Whip. No judgment here – the ultimate goal is a delicious, enjoyable dessert that brings smiles to faces!
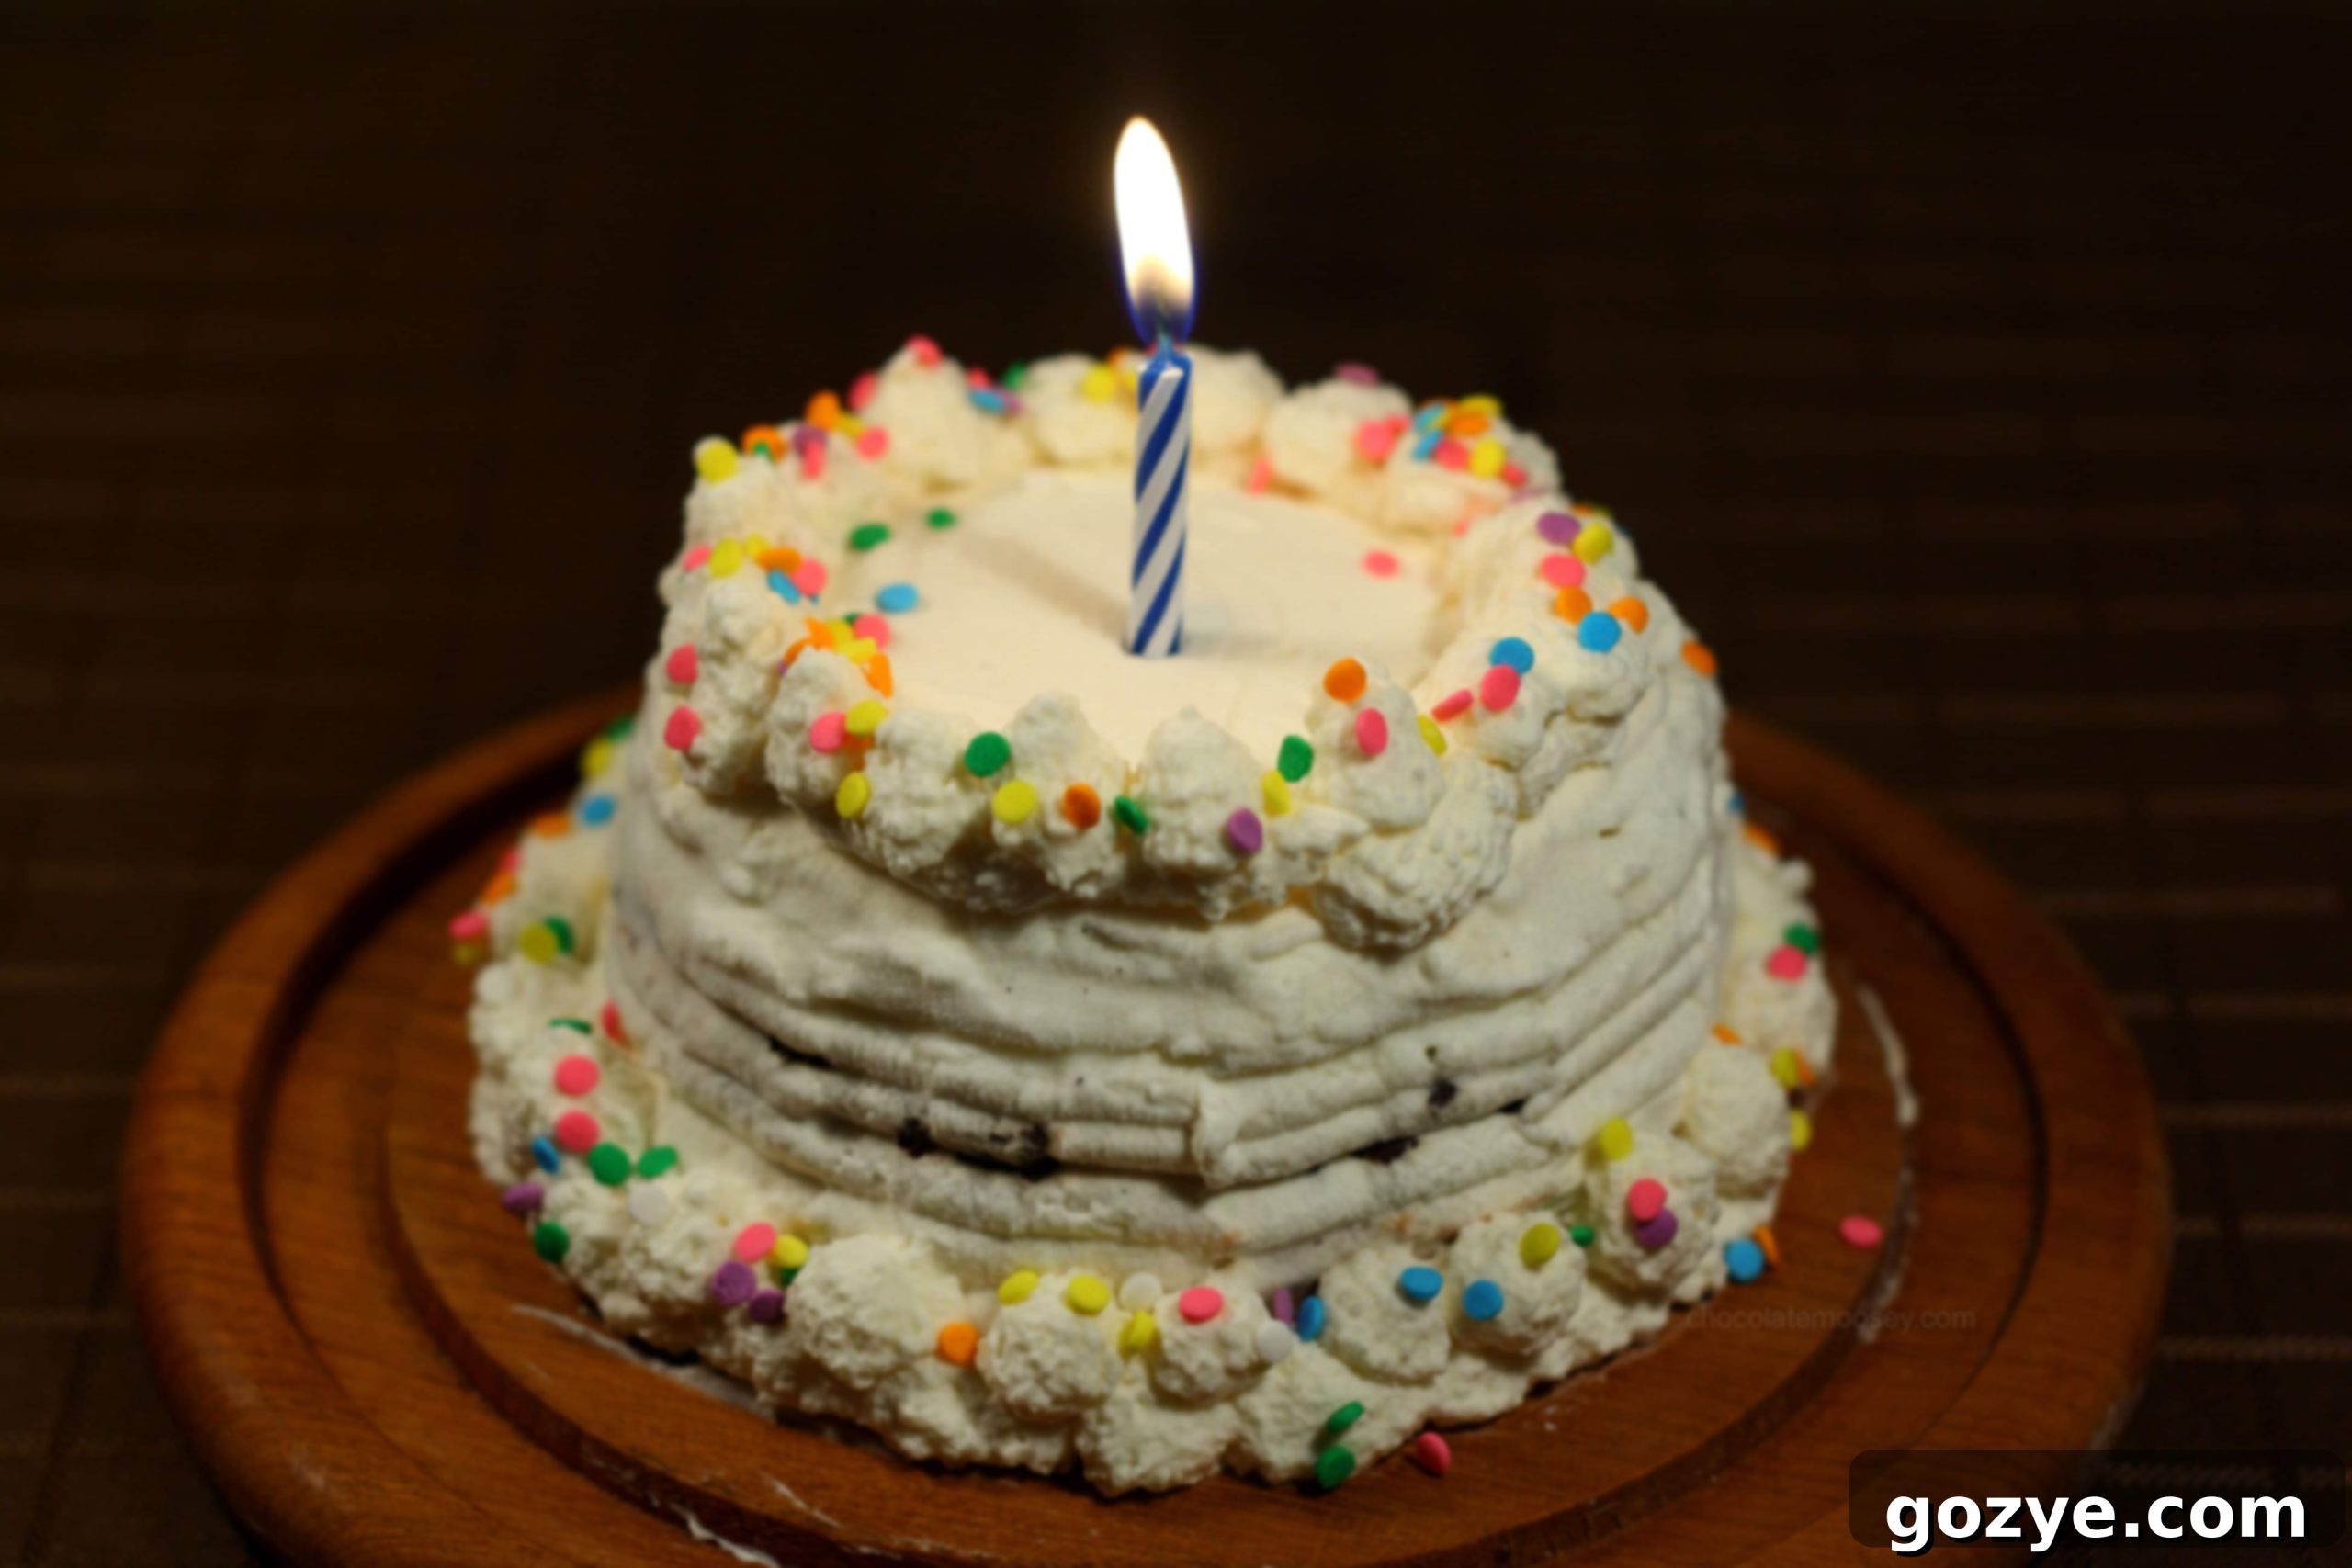
Copycat Dairy Queen Ice Cream Cake
4 servings (for 4-inch cake)
Plan on making this delicious ice cream cake at least a day ahead of time to allow for adequate freezing between layers. For a larger 9-inch cake, multiply all ingredient quantities by 3.
Ingredients
- Few scoops of chocolate ice cream (approx. 1.5 cups for 4-inch pan, 4.5 cups for 9-inch pan)
- 1/4 cup Oreo cookies, chopped into small pieces (not crumbs) (approx. 3-4 whole Oreos for 4-inch pan, 9-12 for 9-inch pan)
- 2 Tbsp hot fudge sauce (6 Tbsp for 9-inch pan)
- Few scoops of vanilla ice cream (approx. 1.5 cups for 4-inch pan, 4.5 cups for 9-inch pan)
- 1/2 cup heavy whipping cream (1.5 cups for 9-inch pan)
- 1 Tbsp powdered sugar (3 Tbsp for 9-inch pan)
- Few drops of vanilla extract (optional, for whipped cream)
- Sprinkles, for decoration
Instructions
- Prepare the Chocolate Ice Cream Layer: Take your chocolate ice cream out of the freezer and let it soften at room temperature for about 15-20 minutes, until it’s easily spreadable like soft-serve but not melted. Press approximately 1/3 of the total ice cream volume (or about 1.5 cups for a 4-inch pan) evenly into the bottom of a 4-inch springform pan. Use the back of a spoon or an offset spatula to smooth the top. Place the pan in the freezer for at least 30-60 minutes, or until this layer is completely firm.
- Create the Oreo Fudge Crunch Layer: In a small bowl, combine the chopped Oreo pieces and hot fudge sauce. Mix well until the cookies are thoroughly coated. Carefully spread this mixture evenly over the hardened chocolate ice cream layer. Ensure it forms a relatively even layer across the entire surface. Return the pan to the freezer for another 30-60 minutes, or until the fudge crunch layer is firm.
- Add the Vanilla Ice Cream Layer: Take your vanilla ice cream out of the freezer and allow it to soften to a spreadable consistency, similar to the chocolate ice cream. Carefully spread the remaining vanilla ice cream (about 1.5 cups for a 4-inch pan) over the firm Oreo fudge layer, filling the rest of the springform pan. Smooth the top surface with an offset spatula. Freeze the cake again for at least 2-4 hours, or preferably overnight, until it is completely solid.
- Prepare and Apply Whipped Cream Frosting: In a medium-sized, chilled bowl, combine the heavy whipping cream, powdered sugar, and a few drops of vanilla extract (if using). Using an electric mixer, beat the mixture on high speed until stiff peaks form. The cream should hold its shape when the beaters are lifted. Remove the frozen cake from the springform pan (run a thin knife around the edge if needed, or warm the sides slightly with a cloth). Spread most of the whipped cream evenly over the top and sides of the cake. For decorative piping, transfer any remaining whipped cream to a piping bag fitted with a star tip and pipe borders or other designs around the edges. Finish by generously scattering sprinkles over the top.
- Final Freeze and Serve: Place the decorated ice cream cake back into the freezer for at least 1 hour to allow the whipped cream to firm up. When ready to serve, remove the cake from the freezer a few minutes beforehand to slightly soften, making it easier to slice. For clean cuts, dip your knife in hot water and wipe it dry between each slice. Enjoy your delicious homemade Copycat Dairy Queen Ice Cream Cake!
Did you make this recipe?
Let me know what you think! Rate the recipe above, leave a comment below, and/or share a photo on Instagram using #HITKrecipes
Conclusion: Your Homemade Ice Cream Cake Masterpiece Awaits!
And there you have it – your comprehensive guide to creating an absolutely incredible Copycat Dairy Queen Ice Cream Cake right in your own kitchen. This recipe stands as a testament to the fact that you don’t need professional baking skills to produce a show-stopping, crowd-pleasing dessert that evokes pure joy. With its perfect balance of creamy ice cream, the irresistible crunch of the fudge layer, and the lightness of homemade whipped topping, this cake is a nostalgic treat that delights all ages.
Whether you choose to stick to the beloved classic chocolate and vanilla combination or embark on a culinary adventure with new flavors and textures, the satisfaction of serving a beautifully crafted, homemade ice cream cake is truly unparalleled. So, gather your ingredients, make a little space in your freezer, and prepare to impress your family and friends with this magnificent frozen delight. Happy freezing, and enjoy every single delicious bite!
