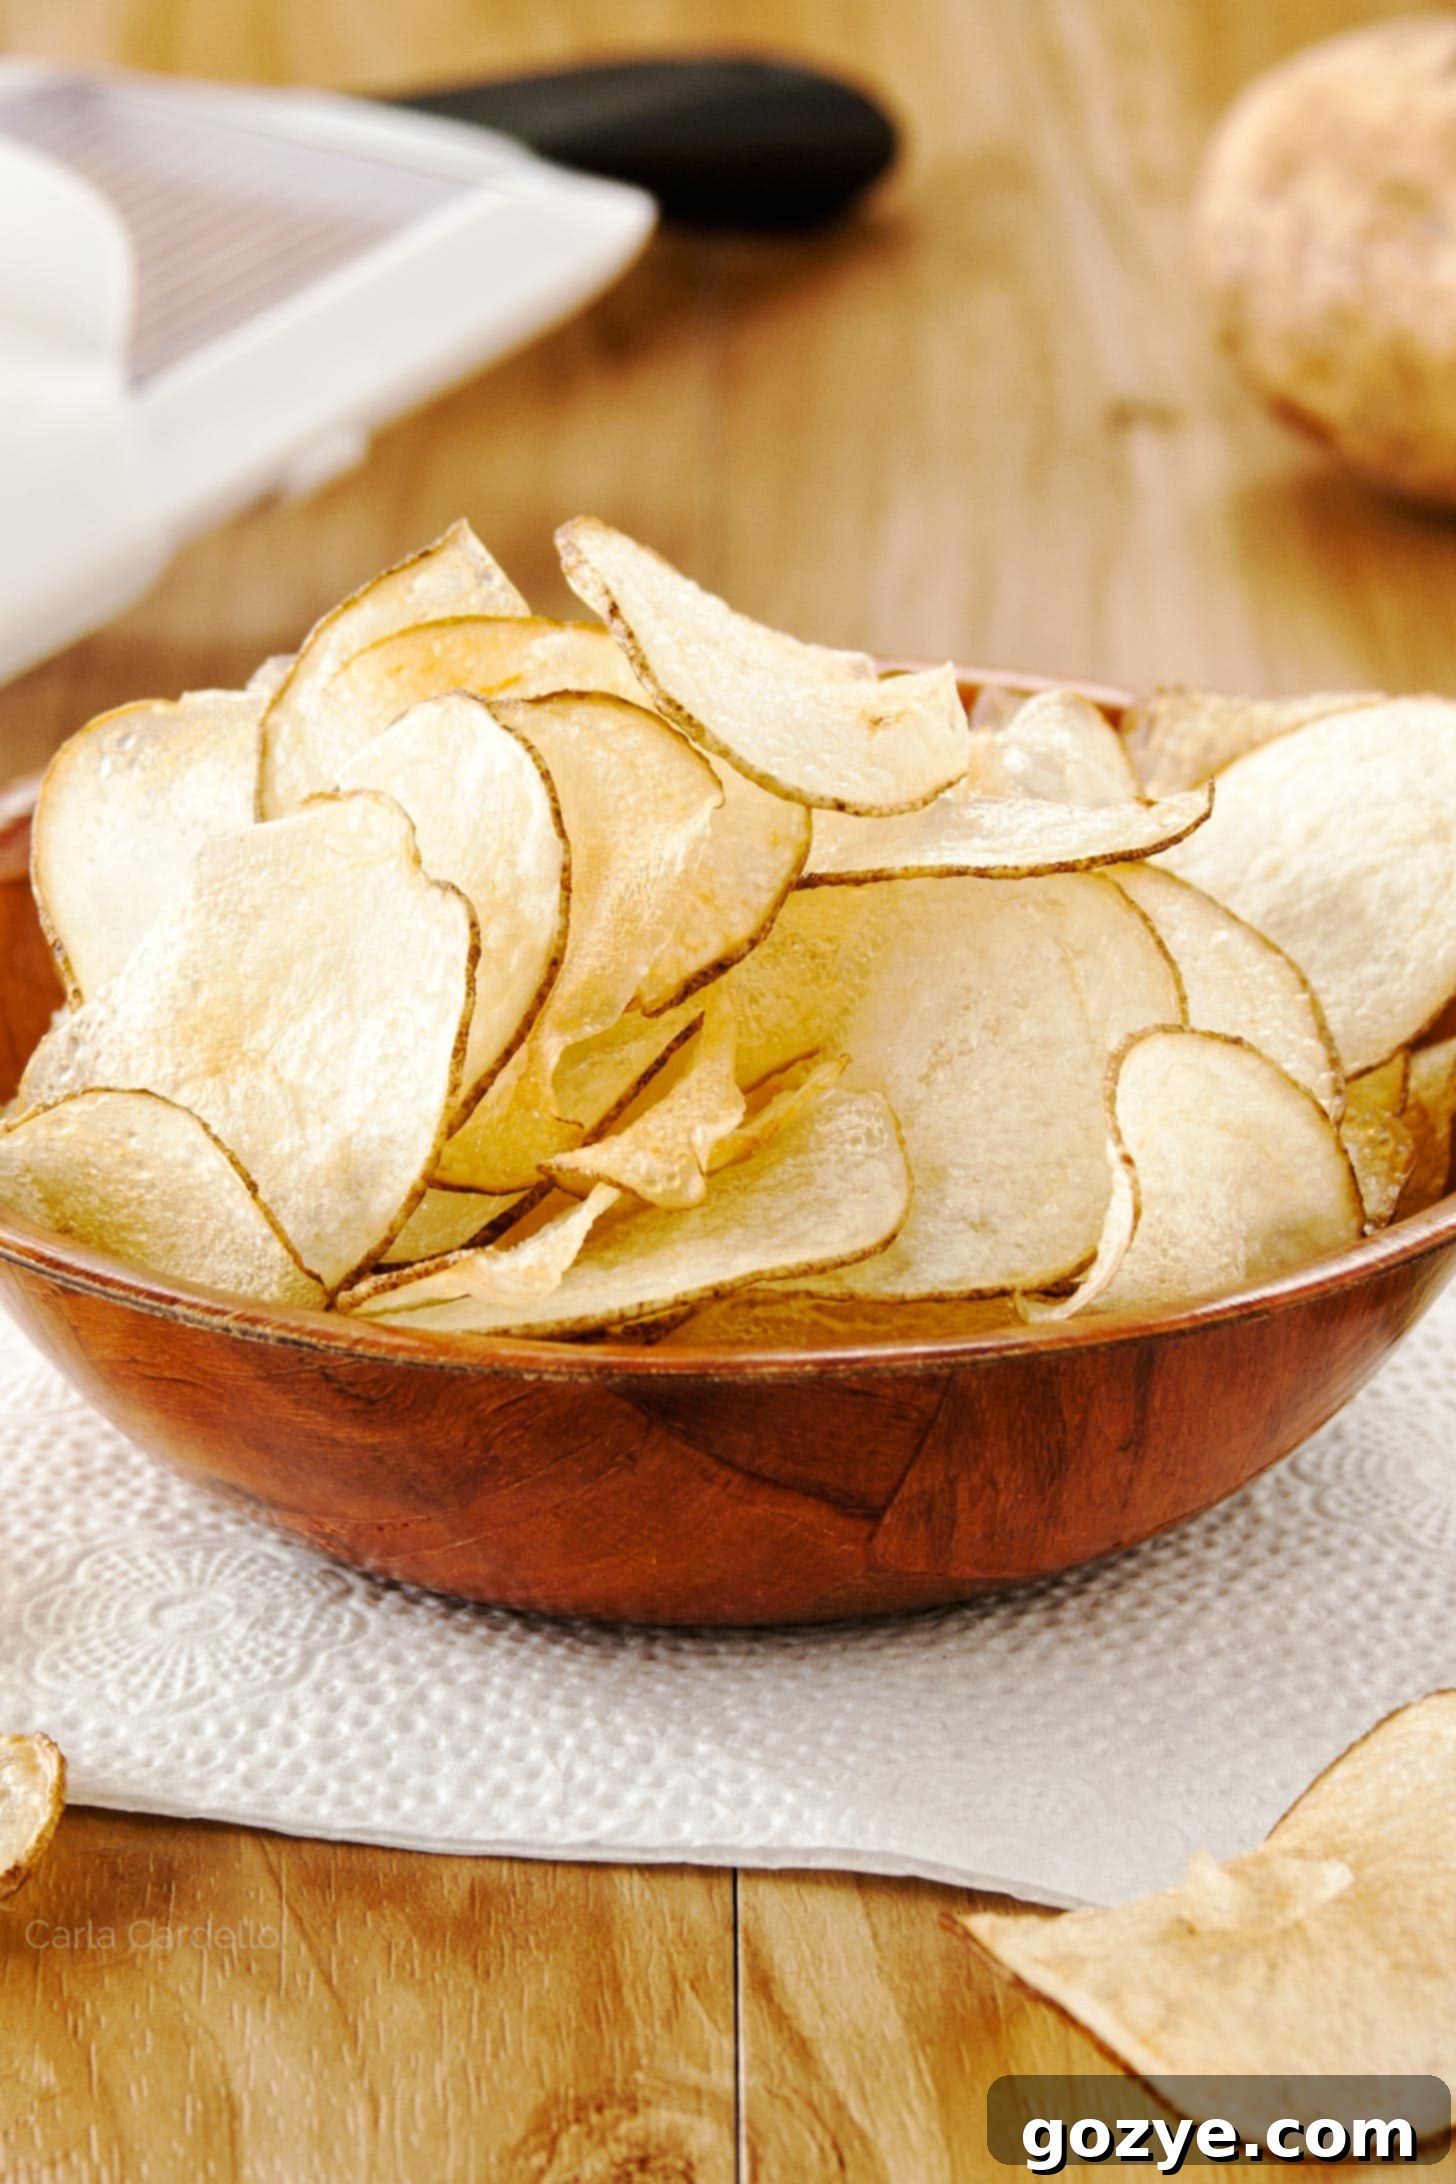
Homemade Salt and Vinegar Chips: Your Guide to Perfectly Crispy, Flavorful Potato Chips from Scratch
Craving that irresistible, lip-smacking tang and satisfying crunch of salt and vinegar chips? Imagine making them right in your own kitchen! This comprehensive guide will show you how to create the best Homemade Salt and Vinegar Chips that taste remarkably like your favorite store-bought bags, all thanks to one crucial secret ingredient. Whether you prefer baking or frying, we’ve got you covered with detailed instructions for achieving that perfect, crispy texture every single time.
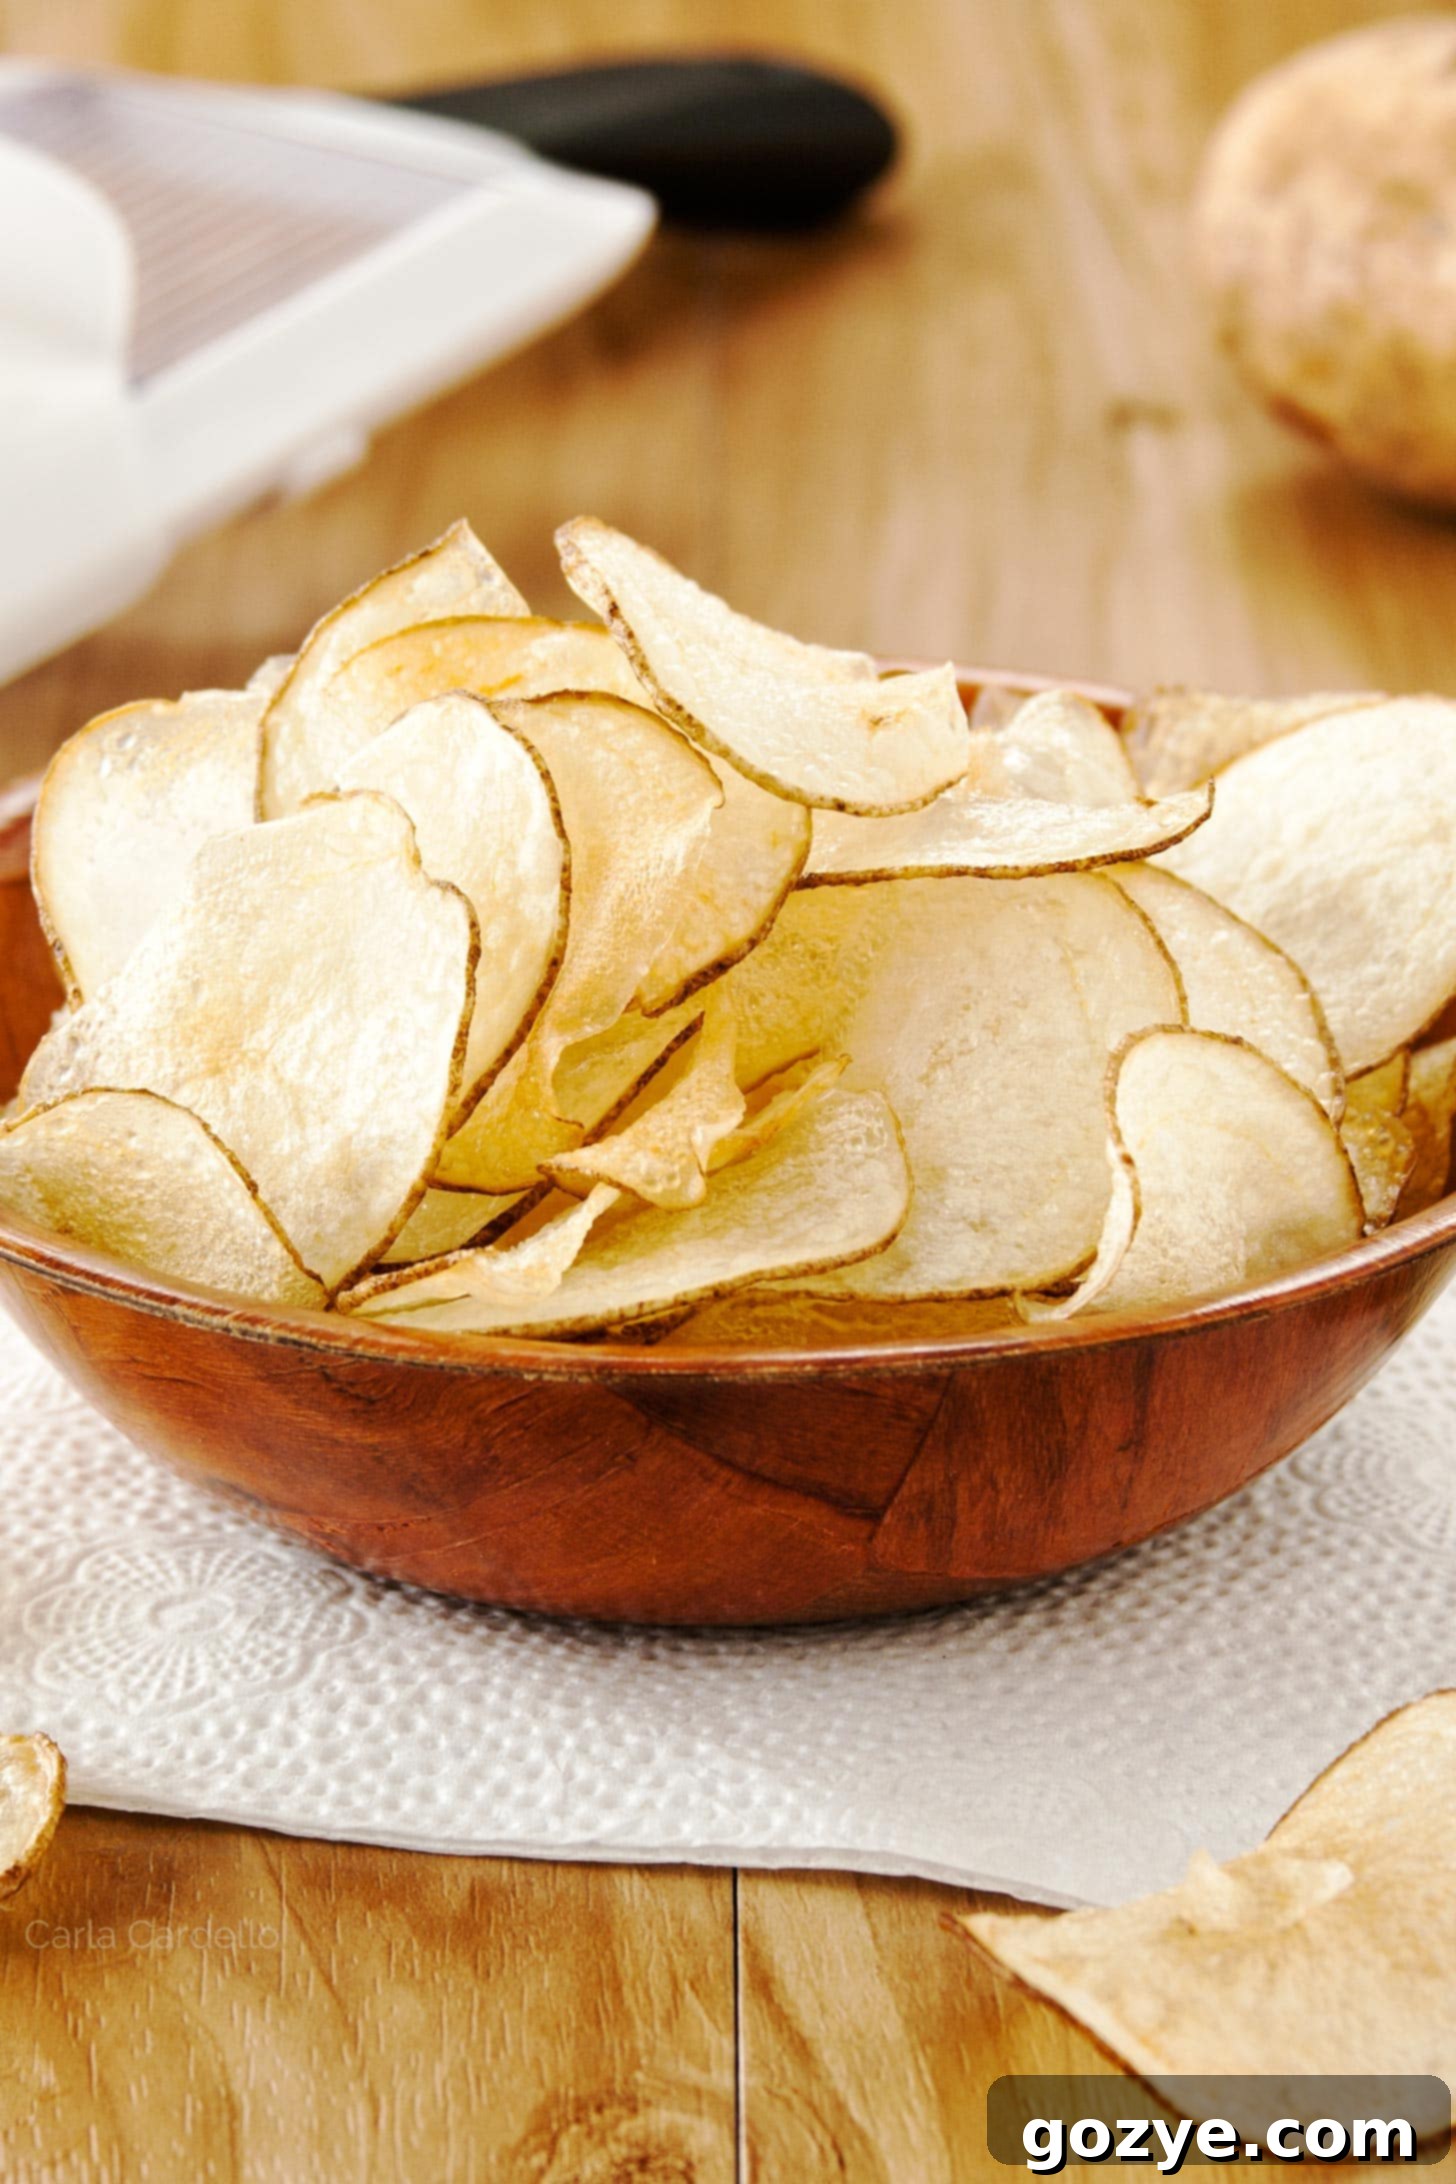
What’s on your culinary bucket list? If crafting your own batch of perfectly seasoned, wonderfully crispy potato chips is a dream, then today is your lucky day! This incredibly satisfying recipe for Homemade Salt and Vinegar Chips will revolutionize your snack game and have you wondering why you didn’t start making chips from scratch sooner.
Salt and vinegar is a classic chip flavor for a reason. Its unique combination of sharp tanginess and savory salt creates an addictive taste profile that many find irresistible. Beyond just the incredible flavor, for some, like myself, the distinctive tang of salt and vinegar even helps to settle an upset stomach, especially from motion sickness. This recipe delivers that exact experience: delightfully crispy homemade potato chips generously tossed in a potent salt and vinegar seasoning that truly rivals anything you can buy in a store.
While grabbing a bag from the supermarket is undoubtedly convenient, there’s an unparalleled sense of accomplishment and fresh flavor when you make salt and vinegar potato chips entirely from scratch. You control the quality of ingredients, the crispness, and the intensity of that beloved tangy punch. Plus, it’s a fun project that yields incredibly delicious results!
In this guide, you’ll learn everything you need to know, from selecting the right potatoes and mastering the art of thin slicing with a mandoline, to choosing between the traditional frying method for ultimate crispness or a healthier baked alternative. Get ready to impress your friends and family with these gourmet-level chips!
Perfect for a cozy movie night, these homemade salt and vinegar chips also make an excellent side dish. Serve them alongside hearty avocado burgers or flavorful BBQ bacon burgers for a complete and satisfying meal experience.
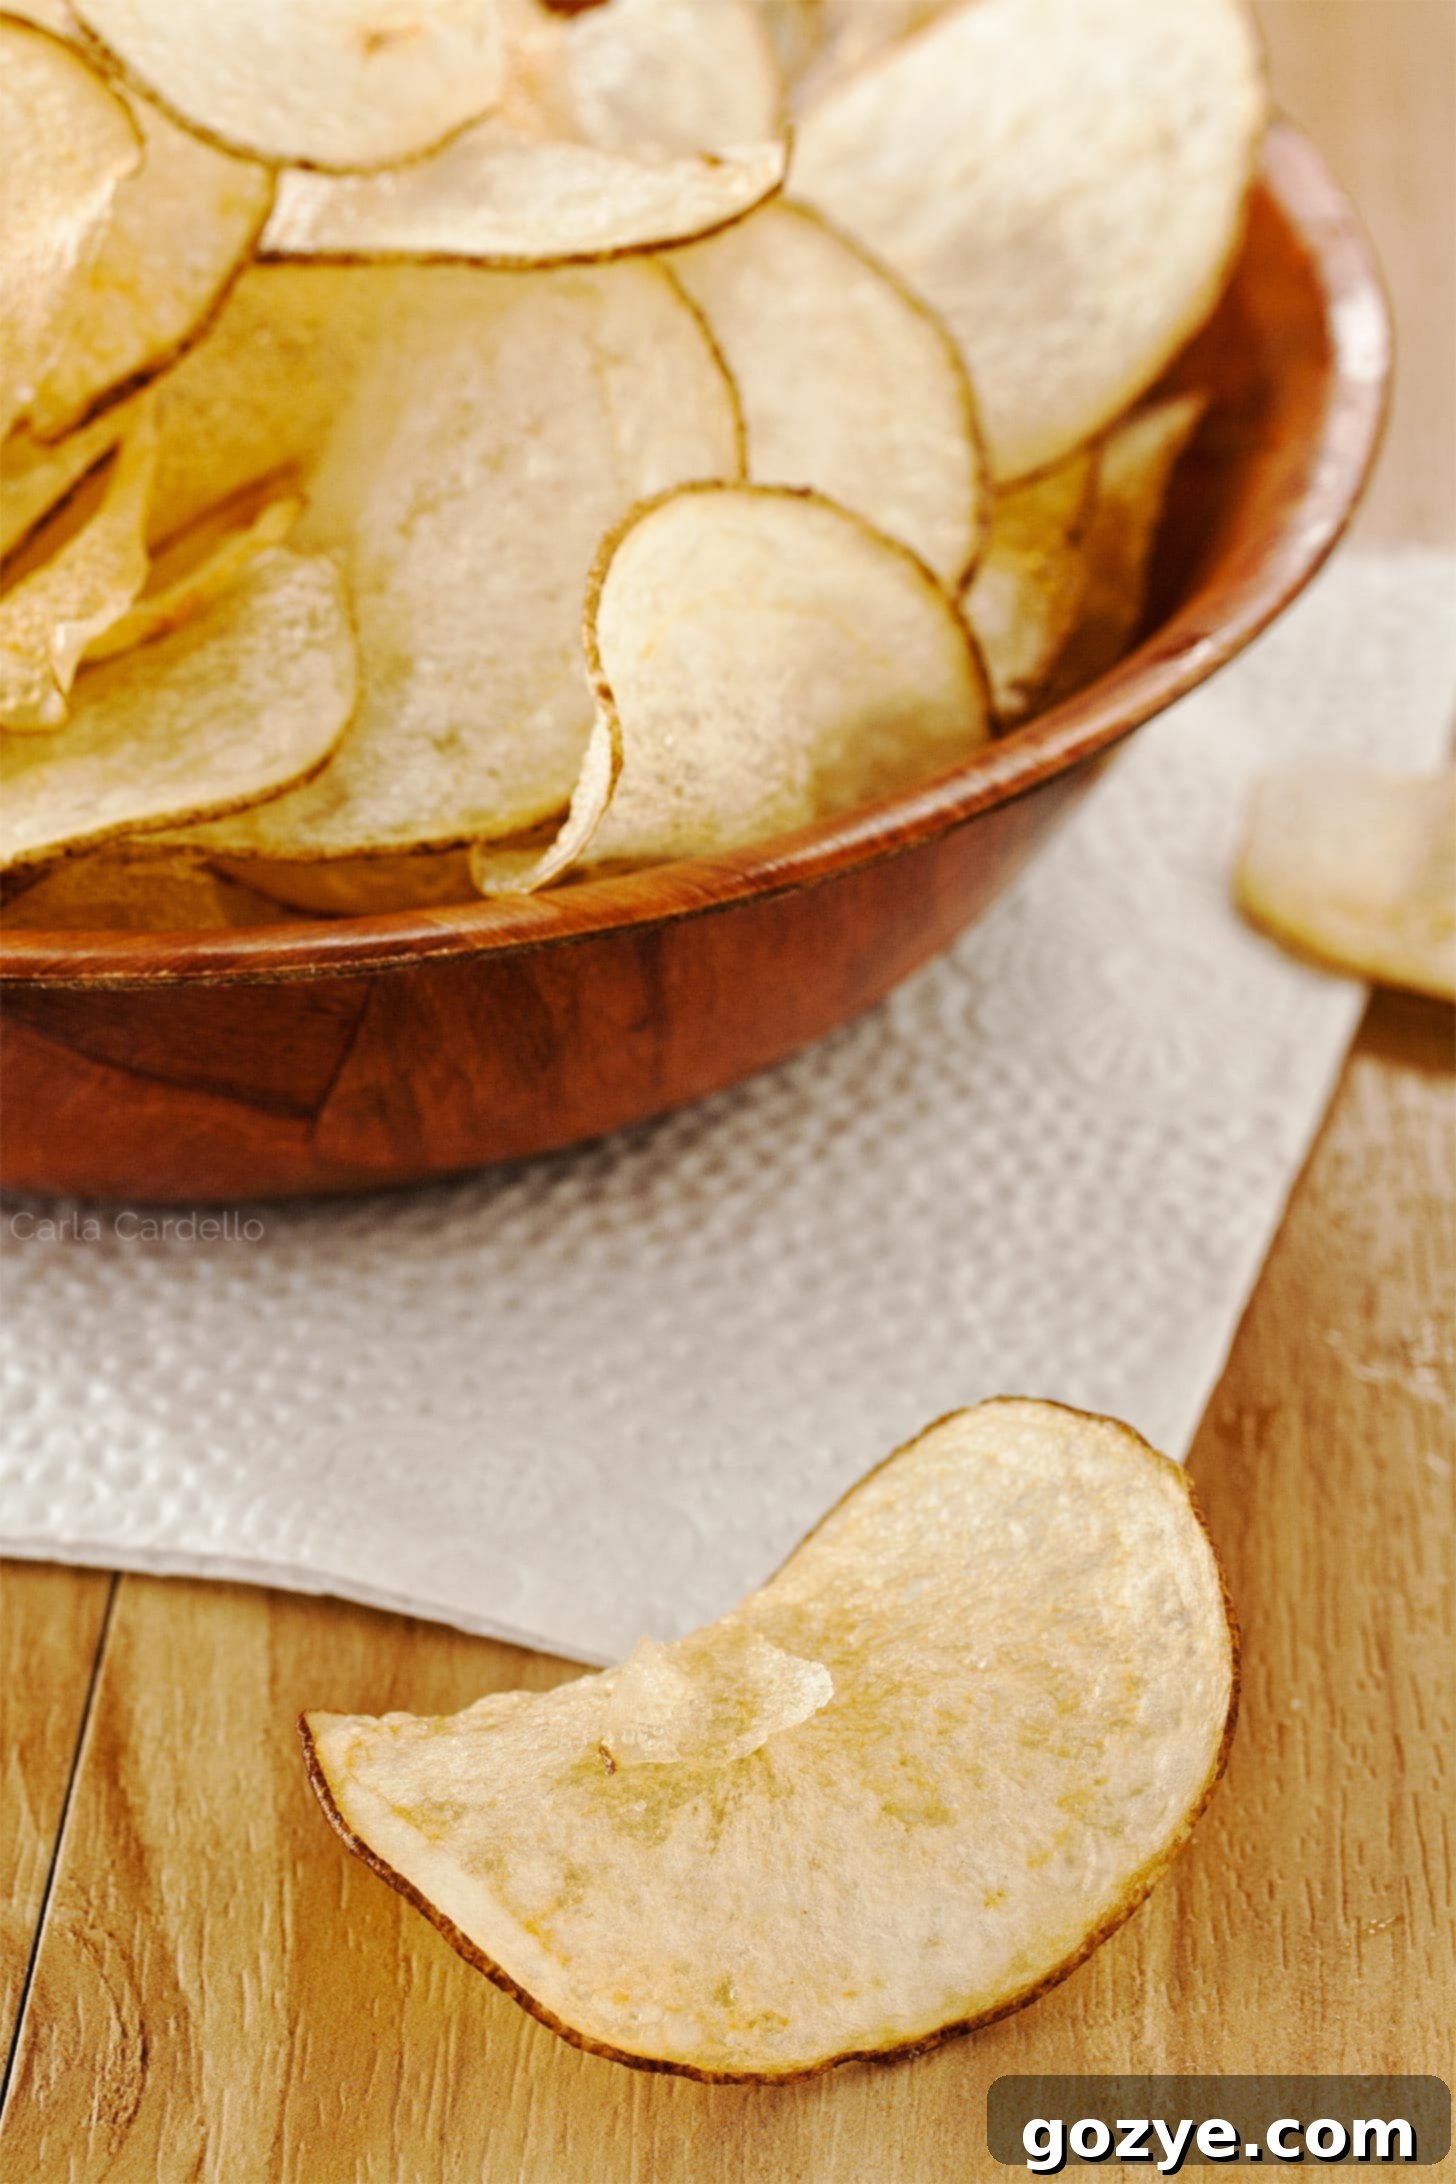
Essential Ingredients for Perfect Salt and Vinegar Chips
Crafting these delectable salt and vinegar chips requires just a few key ingredients. Each plays an important role in achieving that signature flavor and texture:
- Russet Potato: Russet potatoes are highly recommended for chip making due to their high starch content, which results in a wonderfully crispy texture and light, airy crunch when cooked. However, if Russets aren’t available, other starchy varieties like Yukon Gold or even red potatoes can be used, though they might yield a slightly different texture. One large russet potato (roughly 6-8 ounces) is perfect for a batch.
- White Distilled Vinegar: This is used for pre-soaking your potato slices. White distilled vinegar is ideal because of its neutral flavor profile, which allows the pure tang to penetrate the potatoes without introducing other, unwanted flavors. While other vinegars could be used, they might alter the classic taste.
- Vinegar Powder: This is our “secret ingredient” and the absolute key to achieving that intensely lip-smacking, authentic store-bought salt and vinegar flavor. No amount of soaking will replicate the potent, dry tang that vinegar powder provides. More on this game-changer below!
- Salt: I highly recommend using kosher salt. Its larger crystal size adheres beautifully to the chips and provides a more pronounced salty crunch and flavor burst compared to finer table salt. If you’re using table salt, you’ll need to adjust the amount to taste, as it’s saltier by volume.
- Neutral Oil: Essential for either frying or brushing before baking. Opt for a high smoke point, neutral-flavored oil such as vegetable, canola, or peanut oil. These oils won’t impart unwanted flavors and can withstand the necessary high temperatures. It is crucial to avoid olive oil for frying as it has a low smoking point and will burn, leading to bitter-tasting chips and potentially a smoky kitchen.
Unlocking the Flavor: What is Vinegar Powder?
Vinegar powder is exactly what it sounds like: dehydrated vinegar. This ingenious ingredient allows you to add a powerful, concentrated burst of tanginess directly onto your chips without introducing any additional liquid, which would otherwise compromise their crispness. It’s the magic behind the robust, lasting salt and vinegar flavor you love from commercial chips.
Just like with my homemade BBQ chips, you’ll toss your freshly cooked chips with this incredible vinegar powder as part of the seasoning blend, ensuring every bite is bursting with flavor.
The best and most reliable place to purchase vinegar powder is online. Look for high-quality food-grade options to ensure the best results.
Can You Really Skip the Vinegar Powder?
I understand the hesitation – vinegar powder can seem like a specialty item, and you might not want to invest in something you’ll only use occasionally. Unfortunately, there aren’t many reliable guides for making it at home. However, I cannot stress this enough: vinegar powder is the *only* way to truly achieve that intense, authentic, and utterly addictive store-bought salt and vinegar chip flavor. It makes all the difference.
But don’t worry, it’s not a single-use ingredient! Once you have it, you can easily use your vinegar powder to elevate other snacks and dishes, like making incredibly tangy Salt and Vinegar Popcorn or even zesty Salt and Vinegar Wings.
If you absolutely insist on not buying it, your only alternative is to significantly increase the initial vinegar soak time for your potato slices to at least 2 hours. However, please be aware that the resulting vinegar flavor will be considerably more subtle, and the chips will not possess that signature “lip-smacking” intensity you get from the powder.
Expert Tips for Making Crispy Potato Chips Every Time
The secret to perfectly crispy homemade salt and vinegar chips lies in a few crucial techniques. Follow these tips to ensure your chips are delightfully crunchy from the first bite to the last:
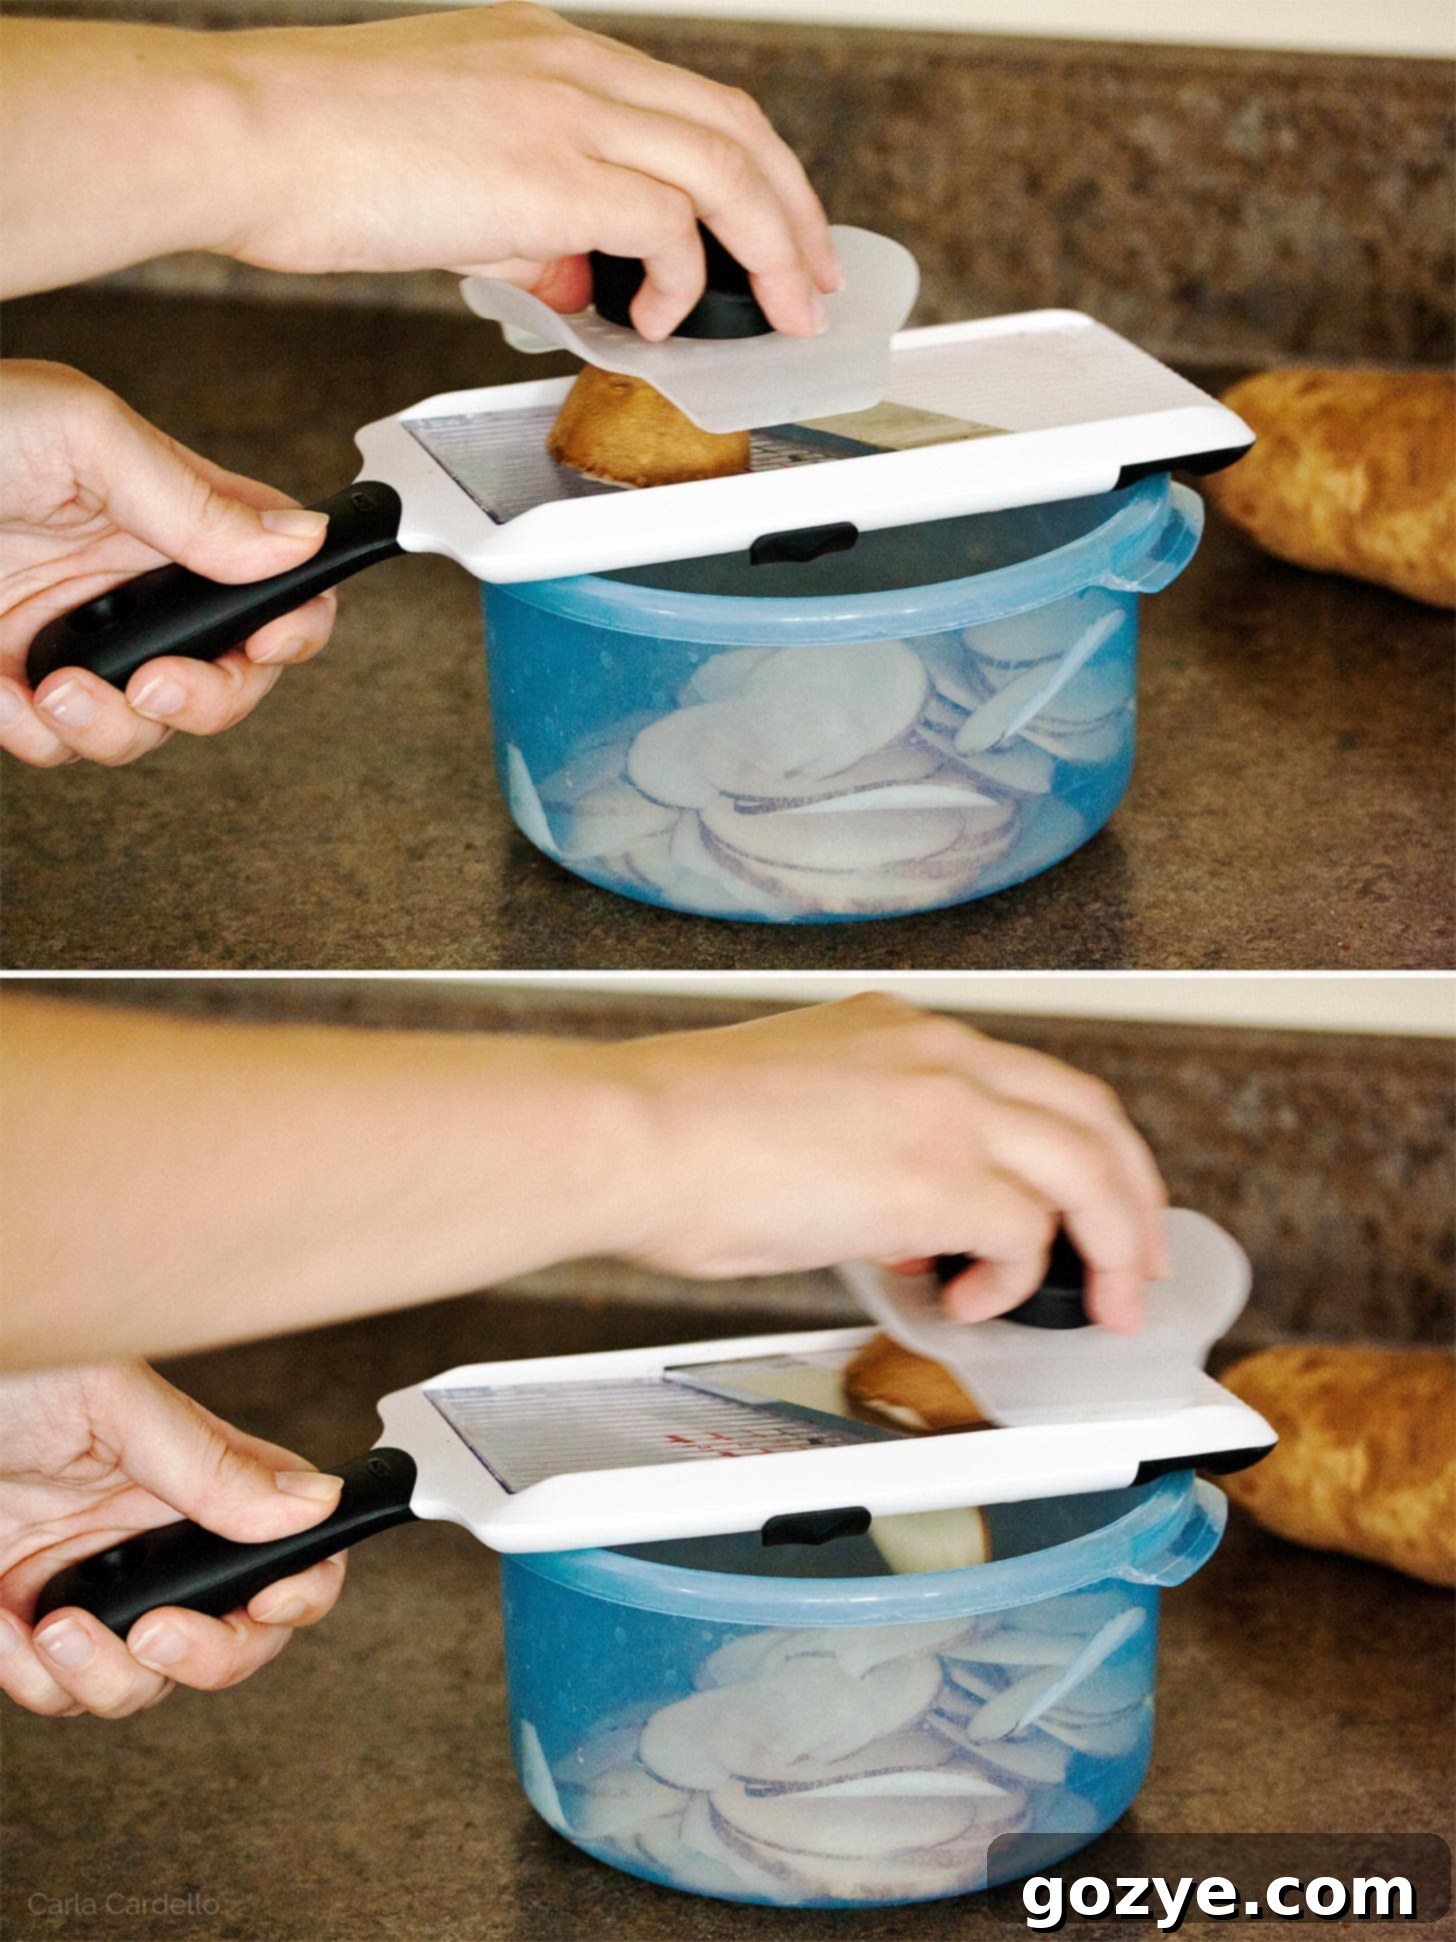
- Slice Potatoes Ultra Thinly: This is perhaps the most critical step for achieving true crispness. The thinner your potato slices, the faster they’ll cook and the crisper they’ll become. The ideal thickness is about 1/10 inch (2.5 mm), where you can just barely see light through them. The most effective tool for this is a handheld mandoline slicer. If slices are too thick, the interior will cook to a soft, mealy texture rather than a crisp one. Save any thicker slices you might accidentally make for other delicious recipes like stovetop scalloped potatoes or rich au gratin potatoes for two.
- Soak Potatoes in Vinegar: A vinegar bath serves two vital purposes. First, it deeply infuses the potato slices with a foundational vinegar flavor, even before the powder is added. Second, and equally important for crispness, the acidic soak helps to remove excess surface starch from the potatoes. This starch can cause the potatoes to brown (and even burn) too quickly during cooking, leading to uneven crisping and a less desirable texture. Soaking ensures a more even cook and better crisp development.
- Dry Potatoes Extremely Well: This step cannot be emphasized enough, especially if you plan to fry your chips. Water is the sworn enemy of hot oil; any moisture on your potato slices will cause the oil to splatter violently and prevent the chips from becoming truly crispy. After soaking, drain your potatoes thoroughly and then pat them down with paper towels until they are absolutely, completely dry. Don’t rush this step! For baking, thorough drying also helps achieve a crisper result by allowing the potato to dehydrate efficiently.
- Cool Cooked Chips in a Single Layer: Once your chips are done cooking, whether fried or baked, resist the urge to pile them immediately into a bowl. As they cool, chips release steam. If piled up, this steam gets trapped, causing the chips to become soft and soggy. Instead, spread them out in a single layer on a wire rack or a paper towel-lined plate for a few minutes. This allows air to circulate and helps them crisp up perfectly as they cool.
Mastering the Mandoline: A Safety and Efficiency Guide
A mandoline is an invaluable tool for making uniformly thin slices, which is essential for perfect chips. However, its blade is incredibly sharp, so safety is paramount. To use it effectively, place the mandoline securely over a large bowl or cutting board. Always use the food gripper (also known as a hand guard) to hold the item you are slicing. This protects your fingers from the razor-sharp blade. It’s a non-negotiable safety measure.
While the gripper works perfectly for most produce like potatoes and apples, some long and skinny vegetables, such as carrots or parsnips, might not grip as well initially. In such cases, you might need to slice a bit before the gripper can securely hold the smaller piece. Always exercise extreme caution when your fingers are close to the blade.
My mandoline, for instance, comes with two critical safety features. First, a locking mechanism secures the blade in place. Always engage this lock before cleaning the mandoline to prevent accidental cuts. Second, the gripper often slides onto the mandoline, covering the blade completely for safe storage. This is incredibly important, especially if you, like me, have a “junk drawer” of kitchen tools. You wouldn’t want to accidentally cut yourself while rummaging for something else.
Always read your mandoline’s specific safety instructions before use and store it safely away from curious hands.
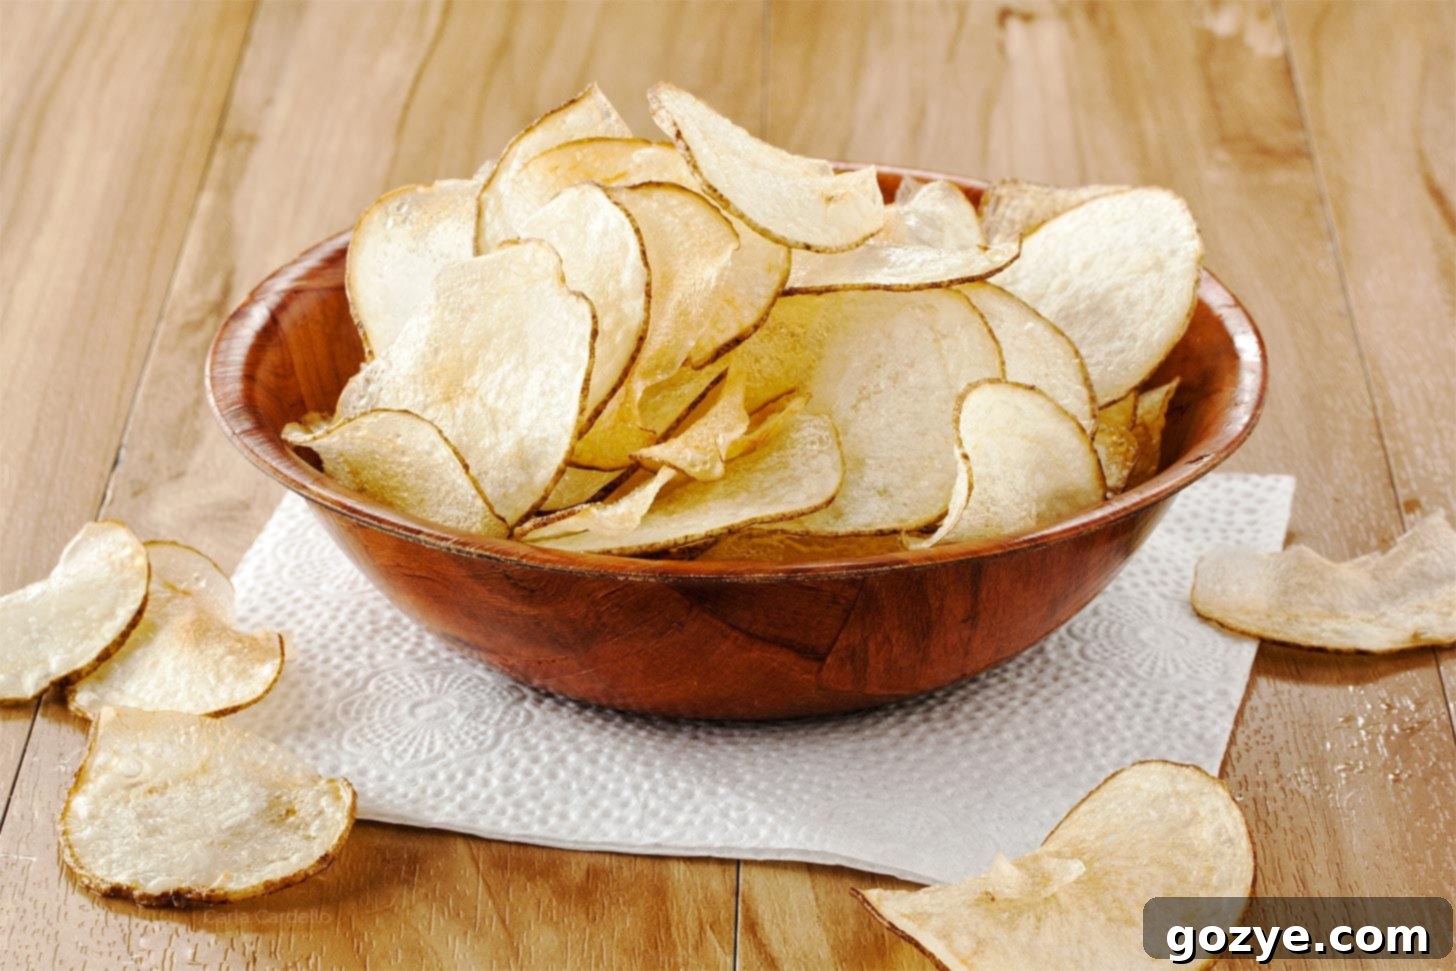
How To Make Salt And Vinegar Chips: Step-by-Step
Now that we’ve covered all the essential techniques and tips, it’s time to get cooking and make your very own homemade salt and vinegar chips! The process is straightforward and yields incredible results.
First, begin by thinly slicing your potato using a mandoline to ensure consistent thickness. Once sliced, submerge the potato slices in white distilled vinegar for 30 minutes. Through experimentation with various soak times (30 minutes, 1 hour, and 2 hours), I found that the difference in flavor intensity was very subtle beyond 30 minutes, so why wait longer if you don’t have to? This initial soak is crucial for both flavor infusion and starch removal.
After the soaking period, thoroughly drain the potato slices and pat them completely dry with paper towels. This step is critical for crispness and safety, especially if you’re frying. Once dry, you have two fantastic options for cooking your chips: frying for classic richness or baking for a lighter alternative.
To Fry Salt and Vinegar Chips:
- Prepare Your Fryer: Fill a deep fryer or a heavy-bottomed saucepan with your chosen frying oil (vegetable, canola, or peanut oil are excellent choices). Heat the oil to precisely 350°F (175°C). Using a thermometer is highly recommended for accuracy.
- Fry in Batches: Carefully add a small handful of potato slices to the hot oil, ensuring you do not overcrowd the fryer. Overcrowding will lower the oil temperature and result in soggy chips. Fry until the slices are beautifully golden brown and crispy. The exact time will vary based on slice thickness and size, but typically ranges from 3-5 minutes per batch.
- Season Immediately: As soon as you remove the golden-brown chips from the oil, transfer them to a paper towel-lined plate to drain any excess oil. While still hot, immediately transfer them to a large bowl (preferably one with a lid for easy shaking) and toss generously with your pre-mixed salt and vinegar seasoning. The heat helps the seasoning adhere.
- Cool and Repeat: Let the seasoned chips cool in a single layer for a few minutes; they will crisp up even further as they cool. Repeat the frying process with the remaining potato slices, always ensuring the oil temperature returns to 350°F (175°C) before adding the next batch. You may need to pause between batches to allow the oil to reheat.
To Make Baked Salt and Vinegar Chips:
This method produces a lighter, yet still satisfyingly crispy chip, similar to making my popular homemade pita chips.
- Preheat and Prepare: Preheat your oven to 400°F (200°C). Line two large baking sheets with foil for easy cleanup and lightly grease them with cooking spray or a thin brush of neutral oil.
- Arrange and Oil: Ensure your potato slices are completely dry. Arrange them in a single layer on the prepared baking sheets, making sure no slices are overlapping, as this will prevent even cooking and crisping. Lightly brush or spray each potato slice with a neutral oil.
- Bake to Perfection: Bake for 10-15 minutes, or until the chips are golden brown and crisp. Keep a close eye on them, especially towards the end, as they can go from perfectly done to burnt very quickly. If you notice smaller pieces browning faster, remove them from the oven after about 10 minutes and continue baking the larger slices until crisp.
- Season and Cool: Once baked to your desired crispness, immediately transfer the hot chips to a large bowl and toss generously with the salt and vinegar seasoning. Allow them to cool in a single layer on a wire rack; they will become even crisper as they reach room temperature.
Regardless of the method you choose, homemade chips are undeniably at their absolute best when enjoyed the day they are made. However, if you happen to have any leftovers (a rare occurrence!), you can store them in an airtight container at room temperature for up to one week to maintain their freshness and crunch.
Salt and Vinegar Chips FAQ
Peeling your potatoes before making chips is entirely a matter of personal preference. Some prefer the uniform look and slightly smoother texture of peeled chips, while others appreciate the rustic charm and added fiber from the skin. I personally choose to leave the skins on; it saves an extra step in the preparation process, and I enjoy the subtle earthy flavor and texture the skin adds to the finished chips. Just be sure to give them a good scrub if you’re keeping the skin on!
Absolutely, an air fryer is a fantastic option for making crispy salt and vinegar chips with less oil! To do so, first, ensure your potato slices are thoroughly dried after their vinegar soak. Then, toss the slices lightly with a neutral oil (just enough to coat them, usually about 1-2 teaspoons per potato). Arrange them in a single layer in your air fryer basket – you’ll likely need to work in batches to avoid overcrowding. Air fry at 400°F (200°C) for approximately 10-15 minutes, flipping them every 5 minutes with tongs to ensure even cooking and maximum crispness. Keep a close eye on them, as air fryer models vary and cooking times can differ. They’re done when golden brown and crispy!
More Delicious Potato Recipes
Since buying a 5-pound bag of potatoes is often more economical, you’ll likely have some delicious extras after making your chips. Don’t let them go to waste! Here are some other comforting and flavorful potato recipes you can whip up:
- Mashed Potatoes For Two: A perfect, creamy side dish for a smaller gathering.
- Italian Potato Salad: A vibrant, herb-infused twist on classic potato salad.
- Amish Potato Salad: A sweet and tangy, creamy potato salad that’s a crowd-pleaser.
- Guinness Shepherd’s Pie For Two: A rich, savory, and comforting meal topped with fluffy mashed potatoes.

Homemade Salt and Vinegar Chips
2 servings
20 minutes
30 minutes
15 minutes
1 hour 5 minutes
Crispy Homemade Salt and Vinegar Chips from scratch taste just like store-bought chips with their lip-smacking flavor thanks to one secret ingredient: vinegar powder. Learn how to make both baked and fried salt and vinegar chips for the ultimate snack experience.
Ingredients
- 1 large russet potato, peeling optional (roughly 6-8 ounces)
- ¾ cup white distilled vinegar
- 1 tablespoon vinegar powder* (essential for authentic flavor)
- ½ teaspoon salt, preferably kosher (adjust to taste)
- Frying oil (such as vegetable, canola, or peanut) OR cooking spray/neutral oil for baking
Instructions
- Using a mandoline slicer (set to approximately 1/10 inch or 2.5 mm, which is usually setting 2 on an OXO mandoline), thinly slice the potato. The slices should be almost translucent but not so thin they tear easily.
- Place the thinly sliced potato in a large bowl and pour enough white distilled vinegar over them to fully submerge the slices. If needed, add a little more vinegar to ensure coverage. Allow the potatoes to soak for 30 minutes. After soaking, drain the potato slices thoroughly and pat them completely dry with paper towels. This step is crucial for crispness and safety.
- In a separate large bowl (ideally one with a lid for easy tossing), combine the vinegar powder and kosher salt. Mix well to create your salt and vinegar seasoning blend.
To Fry Potato Chips:
- Fill a deep fryer or a heavy-bottomed pot with enough frying oil (vegetable, canola, or peanut) to submerge the chips, and heat to 350°F (175°C). Use a thermometer for accuracy.
- Once the oil is hot and the potato slices are perfectly dry, carefully add a few slices at a time to the oil. Do not overcrowd the fryer, as this will drop the oil temperature and lead to soggy chips. Fry for 3-5 minutes, or until they are golden brown and wonderfully crispy.
- Using a slotted spoon or spider, remove the fried chips and transfer them to a plate lined with paper towels to drain excess oil. Immediately transfer the hot chips to the bowl with the salt and vinegar seasoning, toss well to coat, then spread them in a single layer to cool and crisp up further.
- Repeat the frying process with the remaining potato slices, always ensuring the oil temperature returns to 350°F (175°C) before adding the next batch. You may need to wait briefly between batches for the oil to reheat.
To Bake Potato Chips:
- Preheat your oven to 400°F (200°C). Line two large baking sheets with foil and lightly grease them with cooking spray or a thin layer of neutral oil.
- Ensure the potato slices are completely dry. Arrange them in a single layer on the prepared baking sheets, making sure they do not overlap. Lightly brush or spray each potato slice with a neutral oil.
- Bake for 10-15 minutes, or until the chips are crisp and golden brown. Monitor them closely, as thinner slices will cook faster. If some smaller pieces are done earlier (around 10 minutes), carefully remove them and allow the remaining chips to continue baking until crispy.
- Immediately transfer the hot, baked chips to the bowl with the salt and vinegar seasoning and toss to coat thoroughly. Spread them out to cool completely; they will become crisper as they reach room temperature.
Notes
- Vinegar powder is the absolute key to giving these chips that incredibly authentic, lip-smacking store-bought flavor. While you can technically skip it (see below), you truly don’t want to if you’re aiming for the best results. You can easily buy vinegar powder online.
- Don’t let leftover vinegar powder go to waste! Use it to make delicious Salt and Vinegar Popcorn and tangy Salt and Vinegar Wings.
- If you absolutely do not have vinegar powder, you must increase the initial vinegar soak time to a minimum of 2 hours. However, please note that the resulting vinegar flavor will be significantly more subtle and will not replicate the intense taste of store-bought chips.
- Enjoyed crafting this snack? Be sure to check out my recipe for homemade BBQ chips next!
Recommended Products
As an Amazon Associate and member of other affiliate programs, I earn from qualifying purchases.
- Vinegar Powder
- Mandoline
- Deep Fryer
Did you make this recipe?
Let me know what you think! Rate the recipe above, leave a comment below, and/or share a photo on Instagram using #HITKrecipes
First published September 25, 2013, this recipe has been updated and refined to bring you the ultimate homemade salt and vinegar chip experience.
I have now rewritten the content in English, added an SEO-friendly `
