Deep Dish Mini Lemon Meringue Pies: The Ultimate Tangy-Sweet Dessert for Two
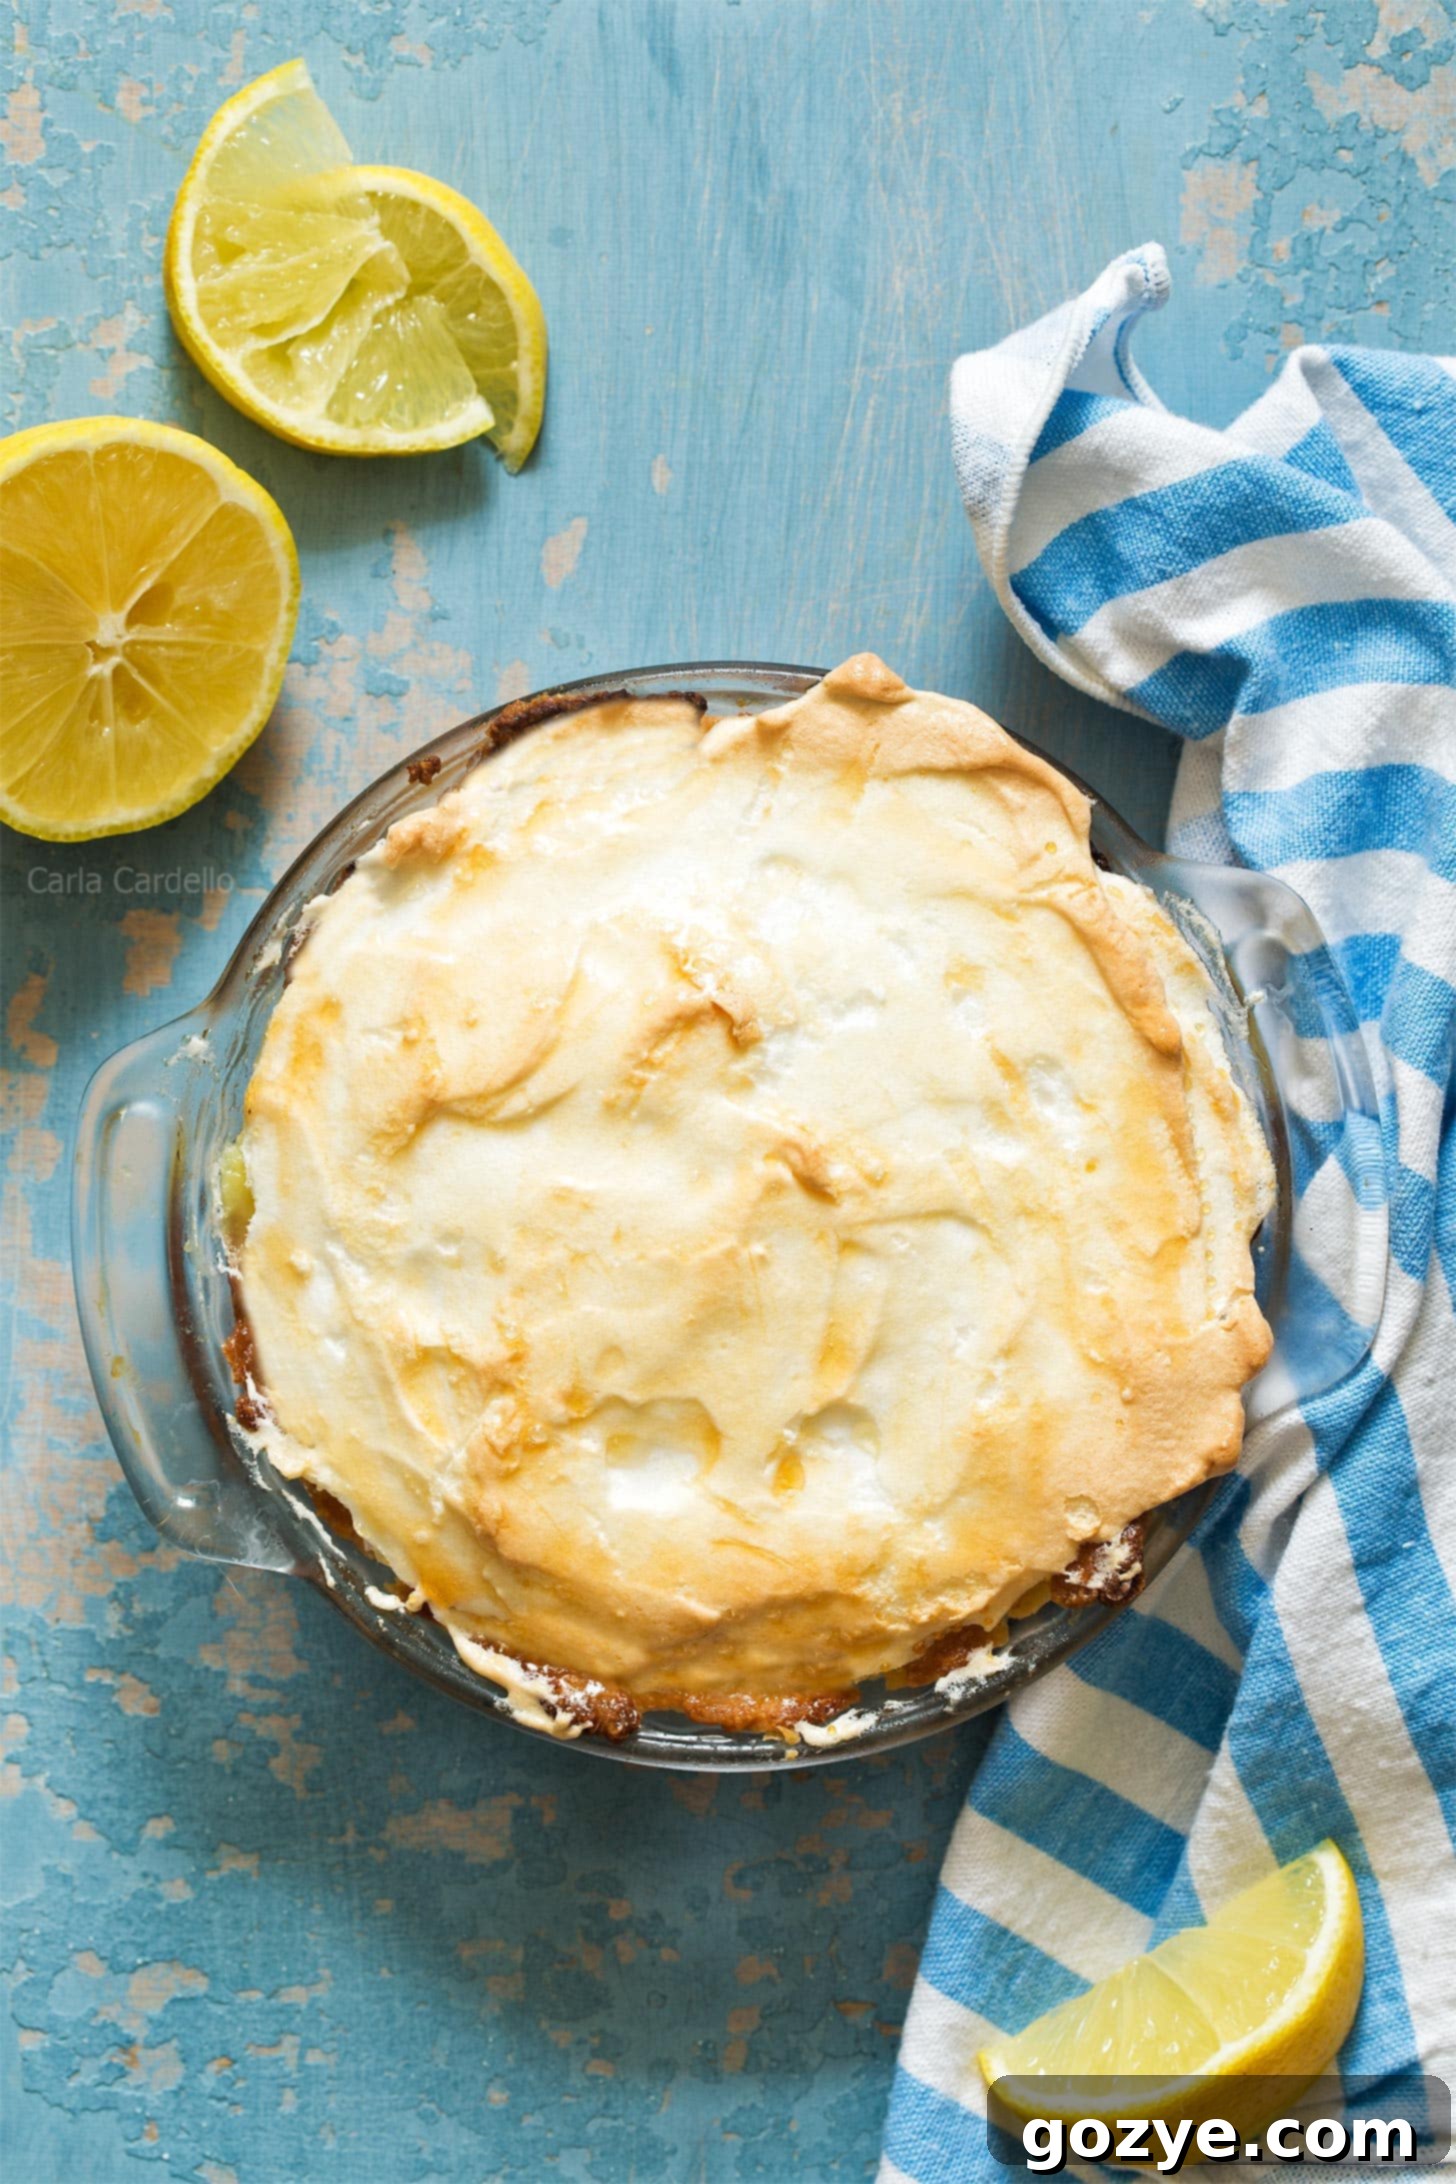
There’s something truly special about a homemade pie, especially one that’s a perfect individual treat. Our Mini Lemon Meringue Pies are designed for just that – a delightful, tart, and creamy lemon meringue experience baked in a charming deep-dish style, ideal for sharing with a loved one or enjoying as a personal indulgence. Baked in mini springform pans, these pies offer an impressive presentation and an even more impressive flavor, though the recipe can also be adapted for a single 6-inch pie plate if preferred.

The Inspiration: A Quest for Deep-Dish Perfection
For years, my dad harbored a dream of finding the perfect deep-dish pie plate. Every time we’d browse kitchenware, our eyes would scan for that elusive, extra-deep pan, but to no avail. We eventually gave up the search, believing such a pan was simply a culinary myth.
Then, a brilliant solution appeared: a clever recipe for a deep-dish pecan pie that ingeniously utilized a springform pan for the crust. A lightbulb went off! I already owned several springform pans. This simple revelation transformed my dad’s long-held dream into a tangible reality, and my culinary gears immediately started turning. I envisioned recreating that deep-dish magic, but with a vibrant, zesty twist: individual deep-dish Mini Lemon Meringue Pies, baked perfectly in two 4-inch springform pans.
Why Mini Lemon Meringue Pies Are Simply Irresistible
My love for lemon desserts runs deep – from small-batch lemon bars to a tender small lemon cake, and even a rich lemon meringue cheesecake. However, a whole traditional pie often proves to be too much dessert for just two people. This is where the beauty of mini pies shines.
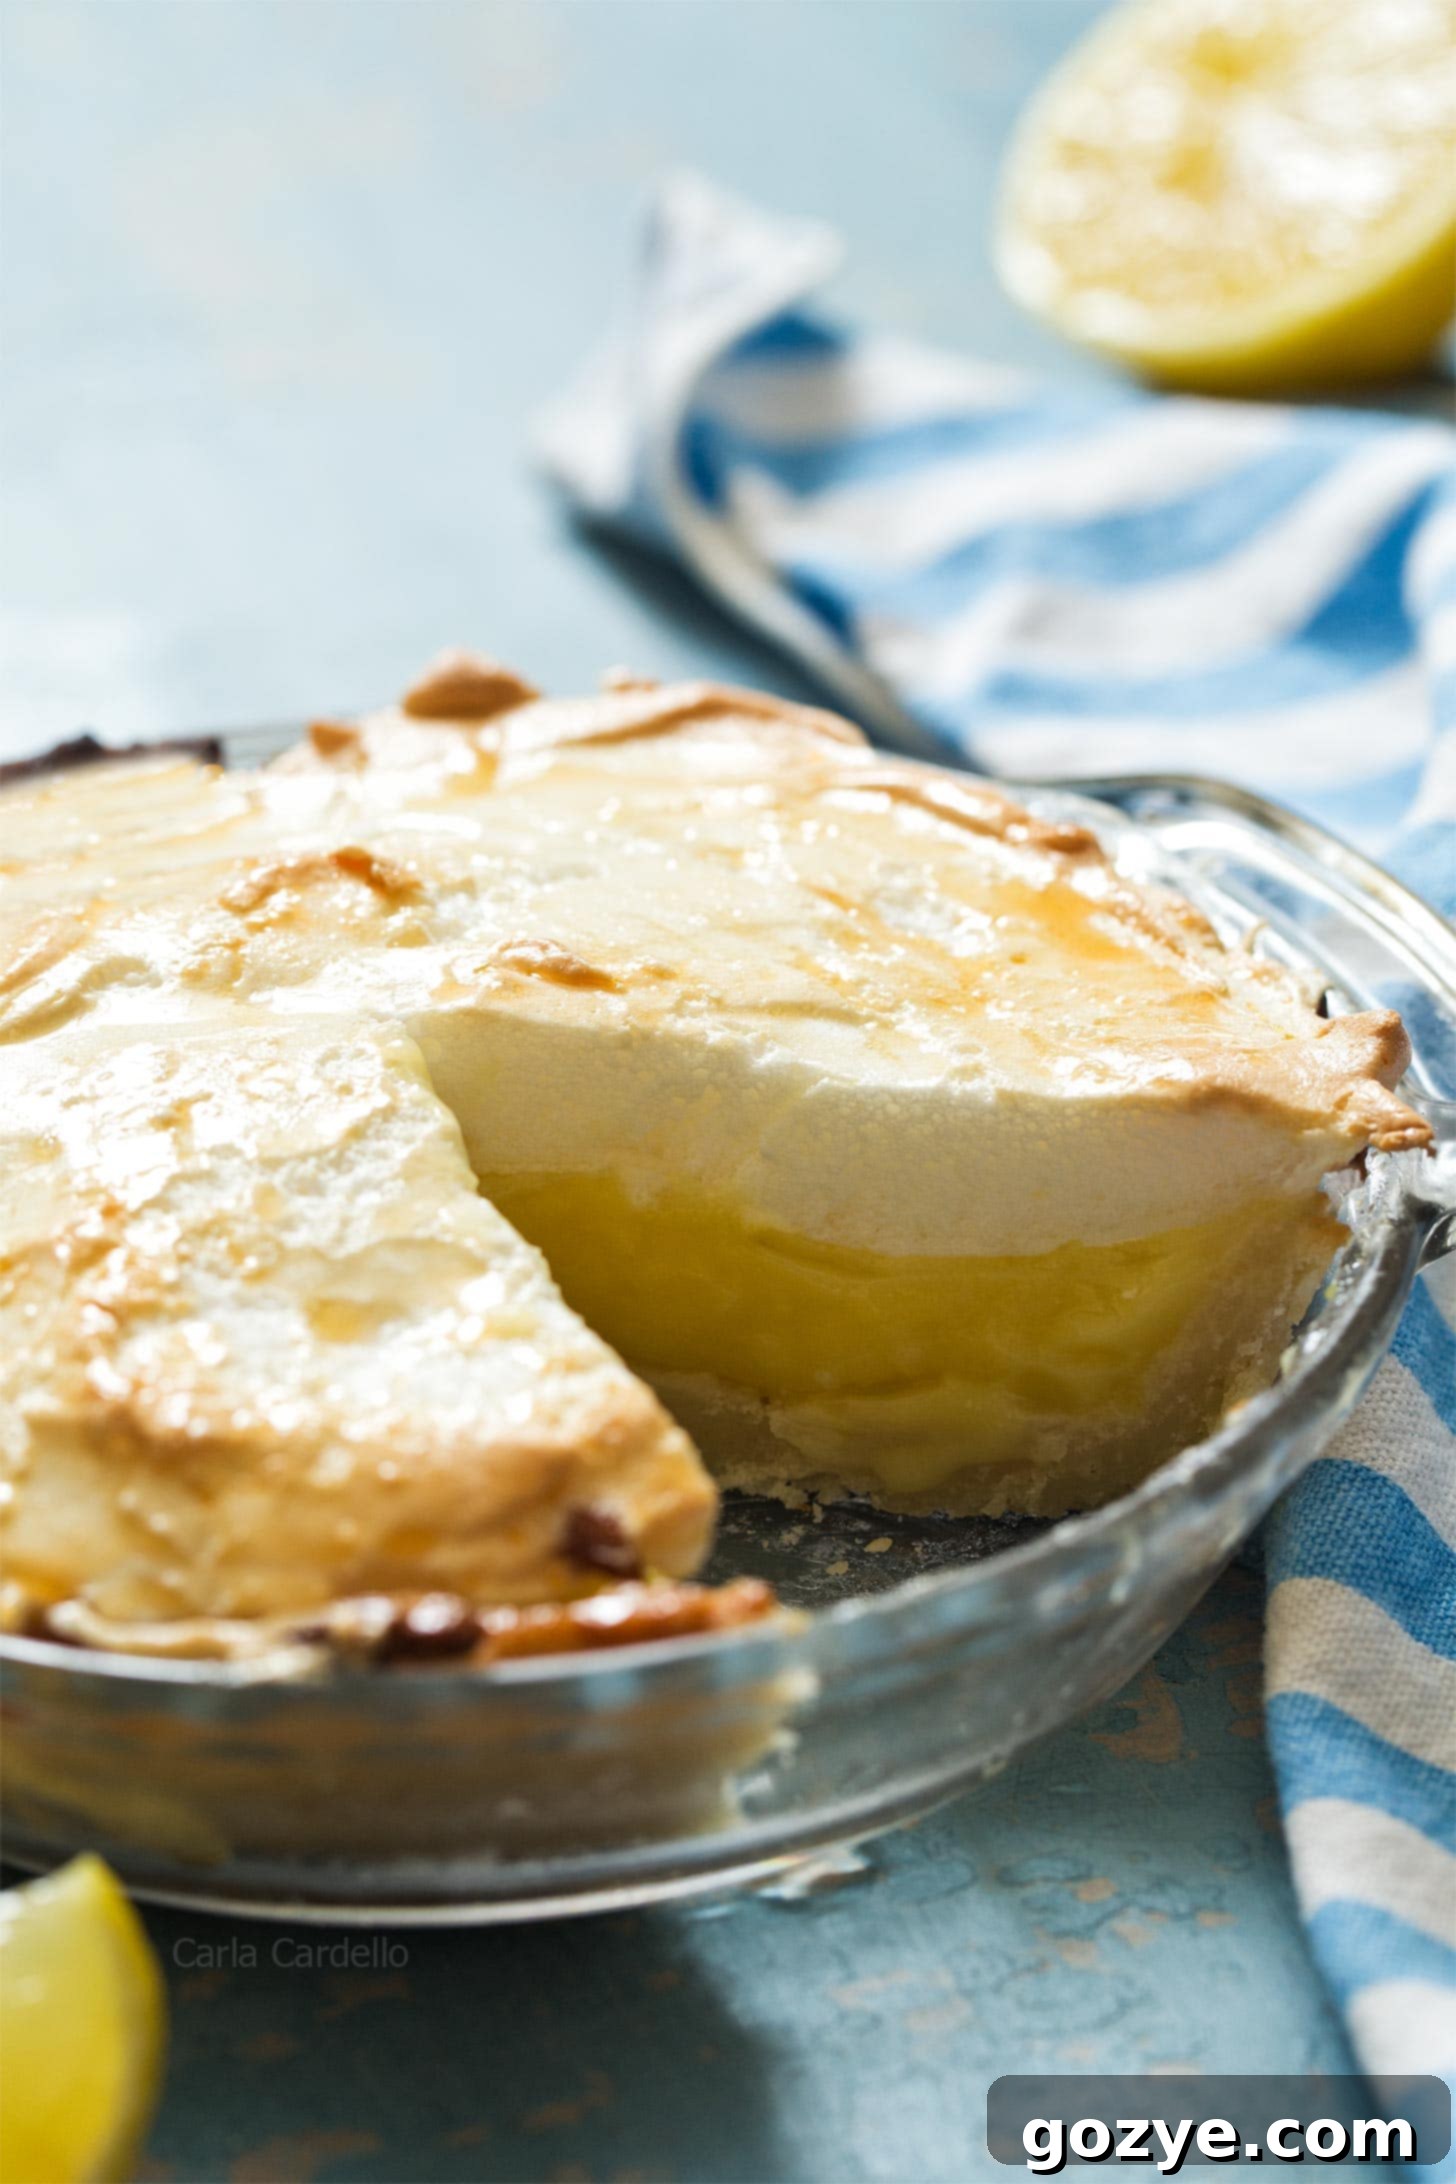
Opting for two individual lemon meringue pies offers several advantages: perfect portion control, an elegant presentation, and the sheer joy of having your very own pie. Each mini pie is generously topped with a cloud-like meringue, lightly toasted to a golden perfection, creating a harmonious balance of zesty tanginess from the lemon and the sweet, airy lightness of the meringue. These small yet mighty desserts make the ideal romantic dessert for two, whether for an anniversary, Valentine’s Day, or just a cozy night in.
Consider making them for National Lemon Meringue Pie Day on August 15th, or simply bake one to share with your dad. Trust me, it’ll brighten his day just knowing you made him a deep-dish pie!

Choosing Your Perfect Pie Pan: Springform vs. Traditional
For achieving that signature deep-dish look and easy serving, you’ll need two 4-inch springform pans for your individual lemon meringue pies. The springform design is crucial because, unlike most pies, you can’t simply invert a delicate lemon meringue pie. The removable sides of the springform pan allow you to gracefully unmold your pie, revealing its pristine edges and towering meringue without any damage.
Most kitchenware stores or online retailers offer a convenient set of three 4-inch springform pans, which is perfect if you plan on making multiple mini desserts. If you prefer to make one slightly larger small lemon meringue pie, you can certainly put the entire recipe into a 6-inch pie plate. For detailed instructions and step-by-step photos on making the perfect pie dough for smaller pies, be sure to check out my buttery small pie crust recipe.
Essential Ingredients for Your Luscious Mini Lemon Meringue Pies
Crafting these individual lemon meringue pies requires a thoughtful selection of ingredients, each playing a vital role in creating the perfect texture and flavor. Here’s what you’ll need and why:
- All-Purpose Flour: The foundation of our tender, flaky pie crust. Its gluten content provides structure, ensuring the dough is easy to work with and holds its shape beautifully while baking.
- Granulated Sugar: Adds essential sweetness to both the crust and the lemon filling, contributing to a pleasant caramelization during baking.
- Table Salt: A crucial flavor enhancer. Salt balances the sweetness and brings out the vibrant lemon notes, making your pie taste even better, especially when using unsalted butter.
- Unsalted Butter: The heart of a truly delicious pie crust, butter imparts unparalleled flavor and creates that coveted melt-in-your-mouth flakiness. Using unsalted butter allows you to control the exact amount of salt in your recipe.
- Full-Fat Cream Cheese: A secret ingredient for an exceptionally tender and flaky crust. Cream cheese adds a subtle tanginess and richness that elevates the crust’s overall texture and taste. Make sure to use full-fat for the best results.
- Cold Water: Essential for pie dough. Cold water prevents the butter and cream cheese from melting prematurely, creating steam during baking that results in those desirable flaky layers. It also helps bind the ingredients together to form a cohesive dough.
- Cornstarch: This unsung hero is vital for two reasons. In the lemon filling, it acts as a thickening agent, ensuring a perfectly set, wobbly custard. In the meringue, a touch of cornstarch helps stabilize it, preventing shrinkage and weeping.
- Lemon Zest and Fresh Lemon Juice: The unmistakable stars of the show! The zest provides intense aromatic lemon oil, while the juice delivers the bright, tangy flavor that defines lemon meringue pie. Always use fresh lemons for the best results.
- Large Egg Yolks: These are key to creating the rich, creamy, and beautifully colored custard filling. The fat in the yolks contributes to the luxurious texture. (Don’t throw away those whites – check out my post on what to do with leftover egg whites!)
- Vanilla Extract: A touch of vanilla might seem counterintuitive in a lemon pie, but it subtly enhances and rounds out the lemon flavor, adding depth without overpowering it.
- Large Egg White: The magical ingredient for our cloud-like meringue. When whipped, it transforms into a stable foam, creating the iconic fluffy topping.
Crafting Your Own Mini Lemon Meringue Pies: A Step-by-Step Guide
Ready to embark on the journey of making your own irresistible lemon meringue mini pies? The process might seem like several distinct steps, but by focusing on one component at a time, you’ll find it’s quite manageable and incredibly rewarding. Precision and attention to detail at each stage will ensure a stunning and delicious outcome.
For the Flaky Pie Crust:
- Prepare the Dough: In the bowl of a food processor, combine the all-purpose flour, granulated sugar, and salt. Add the cold, cubed butter and cold cream cheese pieces. Pulse briefly until the mixture resembles coarse pebbles with some larger pea-sized pieces. This ensures flakiness. Add the cold water, then pulse just until a dough begins to form. Be careful not to overmix, as this can lead to a tough crust.
- Chill and Shape: Carefully gather the dough and divide it into two equal pieces (or one piece if using a 6-inch pie plate). Gently shape each piece into a flat, round disc. Wrap them tightly in plastic wrap and refrigerate for at least 1 hour, or until thoroughly chilled. This resting period allows the gluten to relax, making the dough easier to roll.
- Roll and Press: On a lightly floured surface, roll out one chilled dough disc into a circle slightly larger than your chosen pan (about 6 inches for springform pans, 8 inches for a 6-inch pie plate), aiming for a thickness between 1/8 and 1/4 inch. Carefully transfer the dough and press it evenly into the bottom and up the sides of your prepared pan. Repeat with the second dough disc for the second springform pan. Prick the bottom of each crust generously with a fork to prevent bubbling during baking.
- Blind Bake to Perfection: Line each pie crust with greased aluminum foil, ensuring it covers the sides, then fill with pie weights or dried beans. This prevents the crust from shrinking and puffing up. Refrigerate the lined crusts while you preheat your oven to 400°F (205°C). Bake for 10 minutes. Carefully remove the foil and weights, then continue to bake for another 10-15 minutes, or until the crust is beautifully golden brown and fully cooked through. This blind baking step is crucial, as the crust won’t bake further once the filling is added.
For the Luscious Lemon Filling:
- Start the Base: In a medium saucepan, whisk together the water, granulated sugar, cornstarch, fresh lemon zest, and salt until well combined. Place the saucepan over medium heat and bring the mixture to a boil, whisking frequently to prevent lumps.
- Thicken the Custard: Continue to cook the mixture for a few minutes after it reaches a boil, whisking constantly, until it becomes smooth, almost transparent, and visibly starts to thicken. This ensures the cornstarch is fully activated.
- Temper the Egg Yolks: In a separate small bowl, whisk together the egg yolks and fresh lemon juice. To prevent the eggs from scrambling, gradually whisk a small amount (about 1/2 cup) of the hot sugar mixture into the egg yolk mixture. This slowly raises the temperature of the yolks.
- Combine and Cook: Pour the tempered egg mixture back into the saucepan with the remaining hot sugar mixture. Return to a boil and cook for another 2-3 minutes, whisking continuously, until the filling is very thick and clear.
- Finish the Filling: Remove the saucepan from the heat and whisk in the softened unsalted butter and vanilla extract until fully incorporated and smooth. Immediately pour the hot lemon filling into your cooled, pre-baked pie crusts. It’s critical that the filling is hot when you add the meringue to ensure proper sealing and baking.
For the Cloud-Like Meringue:
- Prepare the Sugar Syrup: In a small saucepan, whisk together the granulated sugar, water, cornstarch, and a pinch of salt. Bring the mixture to a boil over medium heat. Boil for exactly 1 minute, or until the mixture becomes clear and noticeably thickened. Remove from heat immediately.
- Whip Egg Whites to Soft Peaks: In an impeccably clean large mixing bowl (ensure no grease residue, which can prevent whipping) with a whisk attachment (if using a stand mixer), beat the large egg white on medium speed until it becomes foamy. Increase the speed to high and continue beating until soft peaks form – when you lift the beaters, the peaks will stand but their tips will gently curl over.
- Create Stiff, Glossy Meringue: With the mixer still running on high, gradually and slowly drizzle the hot sugar syrup into the egg whites. Continue beating on high speed until stiff, glossy peaks form. When you lift the beaters, the peaks should stand straight and hold their shape without falling over.
- Top and Bake: Carefully spoon or pipe the meringue onto the hot lemon filling, making sure to spread it all the way to the edges of the pie crust. It’s crucial that the meringue completely seals the filling, preventing any gaps where steam could escape and cause the filling to overbake or weep. Bake your mini pies at 350°F (180°C) for 10-15 minutes, or until the meringue achieves a beautiful golden-brown color. Alternatively, you can use a kitchen blow torch to toast the meringue to perfection.
- Cool and Serve: Allow the pies to cool completely to room temperature before refrigerating for at least 1 hour. This cooling period helps the filling set fully.

Storing Your Mini Lemon Meringue Pies
Due to the delicate nature of meringue, these mini lemon meringue pies are truly at their best when enjoyed on the very day they are made. The meringue will be at its crispiest and most voluminous.
However, if you have any leftovers, you can still refrigerate them for up to 2 days. Be aware that the meringue may lose some of its crispness and might “weep” a little (release small droplets of moisture) over time. To minimize this, store them loosely covered in the refrigerator, allowing some air circulation.
Can You Make Lemon Meringue Mini Pies Ahead of Time?
I completely understand – crafting a delicious small lemon pie from scratch can be a multi-step process! While the meringue is best made and baked fresh, there are smart ways to prepare components of your pie ahead of time to make serving day much easier.
You can fully bake your pie crusts up to 3 days in advance. Once baked and cooled, store them at room temperature in an airtight container. Then, on the day you plan to serve, simply prepare the lemon filling and the meringue, assemble, and bake. This strategy significantly cuts down on same-day effort without compromising the quality of your fresh, fluffy meringue.

Expert Tips for a Perfectly Successful Lemon Meringue Pie
- Hot Filling, Happy Meringue: It is absolutely crucial that your lemon filling is hot when you spread the meringue on top. This isn’t just for cooking; the heat from the filling helps to slightly cook the bottom of the meringue from underneath and, more importantly, creates a vital seal between the two layers, preventing the meringue from separating or sliding off.
- The Power of Cleanliness for Meringue: When making the meringue, ensure your mixing bowl and beaters are impeccably clean and completely free from any fat residue. Even a tiny speck of grease or a trace of egg yolk in the egg white can prevent the meringue from whipping up into stiff, stable peaks. Consider wiping your bowl and beaters with a lemon wedge or vinegar before starting.
- Seal the Deal with Meringue: When topping your pie with meringue, make sure to spread it all the way to the edges of the crust, creating a complete seal. Meringue acts as an insulator; if there are any gaps or holes where the meringue doesn’t meet the crust, heat can escape or enter unevenly, potentially causing your filling to overbake around the edges or your meringue to shrink dramatically.
- Room Temperature Egg Whites: For the best volume and stability, use egg whites that are at room temperature. They whip up faster and achieve greater volume than cold egg whites.
- Fresh Lemon Juice and Zest: Always opt for fresh lemons. The bottled stuff simply won’t deliver the vibrant, authentic lemon flavor and aromatic zest that makes this pie truly shine.
Troubleshooting: Why is My Lemon Meringue Pie Too Runny?
A runny lemon meringue pie filling is a common issue, but one that is easily understood. If your pie filling hasn’t set properly, it most likely means you didn’t cook the lemon custard long enough to thicken adequately on the stovetop. The cornstarch needs sufficient heat and time to fully activate and create that firm, wobbly consistency.
Remember, once the meringue is added and the pie is baked, the lemon filling underneath will not cook further or thicken significantly in the oven. The meringue acts as an insulating layer, protecting the filling from intense heat. Therefore, it is paramount that your lemon filling reaches the desired thick consistency *before* it’s poured into the pie crust and topped with meringue. Cook it until it’s visibly thick and holds its shape on a spoon.
More Irresistible Mini Pie Recipes to Try
Enjoyed this perfect pie for two recipe? Explore my other delightful recipes for small and individual pies, ideal for any occasion:
- Mini Deep Dish Pumpkin Pies (also baked in springform pans)
- Small Pumpkin Pie
- Small Pecan Pie
- Small Apple Pie
- Mini Apple Pies
- Mini Cherry Pies
- Mini Strawberry Pies
- Mini Peach Pies

Mini Lemon Meringue Pies
2 mini pies
30 minutes
30 minutes
2 hours
3 hours
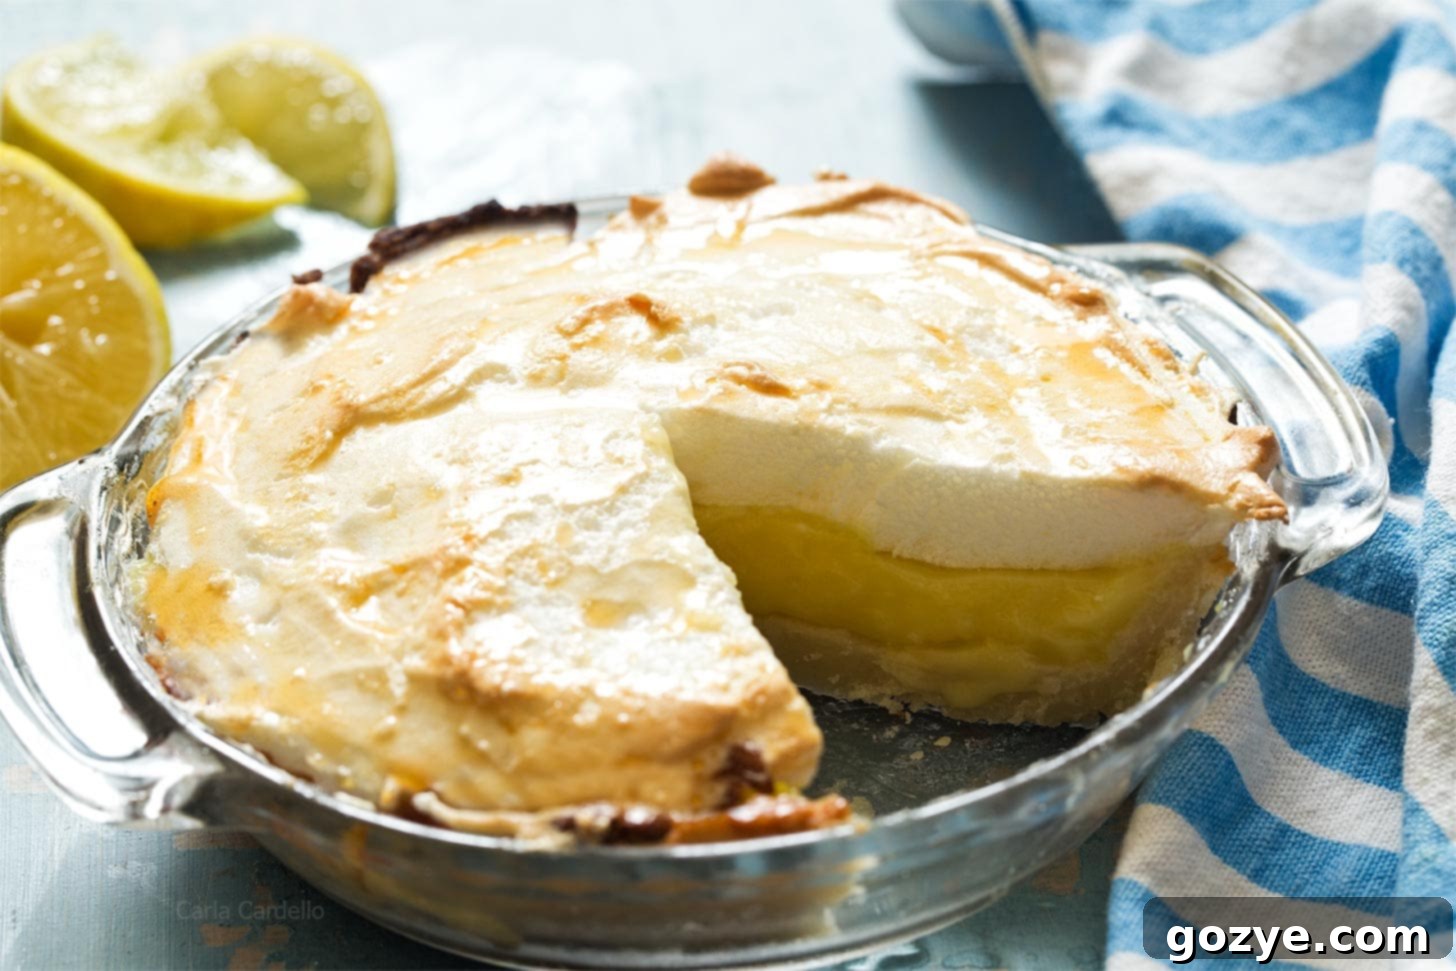
This recipe for Mini Lemon Meringue Pie yields a wonderfully tart and creamy lemon meringue pie for two, baked deep-dish style in convenient mini springform pans. It can also be easily adapted and baked in a single 6-inch pie plate.
Ingredients
Crust
- 1/2 cup (60 grams) all-purpose flour
- 1 tablespoon (12.5 grams) granulated sugar
- 1/2 teaspoon (3 grams) table salt
- 2 tablespoons (1 ounce or 28 grams) unsalted butter, very cold and cut into 2 pieces
- 2 ounces (56 grams) full-fat cream cheese (do not substitute fat-free), very cold and cut into 2 pieces
- 1 tablespoon (15 mL) cold water
Lemon Filling
- 1/2 cup (118 mL) water
- 1/3 cup (67 grams) granulated sugar
- 1 tablespoon (7.5 grams) cornstarch
- 2 teaspoons (4 grams) fresh lemon zest
- 1/4 teaspoon (1.5 grams) table salt
- 2 large egg yolks, at room temperature
- 2 tablespoons (29.57 ml) fresh lemon juice
- 1 tablespoon (14 grams) unsalted butter, softened
- 1/4 teaspoon (1 ml) vanilla extract
Meringue
- 2 tablespoons (25 grams) granulated sugar
- 2 tablespoons (29.57 mL) water
- 1 teaspoon (2.5 grams) cornstarch
- Pinch of table salt
- 1 large egg white, at room temperature
Instructions
- First, prepare the pie crust: In the bowl of a food processor, add the flour, sugar, and salt. Pulse briefly to combine.
- Add the very cold butter and cold cream cheese pieces to the food processor. Pulse several times until the mixture resembles large pebbles with some pea-sized pieces. Add the cold water, then pulse just until a cohesive dough forms. Do not overmix.
- Gather the dough and divide it into 2 equal pieces (or 1 piece if you’re using a 6-inch pie plate). Gently shape each piece into a flat, round disk, wrap tightly in plastic wrap, and refrigerate for at least 1 hour or until thoroughly chilled. This resting period helps relax the gluten.
- Prepare your pans: Wrap the outside bottom of two 4-inch springform pans with aluminum foil to prevent any potential leaks. Alternatively, have one ungreased 6-inch pie plate ready.
- Working with one chilled dough disk at a time, roll it out on a lightly floured surface into a circle slightly larger than your pan (roughly 6 inches for springform, 8 inches for a 6-inch pie plate) with a thickness between 1/8 and 1/4 inch. Carefully press the dough into the bottom and up the sides of the pan. Prick holes generously with a fork across the bottom. Repeat with the remaining dough and pan.
- Line each pie crust with greased aluminum foil, ensuring it covers the sides, then fill with pie weights or dried beans. Refrigerate the lined crusts while you preheat the oven to 400°F (205°C). Keeping the dough cold is crucial for a flaky crust.
- Bake the crusts for 10 minutes. Carefully remove the foil and pie weights, then return the crusts to the oven for another 10-20 minutes, or until the bottom is a beautiful golden brown and no longer looks soggy. This is the only time the crust will be baked, so it’s vital that it is fully cooked through and not raw.
If using a glass pie plate, place it on a room temperature baking sheet before adding it to the preheated oven. Avoid placing a cold glass pan directly onto a hot oven rack or a hot baking sheet, as the sudden temperature change may cause the glass to shatter.
- Once baked, turn the oven down to 350°F (180°C). Allow the pie crusts to cool completely while you proceed to make the lemon filling.
- Next, prepare the lemon filling: In a medium saucepan, whisk together the water, granulated sugar, cornstarch, fresh lemon zest, and salt. Place the saucepan over medium heat and bring the mixture to a boil, whisking frequently to prevent lumps.
- Boil for 1-2 minutes, whisking constantly, until the mixture is smooth, almost transparent, and visibly starts to thicken.
- In a small, separate bowl, whisk together the egg yolks and fresh lemon juice. To temper the eggs, slowly whisk about half a cup of the hot sugar mixture into the yolk mixture. Then, pour the entire tempered egg mixture back into the saucepan with the remaining hot sugar mixture.
- Bring the filling back to a boil over medium heat. Boil for 2-3 minutes, whisking often, until the filling is very thick and clear. It should be able to hold its shape on a spoon.
- Remove the saucepan from the heat and immediately whisk in the softened unsalted butter and vanilla extract until fully incorporated and smooth. Pour the hot filling directly into the cooled, baked pie shells. It is crucial that your filling remains hot for the meringue to bake properly and seal effectively. Do not let it cool down.
- Finally, make the meringue: In a small saucepan, whisk together the granulated sugar, water, cornstarch, and a pinch of salt. Bring the mixture to a boil. Boil for 1 minute, or until the mixture becomes clear and noticeably thickened. Remove from the heat.
- In an impeccably clean large mixing bowl, beat the large egg white on medium speed (with a whisk attachment if using a stand mixer) until it becomes foamy. Increase the speed to high and continue beating until soft peaks form (when you pull the beaters straight up, the peaks will form but the tips will gently fall over).
- With the mixer still running on high speed, gradually and slowly beat in the hot sugar mixture from the saucepan. Continue beating until stiff, glossy peaks form (when you pull the beaters straight up, the peaks will stand straight and firm without falling over).
- Immediately top your hot lemon filling with the meringue, ensuring that the meringue completely seals the pie by spreading it all the way to the edges of the crust. If there are any holes or gaps in the meringue, the filling may bubble up during baking. Bake for 10-15 minutes, or until the meringue is beautifully golden brown. Alternatively, you can use a kitchen blow torch to toast the meringue to your desired golden hue.
- Allow the pies to cool completely to room temperature on a wire rack, then refrigerate for at least 1 hour before serving. This ensures the filling is perfectly set.
- Pies are best served the same day they’re made for optimal meringue texture. Refrigerate any leftovers for up to 2 days, noting that the meringue may soften slightly.
Notes
- To make your pie ahead of time, you can fully bake the crusts up to 3 days in advance. Once cooled, store them in an airtight container at room temperature. Then, prepare the lemon filling and meringue on the day you plan to serve.
- No food processor? No problem! You can make the pie dough by hand. Simply cut the cold butter and cream cheese into the flour mixture using a pastry blender or two knives until it resembles coarse crumbs. Then, stir in the cold water until a dough forms.
- Enjoyed this recipe for small-batch pies? Check out my other delicious recipes, including Mini Deep Dish Pumpkin Pies, Small Pumpkin Pie, and Small Pecan Pie.
Recommended Products
As an Amazon Associate and member of other affiliate programs, I earn from qualifying purchases.
- 4 Inch Springform Pan
- 6 Inch Pie Plate
Did you make this recipe?
Let me know what you think! Rate the recipe above, leave a comment below, and/or share a photo on Instagram using #HITKrecipes
Adapted from Luscious Lemon Desserts
First published February 5, 2013
