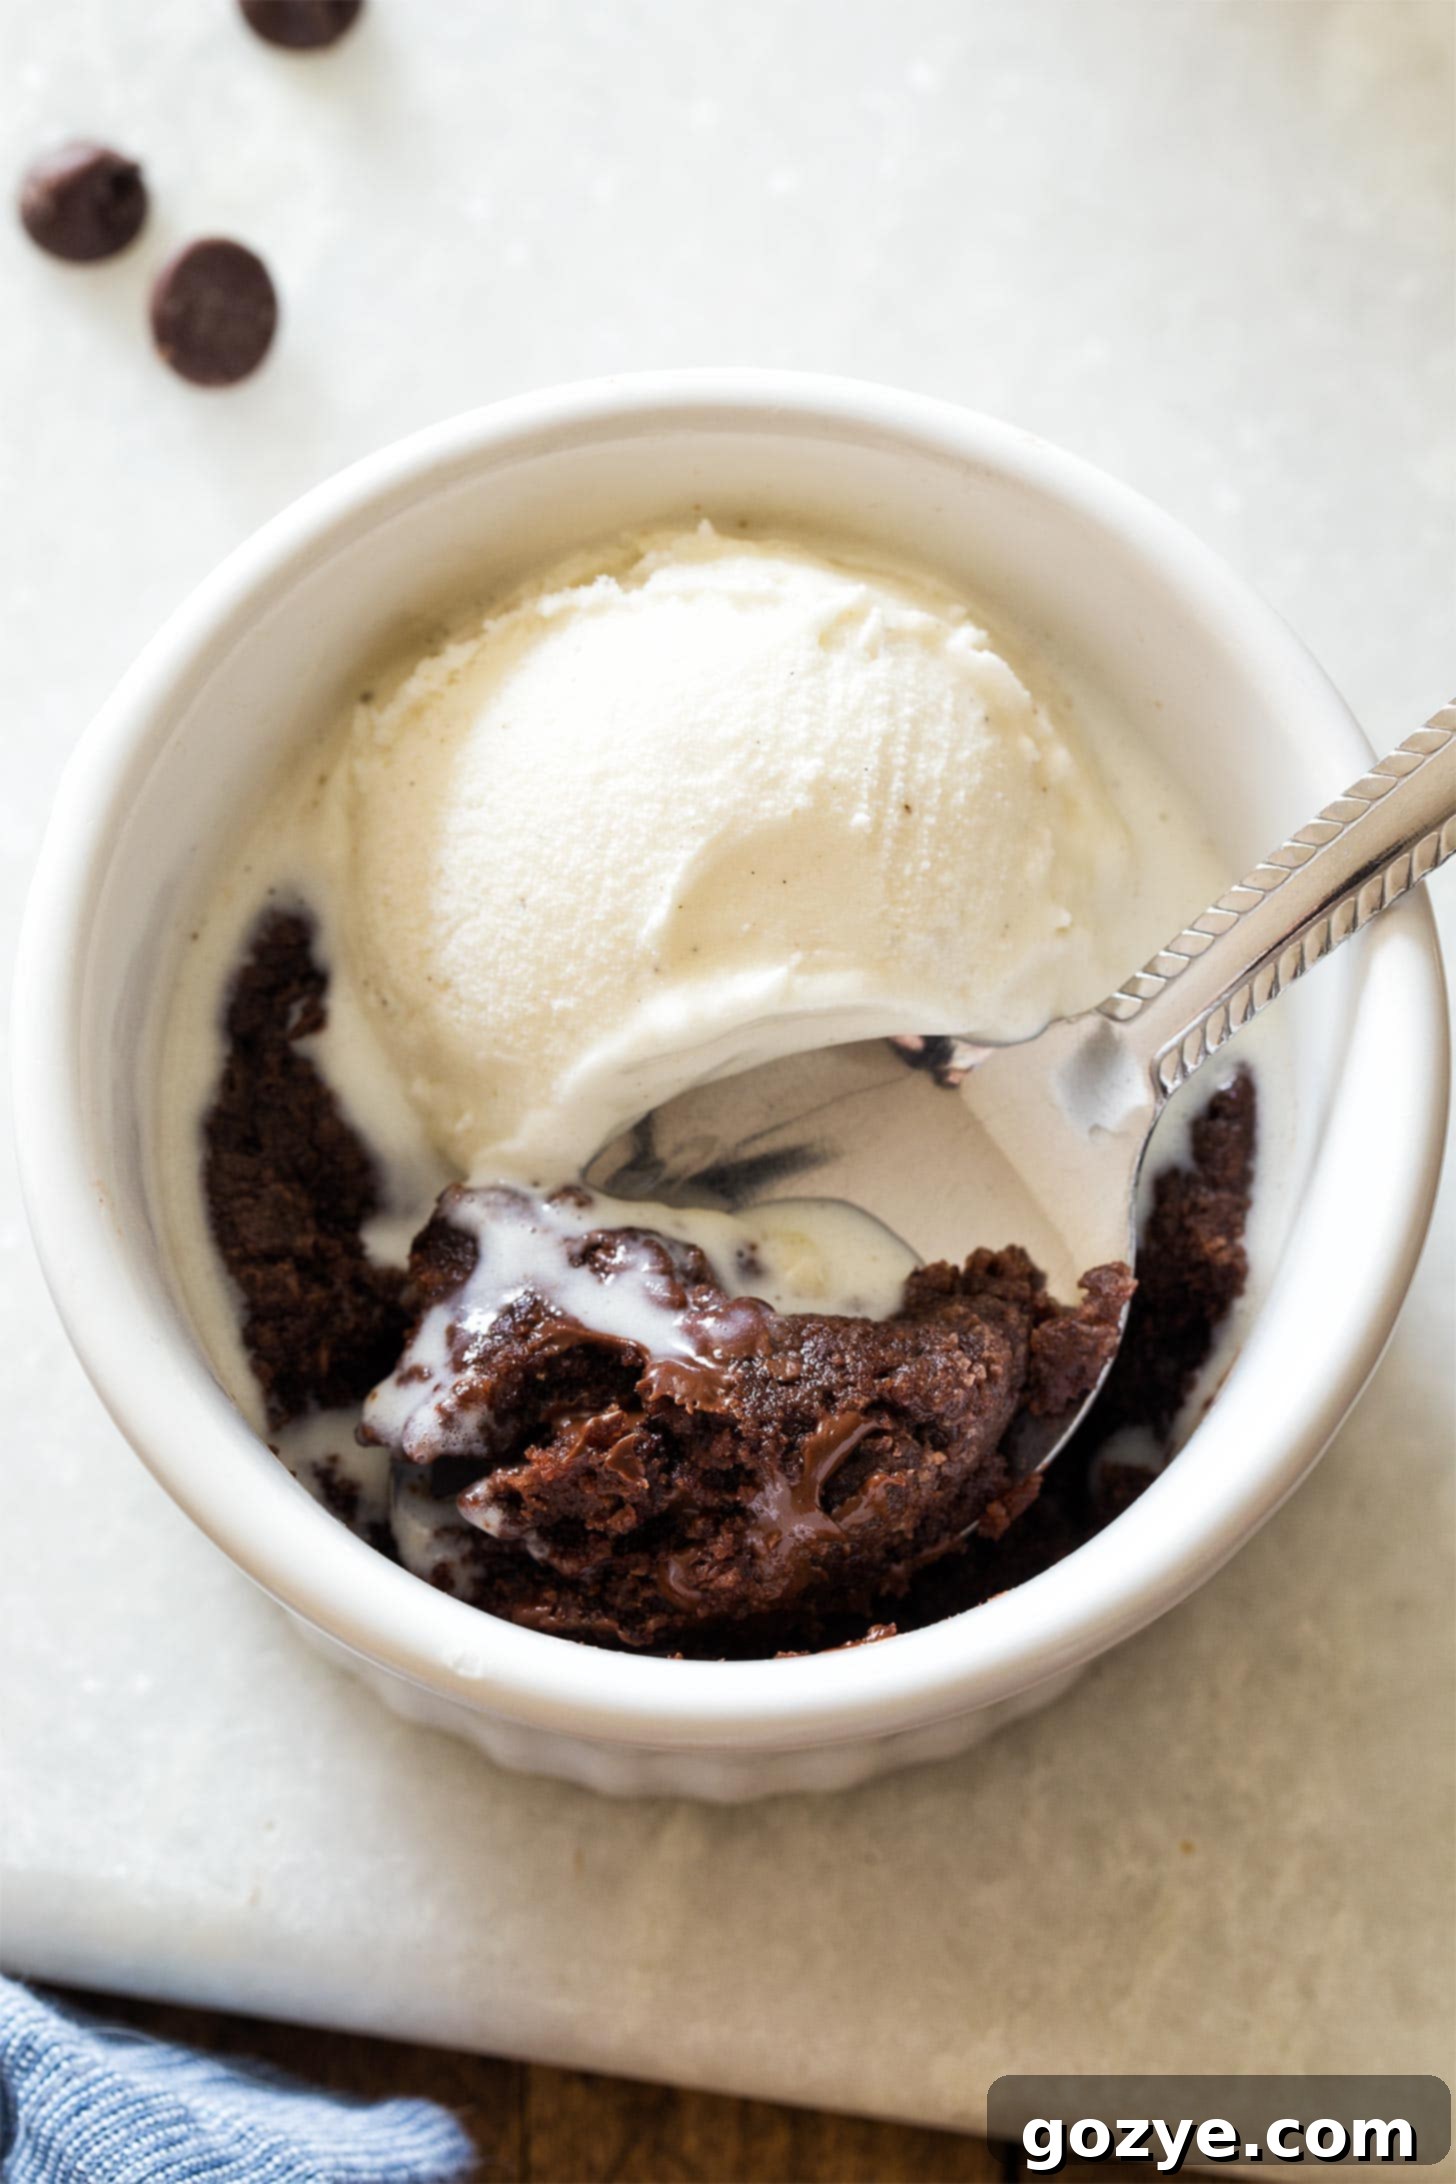
Indulge in Minutes: The Ultimate Fudgy Single Serve Microwave Brownie (Eggless & Quick!)
Imagine a warm, gooey, chocolatey dessert, perfectly fudgy and chewy, ready to satisfy your deepest cravings in under 5 minutes. This Microwave Brownie, lovingly crafted for one in a ramekin, isn’t just a quick fix; it’s a genuine, decadent, eggless brownie experience. For those moments when a chocolate craving hits hard and fast, this single-serve treat is exactly what you need. Forget the fuss of baking a whole batch; embrace the joy of instant gratification with this unbelievably simple recipe.
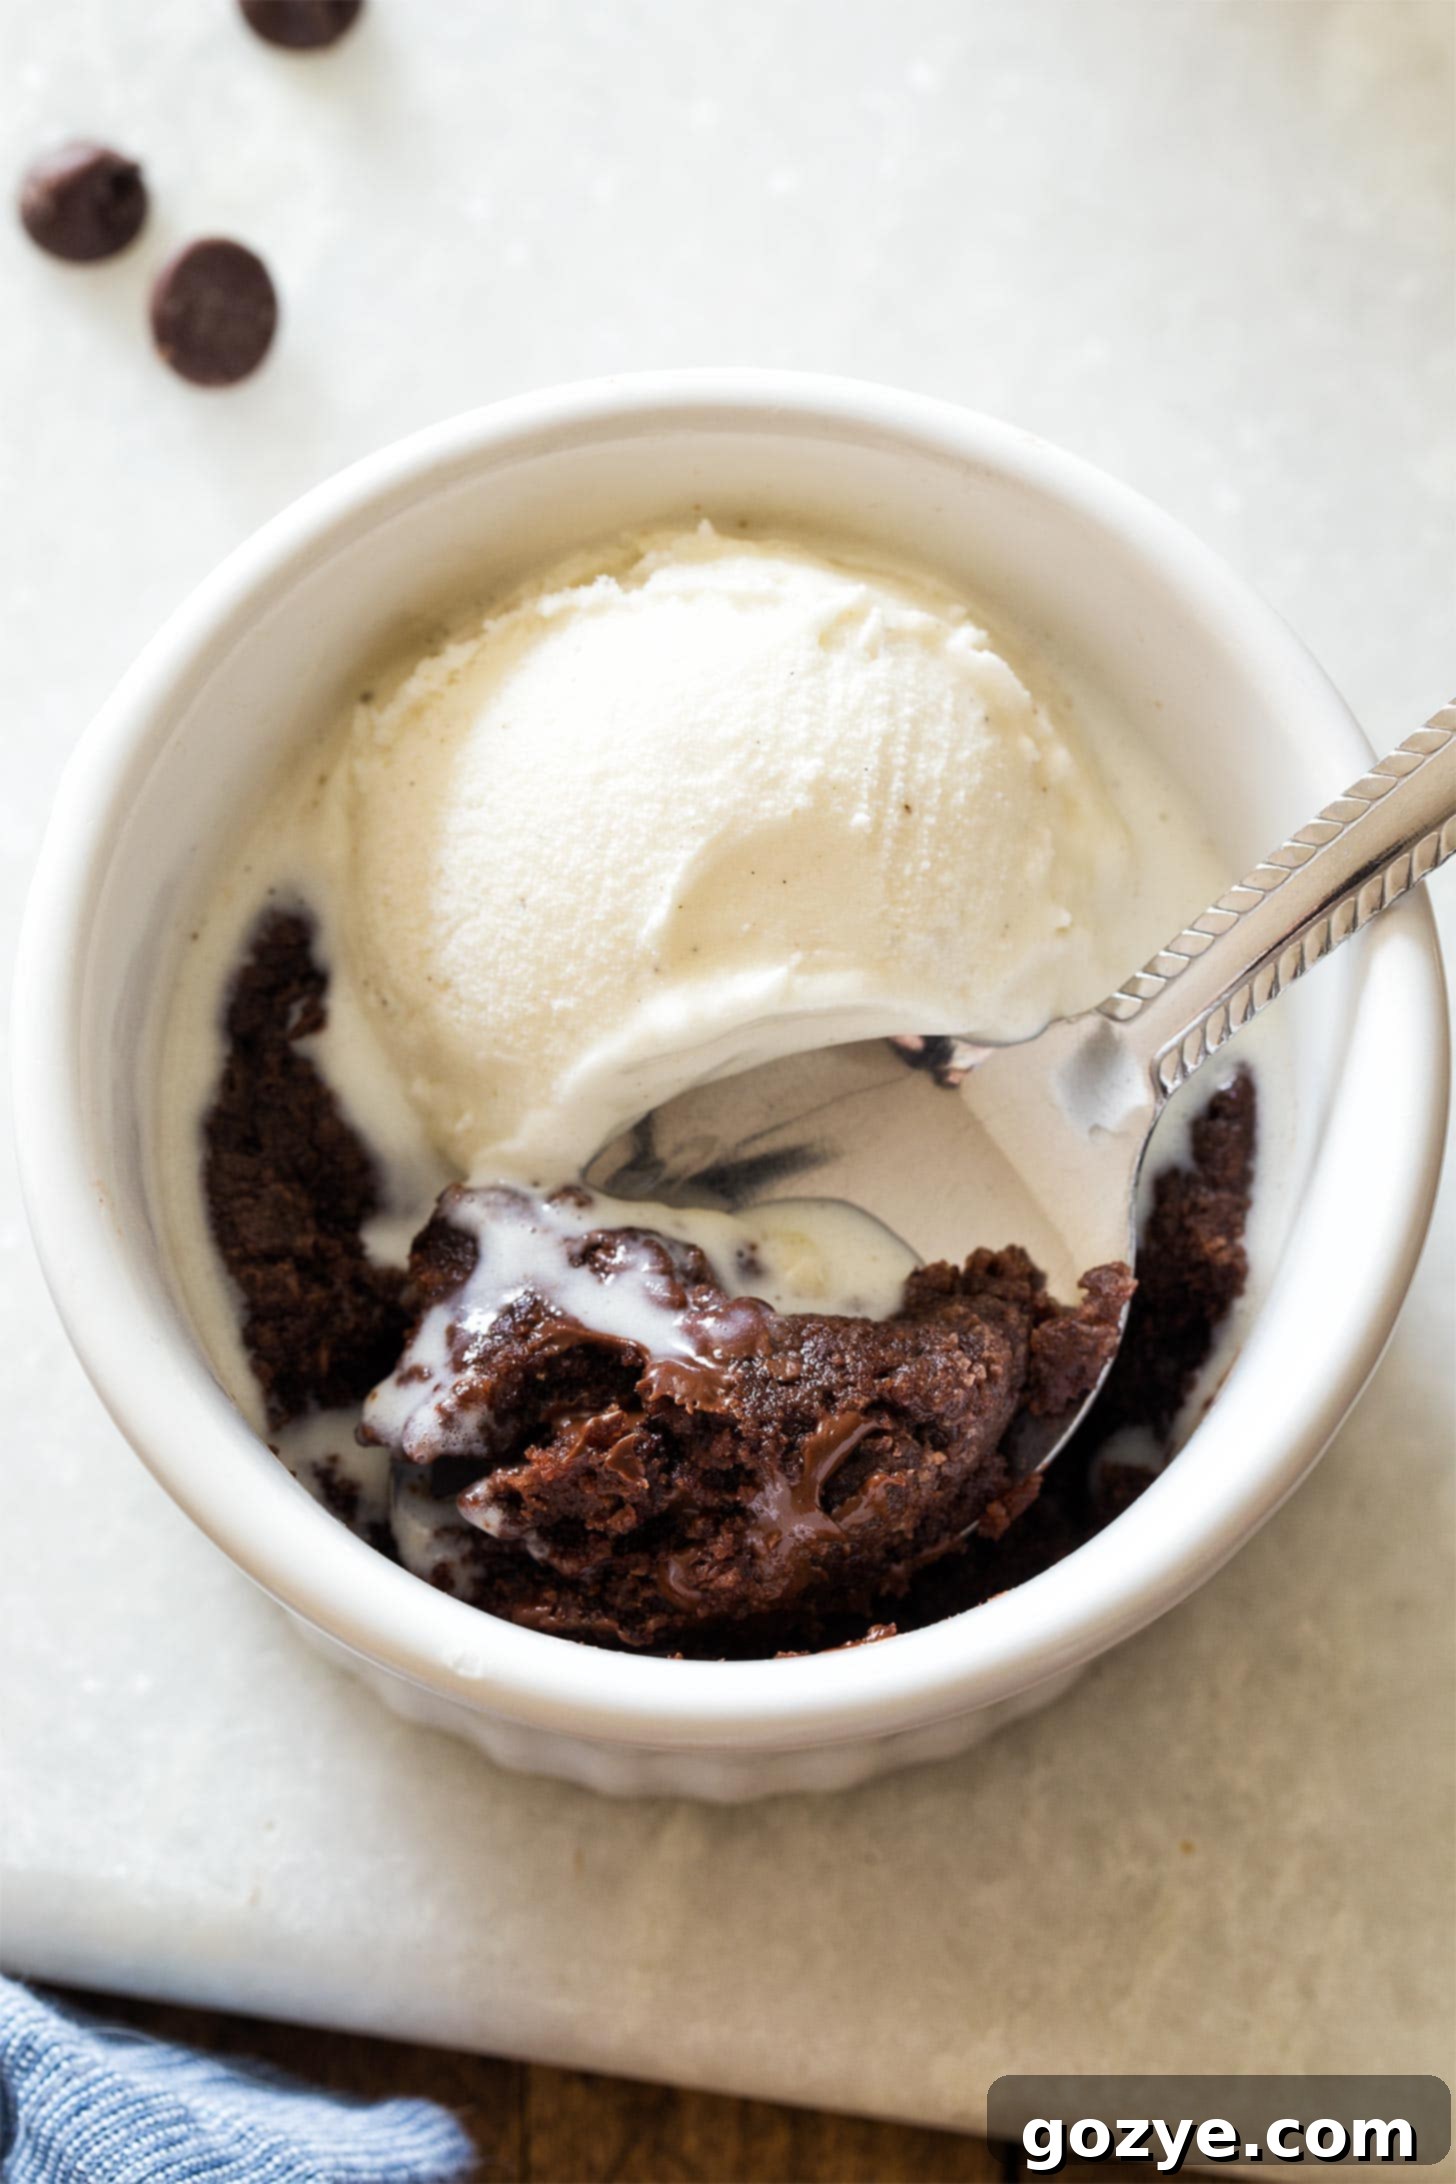
Why This Microwave Brownie Stands Out
My mission with developing microwave desserts, much like my popular microwave chocolate chip cookie, microwave peanut butter cookie, microwave sugar cookie, and microwave oatmeal cookie, has always been clear: they must taste exactly like their traditional baked counterparts. While it’s true that a conventional oven-baked brownie often holds a special place in our hearts, that’s no reason to settle for a subpar microwave version. This recipe proves that convenience doesn’t have to compromise on quality.
After perfecting my range of microwave cookies and even a delightful chocolate peanut butter mug cake, I knew it was inevitable that I would tackle the ultimate challenge: a truly authentic Microwave Brownie. And I’m thrilled to say, the results speak for themselves.
This isn’t just a single-serve brownie; it’s a meticulously developed recipe designed to be made in a ramekin, though it adapts beautifully into a microwave mug brownie if that’s what you have on hand. When I talk about a microwave brownie, I’m referring to that unmistakable fudgy, chewy, utterly decadent texture you expect from a classic brownie – much like my beloved small batch brownies. This is critical: this is *not* a chocolate mug cake attempting to pass as a brownie. You won’t find a dry, cakey, or overly soft texture here! Every bite delivers the dense, moist, and chewy goodness you crave.
In essence, when I say this is a brownie, it embodies everything you desire in a quick, eggless chocolate indulgence. In fact, the foundation for this recipe comes from my tried-and-true small batch brownie recipe, scaled down to a single serving. The key modification for the eggless aspect was replacing the egg yolk with a touch of milk, ensuring the batter maintains its essential moisture and richness without becoming dry or crumbly. This thoughtful adjustment is what helps achieve that perfect, fudgy consistency even without an egg.
The Journey to the Perfect Fudgy Microwave Brownie
The path to perfecting this single-serve microwave brownie was one of dedication and countless trials. I honestly lost count of how many times I tested and tweaked this recipe, easily reaching at least round 10 of iterations. My initial inspiration came from my single serve brownie. However, I soon decided that for a true “microwave quick” recipe, I wanted a one-serving brownie made exclusively with cocoa powder, eliminating the need for chopping chocolate.
Let’s be pragmatic – if you’re reaching for a microwave brownie, you’re looking for ultimate speed and convenience, a delicious treat ready in under 5 minutes. The last thing you want to do is grab a cutting board and start chopping chocolate. While I did experiment with chocolate chips in the first few rounds, I quickly discovered they weren’t the ideal substitute for achieving that deep, fudgy texture when cocoa powder was the primary chocolate source. Chocolate chips often contain stabilizers and less cocoa butter, which can lead to a different melt and overall consistency in a microwaved batter.
After switching gears and committing to a cocoa-powder-based recipe, I started getting closer to perfection. It was a delicate dance of adjusting ingredients: a little less butter here, a touch more sugar there, adding just the right amount of flour. Each test brought me nearer to the ideal balance of flavor and texture, patiently honing the ratios until everything clicked. Finally, after much dedication, I did it. I created what I confidently believe is the best microwave brownie you will ever make. It’s so good, in fact, you might even find yourself questioning why you’d ever bother baking a full tray of brownies again when such a delicious, instant option exists.
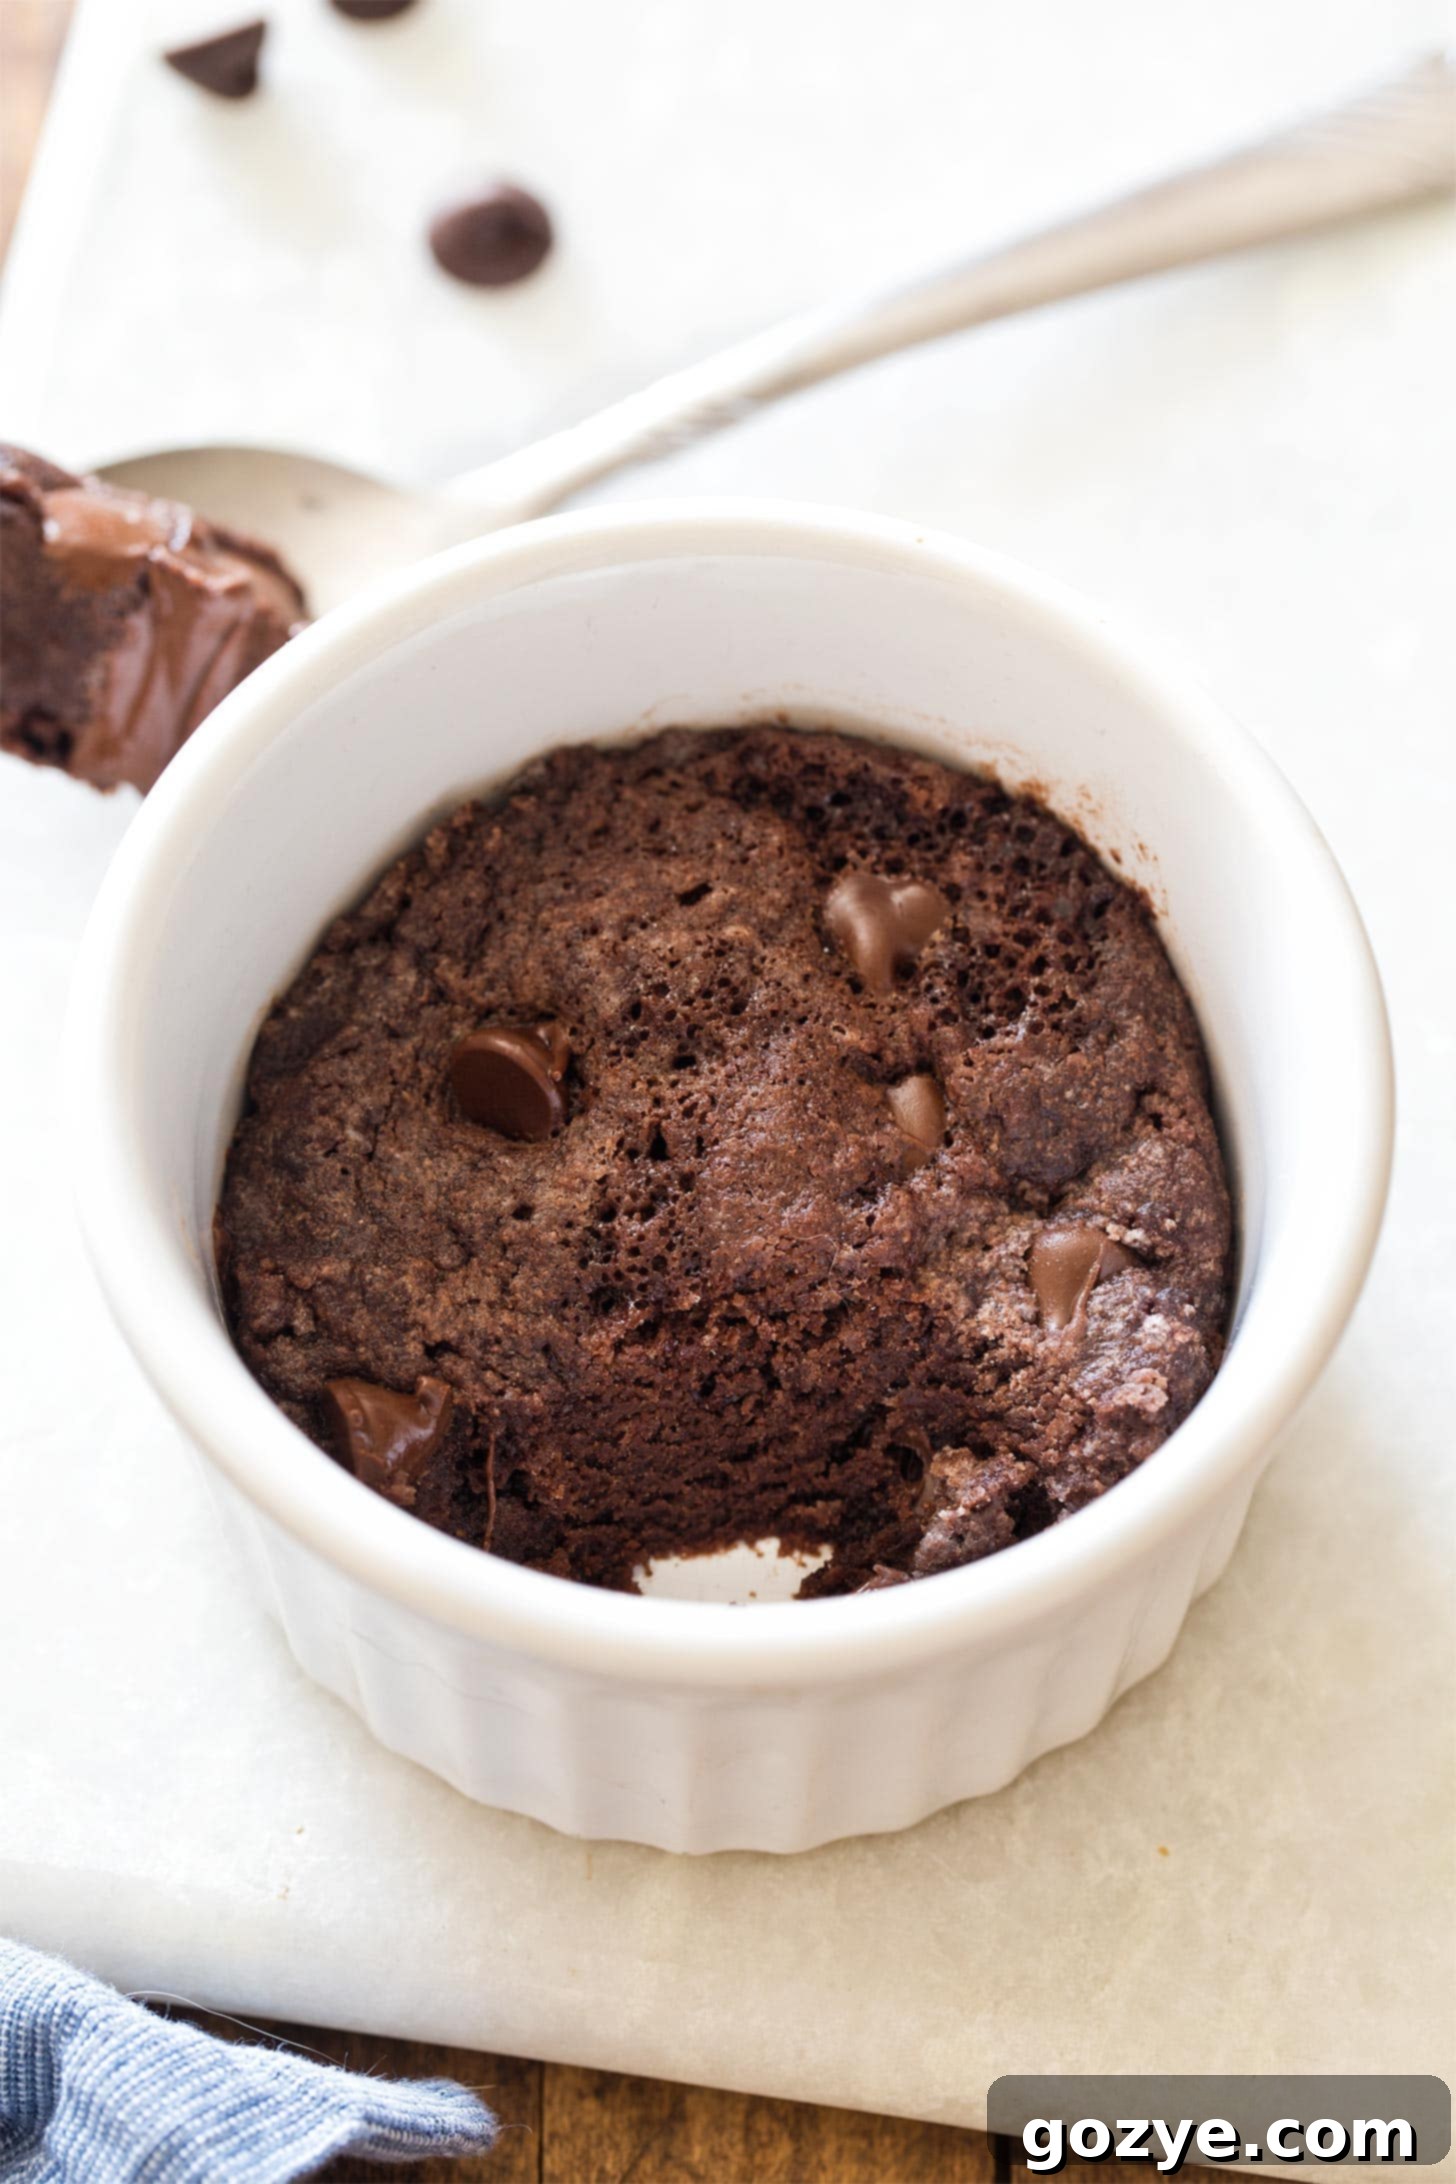
Ramekin vs. Mug: Choosing the Right Vessel for Your Brownie
One of the most crucial elements in achieving a perfectly cooked, fudgy mug brownie, especially an eggless one, is selecting the correct size and type of vessel. The shape and volume of your container directly impact how your brownie cooks in the microwave.
I personally prefer making my ramekin brownie in a 6-ounce ramekin. These are widely available, often found online at Amazon (affiliate link), or even discovered as hidden gems in thrift stores. The 6-ounce size provides a consistent surface area and depth that I’ve found to be ideal for even cooking and achieving that desired fudgy center.
However, I understand that not everyone keeps ramekins in their kitchen cupboard. If you don’t own one, a 12-ounce standard mug (affiliate link) makes an excellent alternative. It’s a common household item and works perfectly well for a microwave mug brownie. The key is to ensure it’s microwave-safe.
It’s important to note that if you opt to use a mug or ramekin of a different size than what’s recommended, it will almost certainly affect the cooking time. A wider, shallower mug will generally require less time in the microwave because the heat can penetrate more easily. Conversely, a deeper, narrower mug might need a bit more cooking time to ensure the center is fully set (but not overcooked!). This is precisely why I favor the 6-ounce ramekin; its dimensions are pretty standard, making the cook time more consistent across different microwaves.
Unsure about the capacity of your mug? Here’s a simple trick: fill your mug or ramekin to the very top with water, then carefully pour that water into a liquid measuring cup. This will give you an accurate reading of its ounce capacity, allowing you to adjust your cooking time accordingly and achieve the best results for your single serve brownie.
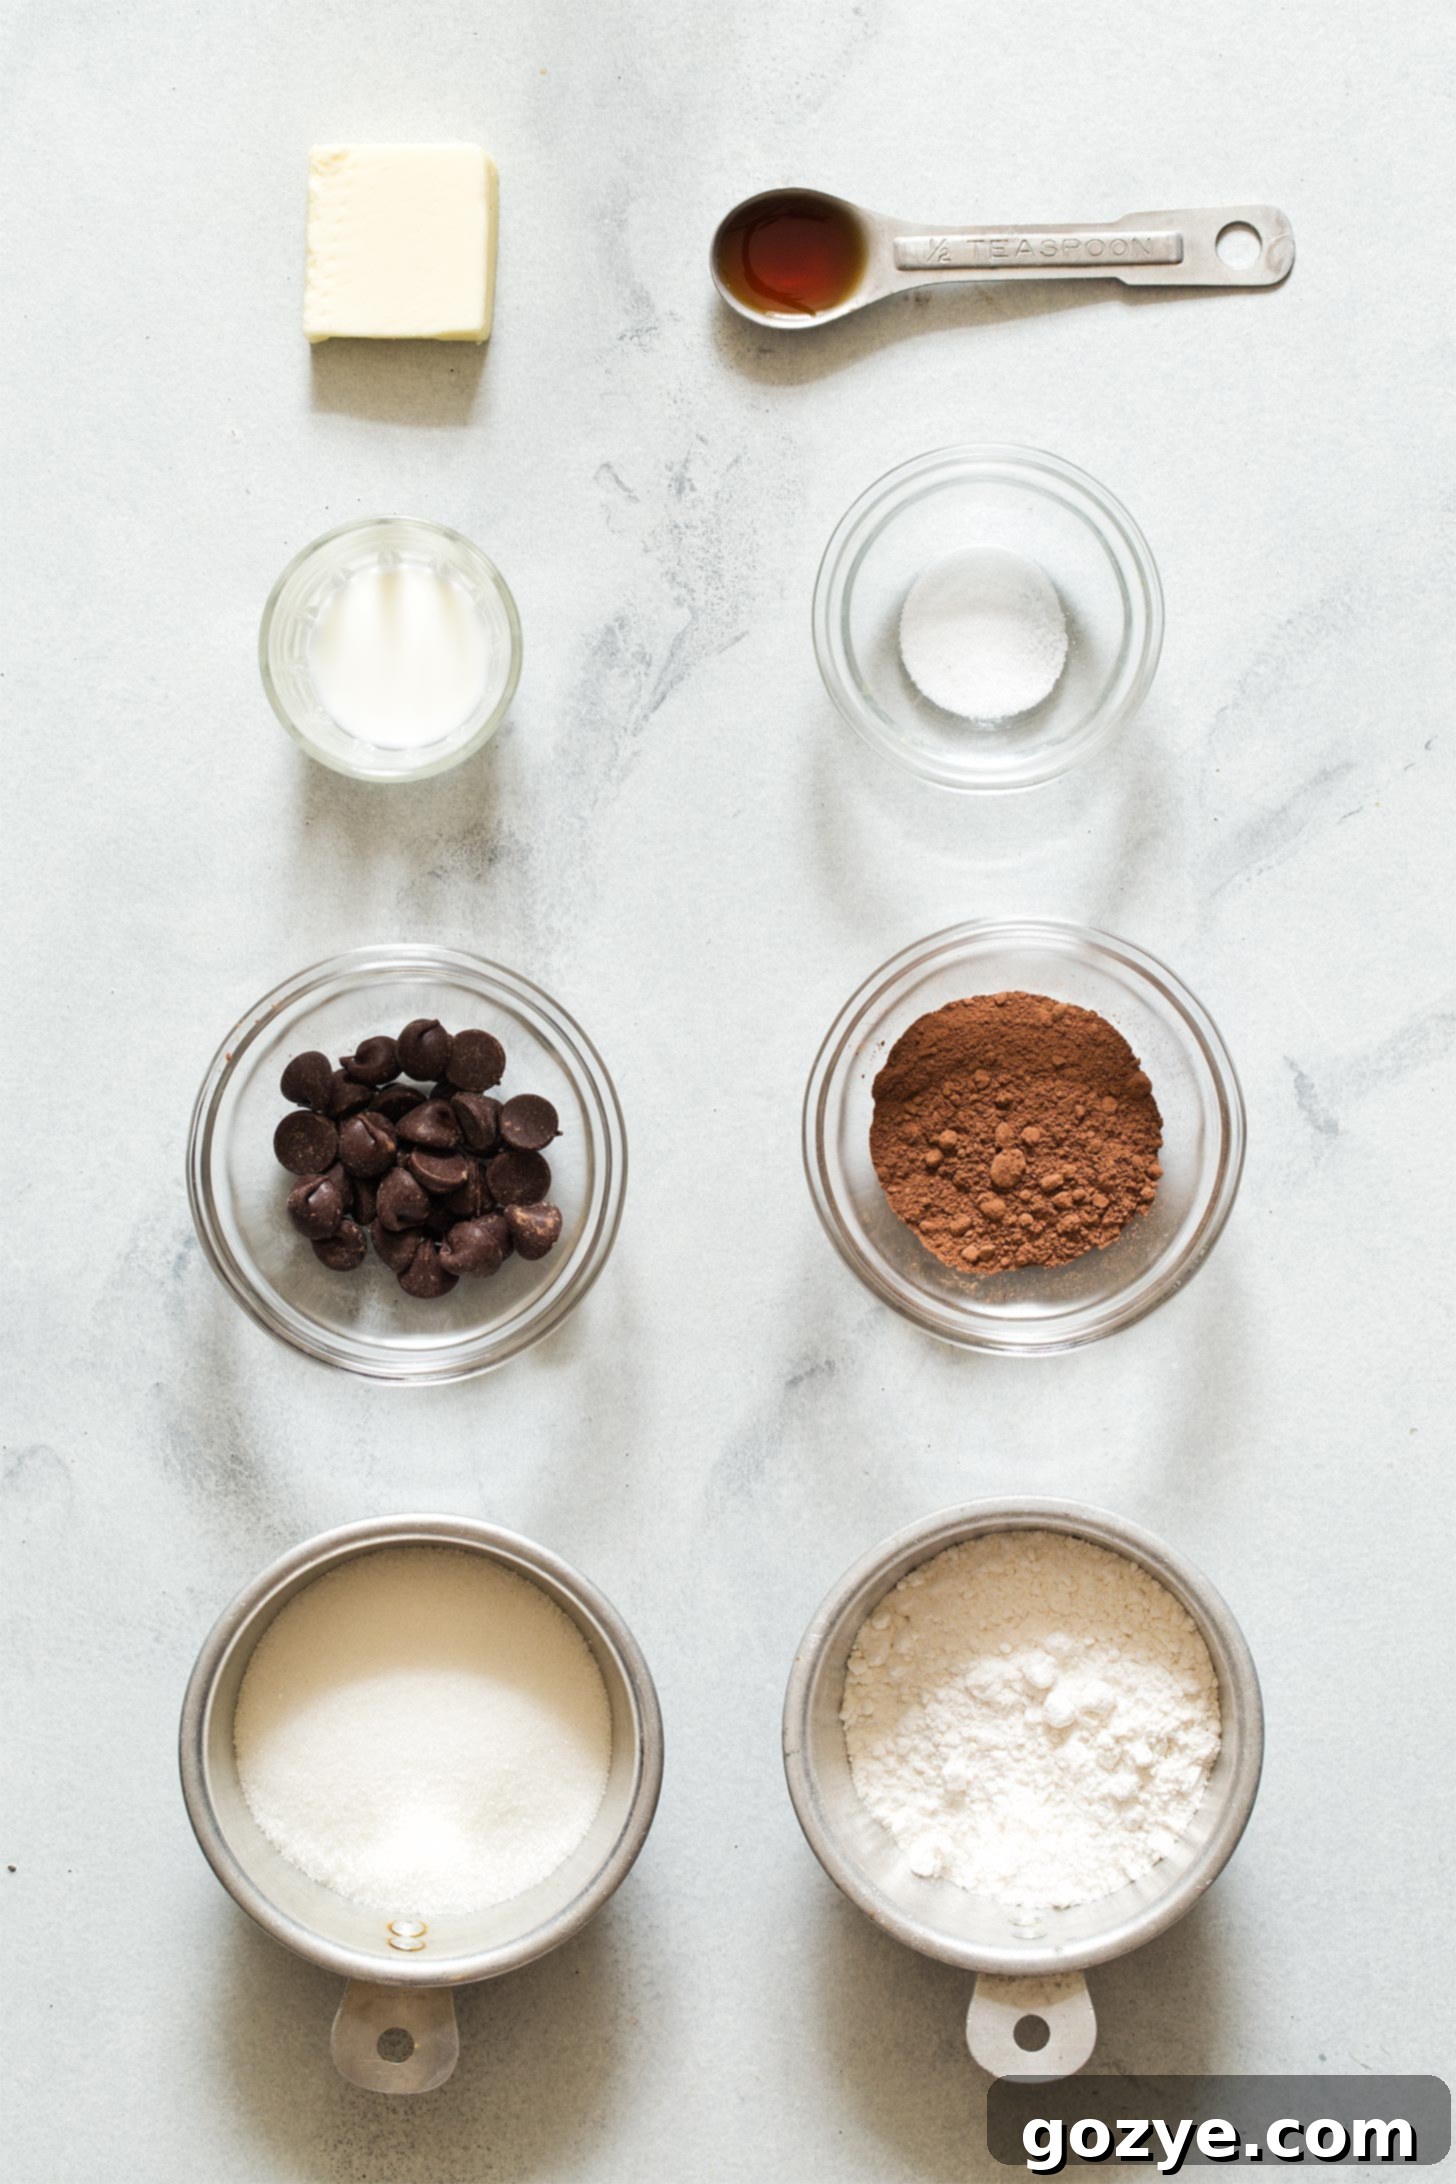
Essential Ingredients For Your Perfect Microwave Brownie
Crafting this delightful eggless brownie requires just a handful of common pantry staples. Each ingredient plays a crucial role in achieving the perfect fudgy texture and rich flavor. Here’s a detailed look at what you’ll need:
- Granulated Sugar: Beyond just sweetness, sugar is vital for the brownie’s texture. It contributes to the fudginess and helps create that slight chewiness. Don’t skimp on whisking it with the butter and other wet ingredients; proper dissolution prevents a grainy texture in the final product.
- Unsalted Butter, Melted: Using melted butter is a game-changer as it eliminates the need for a mixer, making this recipe even quicker and easier. Butter provides richness, moisture, and helps bind the ingredients together. If you only have salted butter, simply omit the additional salt listed in the recipe.
- Unsweetened Cocoa Powder: This is where the rich chocolate flavor comes from! Be sure to use unsweetened natural cocoa powder for the best results. The type of cocoa powder can subtly affect the brownie’s color and depth of flavor, so choose a good quality one you enjoy.
- Whole Milk (Room Temperature): Since this is an eggless brownie, milk steps in to provide essential moisture and help emulsify the batter, preventing it from becoming dry or crumbly. Using whole milk adds a touch more richness, but other milk types can work in a pinch. Ensuring it’s at room temperature helps it blend smoothly with the other ingredients.
- Vanilla Extract: A touch of vanilla is crucial for enhancing the chocolate flavor. It adds depth and warmth, preventing the brownie from tasting one-dimensional. Never underestimate the power of a good vanilla extract in chocolate desserts!
- Table Salt: Just a tiny pinch of salt is incredibly important for balancing the sweetness and intensifying the chocolate flavor. Without it, your brownie can taste a bit bland. If you’re using salted butter, you can (and should) omit this extra salt.
- All-Purpose Flour: Flour provides the necessary structure for the brownie. It’s essential to measure flour properly to avoid a dry or dense brownie. Use the spoon and level method: spoon the flour into your measuring cup, then level it off with a straight edge, rather than scooping directly from the bag. This prevents over-measuring.
- Semisweet Chocolate Chips (Optional but Recommended): While the primary chocolate flavor comes from cocoa powder, a tablespoon of semisweet chocolate chips adds delightful pockets of melted chocolate, elevating the richness and texture. You can also experiment with milk or dark chocolate chips based on your preference. If you’re truly going for the fastest possible version with minimal ingredients, you can skip them, but they certainly enhance the experience.
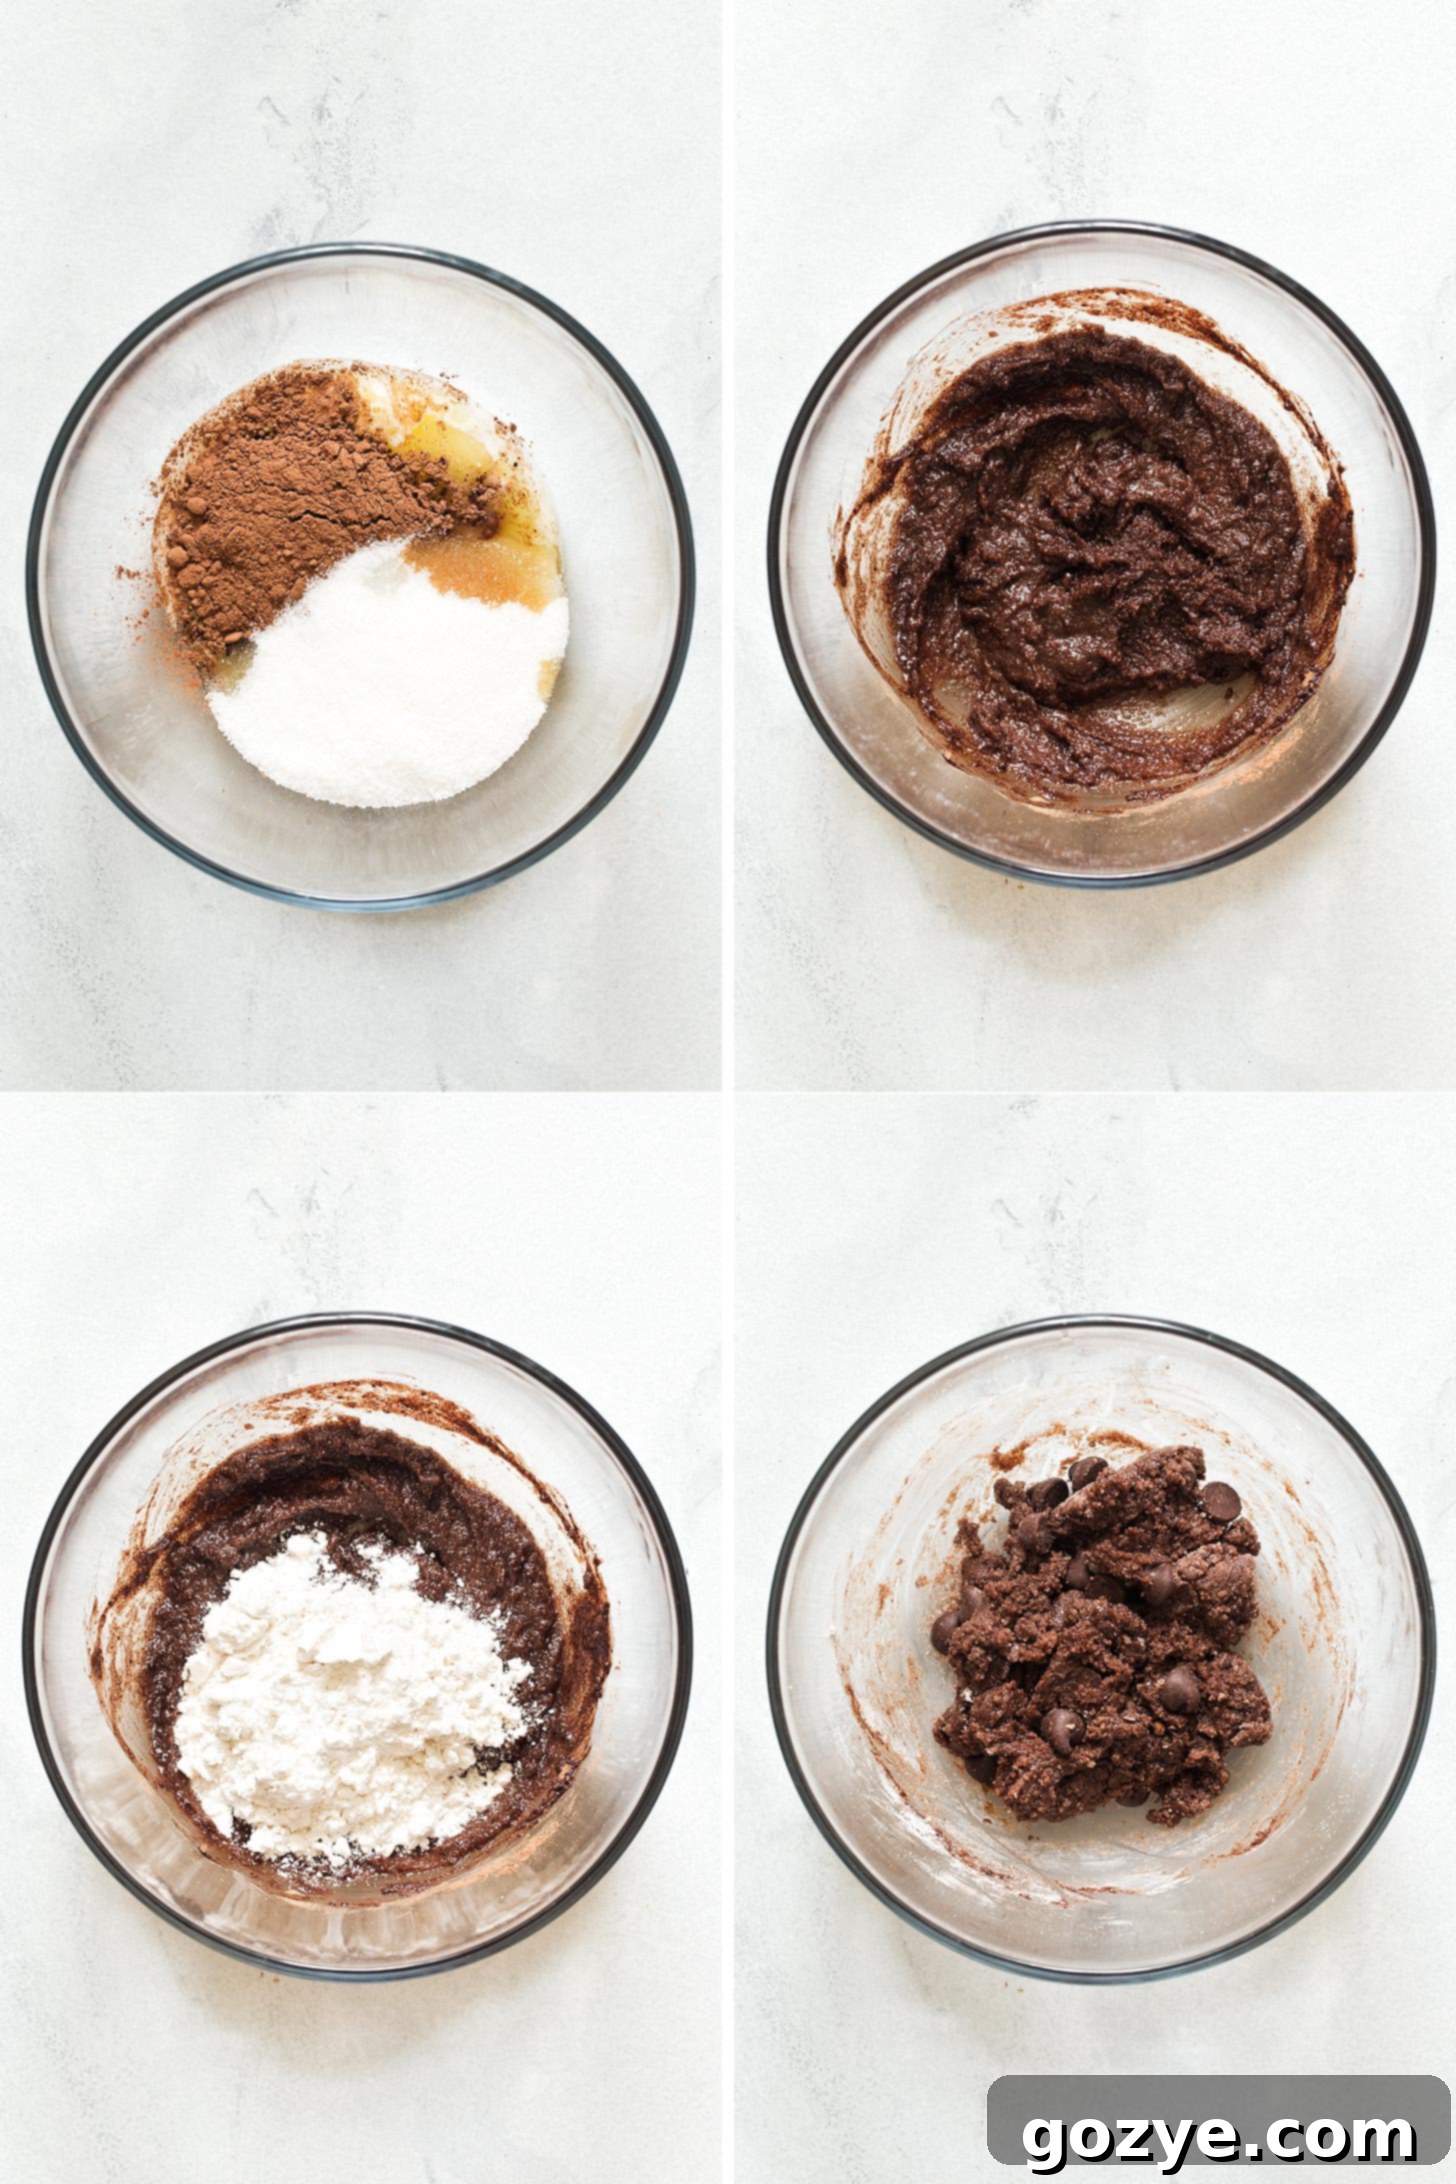
Step-by-Step: How To Make Your Perfect Microwave Brownie
Creating your single-serve fudgy brownie is incredibly simple and quick. Follow these steps for a delicious treat in minutes:
- Prepare the Wet Ingredients: In a medium-sized bowl, combine the granulated sugar, melted butter, unsweetened cocoa powder, room temperature milk, vanilla extract, and salt (if using). Now, here’s a critical step for that perfect texture: whisk these ingredients together vigorously for at least 1 minute, or until the sugar is completely dissolved. Do not rush this part! Thorough whisking ensures a smooth batter, preventing any grainy texture in your finished brownie.
- Incorporate Dry Ingredients and Chocolate Chips: Once your wet mixture is smooth, stir in the all-purpose flour. Mix just until combined; overmixing can lead to a tough brownie. Then, gently fold in your semisweet chocolate chips (if using). The mixture should come together to resemble a soft, thick dough. This consistency is key for a fudgy rather than cakey result.
- Transfer and Microwave: Carefully transfer the brownie dough into your chosen 6-ounce ramekin or 12-ounce standard microwavable mug. Spread it out evenly. Place the ramekin or mug in the microwave and cook on high for approximately 40-45 seconds. Keep a close eye on it! The top should appear mostly set, and you might see it bubbling slightly around the edges. Remember, microwave wattages vary greatly, so your ideal cooking time might be a few seconds more or less. The most important rule here is: do not overcook! An overcooked microwave brownie will quickly become hard and dry, losing all its fudgy charm. It’s better to undercook it slightly and add 5-second intervals if needed, than to overshoot.
- Cool and Serve: Once cooked, carefully remove your hot ramekin or mug from the microwave. Allow the brownie to cool for at least 10 minutes before digging in. This cooling period is essential for two reasons: firstly, it prevents you from burning your tongue on piping hot chocolate, and secondly, it allows the brownie to finish setting and firm up to its ideal fudgy consistency.
Your brownie for one is truly at its absolute best when eaten the day it’s made, ideally while still slightly warm. As it cools down, it will firm up further. At this point, you can carefully remove it from your ramekin if you prefer to eat it handheld, or simply warm it up for another 5-10 seconds in the microwave to regain some of that initial warmth and enjoy it with a spoon.
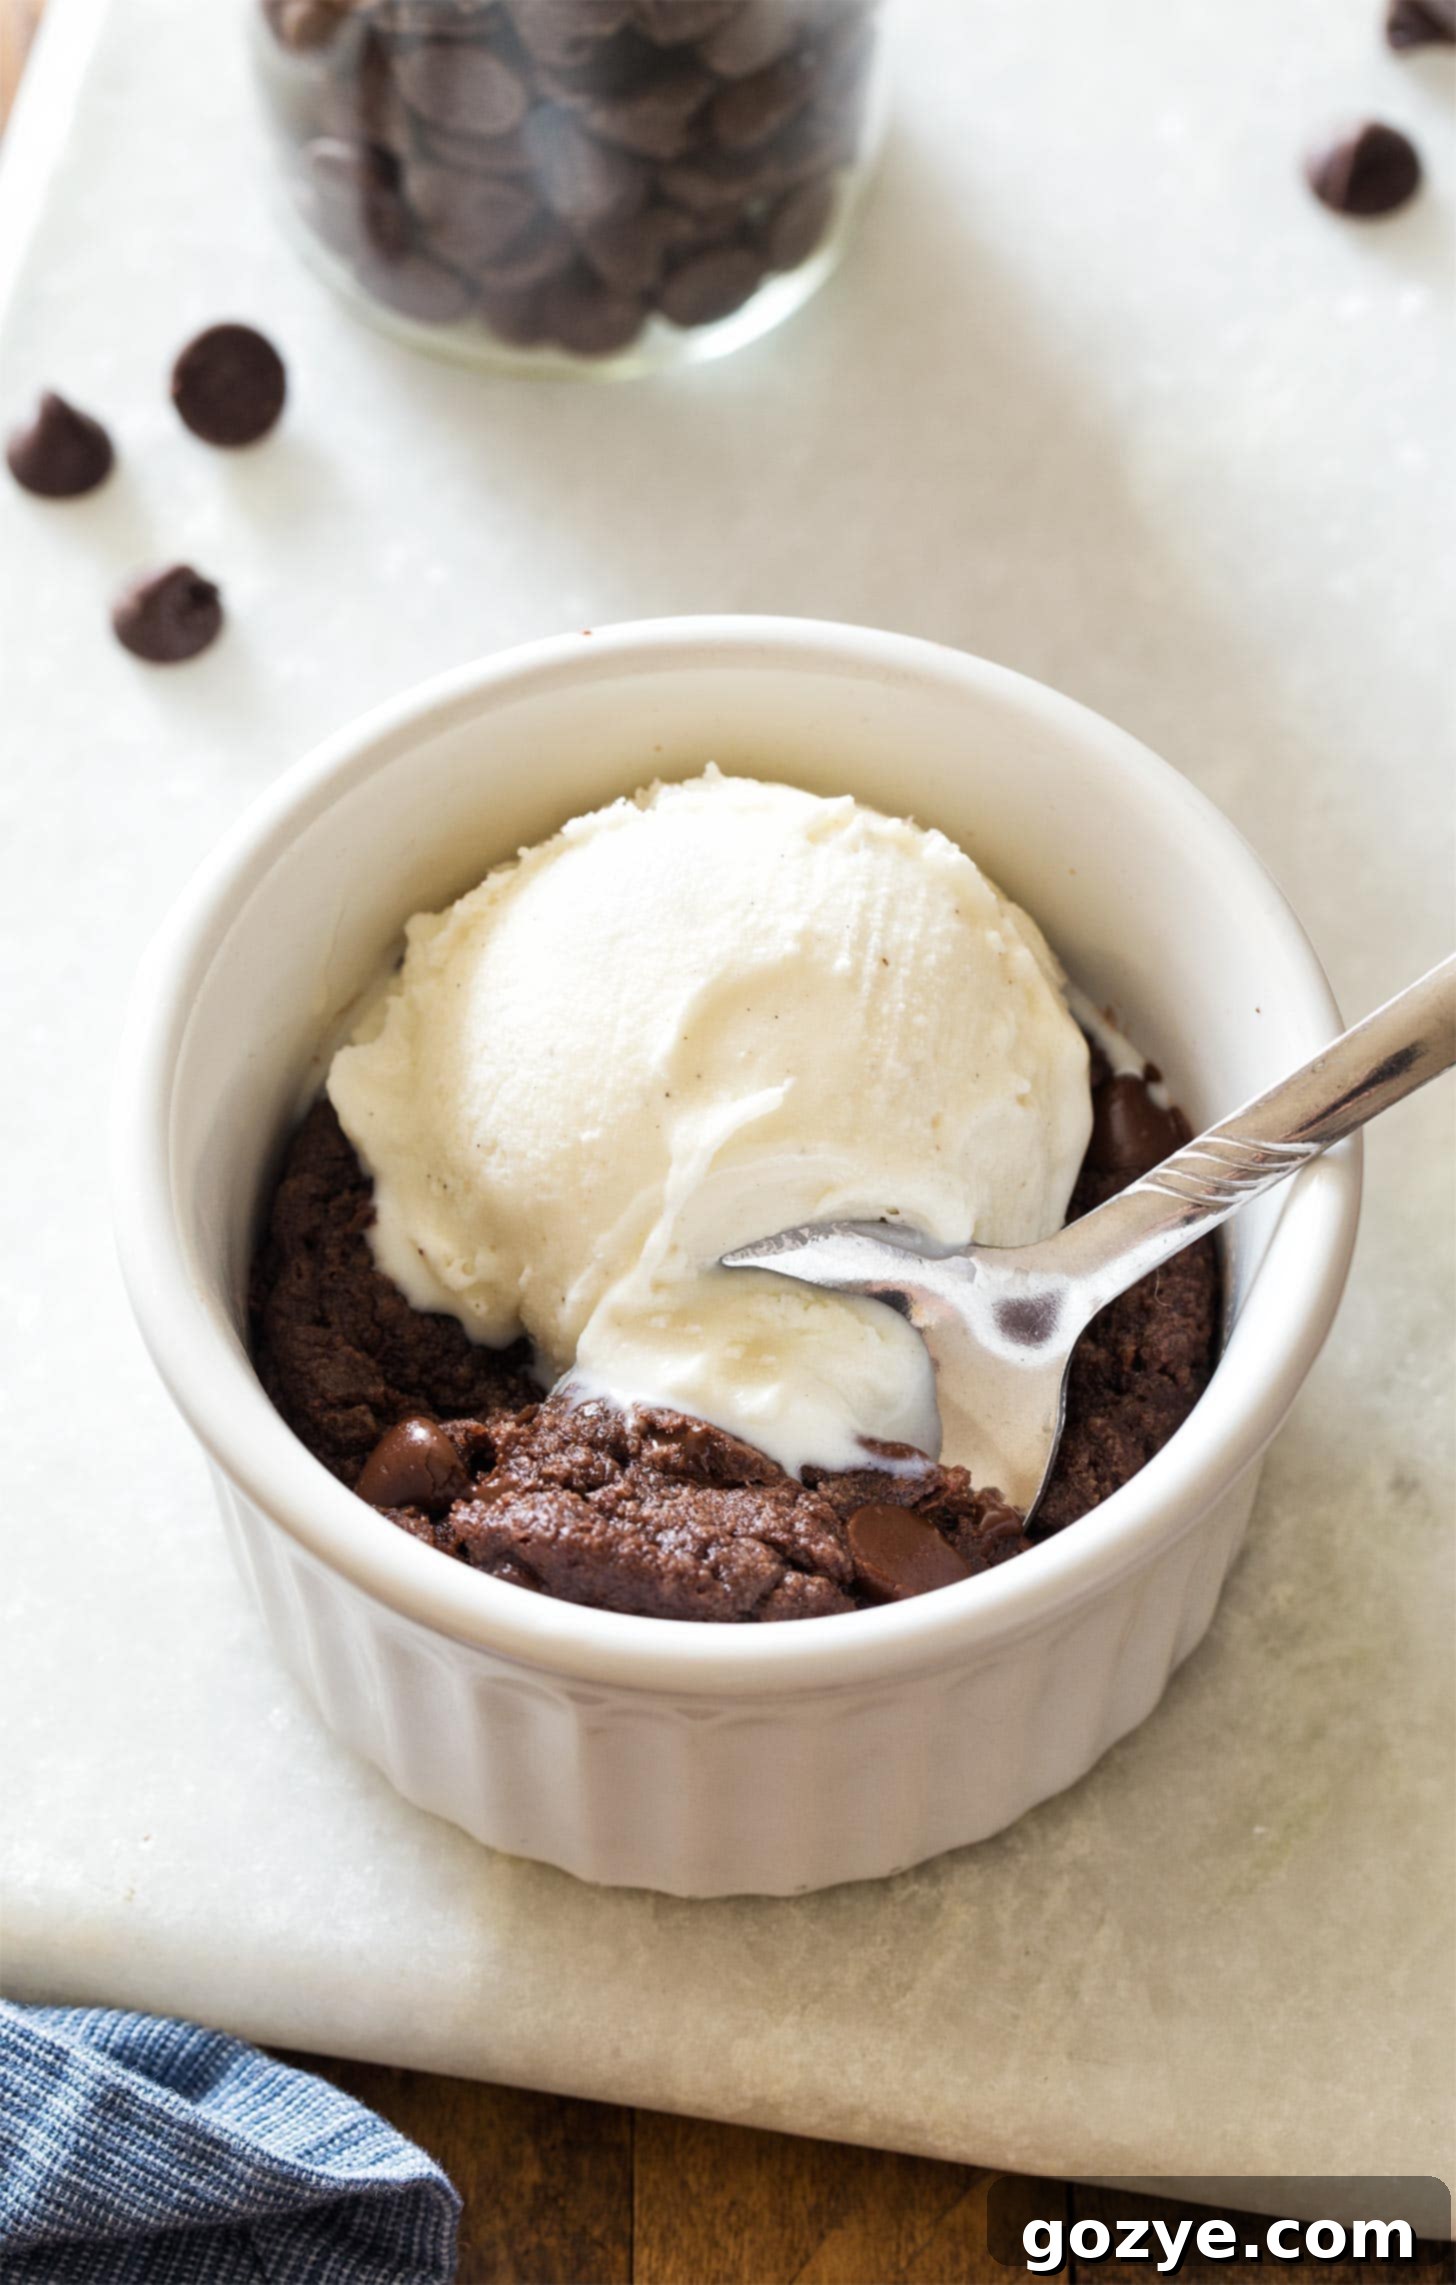
How To Serve & Customize Your Microwave Brownie
While your single serve brownie is absolutely delicious on its own, adding a few extra touches can elevate the experience and balance its rich decadence. Here are some delightful serving suggestions and customization ideas:
- Classic Vanilla Ice Cream: A scoop of cold, creamy vanilla bean ice cream melting over the warm brownie is a timeless pairing that truly can’t be beaten. The contrast in temperature and flavor is pure bliss.
- Homemade Whipped Cream: For a lighter, airy topping, a dollop of homemade whipped cream adds a touch of elegance and balances the richness beautifully. You can sweeten it lightly or add a splash of vanilla.
- Peanut Butter Whipped Cream: If you’re a fan of the chocolate-peanut butter combination, a swirl of peanut butter whipped cream introduces a wonderful nutty flavor and creamy texture.
- Fresh Berries: A handful of fresh raspberries, strawberries, or blueberries can add a burst of tartness and freshness, cutting through the richness of the chocolate.
- Chocolate Sauce or Caramel Drizzle: For extra indulgence, a warm drizzle of chocolate fudge sauce or gooey caramel sauce takes this brownie to the next level.
- Chopped Nuts: Sprinkle some chopped walnuts, pecans, or almonds on top for an added crunch and nutty flavor.
- Sprinkles: A dash of colorful sprinkles can make this simple dessert feel more festive and fun!
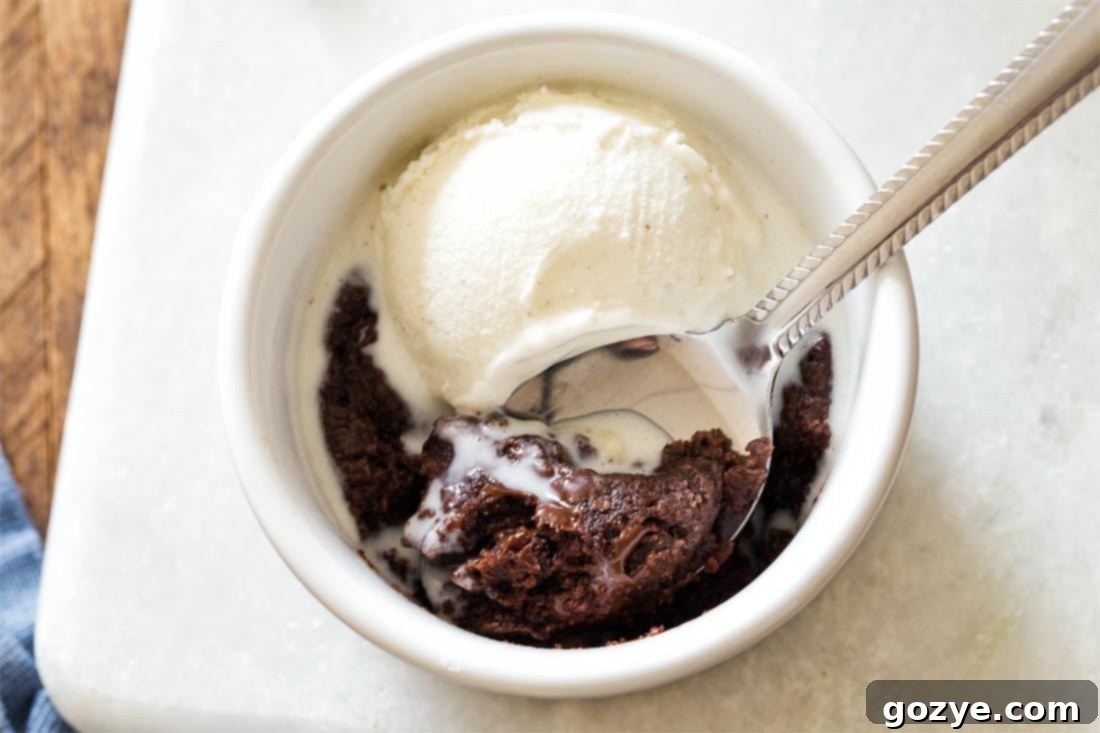
Storage and Reheating Tips
This single serve microwave brownie is truly best enjoyed fresh, ideally within an hour or two of making it. The warm, fudgy texture is at its peak immediately after cooling. However, if you happen to have any leftovers (which is unlikely!), here’s how to handle them:
- Storage: Once completely cooled, you can cover the ramekin tightly with plastic wrap or transfer the brownie to an airtight container. Store it at room temperature for up to 1 day. Beyond that, the texture tends to become a bit firmer and less appealing.
- Reheating: To revive a leftover brownie, pop it back into the microwave for 5-10 seconds. This will warm it through and help restore some of its fudginess. Be careful not to overheat it, as it can quickly dry out.
Frequently Asked Questions About Microwave Brownies
Here are answers to some common questions you might have about making this quick and easy microwave brownie:
- Can I double the recipe? While technically possible, microwave cooking times and results can vary significantly when increasing quantities. For the best single-serve experience, I recommend making individual brownies as needed. If you want more than one, simply make two separate batches in two separate ramekins.
- Can I use a different type of milk? Yes, you can. While whole milk offers the best richness, 2% milk or even non-dairy alternatives like almond milk or oat milk can work. The texture might be slightly different, but it should still be delicious.
- My brownie came out cakey, what happened? This usually means it was overcooked. Microwaves vary, so it’s crucial to watch your brownie closely. Start with the minimum cooking time (e.g., 40 seconds) and add 5-second increments if it’s still too wet in the center. Another reason could be over-mixing the flour or improperly measuring it, leading to too much flour.
- Can I add other mix-ins? Absolutely! Besides chocolate chips, feel free to experiment with a tiny pinch of chopped nuts, a few mini marshmallows, or a sprinkle of espresso powder to deepen the chocolate flavor. Just be mindful not to add too much, as it can affect the cook time and consistency.
- Is this brownie truly fudgy? Yes! This recipe was specifically developed to yield a dense, moist, and chewy fudgy brownie, not a light and airy cake. The precise ratios of butter, sugar, and flour, along with the lack of egg, contribute to its signature fudgy texture.
More Quick & Easy Single-Serve Desserts
If you enjoyed this incredibly satisfying brownie for one, you’ll love exploring my other convenient Ramekin Dessert Recipes, perfect for satisfying those solo sweet cravings. Dive into:
- Brownies For Two (for when you’re feeling generous or just extra hungry!)
- Mini Lava Cakes (decadent and impressive, yet simple!)
- Air Fryer Cheesecake (a surprisingly easy and creamy dessert option)
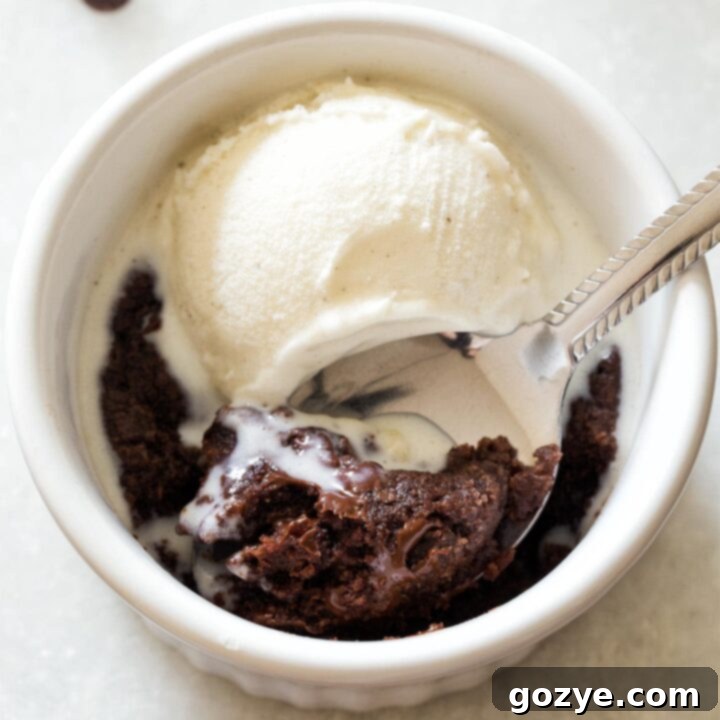
Microwave Brownie
1 serving
2 minutes
40 seconds
2 minutes 40 seconds
This Microwave Brownie made in a ramekin is a quick single serve chocolate dessert you can make in under 5 minutes. It’s a warm and fudgy eggless brownie for one for those days you need it the most.
Ingredients
- 3 tablespoons granulated sugar
- 1 tablespoon unsalted butter, melted
- 1 tablespoon unsweetened cocoa powder
- 1 teaspoon whole milk, room temperature
- 1/2 teaspoon vanilla extract
- 1/8 teaspoon table salt (omit if using salted butter)
- 3 tablespoons all-purpose flour (measured properly using the spoon and level method, not scooping the measuring cup)
- 1 tablespoon semisweet chocolate chips
Instructions
- In a medium bowl, whisk together sugar, melted butter, cocoa powder, milk, vanilla and salt until sugar has dissolved, at least 1 minute. Do not skimp on whisking or it’ll end up grainy.
- Stir in flour and chocolate chips until it resembles a soft dough.
- Transfer to a 6 ounce ramekin or 12 ounce standard microwavable mug. Microwave on high for 40-45 seconds. The top should look set but may bubble slightly. Do not overcook!
- Cool for 10 minutes then serve immediately. Brownie is best eaten the day it’s made.
Notes
- Because microwaves are different in watts and age, your cook time will vary. I used a 5-year-old 700 watt microwave and was done after 40 seconds.
- Enjoyed this recipe? Check out my Microwave Chocolate Chip Cookie, Microwave Peanut Butter Cookie, Microwave Oatmeal Cookie, Microwave Sugar Cookie, and Chocolate Peanut Butter Mug Cake.
- Want to make this in the oven? Check out my Single Serve Brownie and Small Batch Brownies.
Recommended Products
As an Amazon Associate and member of other affiliate programs, I earn from qualifying purchases.
- 6 ounce Ramekins
- 12 Ounce White Mug
Did you make this recipe?
Let me know what you think! Rate the recipe above, leave a comment below, and/or share a photo on Instagram using #HITKrecipes
This microwave brownie isn’t just a recipe; it’s a solution for those spontaneous chocolate cravings, a quick comfort, and a testament to how fast and simple truly delicious desserts can be. Enjoy the fudgy, chewy magic, and never let a craving go unsatisfied again!
