Irresistible Jalapeño Popper Cheese Ball Bites: Your Go-To Party Appetizer
Transform the beloved flavors of classic jalapeño poppers into an exciting and convenient appetizer with these delightful Jalapeño Popper Cheese Ball Bites! Perfectly portioned, these mini cheese balls are packed with savory bacon and a hint of spice, making them an absolute hit for any gathering or special occasion.

While I may not often play the role of host, I always make sure to be the best kind of guest: one who arrives with a delicious dish in hand! Whether it’s a planned potluck or I simply want to contribute something special, bringing food is my way of sharing joy. And while I’m often crowned the “dessert queen” at gatherings, there are those times when I love to switch things up and bring a show-stopping savory appetizer.
For years, my go-to savory dish was the incredibly popular Buffalo Chicken Dip. It was always a crowd-pleaser, disappearing faster than you could say “seconds.” However, with its widespread popularity, it became common to find multiple versions of it on the same table. While there’s certainly nothing wrong with that – and trust me, there are never any leftovers! – sometimes you just crave a bit more variety and a unique offering to make your mark on the appetizer spread.
When I think of truly festive and satisfying appetizers, my mind often drifts to the iconic jalapeño popper. There’s just something about that combination of creamy cheese, crispy bacon, and a kick of jalapeño that signals good times and good food. Now, I must admit, I’m not always the biggest fan of eating whole stuffed jalapeños; the peppers themselves can sometimes be a bit too spicy for my palate. But I absolutely adore the *flavors* of a jalapeño popper, especially when they’re integrated into other dishes like my beloved Jalapeño Popper Dip or a comforting bowl of Jalapeño Corn Chowder.
The inspiration for these irresistible Jalapeño Popper Cheese Ball Bites struck me during a brainstorming session for cheesy appetizer ideas. My family already adores my Bacon Cheese Ball served with crackers, and it suddenly hit me: why not create a jalapeño popper version? It’s almost like an inside-out jalapeño popper, if you think about it. Instead of the pepper containing the cheese, the rich, creamy cheese mixture becomes the star, holding all those delicious pepper and bacon bits together.
Initially, I considered making one large, impressive spicy cheese ball. But then I imagined the scene at a party: guests juggling plates of food, trying to awkwardly cut and spread a cheese ball onto a cracker. It can be a little clunky, to say the least, and no one enjoys holding up the appetizer line! That’s when the idea of individual cheese ball bites cemented itself. These mini, cracker-sized portions solve all those problems, making serving and eating an absolute breeze. Each guest can simply grab a pre-portioned bite, ensuring a smooth flow around the food table and maximum enjoyment for everyone. It’s truly the most practical and delightful way to serve this appetizer.
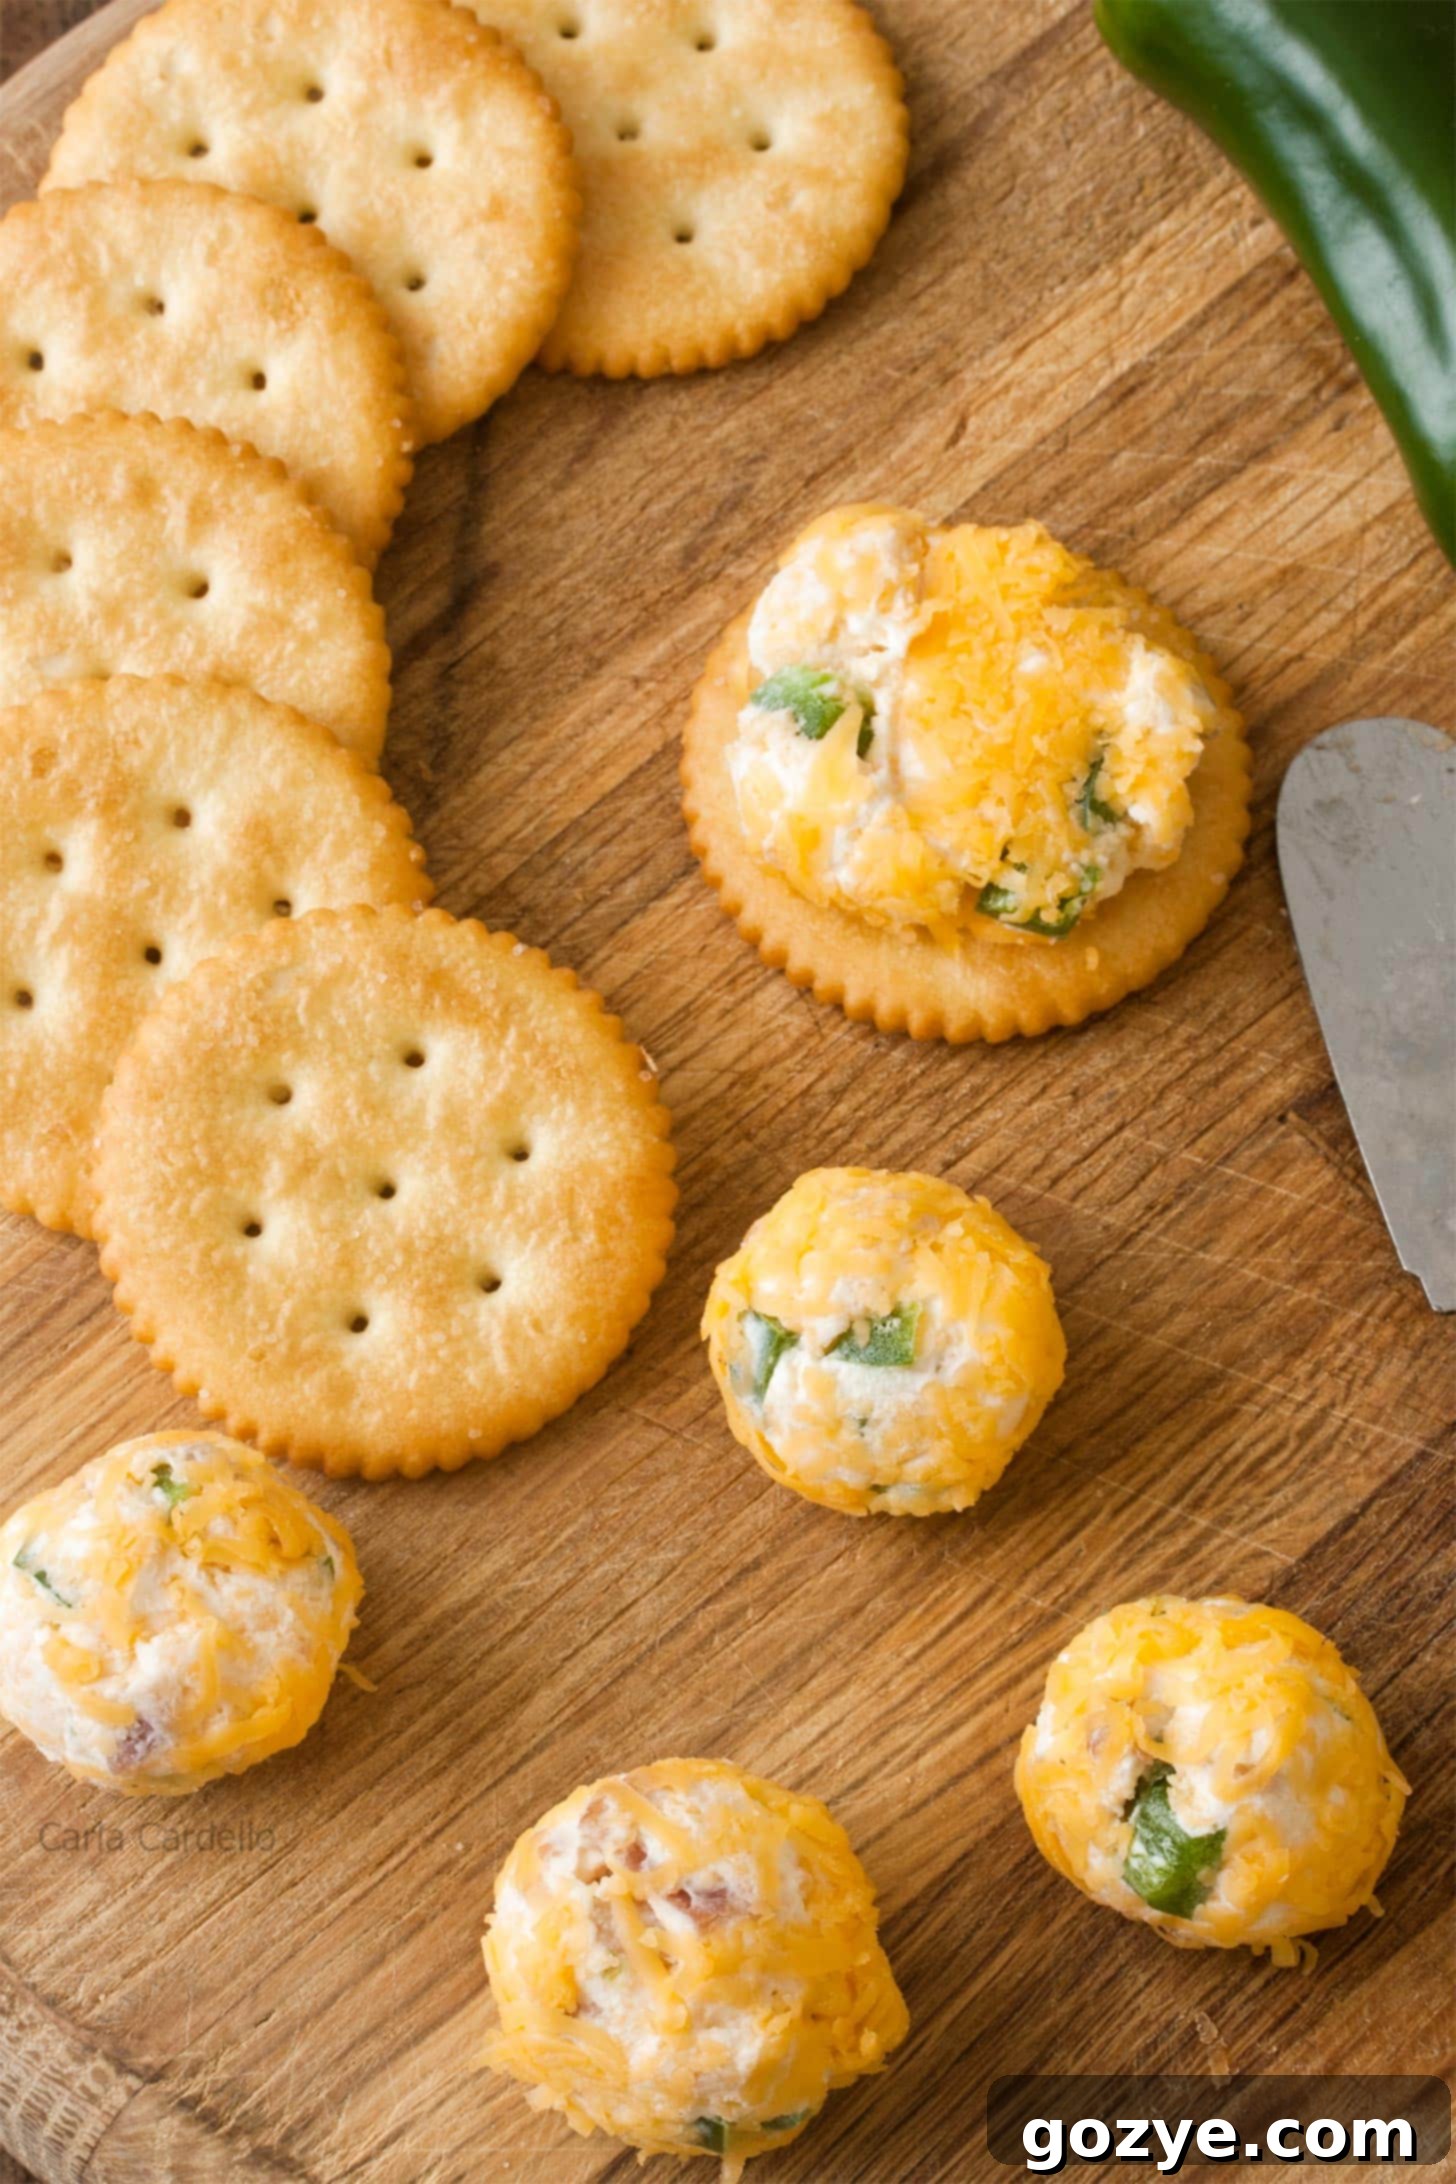
Essential Ingredients for Your Jalapeño Popper Cheese Ball Bites
Crafting these delectable jalapeño cheese balls requires a thoughtful selection of ingredients, each playing a crucial role in achieving the perfect flavor and texture. Here’s what you’ll need to gather:
- Cheddar Cheese: This provides the foundational cheesy flavor. You can opt for mild cheddar for a more subtle taste, or sharp cheddar if you prefer a bolder, more piquant note. Shredded cheese works best for easy incorporation.
- Cream Cheese: Absolutely essential for that signature creamy, spreadable texture. It’s vital to use a block of full-fat cream cheese, softened to room temperature. Avoid low-fat, fat-free, or whipped varieties, as they can alter the consistency, making your cheese ball less firm and potentially watery. The full-fat version ensures a rich, smooth, and stable base.
- Onion and Garlic Powders: These are your secret weapons for adding a depth of savory flavor without the need for chopping fresh onion and garlic. They disperse evenly throughout the mixture, ensuring every bite is flavorful.
- Salt: While bacon and cheese contribute a good amount of saltiness, a small addition of extra salt is key. It helps to enhance and balance all the other flavors, making them pop even more. Don’t skip this small but mighty ingredient!
- Jalapeño: The star of the show, bringing that signature popper kick. For those who prefer a milder spice, simply remove the seeds and the white membrane from the jalapeño before mincing. If you’re a heat seeker, leave some or all of the seeds in – just be prepared for an extra fiery bite! Always mince finely for even distribution.
- Bacon: Crispy, crumbled bacon adds an incredible smoky, salty, and textural element. You’ll need to precook your bacon until it’s nice and crispy before crumbling it and adding it to the cheese mixture. You can easily prepare it using methods like microwave bacon for speed or oven bacon for a hands-off approach. Ensure it’s cooled and crumbled finely.
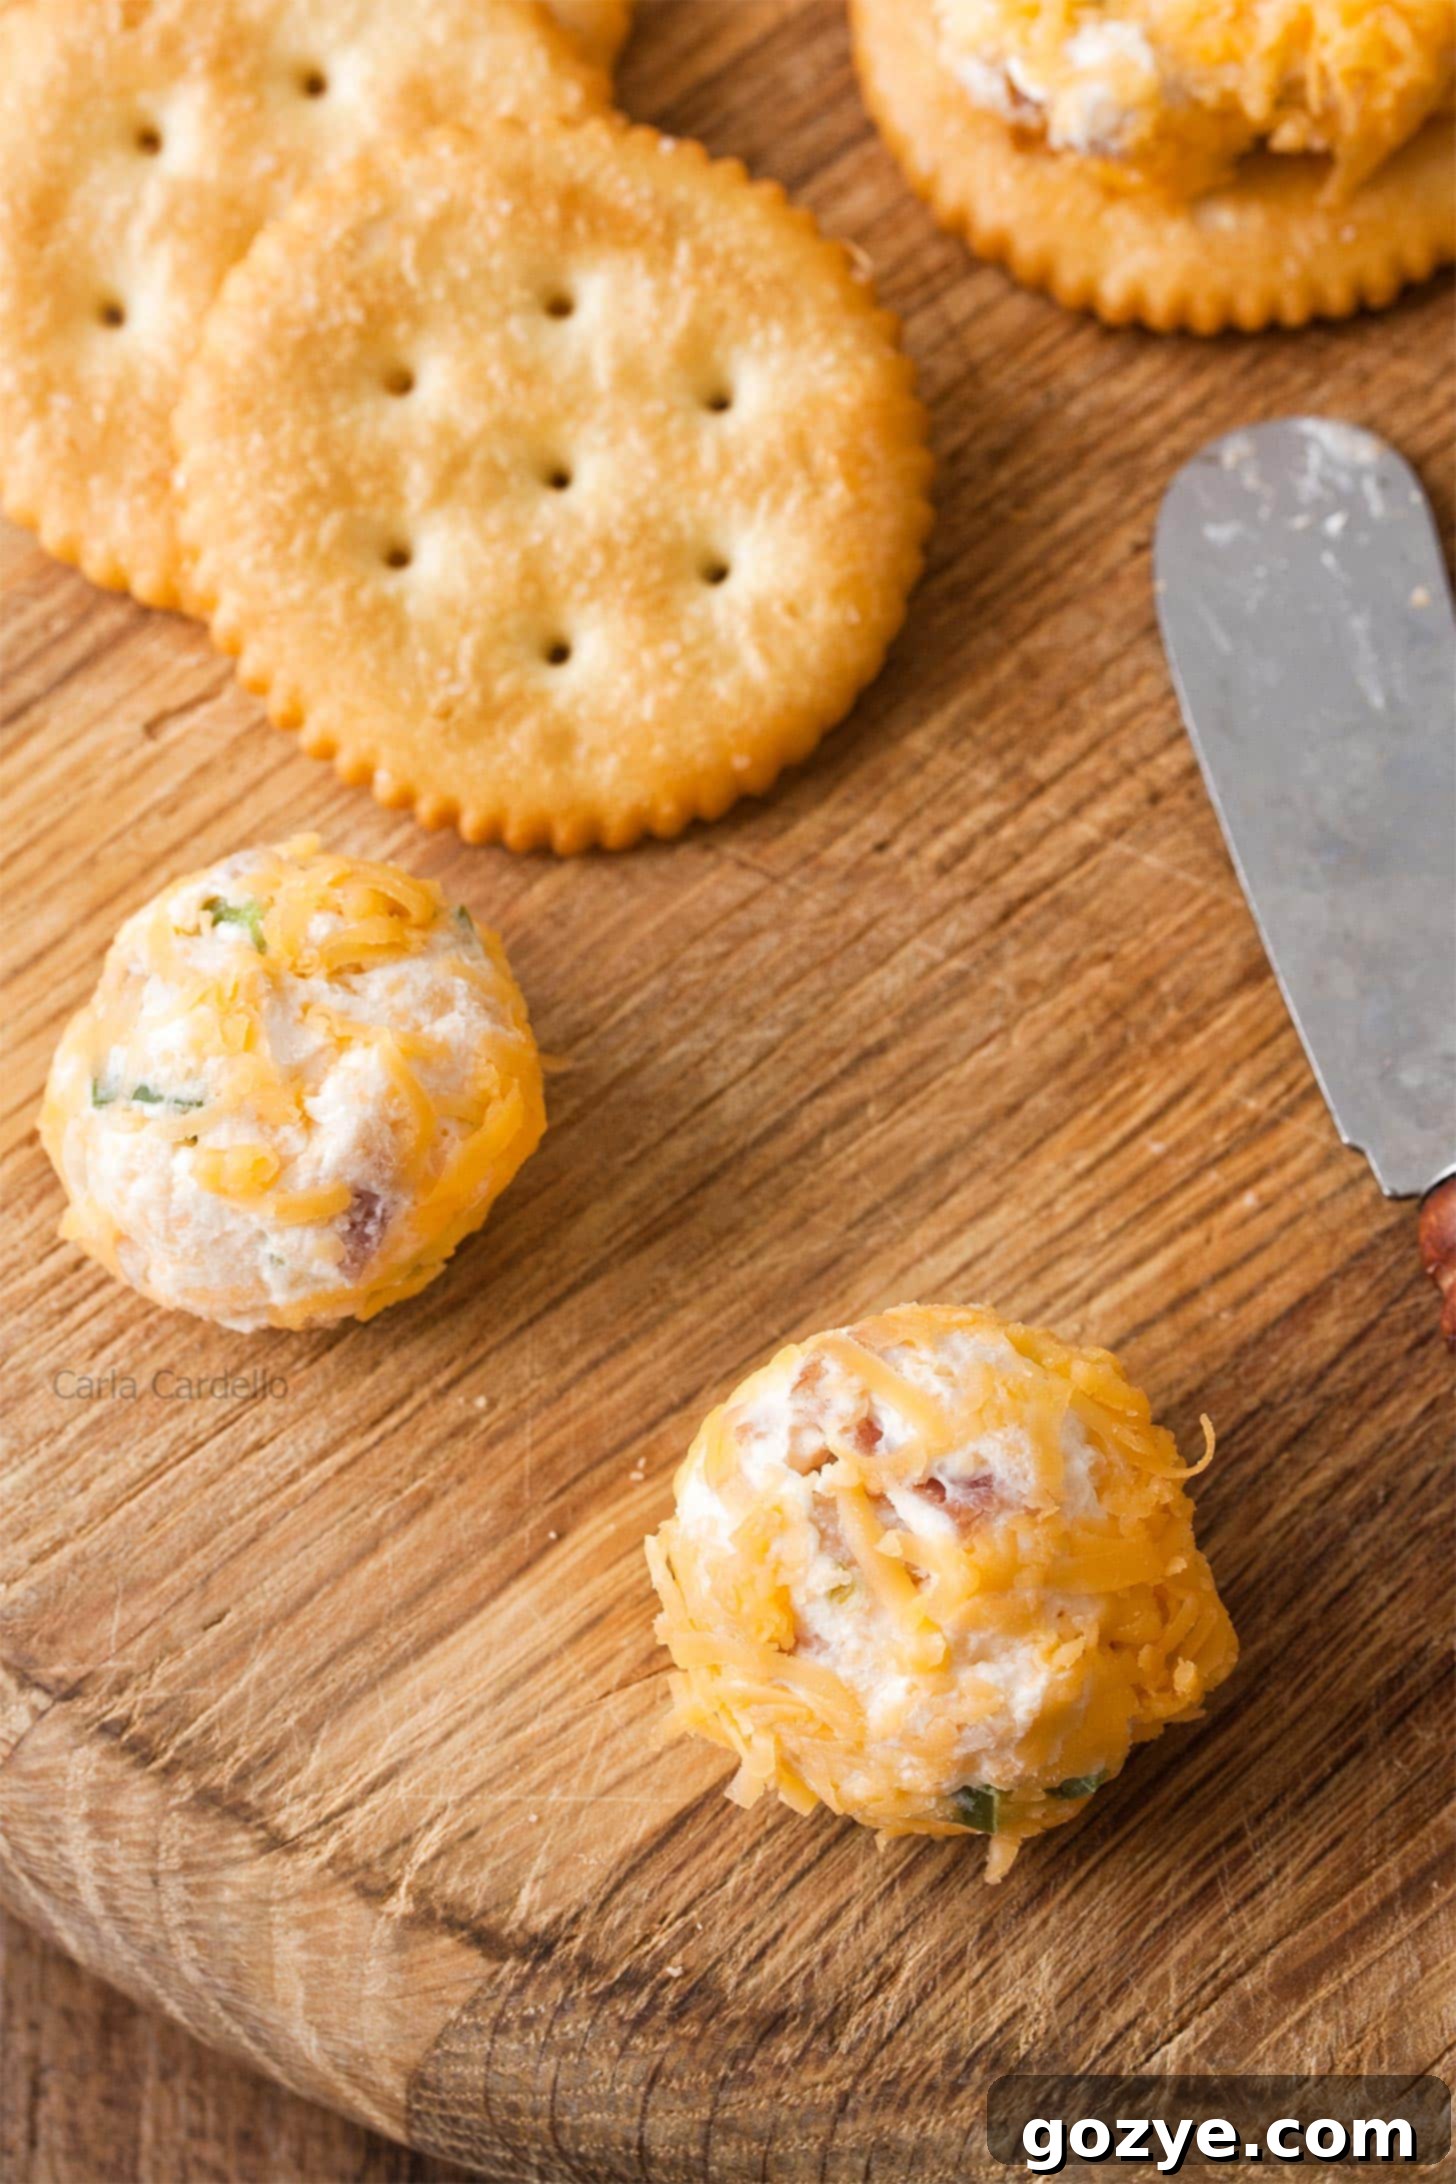
A Simple Guide: How To Make These Delightful Cheese Ball Bites
Creating your own batch of Jalapeño Popper Cheese Ball Bites is surprisingly straightforward and incredibly rewarding. Follow these easy steps to whip up a batch of these crowd-pleasing appetizers:
- Prepare the Base Mixture: In a large mixing bowl, combine half of your shredded cheddar cheese, the softened full-fat cream cheese, onion powder, garlic powder, and salt. Using a sturdy spoon, a hand mixer, or the paddle attachment of a stand mixer, beat these ingredients together until the mixture is completely smooth and well combined. This usually takes about 1-2 minutes. Ensure there are no lumps of cream cheese remaining.
- Incorporate the Star Flavors: Once your cheese base is smooth, scrape down the sides of the bowl. Now, it’s time to add the minced jalapeño and the crumbled cooked bacon. Gently fold these ingredients into the cheese mixture until they are evenly distributed throughout. Be careful not to overmix, but ensure every bite will get a taste of bacon and jalapeño.
- Portion and Shape the Bites: For perfectly uniform cheese ball bites, use a #60 small cookie scoop (which typically yields about a 1-inch ball). If you don’t have a scoop, you can simply use your hands. Roll the mixture into neat, approximately 1-inch balls. The warmth from your hands can help them form nicely.
- Coat for Extra Flavor and Texture: Take your remaining 1 cup of shredded cheddar cheese and spread it out on a small plate or shallow bowl. Roll each individual cheese ball into this cheese, pressing gently to ensure it’s coated as much as possible. This outer layer adds extra cheesy goodness and a lovely texture.
- Chill to Perfection: Arrange your coated cheese balls on a plate or baking sheet and refrigerate them for at least 1 hour. This chilling time is crucial; it allows the cheese balls to firm up, making them easier to handle and ensuring they hold their shape beautifully when served. Don’t rush this step!
And just like that, you’re ready to enjoy your homemade Jalapeño Popper Cheese Ball Bites! They’re easy, impressive, and utterly delicious.
Creative Ways To Serve Your Delicious Cheese Ball Bites
These mini cheese ball bites are incredibly versatile and can be served in a variety of appealing ways to impress your guests. Their individual size makes them perfect for any social setting:
- Classic Cracker Companion: The most popular and straightforward method is to serve them with an assortment of your favorite crackers. Simply place one cheese ball on top of a cracker and gently squish it down with your thumb or a small spreader. The slight pressure helps meld the flavors and provides a stable base.
- Elevate Your Charcuterie Board: Don’t limit these to just a standalone platter! Incorporate them into your next charcuterie board or appetizer spread. Their vibrant color and enticing shape will add visual interest and a burst of flavor alongside cured meats, cheeses, fruits, and nuts.
- Veggie Dippers: For a lighter option, offer fresh vegetable sticks like carrot, celery, cucumber slices, or bell pepper strips. Guests can press a cheese ball onto a veggie for a satisfying crunch.
- Pretzel Perfection: Small pretzel crisps or even mini pretzel sticks can offer a wonderful salty contrast and an interesting textural experience.
- Crostini Elegance: For a more refined presentation, serve them atop toasted baguette slices (crostini). A light drizzle of honey or a sprinkle of fresh chives could add an extra gourmet touch.
- Pop Them In! Let’s be honest, sometimes the best way to enjoy these is to simply pop them directly into your mouth! They are truly quite addicting, so be warned: if you lack willpower while making them, you might want to consider doubling the recipe. Just in case you “taste-test” a few too many before your guests arrive!

Make-Ahead and Storage Tips: Keeping Your Cheese Ball Bites Fresh
One of the many advantages of these Jalapeño Popper Cheese Ball Bites is their make-ahead friendliness. This makes them an ideal choice for entertaining, as you can prepare them in advance and save valuable time on the day of your event.
How Long Do Jalapeño Popper Cheese Ball Bites Last?
Once prepared and chilled, your spicy cheese ball bites can be stored in an airtight container in the refrigerator for up to 1 week. This means you can easily prepare them several days before your party, allowing the flavors to meld and deepen even further, making them taste even better! Just make sure they are properly covered to prevent them from drying out or absorbing other odors from your fridge.

Can You Freeze Cheese Ball Bites?
Yes, you absolutely can freeze your jalapeño popper cheese ball bites, which is fantastic for long-term storage or preparing a big batch for future events! For the best results, I recommend freezing them *before* rolling them in the final layer of shredded cheese.
Here’s how to do it:
- Initial Freeze: After shaping the cheese balls (but before coating them in the final layer of cheese), place them on a tray or plate lined with parchment paper. Ensure they are not touching each other. Freeze them until they are firm, which usually takes about 1 hour. This step, known as flash freezing, prevents them from sticking together once transferred to a bag.
- Long-Term Storage: Once firm, transfer the frozen cheese balls to a freezer-safe zip-top bag or an airtight container. Label with the date. They can be frozen for up to 1 month without significant loss of quality.
- Thawing and Serving: When you’re ready to enjoy them, remove the desired number of cheese balls from the freezer. Place them in the refrigerator to thaw overnight. Once thawed, you can then roll them in the remaining shredded cheddar cheese just before serving to ensure a fresh and crisp outer coating.
Freezing is an excellent way to always have a delicious, homemade appetizer on hand for unexpected guests or last-minute cravings!
Frequently Asked Questions About Jalapeño Popper Cheese Ball Bites
Q: How can I make these less spicy?
A: To reduce the heat, make sure to thoroughly remove all seeds and the white membrane (pith) from the jalapeño before mincing. Most of the capsaicin (the compound responsible for the heat) is concentrated in these areas. You can also reduce the amount of jalapeño used, or even soak the minced jalapeño in a little cold water for 15-20 minutes before adding it, then drain thoroughly.
Q: Can I use pickled jalapeños instead of fresh?
A: While fresh jalapeños offer the best flavor and texture, you can use pickled jalapeños in a pinch. If using pickled, make sure to drain them very well and pat them dry to prevent excess moisture from making the cheese ball watery. The flavor profile will be a bit tangier, so adjust salt to taste.
Q: What if my cream cheese isn’t soft enough?
A: Softened cream cheese is crucial for a smooth mixture. If you forget to take it out ahead of time, you can quickly soften it. Remove it from its foil wrapper, cut it into smaller cubes, and spread them on a plate. Microwave on high for 10-15 seconds, checking frequently, until just softened but not melted. Alternatively, place the wrapped block in a bowl of warm water for about 10-15 minutes.
Q: Can I add other ingredients to the cheese ball mixture?
A: Absolutely! Feel free to customize. Some delicious additions could include a touch of smoked paprika, finely chopped chives or green onions, or even a different type of shredded cheese (like Monterey Jack or Pepper Jack for extra zing). Ensure any additions are finely minced to blend well.
Conclusion: Your New Favorite Party Appetizer Awaits!
These Jalapeño Popper Cheese Ball Bites are more than just an appetizer; they’re a guaranteed crowd-pleaser that brings all the beloved flavors of a classic dish into a fun, bite-sized format. Whether you’re hosting a holiday party, a casual get-together, or simply looking for an exciting snack, these cheese balls deliver on taste, convenience, and pure deliciousness. With their irresistible combination of creamy cheese, smoky bacon, and spicy jalapeño, they’re sure to disappear quickly from any table. So, go ahead, whip up a batch (or two!) and prepare to become the star of your next gathering. Enjoy every flavorful bite!
More Irresistible Cheese Ball Recipes to Explore
Loved this spicy cheese ball experience? If you’re a fan of cheesy appetizers and delightful party snacks, you’ll be thrilled to discover more of my favorite cheese ball creations. From savory to sweet, there’s a cheese ball for every craving and occasion. Expand your recipe repertoire with these must-try ideas:
- Elegant Goat Cheese Balls with Bacon and Pistachio
- Sweet Chocolate Chip Cookie Dough Cheese Ball
- Decadent German Chocolate Cake Cheese Ball

Jalapeño Popper Cheese Ball Bites Recipe
18 balls
15 minutes
1 hour
1 hour 15 minutes
Turn the beloved flavors of jalapeño poppers into these easy, bite-sized cheese balls! Packed with bacon and a hint of spice, they’re the ultimate appetizer for any party.
Ingredients
- 2 cups shredded cheddar cheese
- 4 ounces (1/2 block or 4 tablespoons) full-fat cream cheese, softened (do not use low fat, fat free, or whipped)
- 1/4 teaspoon onion powder
- 1/4 teaspoon garlic powder
- 1/4 teaspoon salt
- 1 small jalapeño, minced (seeds and membrane optional for heat)
- 1/4 cup crumbled cooked bacon
Instructions
- In a large mixing bowl (using paddle attachment if using stand mixer), beat together 1 cup cheddar cheese, cream cheese, onion powder, garlic powder, and salt until smooth, about 1-2 minutes.
- Scrape down the bowl then add jalapeño and bacon. Gently fold these ingredients into the cheese mixture until evenly distributed.
- Using a #60 small cookie scoop or by hand, roll the mixture into 1-inch balls.
- In a small bowl or plate, add the remaining 1 cup cheese. Roll each ball into the cheese, covering as much as you can. Refrigerate at least 1 hour before serving.
Store in an airtight container in the refrigerator for up to 1 week or freeze for up to 1 month (see notes for freezing instructions).
Notes
- For Freezing: After shaping the cheese balls but before rolling in the final cheese coating, place them on a parchment-lined tray and freeze until firm (about 1 hour). Transfer to a freezer-safe bag and freeze for up to 1 month. Thaw in the fridge overnight before rolling in cheese and serving.
- Enjoyed this recipe? You might also like my Bacon Cheese Ball, Goat Cheese Balls, Chocolate Chip Cheese Ball, and Chocolate Cheese Ball.
Recommended Products
As an Amazon Associate and member of other affiliate programs, I earn from qualifying purchases.
- #60 Cookie Scoop
Did you make this recipe?
Let me know what you think! Rate the recipe above, leave a comment below, and/or share a photo on Instagram using #HITKrecipes
First published September 23, 2014
