Delicious Small Batch Hot Cross Buns: Your Essential Easter Baking Guide
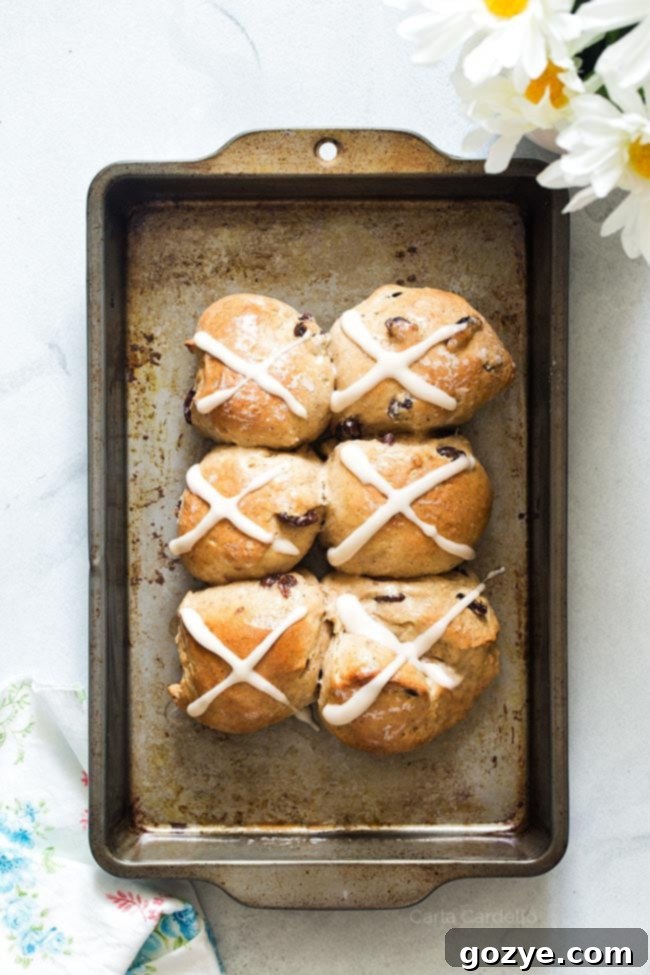
As Easter approaches, there’s a distinct aroma that signals the season: the warm, sweet scent of freshly baked hot cross buns. These iconic spiced sweet buns, marked with a distinctive cross, are more than just a treat; they’re a symbol of tradition, warmth, and celebration. While some might opt for store-bought versions, there’s nothing quite like the satisfaction and superior flavor of homemade. And for those who love to bake but don’t need a massive batch, this small batch hot cross buns recipe is perfectly tailored, yielding just six delightful buns, ideal for a cozy Easter Dinner For Two or a small family gathering.
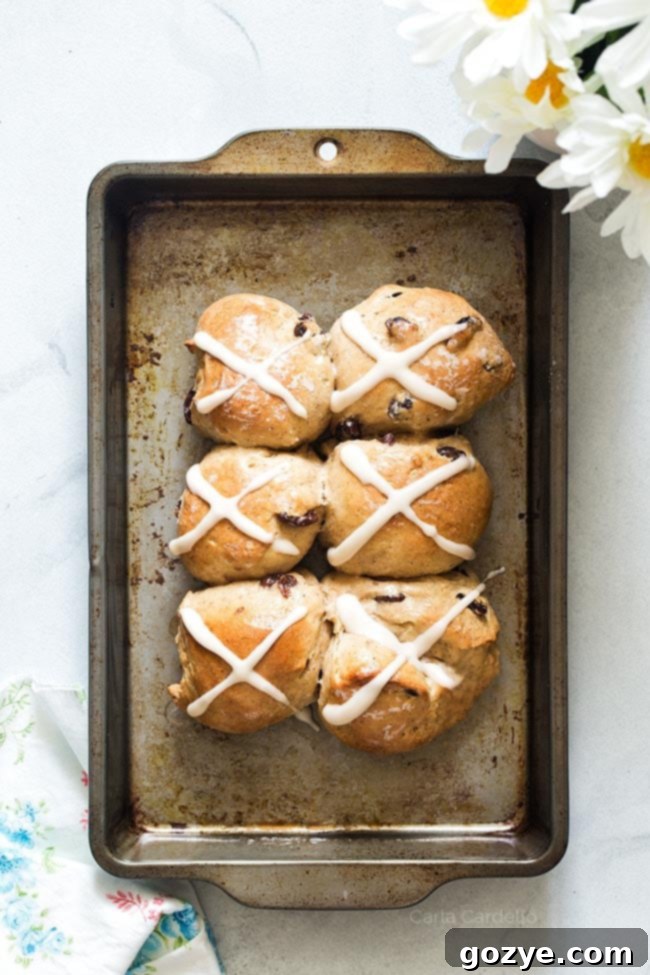
What are your cherished Easter traditions? For many, including myself, baking and enjoying hot cross buns is an annual ritual. These delightful pastries, enriched with yeast, plump raisins, and a symphony of cinnamon, nutmeg, and cloves, culminate in a sweet treat topped with a beautiful cross of icing. In an age where these traditional delights are becoming increasingly difficult to find at local bakeries, mastering the homemade version has become an even more rewarding endeavor.
What Exactly Are Hot Cross Buns? A Dive into Tradition and Flavor
At their core, hot cross buns are soft, enriched sweet buns made from a yeast-leavened dough. What sets them apart are the fragrant spices – cinnamon, nutmeg, and clove – which infuse them with a comforting warmth, and the addition of dried fruit, typically raisins. The hallmark of these buns is, of course, the cross piped on top, usually made from a simple powdered sugar icing or sometimes a flour paste applied before baking.
The Deep Significance Behind Hot Cross Buns
The origins of hot cross buns trace back to the United Kingdom, where they hold a rich history and deep symbolic meaning, particularly within Christian tradition. The cross, prominently piped on top, is widely understood to signify the crucifix, commemorating the crucifixion of Jesus Christ. This strong religious association is why they are traditionally consumed on Good Friday, marking the solemn day before Easter Sunday.
While the religious symbolism is undeniable, the appeal of hot cross buns extends far beyond faith. For many, they represent the arrival of spring, a comforting taste of nostalgia, and a cherished family tradition that transcends personal beliefs. Whether you observe their religious significance or simply enjoy their delicious flavor, these buns are a beloved part of the Easter season.
Choosing the Right Yeast for Your Buns
Navigating the baking aisle can sometimes feel overwhelming, especially when faced with different types of yeast. For hot cross buns, you’ll typically encounter two main varieties: active dry yeast and instant (or quick-rising) yeast. Understanding the difference is key to a successful bake.
- Active Dry Yeast: This is the traditional choice for many bread recipes. It consists of larger granules and usually requires a “proofing” step – dissolving it in warm liquid to ensure it’s alive and active – before being combined with other ingredients. Recipes using active dry yeast often call for two distinct rising periods, contributing to a rich flavor and tender crumb.
- Quick Rising Yeast (Instant Yeast): Characterized by finer granules, instant yeast is designed to activate much faster. It can often be mixed directly into dry ingredients without prior proofing and typically shortens the total rising time, often requiring only one main rise. This makes it a great option for bakers looking for a quicker process.
This particular small batch hot cross buns recipe is designed for active dry yeast, which contributes to the buns’ classic texture and flavor profile through its two-stage rise. However, if instant yeast is all you have on hand, don’t worry! You can still use it. Just be aware that the first resting period for the dough will be significantly shorter, approximately 10 minutes, before you move on to shaping the rolls. Adjusting the rising times will ensure your buns turn out perfectly, regardless of the yeast type.
To Proof or Not To Proof: The Yeast Question
Proofing yeast is a classic baking step where yeast is combined with warm water and sometimes a pinch of sugar. The purpose is twofold: to “wake up” the yeast and to confirm it’s still alive and active before you commit it to your entire dough. You’ll know it’s working if the mixture becomes foamy and bubbly within 5-10 minutes.
While proofing yeast is a good habit, especially if your yeast packet is nearing its expiration date or has been open for a while, it’s not always strictly necessary. Fresh, unexpired active dry yeast, when mixed with appropriately warm liquids directly in a recipe, will generally activate just fine. The liquid in the recipe provides the moisture and warmth needed to kickstart the yeast’s activity. However, if you’re ever in doubt, a quick proofing step offers peace of mind and prevents wasted ingredients. It truly never hurts to be certain your yeast is ready to perform its leavening magic!
Crafting Perfect Small Batch Hot Cross Buns: A Step-by-Step Guide
Baking homemade hot cross buns might initially seem like a significant time investment due to the resting and rising periods. However, much of this time is hands-off, allowing you to attend to other tasks while your dough develops. The actual hands-on work is quite manageable, and the reward of fresh, fragrant buns is absolutely worth it!
1. Precise Water Temperature: The Foundation of Good Yeast
The first critical step in yeast baking is ensuring your water is at the correct temperature. Yeast is a living organism, and its activity is highly sensitive to temperature. Too cold, and the yeast won’t activate, leaving you with dense, flat buns. Too hot, and you risk killing the yeast, which leads to the same unfortunate result. Aim for a temperature range of 105°F to 115°F (40°C to 46°C). Using a digital thermometer is highly recommended for accuracy.
To achieve this, I often place the water in a heat-proof measuring cup and microwave it in 10-second increments. If it accidentally gets too hot, simply let it sit on the counter for a few minutes while you measure your other ingredients; it will cool down to the ideal range. This small attention to detail makes a big difference!
2. Mixing the Dough: Bringing Ingredients Together
Once your liquids are at the right temperature, you’ll combine your wet ingredients (milk, melted butter, sugar, egg, yeast, and vanilla) in a large mixing bowl. Allow this mixture to sit for about 5 minutes, giving the yeast time to begin dissolving and activating. Then, gradually add your dry ingredients – flour, salt, cinnamon, nutmeg, cloves, and plumped raisins. Mix on low speed with a stand mixer, or by hand with a sturdy spoon, until a cohesive, shaggy dough forms.
The Art of Kneading: Building Structure and Texture
Kneading is a fundamental step in bread making, transforming a sticky, amorphous mass into a smooth, elastic ball. This process is crucial because it develops the gluten strands within the dough. Gluten is what provides the internal structure, strength, and characteristic chewy texture of your hot cross buns.
After your dough has come together, transfer it to a lightly floured surface. The dough should feel slightly sticky but manageable. If it’s excessively sticky, add a very small amount of flour, a teaspoon at a time, until it’s easier to handle. Be careful not to add too much flour, as this can make your buns tough and dry. Gather the dough into a ball with lightly floured hands.
To knead by hand, use the heels of your hands to push the dough away from you, stretching it. Then, fold the dough in half towards you, rotate it 90 degrees, and repeat the push-and-fold motion. Continue this rhythm until the dough becomes smooth, elastic, and no longer sticky. For a small batch like this, kneading typically takes only 2-3 minutes, much less than the 10 minutes often required for larger batches. You’ll know your dough is perfectly kneaded when it holds its shape without drooping and if you gently press a finger into it, the indentation springs back quickly.
Once kneaded, place the dough in a lightly greased bowl, cover it loosely with a clean kitchen towel, and let it rest in a warm, draft-free spot for about 1 hour. The dough is ready for the next step when it has visibly expanded and if you gently poke it, the indentation remains, indicating a good rise.
Creating the Perfect Environment for Dough to Rise
For optimal yeast activity and a fluffy rise, dough needs to be in a warm, draft-free environment. But what exactly constitutes “warm” for dough? The ideal temperature range for dough to rise is between 80°F and 90°F (27°C-32°C).
Achieving this temperature can sometimes be tricky, especially in cooler kitchens. Here’s a tried-and-true trick: turn your oven on for precisely one minute, then immediately turn it off. Let the door stand ajar for a few seconds to allow any excessive heat to escape, then place your covered bowl of dough inside. The residual warmth creates a perfect proofing box. Just remember to take it out before you preheat the oven for baking!
Other methods include placing the bowl in a sunny spot, or in a microwave (turned off, as it’s a draft-free enclosure), or even creating a warm water bath by placing the dough bowl in a larger bowl filled with warm water (ensuring no water gets into the dough).
Shaping Your Hot Cross Buns for Success
After the first rise, your dough will be puffy and ready for shaping. Gently punch down the dough to release the air, then transfer it to a lightly floured surface. Divide the dough into six equal pieces. For consistent size, you can use a kitchen scale to ensure each piece weighs the same.
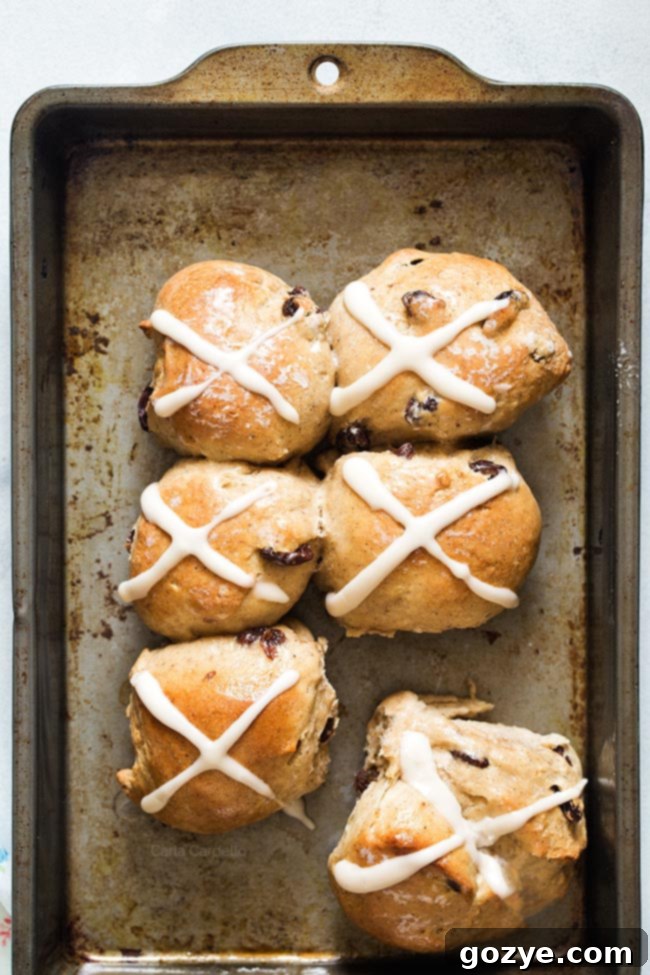
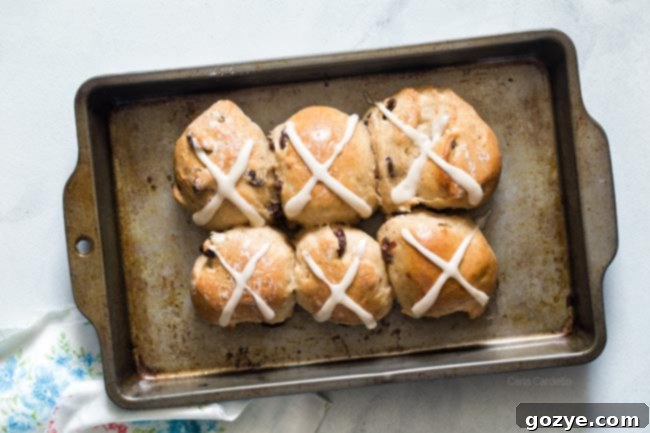
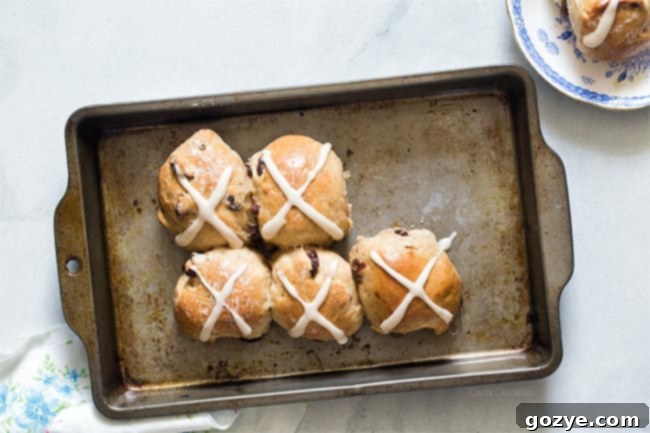
Roll each piece into a smooth, tight ball. This creates a uniform texture and appearance. Place the dough balls seam-side down into a greased 8-inch round baking pan. If you don’t have a round pan, a small square baking tray works wonderfully for a more rustic, pull-apart look, as shown in the images. Alternatively, muffin cups can be used, though the buns will lose their characteristic joined-together appearance, they will still be equally delicious.
The shaped dough balls might seem small, but they will expand significantly during the second rise. Cover them loosely with a towel and let them rest in a warm area for another hour until they are noticeably puffed and nearly touching each other.
The Golden Finish: Do You Need an Egg Wash?
Traditionally, hot cross buns are often brushed with an egg wash (a beaten egg mixed with a little water or milk) before baking. This step gives them a beautiful, glossy, golden-brown crust. However, for a small batch of only six buns, using a whole egg for a wash can feel wasteful.
A simple and effective alternative is to use just 1 teaspoon of whole milk. Brushing the buns with milk before baking will still achieve a lovely golden sheen without the need to crack a whole egg. It’s a practical tip for small-batch baking that maintains quality without waste.
The Essential Glaze and Icing for Hot Cross Buns
How to Make a Sugar Glaze
Immediately after your hot cross buns emerge from the oven, while they are still piping hot, they get a quick brush with a simple sugar glaze. This glaze is made by heating two teaspoons of granulated sugar with two teaspoons of water until the sugar dissolves. Brushing this mixture over the hot buns imparts a beautiful shine and a delicate layer of sweetness, enhancing their flavor and appearance.
Piping the Iconic Cross Icing
Once the buns have cooled completely, it’s time for their signature decoration: the cross. This final touch brings the hot cross buns to life visually and adds another layer of delightful sweetness.
Prepare the icing by whisking together powdered sugar, milk, and vanilla extract until it reaches a thick but still pipeable consistency. It should be fluid enough to squeeze through a bag but not so runny that it spreads excessively. If it’s too thick, add a tiny drop more milk; if too thin, a touch more powdered sugar.
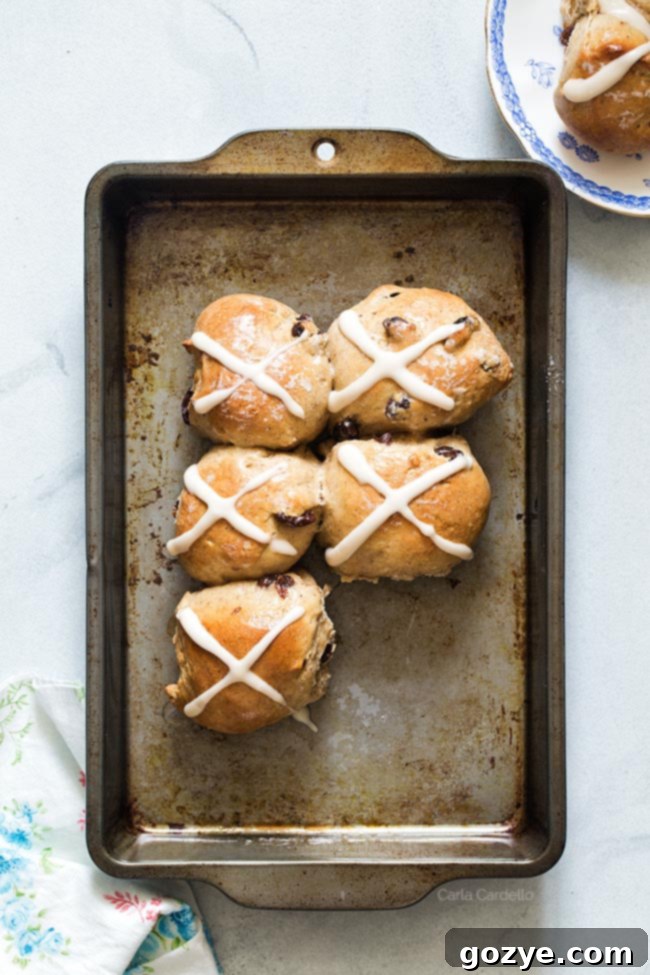
Transfer the icing to a small plastic sandwich bag, pushing all the icing into one corner. Snip a tiny hole at the very tip of that corner. Then, carefully pipe a cross onto the top of each cooled bun. Allow the icing to set and harden for a few minutes before serving. This ensures a clean, distinct cross that won’t smudge.
Planning Ahead: Making Hot Cross Buns Ahead of Time
Given the resting and rising times involved, hot cross buns are an excellent candidate for make-ahead baking. This allows you to break down the process into more manageable steps and enjoy freshly baked buns without the morning rush.
The key to making bread dough ahead of time lies in controlling the rising speed. While warm temperatures accelerate yeast activity, cooler temperatures, like those in a refrigerator, slow it down considerably. This means you can prepare your dough, shape it into rolls, and then place the pan, loosely covered with plastic wrap, in the refrigerator overnight. The dough will undergo a slow, cold fermentation, developing deeper flavors.
On baking day, remove the pan from the refrigerator and let it sit at room temperature for about 30 minutes to an hour, or until the dough is no longer cold to the touch and has puffed up a bit. Then, bake as directed. You can also freeze fully baked and cooled hot cross buns (without icing) for longer storage, simply thaw and warm before glazing and icing.
Storing Your Delicious Small Batch Hot Cross Buns
Like most homemade baked goods, hot cross buns are undeniably at their best when eaten on the day they are made, while they are still incredibly fresh and fragrant. However, if you have any leftovers, they can be stored in an airtight container at room temperature for up to 2 days. For longer storage, you can freeze the un-iced buns for up to 1-2 months. Thaw them at room temperature and warm gently in the oven before applying the glaze and icing.
More Yeast Recipes to Explore
Since this recipe uses only a portion of a yeast packet, you’ll likely have some leftover! Don’t let it go to waste. Here are more delightful yeast-based bread recipes to try:
- Small Batch Dinner Rolls: Perfect fluffy rolls for any meal.
- Jalapeno Popper Stuffed Dinner Rolls: A savory and spicy twist on dinner rolls.
- Pizza Hut Style Garlic Parmesan Breadsticks: Recreate a classic favorite at home.
This recipe has been updated to reflect a more traditional hot cross bun profile, moving away from an earlier version that included lemon zest and dried cherries. While the updated version embraces classic flavors, feel free to experiment with your favorite dried fruits or a touch of citrus zest for a unique spring twist if you prefer!
Small Batch Hot Cross Buns
6 buns
45 minutes
20 minutes
2 hours
3 hours 5 minutes
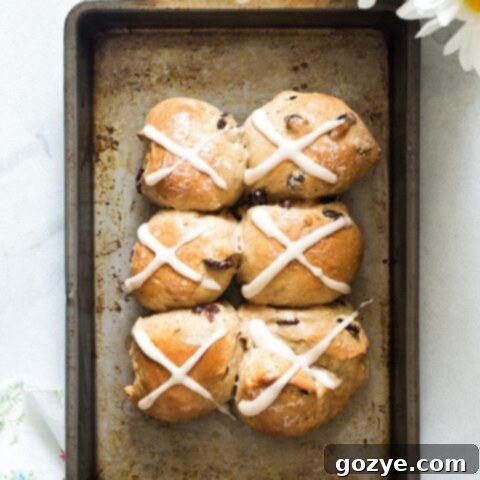
These Small Batch Hot Cross Buns made from scratch are homemade spiced sweet buns made with yeast and raisins then marked with a cross on top for Easter.
Ingredients
- 1/3 cup lukewarm whole milk (105F-115F)
- 2 tablespoons unsalted butter, melted
- 2 tablespoons granulated sugar
- 1 large egg, room temperature
- 1 + 1/8 teaspoons (1/2 package or 1/8 ounce) active dry yeast
- 1/4 teaspoon vanilla extract
- 1 + 3/4 cups all-purpose flour
- 1/2 teaspoon salt
- 1/2 teaspoon ground cinnamon
- 1/4 teaspoon ground nutmeg
- 1/4 teaspoon ground cloves
- 1/4 cup raisins, plumped and cool
- 1 teaspoon whole milk
Glaze
- 2 teaspoons granulated sugar
- 2 teaspoons water
Icing
- 1/4 cup powdered sugar
- 1 teaspoon whole milk
- 1/8 teaspoon vanilla extract
Instructions
- In a large mixing bowl, mix together either by hand or on very low speed the milk, butter, sugar, egg, yeast, and vanilla. Let sit for 5 minutes while the yeast dissolves.
- By hand or on very low speed, stir in the flour, salt, cinnamon, nutmeg, cloves, and raisins until the dough comes together.
- On lightly floured surface with floured hands, knead the dough for 2-3 minutes or until the dough is smooth, hold its shape without drooping, and indentations immediately fill back up. Transfer to a lightly greased bowl, loosely cover with a towel, and rest in a warm, draft-free area for 1 hour.
- Lightly grease a 6 or 8 inch round pan or muffin pan. Divide the dough into 6 pieces, shape into balls, and place in the pan seam side down. Cover loosely with a towel and let rise in a warm place until puffed, about 1 hour.
At this point if you’re not baking right away, loosely cover the pan with plastic wrap and refrigerate overnight. Let the pan sit out at room temperature for about 30 minutes before baking.
- Preheat the oven to 375F. Bake 20 minutes or until golden brown.
- While the buns are baking, make the glaze: In a small saucepan or microwave-safe bowl, heat the sugar and water together until the sugar dissolves. As soon as the buns are done baking, brush with the sugar water. Let the buns cool completely
- Once the buns are completely cool, make the icing: In a medium bowl whisk together the powdered sugar, milk, and vanilla. The icing should be thick but still fluid enough to pipe. If it’s too thick, add a touch more milk.
- Transfer the icing to a plastic sandwich bag, cut off one corner, and pipe a cross onto each bun. Let the icing harden before serving.
Buns are best eaten the day they’re made but can be stored in an airtight container at room temperature for up to 2 days.
To plump raisins:
- Place raisins in a bowl. Pour hot water over top until raisins are completely submerged. Let sit 5 minutes or until plumped. Drain and pat dry before using.
Notes
- Enjoyed this recipe? Check out my Small Batch Dinner Rolls.
- Planning your holiday menu? Check out Easter Dinner For Two for recipe pairings.
Did you make this recipe?
Let me know what you think! Rate the recipe above, leave a comment below, and/or share a photo on Instagram using #HITKrecipes
Source: Adapted from Crumb
