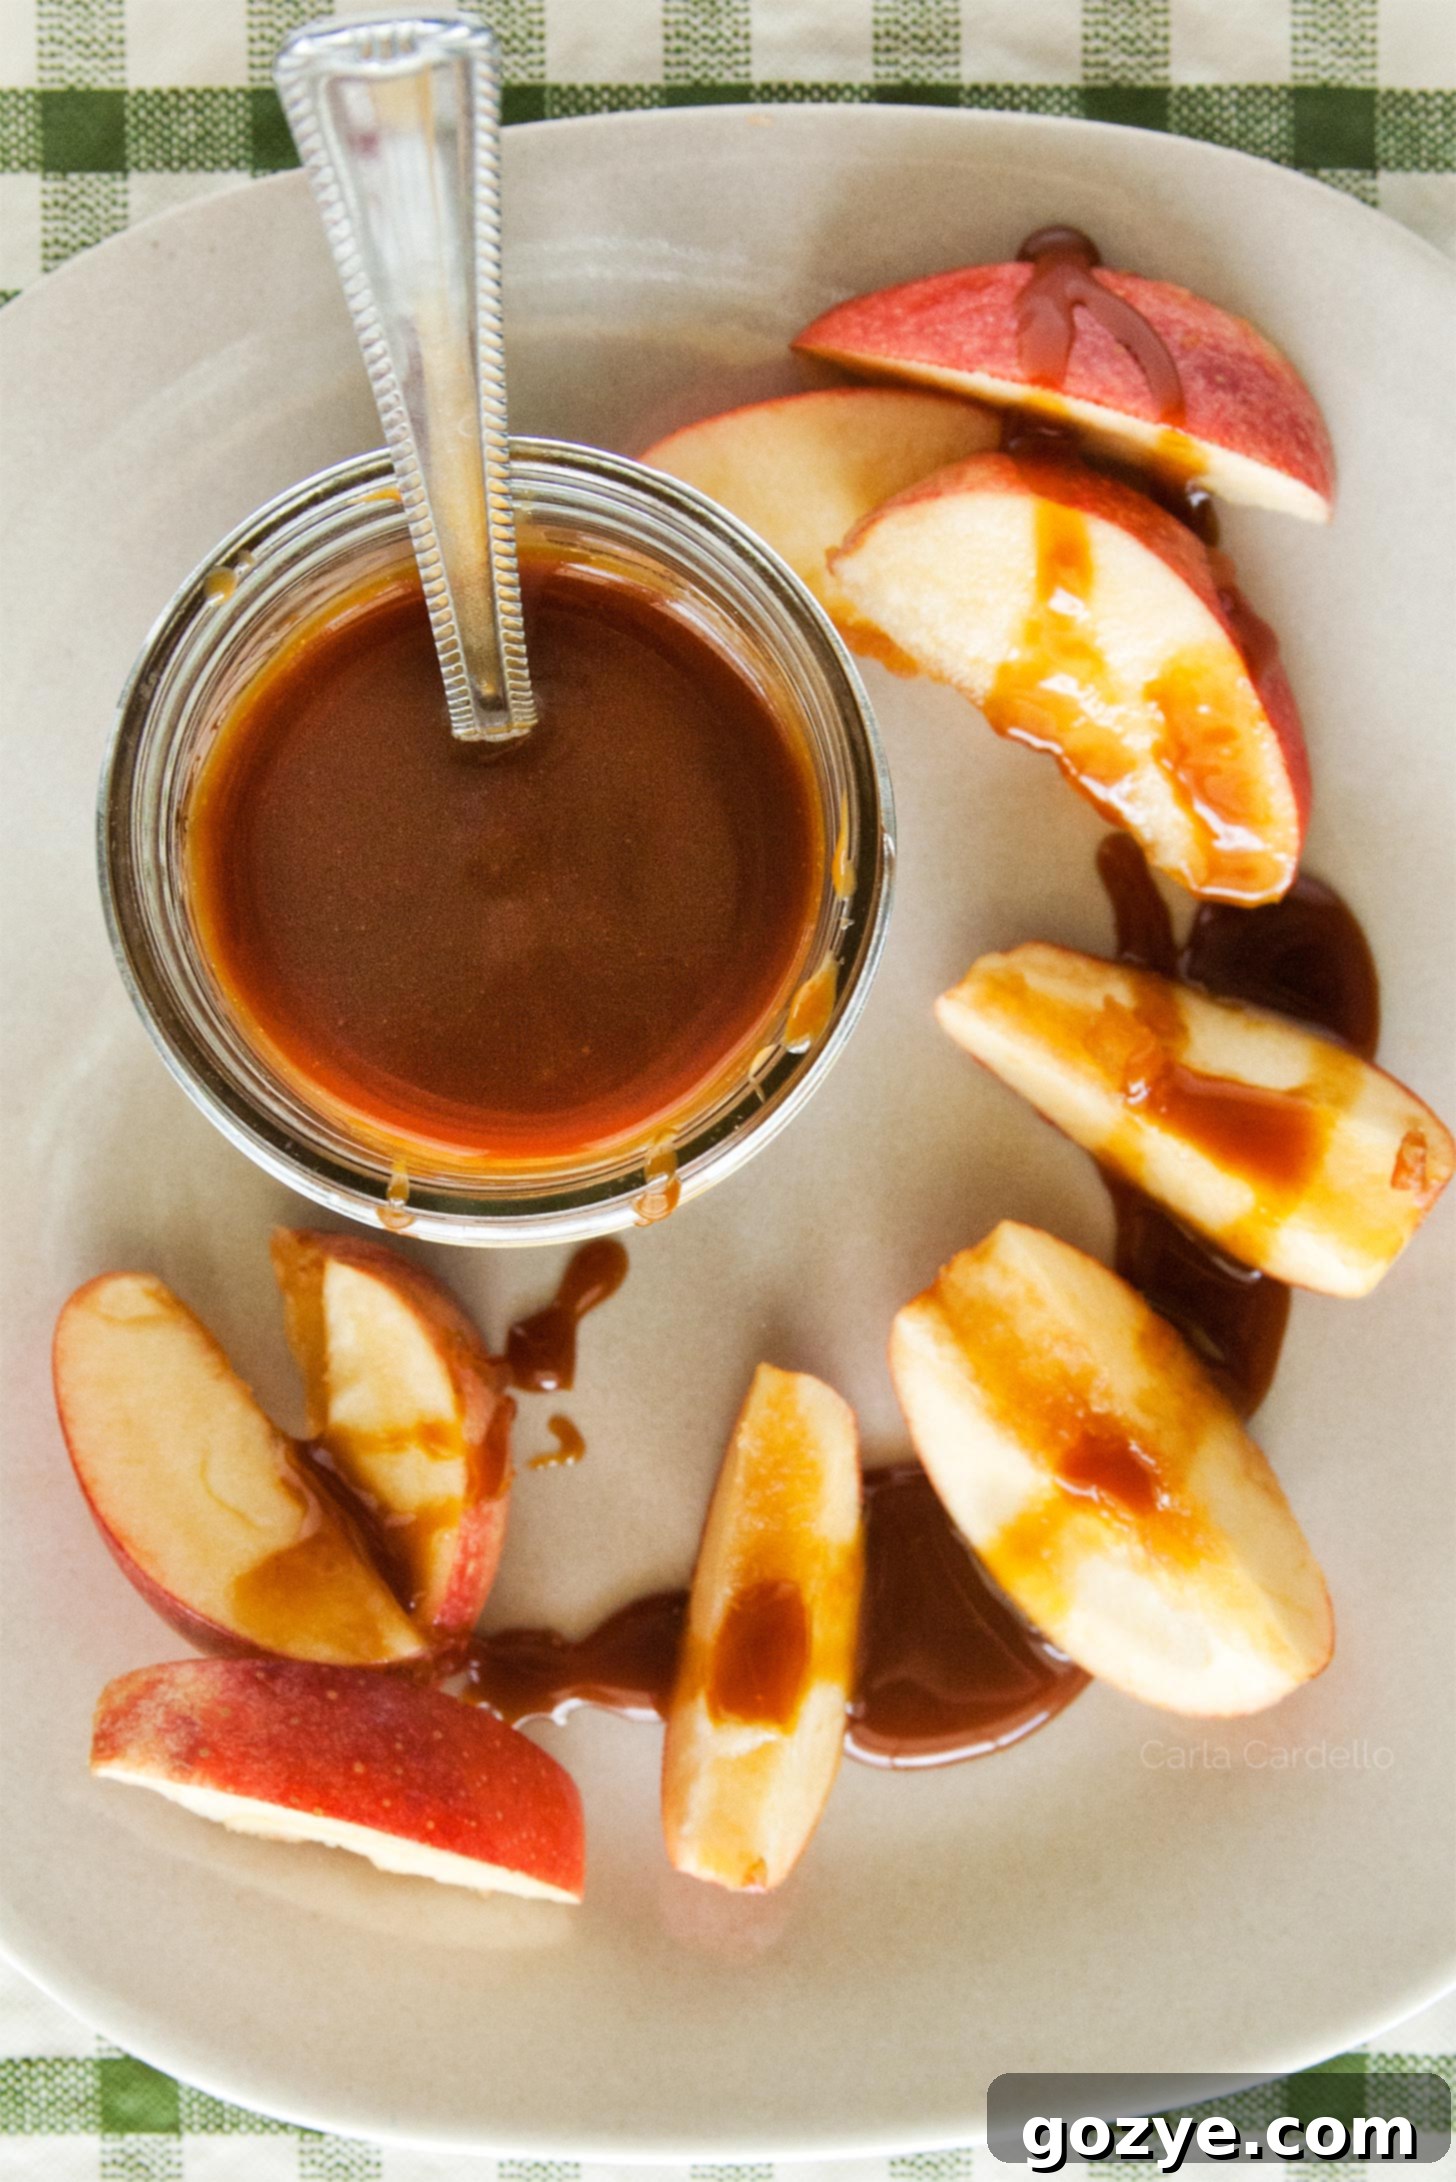
Delicious Homemade Caramel Sauce: Easy 3-Ingredient Recipe from Scratch!
Crafting a luscious, smooth homemade caramel sauce from scratch is surprisingly simple, requiring only three basic ingredients. This small-batch recipe delivers a rich, buttery caramel that’s perfect for drizzling over your favorite desserts, dunking fresh apple slices, or elevating any sweet treat.
Have you ever found yourself in a tricky kitchen situation? Perhaps you’re halfway through baking a delightful small chocolate cake, only to discover you’re out of a crucial ingredient like cocoa powder, while your butter patiently softens at room temperature. Or maybe unexpected guests drop by, and you have no time to whip up an elaborate dessert. Living far from a grocery store, or facing a snowstorm that makes a quick trip impossible for just one small item, can also throw a wrench in your plans.
If any of these scenarios resonate with you, then this Homemade Caramel Sauce recipe is about to become your new kitchen hero! With just three simple ingredients – granulated sugar, butter, and heavy cream – you can effortlessly create a rich, golden caramel from scratch whenever a sweet craving strikes or a dessert needs that extra touch of magic.
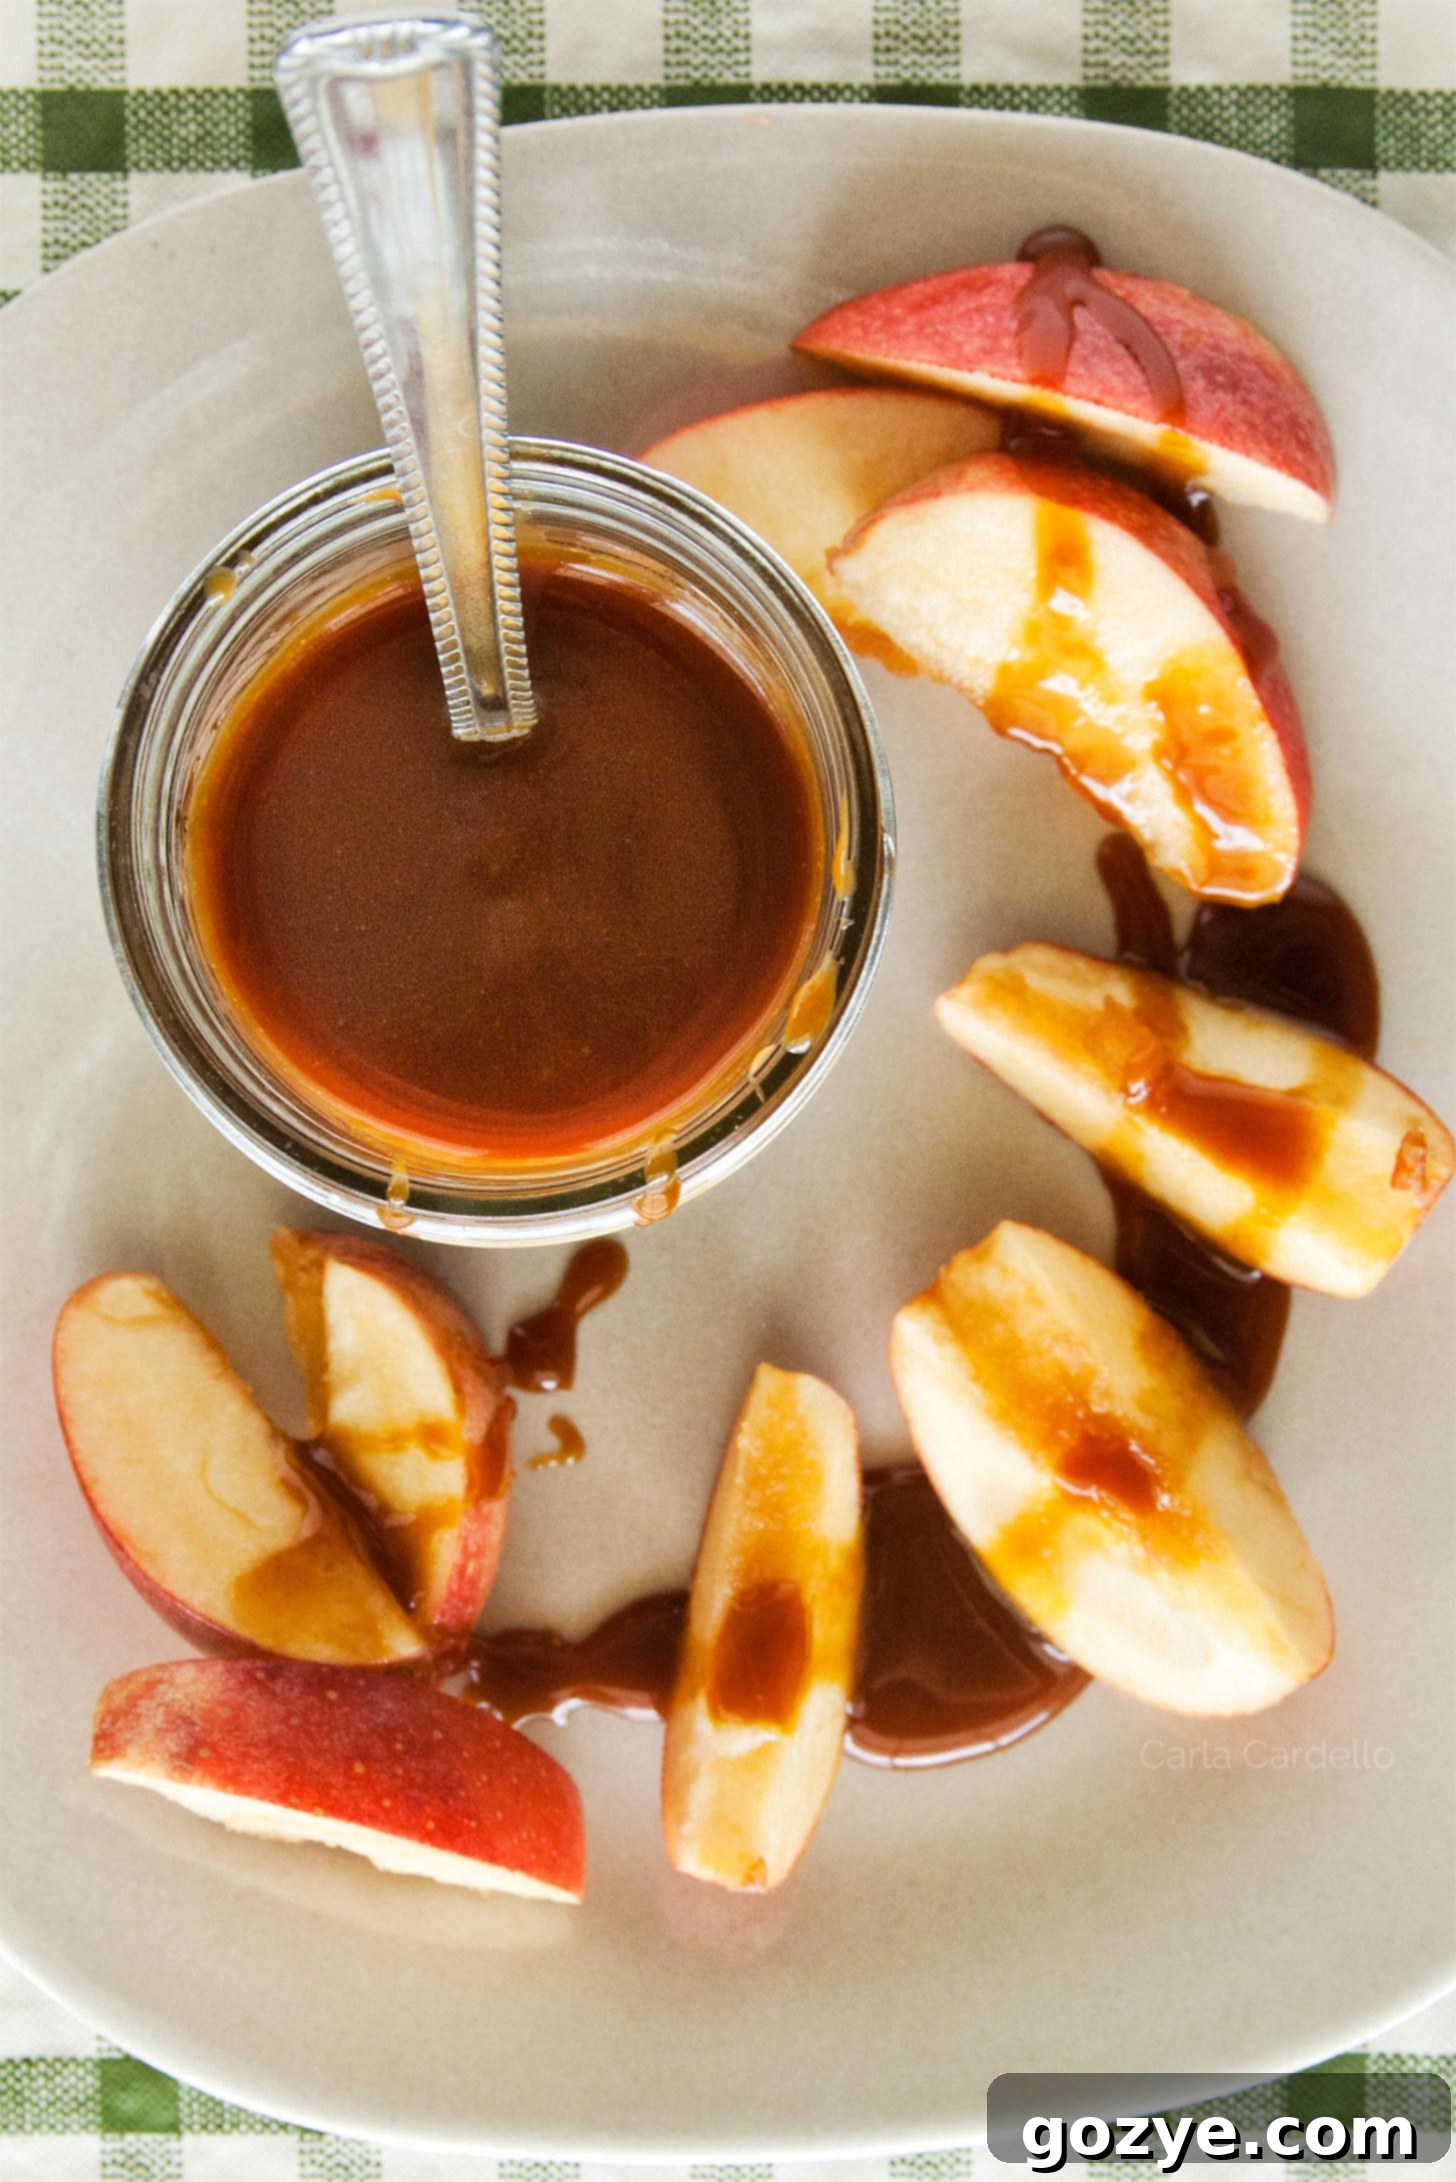
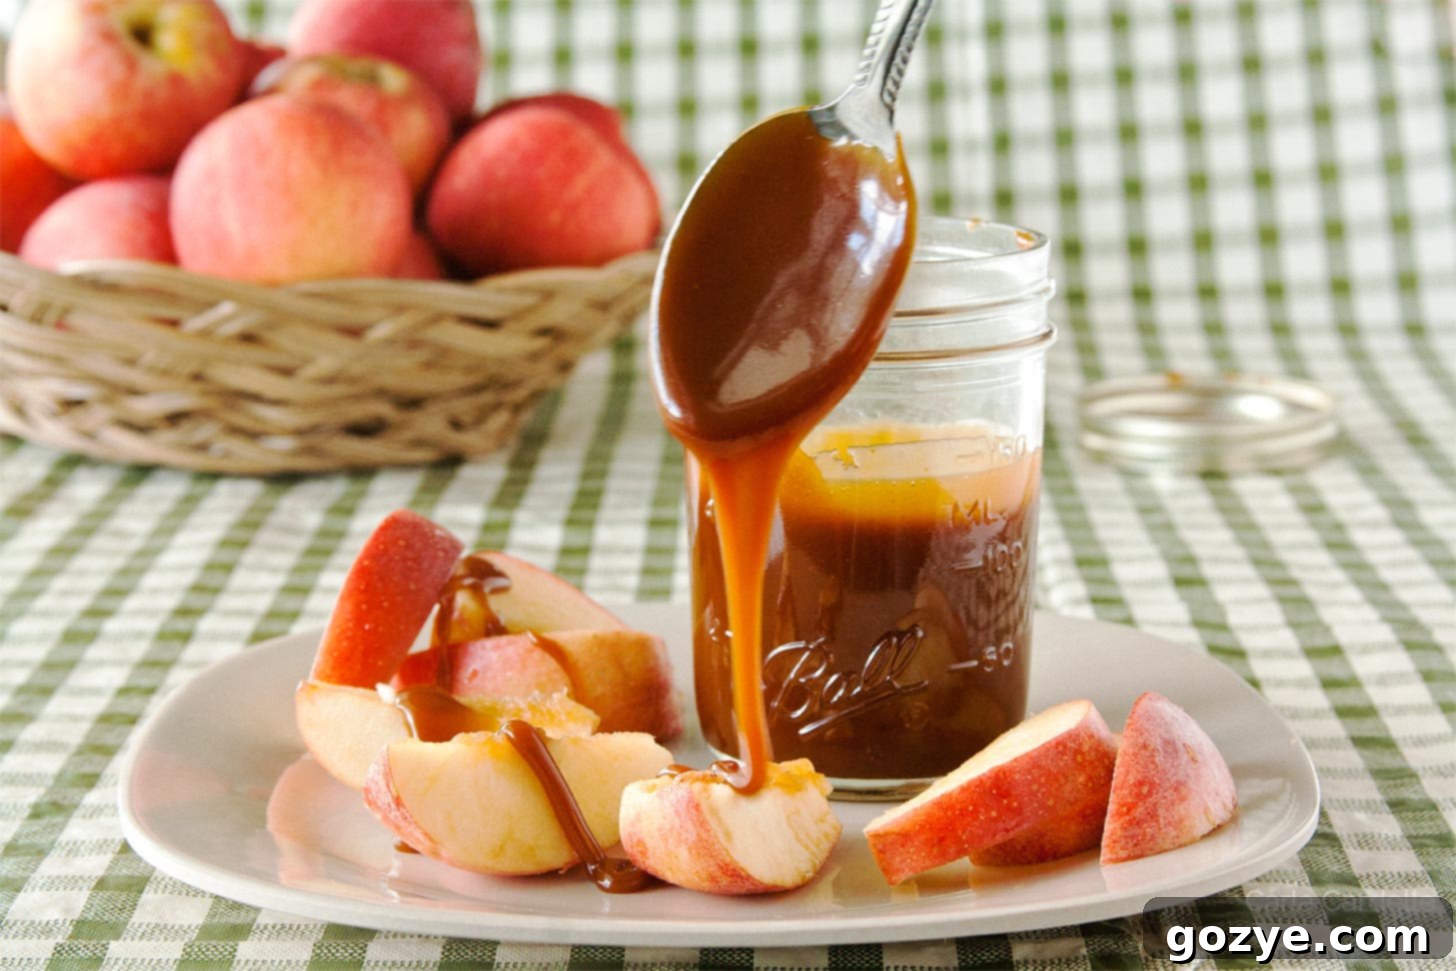
This versatile sauce is perfect for so many occasions. Hosting an impromptu gathering? A generous drizzle over creamy Vanilla Bean Ice Cream is always a crowd-pleaser. If your Small Batch Chocolate Cupcakes are feeling a little plain, a swirl of this rich caramel will add the perfect “oomph.” And for a wholesome (yet utterly delicious) treat, serve it alongside crisp apple slices, or go all out with a decadent Caramel Apple Cheesecake Dip.
However you choose to enjoy it, this easy homemade caramel sauce is an essential addition to any home cook’s repertoire. Its simplicity and incredible flavor make it a true kitchen staple.
What’s the Difference Between Caramel and Butterscotch? Unveiling the Sweet Truth
When you think of caramel sauce, you likely picture that golden, sticky, sweet concoction. But have you ever stopped to consider what truly defines it, and how it differs from its equally delicious cousin, butterscotch? Many people, even seasoned bakers, often mix up the two, and for good reason—they share many similarities in texture and application.
My friend Jenni from Pastry Chef Online enlightened me on the fascinating (and sometimes confusing) distinction between caramel and butterscotch. The core difference lies in their foundational ingredients: true caramel is traditionally made with granulated sugar and heavy cream, while butterscotch uses brown sugar and typically no dairy, or sometimes just a small amount of butter, but not heavy cream. This seemingly minor difference in sugar type creates distinct flavor profiles and chemical reactions during cooking.
For years, I believed I disliked butterscotch, often finding store-bought versions artificial and cloyingly sweet. Imagine my surprise and slight dismay when Jenni pointed out that much of what’s sold as “butterscotch” in stores barely resembles the real thing! Authentic butterscotch, made with brown sugar, offers a deeper, more molasses-like flavor, often with hints of toffee. This revelation prompted a complete rethinking of my taste preferences, and I’m now eager to explore genuine butterscotch recipes. However, for today, we’re focusing on the pure, unadulterated pleasure of true caramel sauce. This recipe delivers the classic, rich flavor you expect from homemade caramel, free from any “hints” of other flavors that might mislead you.
Yield and Benefits of This Small Batch Caramel Recipe
This particular recipe for homemade caramel sauce yields approximately 1 cup. While it’s challenging to provide an exact number of servings, as that largely depends on how you choose to use it (whether it’s a generous pour over a dessert or a delicate drizzle), this quantity is intentionally designed as a “small batch.” The beauty of a small batch caramel recipe is that you’re not left with an abundance of jars taking up precious refrigerator space, ensuring freshness and reducing waste. It’s the perfect amount for a few desserts, a week’s worth of coffee enhancements, or a delightful apple-dipping session.
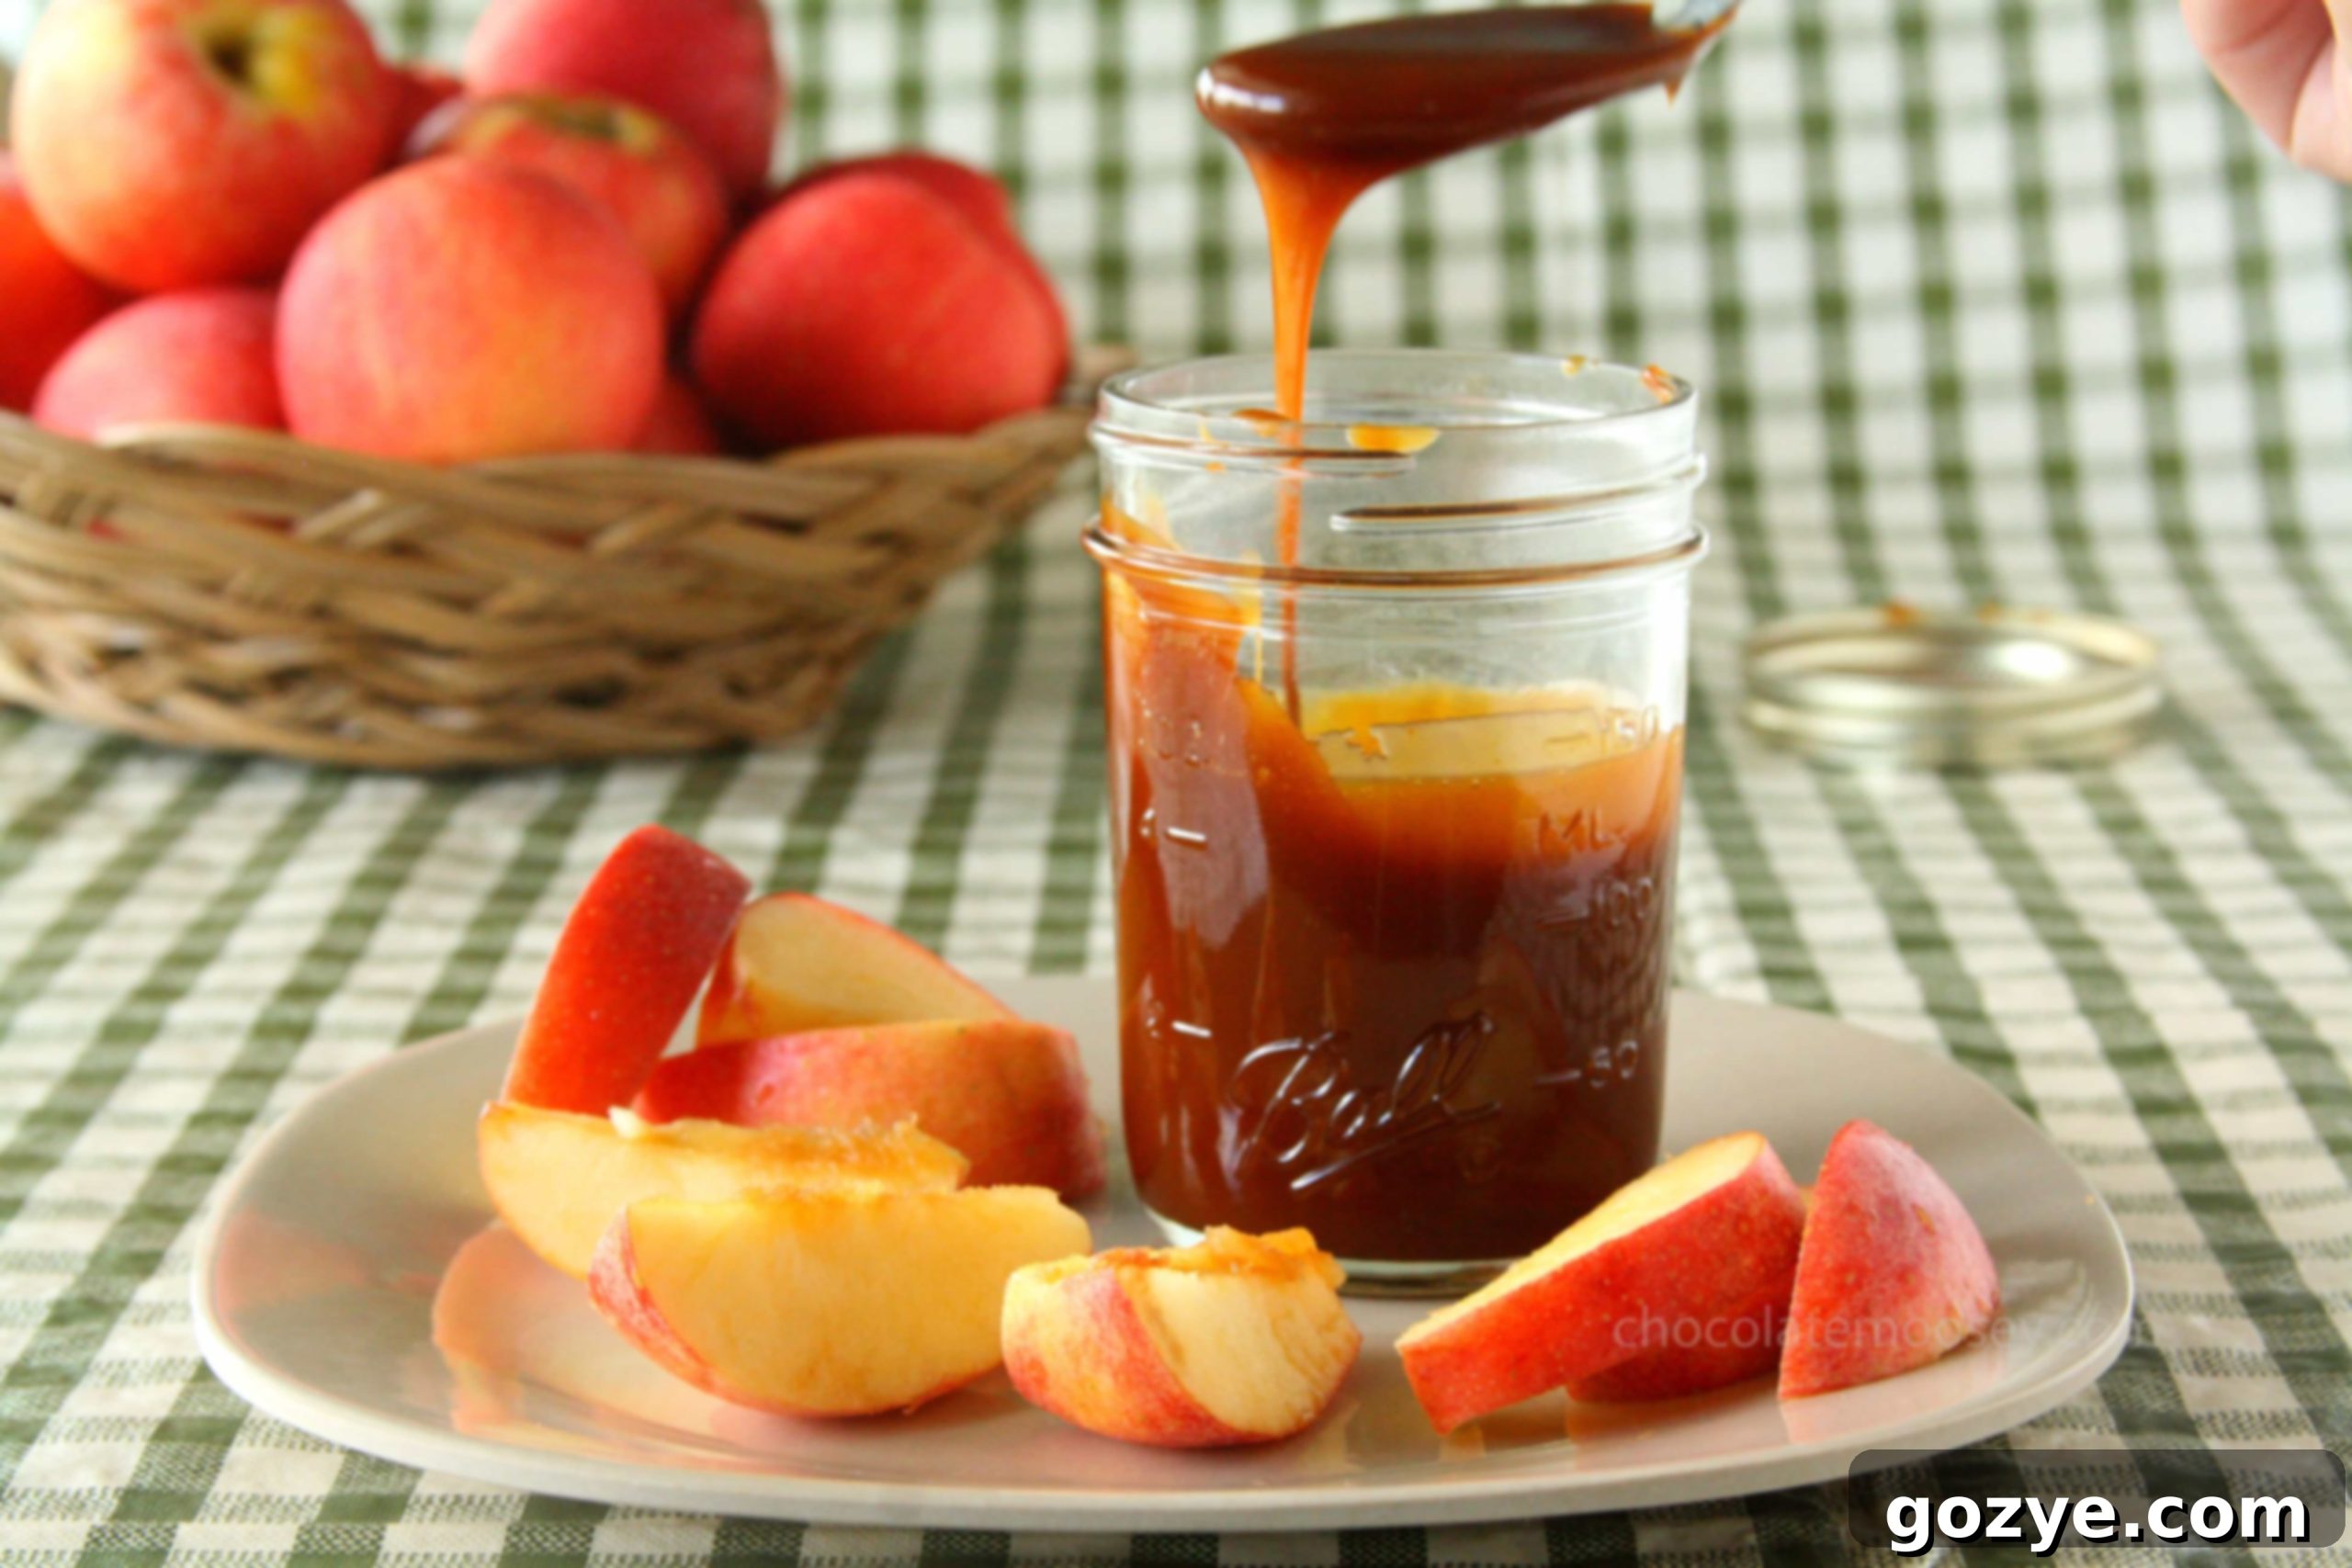
Essential Ingredients for Your Homemade Caramel Sauce
To embark on your caramel-making adventure, you’ll need just a few high-quality ingredients. Each plays a crucial role in creating that perfect, velvety texture and rich flavor:
- Granulated Sugar: This is the heart of our caramel. As discussed, granulated sugar caramelizes into that distinct golden-brown, nutty flavor we associate with traditional caramel. Using brown sugar would veer us into butterscotch territory, so stick with the white stuff for authentic caramel.
- Unsalted Butter: Butter adds richness, depth, and a silky smoothness to the sauce. It also helps to emulsify the mixture, preventing the sugar from recrystallizing and giving the caramel a luxurious mouthfeel. Using unsalted butter allows you to control the overall saltiness, especially if you plan to add sea salt later. Ensure your butter is softened and cut into pieces for easier incorporation.
- Heavy Whipping Cream: This is the magic ingredient that transforms molten sugar and butter into a creamy, pourable sauce. The high-fat content of heavy cream provides that desirable smooth, luscious texture. It’s crucial that your cream is warmed slightly before adding it to the hot sugar mixture; cold cream can cause the caramel to seize (clump up) due to the drastic temperature difference. A quick 10-15 second zap in the microwave usually does the trick.
- Sea Salt (Optional, but highly recommended for Salted Caramel!): While technically making this a four-ingredient recipe, a pinch of good quality sea salt elevates the caramel to a whole new level. The salt beautifully contrasts and enhances the sweetness, creating a more complex and addictive flavor profile. Fine sea salt or kosher salt works best.
Looking to explore beyond traditional caramel? For a delightful and unexpected twist, check out my blood orange caramel sauce – it’s a taste adventure!
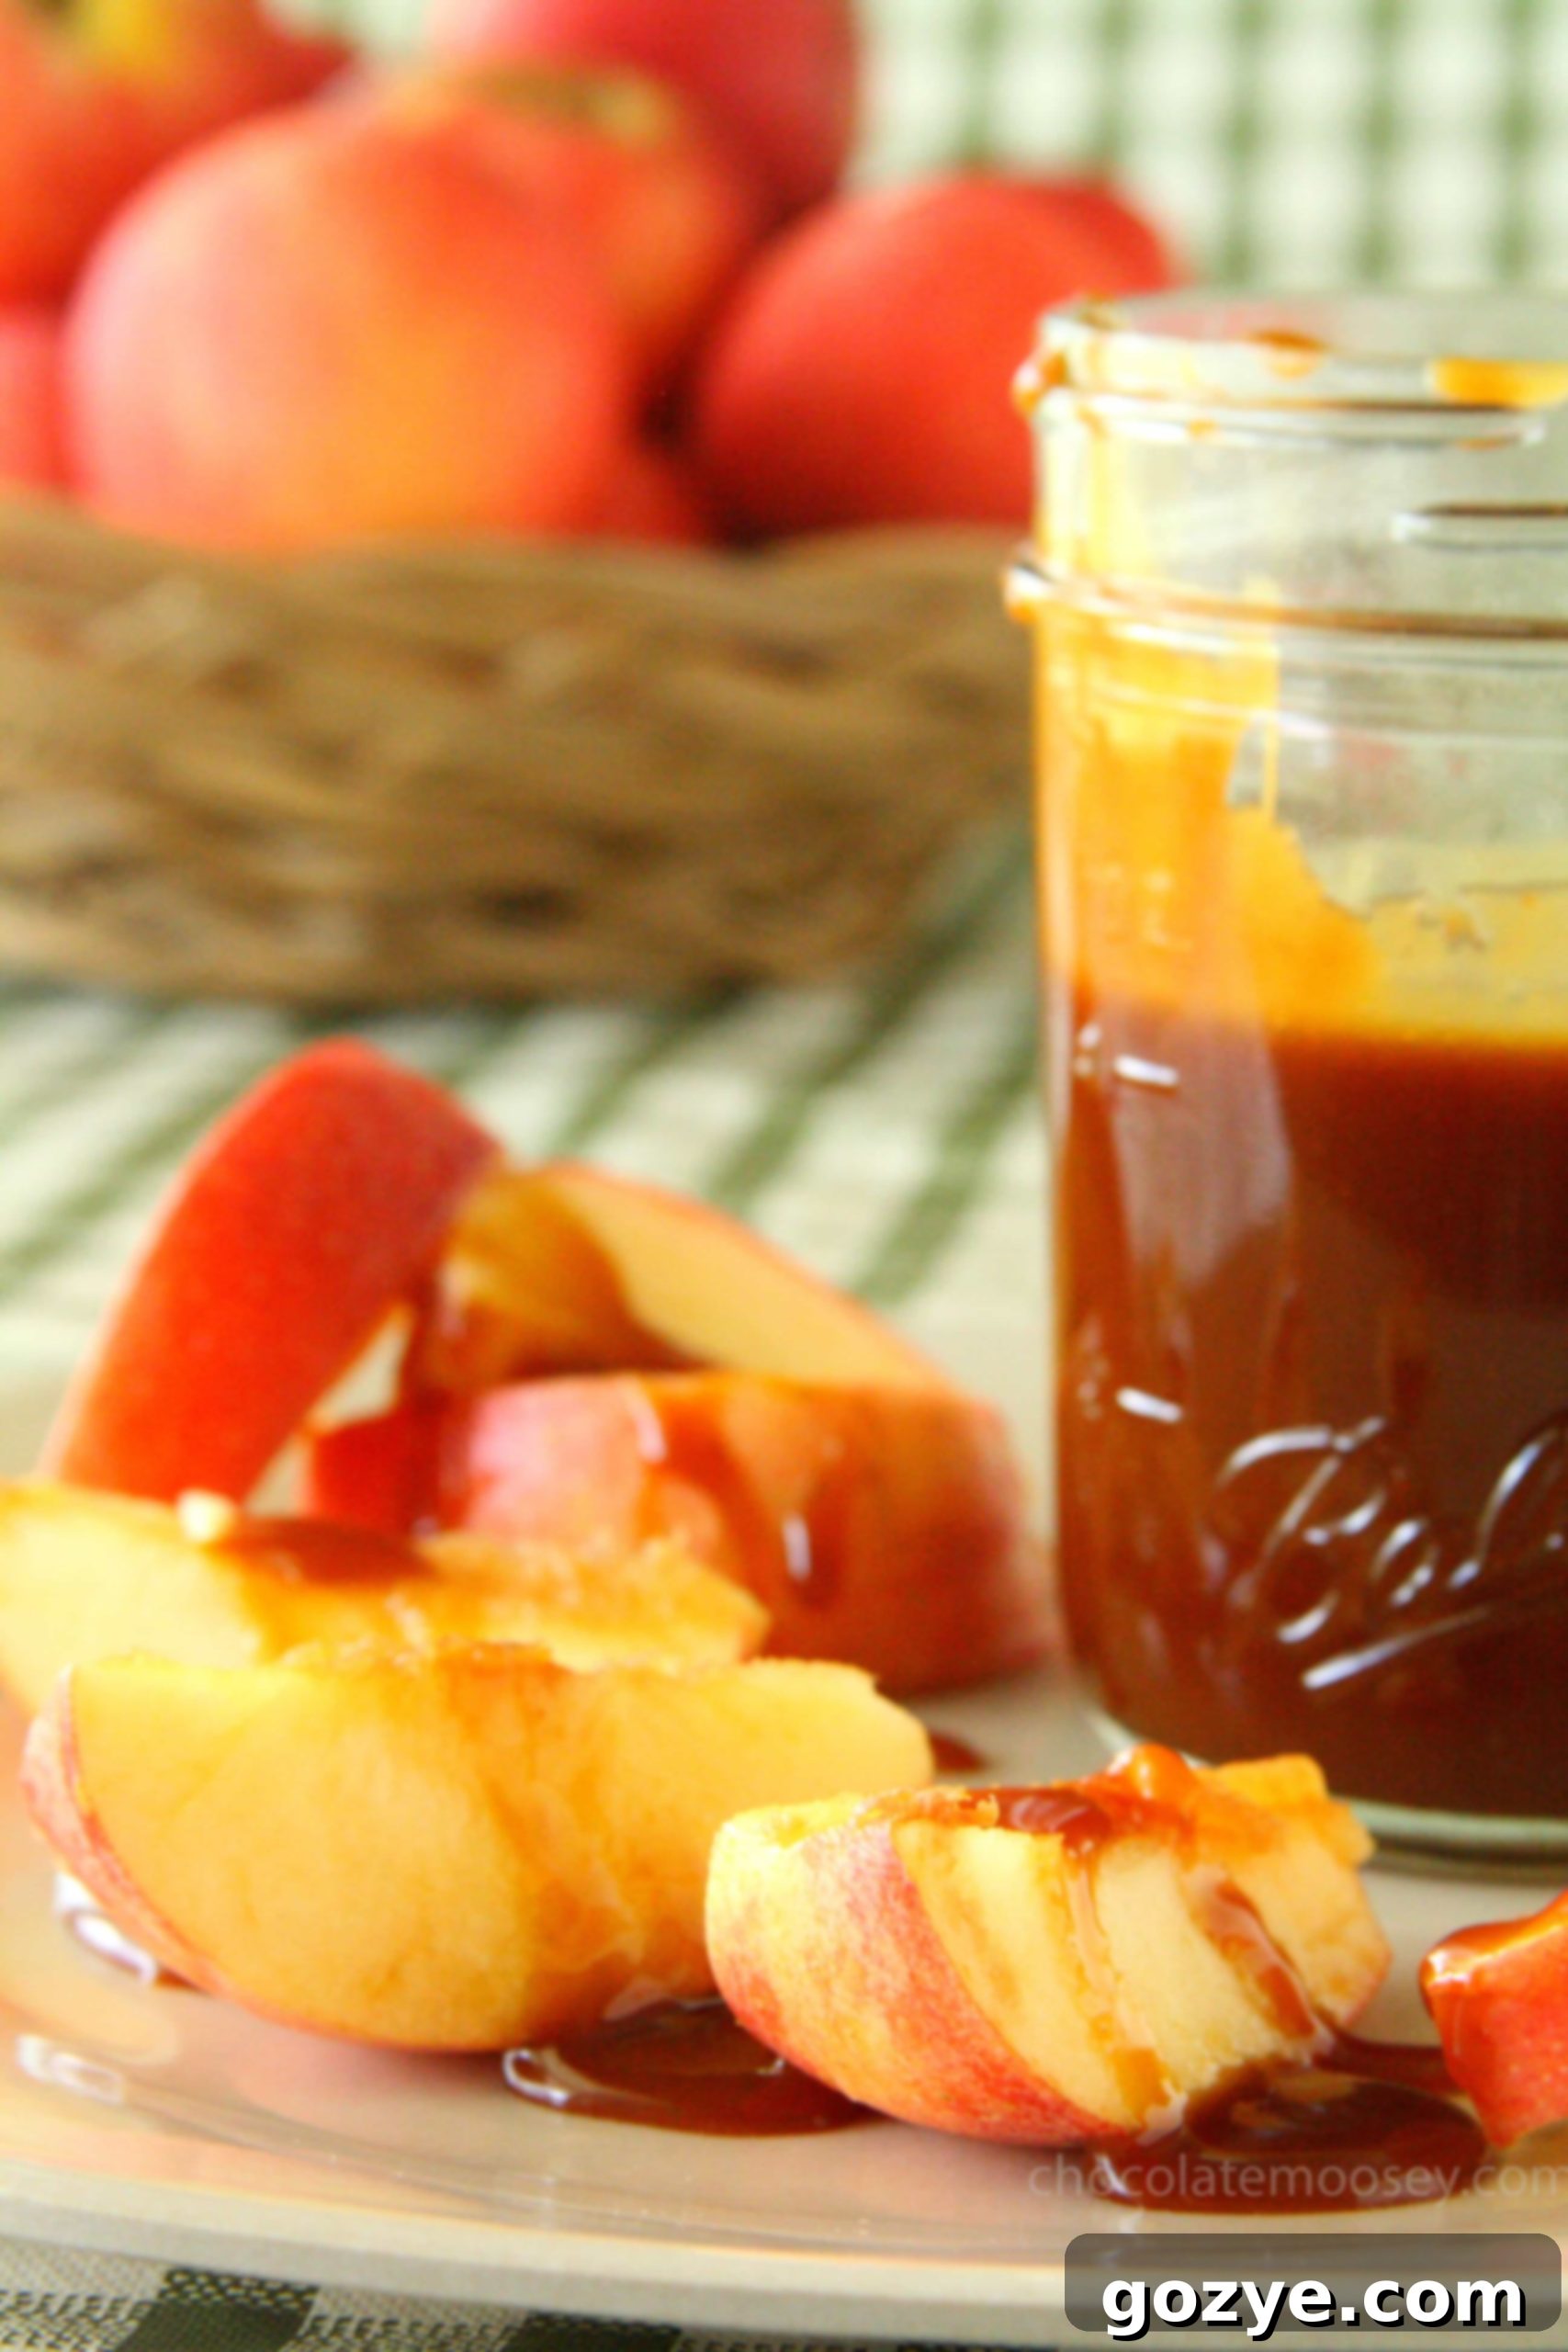
How to Make Homemade Caramel Sauce: A Step-by-Step Guide for Perfection
Making caramel can seem intimidating, but with careful attention and a few crucial tips, you’ll achieve perfect results every time. Before we dive in, let’s talk about safety – it’s paramount when working with hot sugar.
Safety First!
Years ago, during my first attempt at caramel, I learned a valuable lesson the hard way. I have a habit of banging my spoon on the edge of the pan to shake off excess liquid. Doing this with molten caramel caused a hot drop to fly back and land directly on my finger. Caramel is incredibly hot and much stickier than boiling water; it won’t just shake off. It adheres to your skin and continues to burn until you cool it with cold water. So, before you start, ensure you have a clear, unobstructed path to your sink and turn on the cold water. It’s better to be prepared just in case.
Also, have all your ingredients measured and ready to go (mise en place!). The caramel-making process moves quickly, and you won’t have time to scramble for ingredients once the sugar starts cooking. The longer it cooks, the higher the risk of burning, so efficiency is key.
The Caramel-Making Process:
- Melt the Sugar: Begin by adding your granulated sugar to the bottom of a heavy-bottomed, deep saucepan. A heavy pan ensures even heat distribution, preventing hot spots that can burn the sugar. Place the pan over medium heat. As the sugar begins to melt around the edges, start whisking gently to encourage even melting. Continue whisking until the sugar has fully dissolved and comes to a boil.
- Stop Stirring and Cook to Color: Once the sugar mixture is boiling, resist the urge to stir! Continuing to whisk at this stage can introduce air and cause the sugar to crystallize, resulting in a grainy caramel. Instead, let the sugar cook undisturbed. Watch carefully as it transforms from clear syrup to a beautiful, light amber color. This is the crucial stage where flavor develops.
- Achieving the Perfect Amber Shade: The goal is a light amber hue, similar to honey or a pale copper penny. It’s better to err on the side of slightly lighter than you think it should be, because the sugar will continue to cook and darken from residual heat even after you remove it from the stove. If you wait until it looks “just right” in the pan, it will likely be burnt by the time you’re finished. Burnt sugar tastes bitter and unpleasant, so trust your judgment and remove it from the heat when it’s a light, golden amber.
- Carefully Incorporate the Butter: As soon as the sugar reaches that perfect light amber color, carefully add the softened, cut-up butter to the pan. Be prepared for some vigorous sizzling and bubbling as the butter hits the hot sugar. Whisk constantly until all the butter has melted and is fully incorporated into the sugar mixture, creating a smooth, rich base.
- Adding the Warmed Cream (The Critical Step!): Remove the pan from the heat. Now, carefully and slowly pour in about half of your warmed heavy cream. Again, be ready for significant bubbling and steam; pour gently and keep your face away from the pan. Once the initial bubbling subsides, slowly whisk in the remaining cream until the mixture is smooth and fully combined. If using, now is the time to whisk in your sea salt for that delightful salted caramel flavor.
- Troubleshooting Seized Caramel: If your caramel seizes (clumps up and hardens) when you add the cream – which can happen if the cream is too cold or added too quickly – don’t panic! Simply return the pan to very low heat and continue whisking gently. The heat will help the sugar clumps melt back into a smooth sauce. If you still have tiny, stubborn lumps that won’t dissolve, you can strain the sauce through a fine-mesh sieve before it cools completely to achieve a perfectly smooth consistency.
- Cooling and Storage: Allow the caramel to cool in the pan for a few minutes to temper slightly. Then, carefully transfer it to a heat-proof container, such as a glass mason jar. It is extremely important not to taste the sauce until it has cooled considerably! Molten caramel can cause severe burns to your tongue. Let the caramel cool completely to room temperature before covering and storing. Warm it gently before serving for the best pourable consistency.
Tips for Success and Troubleshooting Common Caramel Issues
Making caramel can be a rewarding experience, but a few common pitfalls can trip up even experienced cooks. Here are some extra tips to ensure your homemade caramel sauce is always a success:
- Preventing Crystallization: The key here is patience and restraint. Once your sugar starts boiling and melting, stop stirring. If you feel the need to move it around, you can gently swirl the pan. Stirring sugar when it’s just molten can cause sugar crystals to form on the sides of the pan, which can then fall back into the syrup and cause the entire batch to crystallize.
- Avoiding Burns: As reiterated, hot sugar is no joke. Always have cold water ready. Use a long-handled whisk or spoon to keep your hands at a safe distance from the bubbling mixture and steam.
- Dealing with Seized Caramel: If your caramel seizes despite warming the cream, remember it’s usually fixable. Low heat and gentle whisking will often bring it back together. If it’s very lumpy, a quick strain will salvage the texture.
- Achieving the Right Color: Don’t walk away from the pan! Caramel can go from perfectly golden to burnt in a matter of seconds. Keep a close eye on the color, and remember it will continue to darken off the heat. When in doubt, err on the side of a lighter amber.
- The Importance of Warm Cream: This cannot be stressed enough. Cold cream creates a thermal shock that causes the sugar to solidify rapidly. Warming it slightly beforehand minimizes this shock, allowing for a smooth integration and preventing seizing.
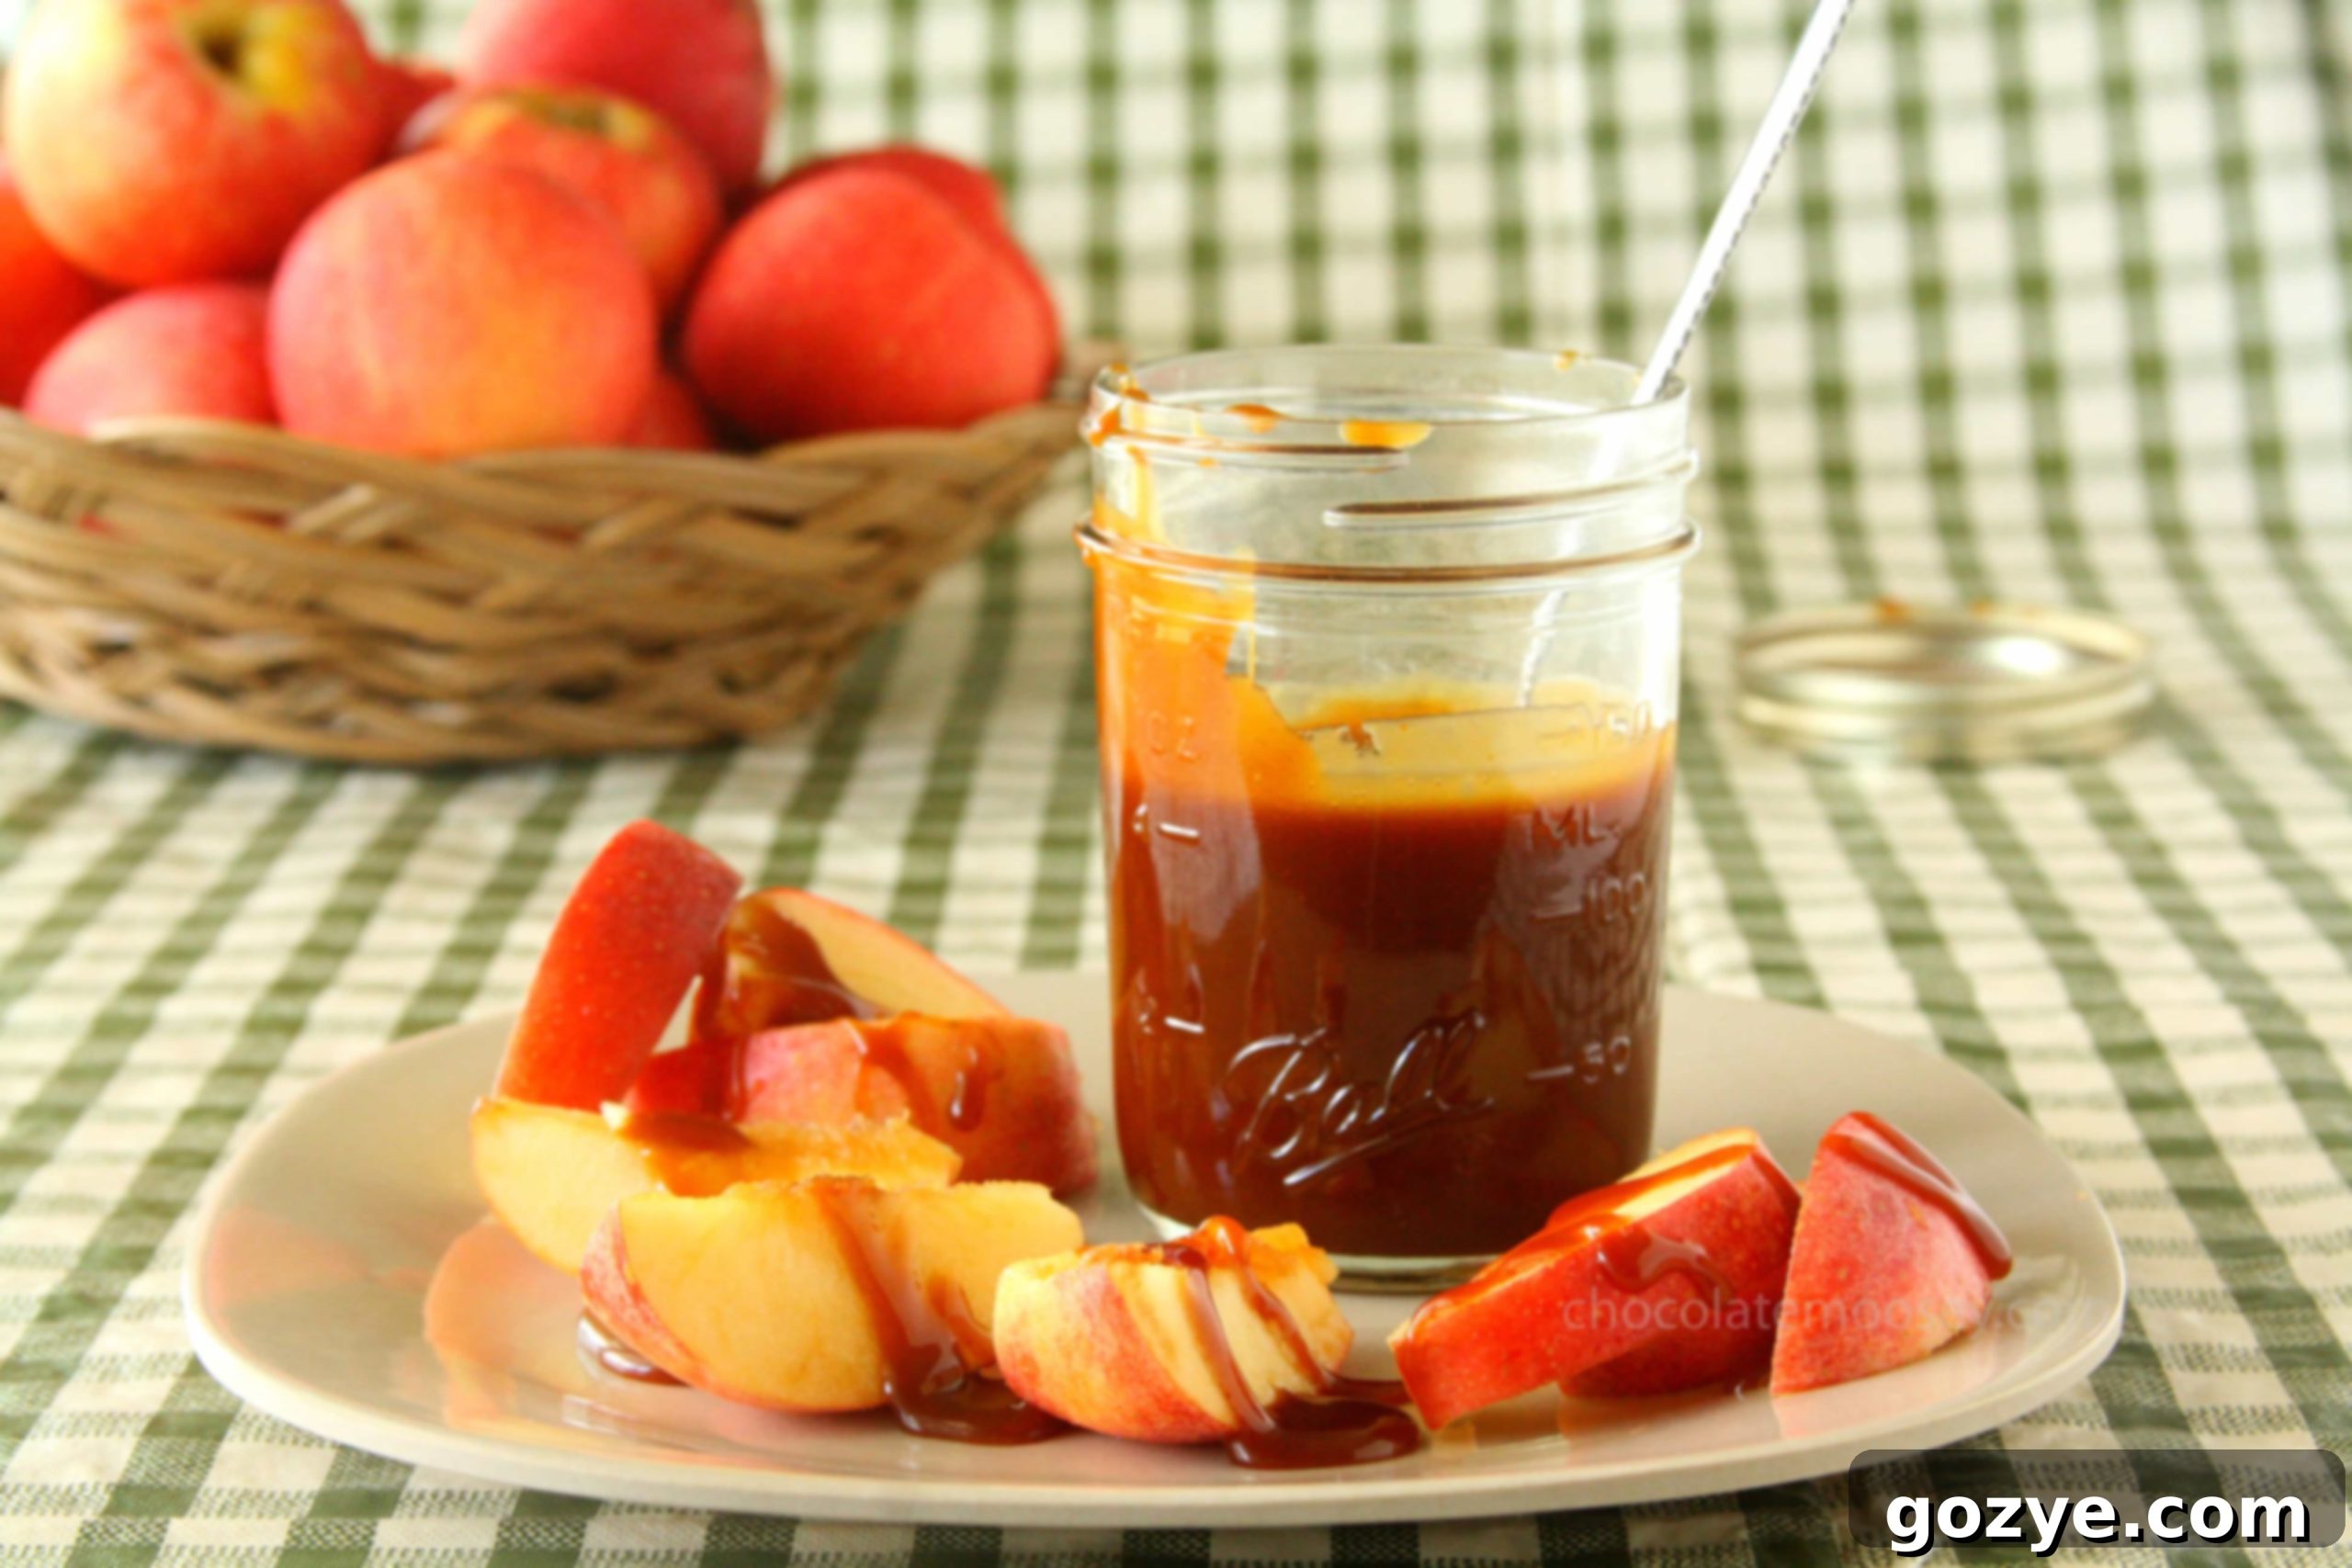
Storing Your Homemade Caramel Sauce
Once your rich caramel sauce has been made, proper storage ensures its freshness and longevity. Since the sauce will be extremely hot immediately after cooking, transfer it to a heat-proof container such as a glass mason jar. If you don’t have a suitable heat-proof container readily available, simply let the caramel cool completely in your saucepan before transferring it to your chosen storage vessel.
Make sure the caramel has cooled completely to room temperature before sealing the container and placing it in the refrigerator. This prevents condensation from forming inside the container, which can lead to crystallization.
How Long Does Homemade Caramel Sauce Last?
Due to the dairy content (heavy cream and butter), your homemade caramel sauce needs to be refrigerated. When stored in an airtight container in the refrigerator, it will remain fresh and delicious for up to two weeks. Always give it a gentle sniff test if you’re unsure after this time, but typically, it holds up beautifully for a couple of weeks.
To serve after refrigeration, simply warm the caramel gently in the microwave in 15-20 second intervals, stirring in between, or in a small saucepan over low heat until it reaches your desired pourable consistency.
Frequently Asked Questions About Homemade Caramel Sauce
- Can I use brown sugar instead of granulated sugar? No, if you use brown sugar, you’ll actually be making butterscotch, not caramel. While delicious, butterscotch has a distinct, deeper, molasses-like flavor. For true caramel, stick to granulated sugar.
- Why did my caramel crystallize? Crystallization usually occurs if you stir the sugar too much once it has melted and started boiling, or if sugar crystals adhere to the sides of the pan and fall back into the mixture. Avoid stirring after the initial melt, and you can brush down the sides of the pan with a wet pastry brush if you see crystals forming.
- My caramel seized up when I added the cream, what do I do? This is a common issue, often caused by cold cream. Don’t worry! Return the pan to very low heat and whisk continuously until the hardened caramel melts back into a smooth sauce. Patience is key here.
- How can I make salted caramel? Simply add 1 teaspoon of sea salt (or to taste) at the very end of the process, after you’ve incorporated the cream. Whisk it in until fully dissolved.
Delicious Recipes Using Your Homemade Caramel Sauce
Beyond simply eating it by the spoonful (which is highly encouraged!), your freshly made homemade caramel sauce is an incredible ingredient to elevate a variety of sweet dishes. Here are some of our favorite recipes where this rich, buttery sauce truly shines:
- Caramel Hot Chocolate: Swirl a generous amount into your hot chocolate for a comforting, indulgent beverage that feels like a warm hug.
- Mini Caramel Cheesecakes: Top individual cheesecakes with this golden sauce for a sophisticated and incredibly delicious dessert that’s perfect for entertaining.
- Caramel Apple Cheesecake: Combine the classic flavors of apple and pecan with a rich caramel drizzle for a truly show-stopping cheesecake.
- No Bake Caramel Apple Cheesecake Parfaits: Layer crunchy graham crackers, creamy cheesecake filling, and tender apples with a luscious caramel for an easy, no-fuss dessert.
- Cheesecake Stuffed Apples: Hollowed-out apples filled with creamy cheesecake and drizzled with caramel make for a unique and delightful treat.
- Waffle Cone Ice Cream: Elevate your homemade or store-bought ice cream by folding in or topping with this rich caramel, perhaps in a crunchy waffle cone.
- Caramel Affogato: A scoop of vanilla ice cream drowned in hot espresso with a swirl of caramel creates a sophisticated and simple Italian-inspired dessert.
Craving even more caramel goodness? Dive into my full collection of caramel recipes for endless inspiration and sweet possibilities!
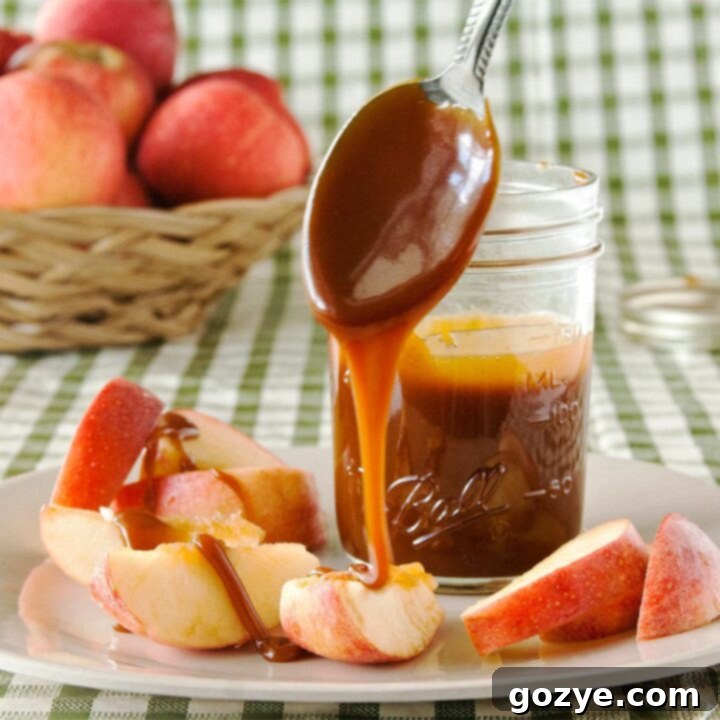
Homemade Caramel Sauce
1 cup
10 minutes
15 minutes
25 minutes
This rich and buttery Homemade Caramel Sauce, made from scratch with just 3 essential ingredients, is easier than you imagine! Perfect for drizzling over ice cream, dipping apples, or enhancing your favorite desserts.
Ingredients
- 1 cup granulated sugar
- 6 tablespoons unsalted butter, softened and cut into 6 pieces
- 1/2 cup heavy whipping cream, warmed in the microwave for 10-15 seconds (cold cream can cause seizing)
- 1 teaspoon sea salt (optional, for a delicious salted caramel)
Instructions
- Place the granulated sugar in the bottom of a large, heavy saucepan and heat over medium heat. As the sugar begins to melt around the edges, start whisking until it completely dissolves and comes to a boil.
- Once boiling, stop stirring the sugar. Allow it to cook undisturbed until it melts and transforms into a beautiful light amber color. Watch carefully, as it can burn quickly. The sugar should appear slightly lighter than your desired final color, as it will continue to darken with residual heat once removed from the stove.
- Carefully add the softened butter, a few pieces at a time, to the hot sugar. Whisk continuously until all the butter has melted and is fully incorporated into the sugar mixture, creating a smooth base.
- Remove the pan from the heat. Carefully and slowly pour in about half of the warmed heavy cream. Be prepared for significant bubbling and steam. Once the initial bubbling settles, slowly whisk in the remaining cream until the sauce is smooth and fully combined. If using, stir in the sea salt now.
If your caramel seizes (clumps up) when adding the cream, place the pan back over very low heat and whisk gently until it becomes smooth again. If any small clumps persist, strain the sauce through a fine-mesh sieve before cooling to ensure a silky texture.
- Let the caramel sauce cool in the pan for a few minutes, then transfer it to a heat-proof container (like a mason jar). Allow it to cool completely to room temperature before covering and storing in the refrigerator for up to two weeks. Always warm gently before serving for the best consistency.
Notes
- Preparation is Key: Have all your ingredients measured and ready to go (mise en place) before you start, as the caramel-making process is quite fast. For safety, ensure a clear path to the sink and have cold water ready in case of accidental burns from hot sugar.
- Creative Uses: Beyond simply enjoying it with a spoon, this versatile sauce can be used in countless ways! Explore more delicious ideas in my full collection of caramel recipes.
- Never Taste Hot Caramel: The temperature of molten sugar is extremely high and can cause severe burns to your mouth. Always allow the caramel to cool significantly before tasting. Your tongue will thank you!
Did you make this recipe?
Let me know what you think! Rate the recipe above, leave a comment below, and/or share a photo on Instagram using #HITKrecipes
Originally published September 30, 2012
