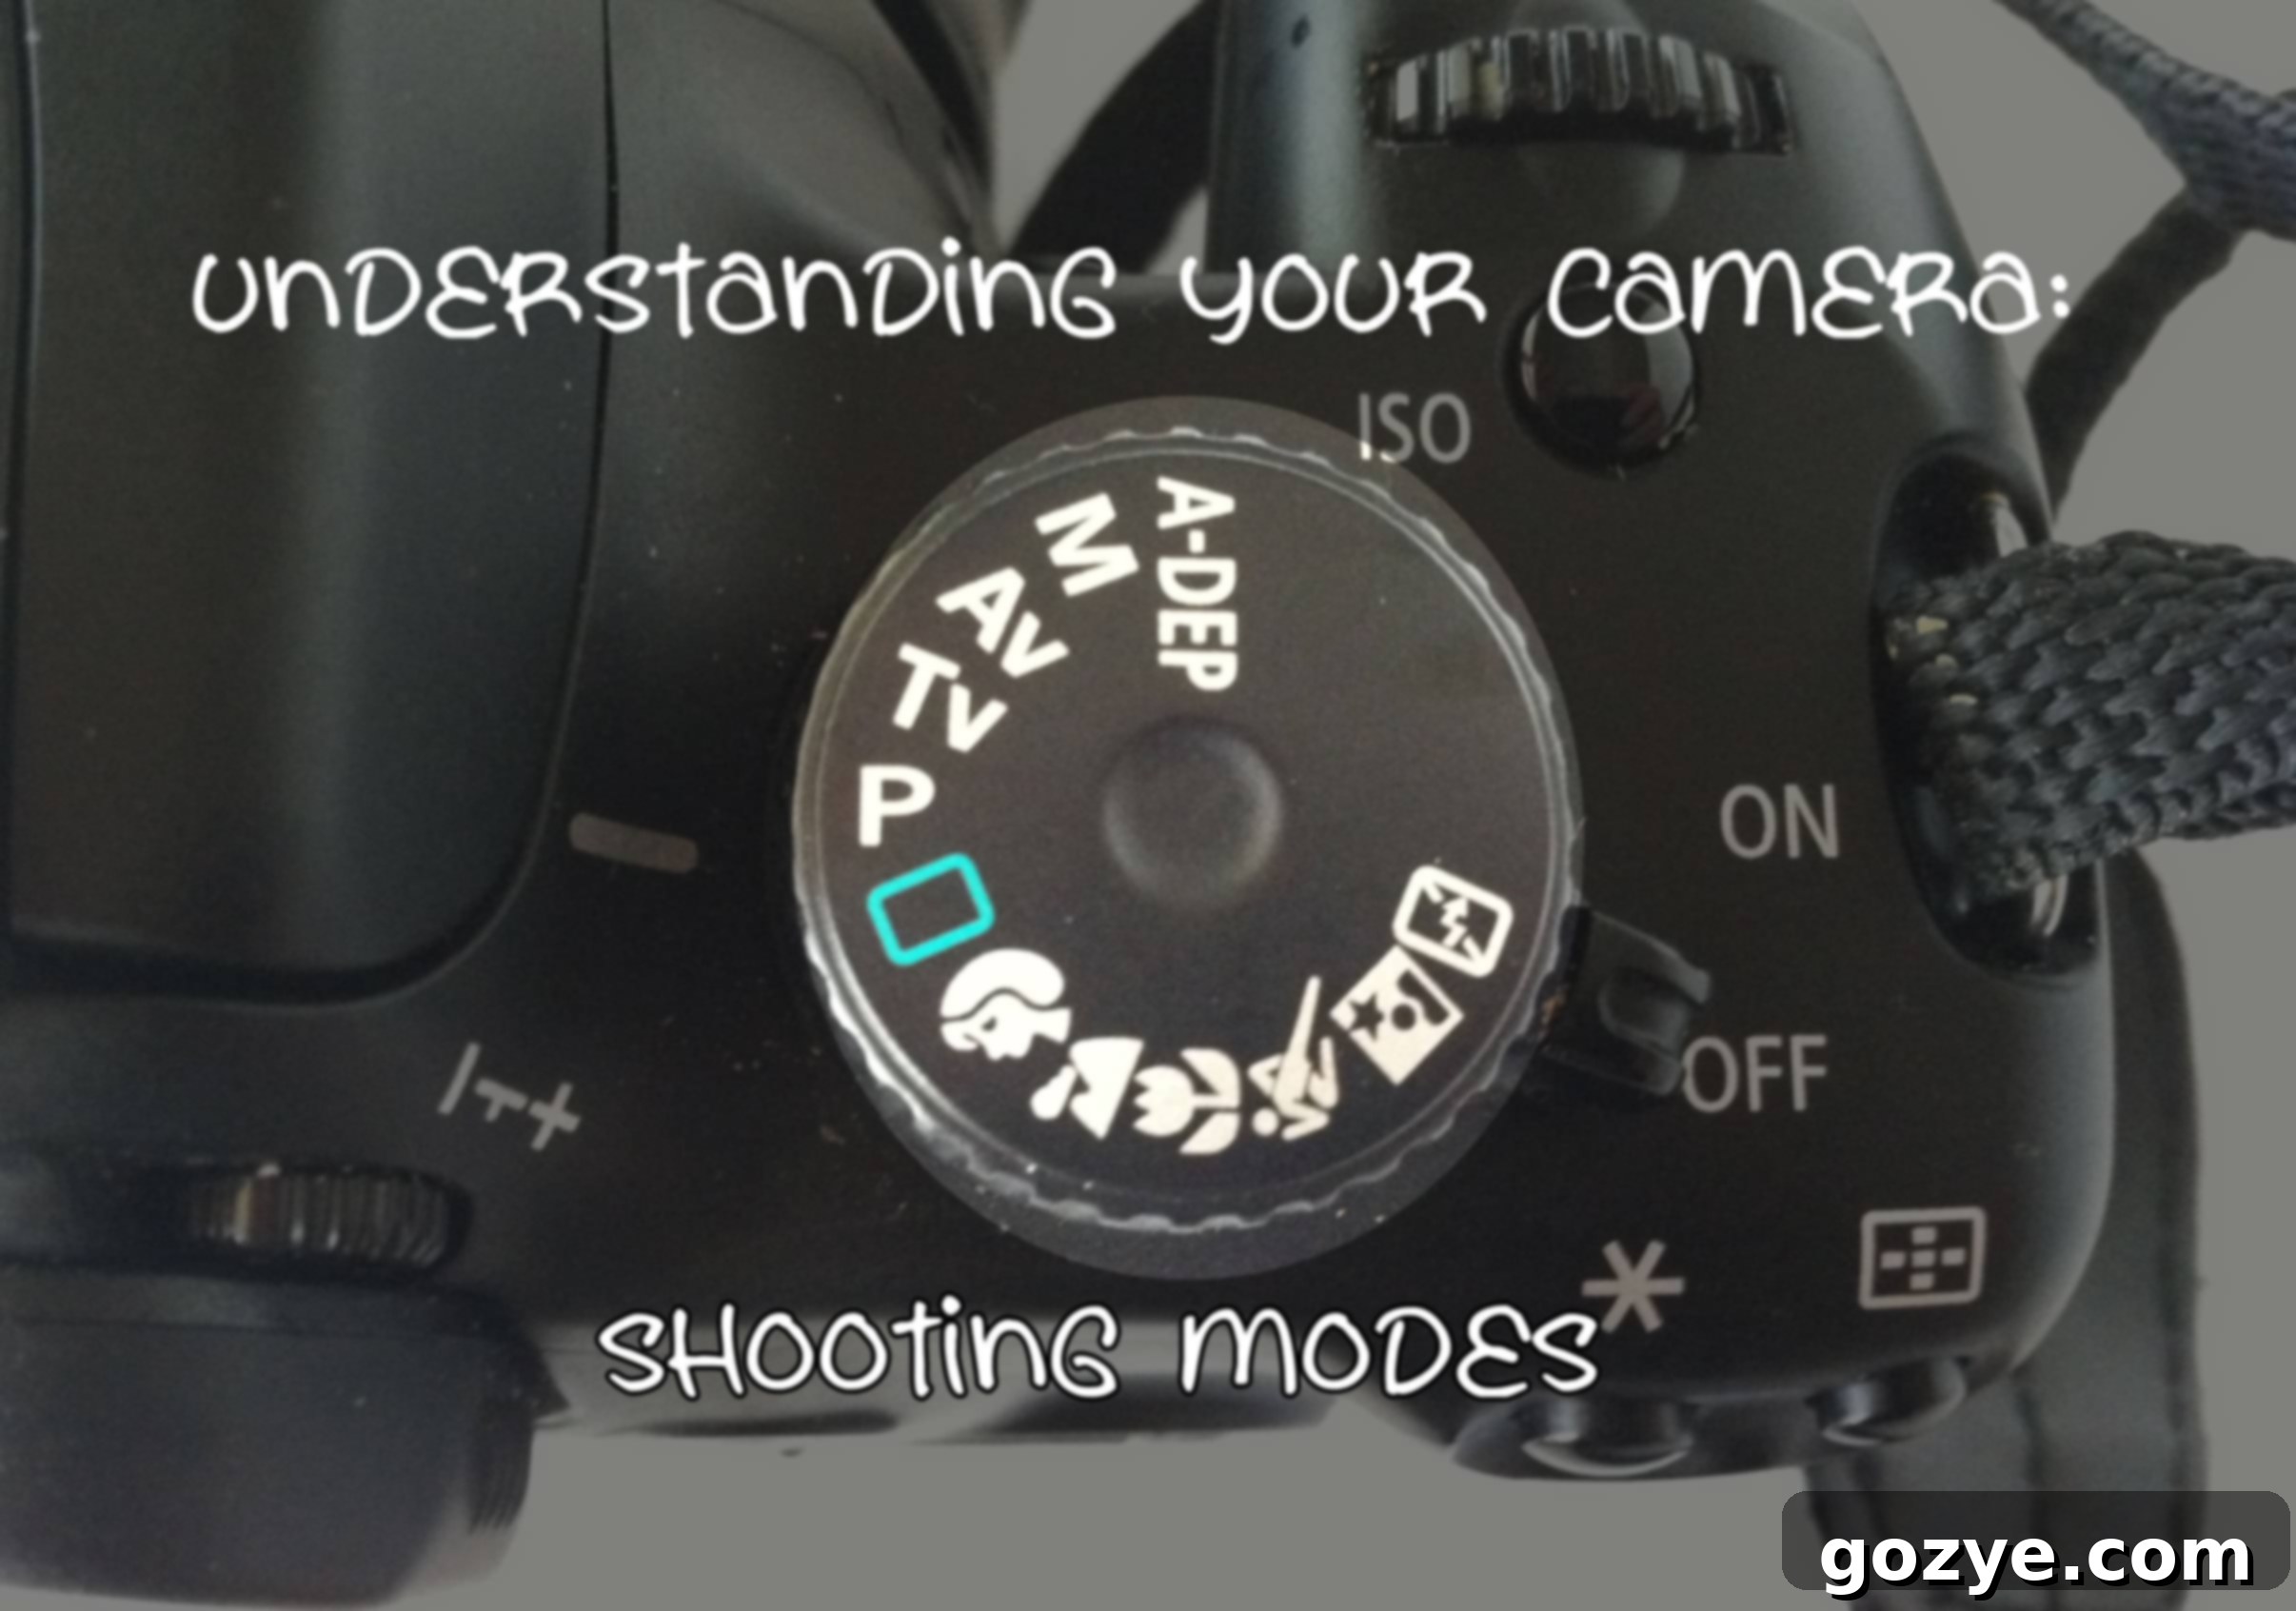
Master Your Camera: A Comprehensive Guide to Shooting Modes for Better Photography
Do you remember the excitement of picking up your first digital camera? Perhaps it was a gift, a compact point-and-shoot, or even your first DSLR. I vividly recall my first digital camera—a modest 3.0-megapixel wonder with just three shooting modes. As I upgraded to more advanced cameras, I noticed a myriad of new icons appearing on the dial, each promising new photographic possibilities. But what do all these symbols and modes truly mean, and how can you leverage them to capture the images you envision?
Most digital cameras, from entry-level point-and-shoots to professional DSLRs and mirrorless systems, feature a mode dial on top. This dial is your gateway to various shooting modes, each dictating how your camera interprets and captures a scene. These modes can broadly be categorized into two main types: basic (or automatic) modes and creative (or semi-automatic/manual) modes. While this guide primarily focuses on the power and flexibility of creative modes, we’ll also touch upon the convenience offered by basic modes. Although tailored for DSLR and mirrorless camera users, much of this information is equally beneficial for advanced point-and-shoot cameras that offer similar controls.
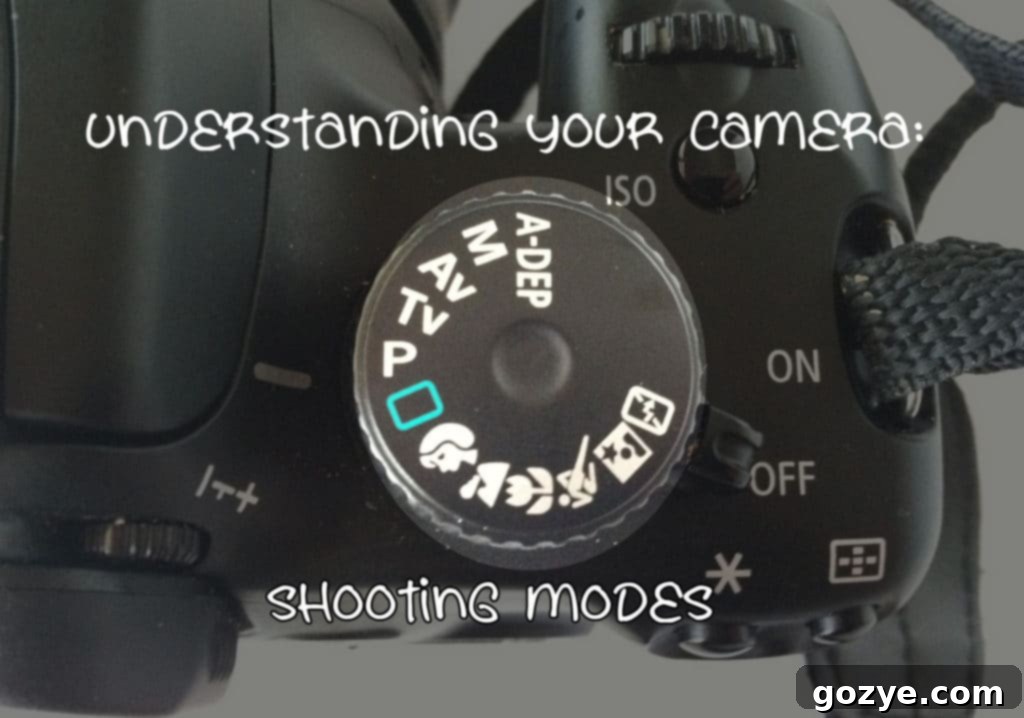
Understanding these modes is the first crucial step towards moving beyond simple snapshots and truly taking control of your photography. It’s about empowering yourself to make intentional choices that transform ordinary scenes into extraordinary photographs, rather than letting the camera decide for you.
Basic Shooting Modes: Convenience and Simplicity
Basic shooting modes are designed for ultimate convenience, allowing you to capture moments without needing to adjust a single setting. The camera automatically determines the optimal settings for aperture, shutter speed, ISO, and white balance based on the scene it detects. If your goal is simply to “point and shoot” without thinking about the technicalities, these modes are incredibly useful, especially for casual photographers or when you need to react quickly without time for manual adjustments.
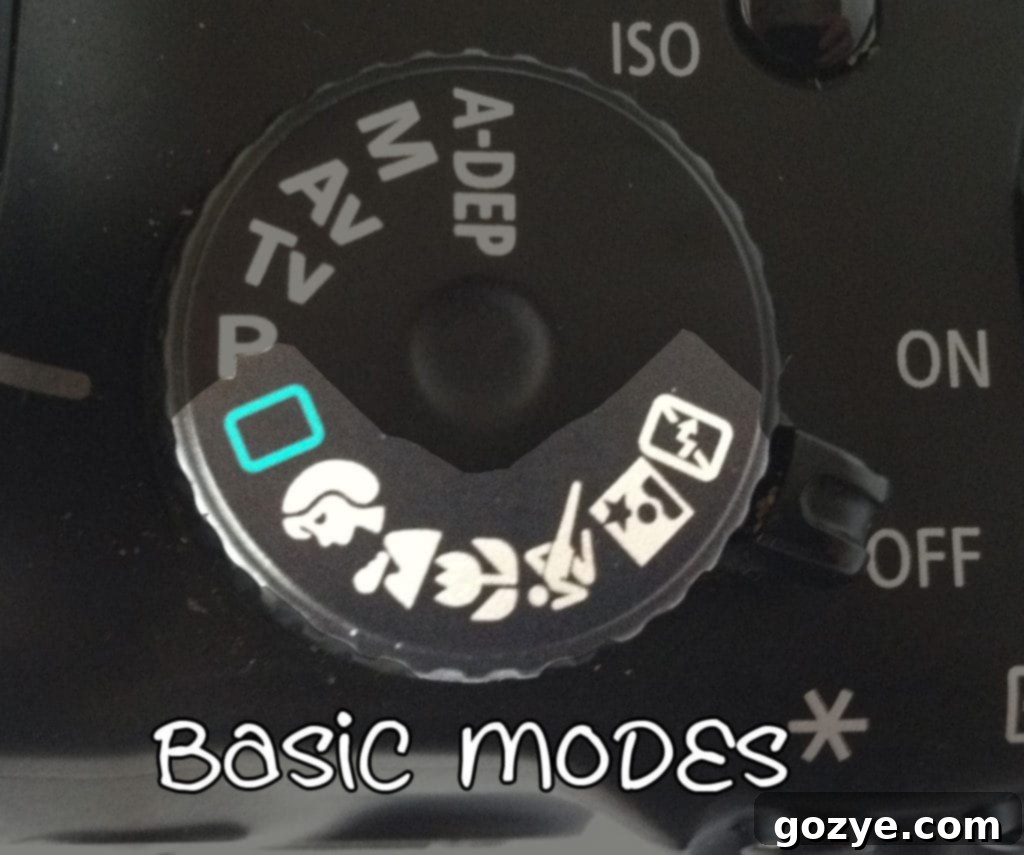
Auto Mode (Green Square or Auto Symbol)
Often represented by a green square or a simple “Auto” symbol, this is the most hands-off mode. The camera takes full control, picking what it believes are the best settings for every aspect of the exposure triangle (aperture, shutter speed, ISO) as well as white balance and flash. It will decide whether to use the flash, what ISO to set, and the appropriate aperture and shutter speed. While great for beginners or quick snapshots, it offers virtually no creative input from the photographer and can sometimes yield unpredictable results, especially in challenging lighting conditions.
Scene Modes (Icons like Person, Mountain, Flower, Runner)
Many cameras also offer a range of specific scene modes, each tailored for common photographic situations. These modes pre-configure settings to suit particular scenarios, making it easier to get good results without manual adjustments:
- Portrait Mode (Head icon): This mode prioritizes a wide aperture (small f-number) to create a shallow depth of field. This blurs the background beautifully, making your subject stand out prominently—ideal for flattering portraits.
- Landscape Mode (Mountain icon): Here, the camera selects a narrow aperture (large f-number) to ensure a deep depth of field, keeping both foreground and background elements sharp and in focus. It often enhances colors and contrast to create vibrant scenic shots.
- Sports/Action Mode (Runner icon): Employs a fast shutter speed to freeze motion, ensuring crisp images of moving subjects like athletes, pets, or children playing. This helps eliminate blur caused by subject movement.
- Macro Mode (Flower icon): Optimizes settings for close-up photography, allowing you to focus on small details like insects or flowers. It often adjusts focus range and aperture for optimal sharpness at short distances.
- Night Portrait Mode: This intelligent mode combines flash (to illuminate your subject) with a slower shutter speed (to properly expose the ambient light in the background). This helps avoid the “black background” effect often seen with simple flash photography at night.
- Beach/Snow Mode: These specific modes compensate for extremely bright, reflective scenes (like a sunny beach or snow-covered landscape), which can often trick the camera’s light meter into underexposing the image. The camera adjusts exposure to prevent subjects from appearing too dark or colors from being washed out.
- Food Mode: Often enhances colors, provides a slightly warmer white balance, and frequently uses a relatively shallow depth of field to keep the focus sharply on the dish while gently blurring distractions.
These scene modes are invaluable for photographers who want good results quickly without delving into technical settings. They work by anticipating typical conditions and goals for specific scenarios, allowing the camera to make educated guesses on your behalf.
Creative Shooting Modes: Taking Control of Your Vision
This is where the true power and versatility of a DSLR or mirrorless camera truly shine. Creative modes empower you with direct control over some or all camera settings, allowing you to dictate the final look and feel of your images with precision and artistic intent. If you’ve invested in a camera that offers these modes and aren’t actively using them, you’re missing out on the primary reason these cameras are designed and priced as they are. Relying solely on automatic settings means letting the camera guess your creative intent, and more often than not, it won’t perfectly translate your vision because it simply doesn’t know what you want to achieve.
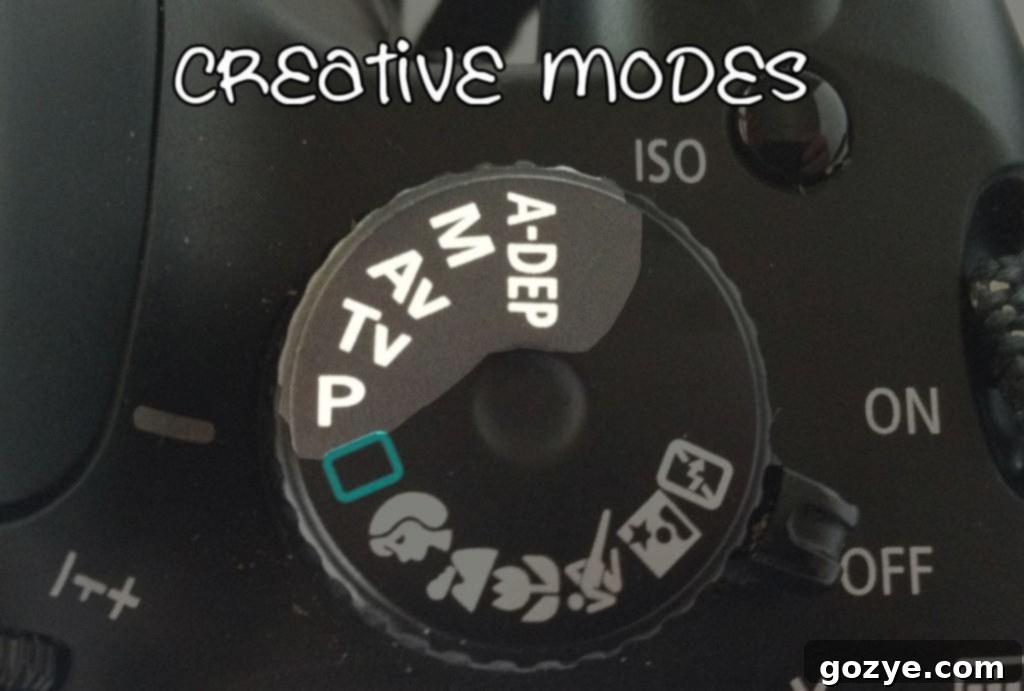
Why Control Matters: The Exposure Triangle and Artistic Vision
The main reason to take control of your settings is to master the ‘exposure triangle’—the fundamental interplay between ISO, aperture, and shutter speed. This trio not only affects the brightness of your photograph but also profoundly influences its artistic quality and mood. Lighting conditions are incredibly dynamic; it’s virtually impossible for a camera’s automated system to always achieve a 100% perfect exposure or to understand your unique creative vision. While modern cameras can be impressively accurate in auto mode, custom adjustments significantly improve your results, allowing for a level of precision and artistry that auto modes simply cannot match.
Adjusting settings such as ISO (light sensitivity), aperture (which controls depth of field), and shutter speed (which controls motion blur) allows you to make the scene brighter or darker, freeze action, or create intentional blur, precisely when your camera’s auto-settings fall short. Perhaps you intentionally want a darker, moodier scene to convey a particular feeling, or you need to freeze fast action with impeccable sharpness. Beyond mere exposure, control also extends to crucial elements like white balance, which dictates the overall color temperature of your image. Even the slightest, intentional adjustment in white balance can dramatically improve your picture’s accuracy and aesthetic appeal, preventing unwanted color casts and ensuring true-to-life (or creatively modified) colors.

Homemade Caramel Sauce with white balance adjustment
Let’s dive into the core creative modes that truly unlock your camera’s potential: Program (P), Shutter Priority (Tv/S), Aperture Priority (Av/A), and Manual (M).
Program Mode (P)
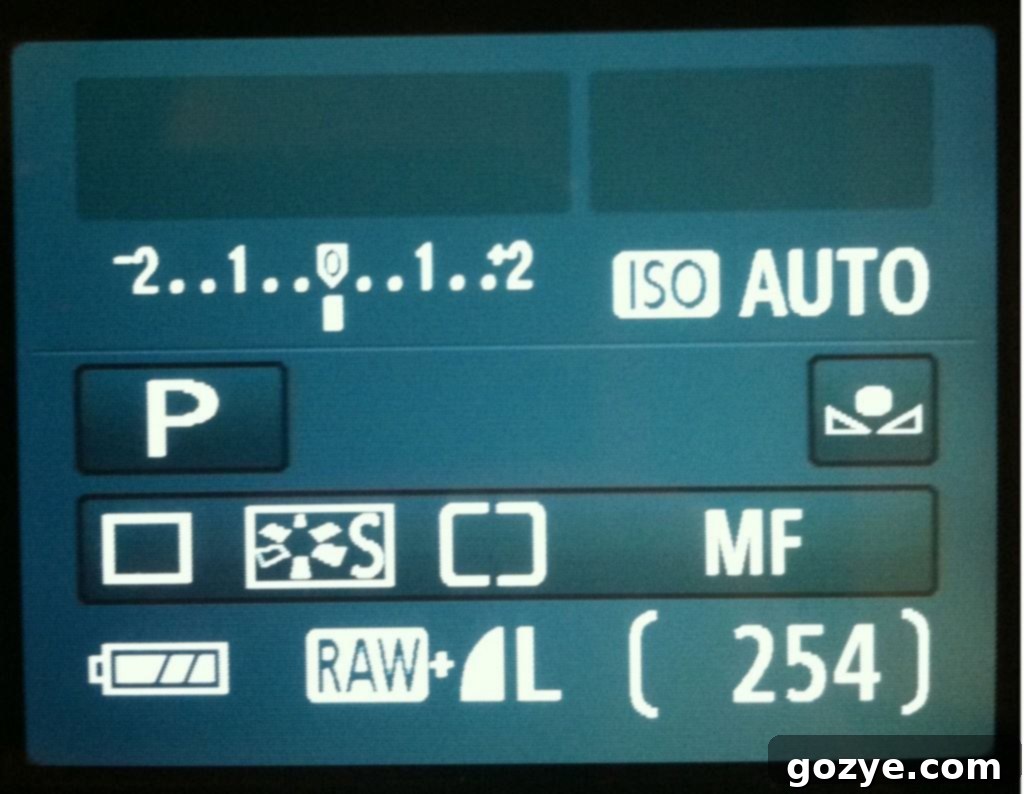
Program mode, often seen as a valuable bridge between full auto and the more advanced creative modes, offers a smart compromise. In ‘P’ mode, the camera automatically sets both the aperture and shutter speed based on its light meter readings, similar to Auto mode. However, unlike full auto, it provides you with significant control over several other critical settings, empowering you to influence the final image without having to manage all exposure parameters simultaneously. These include:
- ISO: You can choose the camera’s sensitivity to light, a crucial setting for controlling image noise in various lighting conditions.
- White Balance: Adjust the color temperature to ensure accurate colors and prevent unwanted color casts, allowing for creative color manipulation.
- Exposure Compensation: This powerful tool allows you to intentionally make the image brighter or darker than what the camera’s meter suggests. It’s incredibly useful for tricky lighting scenarios where the camera might misinterpret the scene.
- Flash Control: You have the ability to decide whether the flash fires or not, unlike auto mode where it often pops up automatically and sometimes unexpectedly.
- Autofocus Modes and Points: Greater control over how and where your camera focuses within the frame.
- Picture Styles/Creative Presets: Access to customizable image processing settings like sharpness, contrast, and saturation.
I often find myself using ‘P’ mode when I’m in a hurry or in rapidly changing situations, such as while traveling or capturing unpredictable moments (like children or pets playing). It allows for quick, responsive shooting while still giving me enough control to influence the final image, offering far more flexibility than full auto.
P Mode vs. Auto Mode: Why Choose P?
The distinction between ‘P’ mode and ‘Auto’ mode is significant, especially for DSLR and mirrorless users aspiring to improve their photography. In ‘Auto’ mode, you surrender all control; the camera makes every single decision, from white balance to flash activation, often even restricting the use of the optical viewfinder in favor of the LCD screen on some models. If your sole intention is to always shoot in full auto, a simpler, less expensive point-and-shoot camera might suffice. ‘P’ mode, on the other hand, allows you to actively practice and understand essential photographic concepts like ISO and exposure compensation without the immediate complexity of managing both aperture and shutter speed simultaneously. It’s an excellent learning tool for new DSLR users to experiment with ISO, white balance, and focus, building confidence and a foundational understanding before tackling full manual control.
Shutter Priority Mode (Tv or S)
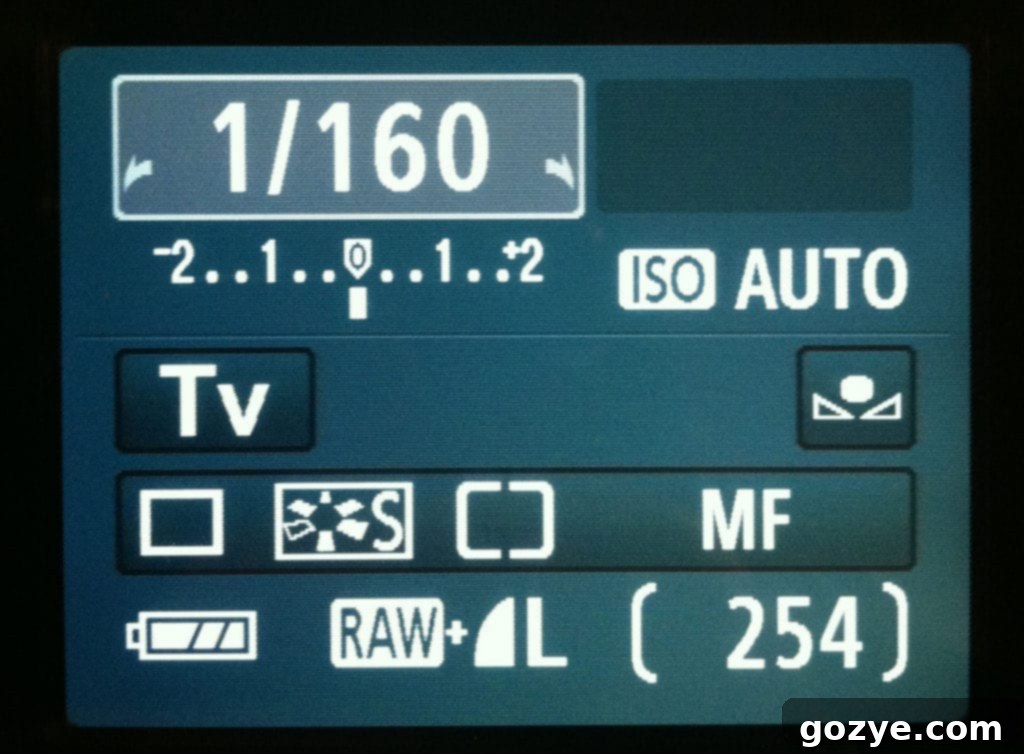
Shutter Priority mode, labeled ‘Tv’ (Time Value) on Canon cameras and ‘S’ (Shutter) on Nikon, Sony, and others, gives you direct, independent control over the shutter speed. In this mode, you set your desired shutter speed, and the camera automatically sets the appropriate aperture to achieve a correct exposure. This mode is paramount when your primary creative goal involves controlling motion within your photograph.
- Fast Shutter Speeds (e.g., 1/1000s, 1/500s, 1/250s): Use these to freeze fast-moving subjects completely, eliminating motion blur. This is ideal for sports photography, capturing wildlife in action, freezing water splashes, or getting tack-sharp images of active children and pets. A very fast shutter speed ensures that every detail of the moving subject is crisp and clear.
- Slow Shutter Speeds (e.g., 1/30s, 1 second, 30 seconds, or longer): These are used to intentionally introduce motion blur for artistic effect. This technique is perfect for creating silky smooth waterfalls, ethereal clouds, stunning light trails from cars at night, conveying a sense of speed in sports (through panning), or capturing star trails across the night sky. Slow shutter speeds almost always require a sturdy tripod to prevent camera shake from blurring the static parts of your image.
Mastering shutter speed allows you to tell a compelling story with movement—or the deliberate lack thereof—and is crucial for a wide range of photographic genres. Remember that the required shutter speed is heavily dependent on available light; very fast speeds may necessitate higher ISO settings or wider apertures in dim conditions, while very slow speeds often require a tripod and potentially neutral density (ND) filters in bright light to prevent overexposure.
Aperture Priority Mode (Av or A)
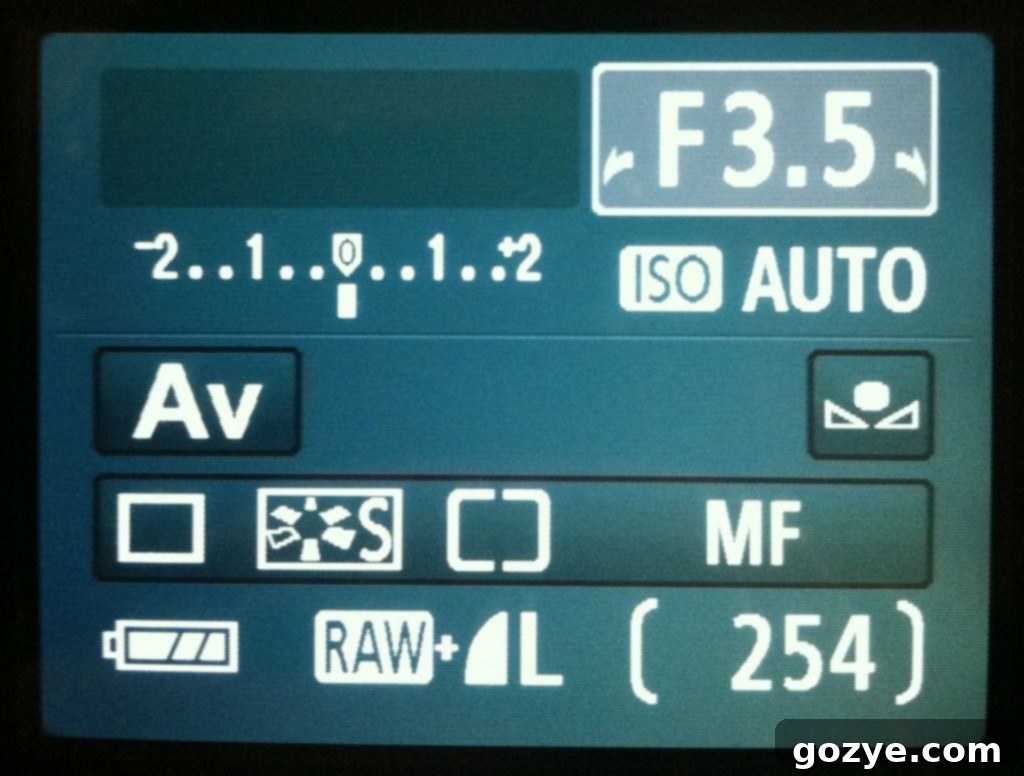
Aperture Priority mode, designated ‘Av’ (Aperture Value) on Canon and ‘A’ (Aperture) on Nikon, Sony, and others, puts you in direct charge of the aperture (the f-number). In this mode, you select your desired aperture, and the camera then automatically adjusts the shutter speed to ensure a correct exposure. This mode is fundamental for controlling the depth of field—how much of your image is in sharp focus from the foreground to the background.
I’ve written a detailed guide specifically about understanding aperture here, but let’s recap its core impact on your photography:
- Wide Aperture (Small f-number, e.g., f/1.8, f/2.8, f/4): A wider aperture creates a shallow depth of field. This means only a narrow plane of your image will be in sharp focus, while the background and foreground become beautifully blurred (often referred to as ‘bokeh’). This effect is ideal for portraits, food photography, isolating subjects from distracting backgrounds, or product shots where you want to draw the viewer’s eye directly to your primary subject.
- Narrow Aperture (Large f-number, e.g., f/11, f/16, f/22): A narrower aperture produces a deep depth of field. This keeps a much larger portion of your scene in sharp focus, from elements very close to the camera to those far in the distance. This is essential for landscape photography, architectural shots, or large group photos where you need everything within the frame to be acceptably sharp.
Aperture control is a cornerstone of creative photography, allowing you to manipulate focus and blur to enhance your subject, create visual separation, and guide the viewer’s eye through your composition. It’s often the first creative mode photographers master because its visual impact is so immediate and profound, allowing for a tangible difference in image aesthetics.
Manual Mode (M)
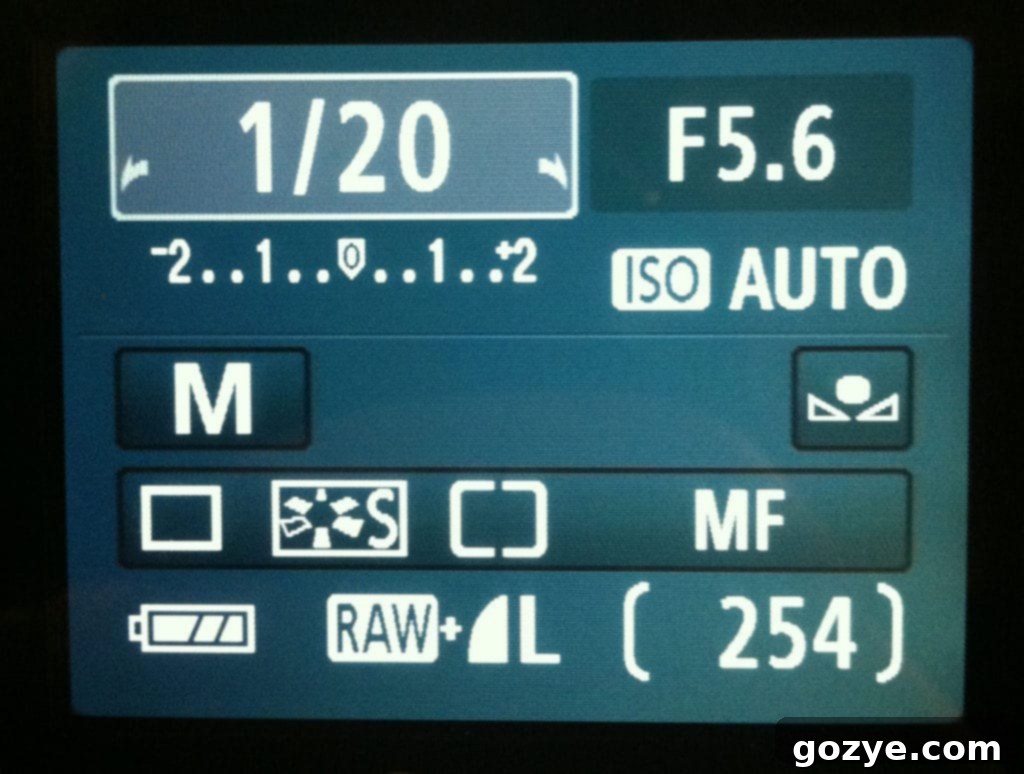
Manual mode (‘M’) grants you complete and independent control over all three pillars of the exposure triangle: aperture, shutter speed, and ISO. This mode offers unparalleled creative freedom and is where you truly become the master of your camera. While it typically has the steepest learning curve, it also offers the greatest rewards, especially in challenging or highly controlled lighting situations where precision is paramount.
Manual mode is particularly handy when the camera’s automatic metering might be fooled by complex lighting, or when you need absolutely consistent exposure across a series of shots (e.g., for time-lapses or panoramas). For example, if I’m shooting in Aperture Priority and want an aperture of f/8.0 but find the camera-selected shutter speed is too slow for handheld shooting, I can switch to Manual. In ‘M’ mode, I can set both my desired aperture (f/8.0) and a faster, hand-holdable shutter speed (e.g., 1/250s). Of course, to compensate for the reduction in light, I would then need to adjust my ISO (increase it), perhaps use a tripod, or introduce additional lighting to achieve a balanced exposure. This allows me to achieve my exact creative vision, regardless of what the camera’s meter might suggest.
Scenarios where Manual mode is invaluable include:
- Studio Photography: Where artificial lighting (strobes, flashes) provides consistent light, allowing you to precisely dial in your settings once and maintain them.
- Long Exposure Photography: For capturing light trails, star trails, or silky water effects where precise shutter speed control is paramount, often in conjunction with specific apertures for depth of field.
- Complex Lighting: When shooting against a bright backlight, in high-contrast scenes, or in mixed lighting conditions where the camera’s meter might struggle to find a balanced exposure.
- Maintaining Consistent Exposure: Essential for time-lapses, panoramas, or when shooting multiple images that need identical brightness and look for post-processing.
- Specific Creative Effects: For advanced artistic effects that require meticulous control over all exposure parameters simultaneously, such as intentional over or underexposure for mood.
Learning Manual mode involves understanding how each setting impacts the final image and how to effectively use your camera’s light meter as a guide, rather than an absolute rule. It transforms you from a mere picture-taker into a photographer with complete artistic agency and technical mastery.
Automatic Depth of Field Mode (A-Dep)
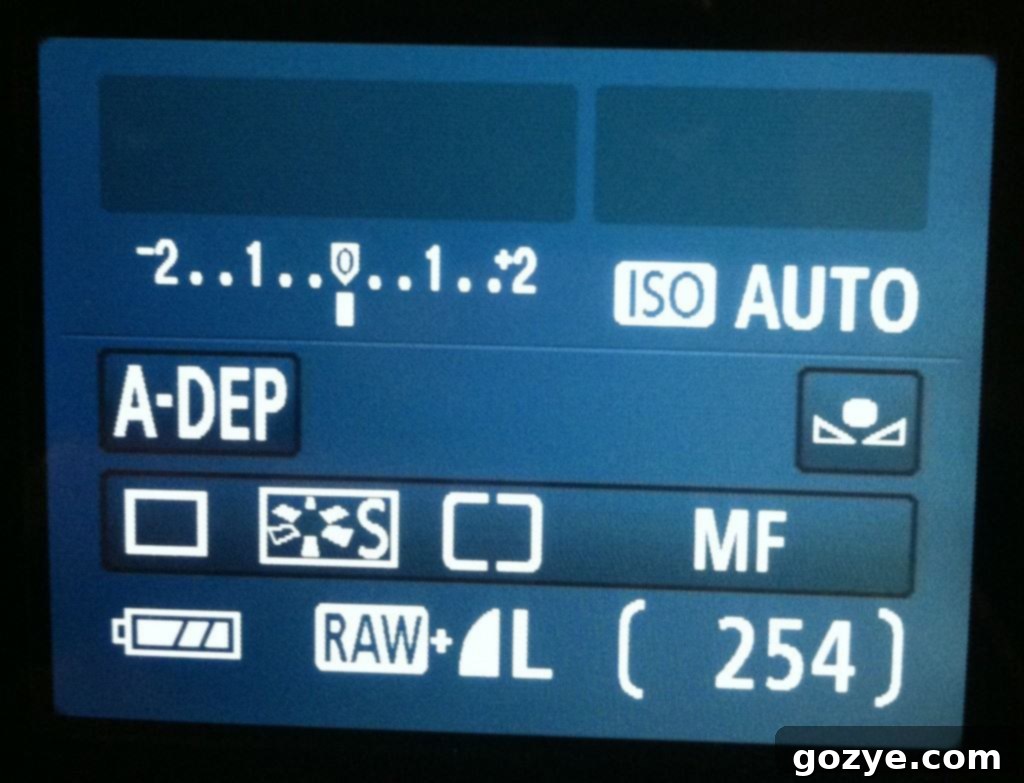
Automatic Depth of Field (A-Dep) mode is a less commonly used but occasionally useful mode found on certain cameras, particularly Canon DSLRs. Its primary purpose is to help you achieve a large depth of field, ensuring that multiple subjects at varying distances from the camera are acceptably sharp, without manually selecting an f-number.
How it typically works: You compose your shot and use the autofocus points to select the nearest object you want in sharp focus, and then the farthest object you want in focus. The camera then calculates and sets the smallest possible aperture (largest f-number) required to keep both of those selected points, and everything in between them, acceptably sharp. This can be beneficial for certain scenarios like large group photos, specific landscape compositions, or architectural shots where a wide range of focus is desired across different planes.
While I personally haven’t used this mode extensively in my own photography, its presence on the mode dial often prompts questions from new users. It can be a great starting point for beginners who want to achieve a deep depth of field but are unsure about how to choose the correct f-number. However, more experienced photographers often prefer to use Aperture Priority (Av/A) or Manual (M) mode for greater precision and creative control over their depth of field, as A-Dep can sometimes be less predictable or optimal for achieving specific artistic outcomes, particularly when dealing with complex compositions or very specific focus requirements.
The Path to Better Photography: Practice and Experimentation
Understanding the purpose of each camera shooting mode and how it interacts with the fundamental principles of exposure is transformative for any aspiring photographer. However, theoretical knowledge alone isn’t enough; the best way to truly learn and master these modes is through hands-on practice, consistent application, and relentless experimentation. Don’t be afraid to try each mode, even if it feels intimidating at first—every expert photographer started exactly where you are.
A practical and highly effective approach is to pick one creative mode, such as Program (P) or Aperture Priority (Av/A), and use it exclusively for a dedicated period. Really delve into how adjusting ISO, exposure compensation, or aperture affects your images in different lighting scenarios. For instance, set up a tripod and shoot the same scene at every possible f-number to visually grasp the profound difference between a shallow and a deep depth of field. Observe how different shutter speeds impact motion, from freezing action to creating artistic blur. This systematic approach will quickly reveal what visual effects you like and dislike, building your photographic intuition and significantly speeding up your decision-making process in the field.
Ultimately, becoming proficient with your camera’s shooting modes means you can stop reacting to your camera’s automated decisions and start proactively creating the images you envision. It’s about building confidence, asserting creative control, and truly unlocking your full artistic potential behind the lens. The journey from a novice to a master photographer is paved with countless clicks and deliberate choices.
So, which modes do you find yourself using most often in your photography? I primarily shoot in Aperture Priority (Av) for its precise control over depth of field and background blur, but I’ll readily switch to Program (P) mode when situations demand quick, adaptable shooting without sacrificing basic control.
