Mastering Dynamic Food Photography: Your Solo Guide to Capturing Stunning Action Shots
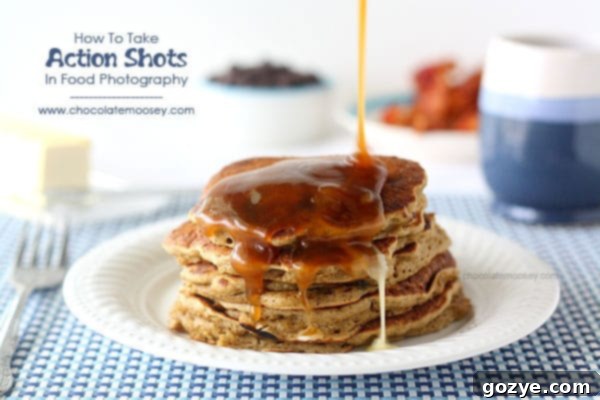
In the vibrant world of food photography, captivating static images are a staple, but imagine adding a layer of dynamism that truly brings your dishes to life. Want to make your photographs more exciting, tell a richer story, and set yourself apart from the crowd? The secret lies in incorporating action shots into your next shoot. Many photographers might think their subject, food, doesn’t move, but that’s where the creative magic truly begins. Action shots in food photography are about capturing the interaction, the process, and the irresistible allure of food in motion. Think beyond the static plate: a rich sauce being poured over a dessert, a crispy chip dipping into a vibrant salsa, the satisfying stir of a simmering pot, the delicate piping of frosting onto a cake, or the luxurious ooze of warm caramel from a fresh bake. These moments transform a simple image into an engaging, multi-sensory experience for your audience. If you keep reading, I will not only show you how to identify these dynamic opportunities but also reveal a powerful trick to consistently capture breathtaking action shots, even without the need for an extra pair of hands in the kitchen.
Before we dive into the practical techniques, it’s crucial to establish a foundational understanding of your camera. Specifically, make sure you’re familiar with how shutter speed works. This guide will assume you have basic knowledge of setting and manipulating your camera’s shutter speed, as it’s the cornerstone of capturing motion effectively. If you need a refresher or want to deepen your understanding, I highly recommend revisiting my detailed post on how shutter speed works. A solid grasp of this concept will empower you to freeze fast-paced actions or creatively blur movement, depending on your artistic vision.
The Solo Photographer’s Challenge: Capturing Action Without Assistance
One of the most common challenges I, and many other independent photographers, face is the absence of a dedicated assistant during photo shoots. It’s often just me, myself, and I in the kitchen studio. This presents a unique dilemma: how do you introduce dynamic movement into your shots when both hands are typically needed – one to perform the action and the other to operate the camera? The thought of juggling a pouring pitcher while simultaneously trying to trigger the shutter can feel overwhelming, leading many to shy away from action shots altogether. But don’t despair! With the right setup and a few clever techniques, you can overcome this hurdle and consistently produce stunning action-packed food photography. Let’s break down the essential steps and methods that will transform your solo shoots.
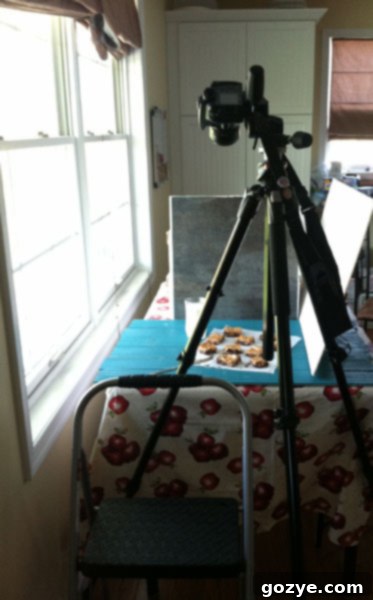
Ignore that there is no action going on in this shot. I didn’t have many tripod shots.
Step 1: Set Up Your Tripod – Your Indispensable Assistant
Set up your tripod. Yes, you absolutely need a tripod for successful solo action shots. While it might be possible to freehand a few shots if you have an assistant, for consistency, sharpness, and the freedom to execute your action, a sturdy tripod is non-negotiable. A tripod provides crucial stability, eliminating camera shake and allowing you to precisely compose your shot. More importantly, it frees up your hands. Once your camera is securely mounted and positioned, you no longer need to hold it, allowing both hands to perform the desired action. This is the cornerstone of solo action photography. I personally use the Manfrotto 055XB tripod, known for its robustness and versatility, but any stable tripod that can hold your camera securely and allow for various angles (including overhead shots) will be an invaluable tool. Take your time to set up your tripod, ensure your composition is perfect, and lock all the joints firmly. This stable base is key to capturing crisp, focused action.
Step 2: Master Your Camera Settings, Especially Shutter Speed
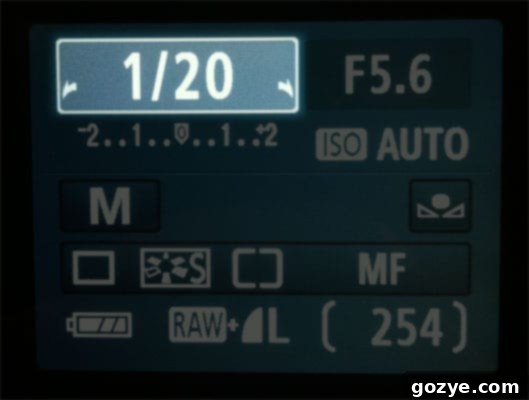
Set up your shutter speed. As mentioned earlier, shutter speed is paramount when capturing movement. Depending on the effect you desire, your shutter speed will vary. If you want to freeze a fast-paced action, like a splash or falling powder, you’ll need a fast shutter speed (e.g., 1/250s, 1/500s, or even faster). Conversely, if you aim for a creative motion blur to convey movement and fluidity, a slower shutter speed (e.g., 1/30s, 1/15s) might be appropriate. Experimentation is key here. Along with shutter speed, you’ll need to balance your aperture (controlling depth of field) and ISO (controlling sensitivity to light) to achieve a well-exposed and aesthetically pleasing image. Remember that adjusting one setting often necessitates adjusting others. For a deeper dive into the mechanics and creative applications, please read my comprehensive shutter speed guide for more information. Understanding this trinity of settings—shutter speed, aperture, and ISO—is fundamental to taking control of your food photography.
Three Methods for Solo Action Shooting
Now that your tripod is set and your camera settings are dialed in, it’s time for the exciting part: executing the action and capturing it simultaneously. This is where the magic of solo photography truly shines. Before you press that shutter button, you need to decide on the most effective method for your specific action. Here are three powerful techniques to shoot your dynamic food moments without an assistant, with my personal favorite being the self-timer method:
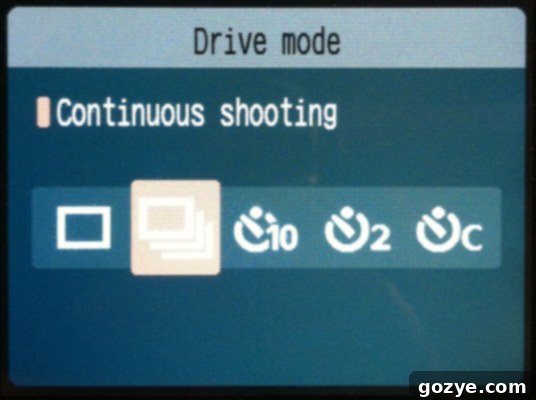
1. The One Hander: Quick & Direct Interaction
Just as the name states, this method involves using one hand to press your camera’s shutter button while your other hand is actively engaged in the food action. Perhaps you are gracefully pouring a rich sauce, delicately dipping a chip into a bowl of guacamole, or stirring a pot of bubbling stew. This technique requires a bit of coordination and practice, as you’ll need to adjust your body position carefully to ensure your arm doesn’t intrude into the shot unintentionally (unless, of course, that’s part of your desired composition). To maximize your chances of capturing the perfect moment with this method, set your camera to continuous shooting mode (often called ‘burst mode’ or ‘high-speed continuous’). This allows you to hold down the shutter button and capture a rapid sequence of shots – sometimes 5, 7, or even 10 frames per second – before letting go. This burst of images significantly increases your odds of freezing that fleeting, ideal moment of action. While it can be a little awkward initially, with practice, the ‘One Hander’ method offers a quick and direct way to interact with your food and capture dynamic movement, especially for less complex actions.
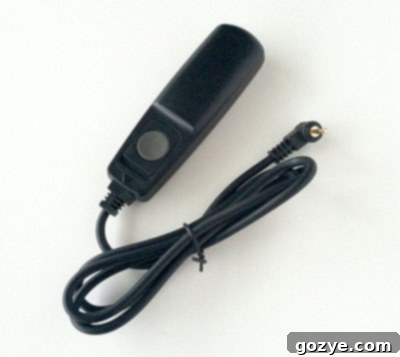
2. The Remote Control Button: Distance and Precision
For actions that require you to be further away from the camera, or to completely eliminate any risk of camera shake from pressing the shutter button directly, a remote control is an excellent solution. You can typically buy a remote control for your camera fairly cheaply, often for around $5-$20 on platforms like Amazon. These remotes come in various forms: wired, wireless infrared (IR), and wireless radio. The original text mentions a corded remote, which provides a direct connection to your camera, offering a few extra feet of movement without needing to stretch or contort your body. Wireless remotes offer even more freedom, allowing you to trigger the shutter from several feet away. Hooking up the remote is usually straightforward, following your camera’s specific instructions. When you’re ready to shoot, instead of physically pressing the shutter button on the camera body, you simply press the button on your remote. This not only gives you more flexibility in your movements to perform the action but also ensures that no accidental camera movement occurs during the capture, resulting in sharper, cleaner action shots. A remote control is a small investment that yields significant benefits for solo food photographers aiming for high-quality, dynamic images.
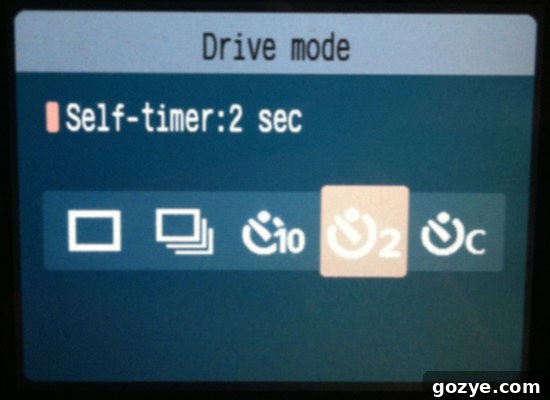
3. The Self Timer: My Favorite for Hands-Free Action
This is my absolute favorite method for capturing action shots when working alone, and for good reason. Most, if not all, modern cameras come equipped with a self-timer function. This feature allows you to set a delay: you press the shutter button, and the camera then counts down for a specified number of seconds before actually taking the photograph. My camera, for instance, offers a choice of a 2-second or 10-second delay. This invaluable window provides you with both hands free to perform the desired action – pouring, stirring, sprinkling, or drizzling – without worrying about simultaneously operating the camera. Even when I’m not explicitly shooting action, I often utilize the 2-second timer to minimize any potential camera movement that might occur from the physical act of pressing the shutter button, ensuring consistently sharper images. The self-timer is a simple yet incredibly effective tool for any solo photographer seeking precision and stability.
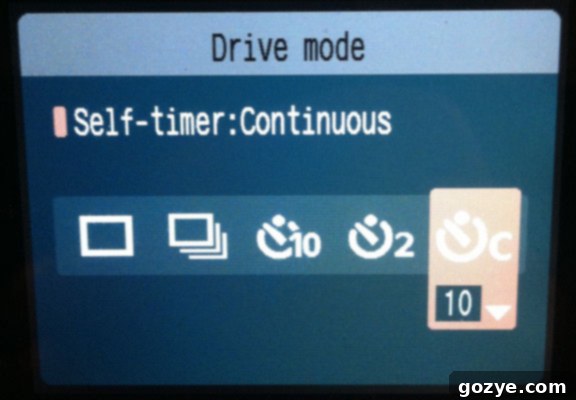
But let’s take the self-timer concept one step further, to a feature that truly elevates solo action photography: the continuous self-timer. Many cameras offer this advanced option, which combines the delay of a standard self-timer with the rapid-fire capability of continuous shooting. With my camera, for example, I can set it to a 10-second countdown, and after that delay, it will automatically take a burst of continuous shots in a row. Imagine the possibilities! If I set it to capture 10 shots, after the 10-second countdown, my camera will fire 10 frames sequentially, capturing a beautiful progression of the action. You’re often able to reduce the number of continuous shots to 2, 5, or 8 if 10 is more than you need. This continuous self-timer is my absolute favorite method because it significantly increases your chances of capturing that elusive “perfect moment” of movement, which is incredibly difficult to achieve with just a single shot. Furthermore, it allows you to beautifully document the entire progression of an action – the sauce being poured, the caramel oozing, or the flour being dusted – almost like creating a captivating flip book. This not only adds a narrative element to your food photography but also provides a wealth of images to choose from in post-production. And remember, you don’t have to keep every single shot. There have been countless times where I didn’t like the intermediate progression shots, so I simply deleted them and kept only the most impactful frames or the stunning final result. This method provides both control and flexibility, making it an indispensable technique for dynamic food photography.
Tips for Perfecting Your Action Shots
Beyond the core techniques, a few additional considerations will help you refine your action shots:
- Practice Makes Perfect: Don’t expect to nail the shot on your first try. Practice the action itself a few times without the camera to get the timing and movement just right. Then, practice with the camera to get your settings and timing synchronized.
- Focus Pre-Set: For dynamic shots, especially with a self-timer, manually pre-focus on the point where the action will occur. This ensures sharpness in the critical moment, as autofocus might struggle with fast movement or a busy scene.
- Ample Lighting: Action shots, especially those requiring fast shutter speeds, demand sufficient light. Work with bright natural light if possible, or use artificial lights to ensure your images are well-exposed without pushing your ISO too high, which can introduce noise.
- Anticipate the Moment: Think about the peak of the action. Is it when the sauce forms a perfect drizzle, or when the powder creates a cloud? Timing your trigger (or your action with the self-timer) to coincide with this peak moment is crucial.
- Clean Up: Food photography is all about aesthetics. Ensure your set is meticulously clean before the action starts. Spills and messes can be creatively captured, but only if they are intentional.
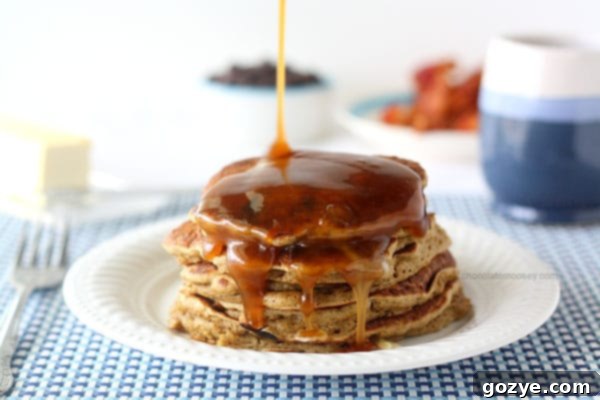
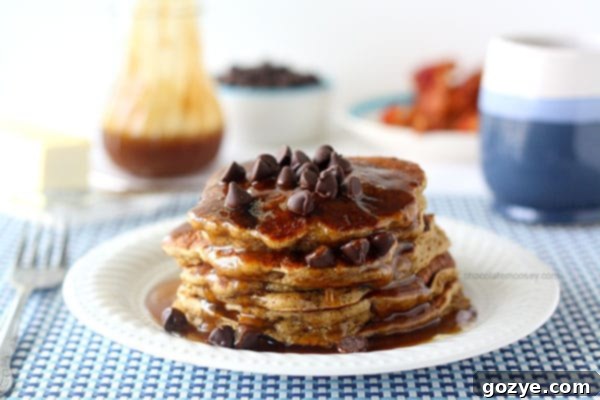
Here’s an example of the kind of dynamic imagery you can achieve:
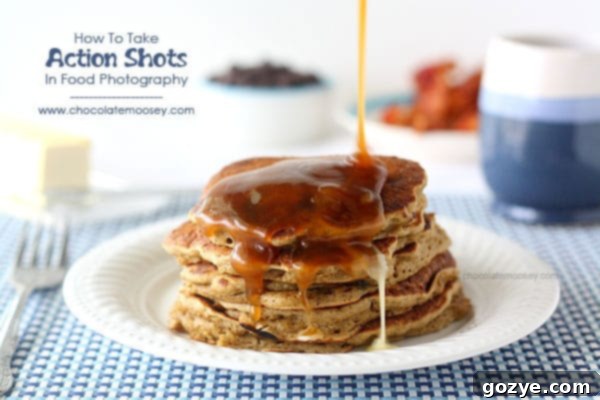
Spiced Chocolate Chip Pancakes with Homemade Caramel Syrup
Shutter speed: 1/15; Aperture: 3.2; ISO: 400
Notice the creamy caramel syrup being poured over the stack of pancakes, creating a sense of indulgence and movement. The slower shutter speed here (1/15) likely contributed to a slight blur in the pouring action, emphasizing its fluidity rather than freezing it completely, which can be a wonderful creative choice. Repeat your actions and shots until you have the desired results. Due to the limited amount of food or specific ingredients, I usually don’t reshoot action shots excessively, aiming to get it right within a few tries. However, if you have extra ingredients or food to spare, feel free to keep experimenting and shooting until you’ve captured that perfect, mouth-watering moment.
Elevate Your Food Photography
Incorporating action shots into your food photography repertoire is a game-changer. It transforms static images into lively, engaging narratives that resonate deeply with viewers. These techniques, especially the continuous self-timer, empower solo photographers to achieve results that were once thought impossible without a dedicated assistant. Now that you’re equipped with these proven methods for taking stunning action shots, how will you incorporate them into your next food photography session? Don’t be afraid to experiment, be creative, and most importantly, have fun bringing your food to life!
