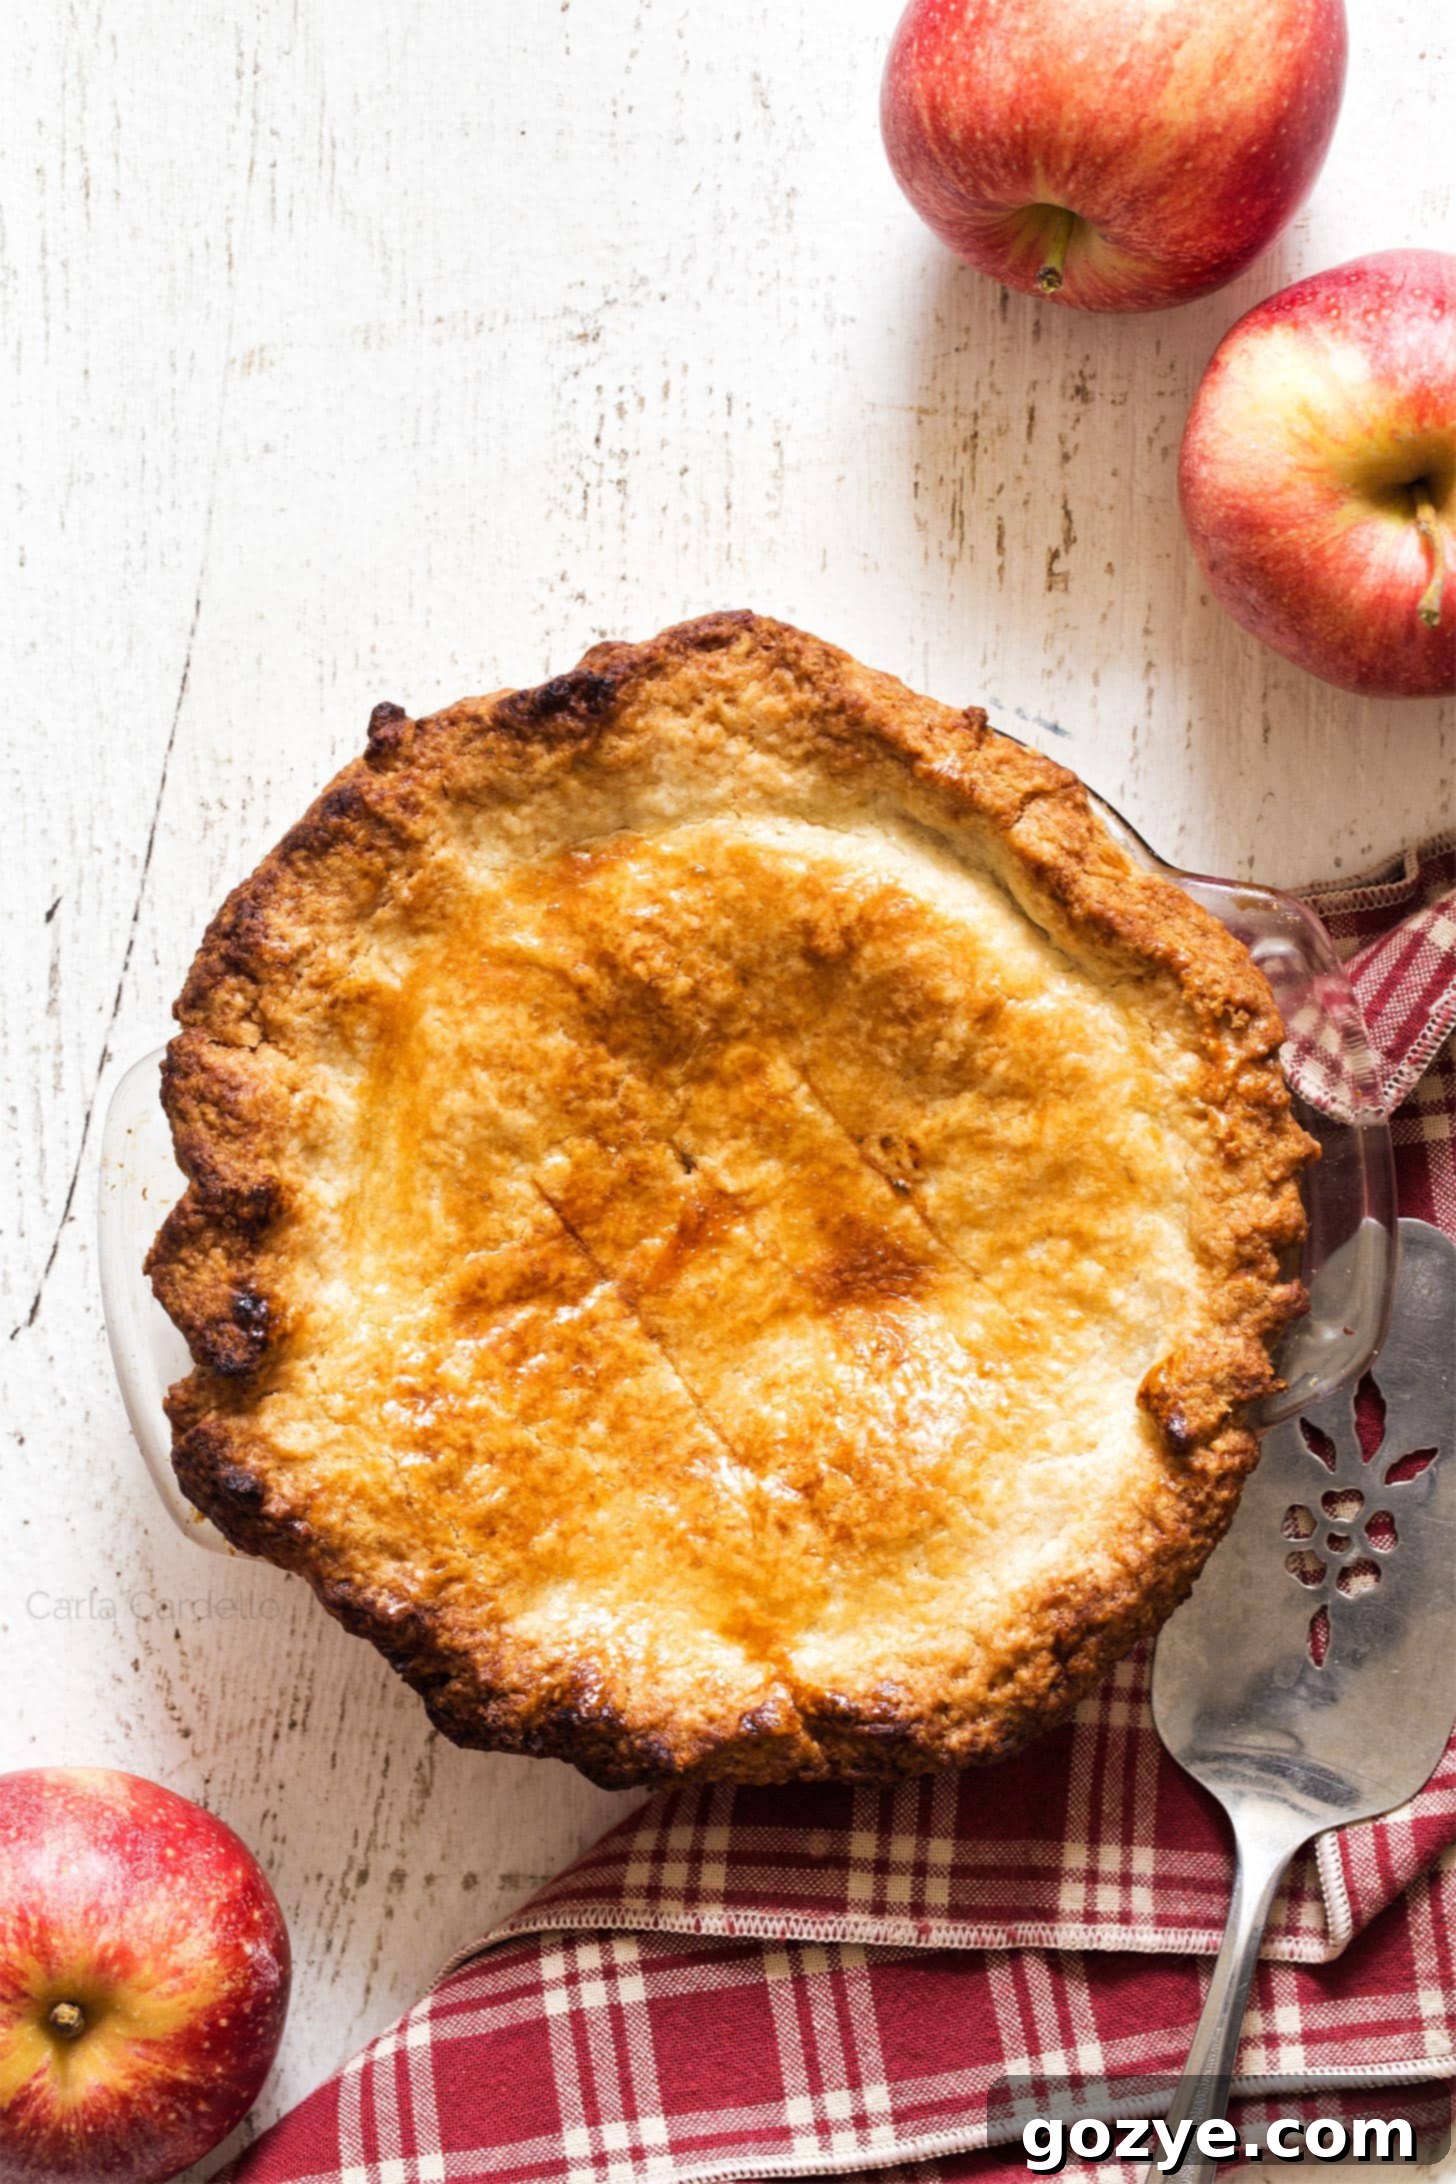
Perfect Small Apple Pie Recipe for Two: A 6-Inch Dessert Delight
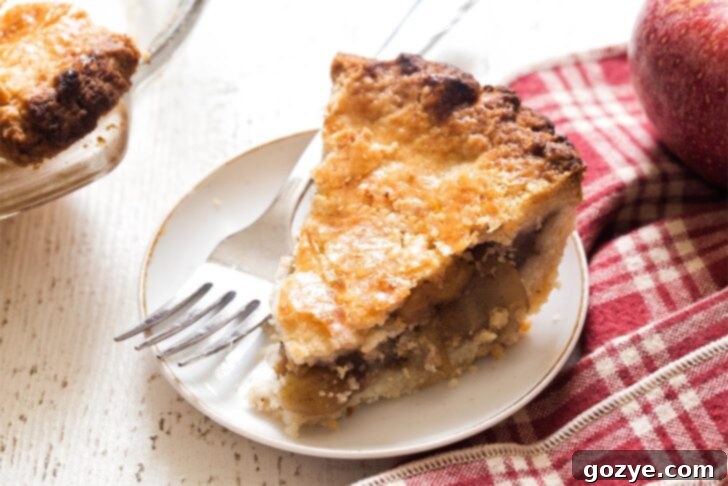
Nothing captures the essence of autumn quite like a classic, homemade Small Apple Pie. Imagine a golden, flaky, buttery crust encasing a warm, tender, and perfectly spiced apple filling. This delightful recipe is specifically designed to be baked in a 6-inch pie plate, making it the ultimate apple pie for two – or perhaps a generous single serving if you’re truly craving a comforting fall treat!
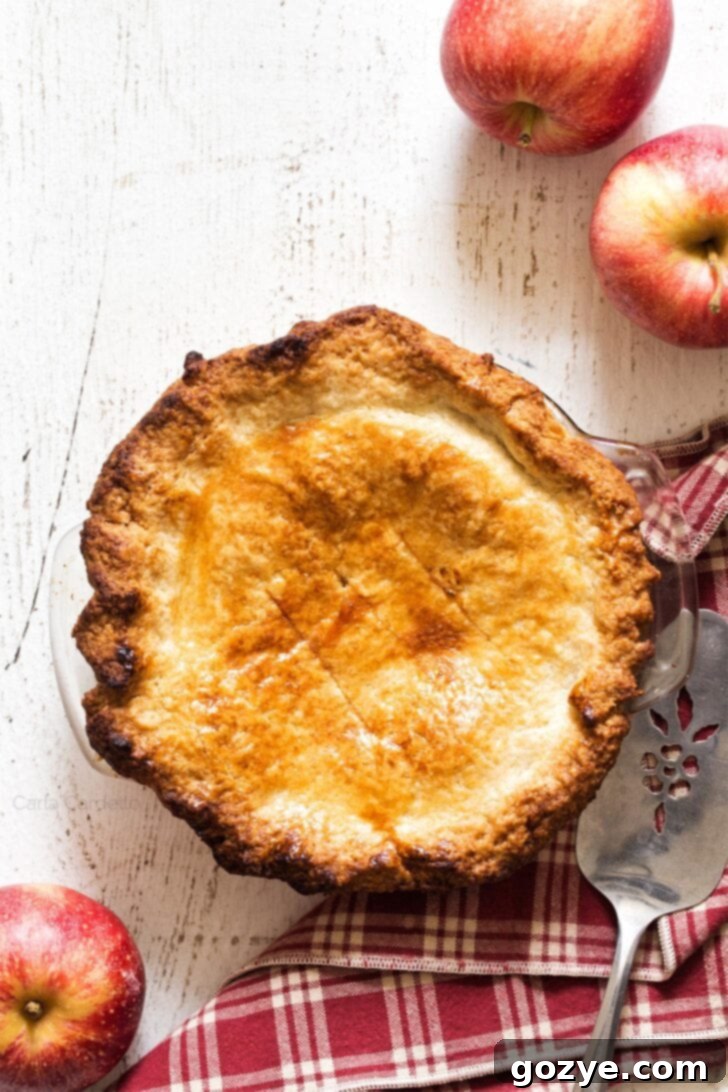
After perfecting other small-batch delights like my small pumpkin pie and small pecan pie recipes, it was only natural to turn my attention to another quintessential dessert. My thoughts drifted to classic pies, such as my mini lemon meringue pie, and then, inevitably, to the magic of fall flavors.
What could be more iconic for the season than a homemade Small Apple Pie recipe? This particular recipe features a rich, buttery, and truly flaky small pie crust, paired with a perfectly balanced spiced apple filling. While I do have recipes for mini apple pies baked in ramekins, sometimes you yearn for that authentic, full-sized pie experience – just scaled down for modern living. This 6-inch apple pie recipe delivers that nostalgic, “grandma’s kitchen” taste, but in a manageable portion designed for two.
One of the biggest challenges in pie baking is avoiding a dreaded soggy bottom crust. But fear not! This 6-inch apple pie recipe stands out from the rest by incorporating two simple yet highly effective techniques to ensure your crust remains delightfully crisp and flaky, from top to bottom. No one wants to bite into a soggy pie, and with these tips, you won’t have to!
Finding the Perfect 6-Inch Pie Plate for Your Small Apple Pie
A crucial first step in making your perfect small apple pie is acquiring the right bakeware. Six-inch pie plates aren’t always easy to find in conventional stores, which is why I often source mine online. While options can be somewhat limited, I highly recommend this 6-inch glass pie plate (Amazon affiliate link). Its transparency allows you to monitor the browning of your bottom crust, which is a significant advantage.
An important word of caution when using glass bakeware: If you’ve refrigerated your pie dough in the glass plate (which is often recommended for best results), you absolutely cannot place cold glass directly onto a hot oven rack or a preheated baking sheet. The sudden drastic change in temperature can cause the glass to shatter, leading to a messy and potentially dangerous situation. To safely bake your pie, always place the cold glass pie plate onto a room temperature baking sheet before sliding it into the preheated oven. If you opt for a metal or ceramic pie plate, this thermal shock concern is generally not an issue, offering a bit more flexibility.
Can You Use Disposable Pie Pans for a 6-Inch Apple Pie?
Absolutely! Disposable 6-inch pie pans are a perfectly viable option, especially if you’re looking for convenience or plan to give your small apple pie as a gift. I’ve successfully tested this mini apple pie recipe using these aluminum foil mini pie pans (Amazon affiliate link).
Do note that disposable pans are often shallower than standard glass or ceramic pie plates. This means you might find yourself with a little extra pie dough and filling. Don’t let anything go to waste! This surplus provides a fantastic opportunity to create a second, tiny apple pie. You can bake this extra mini pie in a ramekin right alongside your 6-inch pie, ensuring every scrap of deliciousness is utilized.
Essential Apple Pie Ingredients for a Flavorful Small Apple Pie
Ready to embark on your homemade apple pie journey? Gathering the right ingredients is key to achieving that perfect balance of sweetness, spice, and texture. Here’s a breakdown of what you’ll need and why each component is important:
- Apples: The star of the show! For the best baking results, opt for firm, crisp apples that hold their shape well and offer a good balance of sweet and tart. Excellent choices include Jonagold, Braeburn, Honeycrisp, Granny Smith (for a tarter pie), or Golden Delicious. Using a mix of two or three varieties can add depth to your pie’s flavor profile.
- Sugar: Beyond simply sweetening the apples, granulated sugar plays a crucial role in drawing out moisture from the fruit. This step is vital for preventing a watery filling and a soggy bottom crust, ensuring a concentrated apple flavor.
- Cornstarch: This is your secret weapon for a perfectly thickened filling. As the apples cook down and release their juices, the cornstarch works its magic, transforming what would otherwise be a runny liquid into a luxurious, spoonable sauce that coats every apple slice beautifully.
- Lemon Juice: A squeeze of fresh lemon juice serves multiple purposes. It brightens the overall flavor of the apple filling, adding a much-needed acidic counterpoint to the sweetness. Furthermore, it helps prevent the sliced apples from browning too quickly after they’ve been cut, maintaining their appealing color.
- Cinnamon, Nutmeg, Clove, and Salt: These classic spices are the heart of any great apple pie, infusing the filling with warm, inviting aromas and flavors. Cinnamon is the dominant note, while nutmeg and clove add subtle layers of complexity. A pinch of salt is essential, as it enhances all the other flavors, bringing out their full potential.
- Small Pie Crust: A pie isn’t a pie without its crust! While a homemade pie dough will undoubtedly elevate your pie to an entirely new level of deliciousness with its unbeatable flaky texture and rich buttery flavor, using store-bought pre-made dough is also an option for convenience. If using store-bought, simply roll it out and cut it to perfectly fit your 6-inch pan.
- Egg: A beaten egg, applied as an egg wash to the top crust, is crucial for achieving that irresistible golden-brown, glossy finish. Without it, your pie crust might appear pale and anemic, lacking that appetizing, bakery-quality appearance.
Can You Use Canned Apple Pie Filling?
While this recipe is crafted to showcase the vibrant flavors of fresh apples, we understand that sometimes convenience is key. Yes, you can certainly substitute fresh apples with 2 cups of apple pie filling, whether it’s homemade and pre-prepared, or a good quality canned variety. Just be mindful of the sweetness level of your pre-made filling and adjust any added sugar in the recipe accordingly to prevent your pie from becoming overly sweet. Remember, the texture might vary slightly, but the convenience factor is undeniable!
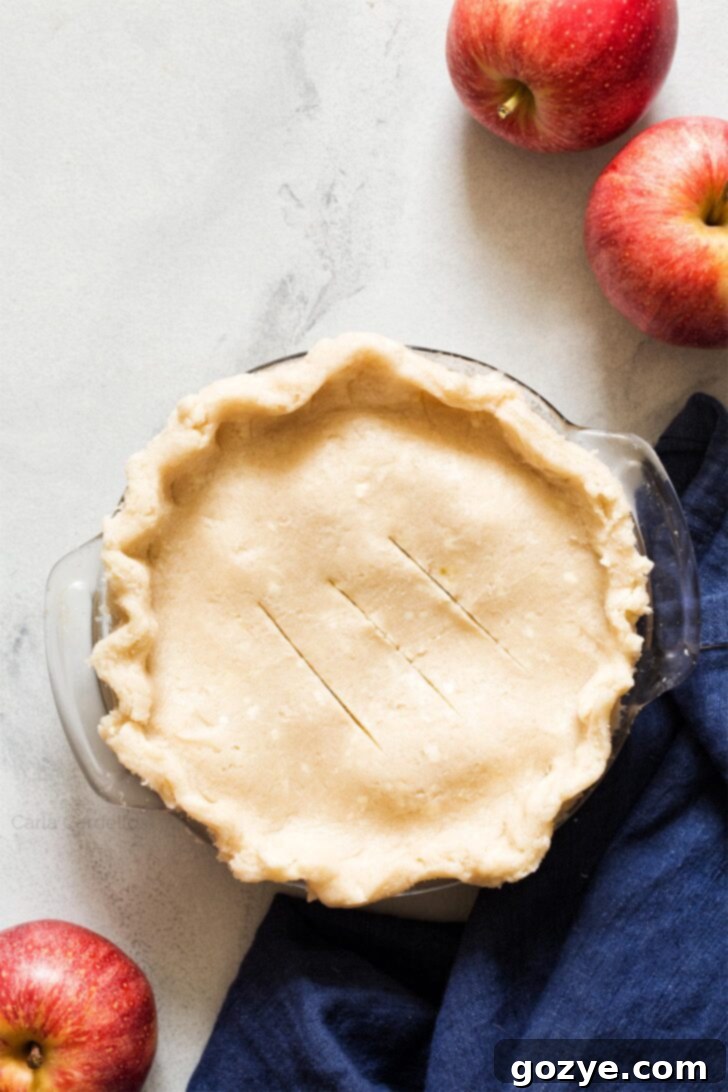
How To Make This Delicious Small Apple Pie
Baking your own 6-inch apple pie is a rewarding experience, and with these detailed steps, you’ll achieve a perfect pie every time:
- Prepare the Apples to Prevent Soggy Crust: Begin by tossing your cored, peeled, and sliced apples with 2 tablespoons of granulated sugar in a medium bowl. This step draws out excess moisture. Transfer the sugared apples to a colander placed over another bowl and let them sit for at least 30 minutes. This allows the liquid to drain, which is critical for a crisp bottom crust. Discard the accumulated liquid.
- Craft the Pie Crust: Whether you use a food processor or your hands, prepare your pie dough according to the recipe instructions. Once formed, divide the dough into two equal pieces, shape each into an even round disk, and wrap them tightly in plastic wrap. Refrigerate for at least 1 hour. This chilling process is essential for making the dough easier to roll and ensuring a flaky texture.
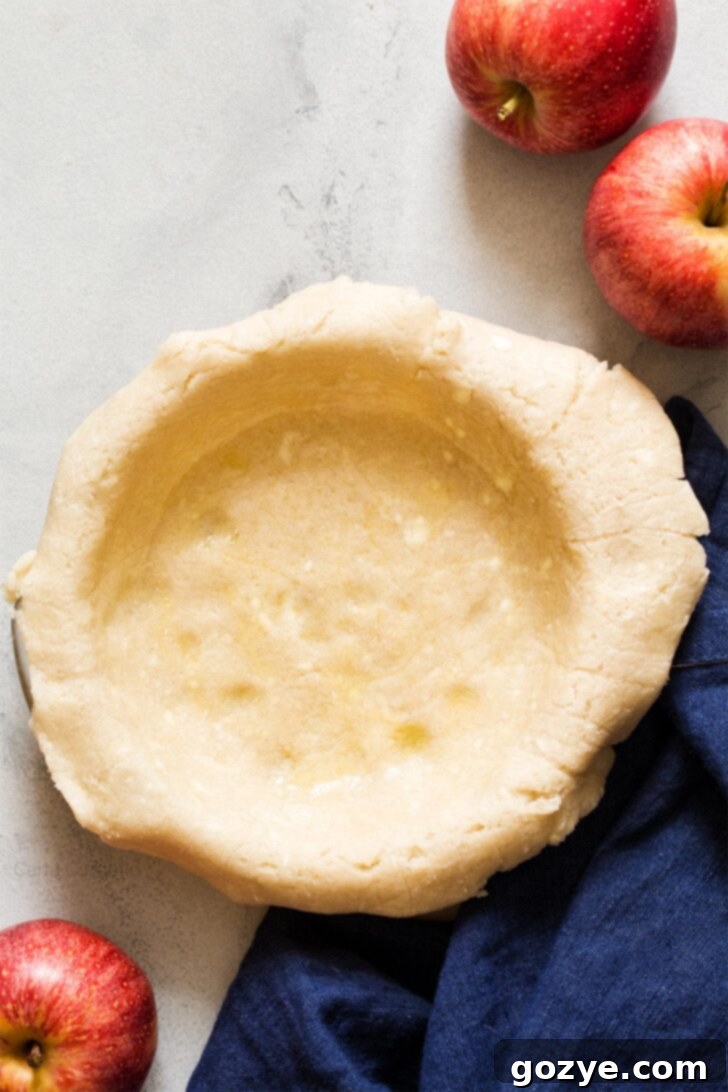
- Form the Bottom Crust: Once chilled, roll out one piece of dough into an 8-inch circle, aiming for a thickness of about 1/8 to 1/4 inch. Carefully transfer this dough to your 6-inch ungreased pie plate. Trim off any excess dough, leaving a generous 1/2-inch border. Gently brush the bottom crust with some of the beaten egg wash. This creates a protective barrier, further reducing the chances of a soggy bottom. Refrigerate the prepared bottom crust while you finish the filling.
- Mix the Apple Filling: Wipe the bowl clean from the drained apple liquid. Add the drained apples back into the bowl, along with the cornstarch, lemon juice, cinnamon, nutmeg, clove, and salt. Toss everything gently until the apples are evenly coated with the spices and thickening agents.
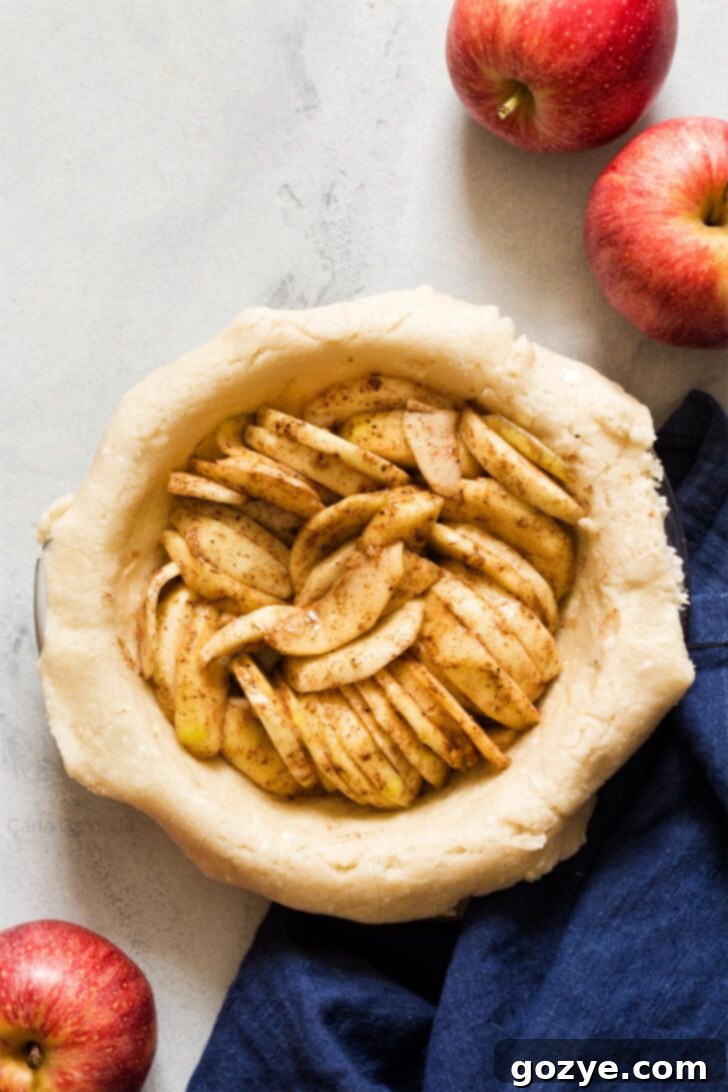
- Layer the Apples for a Flat Top: This is a key technique for a visually appealing and stable pie. Instead of simply dumping the apples, layer them vertically into the chilled bottom crust, arranging them in concentric circles or rows. This method reduces the empty spaces between apples, meaning they will shrink less during baking and the top crust will remain much flatter and less prone to collapsing.
- Add the Top Crust and Finish: Roll out the remaining dough piece into another 8-inch circle. Carefully place it over your apple-filled pie. Trim the top crust, again leaving about a 1/2-inch border, and then seal the edges as desired (e.g., crimping with a fork or creating a decorative edge). Cut three small slits into the top crust to allow steam to escape during baking. Finally, brush the entire top crust with the remaining egg wash for that beautiful golden sheen.
- Bake to Golden Perfection: Preheat your oven to 400°F (200°C). Place your pie plate (on a room temperature baking sheet if using glass) into the preheated oven. Bake for 40-45 minutes, or until the crust is golden brown and the filling is bubbly. If the edges begin to brown too quickly, you can gently tent them with aluminum foil.
Once baked, allow your delicious small apple pie to cool completely for at least 2-4 hours before slicing. This cooling time is crucial; it allows the filling to set properly, preventing it from being too runny when cut. Serve warm with a scoop of creamy vanilla bean ice cream or a dollop of homemade whipped cream for an ultimate dessert experience. This small apple pie is also the perfect size to feature as a delightful course for your Thanksgiving For Two celebration.
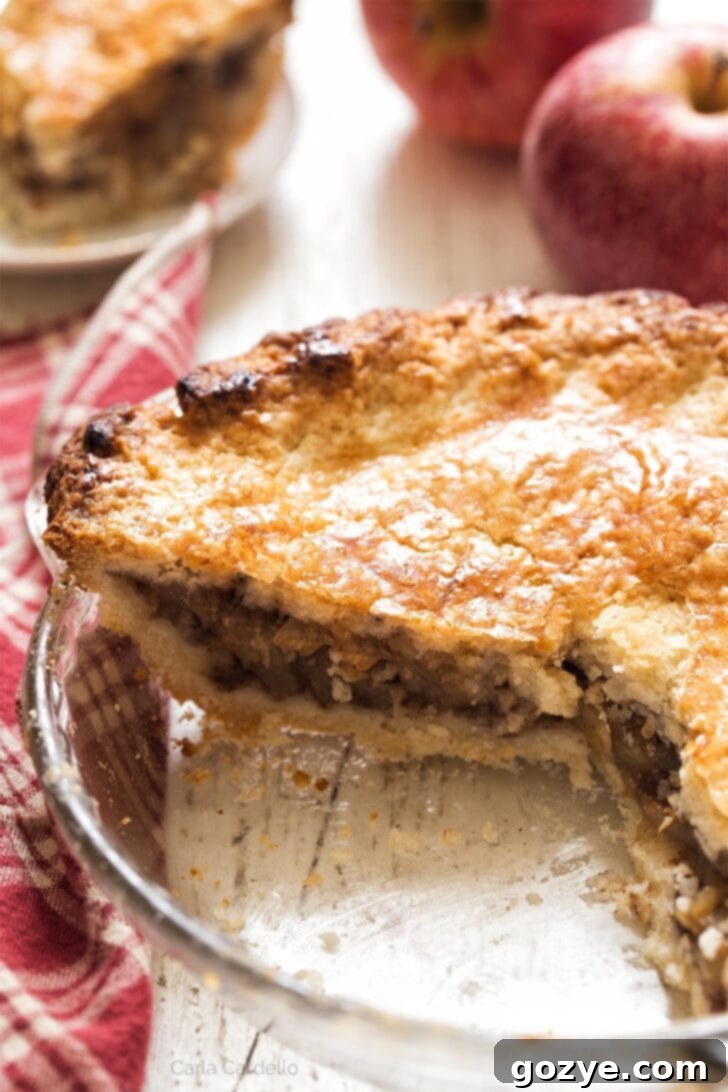
Expert Tips: How To Prevent A Soggy Pie Crust
A soggy bottom crust can be the bane of any pie baker’s existence, but with a few clever techniques, you can ensure your small apple pie is perfectly crisp and flaky from top to bottom. The reason my small apple pie recipe yields superior results is precisely because it tackles this common problem head-on, thanks to two tried-and-true methods (both of which I learned from The Kitchn):
- Draining the Apples First: This step is non-negotiable. When you toss sliced apples with sugar, the sugar’s hygroscopic nature immediately begins to draw out moisture from the fruit. If this excess liquid isn’t removed before baking, it will inevitably collect at the bottom of your pie, turning your beautiful crust into a sad, damp layer. By allowing the sugared apples to sit in a colander for at least 30 minutes, you effectively discard this unnecessary liquid, leaving you with apples that will release less moisture during baking and contribute to a firmer, more flavorful filling.
- Brushing the Bottom Crust with Egg Wash: This technique creates a physical barrier between the raw pie dough and the apple filling. The thin layer of beaten egg, once baked, acts almost like a sealant, preventing the apple juices from saturating the bottom crust. This protective shield helps the crust cook through and crisp up, ensuring it remains flaky even after hours of cooling. It’s a simple step that makes a world of difference in preventing that dreaded soggy outcome.
How To Store Your Delicious Homemade Small Apple Pie
Proper storage is essential to maintain the freshness and quality of your homemade small apple pie. After your pie has completely cooled (this is very important to prevent condensation and sogginess), you have a couple of options:
- Room Temperature: For immediate enjoyment or serving within a few days, store your apple pie at room temperature. Ensure it’s kept in an airtight container or wrapped tightly with aluminum foil or plastic wrap. This method will keep your pie fresh for 2-3 days, perfect for enjoying over a weekend.
- Refrigeration: If you need to extend its shelf life, refrigerate your apple pie. Again, store it in an airtight container or wrap it securely to prevent it from absorbing other odors in the fridge and to maintain its moisture. When refrigerated, your small apple pie will remain fresh and delicious for up to 5-7 days.
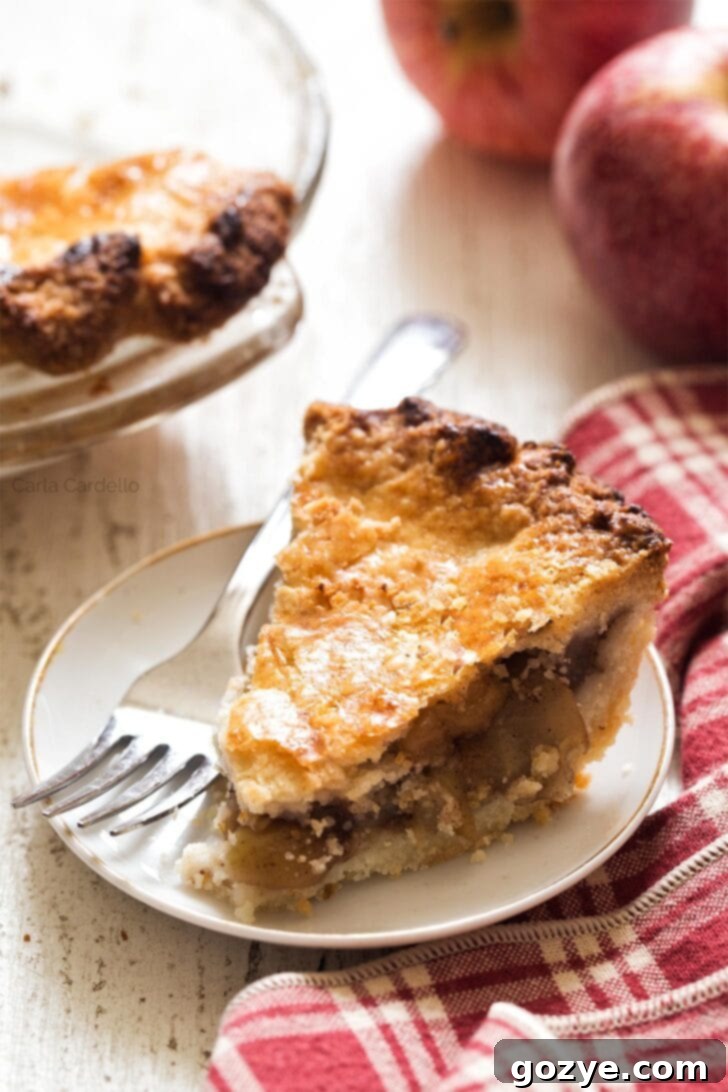
How To Freeze Homemade Apple Pie for Later Enjoyment
Freezing apple pie is a fantastic way to enjoy a homemade treat whenever the craving strikes, without the immediate effort. You have two convenient options for freezing:
- Before Baking (After Assembly): If you want a fresh-baked pie experience later, you can freeze your pie after it’s fully assembled but before it goes into the oven. This is great for meal prepping or having a ready-to-bake dessert.
- After Baking (Whole Pie or Slices): For ultimate convenience, you can freeze a fully baked pie, either whole or as individual leftover slices. This makes for a quick thaw-and-reheat dessert.
Whichever method you choose, the freezing process is essentially the same:
First, place the assembled (unbaked) or fully baked pie in the freezer, uncovered, until it is completely firm. This usually takes about 1 hour. This initial freezing prevents the pie from getting squashed when wrapped. Once firm, wrap the pie tightly in several layers of plastic wrap, followed by a layer of aluminum foil. This double-layer protection is crucial for preventing freezer burn and maintaining freshness. Transfer the well-wrapped pie to a freezer-safe bag or container. Your apple pie can be frozen for up to 3 months.
To serve a frozen pie:
- For a fully baked, frozen pie: Thaw the pie in the refrigerator overnight (about 24 hours). Once thawed, you can reheat it in an oven preheated to 350°F (175°C) until the filling is warm and bubbly, and the crust is crisp again. This might take 20-30 minutes.
- For an unbaked, frozen pie: Do not thaw the pie before baking. Place the frozen, unbaked pie directly into a preheated oven at 400°F (200°C). You’ll need to bake it for a longer duration, typically 45-55 minutes, or until the crust is golden brown and the filling is bubbly. Keep an eye on the crust; if it starts to brown too quickly, you can loosely tent it with aluminum foil to protect it.
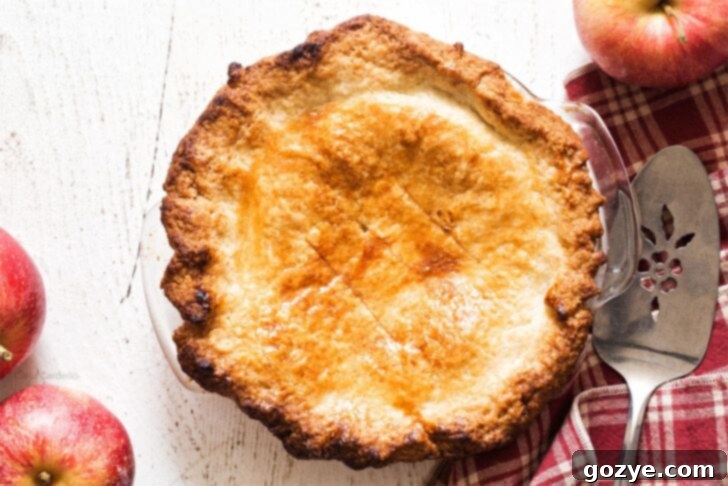
Small Apple Pie FAQ
Absolutely! For convenience, you can substitute 1 teaspoon of pre-mixed apple pie spice for the individual amounts of cinnamon, nutmeg, and clove listed in the recipe. This blend typically offers a well-balanced profile perfect for apple desserts.
It’s a common issue for pie edges to cook faster than the center. To prevent over-browning, you can use a pie shield. These are readily available in stores, or you can easily make one yourself by carefully cutting a circle of aluminum foil with a center hole, then placing it over the pie’s edges during the latter part of the baking process. This helps shield the crust from direct heat, allowing the center to catch up.
For the best texture and flavor in your small apple pie, choose baking apples that are firm and hold their shape well, and offer a balance of sweet and tart. Excellent varieties include Jonagold, Braeburn, Honeycrisp, or Golden Delicious. Many bakers prefer a mix of a few types, such as Granny Smith for tartness combined with a sweeter apple, to achieve a more complex flavor profile.
Cooling the pie completely, for at least 2-4 hours, is crucial for two main reasons. First, it allows the cornstarch in the filling to fully set, ensuring a firm, sliceable filling rather than a runny one. Second, it allows the flavors to meld and deepen, resulting in a more delicious and cohesive pie experience. Slicing a hot pie often leads to a messy, unstable slice and less defined flavors.
More Delicious Apple Pie-Inspired Recipes
If you’ve fallen in love with the comforting flavors of apple pie, here are a few more apple-centric recipes from my kitchen you might enjoy:
- Apple Hand Pies: Portable pockets of apple goodness, perfect for on-the-go treats.
- Apple Pie Bars: All the flavors of apple pie in an easy-to-serve bar form, often with a delightful crumb topping.
- Apple Turnovers: Flaky pastry filled with sweet apple pie filling, a classic bakery favorite.
This Small Apple Pie recipe truly is a labor of love, designed to bring joy and warmth to your home with minimal fuss. Whether you’re celebrating a special occasion with a loved one or simply craving a taste of fall, this 6-inch apple pie delivers on all fronts: flavor, texture, and convenience. Enjoy the process of baking this delightful dessert, and savor every single bite!
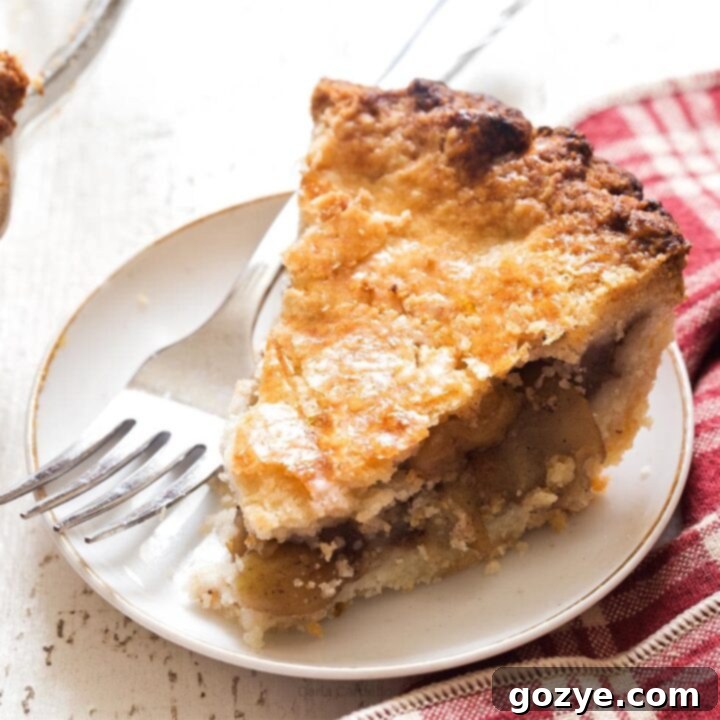
Small Apple Pie Recipe
4-6 servings (or a generous two)
45 minutes
45 minutes
1 hour 30 minutes
Experience the ultimate taste of fall with this classic Small Apple Pie. Featuring a beautifully flaky, buttery crust and a perfectly spiced, warm apple pie filling, this recipe is baked in a 6-inch pie plate, making it an ideal apple pie for two, or a cozy dessert for a small gathering.
Ingredients
For the Pie Crust (Makes enough for one 6-inch double crust pie)
- 2 cups (240g) all-purpose flour
- 1/4 cup (50g) granulated sugar
- 1 teaspoon table salt
- 6 tablespoons (85g) cold shortening, cut into 6 pieces
- 6 tablespoons (85g) cold unsalted butter, cut into 6 pieces
- 1/4 cup (60ml) ice cold water (or more, if needed)
For the Apple Filling
- 2 large baking apples (e.g., Jonagold, Braeburn, Golden Delicious), cored, peeled, and sliced
- 2 tablespoons (25g) granulated sugar
- 1 teaspoon cornstarch
- 1 teaspoon fresh lemon juice
- 1/2 teaspoon ground cinnamon*
- 1/8 teaspoon ground nutmeg*
- 1/8 teaspoon ground clove*
- 1/8 teaspoon salt
- 1 large egg, beaten with a fork (for egg wash)
Instructions
- Prepare the Pie Crust: In the bowl of a large food processor, combine the flour, 1/4 cup sugar, and salt. Pulse once or twice to thoroughly combine these dry ingredients.
- Add the cold butter and cold shortening pieces to the flour mixture. Pulse in short bursts until the fats are cut into the flour, resembling small pebbles or coarse meal. Be careful not to overmix.
- Gradually add the ice cold water, pulsing just until the dough begins to come together. If the dough still seems crumbly, pulse for another minute. If it’s still not cohesive, add an additional teaspoon of water at a time, pulsing after each addition, until a workable dough forms. Avoid adding too much water, as this can make your crust tough and prone to puffing up excessively.
- Divide the dough into two equal pieces. Flatten each piece into an evenly round disk, then wrap tightly in plastic wrap. Refrigerate for at least 1 hour (or up to 2 days) to allow the gluten to relax and the fats to firm up, which is crucial for a flaky crust.
- Prepare the Apples: In a medium bowl, toss the sliced apples with 2 tablespoons of sugar. Transfer the sugared apples to a small colander placed over the bowl. Let them sit for at least 30 minutes to drain excess liquid. This step is vital for preventing a soggy bottom crust.
- Roll Out Bottom Crust: Once the dough is cold, roll one piece into an 8-inch circle, aiming for a thickness between 1/8 and 1/4 inch. You can do this between two sheets of plastic wrap or on a lightly floured surface.
- Carefully transfer the rolled dough to a 6-inch ungreased glass pie plate. Trim off any excess dough, leaving about a 1/2-inch border. Gently brush the bottom of the pie crust with some of the beaten egg wash; this acts as a barrier against the apple juices. Refrigerate the pie plate with the crust while you prepare the filling.
- Make the Apple Filling: Remove the colander from the bowl and discard the accumulated liquid. Wipe the bowl clean. Add the drained apples along with the cornstarch, lemon juice, cinnamon, nutmeg, clove, and salt. Toss gently until all the apple slices are evenly coated.
- Preheat your oven to 400°F (200°C). Have a room temperature baking sheet ready, especially if using a glass pie plate.
- Fill the Pie: Layer the prepared apples vertically into the now-chilled bottom pie crust. This technique helps reduce gaps and ensures the top crust remains flat after baking. Refrigerate the pie while you work on the top crust.
- Add Top Crust: Roll the remaining dough piece into another 8-inch circle (1/8 to 1/4 inch thick). Carefully cover your pie with this top crust. Trim the top crust, leaving a 1/2-inch border, and then seal the edges as desired (e.g., crimp with a fork or pinch to create a decorative edge). Cut three small slits into the top crust to allow steam to escape. Brush the entire top crust with the remaining egg wash for a beautiful golden finish.
- Bake the Pie: Place your pie plate onto the room temperature baking sheet. Bake for 40-45 minutes, or until the top crust is golden brown and the filling is bubbly.
Important Note: Never place a cold glass pan directly onto a hot oven rack or a hot baking sheet. The sudden change in temperature can cause your glass pan to shatter.
- Cool and Serve: Allow the pie to cool completely on a wire rack before cutting, which will take approximately 2-4 hours. This allows the filling to set properly. Store at room temperature for 2-3 days or refrigerate for up to 5-7 days in an airtight container.
Notes
- Spice Substitution: If you prefer, instead of individual spices, you can substitute 1 teaspoon of apple pie spice for the cinnamon, nutmeg, and clove.
- Store-Bought Crust Option: Don’t want to make homemade pie crust? You can certainly use store-bought refrigerated pie dough. Simply roll it out to your desired thickness and cut it to fit your 6-inch pie plate.
- More Small Pie Inspiration: For other delightful 6-inch pie recipes, be sure to check out my Small Pumpkin Pie, Small Pecan Pie, and Mini Lemon Meringue Pie.
Did you make this recipe?
Let me know what you think! Rate the recipe above, leave a comment below, and/or share a photo on Instagram using #HITKrecipes
