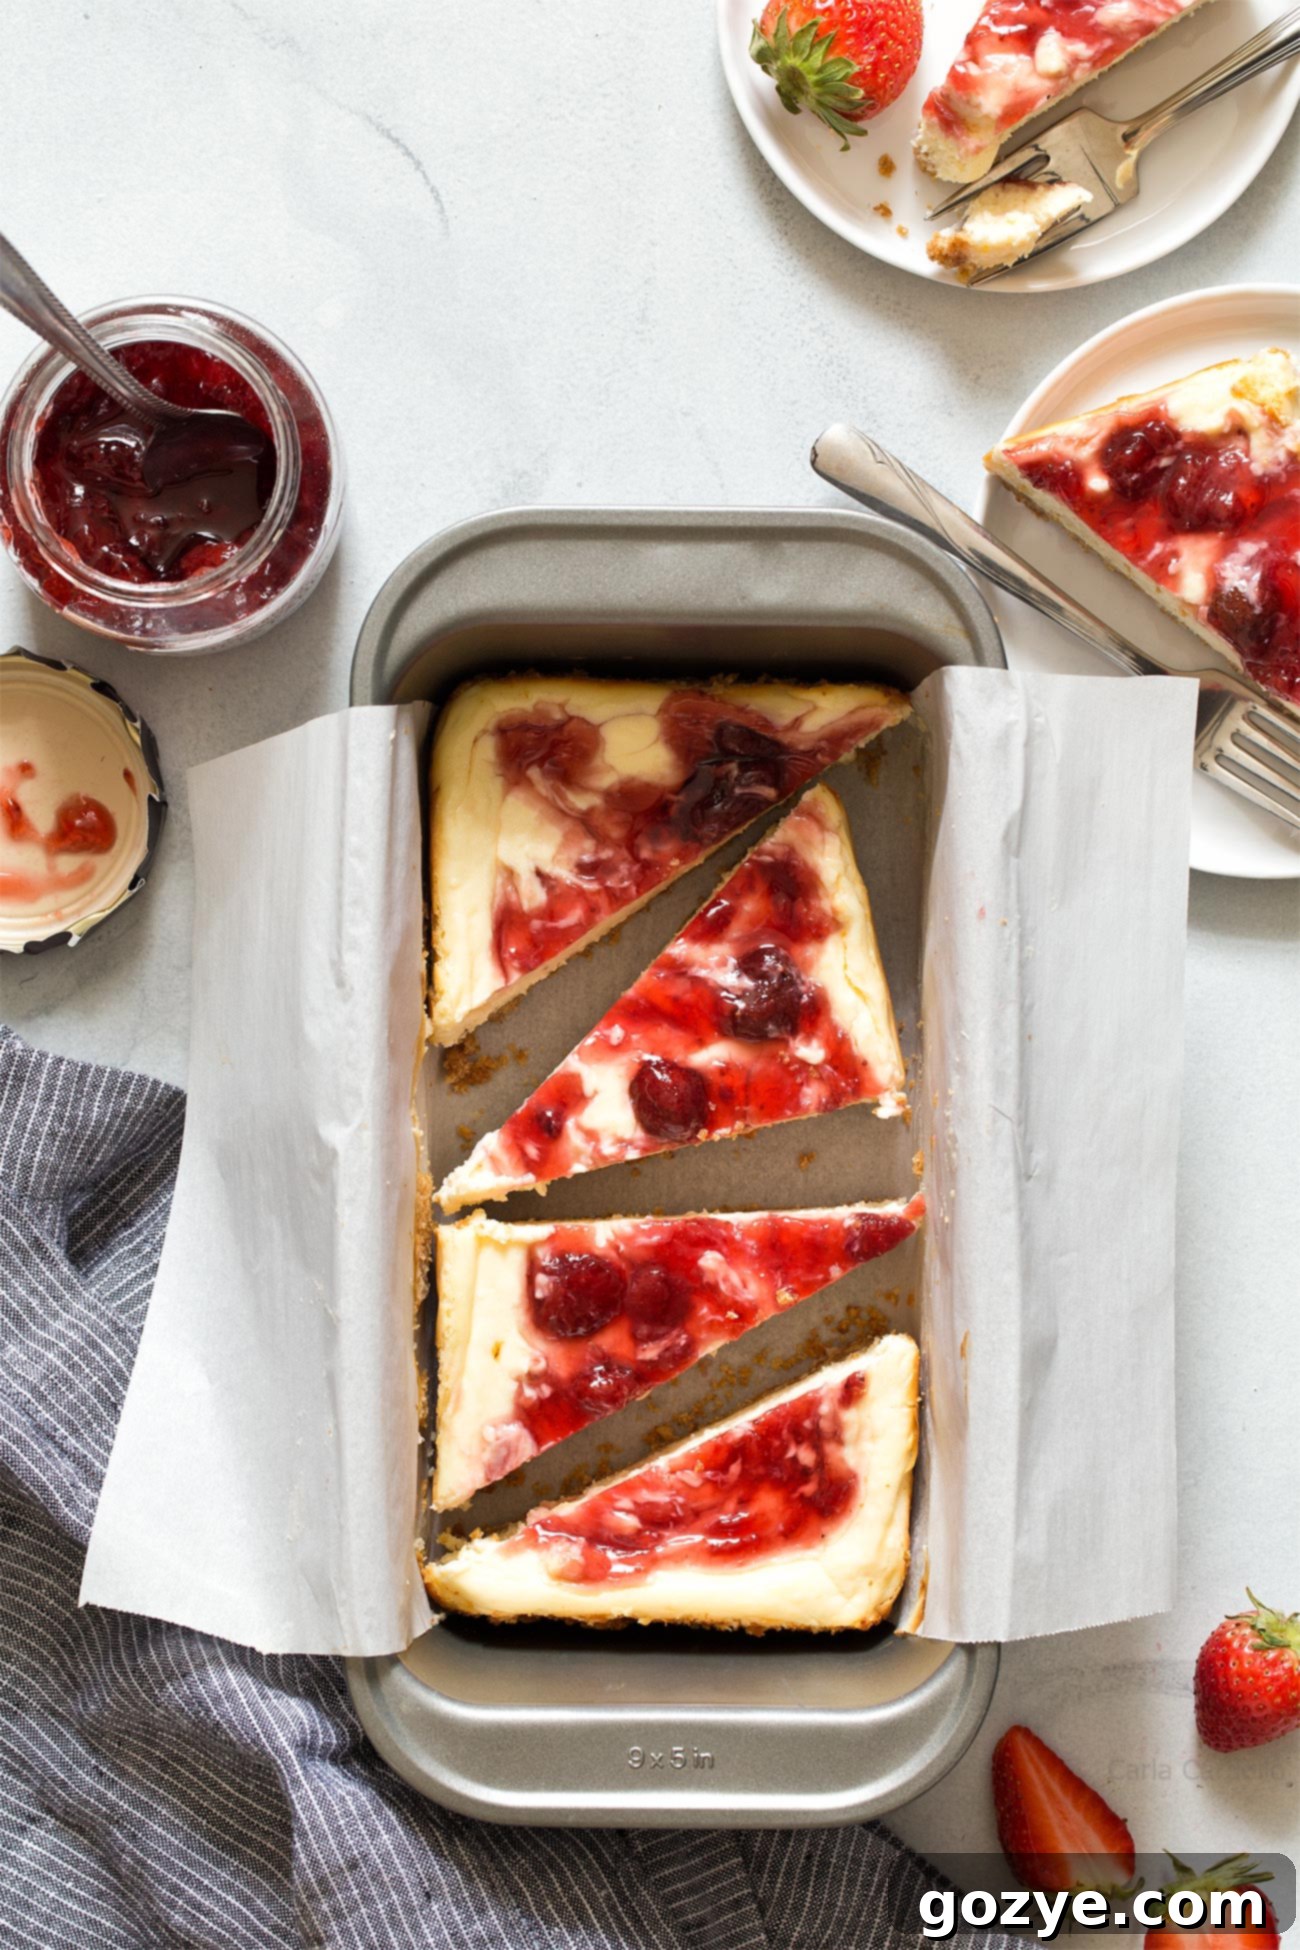
Easy Small Batch Cheesecake: Your Go-To Loaf Pan Recipe (No Water Bath!)
Are you craving a rich, creamy cheesecake but don’t want a giant dessert that takes days to finish? Look no further! This Small Batch Cheesecake recipe, baked conveniently in a standard loaf pan, is designed for those who desire a perfect portion of indulgence without the fuss. It’s incredibly easy to make, yields 6 delightful slices or 8 portable cheesecake bars, and best of all, requires absolutely no water bath!
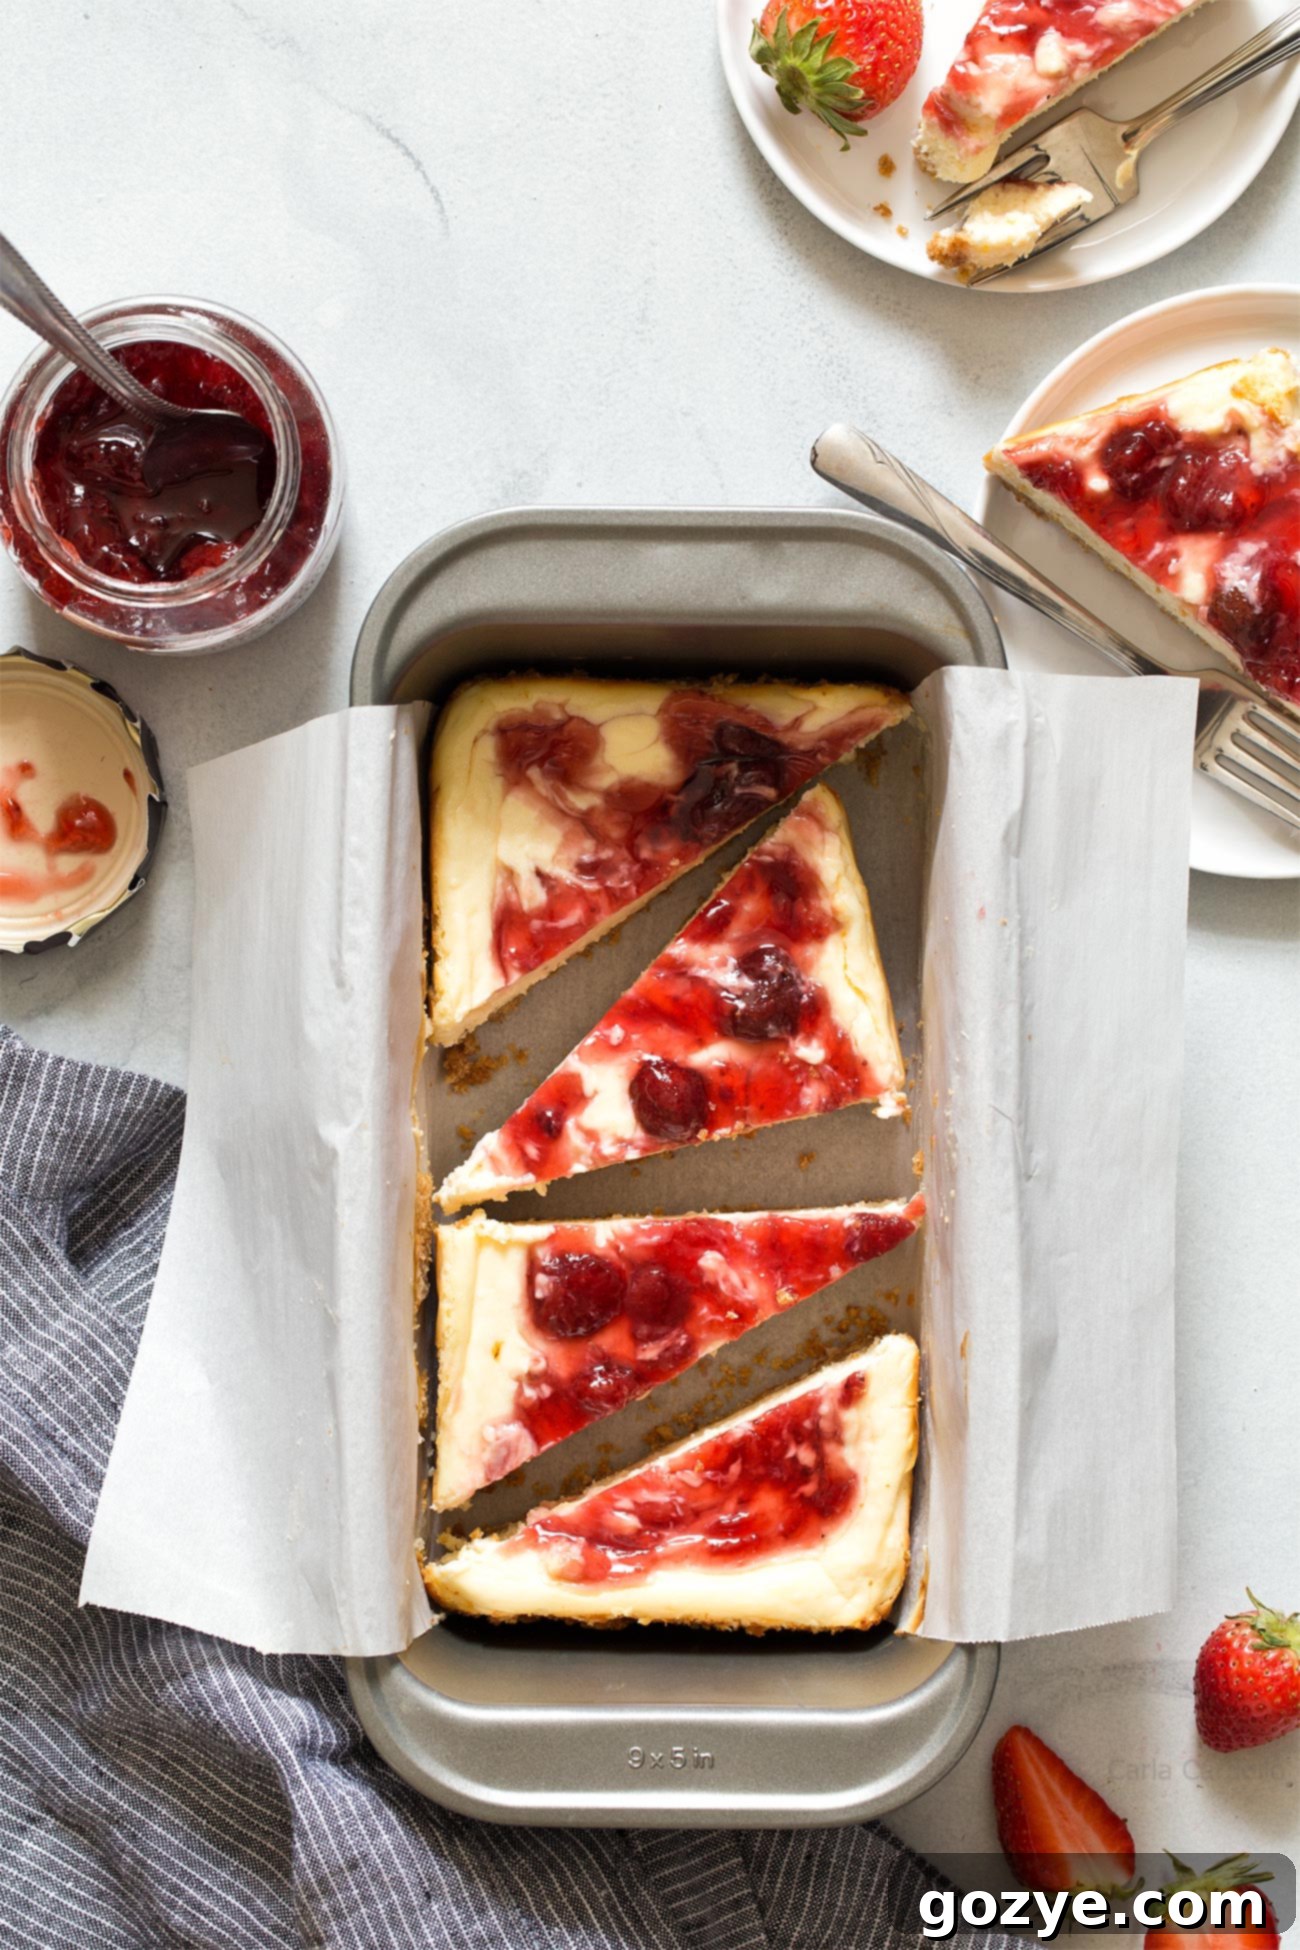
As a passionate recipe developer dedicated to crafting delightful desserts for smaller households, creating small batch versions of my all-time favorite treats is incredibly important. This approach ensures that everyone, regardless of their household size, can indulge in freshly baked goodness without being overwhelmed by excessive leftovers. My mission is to simplify baking, making it accessible and enjoyable for couples, individuals, or small families who crave a perfect portion of sweetness.
I understand the dilemma: you love a good cheesecake, but a full-sized springform pan dessert can be daunting. Who wants to miss out on heavenly small batch brownies or a luscious cheesecake simply because there aren’t enough people to share it with? That’s where the beauty of small batch baking shines, offering perfectly portioned delights that satisfy your cravings without waste.
Why a Loaf Pan is Your Secret Weapon for Small Batch Cheesecake
One essential baking pan you absolutely need in your kitchen (and one you likely already own) is a 9×5 loaf pan. This versatile pan isn’t just for bread; it’s perfect for making my incredibly delicious Small Batch Cheesecake. Its compact size is ideal for creating a cheesecake that’s just right for sharing with one or two others, or to enjoy over a few days without feeling like you’re staring at an endless dessert.
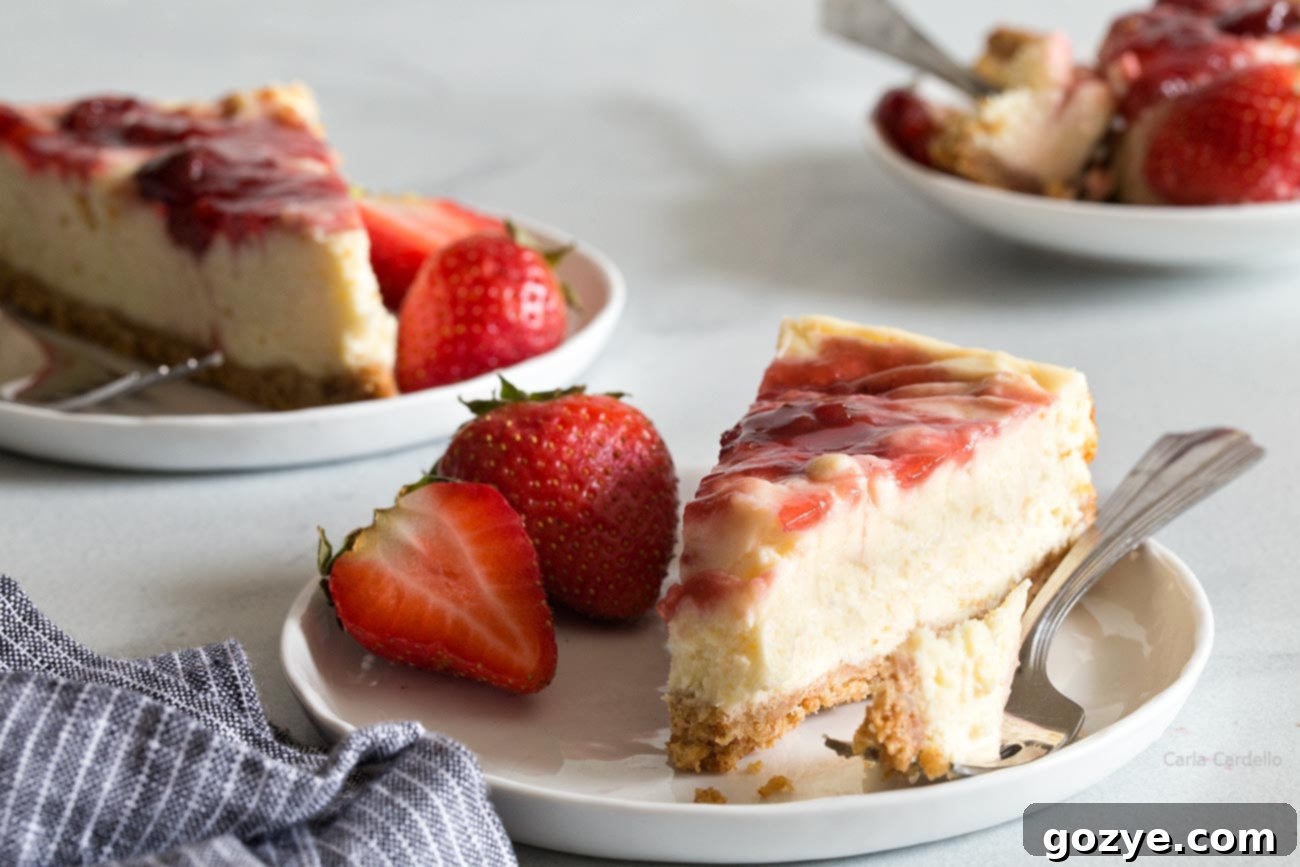
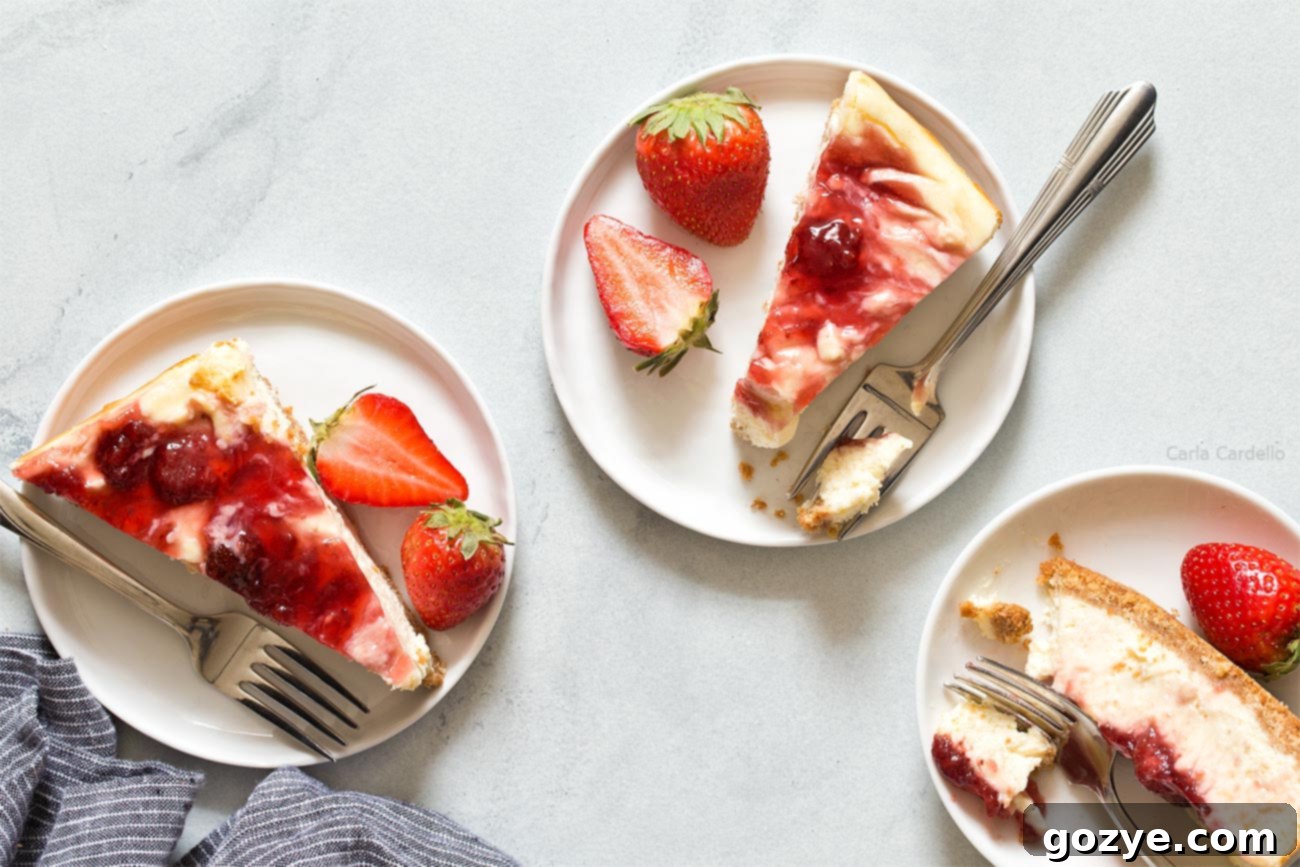
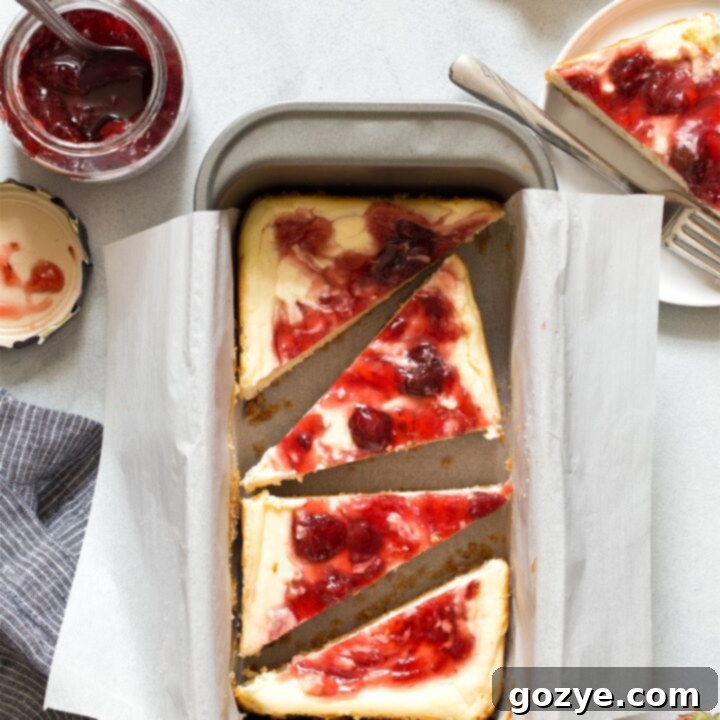
This recipe delivers a rich, creamy cheesecake, beautifully baked in the loaf pan, often topped with a vibrant strawberry swirl. You can then easily decide whether to slice it into 6 generous pieces or cut it into 8 convenient cheesecake bars. The best part, which we can’t emphasize enough, is that there’s absolutely no water bath required! This means less hassle, less potential for spills, and a simpler baking process overall.
Beyond Cheesecake: The Versatility of Your Loaf Pan
I adore using my loaf pan for a variety of classic desserts. It’s truly a workhorse in my kitchen, perfect for everything from quick treats to more elaborate bakes. You can use it for delightful small batch rice krispie treats, an elegant angel food cake in a loaf pan, or bright and zesty small batch lemon bars. I’ve even adapted savory dishes like lasagna for two to fit perfectly into this pan. Its utility makes it a must-have for any home baker focusing on smaller portions.
The Irresistible Strawberry Swirl: An Optional Yet Recommended Touch
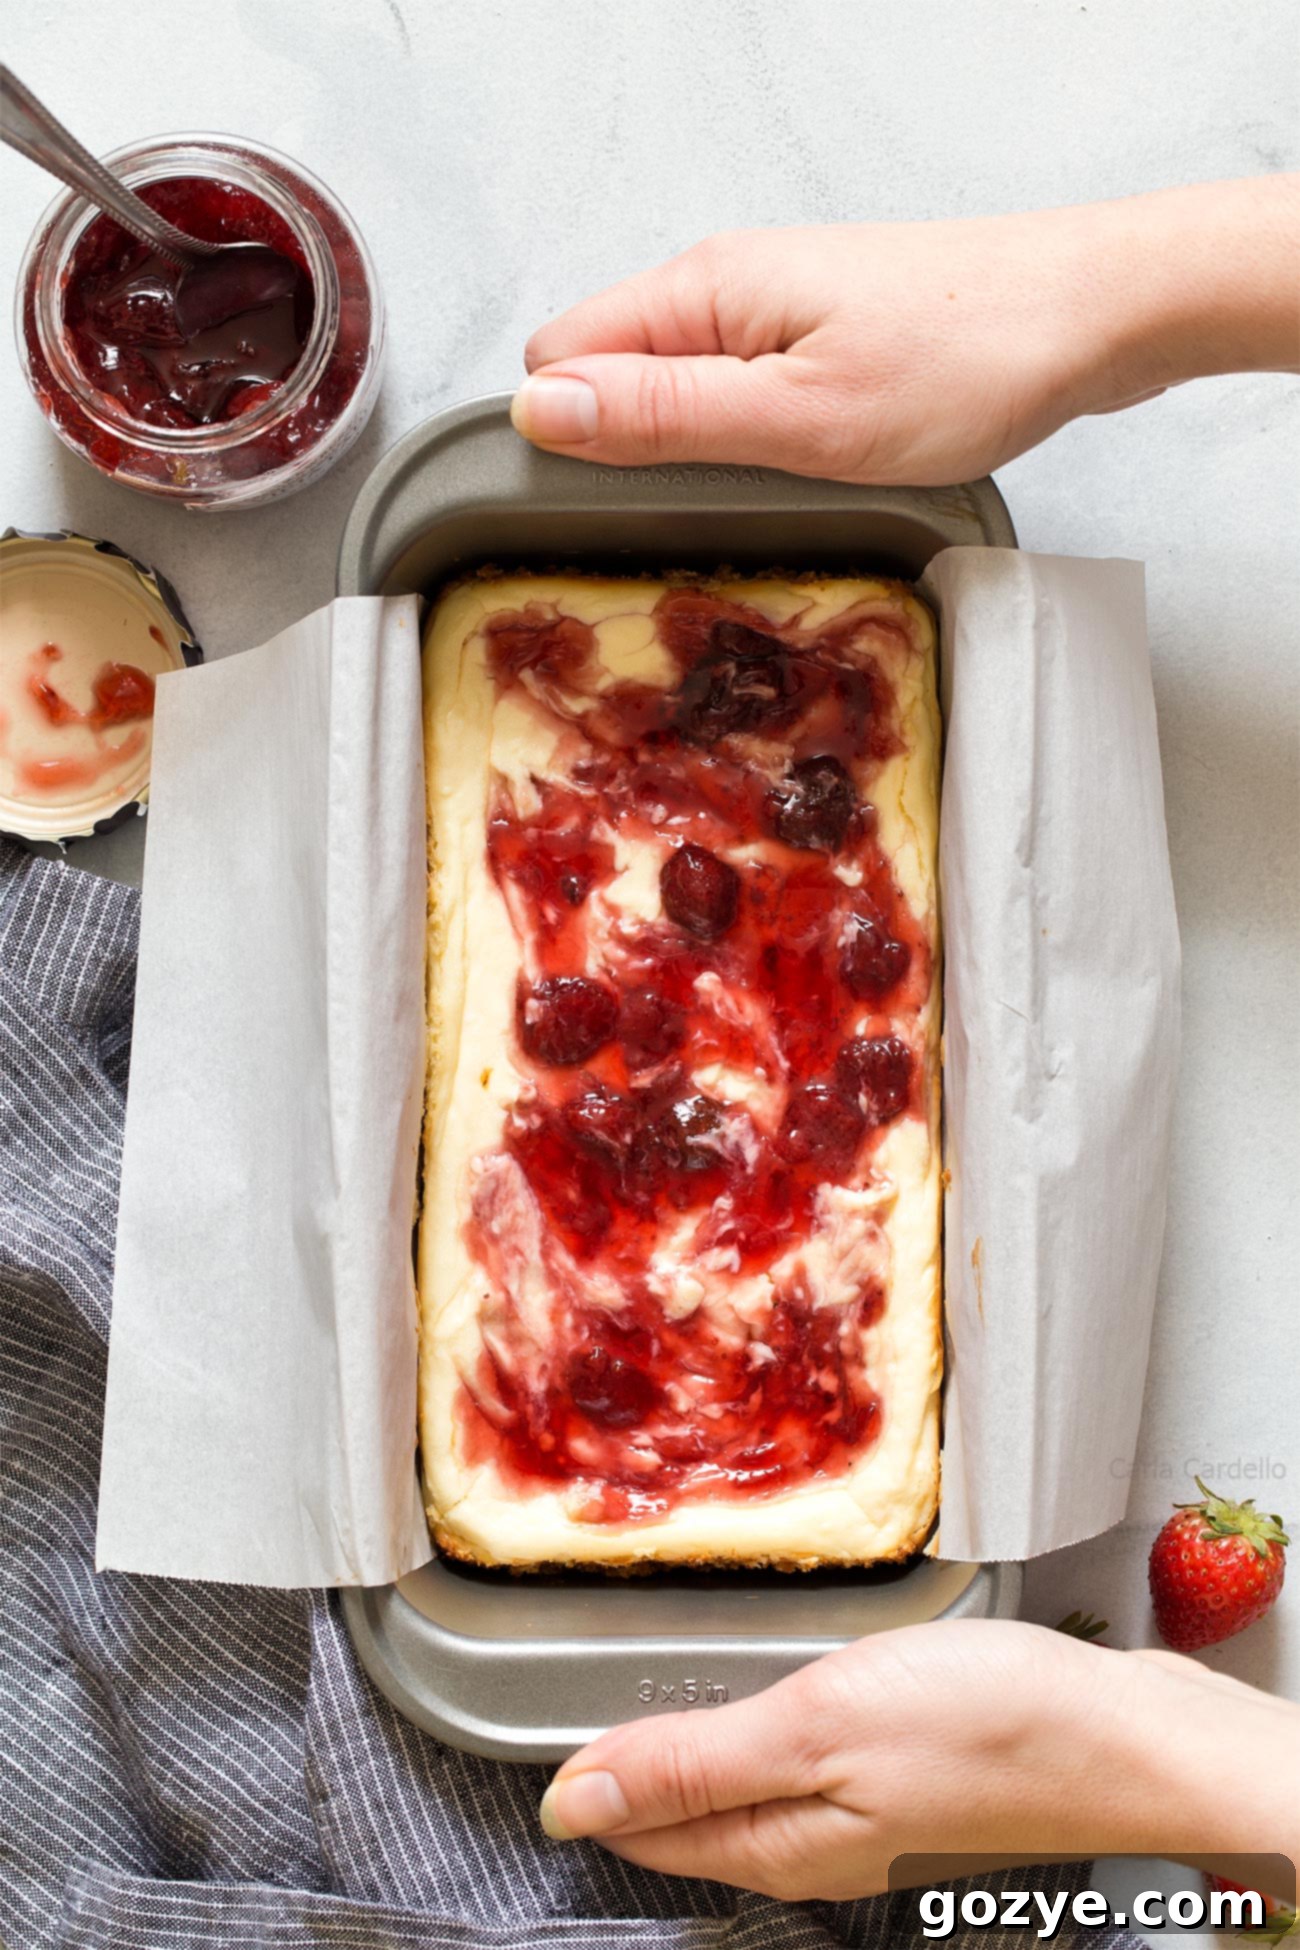
These strawberry swirl cheesecake bars were directly inspired by my popular strawberry swirl cheesecake. The secret to the gorgeous marbled top is adding a generous swirl of strawberry jam without pectin. The vibrant color and fruity tang complement the creamy cheesecake perfectly, adding an extra layer of flavor and visual appeal.
However, if strawberries aren’t your preference or if you don’t have jam on hand, I promise your small batch cheesecake will be equally delicious and wonderfully satisfying even without any added swirl. It’s a classic for a reason! For those feeling adventurous, you could even make my chocolate chip cheesecake bars in a loaf pan, complete with a delicious layer of cookie dough on top. The customization possibilities are truly endless!
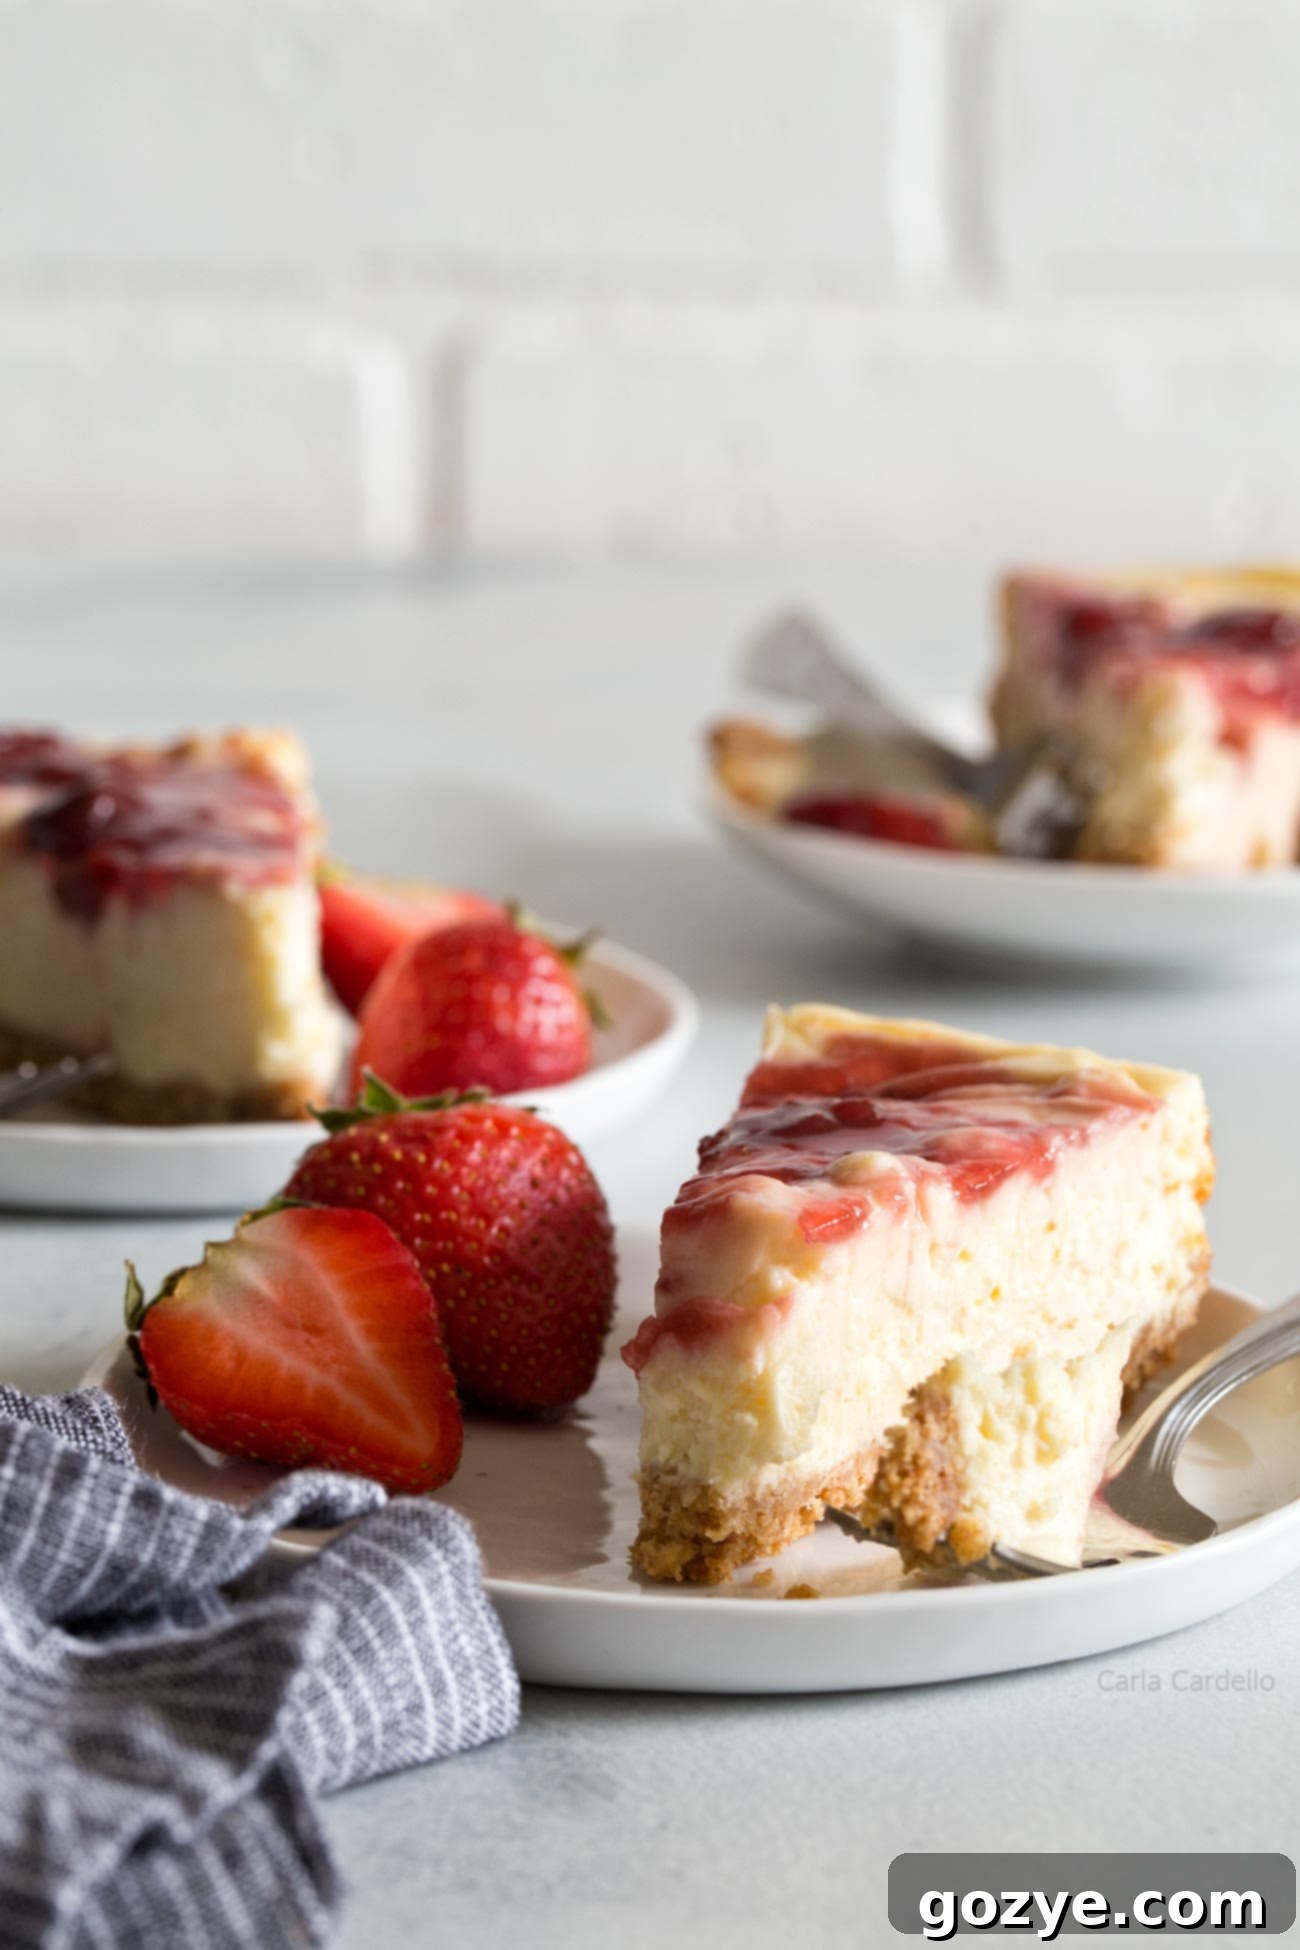
Essential Ingredients for Your Perfect Small Batch Cheesecake
Creating this delightful loaf pan cheesecake requires a few simple, high-quality ingredients. Here’s a detailed look at what you’ll need and why each component is crucial:
- Graham cracker crumbs: These form the classic, buttery base of your cheesecake. While graham crackers are traditional, feel free to experiment with other cookie crumbs for a different twist, such as chocolatey Oreo crumbs or buttery shortbread.
- Butter: Melted butter acts as the binding agent for your crust, holding the crumbs together firmly to prevent a crumbly mess.
- Salt: A pinch of salt in the crust helps to enhance and balance the flavors, especially if you’re using unsalted butter. It prevents the crust from tasting bland.
- Cream cheese: This is the heart of your cheesecake! It’s absolutely crucial to use full-fat cream cheese that comes in blocks. Low-fat and fat-free versions contain more water and stabilizers, which can lead to a less creamy texture and a cheesecake that doesn’t set properly. Most importantly, ensure your cream cheese is at **100% room temperature** – soft to the touch, not even slightly cool. This is key to preventing lumps.
- Granulated Sugar: Provides the perfect amount of sweetness to balance the tanginess of the cream cheese, creating a harmonious flavor profile.
- Egg: The egg plays a vital role in the cheesecake’s structure, binding the ingredients together and giving the batter its rich, smooth consistency. It also contributes to the cheesecake’s subtle rise and creamy texture. Ensure your egg is also at room temperature to incorporate smoothly.
- Vanilla extract: A touch of good quality vanilla extract enhances all the other flavors, adding warmth and depth to the cheesecake. Don’t skip it!
- Strawberry jam: This is an optional but highly recommended addition for that beautiful swirl and a burst of fruity flavor. You can use homemade jam (especially one without pectin for a smoother swirl) or your favorite store-bought variety.
Expand Your Flavor Horizons: Additional Cheesecake Swirl Ideas
While strawberry jam offers a classic appeal, don’t limit your creativity! You can easily customize your small batch cheesecake with other delicious fruit jams for a different flavor profile. Consider swirling in blueberry jam without pectin for a burst of berry goodness, tart raspberry jam without pectin, sweet and aromatic peach jam without pectin, or even a rich sour cherry jam for a more complex taste. Each option offers a unique way to personalize your cheesecake and impress your taste buds.
Step-by-Step: How To Make Your Small Batch Loaf Pan Cheesecake
Making this cheesecake is surprisingly straightforward, especially since you don’t have to worry about a water bath. Follow these steps for a perfectly baked, creamy cheesecake:
- Prepare Your Pan and Oven: Start by preheating your oven to 350°F (175°C). Line a 9×5 inch loaf pan with parchment paper, allowing some overhang on the longer sides. This creates convenient “handles” that will make it incredibly easy to lift the cooled cheesecake out of the pan later.
- Craft the Crust: In a medium bowl, combine the graham cracker crumbs, melted butter, a tablespoon of granulated sugar, and salt. Mix thoroughly until the crumbs are evenly moistened. Press this mixture firmly and evenly into the bottom of your prepared loaf pan. You can use the back of a spoon or your fingers to create a compact crust.
- Whip the Cream Cheese Filling: In a large mixing bowl (using a stand mixer with a paddle attachment or a hand mixer), beat together the room temperature cream cheese and the remaining 1/2 cup of sugar. Mix on medium-high speed for 1-2 minutes until the mixture is completely smooth and creamy, with no lumps visible. Make sure to scrape down the sides of the bowl often to ensure everything is incorporated.
- Incorporate Egg and Vanilla: Reduce the mixer speed to low. Add the room temperature egg and vanilla extract, beating just until they are fully combined. Be careful not to overmix at this stage, as excessive air can lead to cracks in your cheesecake.
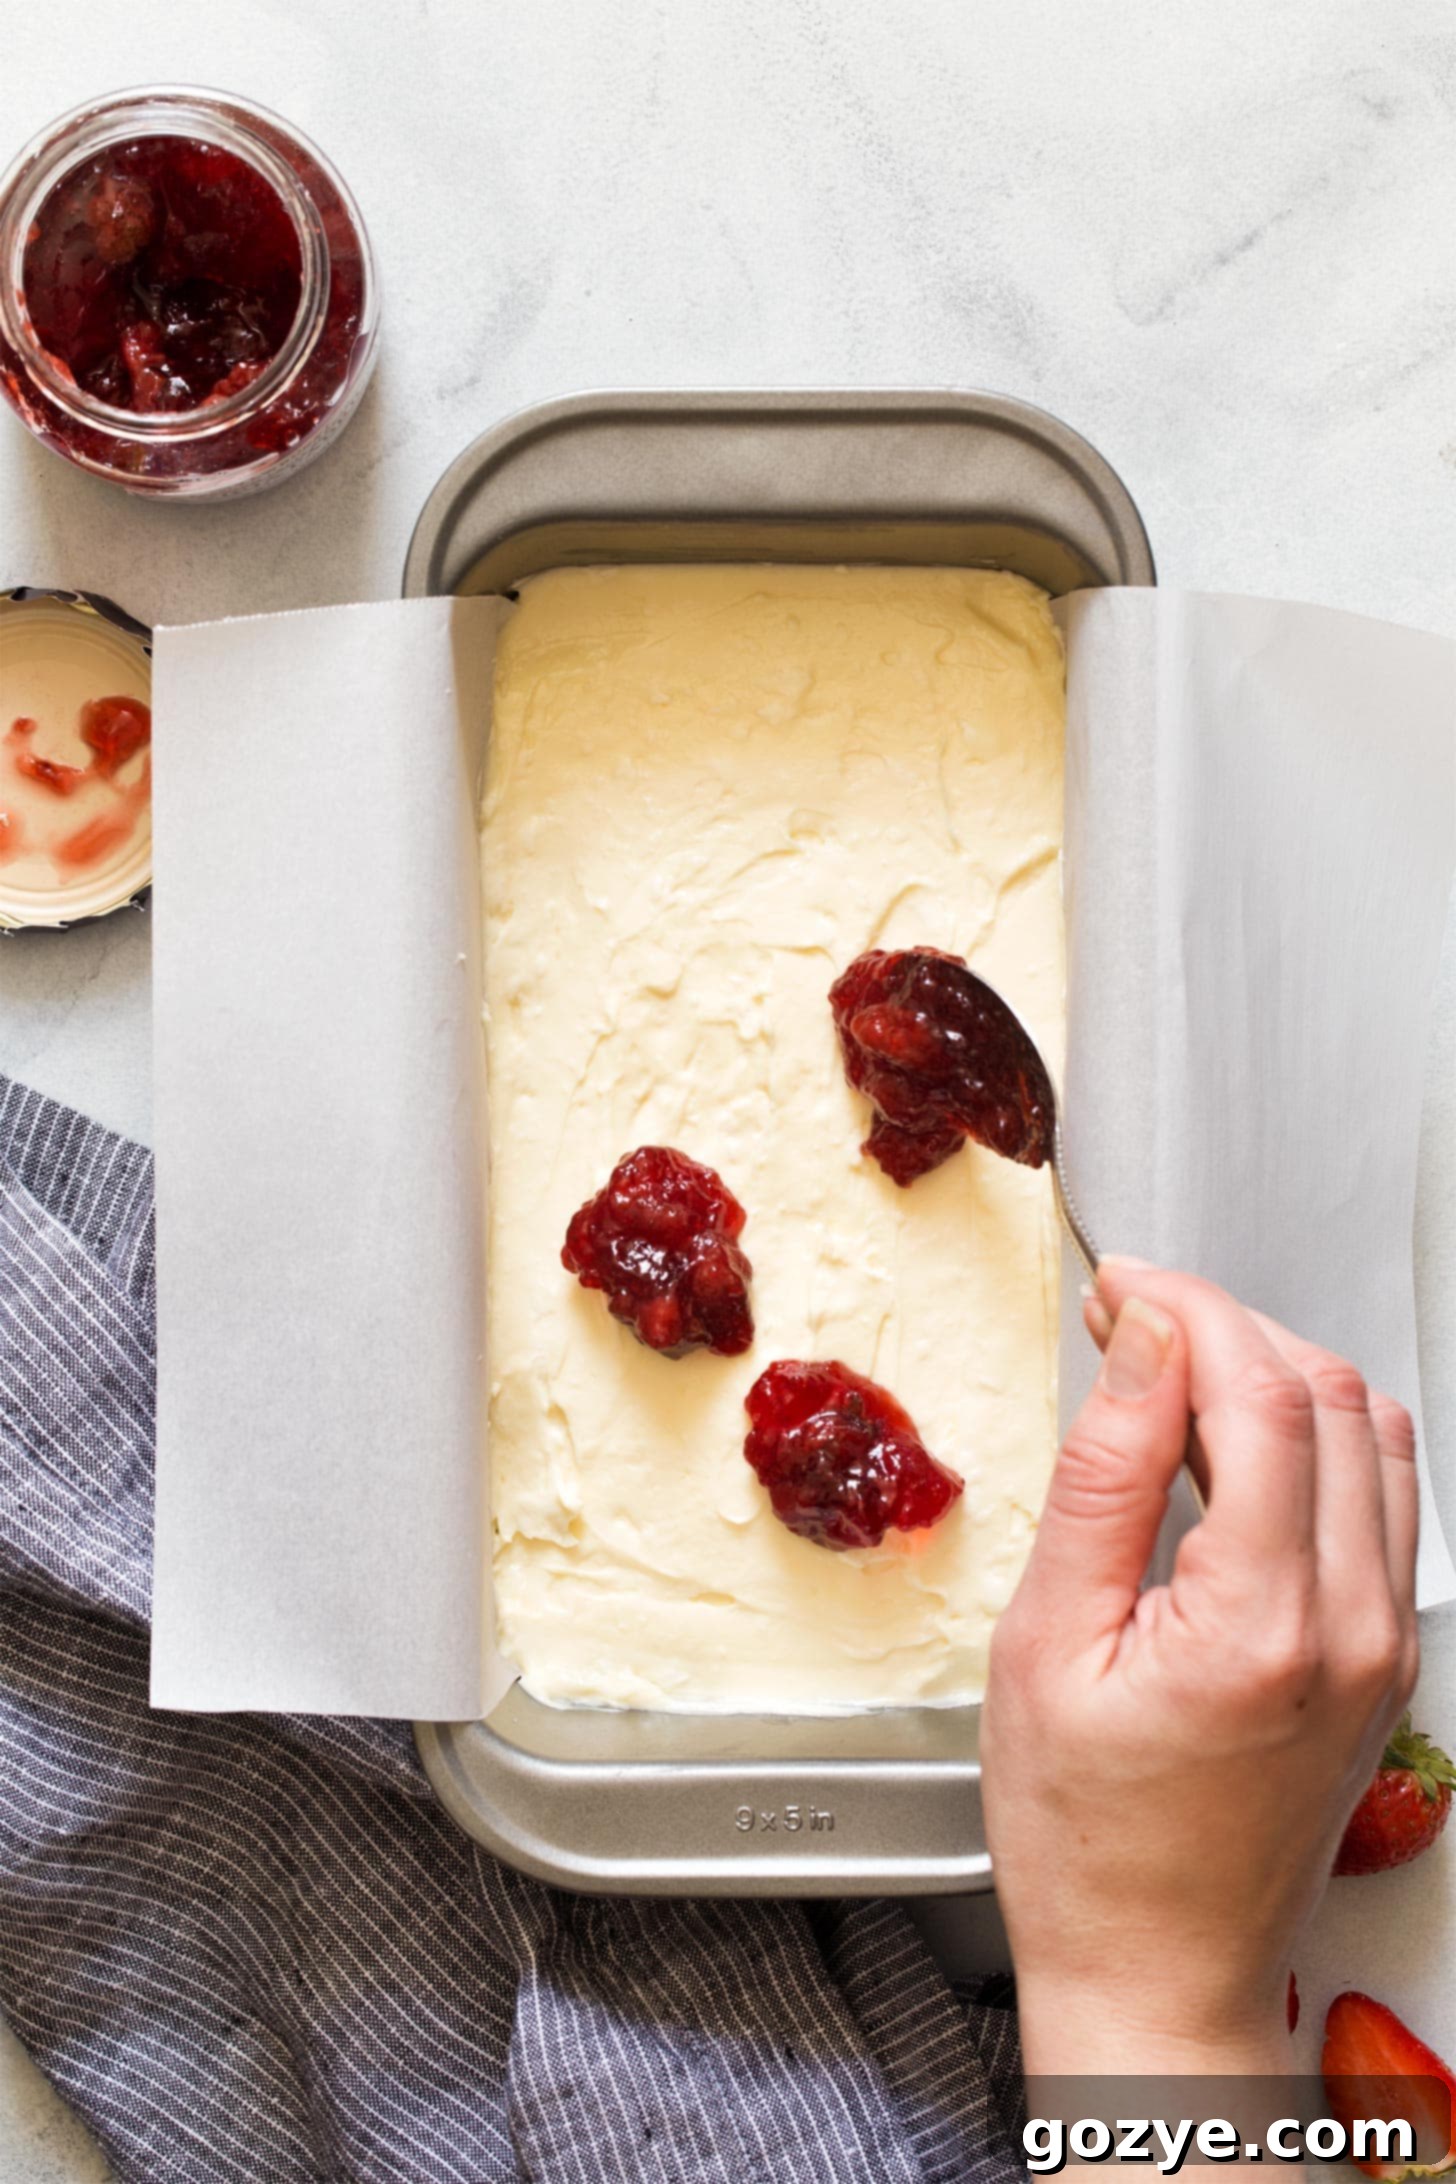
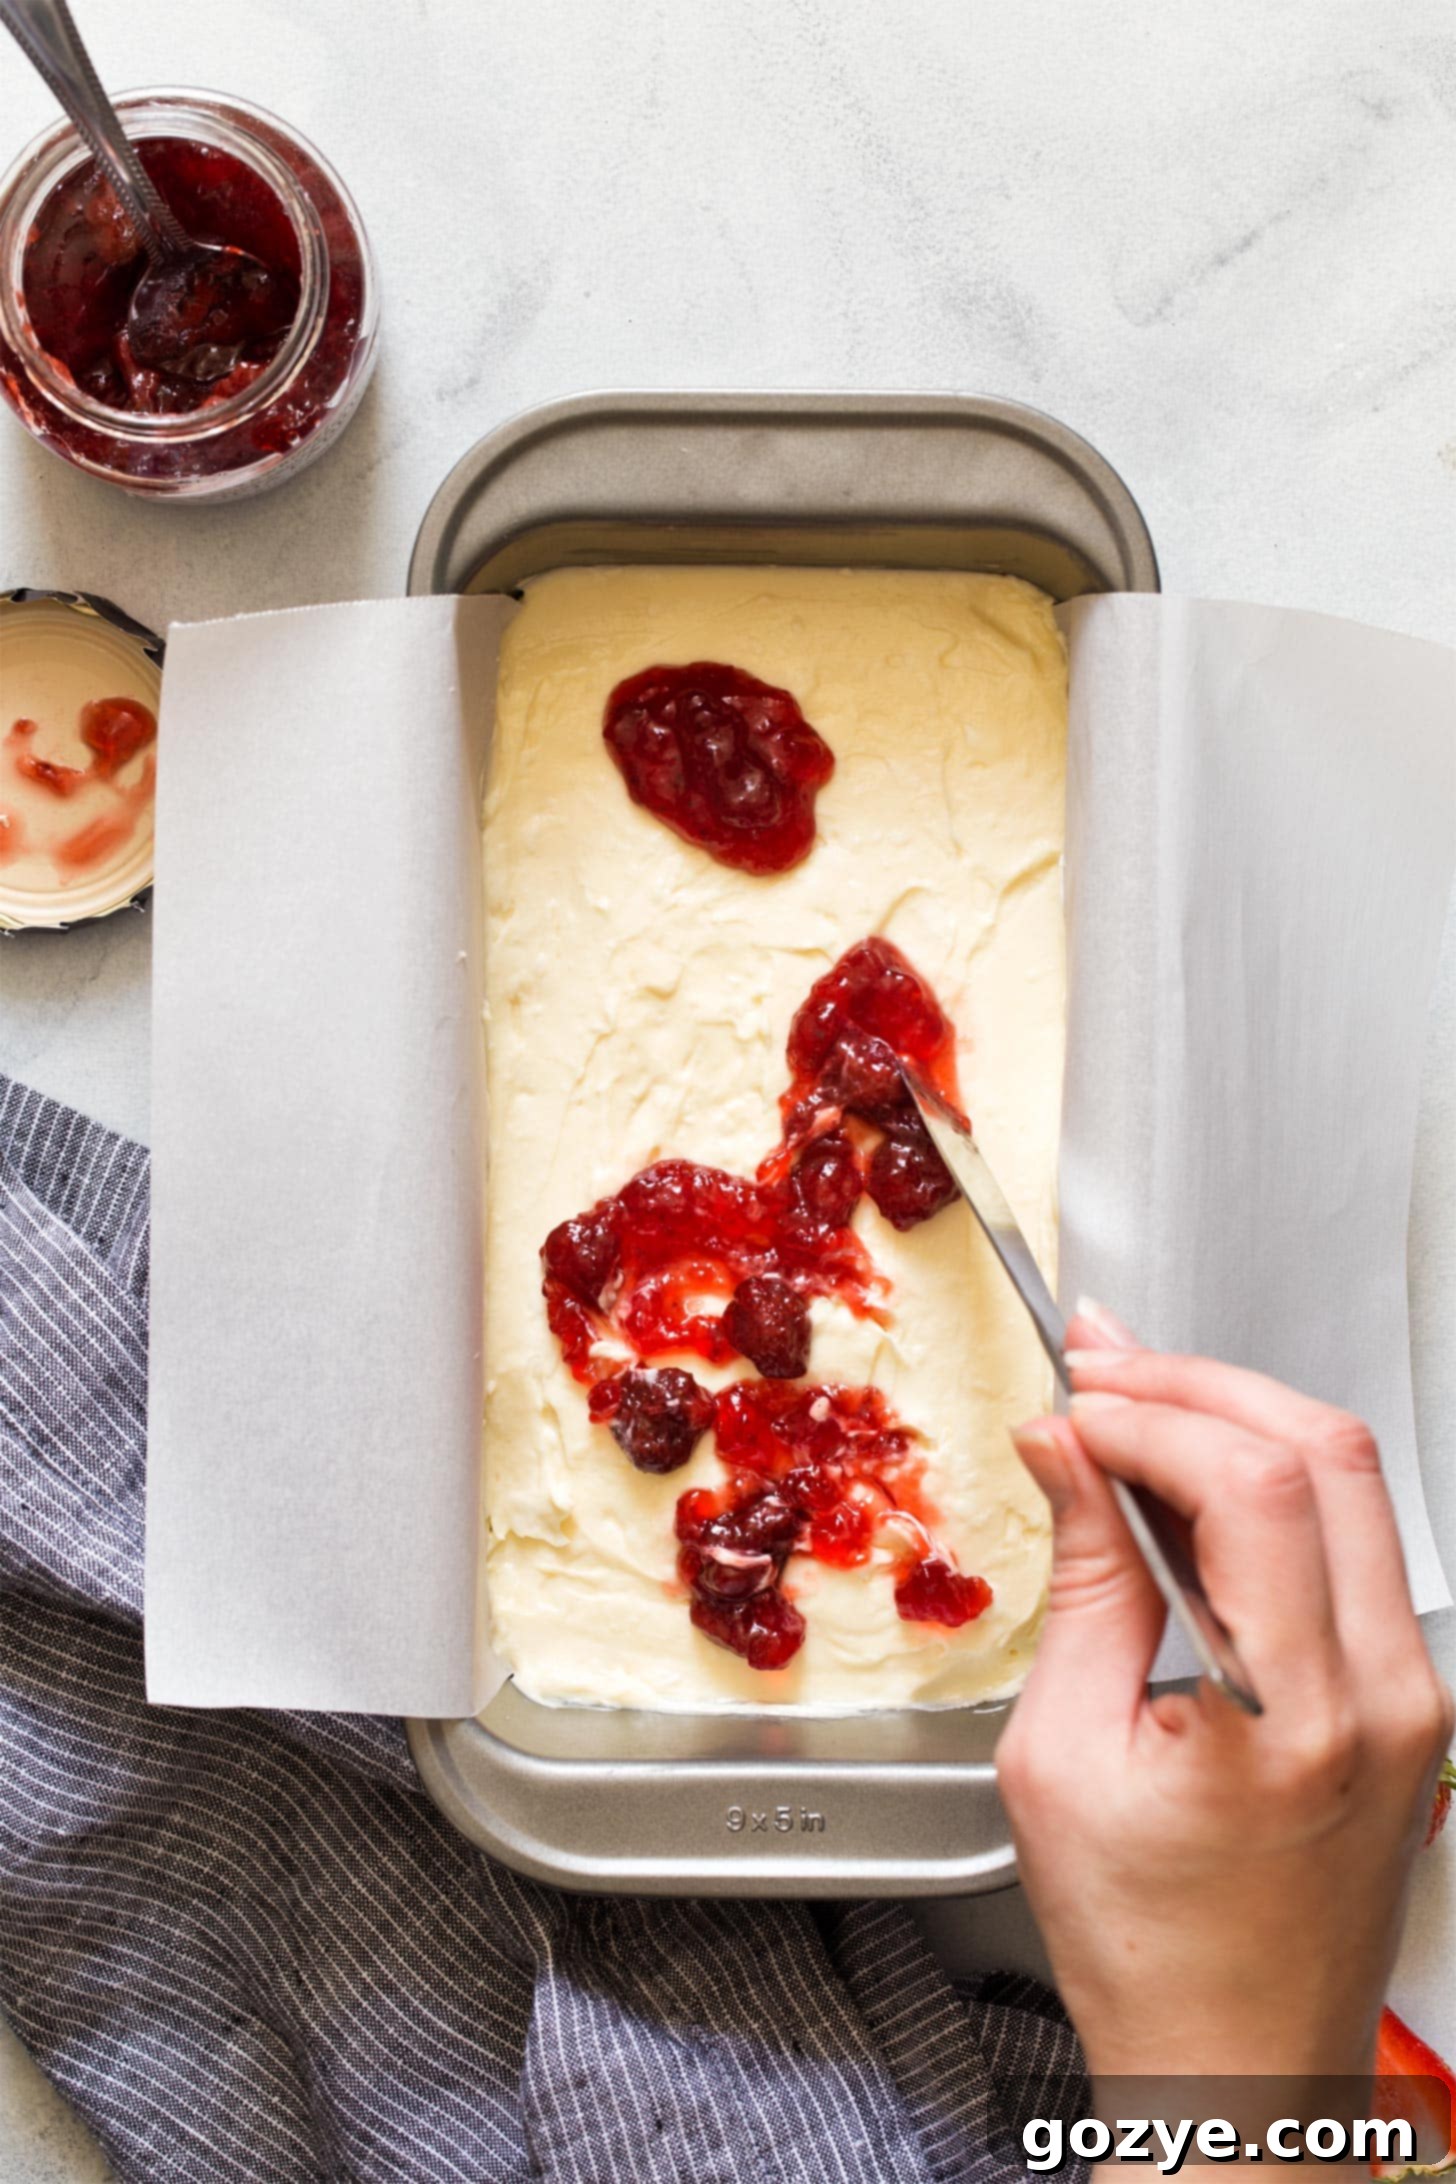
- Assemble and Swirl: Carefully pour the creamy cheesecake batter over the pressed graham cracker crust in the loaf pan. If you’re using jam for a swirl, drop spoonfuls of it randomly over the top of the batter. Then, using a knife or a skewer, gently swirl the jam into the cheesecake batter to create beautiful marbled patterns.
- Bake to Perfection: Transfer the loaf pan to your preheated oven. Bake for approximately 35-40 minutes. The cheesecake is done when the edges appear set and slightly golden brown, the center has a slight wobble (it shouldn’t be liquidy), and an internal temperature taken with an instant-read thermometer reaches 150°F (65°C).
- Cool and Chill: Once baked, remove the cheesecake from the oven and let it cool in the pan on a wire rack for 1 hour. This slow cooling helps prevent cracks. After an hour, use the parchment paper handles to carefully lift the cheesecake out of the pan. Cover it loosely with plastic wrap and refrigerate for at least 4 hours, or ideally, overnight. Chilling is crucial for the cheesecake to fully set and develop its firm, creamy texture.
- Slice and Serve: Once thoroughly chilled, remove the cheesecake from the refrigerator. Use a sharp knife (wiping it clean between cuts for neat slices) to cut it into 6 slices or 8 bars.
Store any leftover cheesecake bars in an airtight container in the refrigerator for up to 1 week. Enjoy!
No Loaf Pan? No Problem! Explore Other Cheesecake Options
Don’t have a loaf pan, or simply looking for different cheesecake formats? There are plenty of ways to enjoy small-batch cheesecake! If you have a springform pan, you can try my equally delicious 4-inch cheesecake, a versatile 6-inch cheesecake recipe, a slightly larger 7-inch cheesecake recipe, or even a full 9-inch classic cheesecake recipe.
For individual servings, a muffin pan is perfect for making my adorable mini cheesecakes. And if it’s too hot to turn on your oven, or you simply prefer a no-bake option, check out my refreshing No Bake Cheesecake Bars (also conveniently made in a loaf pan!), delightful No Bake Cheesecake Cups, and charming No Bake Mini Cheesecakes. The world of cheesecake is vast and delicious!
Troubleshooting Common Small Batch Cheesecake Issues
Why is my cheesecake lumpy?
The secret to achieving a perfectly smooth, lump-free cheesecake batter lies almost entirely in one crucial detail: ensuring your cream cheese is 100% at room temperature. This means it should feel soft and pliable to the touch, not even the slightest bit cool. If the cream cheese is even marginally cold, it won’t blend smoothly with the sugar and other ingredients, leading to stubborn lumps, especially once the egg is added.
If you’ve left your cream cheese out on the counter for a while and it’s still feeling a bit firm, you can gently microwave it. Place the unwrapped cream cheese (remove it from any foil packaging!) in a microwave-safe bowl and heat it in 5-second bursts, checking and flipping it after each interval, until it feels uniformly soft and no longer cold. Be careful not to overheat it, as you don’t want to melt it, just soften it.
Why did my cheesecake crack?
Cheesecake cracks are a common occurrence, but they don’t affect the taste! They usually happen due to sudden temperature changes or overbaking. To minimize cracking:
- Avoid overmixing: Once you add the egg, mix just until combined. Incorporating too much air can cause the cheesecake to puff up excessively and then deflate, leading to cracks.
- Don’t overbake: Overbaked cheesecakes become dry and are more prone to cracking. Follow the visual cues and internal temperature as described in the recipe. The center should still have a slight wobble.
- Cool gradually: Sudden cooling (like moving it directly from a hot oven to a cold counter) can cause cracks. Allow it to cool in the pan on a wire rack for at least an hour before refrigerating.
How do I know when my cheesecake is done?
Knowing when a cheesecake is perfectly baked is key to its creamy texture. Here are the signs to look for:
- Edges are set: The outer edges of the cheesecake should appear set and slightly puffed, possibly with a hint of golden brown.
- Center has a slight wobble: Gently jiggle the loaf pan. The center of the cheesecake should still have a slight “jiggle” or wobble, like soft jello. It should not be liquidy, but it shouldn’t be completely firm either.
- Internal Temperature: For the most accurate measure, an instant-read thermometer inserted into the center (not touching the crust) should read 150°F (65°C).
Serving & Storage Tips for Your Loaf Pan Cheesecake
Serving Suggestions:
Your Small Batch Cheesecake is delicious on its own, but you can elevate it with various toppings:
- Fresh Fruit: Sliced strawberries, blueberries, or raspberries add freshness and a pop of color.
- Whipped Cream: A dollop of homemade whipped cream is always a welcome addition.
- Sauces: A drizzle of chocolate sauce, caramel sauce, or an extra spoonful of strawberry jam can transform your cheesecake.
- Citrus Zest: A sprinkle of lemon or orange zest can add a bright, aromatic touch.
Storage:
To keep your cheesecake fresh and delicious, store any leftovers in an airtight container in the refrigerator for up to 1 week. Ensure it’s well-covered to prevent it from absorbing odors from other foods.
Freezing:
This small batch cheesecake freezes beautifully! Once completely cooled and chilled, you can wrap individual slices or the entire loaf-sized cheesecake tightly in plastic wrap, then a layer of aluminum foil. Freeze for up to 1-2 months. Thaw overnight in the refrigerator before serving. This makes it a fantastic make-ahead dessert!
Craving More? Discover Other Delicious Cheesecake Bar Recipes
If you thoroughly enjoyed this simple and delicious loaf pan cheesecake, you’ll be thrilled to explore these other fantastic cheesecake bar recipes, perfect for any occasion:
- No Bake Pumpkin Cheesecake Bars: A seasonal favorite without turning on the oven.
- Raspberry Cheesecake Bars: Featuring a delightful crumb topping and sweet-tart raspberries.
- Peach Cheesecake Bars: A taste of summer with juicy peaches and a tender crust.
- Buckeye Cheesecake Bars: The classic peanut butter and chocolate combination in cheesecake form.
Small Batch Cheesecake
6-8 cheesecake bars
25 minutes
35 minutes
1 hour
This Small Batch Cheesecake is the best loaf pan cheesecake you’ll ever make with no water bath needed! Recipe makes 6 cheesecake slices or 8 cheesecake bars.
Ingredients
- 1 cup graham cracker crumbs
- 1/4 cup (4 tablespoons or 2 ounces) unsalted butter, melted
- 1/8 teaspoon table salt
- 16 ounces (2 blocks) full-fat cream cheese, room temperature and not cold to the touch (do not sub fat free or low fat)
- 1/2 cup + 1 tablespoon granulated sugar
- 1 large egg, room temperature
- 1 teaspoon vanilla extract
- 1/4 cup strawberry jam (homemade or store bought)
Instructions
- Preheat oven to 350F (175°C). Line a 9×5 loaf pan with parchment paper, leaving extra on the sides for handles.
- In a medium bowl, mix together the graham cracker crumbs, melted butter, 1 tablespoon sugar, and salt. Press firmly into the bottom of the prepared pan.
- In a large mixing bowl on medium-high speed (with a paddle attachment if using a stand mixer), beat the room temperature cream cheese and the remaining 1/2 cup sugar until smooth and creamy, about 1-2 minutes. Scrape down the bowl as needed.
- Turn the speed down to low then beat in the room temperature egg and vanilla extract, just until fully combined. Do not overmix.
- Transfer the batter to the crust-lined loaf pan. Add spoonfuls of jam on top if using, and swirl gently with a knife or skewer to create a marble effect.
- Bake for 35-40 minutes or until the edges are set and lightly golden, the center is mostly set with a slight wiggle, and the internal temperature reaches 150F (65°C).
- Cool for an hour in the pan on a wire rack, then carefully remove the cheesecake using the parchment paper handles. Cover and refrigerate for at least 4 hours or overnight until thoroughly chilled. Cut into 6 slices or 8 bars before serving.
Refrigerate any leftovers in an airtight container for up to 1 week.
Notes
- Don’t want to use strawberry jam? Leave it off altogether for a classic plain cheesecake or use blueberry jam without pectin, raspberry jam without pectin, peach jam without pectin, or sour cherry jam instead for different flavor variations.
- For a convenient no-bake version that also uses a loaf pan, check out my No Bake Cheesecake Bars.
- Don’t have a loaf pan but still want a small-batch cheesecake? You can make a 4-inch cheesecake, 6-inch cheesecake, or 7-inch cheesecake in a springform pan instead.
Recommended Products
As an Amazon Associate and member of other affiliate programs, I earn from qualifying purchases.
- 9×5 Loaf Pan
Did you make this recipe?
Let me know what you think! Rate the recipe above, leave a comment below, and/or share a photo on Instagram using #HITKrecipes
Frequently Asked Questions (FAQs) About Small Batch Cheesecake
- Can I use a different type of crust for this cheesecake?
- Absolutely! While graham cracker crumbs are traditional, you can easily swap them out for other cookie crumbs. Oreo cookies (crushed finely), vanilla wafers, or even shortbread cookies make excellent alternatives, offering a unique flavor twist to your small batch cheesecake.
- Can I make this small batch cheesecake ahead of time?
- Yes, in fact, it’s highly recommended! Cheesecake benefits greatly from chilling for at least 4 hours, or ideally overnight. This allows it to fully set and develop its rich, creamy texture and flavors. Making it a day in advance makes it perfect for entertaining or a stress-free dessert.
- Can I freeze this loaf pan cheesecake?
- Yes, this cheesecake freezes wonderfully! Once fully baked and chilled, you can wrap individual slices or the entire cheesecake (after it’s completely cold) tightly in plastic wrap, then an additional layer of aluminum foil. It can be frozen for up to 1-2 months. Thaw it overnight in the refrigerator before serving for the best texture.
- What’s the best way to get cream cheese to room temperature quickly?
- The fastest way is to unwrap the cream cheese blocks and place them on a microwave-safe plate. Microwave in 5-10 second intervals, flipping after each, until soft to the touch but not melted. Alternatively, you can submerge the foil-wrapped blocks in warm water for about 15-20 minutes, or cut them into smaller cubes and let them sit on the counter for 30 minutes.
- Do I really not need a water bath for this recipe?
- That’s right! This recipe is specifically developed to achieve a perfectly creamy texture without the need for a water bath, which can often be messy and cumbersome. By carefully controlling baking temperature and ensuring proper cooling, you’ll get a beautiful cheesecake every time.
First published April 9, 2018
