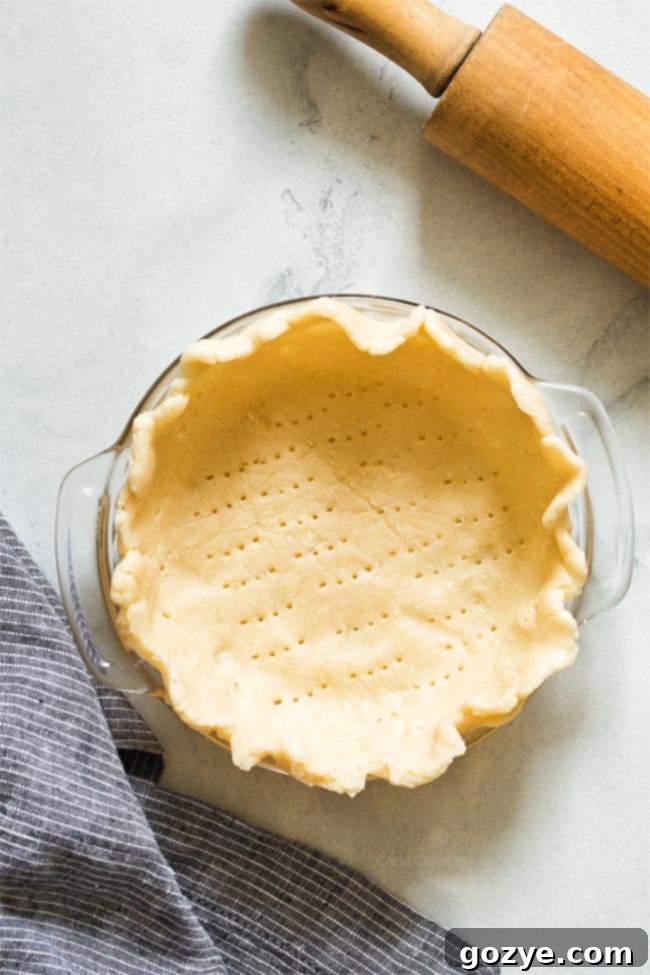
Perfect Small Pie Crust: Buttery, Flaky Dough for Your 6-Inch Pie Recipes
Imagine a pie that’s just right for two, or perhaps a small gathering, without the leftovers. This dream becomes a delicious reality with our ultimate recipe for a buttery, flaky Small Pie Crust, perfectly tailored for a 6-inch pie pan. Crafted with a harmonious blend of both butter and shortening, this pie dough delivers an unparalleled tender texture and rich flavor. Say goodbye to guesswork and hello to your new go-to small-batch pie crust recipe, complete with step-by-step guidance and helpful photos.
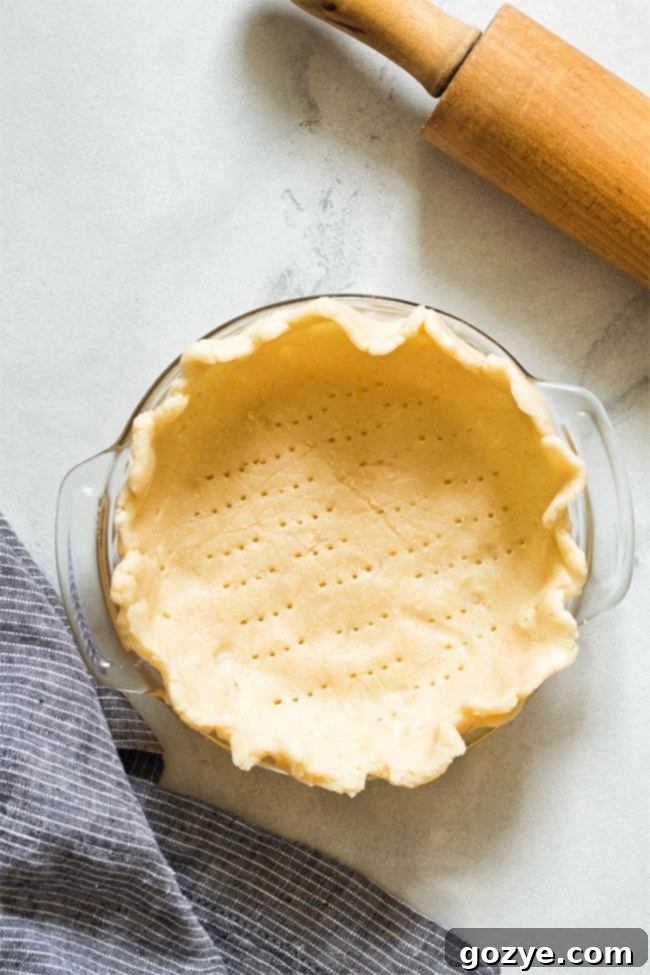
The period from October through December is a culinary celebration, especially for those of us passionate about food. With Thanksgiving and Christmas just around the corner, our kitchens become hubs of delicious activity, churning out an array of festive treats. During this bustling season, many of us seek recipes that cater to smaller households or more intimate celebrations, ensuring every dish is fresh and devoured with delight.
Year after year, I revisit my popular Thanksgiving For Two and Christmas For Two menus. One consistent observation? The need for a classic pumpkin pie, perfectly scaled for a smaller serving. While I have delightful options like Mini Pumpkin Pies, Eggless Pumpkin Pie, and even Pumpkin Pie Cupcakes, a straightforward, traditional small pumpkin pie was missing from my collection.
As a blog dedicated to desserts for two, creating a dedicated small pie recipe became a top priority. To ensure maximum clarity and utility, I decided to separate the small pie crust and the small pumpkin pie recipes into two distinct posts. This allows us to delve deeply into the art of crafting the perfect pie crust, a fundamental skill for any baker.
Once you master this versatile small-batch pie crust, you’ll find yourself reaching for it time and again for all your future mini pie creations. This comprehensive guide is packed with invaluable tips and tricks, designed to empower you to create a pie crust that is consistently buttery, tender, and incredibly flaky. You can find the companion recipe for the delicious Small Pumpkin Pie here for the perfect filling.
Crafting the perfect pie crust can sometimes feel like a daunting task, but rest assured, this post aims to demystify the process. I didn’t realize the extent of my pie-baking knowledge until I put it all down on paper, and now I’m excited to share it with you. If you’ve ever struggled to achieve that ideal, golden-brown, flaky crust, then every section of this article is designed to help you succeed.
However, if you’re an experienced baker or simply eager to get straight to the recipe, feel free to use the “Jump To Recipe” button, usually located at the top of the page, to quickly access the instructions.
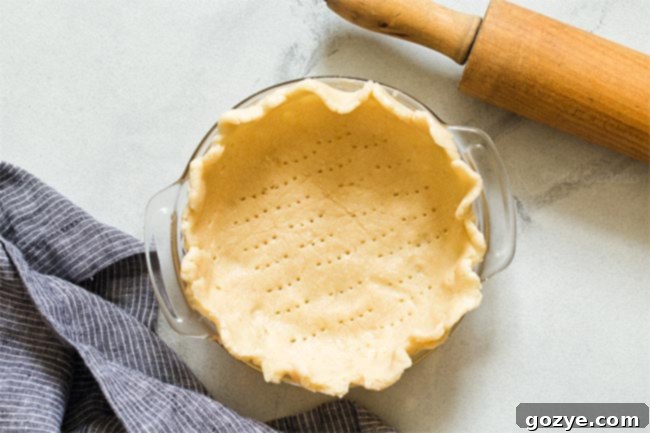
Essential Ingredients for a Perfect Pie Crust
The journey to the best small pie crust begins with selecting the right ingredients and understanding their roles. To create a sublime homemade pie crust from scratch, you’ll need these six key components:
- All-Purpose Flour – Flour forms the structure of your pie crust. Its gluten content contributes to a tender crust, while also preventing the dough from becoming overly sticky during handling. For accurate measurement, always spoon the flour into your measuring cup and then level it off with a straight edge like a knife. Avoid scooping directly from the bag, as this can compact the flour, leading to an excess amount and a tougher crust.
- Sugar – A small amount of granulated sugar adds a subtle sweetness, enhancing the flavor profile of dessert pies and contributing to a golden brown finish. If you’re preparing a savory pie, such as my popular Chicken Pot Pie For Two, the sugar can be completely omitted without affecting the crust’s structure.
- Salt – Salt is a critical flavor enhancer. Even a small quantity significantly brightens the taste of your pie crust, especially when using unsalted butter, ensuring a well-rounded and delicious base for any filling.
- Cold Butter – Butter is indispensable for flavor and that coveted melt-in-your-mouth richness. While it provides incredible taste, butter alone can sometimes result in a less tender dough due to its higher water content and lower melting point compared to shortening. Ensure your butter is very cold and cut into small pieces for the best results.
- Cold Shortening – This is where shortening shines. Although it contributes less flavor than butter, shortening is superior for creating an exceptionally tender and flaky crust. Its higher melting point means it creates more steam pockets during baking, resulting in distinct layers. Crisco often sells shortening in convenient sticks, making it easy to measure and cut, much like butter. Storing a stick in the freezer guarantees it’s always extra cold when you’re ready to bake.
- Cold Water – Water is the binding agent that brings all the ingredients together to form a cohesive dough. Crucially, it creates steam during baking, which is vital for developing those desirable flaky layers. Exercise caution not to add too much water; an overly wet dough can become tough and puff excessively from too much steam, altering the intended texture.
Essential Equipment for Pie Crust Success
Having the right tools can make all the difference in your pie crust-making journey. Here’s what you’ll need, along with some helpful alternatives:
- Food Processor – While not strictly essential, a food processor dramatically simplifies and speeds up the process of incorporating fat into flour. I personally rely on this efficient 8-cup food processor (Amazon affiliate link). My previous one unexpectedly broke during recipe testing, and this model provided the best value and performance I could find that same evening.
- Pastry Blender – If you prefer a hands-on approach, a pastry blender is your best friend for cutting butter and shortening into the flour mixture. Should you not own one, two knives can be used in a crisscross motion to achieve a similar result in a pinch.
- Large Mixing Bowl – A spacious mixing bowl is indispensable if you’re making your dough by hand with a pastry blender or knives, allowing ample room to combine ingredients without spillage.
- Rolling Pin – For achieving an even thickness when rolling out your pie dough, a rolling pin is paramount. Don’t have one? A clean wine bottle or a sturdy can can serve as a surprisingly effective substitute.
- 6-Inch Pie Plate – This individual pie crust recipe is perfectly proportioned for a 6-inch pie plate. Read on for more insights into choosing the best type of pan for your needs.
- Pie Weights – Essential for blind baking, pie weights prevent the crust from puffing up excessively and shrinking. You don’t necessarily need specialized ceramic pie weights; dried lentils, beans, or rice work just as effectively and are a common household alternative.
Finding the Perfect 6-Inch Pie Plate
Discovering the ideal 6-inch pie pan can be a bit of a treasure hunt. I found my preferred 6-inch glass pie plate (Amazon affiliate link) online after exploring various options. Glass pie plates offer excellent heat distribution and allow you to monitor the browning of your crust. However, it’s crucial to remember a key safety precaution:
Never place a cold glass pie plate directly onto a hot oven rack or a preheated baking sheet. The sudden drastic change in temperature can cause the glass to shatter. To safely transfer your chilled glass pie plate from the refrigerator to a hot oven, always place it on a room temperature baking sheet first.
Can Disposable Pie Pans Be Used?
Absolutely! 6-inch disposable pie pans are a convenient and perfectly viable option for this recipe. I’ve successfully tested this mini pie crust in these aluminum foil mini pie pans (Amazon affiliate link), which are readily available online.
One thing to note is that disposable pans are often not as deep as glass pie plates. This might leave you with a small amount of extra dough and filling. Don’t let it go to waste! You can easily use the remainder to make a charming second mini pie in a ramekin, baking it right alongside your main small pie.
Baking a Pie Without a Traditional Pie Dish
While a dedicated pie dish certainly offers the easiest way to serve your pie, you’re not limited to one. Your small pie crust can also be successfully baked in a 6-inch cake pan or a 6-inch springform pan (Amazon affiliate links).
Using a springform pan is particularly advantageous, as its removable side allows you to unmold the pie and slice it cleanly, much like a cake. However, a standard cake pan can present a slight challenge when it comes to serving. Due to the delicate nature of most pies, inverting the pan as you would with a cake isn’t feasible. In this scenario, you might find it easier to remove and serve your pie one slice at a time directly from the pan.
Serving Size: How Many Does a 6-Inch Pie Serve?
A 6-inch pie is ideally suited to serve 4 to 6 slices, making it a perfect dessert for two people with generous portions, or a small family/group. It’s an excellent choice for portion control and ensures every slice is enjoyed fresh. Keep in mind that the slices from a 6-inch pie will be shorter than those from a standard 9-inch pie, offering a perfectly satisfying individual portion.
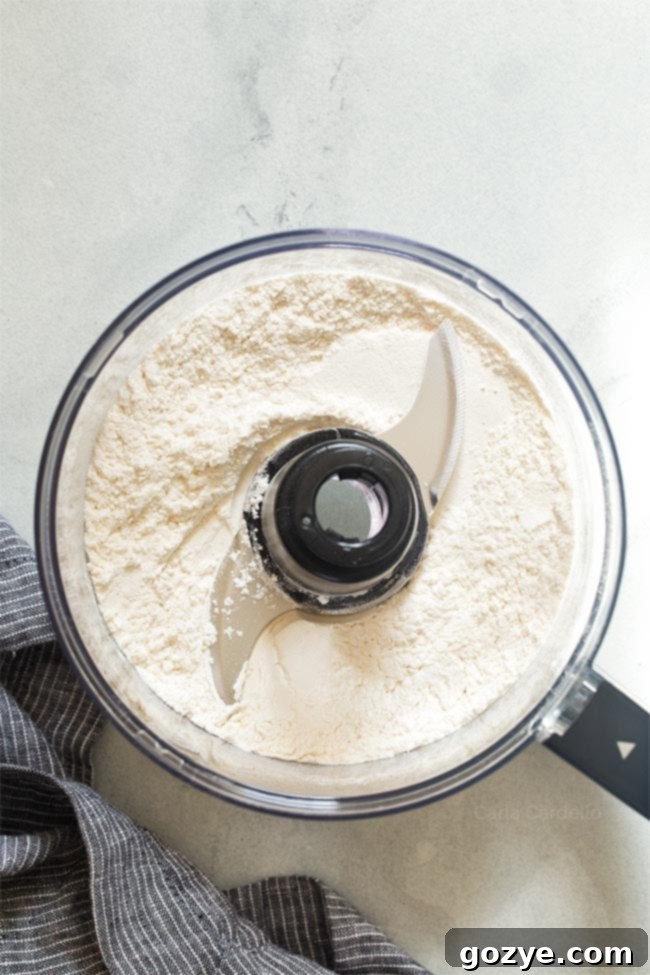
Step-by-Step Guide to Making a Small Pie Crust
The most effortless and efficient method for creating a small pie crust is by utilizing a food processor. This technique involves minimal effort, essentially just a “dump and pulse” approach.
Begin by adding your all-purpose flour, granulated sugar (if using), and salt into the bowl of your food processor. Pulse the ingredients 1-2 times briefly to ensure they are well combined. This initial step evenly distributes the dry components before introducing the fats.
Bonus Tip: For a delightful twist, consider adding 2 tablespoons of cocoa powder at this stage to create a rich chocolate pie crust, perfect for recipes like my indulgent German Chocolate Pecan Pie.
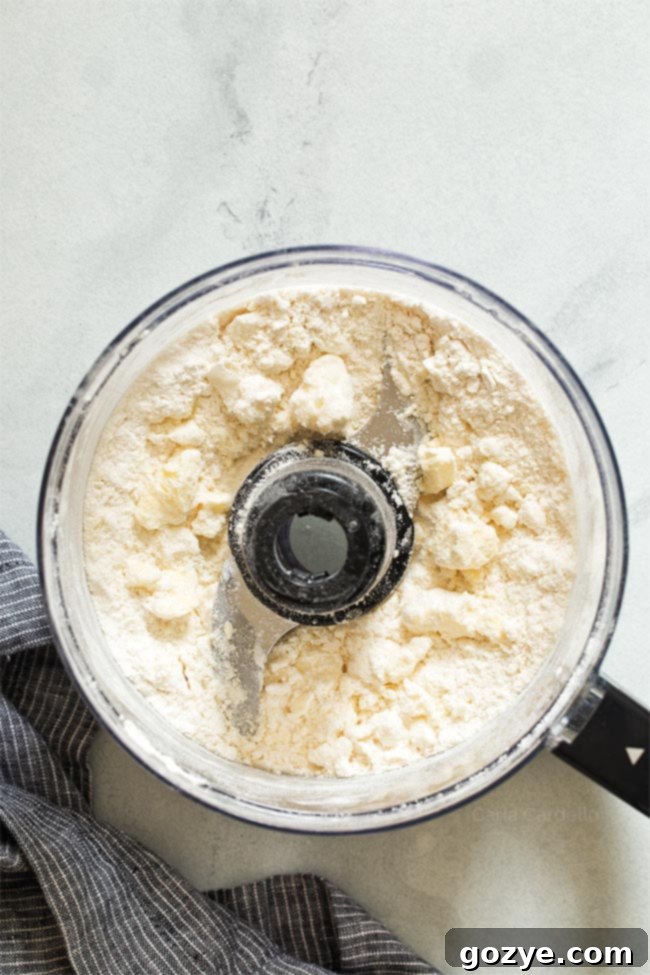
Next, introduce your very cold butter and shortening to the flour mixture in the food processor. Maintaining the cold temperature of your fats is absolutely critical. If your butter and shortening are too warm, the dough will become soft, sticky, and difficult to work with, compromising the flakiness of the final crust. I find it beneficial to keep a stick of shortening stored in the freezer, as I primarily use it for dough. For butter, I’ll freeze it if I remember, but straight from the fridge usually keeps it cold enough.
Pulse the mixture until the fats are thoroughly cut into the flour, resembling small, pea-sized pebbles. This texture is ideal, as these small pockets of fat will create steam during baking, leading to a wonderfully flaky crust.
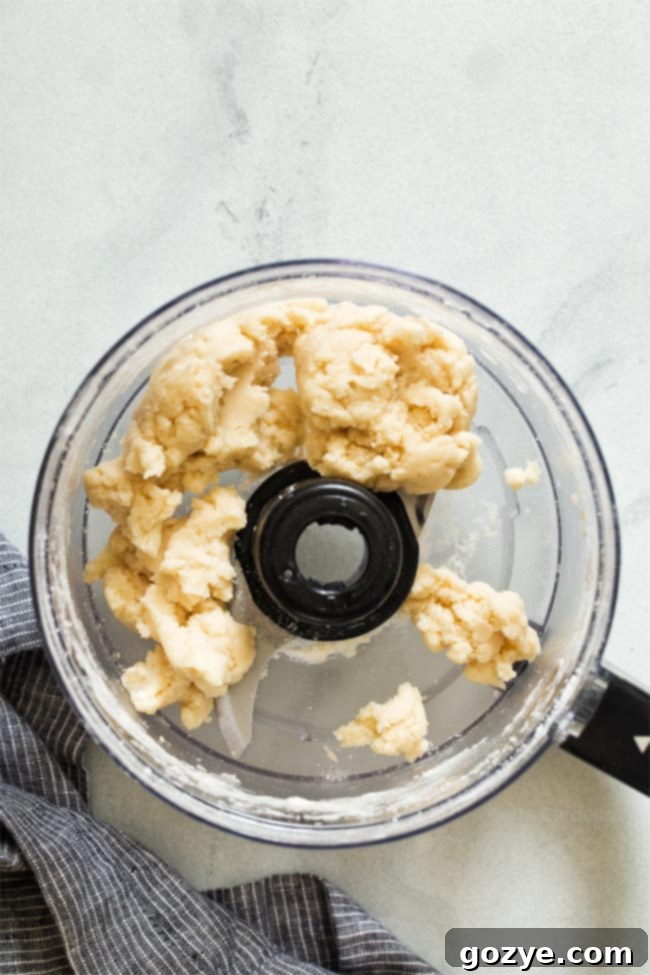
Now, it’s time to add the cold water. Just like the fats, keeping your water cold prevents the dough from warming up too quickly. Begin with the recommended amount and pulse the mixture until a cohesive dough starts to form.
If the mixture still appears crumbly after a minute or so of pulsing, give it a little more time. If it remains excessively dry and doesn’t quite come together, you can carefully add an additional teaspoon of cold water, one at a time. Be cautious not to overdo it; adding too much water can lead to a tough crust that puffs up excessively in the oven due to too much steam.
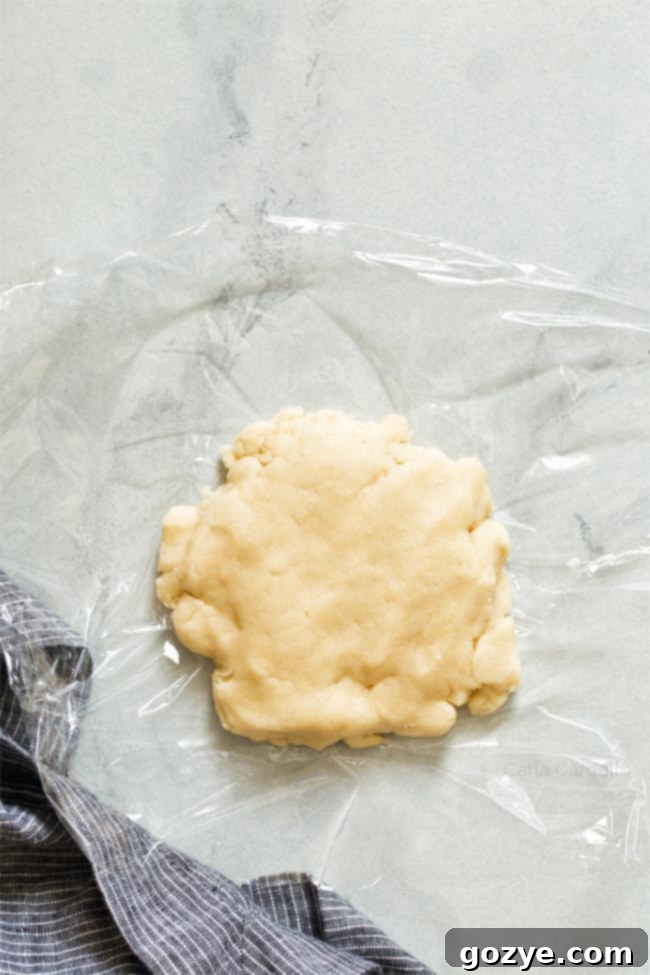
Once the dough has formed, gently gather it from the food processor bowl and place it onto a sheet of plastic wrap. If you don’t have plastic wrap, a lightly floured surface will suffice. Gently knead the dough just enough to bring it completely together, then flatten it into an even round disk. Cover the top with another sheet of plastic wrap or seal it tightly, and then refrigerate it for at least 1 hour. Chilling allows the gluten to relax and the fats to firm up, making the dough easier to roll and ensuring a flaky final product.
Can Butter Be Substituted for Shortening Entirely?
Yes, you can substitute an equal amount of butter for the shortening in this recipe. While this will result in a delicious, rich crust, it’s important to understand that your pie crust may not achieve the same level of flakiness that the combination of butter and shortening provides. Shortening, with its higher melting point and 100% fat content, is key to those distinct, tender layers.
Tips for Rolling Out Pie Dough Without Sticking
After your dough has completed its essential chilling period, it’s time for the exciting step of rolling it out! This part can sometimes be tricky, but with a few tips, you’ll achieve a perfect circle with ease.
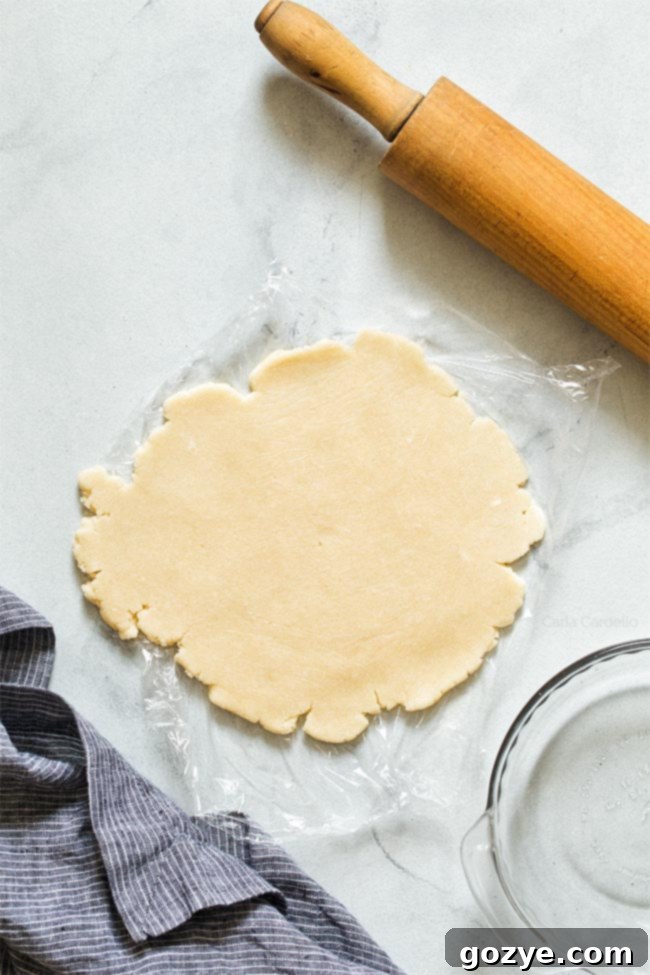
My personal favorite method for rolling out dough is to keep it sandwiched between two sheets of plastic wrap. This technique offers a fantastic advantage: the dough won’t stick to your rolling pin, and the plastic wrap peels away effortlessly. It’s a win-win for a mess-free process. Moreover, if your dough starts to soften or stick during rolling, you can simply pop the plastic-wrapped dough back into the fridge to firm up, without having to scrape it off your counter.
If you prefer to roll your dough directly on a surface, ensure both your countertop and your rolling pin are lightly dusted with flour to prevent sticking.
For a 6-inch pie plate, aim to roll your dough out into a circle approximately 7-8 inches in diameter, with a thickness between 1/8 and 1/4 inch. This size will give you enough dough to generously cover the plate and provide a little extra for crimping or fluting the edges beautifully.
You may find yourself with a bit of excess dough, especially if you’re using a shallower disposable pan. Don’t worry, you can easily trim this off after transferring the dough to the pan.
Once the dough is in the pie plate, gently poke the bottom all over with a fork. This step, known as docking, creates small vents that allow steam to escape during baking, preventing the crust from puffing up unevenly. After docking, place the pie plate back in the fridge to chill for at least another 30 minutes. This final chill helps the crust hold its shape in the oven. While it’s chilling, you can go ahead and preheat your oven to the specified temperature.
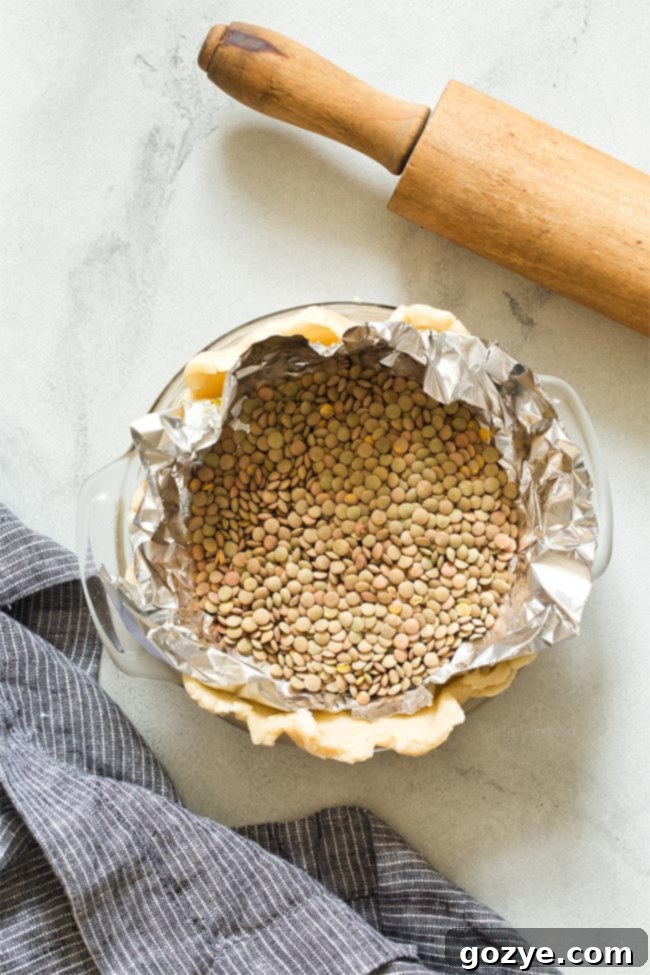
Mastering the Art of Blind Baking Your Pie Crust
What exactly is blind baking, and why is it so important? Blind baking refers to the process of pre-baking your pie crust on its own, without any filling. This technique serves two crucial purposes, ensuring a superior final pie:
- Prevents a Soggy Crust – When raw dough and a wet filling are baked together, the bottom crust can absorb moisture from the filling, resulting in a soggy, unappetizing layer. Blind baking partially bakes the dough, creating a protective barrier and giving you that coveted flaky, crisp bottom crust.
- Prepares Crust for No-Bake Fillings – For pies with fillings that don’t require baking (e.g., banana cream pie, chocolate mousse pie), blind baking ensures the crust is fully cooked and golden brown, providing a perfect foundation for your delicious no-bake creation.
Before you begin blind baking, line your chilled pie crust with lightly greased aluminum foil, carefully pressing it against the dough and extending it over the pie edges to prevent excessive browning. Then, fill the foil-lined crust with pie weights (dried lentils, beans, or rice work perfectly). These weights prevent the dough from puffing up and shrinking during baking, helping it maintain its shape.
Bake the crust with the foil and weights for 15 minutes. After this initial bake, carefully remove the foil and weights. Continue baking for another 5 minutes, or until the bottom of the crust no longer appears wet or raw. At this point, you’ll need to consult your specific pie recipe.
If your pie recipe calls for baking with a filling, your blind baking process is complete for now. However, if you are preparing a crust for a no-bake filling and need it to be fully baked, continue baking for an additional 10-15 minutes, or until the entire crust is beautifully golden brown and fully cooked through.
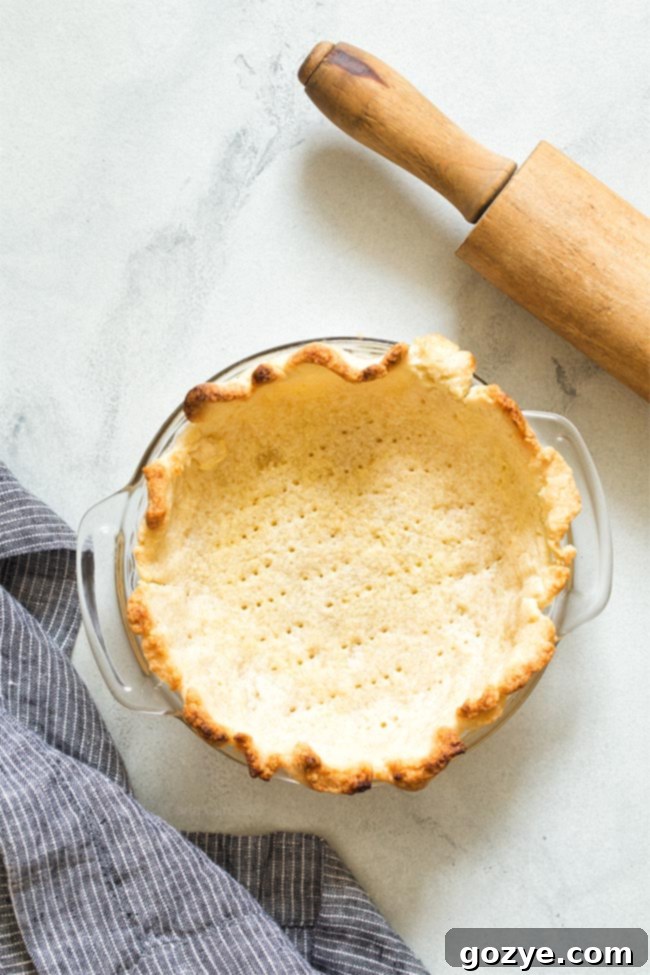
Preparing Your Small Pie Crust in Advance
Planning ahead can significantly reduce stress on baking day. Fortunately, this small pie crust is perfect for make-ahead preparations:
Can You Make Small Pie Crust Ahead of Time?
Yes, a blind-baked pie crust can be prepared up to 3 days in advance. Once fully cooled, carefully wrap the blind-baked crust in plastic wrap to protect it from moisture and air, then refrigerate until you’re ready to use it. This allows you to tackle pie assembly with a pre-made, perfectly crisp crust.
Can You Freeze Small Pie Crust Ahead of Time?
Freezing is an excellent option for long-term storage, extending the life of your small pie crust for up to 6 months. You have three flexible methods for freezing:
- After Making the Dough: Form the dough into a disk, wrap it tightly in plastic wrap, then place it in a freezer-safe plastic bag. Freeze.
- Before Blind Baking: Once the dough is rolled out and fitted into the pie pan (and docked), cover it thoroughly with plastic wrap, then transfer to a freezer-safe bag or container. Freeze.
- After Blind Baking: Allow the blind-baked crust to cool completely. Wrap it meticulously in plastic wrap, then place it in a freezer-safe plastic bag or container. Freeze.
For added protection against freezer burn or accidental damage, especially if you freeze the crust in its pan, you might consider placing the plastic-wrapped dough or crust inside a sturdy container.
Important Safety Note for Frozen Crusts in Pans: If you freeze your pie crust inside a glass pie pan, always remember to place the frozen pan onto a room temperature baking sheet before transferring it to a preheated oven. This prevents the severe temperature shock that could cause the glass to shatter if placed directly on a hot rack or baking sheet.
Delicious Recipes For Your Small Pie Crust
Now that your 6-inch pie crust is perfectly prepared, it’s time to fill it with something truly delicious! Here are some fantastic small pie recipes that pair wonderfully with your homemade crust. These recipes are specifically designed for smaller portions, making them ideal for intimate gatherings or when you simply crave a fresh, homemade pie.
Please note: Many of the “mini” ramekin recipes listed below can easily be adapted and baked in a single 6-inch pie pan for a slightly larger, individual pie.
- Small Pecan Pie
- Small Apple Pie
- Mini Lemon Meringue Pie
- Mini Cherry Pie
- Mini Strawberry Pies
- Mini Peach Pies
- Mini Apple Pies
Small Pie Crust (6 Inch Pie Pan)
4-6 servings
30 minutes
20 minutes
1 hour 30 minutes
2 hours 20 minutes
When you’re craving pie for two, bake this incredibly buttery, tender, and flaky Small Pie Crust for a 6-inch pie pan. Crafted with a perfect blend of butter and shortening, it’s the only pie dough recipe you’ll need for delightful small-batch baking.
Ingredients
- 1 cup all purpose flour
- 2 tablespoons granulated sugar (optional – can be omitted for savory pies)
- 1/2 teaspoon salt
- 3 tablespoons cold shortening, cut into 3 pieces
- 3 tablespoons cold unsalted butter, cut into 3 pieces
- 2 tablespoons cold water
Instructions
- In the bowl of a large food processor, add the flour, sugar, and salt. Pulse 1 time to combine thoroughly.
To make by hand, combine these ingredients in a large mixing bowl.
- Add the cold butter and cold shortening pieces to the flour mixture. Pulse until the fat is cut into the flour, resembling small pebbles or coarse meal.
If making by hand, use a pastry blender or two knives to cut the fat into the flour.
- Add the cold water and pulse until a cohesive dough forms. If it still appears crumbly, continue pulsing for 1 more minute.
If the dough is still not coming together, you may add an additional teaspoon of water, but be careful not to add too much, as excess water can cause the crust to puff up excessively and become tough.
If making by hand, stir in the water with a spoon until the dough comes together.
- Transfer the dough onto a piece of plastic wrap and gently shape it into an evenly round disk. Cover the top with another piece of plastic wrap or seal tightly, then refrigerate for at least 1 hour to allow the gluten to relax and the fats to firm.
- Once adequately chilled, roll your dough into an 8-inch circle with a thickness between 1/8 – 1/4 inch. You can roll it out between two pieces of plastic wrap or on a lightly floured surface.
If your dough starts to stick or becomes too soft, refrigerate it for another 15 minutes or until it is cold and firm enough to work with.
- Carefully transfer your rolled dough into a 6-inch ungreased glass pie plate, a 6-inch greased disposable pie plate, a 6-inch greased springform pan, or a 6-inch greased cake pan. If the dough tears, you can gently patch it back together in the pan.
- Trim off any excess dough from the edges, then shape the crust as desired (e.g., crimp or flute). Prick the bottom of the dough all over with a fork (this is called docking) to prevent it from puffing up. Refrigerate the pie crust for at least 30 minutes.
- Preheat your oven to 400°F (200°C). Have a room temperature baking sheet ready.
- Line the chilled pie crust with lightly greased foil, ensuring it covers the top edges of the crust, then fill it with pie weights, such as dried lentils or beans. This prevents shrinking and excessive puffing.
- Place your pie pan onto the room temperature baking sheet before carefully transferring it to the preheated oven. Bake for 15 minutes.
Important: Never place a cold glass pan directly onto a hot oven rack or hot baking sheet. The sudden drastic change in temperature may cause your glass pan to shatter.
- After 15 minutes, carefully remove the foil and pie weights. Continue to bake the crust for another 5 minutes, or until the bottom appears golden brown and no longer uncooked.
- At this stage, refer to your specific pie recipe. If you are only partially blind baking your crust before adding a filling, you are done.
If your recipe requires a fully baked crust (for no-bake fillings), continue baking for an additional 10-15 minutes, or until the entire crust is golden brown and fully cooked.
- Allow your crust to cool completely on a wire rack while you prepare your pie filling. If you’re not filling it immediately, let it cool completely, then cover tightly and refrigerate for up to 3 days or freeze for up to 6 months.
Notes
- Looking for inspiration on how to fill your perfectly baked crust? Explore my delightful recipes for Mini Peach Pies, Mini Strawberry Pies, Small Pumpkin Pie, Mini Apple Pie, Mini Cherry Pie, and Mini Lemon Meringue Pie.
- Planning your holiday menu for two? Don’t forget to check out my comprehensive Thanksgiving For Two, Christmas For Two, and Easter For Two menus for perfect recipe pairings.
- Want to add a beautiful top crust to your pie? Simply double this recipe, then divide the dough into two equal portions before chilling and rolling. Work with one dough disk at a time, keeping the other refrigerated to maintain its cold temperature.
Recommended Products
As an Amazon Associate and member of other affiliate programs, I earn from qualifying purchases.
- 6 Inch Pie Plate
- 6 Inch Disposable Pie Plates
- 6 Inch Springform Pan
- 6 Inch Cake Pan
- Food Processor
Did you make this recipe?
Let me know what you think! Rate the recipe above, leave a comment below, and/or share a photo on Instagram using #HITKrecipes
