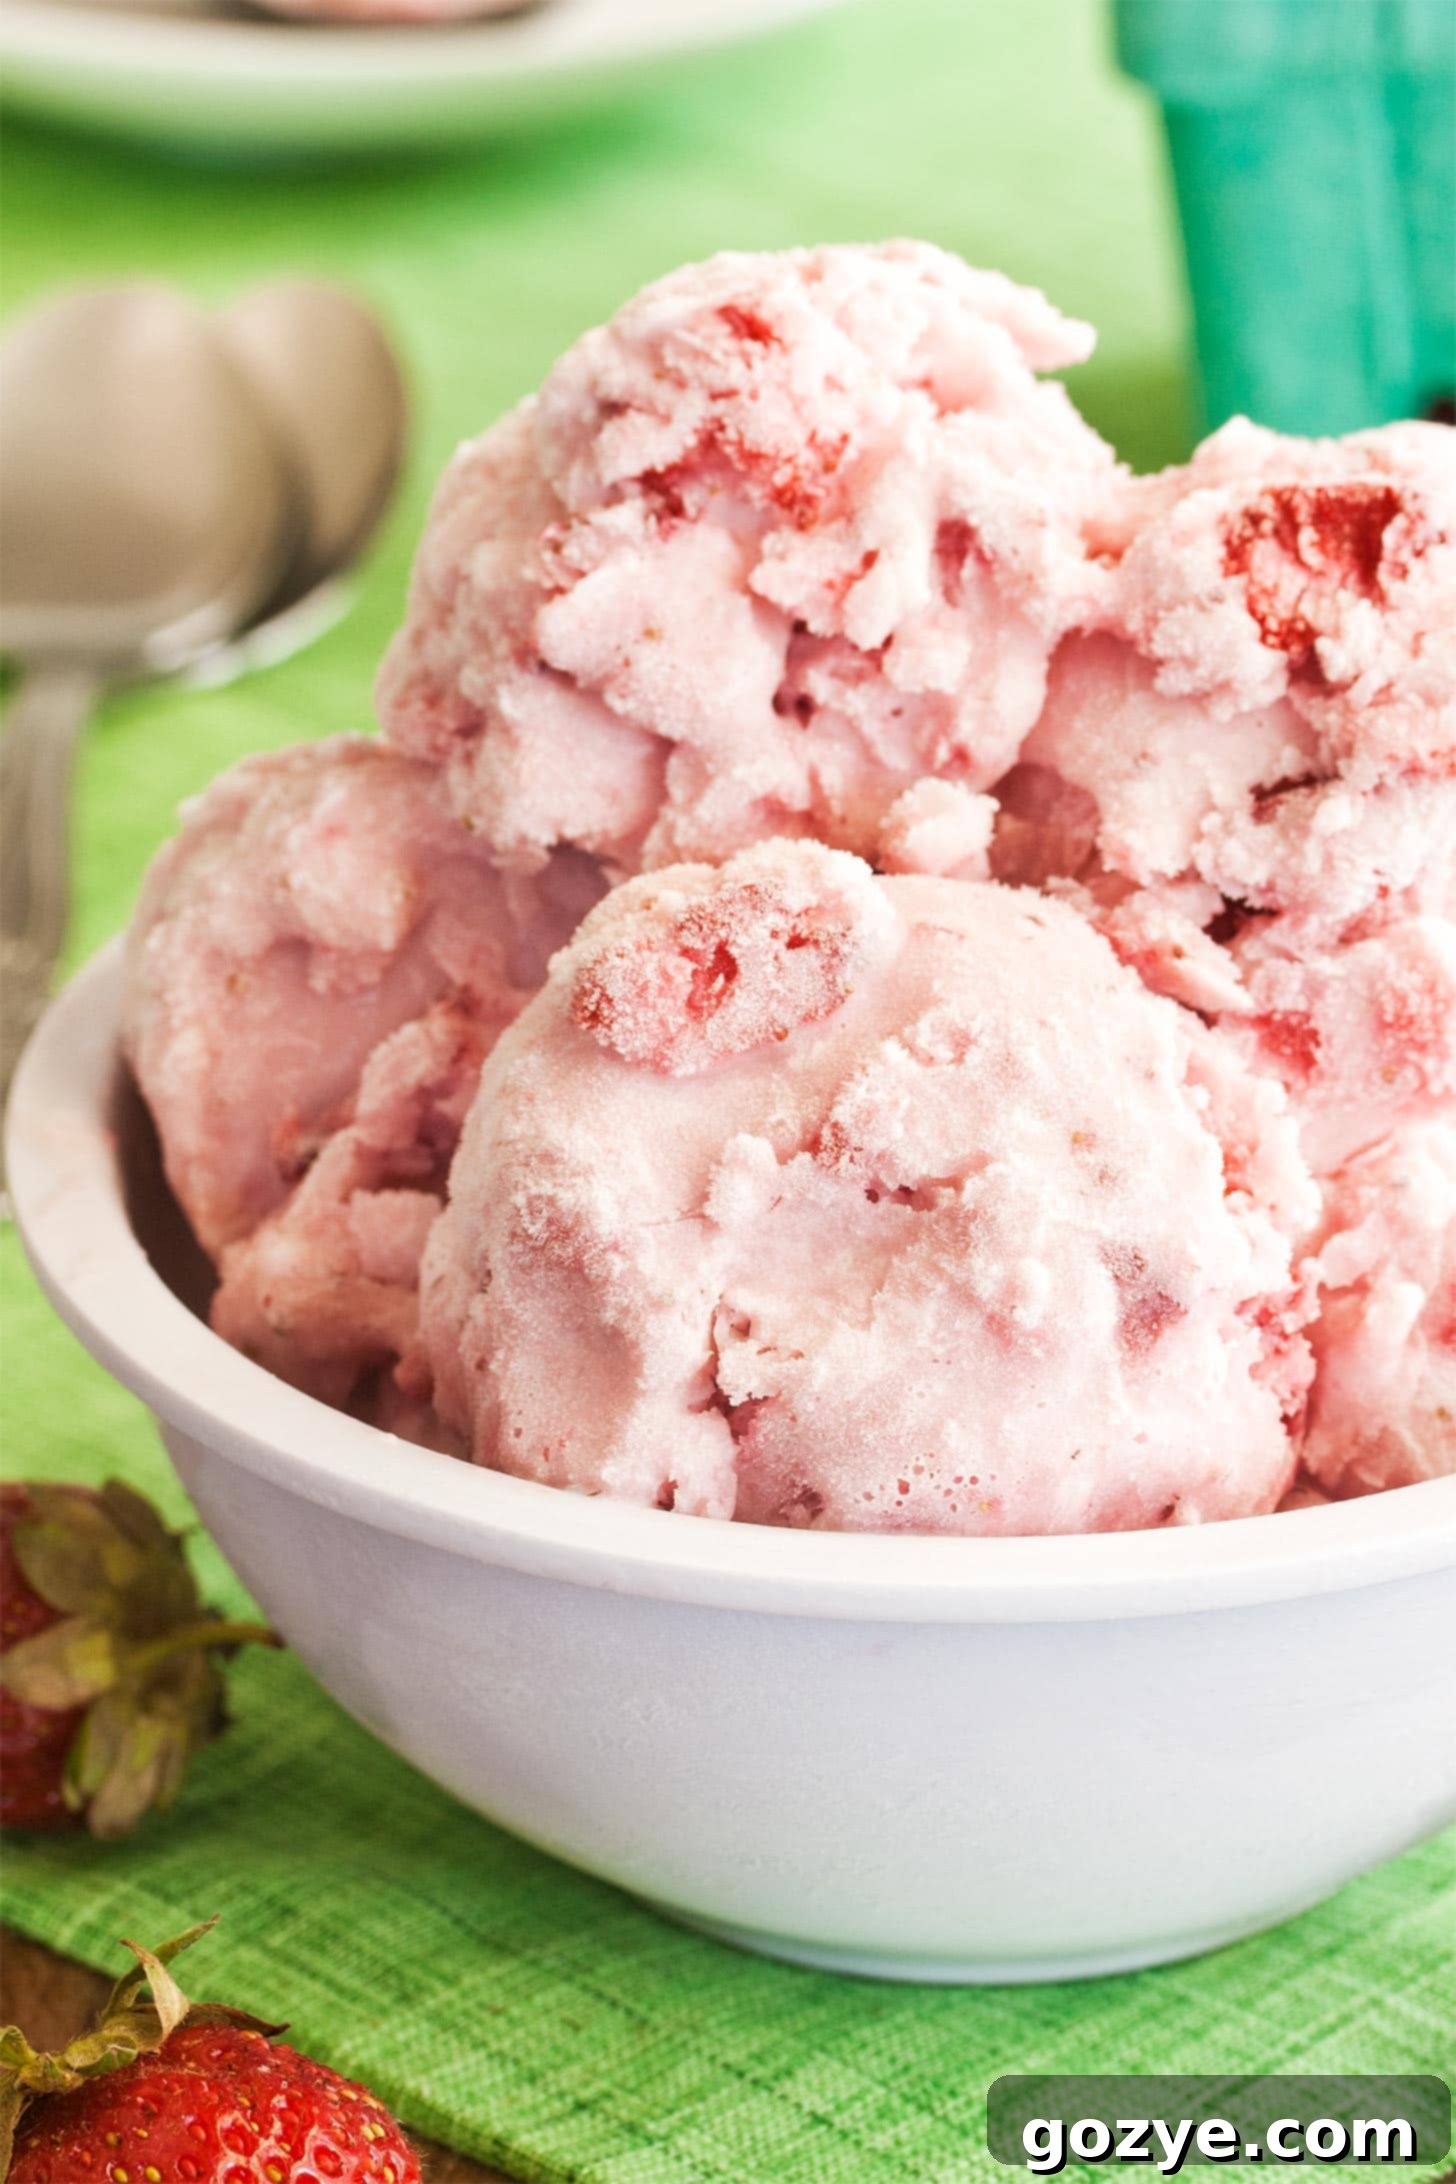
Homemade No-Cook Strawberry Ice Cream: Easy, Eggless, & Extra Creamy (Blender Recipe)
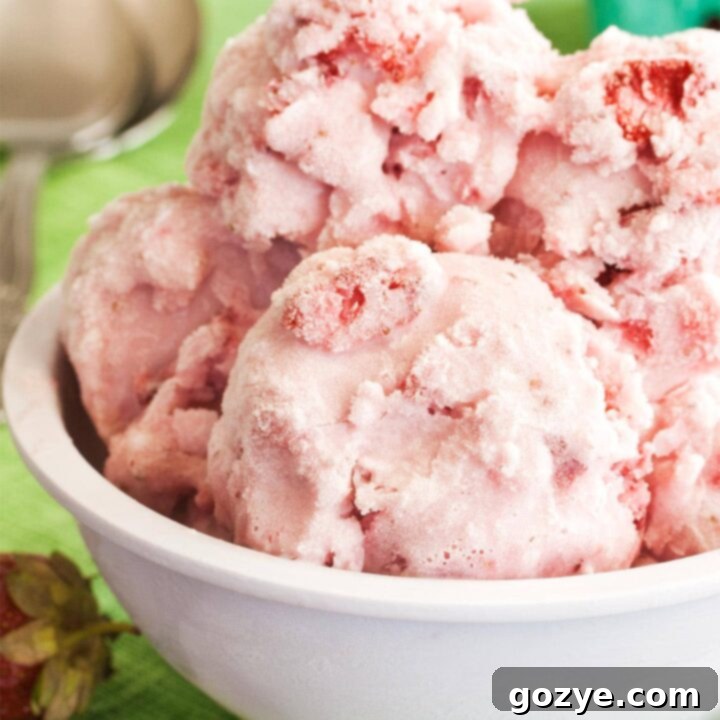
Imagine scooping into a bowl of vibrant, creamy, homemade strawberry ice cream that tastes like pure summer sunshine. What if I told you that you don’t need to be a pastry chef or even turn on your stovetop to make it? This incredible Homemade Strawberry Ice Cream recipe is unbelievably easy – if you can operate a blender, you can make this! It’s completely no-cook, eggless, and achieves its stunning natural pink hue without a single drop of artificial food coloring. Get ready to indulge in the ultimate summer treat!
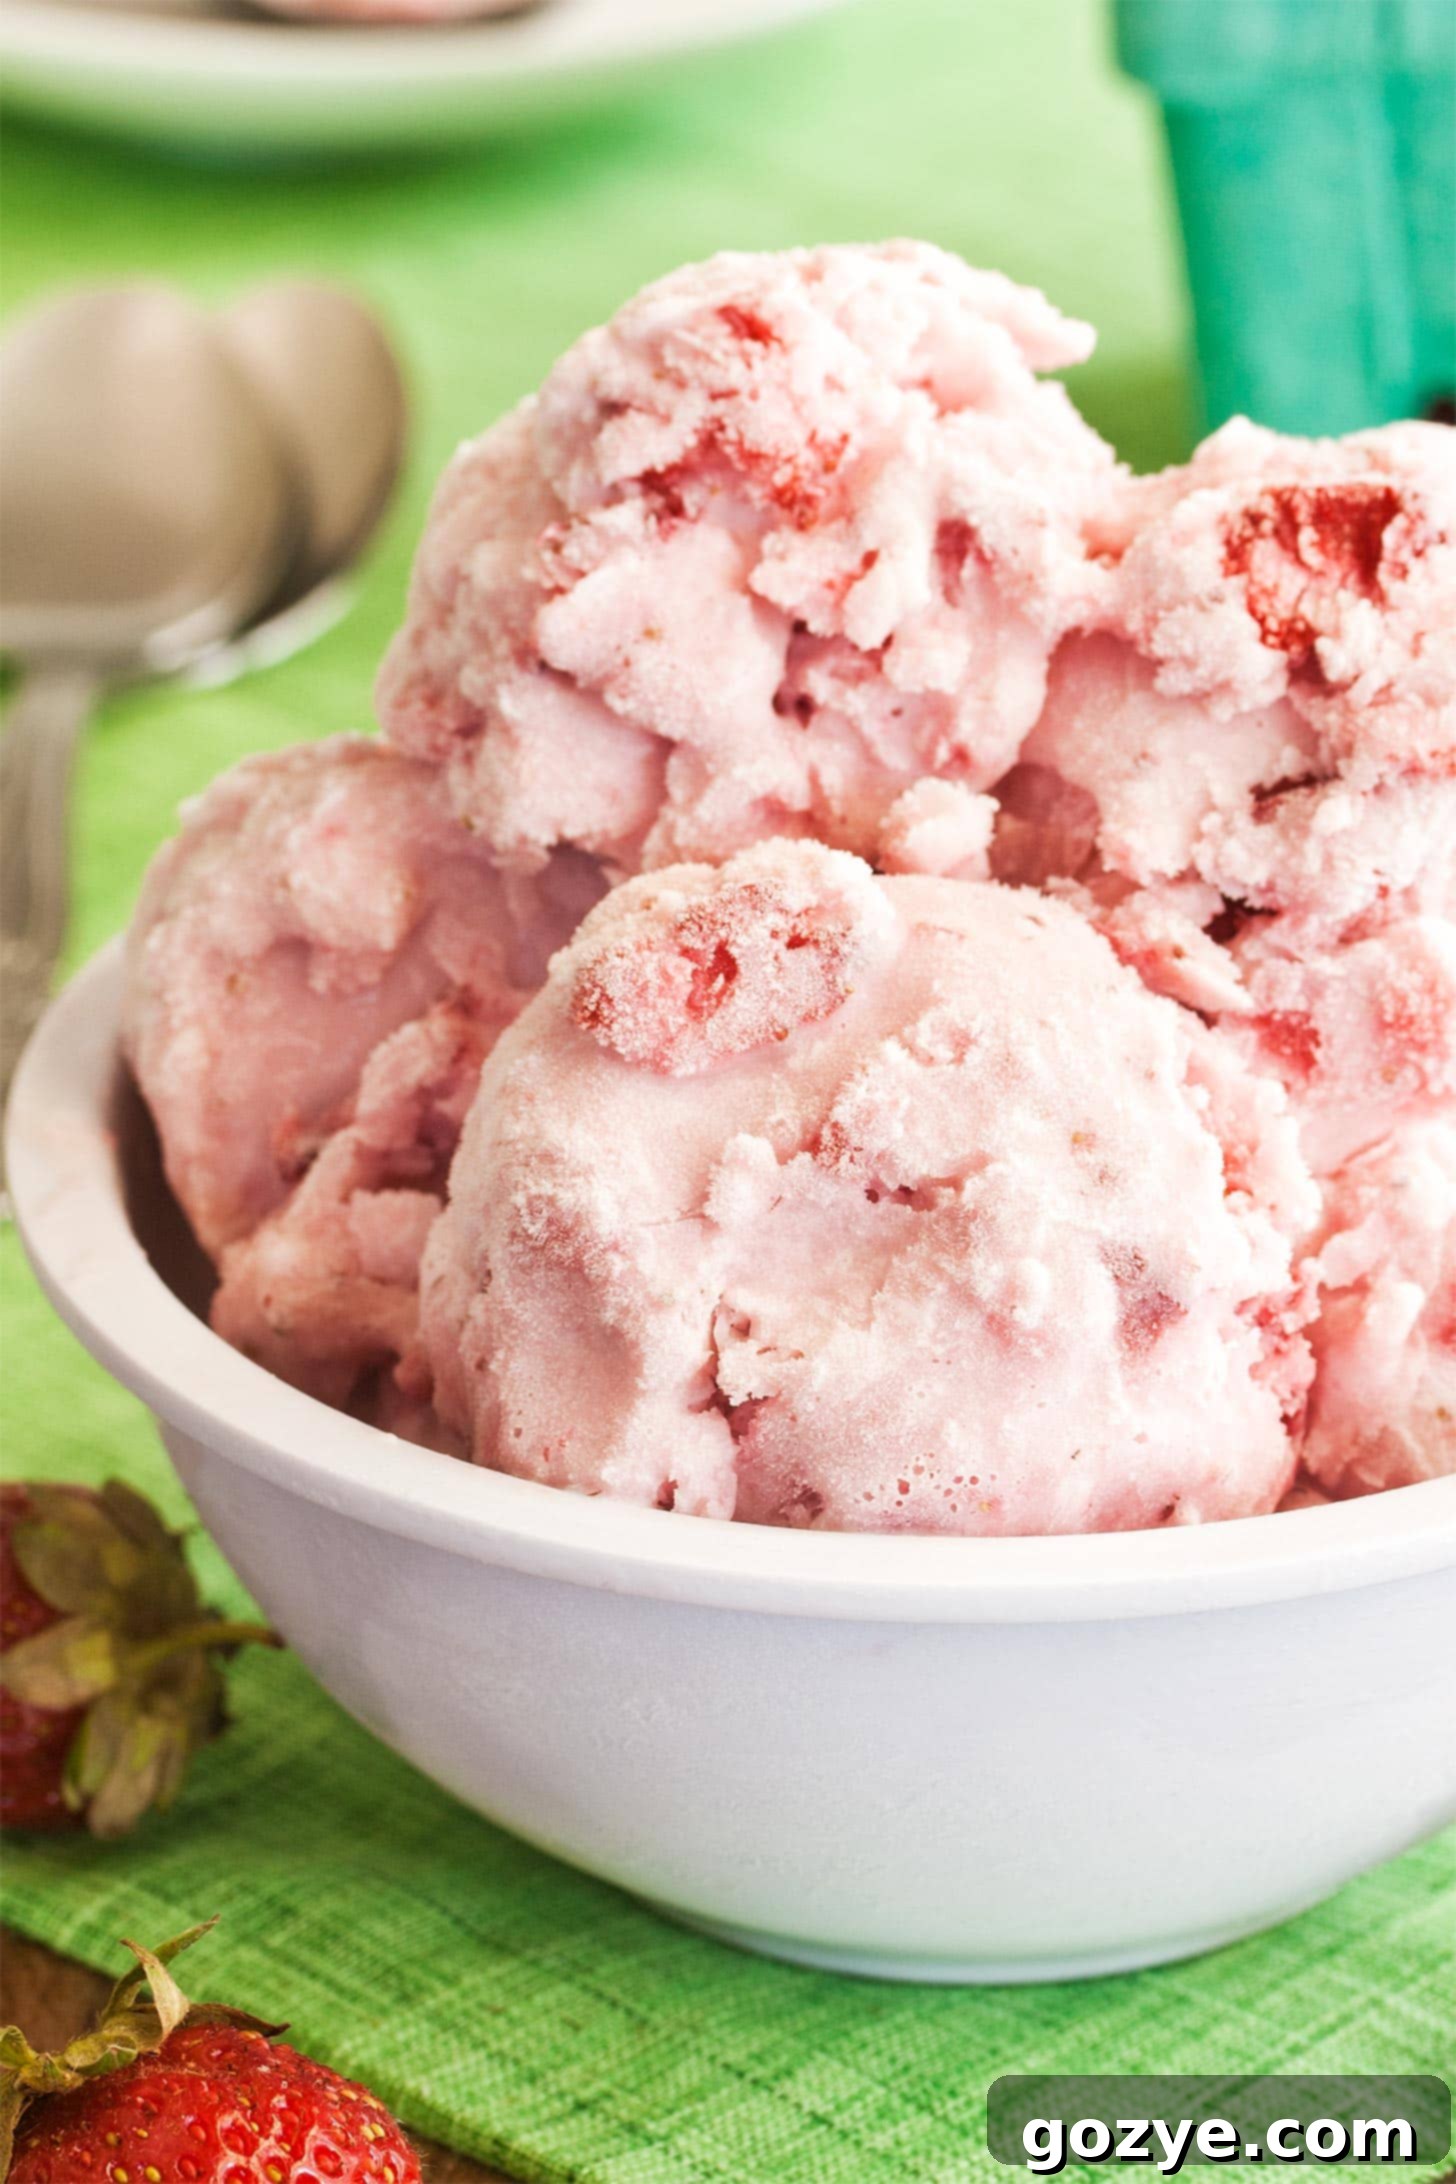
My passion for strawberry recipes is undeniable and a well-known fact. Over the years, I’ve had the pleasure of sharing countless favorites with you, from essential recipes like strawberry jam without pectin to decadent strawberry curd. We’ve baked delightful desserts such as strawberry shortcake cake, a classic strawberry layer cake, and even a show-stopping strawberry swirl cheesecake. The list of berry-inspired creations truly goes on and on, and my fascination with this versatile fruit simply never wanes. There are always more fresh strawberry ideas bubbling up, proving that the love affair is far from over!
Given that homemade ice cream ranks high among my absolute favorite desserts (you might recall my popular strawberry cheesecake ice cream), it was only natural to craft the ultimate, easy-to-make Strawberry Ice Cream. This particular recipe delivers an exquisitely creamy, incredibly vibrant, and wonderfully fresh ice cream experience that instantly transports your taste buds to warm, sunny summertime days. It’s the quintessential cool treat for any occasion.
The true magic of this recipe lies in its remarkable simplicity: no complicated cooking on the stovetop is required. Forget about tempering eggs or slaving over a custard base. Instead, every ingredient conveniently goes straight into your blender, gets a quick whir until smooth, and then heads directly into your ice cream maker. It’s absolutely perfect for those scorching 90-degree days when you’re craving something cool, refreshing, and utterly delicious, all without the added heat of turning on your stove. Plus, this delightful eggless ice cream achieves its gorgeous, natural pink hue entirely from the juicy goodness of fresh, ripe strawberries, meaning zero artificial food coloring is needed. It’s homemade goodness at its finest, visually stunning and bursting with natural flavor.
Beyond Basic: The Secret to True Strawberries and Cream Ice Cream
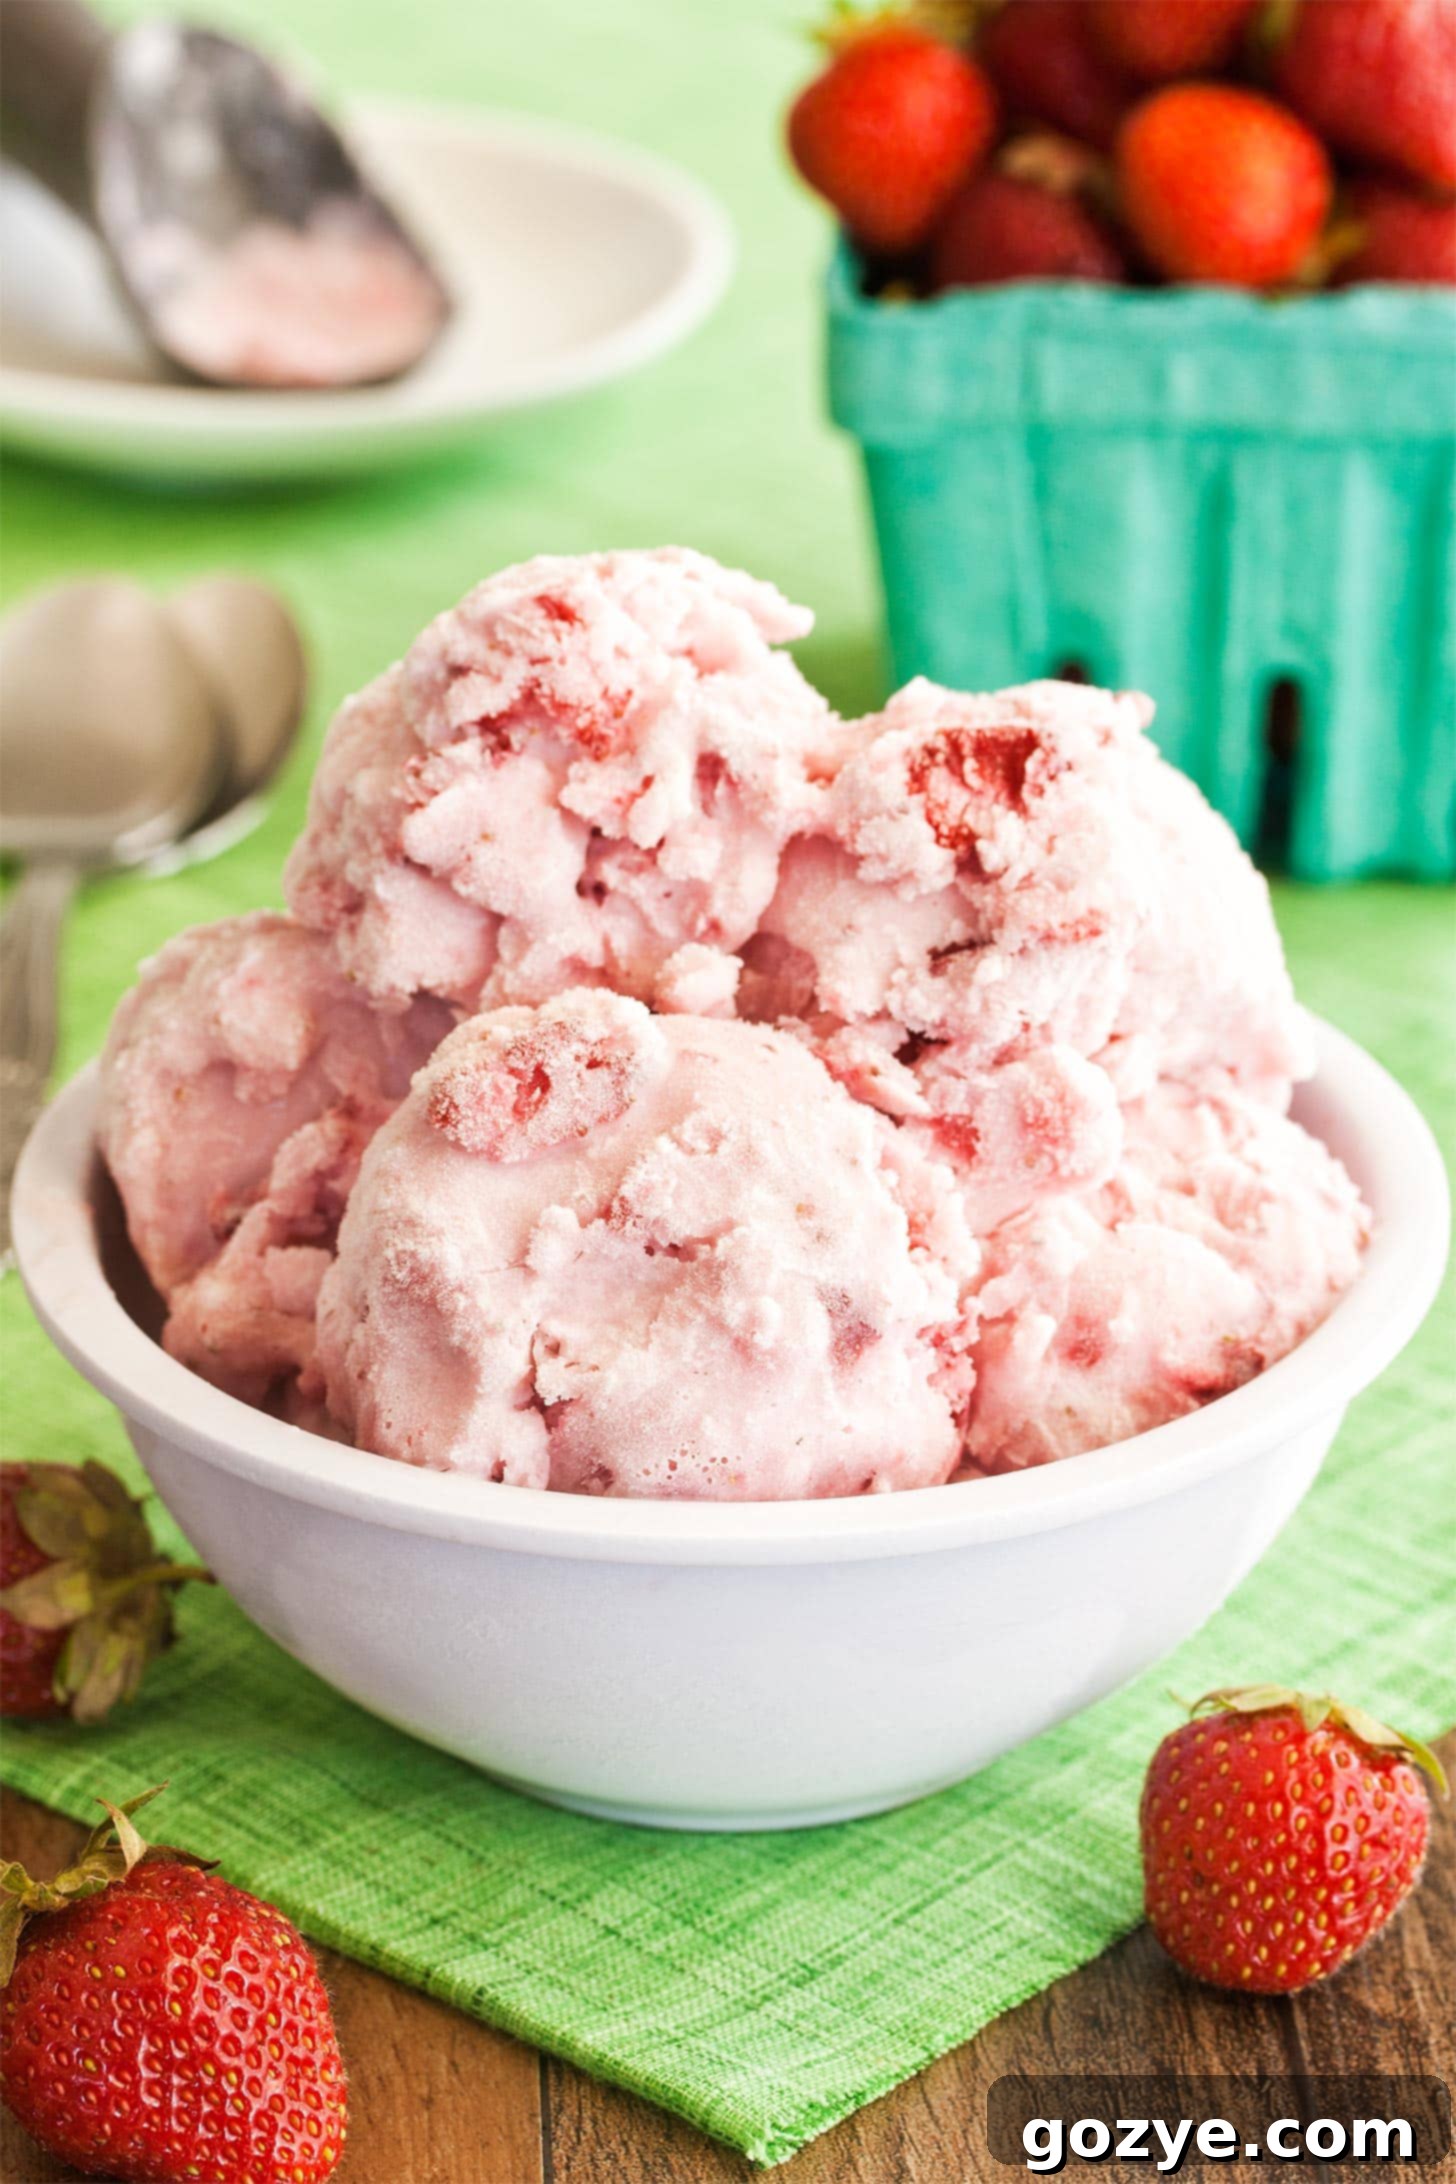
But wait, this isn’t just any basic strawberry ice cream recipe. Oh no, this is a truly special “strawberries and cream” ice cream! When I embark on developing a new recipe, I often begin by researching existing versions to understand the landscape and identify opportunities to elevate and differentiate my creation. I was quite surprised, and frankly a little disappointed, to discover that many recipes prominently labeled “strawberries and cream ice cream” were, in essence, merely standard strawberry ice cream. They often lacked that distinct, extra creamy element implied by the name, typically relying solely on the heavy cream that forms the backbone of any traditional ice cream base.
My no-cook strawberry ice cream recipe, however, takes the “strawberries and cream” promise seriously. The secret ingredient that unlocks this luxurious experience? Full-fat cream cheese! Incorporating cream cheese into the base provides that unparalleled, extra creamy boost you’d expect from a true strawberries and cream dessert. It delivers a rich, tangy depth that perfectly complements the sweetness of the strawberries. Beyond enhancing the texture and flavor profile, the cream cheese also plays a crucial functional role: it helps to thicken the ice cream base beautifully, effectively replacing eggs which are traditionally used for thickening in custard-based ice creams. This ingenious addition means you get a richer, smoother, and more decadent consistency without any extra fuss, cooking, or the need for a custard. It’s truly a game-changer for homemade ice cream enthusiasts seeking that perfect creamy texture with minimal effort and maximum reward.
Essential Ingredients for the Best Homemade Strawberry Ice Cream
Crafting this irresistible strawberries and cream ice cream requires a handful of simple, yet high-quality ingredients. Each component plays a vital role in achieving that perfect balance of flavor, texture, and visual appeal. Here’s a closer look at what you’ll need and why each element is essential:
- Fresh Strawberries: These are undeniably the star of our show! It’s absolutely crucial to use the freshest, ripest, and juiciest strawberries you can find. Not only do they deliver the most intense and authentic strawberry flavor, but their natural pigments will also give your ice cream a beautiful, vibrant, and completely natural pink color without any artificial additives. Opt for berries that are bright red all over and smell fragrant.
- Granulated Sugar: More than just a sweetener, sugar is a critical component for the final texture of your ice cream. It helps to lower the freezing point of the mixture, which in turn controls the formation of ice crystals during freezing. The right amount of sugar ensures your ice cream remains delightfully scoopable and smooth, rather than becoming rock-hard and icy. It also enhances the natural sweetness of the berries.
- Fresh Lemon Juice: Just a small squeeze of fresh lemon juice works wonders in this recipe. It adds a bit of brightness and a subtle, refreshing tang that truly makes the strawberry flavor pop. It helps to balance the richness of the cream and prevents the ice cream from tasting overly sweet, creating a more complex and satisfying flavor profile.
- Full-Fat Cream Cheese: This is our secret weapon for achieving that signature “strawberries and cream” richness and incredible texture. It’s essential to use full-fat cream cheese that comes in a block – please avoid fat-free, whipped, or spreadable varieties from a tub, as their consistency, stabilizers, and water content differ significantly and will adversely affect the final texture of your ice cream. Cream cheese adds an unparalleled creaminess, a slight tangy note, and crucially helps thicken the base beautifully without the need for eggs.
- Whole Milk: The fat content in whole milk is incredibly important for creating a rich and creamy ice cream base. Using skim or 2% milk (which have a significantly higher water content) would result in a more icy and less luxurious texture, as water forms larger, less desirable ice crystals during freezing. Whole milk contributes to a smooth and decadent mouthfeel.
- Heavy Whipping Cream: This dairy superstar is absolutely essential for achieving that luxurious, velvety texture and rich mouthfeel characteristic of premium homemade ice cream. It contributes significantly to the overall fat content of the base, ensuring minimal ice crystal formation and maximum creaminess. Do not substitute with lighter creams like half-and-half or light cream, as they lack the necessary fat for this recipe.
- Vanilla Extract: Much like salt in savory dishes, vanilla doesn’t just add its own delightful flavor; it acts as a flavor enhancer, amplifying and deepening all the other notes present in the ice cream. A good quality pure vanilla extract will tie all the fruity and creamy elements together beautifully, adding a layer of aromatic warmth.
Can I substitute strawberries with another fruit in this no-cook ice cream?
Absolutely! This versatile no-cook ice cream base lends itself beautifully to other fruit variations. For instance, I’ve successfully adapted it to make my delightful peach ice cream, which is equally easy and delicious. You can easily substitute the strawberries with other soft, ripe berries like raspberries or blueberries. If using other fruits, just be sure to taste them beforehand and adjust the sugar content if your chosen fruit is particularly tart or exceptionally sweet. For fruits with higher water content, ensure they are well-drained after thawing if using frozen, or pat them thoroughly dry with a paper towel if fresh, to prevent an icy texture.
How To Make Easy Blender Strawberry Ice Cream (Step-by-Step)
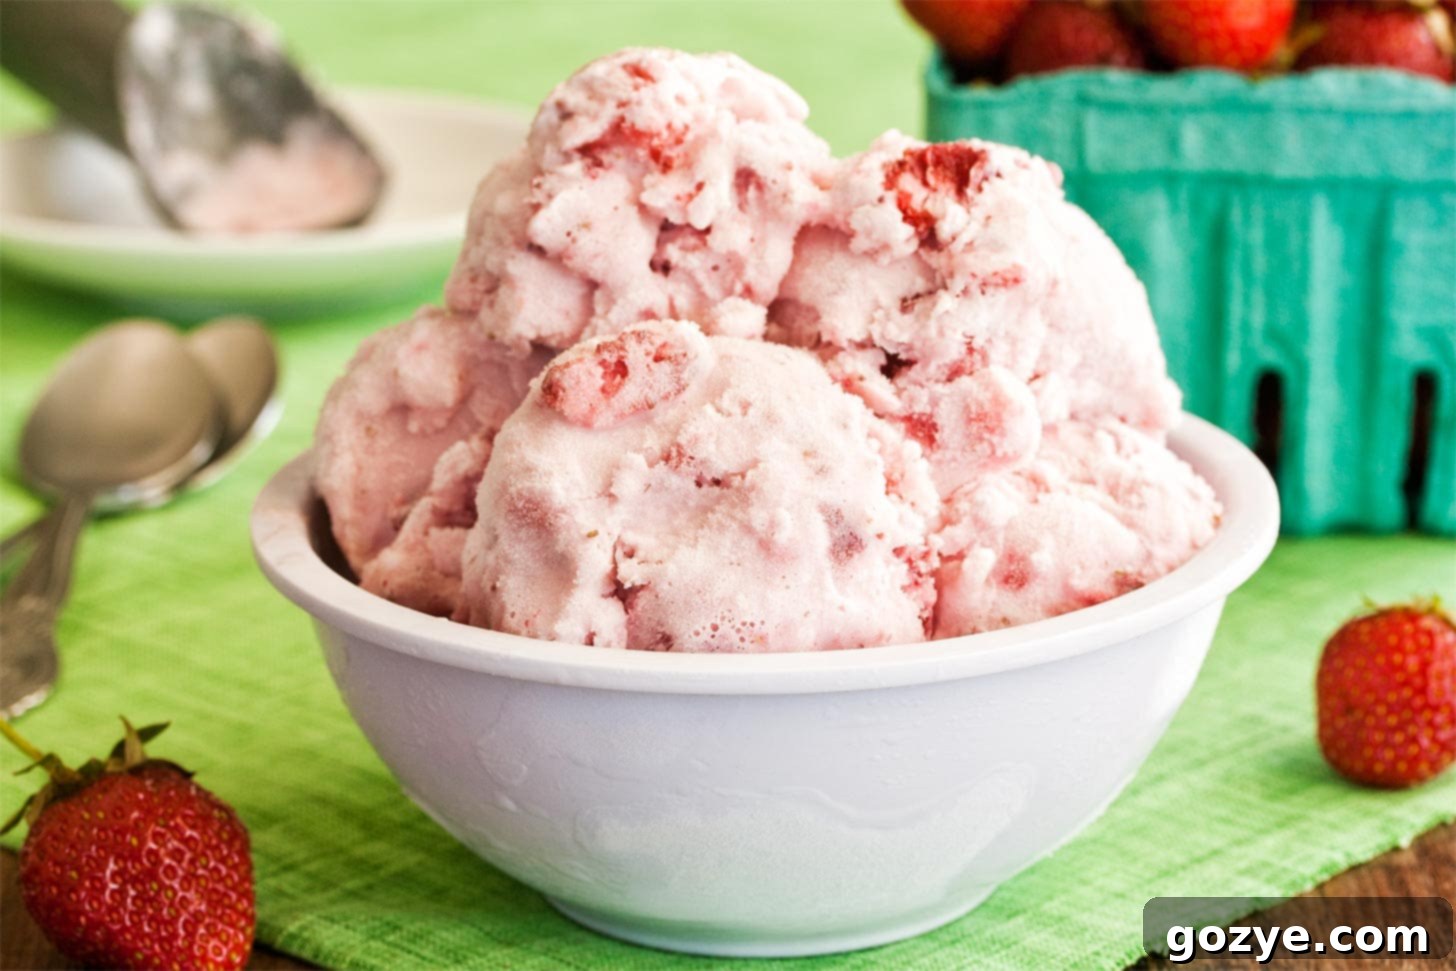
One of the most appealing aspects of this fresh, vibrant strawberry ice cream, second only to its incredible flavor, is how remarkably easy it is to prepare. Forget complicated techniques or lengthy cooking processes. Here’s how you’ll effortlessly whip up your own batch of creamy, dreamy no-cook ice cream:
- Prepare the Strawberry Chunks: In a medium bowl, gently combine about 1/2 cup of your finely chopped fresh strawberries with 1 tablespoon of the granulated sugar and the fresh lemon juice. Stir them together until the sugar begins to dissolve slightly. Set this mixture aside while you prepare the creamy base. This crucial pre-treatment allows the sugar to draw out the natural juices from the berries, softening them slightly. This way, when you fold them into the ice cream later, they won’t freeze into hard, icy chunks, but rather remain tender and burst with concentrated strawberry flavor.
- Blend the Creamy Base: Into your high-speed blender, add the remaining 1 cup of fresh strawberries, the remaining 1/4 cup of granulated sugar, the softened full-fat cream cheese (cut into smaller pieces to aid in blending smoothly), the whole milk, heavy whipping cream, and vanilla extract. Blend all these ingredients together on high speed until the mixture is completely smooth and uniform. Take your time to ensure there are absolutely no visible lumps of cream cheese or unblended strawberry pieces. The mixture should be a beautiful, consistent pink liquid.
- Chill the Base Thoroughly: Transfer the perfectly blended ice cream mixture to a clean bowl or a large, sealable jar. Cover it tightly with plastic wrap or a lid, and refrigerate it for a minimum of 1 hour, or ideally until it is thoroughly cold. Chilling the base completely is an absolutely essential step for achieving the best possible texture in your finished ice cream. A colder base churns more efficiently and results in a much smoother, creamier final product with fewer ice crystals. For optimal results, chilling for 4 hours or even overnight is highly recommended.
- Churn and Incorporate Strawberries: Once your ice cream base is thoroughly chilled, pour it into the frozen bowl of your ice cream maker. Churn the mixture according to the manufacturer’s instructions for your specific machine. This typically takes between 20-30 minutes, during which the mixture will gradually thicken and freeze. During the last few minutes of churning (when the ice cream has reached a thick but still soft-serve consistency), drain any excess liquid from your prepared chopped strawberries (from Step 1) and gently add them to the churning ice cream. Continue churning just until the strawberry pieces are evenly distributed throughout the mixture.
- Freeze for Firmness: As soon as churning is complete, the ice cream will have a soft-serve texture. To achieve a firmer, scoopable consistency, transfer the freshly churned ice cream to an airtight, freezer-safe container. Press a piece of plastic wrap directly onto the surface of the ice cream to minimize air exposure, then seal the container with a lid. Freeze for at least 4 hours, or preferably overnight, until it reaches your desired firm consistency.
Tips for Perfect No-Cook Strawberry Ice Cream Every Time
- Choose Ripe, Fragrant Strawberries: The quality of your strawberries directly impacts the flavor of your ice cream. Opt for deeply red, ripe, and fragrant berries. If they’re not very sweet, you might consider adding an extra tablespoon of sugar to the blender mix for a balanced taste.
- Ensure Cream Cheese is at Room Temperature: For the smoothest possible ice cream base, make absolutely sure your full-fat cream cheese is softened to room temperature. Cold cream cheese will not blend smoothly and can result in small, unwelcome lumps in your otherwise silky ice cream.
- Don’t Skip the Chilling Step: I cannot emphasize this enough – thorough chilling of the ice cream base before churning is critical! A well-chilled base freezes faster and more efficiently in your ice cream maker, which is the key to achieving a supremely smooth, creamy texture and significantly fewer ice crystals.
- Pre-freeze Your Ice Cream Maker Bowl Adequately: If you’re using a freezer bowl-style ice cream maker, ensure the bowl is frozen for the manufacturer’s recommended time (usually 12-24 hours) until it is completely solid. A partially frozen bowl will not churn the ice cream properly.
- Avoid Overfilling the Churner: Only fill your ice cream maker to the recommended capacity. The ice cream mixture will expand as it churns and freezes, and overfilling can lead to overflow or inefficient churning.
- Store Properly: Once frozen, store your homemade ice cream in an airtight container with a piece of plastic wrap pressed directly onto the surface of the ice cream before sealing with a lid. This minimizes air exposure and helps prevent ice crystals and freezer burn, keeping your ice cream fresh and creamy for longer.
Delicious Serving Suggestions for Your Homemade Delight
While this homemade strawberry ice cream is undeniably divine and utterly satisfying on its own, you can easily elevate the experience with a few simple, complementary additions. For an extra boost of intense, concentrated strawberry flavor, consider serving it with a generous drizzle of homemade strawberry sauce and a dollop of light, fluffy strawberry whipped cream. Other delightful pairings include a sprinkle of fresh mint leaves for a touch of herbaceous freshness, toasted coconut flakes for added texture and tropical notes, or even a crumbling of shortbread or vanilla wafer cookies for a comforting crunch. This versatile ice cream is also phenomenal alongside a warm chocolate brownie, a slice of classic pound cake, or as a vibrant topping for a fruit tart. Don’t be afraid to experiment and find your favorite combination!
Strawberry Ice Cream FAQ
For the absolute best taste and creamy texture, homemade ice cream should ideally be enjoyed within 1 month. While it can be frozen for longer periods, the chances of developing ice crystals and freezer burn increase significantly after this period. Always ensure it’s stored in an airtight container with minimal air exposure to maximize its freshness and quality.
Yes, you absolutely can use frozen strawberries if fresh ones aren’t available or in season! However, there’s a crucial step: make sure to thaw them completely and then drain any excess liquid thoroughly before using. Frozen strawberries tend to release more water when thawed, and too much water in your ice cream base can lead to a more icy, less creamy texture in the final product. Pat them dry with a paper towel if necessary to remove any lingering moisture.
Absolutely! This is where you can truly get creative and personalize your ice cream. During the last few minutes of churning, when the ice cream is still soft and has a thick consistency, feel free to add your favorite mix-ins. Popular choices include mini chocolate chips (white chocolate pairs wonderfully!), crushed graham crackers, chopped nuts, or even more fresh strawberry pieces (beyond what’s already folded in). For best results, chill any chocolate mix-ins beforehand to prevent them from melting into the still-cool base.
Yes, this specific recipe is designed for use with a dedicated ice cream maker. The continuous churning process is essential for incorporating air into the mixture and preventing the formation of large ice crystals, which is key to achieving that wonderfully smooth, creamy, and scoopable texture that homemade ice cream is famous for. While some “no-churn” recipes exist, they typically rely on sweetened condensed milk and whipped cream and produce a different texture. For the best results with this particular strawberries and cream recipe, an ice cream maker is highly recommended.
Chilling the ice cream base thoroughly before churning is a critical step that significantly impacts the final quality of your homemade treat. There are two main reasons: First, a colder base will freeze much faster and more efficiently in your ice cream maker. This rapid freezing promotes the formation of smaller ice crystals, resulting in a significantly smoother and creamier final product. Second, it ensures that your ice cream maker works optimally, as it won’t have to expend as much energy cooling the mixture down initially, leading to better overall performance and texture.
More Delicious Homemade Ice Cream Recipes to Explore
If you loved making this incredibly easy and utterly delicious no-cook strawberry ice cream, then you’ll definitely want to explore my other fantastic Small Batch Ice Cream Recipes. These recipes are perfect for when you crave a homemade treat but don’t want to commit to making a huge batch. Many of them are also eggless and simple to prepare, just like this one:
- Strawberry Lemonade Ice Cream: A delightfully tangy, sweet, and incredibly refreshing flavor combination, perfect for hot weather.
- Vanilla Bean Ice Cream: The ultimate classic for a reason – rich, aromatic, and perfectly versatile for any topping or dessert pairing.
- German Chocolate Ice Cream: An indulgent and decadent treat, inspired by the beloved German chocolate cake.
- No-Cook Peanut Butter Cup Ice Cream: The dream dessert for all ultimate peanut butter and chocolate lovers, no cooking required.
- No-Cook Nutella Ice Cream: A hazelnut chocolate dream come true, incredibly easy to make and completely egg-free.
Strawberry Ice Cream (No Cook, Eggless)
1 pint
15 minutes
4 hours
4 hours 15 minutes
This simple, no-cook, and eggless Homemade Strawberry Ice Cream recipe yields a gorgeously creamy, naturally pink, and incredibly fresh dessert. Made easily in a blender with the secret ingredient of cream cheese for an extra rich “strawberries and cream” flavor profile. It’s the perfect treat for hot days, requiring minimal effort for maximum homemade deliciousness.
Ingredients
- 1 + 1/2 cups (about 6 ounces) chopped fresh strawberries, divided
- 1/4 cup + 1 tablespoon granulated sugar, divided
- 1 tablespoon fresh lemon juice
- 2 ounces full-fat cream cheese, cut into 2 pieces, at room temperature (do not substitute low-fat, fat-free, or whipped varieties)
- 1/2 cup whole milk (can also use full-fat buttermilk for a slightly tangier flavor; do not substitute low-fat or fat-free)
- 1/2 cup heavy whipping cream (do not substitute for lighter cream or half-and-half)
- 1 teaspoon vanilla extract
Instructions
- In a medium bowl, combine 1/2 cup of the chopped strawberries, 1 tablespoon of the granulated sugar, and the fresh lemon juice. Stir gently and set aside. This step softens the berries, preventing them from becoming icy hard when folded into the churned ice cream later.
- In a high-speed blender, combine the remaining 1 cup of chopped strawberries, the remaining 1/4 cup of granulated sugar, the softened cream cheese pieces, whole milk, heavy whipping cream, and vanilla extract. Blend until the mixture is completely smooth and no lumps remain. Ensure all ingredients are well incorporated.
- Transfer the blended ice cream base to a clean bowl, cover it tightly with plastic wrap, and refrigerate for at least 1 hour, or until the mixture is thoroughly chilled (this is crucial for the best texture). For optimal results, chill for 4 hours or even overnight.
- Once thoroughly chilled, churn the ice cream mixture according to your ice cream maker’s specific instructions. This usually takes between 20-30 minutes. During the last few minutes of churning, when the ice cream has a soft-serve consistency, drain any liquid from the reserved chopped strawberries (from step 1) and gently add them to the churning ice cream. Continue churning just until they are evenly distributed.
- Transfer the freshly churned ice cream to an airtight freezer-safe container. Freeze for at least 4 hours, or preferably overnight, until it is firm and scoopable. Store homemade ice cream in the freezer for up to 1 month for optimal flavor and texture.
Notes
- For the creamiest result, ensure all dairy ingredients (milk, cream cheese, heavy cream) are cold before blending, except for the cream cheese which should be at room temperature to blend smoothly.
- To prevent ice crystals, store your finished ice cream in an airtight container with plastic wrap pressed directly onto the surface before sealing.
- Enjoyed this no-cook, eggless recipe? Be sure to try my other easy ice creams like Strawberry Cheesecake Ice Cream, Peach Ice Cream, Peanut Butter Ice Cream, and Nutella Ice Cream.
Recommended Products
As an Amazon Associate and member of other affiliate programs, I earn from qualifying purchases.
- Ice Cream Maker
Did you make this recipe?
Let me know what you think! Rate the recipe above, leave a comment below, and/or share a photo on Instagram using #HITKrecipes
First published June 30, 2014 – This content has been updated and optimized for the freshest homemade taste and an even better user experience.
