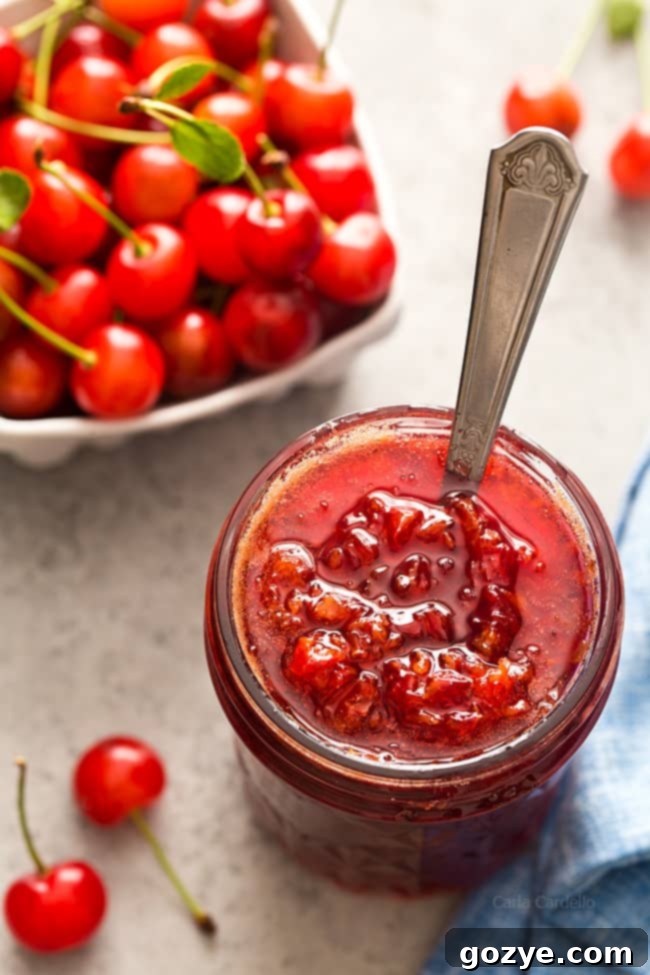
Homemade Small Batch Sour Cherry Jam (No Pectin): Your Guide to Summer’s Sweet & Tart Preserve
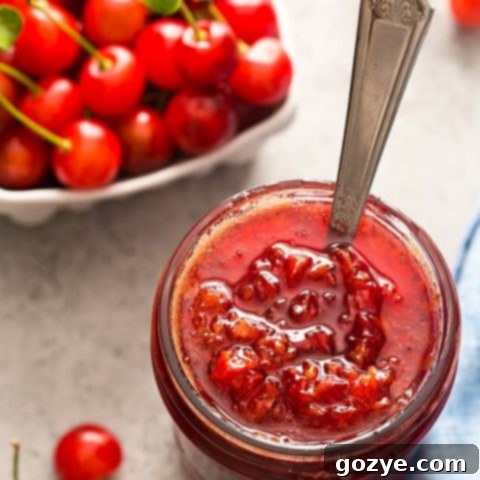
Capture the essence of summer with this delightful small batch Sour Cherry Jam made without pectin! Perfect for spreading on your morning toast, swirling into creamy Greek yogurt, or adding a vibrant burst of flavor as a cake filling. This simple recipe lets you enjoy the rich, tangy taste of fresh cherries with minimal fuss and no special thickeners.
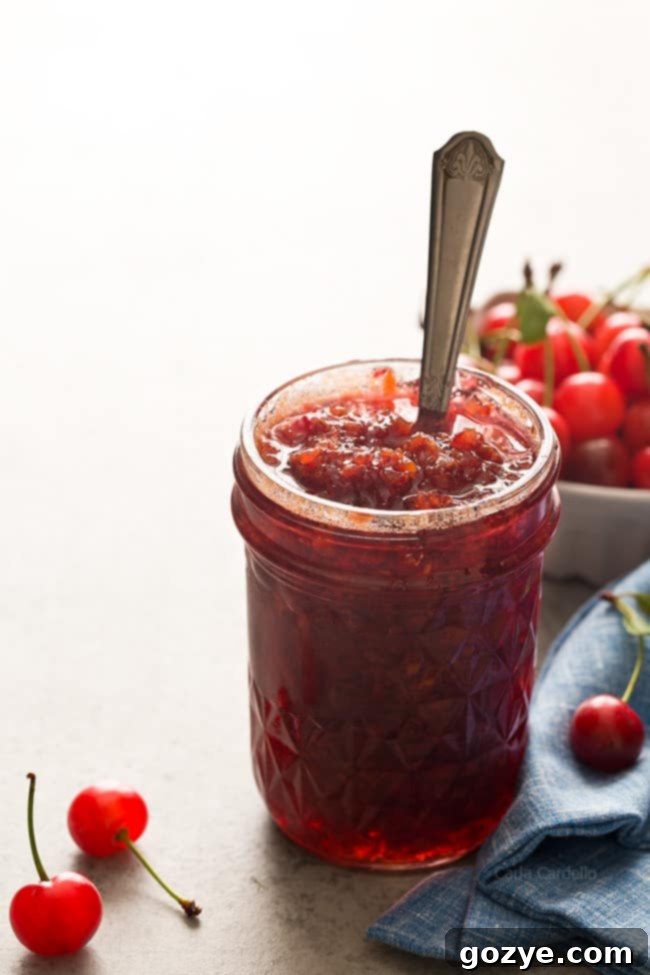
There’s a certain satisfaction that comes from creating something delicious and wholesome from scratch, especially when it involves preserving the bounty of the season. Call it a touch of old-fashioned charm, or maybe just a love for simple, good food – but for me, making homemade jam falls right into that category. You might even say I’ve got a “grandma at heart” vibe going on: home by 10 on a Friday night, an inexplicable affection for cats, a quiet appreciation for a serene evening, and perhaps even a fondness for a good game of bingo.
While I’ve dabbled in cross-stitching and latch hooking, and have always considered picking up knitting, my true culinary passion often leads me to the kitchen to transform fresh fruit into delightful preserves. And among these traditional kitchen crafts, making Sour Cherry Jam stands out. How many people under 35 do you know who confidently can their own jam? Well, I’ve been “jamming” since I was 25 – and if that doesn’t scream a wild, independent spirit embracing the domestic arts, I don’t know what will!
Over the years, I’ve perfected the art of making delicious fruit spreads without relying on commercial pectin. What’s more, I’ve mastered the small batch approach. This recipe yields just one jar of incredible jam, which is absolutely perfect for those of us with limited pantry space or who simply prefer a fresh supply without the commitment of dozens of jars. No need to prepare for the apocalypse with an endless supply of preserves when a single, perfectly crafted jar will do.
While I’ve shared many small batch jam recipes featuring various summer fruits, one crucial ingredient has been noticeably absent from my list until now: cherries. If you guessed cherry, congratulations! You’ve earned today’s gold star for keen observation skills, especially considering the topic at hand. When I harvested tart cherries this year, I made a promise to myself: in addition to whipping up homemade cherry pie filling and cherry turnovers, I would finally tackle Sour Cherry Jam. It’s been a coveted item on my recipe idea list for years, and I’m thrilled to share it with you.
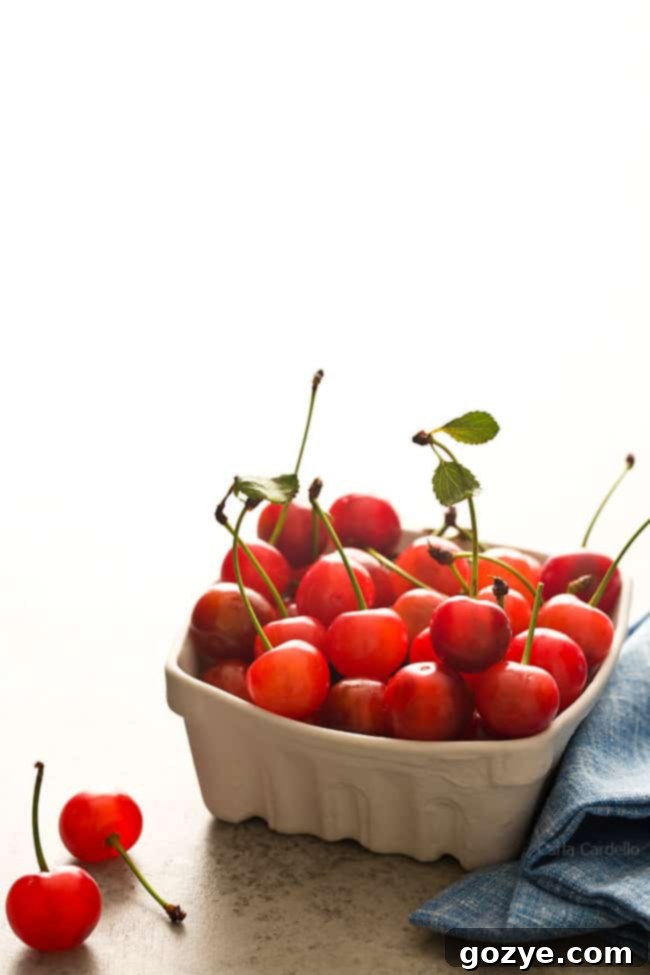
As their name suggests, sour cherries are significantly more tart than their sweet counterparts. They’re often referred to as ‘tart cherries’ for good reason – they’re generally too acidic to enjoy raw. However, with the right amount of sugar and a little bit of culinary magic, these vibrant red gems transform into something truly extraordinary in this sour cherry jam recipe: a balance of sweet and tangy that is utterly delicious.
Understanding the Difference: Jam vs. Preserves
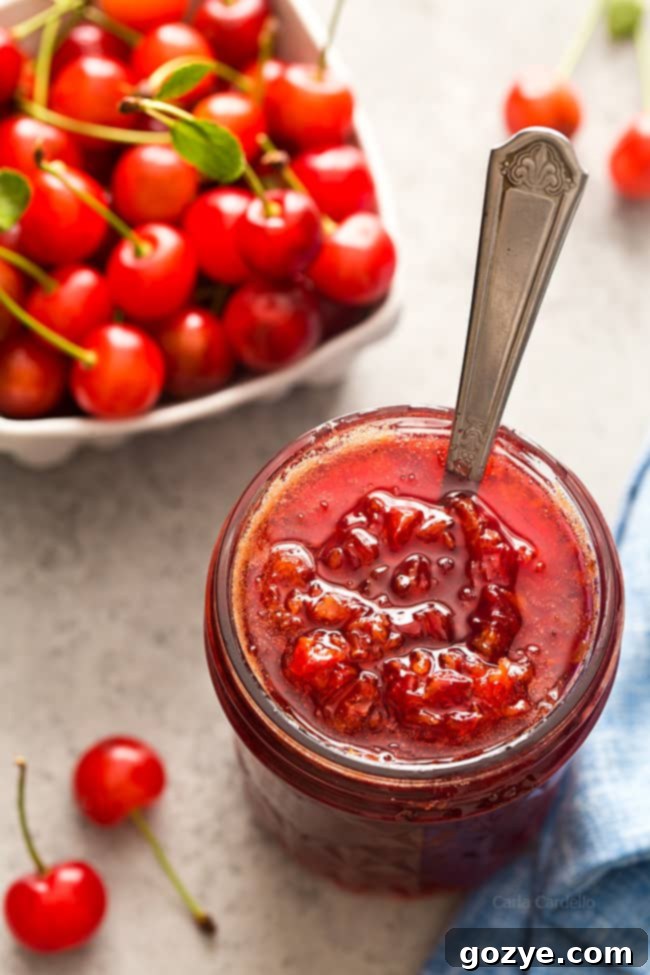
Before we dive deeper, let’s clarify a common question: what’s the difference between preserves and jam? The distinction often lies in the texture and form of the fruit. Jam typically uses crushed fruit or fruit pulp, resulting in a smoother, more uniform spread. Preserves, on the other hand, feature more whole or chunky pieces of fruit suspended in a gelled syrup. Based on that definition, with the lovely chunks of sour cherries you’ll find in this recipe, I technically made sour cherry preserves without pectin. Regardless of what you call it, the end result is a wonderfully spreadable, flavorful fruit spread perfect for any occasion.
What is Pectin and Why Go Without It?
As you explore the world of jam-making, you’ll frequently encounter pectin. Pectin is a natural carbohydrate found in the cell walls of many fruits, acting as a gelling agent. In commercial jam-making or many traditional recipes, added pectin (often purchased in a powdered or liquid form from the canning section of grocery stores) is used to ensure the jam sets properly and quickly after cooling. It helps achieve that firm, spoonable consistency.
However, I’m a firm believer in simplifying ingredients and avoiding unnecessary purchases. If I can achieve a fantastic result without a specialized ingredient I’ll only use a few times a year, I will. Luckily, it’s entirely possible to make delicious tart cherry jam without pectin. This method relies on the natural properties of the fruit and a bit of cooking time to achieve the perfect set.
How to Make Jam Without Pectin: The Science of Reduction
While some fruits like apples and citrus are naturally high in pectin, stone fruits such as cherries are relatively low. This means they won’t naturally gel as readily as, say, an orange marmalade. However, that doesn’t mean you can’t make a beautifully thick, pectin-free jam from them! The secret lies in the simple process of reduction and concentration.
By simmering the pitted cherries with sugar over time, the fruit releases its juices, and the water slowly evaporates. As the liquid reduces, the natural sugars concentrate, and the fruit solids break down and thicken. This process creates a jam with an incredibly rich, intense cherry flavor and a delightful texture, all without the need for added pectin. The key is patience and careful monitoring. Be mindful not to overcook the cherries, as too much reduction can result in an overly sticky, almost candy-like consistency that becomes difficult to spread. A perfectly cooked pectin-free jam should be spreadable yet hold its shape nicely.
The Essential Frozen Plate Technique: Knowing When Your Jam is Done
Determining when your jam has reached the perfect thickness can be tricky, as it only fully sets after cooling. Waiting for a cooled jar can lead to disappointment if it’s too runny or, worse, overcooked. This is where the invaluable “frozen plate technique” comes in. This method allows you to test the jam’s consistency in real-time, giving you immediate feedback and preventing any cooking mishaps.
Here’s how to do it: Before you even start cooking your jam, place a small ceramic plate or saucer in your freezer. Let it chill for at least 10-15 minutes, or until it’s thoroughly frozen. When your jam appears to be thickening on the stove and you think it might be done, retrieve the cold plate from the freezer. Carefully spoon a small dollop (about half a teaspoon) of the hot jam onto the center of the frozen plate. Let it sit for about 30 seconds to allow the cold surface to rapidly cool the jam sample. After 30 seconds, gently tilt the plate. Observe the jam’s movement:
- If it slides too fast and is watery: Your jam needs more cooking time. Return it to the heat and continue simmering.
- If it slides slowly and a wrinkle forms when you push it gently with your finger: Your jam is perfectly done! It has reached its optimal set.
- If it doesn’t move at all and feels very stiff: You may have slightly overcooked it. While still edible, it might be a bit too thick or sticky.
It’s crucial to check often during the final stages of cooking, especially in 1-2 minute increments, as even a minute too long can dramatically change the consistency. Erring on the side of checking too frequently is always better than not enough.
Substituting Sweet Cherries for Sour Cherries
Sour (or tart) cherries have a relatively short harvesting window and can sometimes be challenging to find in conventional grocery stores, often appearing only at farmer’s markets or specialized fruit stands. If you can’t get your hands on them, don’t worry – you can absolutely substitute sweet cherries in this recipe!
However, a few adjustments will be necessary due to their inherent sweetness. Since sour cherries are naturally very tart, this original recipe doesn’t call for any added lemon juice. Lemon juice is often used in jams to provide acidity, which helps with gelling and brightens the flavor. When using sweet cherries, which lack that natural tartness, you’ll want to add about a tablespoon of fresh lemon juice. This addition will balance the sweetness of the fruit, prevent the jam from being cloyingly sweet, and still aid in the setting process.
Furthermore, you’ll likely want to reduce the amount of granulated sugar. I recommend starting with 3/4 cup of sugar if using sweet cherries, then tasting and adjusting to your preference. Remember, you can always add a little more sugar, but you can’t take it away!

Creative Ways to Enjoy Your Homemade Cherry Jam
Beyond the classic spread on toast for breakfast, this homemade tart cherry jam is incredibly versatile and can elevate a multitude of dishes. Its vibrant flavor profile makes it a fantastic ingredient in both sweet and savory applications. Here are some ideas to inspire you:
- Breakfast & Brunch:
- Swirl it into your morning Greek yogurt or oatmeal for a burst of fruitiness.
- Dollop it onto pancakes, waffles, or French toast.
- Use it as a delicious filling for crepes or pastries.
- Baked Goods & Desserts:
- Elevate simple cakes! Use it as a luscious filling for a Small Vanilla Cake or even cupcakes.
- Substitute it for other fruit jams in recipes like Strawberry Swirl Cheesecake Bars or Raspberry Crumb Bars for a delightful cherry twist.
- Fill thumbprint cookies or use it as a glaze for tarts and pies.
- Serve it alongside rich chocolate desserts – cherry and chocolate are a match made in heaven!
- Savory Pairings:
- Pair it with a cheese board, especially with aged cheddar, brie, or goat cheese.
- Whisk it into a vinaigrette for a fruity salad dressing.
- Use it as a glaze for roasted meats like pork loin or duck for a sweet and savory contrast.
- Drinks & Cocktails:
- Stir a spoonful into sparkling water for a refreshing cherry soda.
- Add it to cocktails for a unique fruity note.
The possibilities are truly endless, so don’t hesitate to experiment and let your culinary creativity shine!
Explore More Small Batch Jam Recipes
If you’re eager to turn other summer fruits into homemade jam, or perhaps expand your pectin-free repertoire, check out these other easy small batch jam recipes:
- Peach Jam without Pectin
- Raspberry Jam Without Pectin
- Raspberry Jalapeno Jam
- Strawberry Jam without Pectin
- Blueberry Jam without Pectin
Essential Items You May Need (Affiliate Links)
Sour Cherry Jam (No Pectin, Small Batch)
1 cup
15 minutes
15 minutes
30 minutes
Time to jam out this summer with small batch Sour Cherry Jam without pectin! Use it as a cake filling, swirl it into Greek yogurt, or simply spread it on toast.
Ingredients
- 2 cups sour cherries*, pitted and chopped
- 1 cup granulated sugar
- 1 teaspoon vanilla bean paste, seeds from 1 vanilla bean, or vanilla extract
Instructions
- Place a small dish in the freezer to use for testing the jam.
- In a large deep skillet, add cherries, sugar, and vanilla. Bring to a rolling boil, stirring often. Once boiling, cook until it thickens, about 10-15 minutes.
- When it seems thick enough, take your plate out of the freezer. Put a small spoonful of the jam onto the plate and let sit for 30 seconds. Tilt it. If it slides too fast, keep cooking in 1-2 minute increments. If it moves slow and a slight wrinkle forms when pushed, it is done.
- Transfer the hot jam to a clean, heat-proof container (like a sterilized jar). Cool to room temperature before covering. Use within 2 weeks if stored in the refrigerator. For longer storage, this small batch can also be frozen for up to 3 months.
Notes
- *If using sweet cherries instead of sour cherries, reduce the sugar to 3/4 cup and add 1 tablespoon of fresh lemon juice to balance the sweetness and aid in setting.
- For even more delightful small batch fruit spreads, explore my other recipes: strawberry jam, blueberry jam, raspberry jam, raspberry jalapeno jam, and peach honey jam.
- Got more cherries than you know what to do with? Don’t let them go to waste! Try my other cherry-filled creations: homemade cherry pie filling, cherry cobbler bars, and cherry pie for two.
Recommended Products
As an Amazon Associate and member of other affiliate programs, I earn from qualifying purchases.
- Cherry Pitter
- Mason Jar
Did you make this recipe?
Let me know what you think! Rate the recipe above, leave a comment below, and/or share a photo on Instagram using #HITKrecipes
