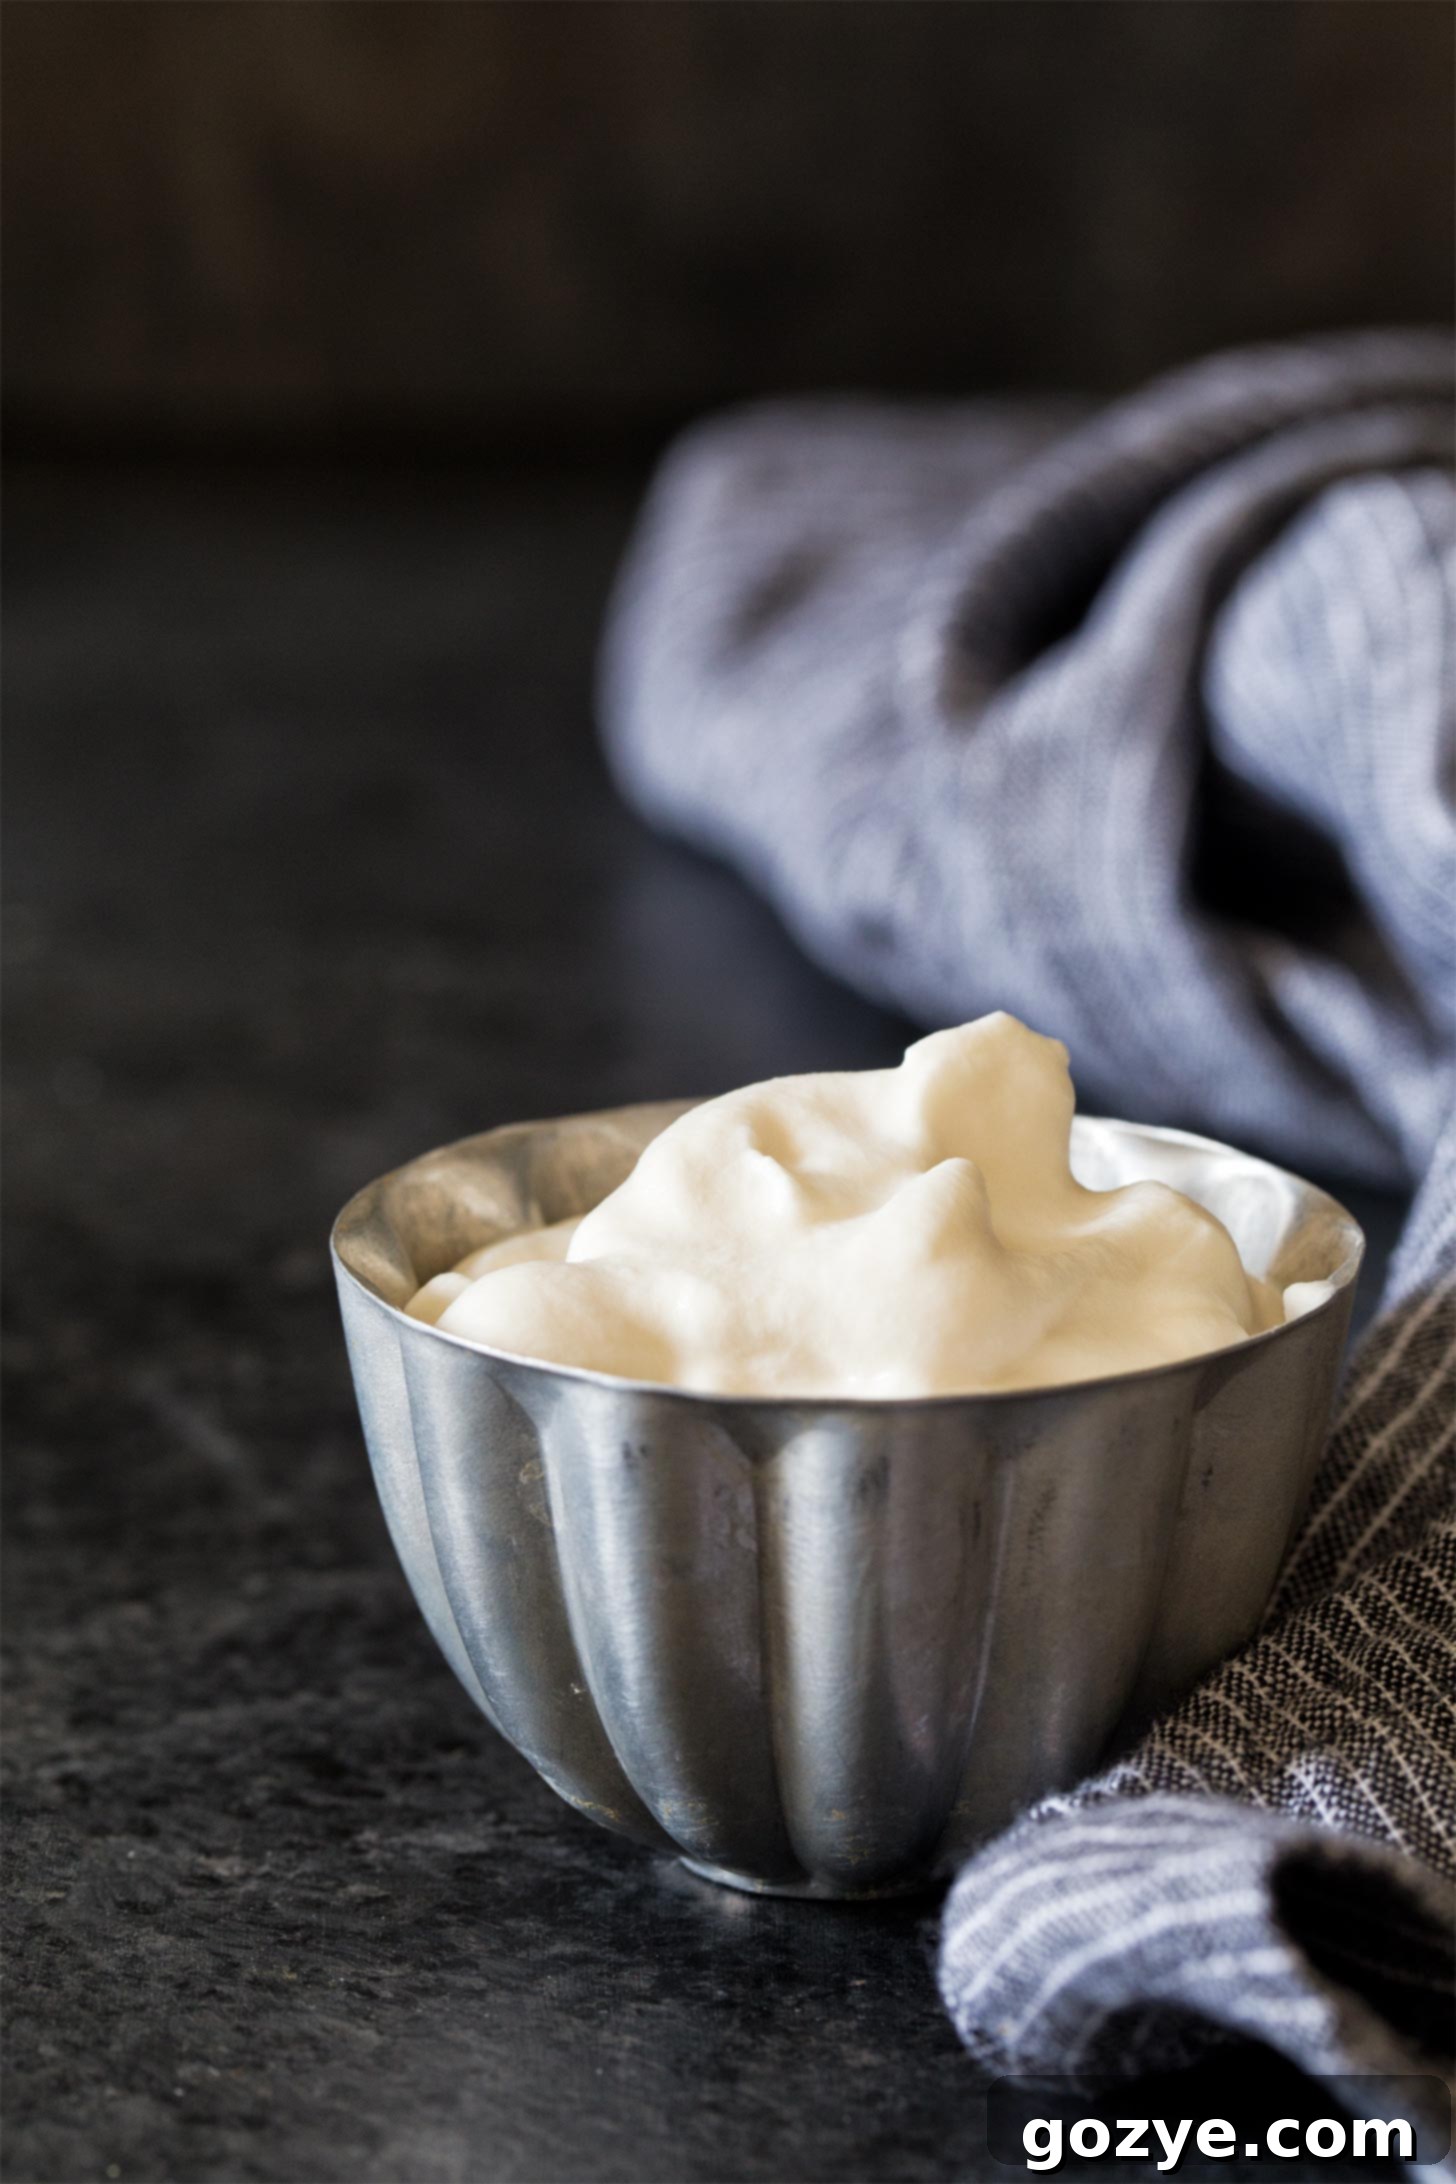
How to Make Fluffy Homemade Whipped Cream (Small & Full Batch Recipe)
Transform your ordinary desserts into extraordinary culinary delights with the magic of light, airy, and utterly delicious Homemade Whipped Cream. Forget the aerosol cans and artificial flavors – once you experience the rich, natural taste and incredibly fluffy texture of freshly whipped cream, there’s no going back. This comprehensive guide will show you how to create perfect whipped cream from scratch with just three simple ingredients and a mere five minutes of whipping time. Whether you’re topping a single serving of pie or preparing for a celebratory gathering, we provide easy-to-follow recipes for both small and full batches, ensuring you always have just the right amount of this delightful topping.
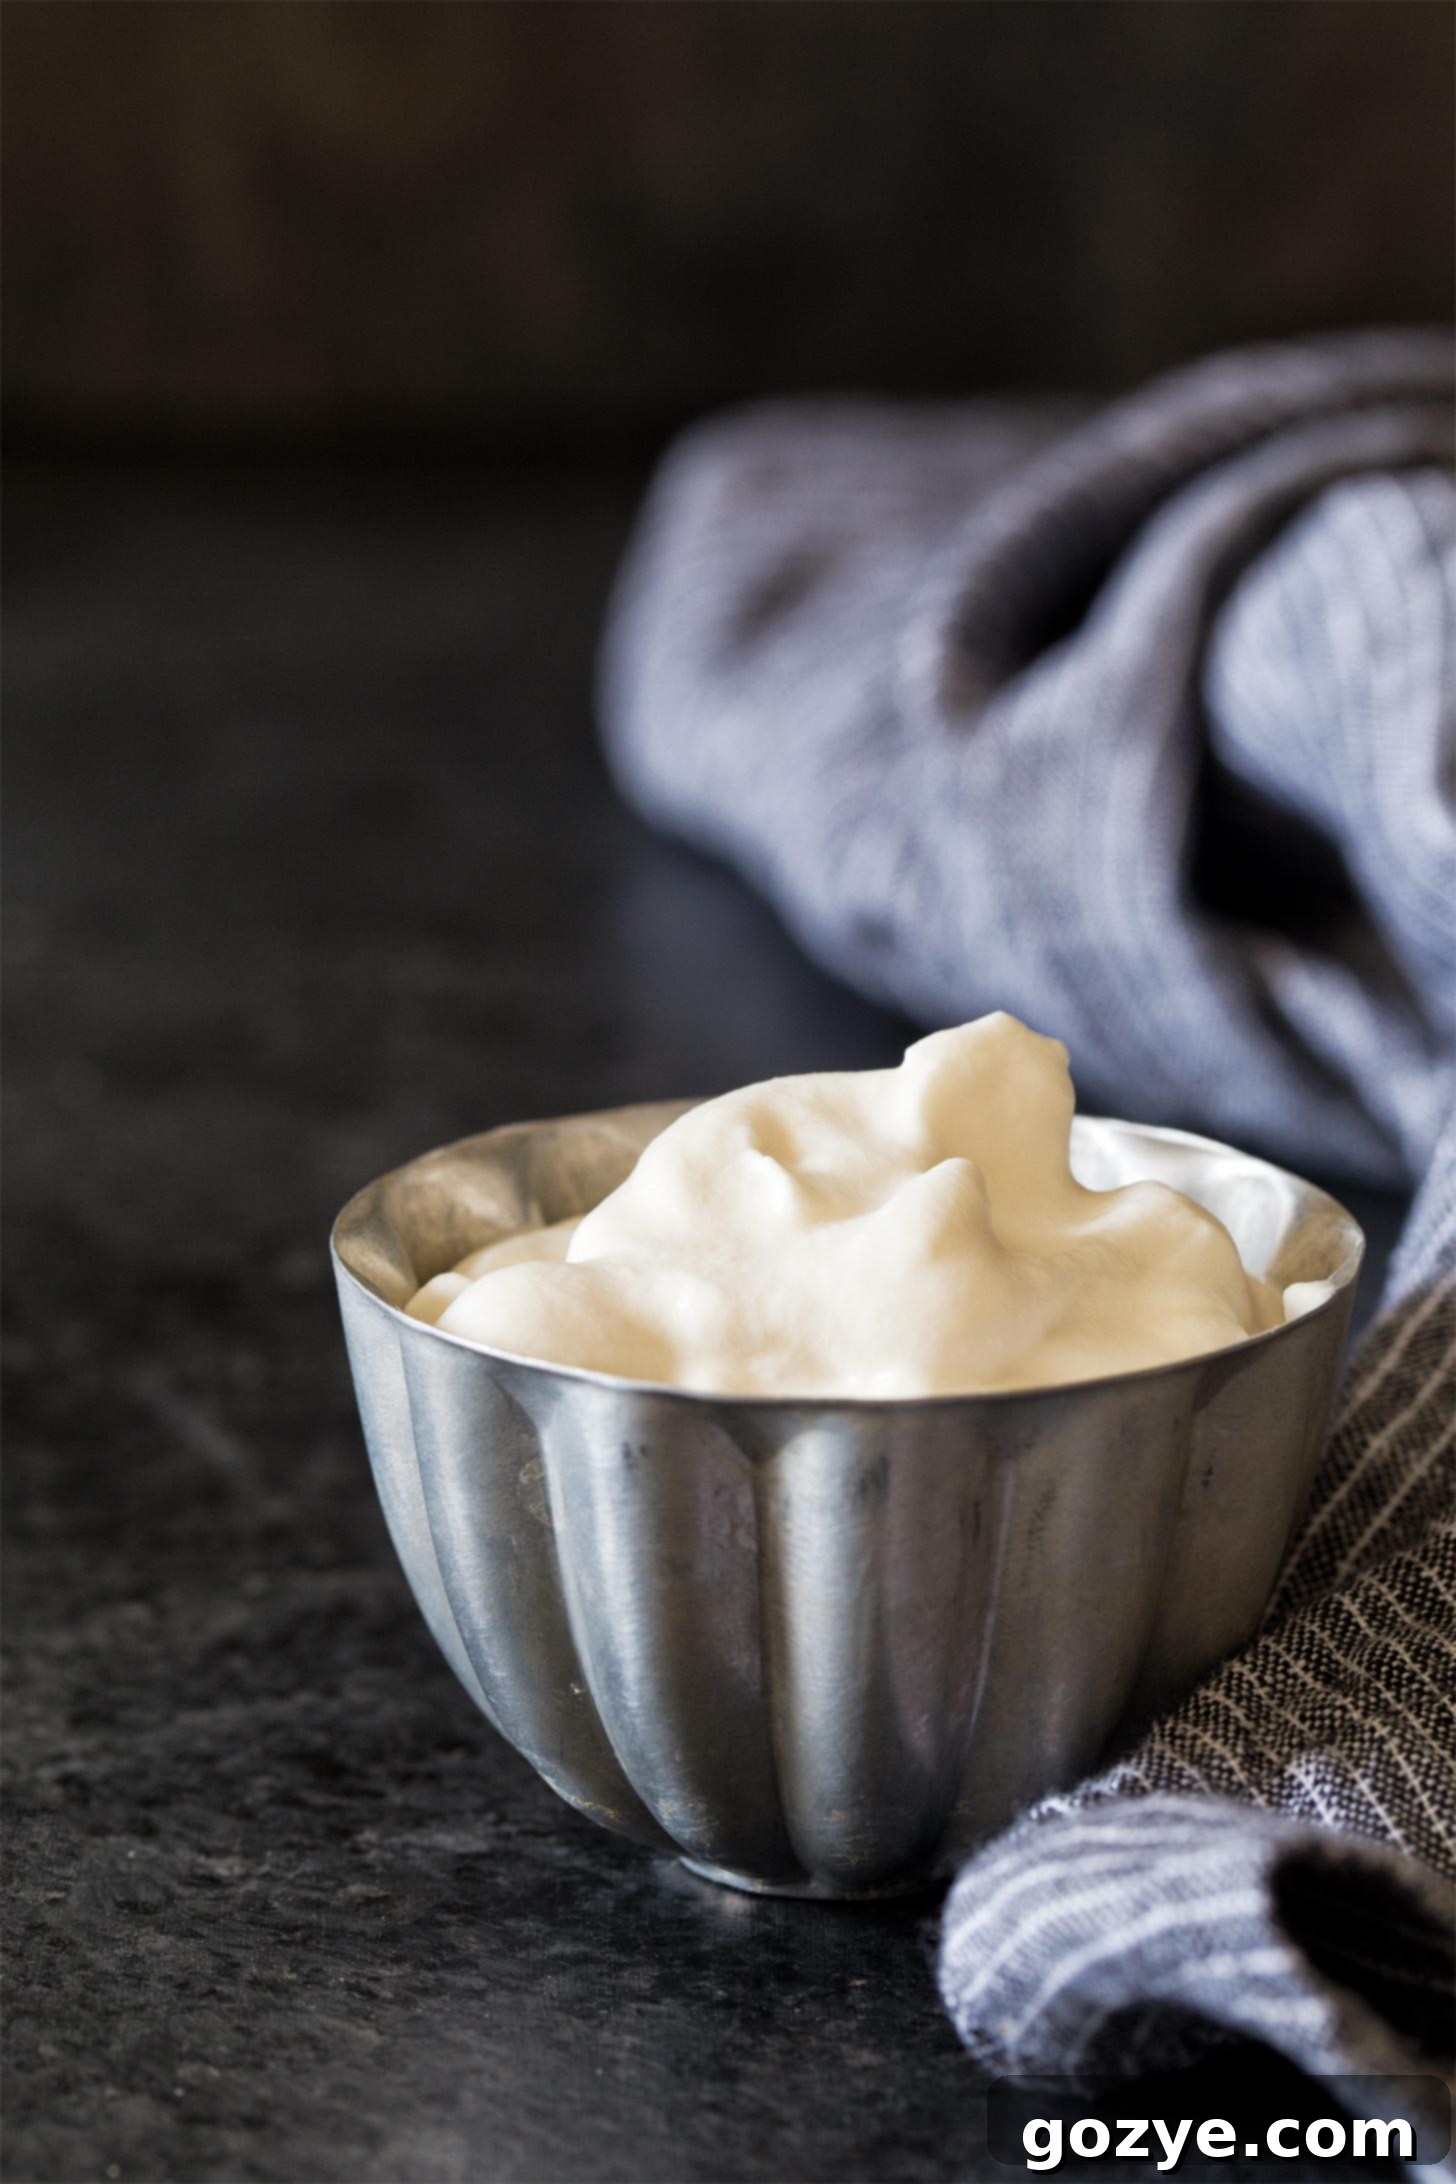
For years, home cooks and bakers have faced the dilemma of leftover whipped cream. While a generous dollop elevates any dessert, making a large batch often means unused portions ending up in the trash after a day or two. As someone who has dedicated over 18 years to crafting and sharing recipes, I understand the need for practical, waste-free cooking. My culinary journey has increasingly focused on scaling down recipes to be more small-batch friendly, allowing everyone to enjoy freshly made treats without the excess. This commitment led me to perfect a versatile whipped cream recipe, adaptable for any occasion.
I noticed a common thread in my own kitchen: a constant need for whipped cream, but an aversion to making too much. My standard homemade whipped cream recipe, while delicious, often left me with more than I could use before it deflated. This frustration sparked a mission to develop the ideal proportions for a small batch, enough to elegantly garnish your chocolate pancakes or a delightful angel food cake in a loaf pan. Recognizing that sometimes a larger quantity is indeed necessary, I’ve also included detailed instructions for a regular-sized batch, ensuring you’re covered for every dessert emergency or celebratory feast.
Beyond Basic: Delicious Flavored Whipped Cream Variations
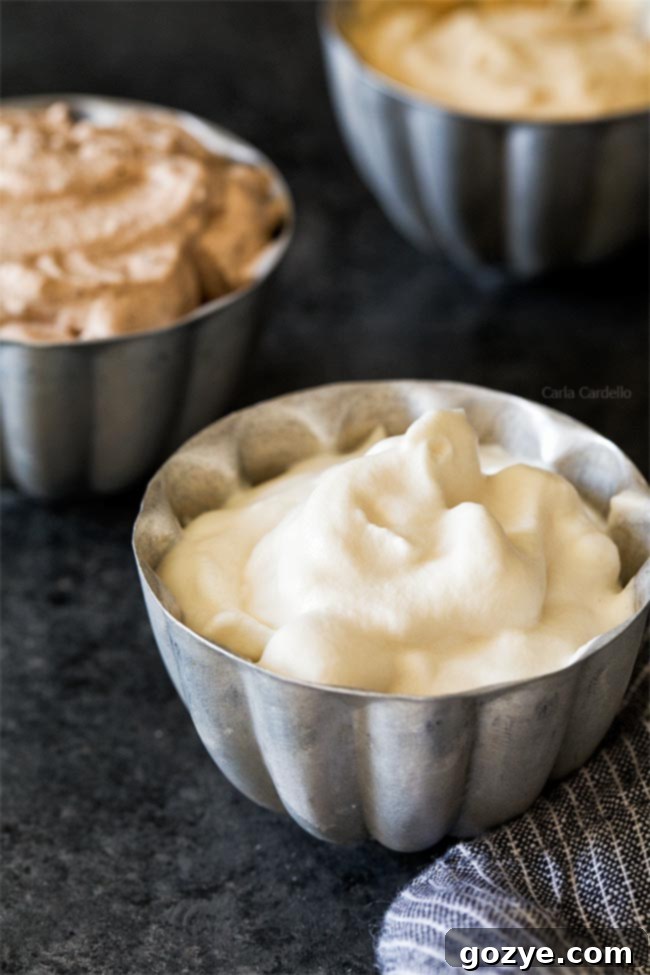
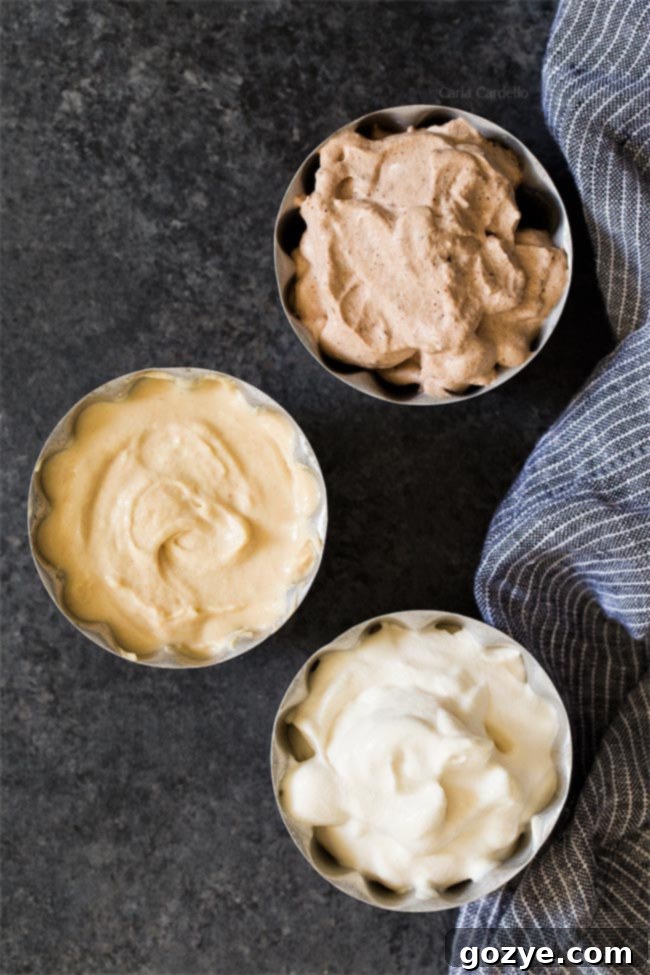
While classic vanilla whipped cream is a timeless favorite, don’t hesitate to experiment with flavors! Adding different ingredients can transform your topping into a unique treat that perfectly complements your dessert. Over the years, I’ve explored a variety of exciting combinations, including:
- Peanut Butter Whipped Cream: Ideal for chocolate desserts or banana splits.
- Chocolate Whipped Cream: A rich, decadent addition to any dessert, especially berries.
- Strawberry Whipped Cream: Fresh and fruity, perfect for summer treats or shortcakes.
- Maple Whipped Cream: A cozy, warm flavor, excellent for autumn pies or coffee.
- Cream Cheese Whipped Cream: Adds a delightful tang, mimicking cheesecake frosting.
- Honey Whipped Cream: A subtly sweet option that pairs well with fruit or lighter cakes.
Creating flavored whipped cream is surprisingly simple. For cocoa powder or instant coffee, sift it into your powdered sugar before adding to the cream. For fruit purees, gently fold them in at the end, being careful not to deflate the cream too much. Extracts, like almond or peppermint, can be swapped for or added with the vanilla extract.
Interestingly, what we commonly refer to as homemade whipped cream has a more sophisticated name in French cuisine: Chantilly cream. While the term isn’t widely used in everyday American kitchens, it’s essentially the same delightful concoction – heavy cream sweetened with sugar and flavored with vanilla, meticulously whipped to light, airy perfection. So, if you ever encounter “Crème Chantilly” on a gourmet menu, know that you’re in for the classic, irresistible treat you’ve learned to make yourself.
The promise remains true: with only three staple ingredients and minimal effort, you’ll discover that homemade whipped cream far surpasses any store-bought alternative. The difference in taste, texture, and freshness is truly incomparable, making it a staple you’ll want to keep in your dessert repertoire.
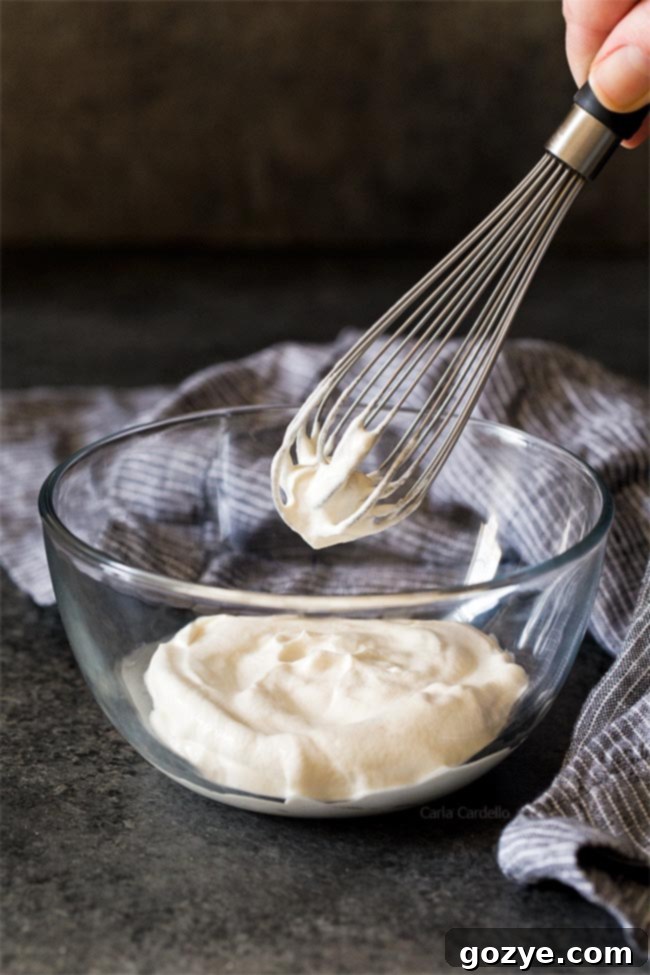
The Essential Ingredients for Perfect Fluffy Whipped Cream
Crafting exquisite homemade whipped cream requires only a few, high-quality ingredients. The simplicity is part of its charm, but understanding each component is key to achieving that perfect, airy consistency.
- Heavy Whipping Cream: This is the star of our show. The quality and type of cream are paramount for successful whipping. We’ll delve into the specifics below, but always reach for “heavy whipping cream” for the best results.
- Powdered Sugar (Confectioners’ Sugar): Not only does powdered sugar sweeten the cream, but its finely milled texture and cornstarch content also help stabilize the whipped cream, preventing it from deflating too quickly. Always sift your powdered sugar to avoid lumps and ensure a silky-smooth finish.
- Vanilla Extract: While cream has a subtle richness, vanilla extract is what truly brings out that classic, comforting flavor we all love. Opt for pure vanilla extract for the best aromatic profile.
These three ingredients form the foundation. While you can certainly introduce other flavorings like cocoa powder, peanut butter, or extracts, they all begin with this fundamental trio.
Heavy Whipping Cream vs. Whipping Cream: What’s the Difference?
This is a common question, and getting it right is crucial for perfect whipped cream. Both “heavy whipping cream” and “whipping cream” will produce a delightful topping, but there’s a significant difference in their milk fat content that impacts the final result and stability:
- Heavy Whipping Cream: Contains at least 36% milk fat. This higher fat content allows it to whip up more quickly, achieve stiffer peaks, and hold its shape for a longer duration. It’s the ideal choice for desserts that need to sit for a while, like a topping for a small pumpkin pie, or if you plan to make it ahead.
- Whipping Cream: Contains 30-35% milk fat. It’s a bit lighter and will still whip up beautifully, but it might take slightly longer and won’t hold its shape quite as long as heavy whipping cream. If you’re serving your whipped cream immediately, perhaps on a thick hot chocolate, whipping cream will work perfectly fine.
Important Note: Do not attempt to use half-and-half or whole milk for whipped cream. These products do not contain enough milk fat to properly aerate and hold their structure, resulting in a thin, runny mixture rather than a fluffy cream. For successful whipped cream, heavy whipping cream is non-negotiable.
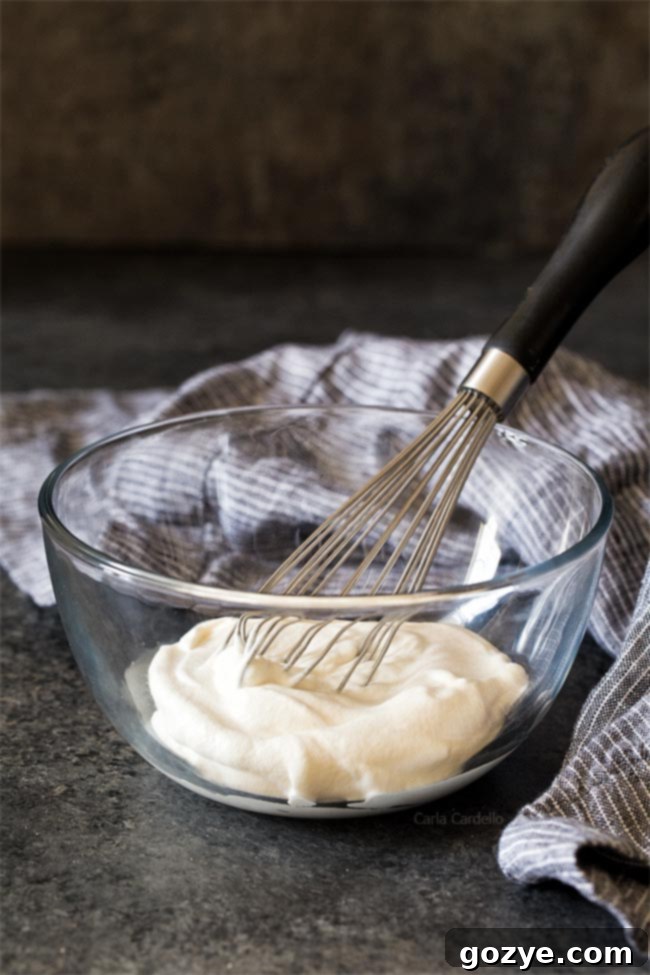
Mastering the Art of Whipping Cream: Step-by-Step Guide
Preparing homemade whipped cream is surprisingly straightforward, and once you master the technique, you’ll wonder why you ever reached for the canned version! The key is cold ingredients and not over-whipping. Here’s a detailed breakdown:
Essential Tools for Whipping Cream
Before you begin, ensure you have the right equipment. A stand mixer with a whisk attachment is ideal for larger batches, providing consistent power and freeing up your hands. For small batches, a handheld electric mixer or even a good old-fashioned whisk and a bit of arm power will do the trick. For best results, chill your mixing bowl and whisk attachment in the freezer for 10-15 minutes before starting – cold equipment helps the cream whip faster and achieve better volume.
Step-by-Step Instructions:
- Start with Cold Cream: Pour your very cold heavy whipping cream into your chilled mixing bowl. Starting with cold cream (and a cold bowl/whisk) is crucial as it helps the fat globules to stiffen and incorporate air more effectively.
- Begin Whipping: Using a stand mixer (with whisk attachment) or a hand mixer, start beating the cream on medium-high speed. You’ll notice it will begin to thicken after about a minute or two, forming soft ripples on the surface.
- Add Sweetener and Flavor: Once the cream starts to thicken slightly, reduce the speed to low and gradually add the sifted powdered sugar and vanilla extract. Sifting the sugar prevents lumps and ensures smooth integration.
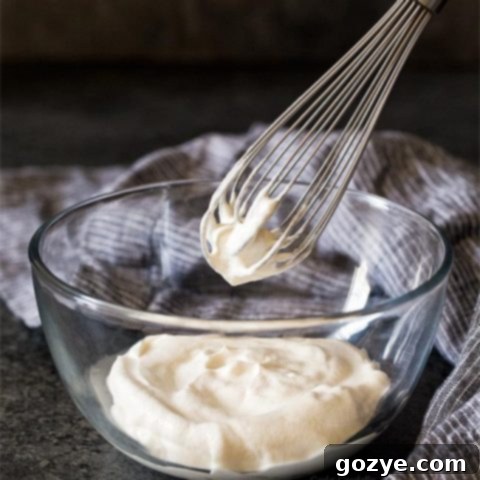
- Whip to Stiff Peaks: Increase the speed back to medium-high and continue whipping. Keep a close eye on the cream. You’re looking for “stiff peaks” – this means when you lift the beater straight out of the cream, a peak will form and hold its shape without drooping or falling over. The entire process, from start to finish, should take roughly 3-5 minutes, depending on your mixer and batch size.
Avoiding Over-whipped Cream: A Common Pitfall
The most important rule in whipped cream making is to stop whipping as soon as stiff peaks form. If you continue to beat the cream beyond this point, it will quickly turn grainy and eventually separate into butter and buttermilk. While delicious if you intended to make butter, it’s not ideal for a fluffy topping!
Troubleshooting Over-whipped Cream: If you accidentally go a little too far and your whipped cream becomes slightly grainy, don’t despair! You can often salvage it by adding another tablespoon or two of cold heavy cream and gently folding it in (or briefly whipping on very low speed) until the texture smooths out again. This can help re-emulsify the cream and restore its desired consistency.
Storage and Freezing Tips for Homemade Whipped Cream
Freshly made whipped cream is always best when served immediately, but it can be stored for short periods or even frozen for longer enjoyment.
Short-Term Storage (Refrigeration)
You can store leftover homemade whipped cream in an airtight container in the refrigerator for up to 2 days. Be aware that over time, even heavy whipped cream will gradually start to lose some of its aeration and deflate slightly. It will still be perfectly delicious, but perhaps not as volumized as when freshly made. If it has deflated somewhat, you can often re-whip it briefly (on low speed) to incorporate more air and restore its fluffiness, but be very careful not to over-whip it into butter.
Long-Term Storage (Freezing)
For those times when you want to enjoy homemade whipped cream beyond a couple of days, freezing is an excellent option, extending its shelf life for up to 2 months. This method is particularly useful for having small portions ready to go for individual desserts.
How to Freeze Whipped Cream:
- Portion: Spoon or pipe dollops of whipped cream onto a parchment-lined baking sheet. You can make them whatever size you anticipate needing for future use (e.g., small dollops for hot chocolate or larger ones for pie slices).
- Freeze Solid: Place the baking sheet in the freezer and freeze until the whipped cream dollops are completely firm, typically 2-3 hours.
- Transfer: Once solid, carefully transfer the frozen whipped cream dollops to a freezer-safe, airtight bag or container. This prevents freezer burn and allows you to grab just one or two portions as needed.
- Thaw & Serve: When ready to use, simply place a frozen dollop directly onto a warm dessert like a Chocolate Peanut Butter Mug Cake or Brownies For Two, and it will melt into a luscious topping. For cold desserts, let it thaw in the refrigerator for a few minutes before serving.
Serving Suggestions: Delightful Desserts to Pair with Homemade Whipped Cream
Once you’ve mastered the art of homemade whipped cream, the possibilities for pairing it with your favorite desserts are endless. Its light, sweet character beautifully complements a wide array of treats, adding a touch of elegance and indulgence. Here are some fantastic ideas, including some of my personal favorites:
Pies and Tarts:
- Eggless Pumpkin Pie or Small Pumpkin Pie: A classic combination, especially during the holidays.
- Small Pecan Pie: The richness of pecan pie is perfectly balanced by fluffy cream.
- Mini Cherry Pies, Mini Apple Pies, and Mini Strawberry Pies: Fruit pies truly shine with a generous dollop.
Cakes and Cupcakes:
- Angel Food Cupcakes: Light and airy cake meets light and airy cream – a match made in heaven.
- Pumpkin Pie Cupcakes: Adds a creamy contrast to spiced pumpkin.
- Red Velvet Oreo Cheesecake: A decadent topping for an already indulgent dessert.
- Mini Lava Cakes and Red Velvet Lava Cakes: The melting chocolate or red velvet center with cold cream is divine.
Shortcakes and Fruit Desserts:
- Strawberry Cobbler: Warm fruit desserts are always better with cold, creamy topping.
- Chocolate Strawberry Shortcake: A classic combination with a chocolatey twist.
- Fresh berries: Simply spoon over a bowl of fresh strawberries, blueberries, or mixed berries for an effortlessly elegant dessert.
Other Delightful Pairings:
- Air Fryer Cheesecake: A light, creamy contrast to the rich cheesecake.
- Chocolate Waffles: Elevate breakfast or brunch with a sweet, fluffy crown.
- Hot Beverages: Stir into hot chocolate, coffee, or espresso for a luxurious touch.
- Pancakes and French Toast: An excellent alternative to syrup for a touch of sweetness.
Homemade Whipped Cream
2 servings
5 minutes
5 minutes
10 minutes
Make your desserts extra special by garnishing them with light and fluffy Homemade Whipped Cream from scratch! With only 3 ingredients and 5 minutes of whipping time, you will never buy canned whipped cream again.
Ingredients
Small Batch Whipped Cream
- 1/4 cup cold heavy whipping cream
- 1 tablespoon powdered sugar, sifted
- 1/2 teaspoon vanilla extract
Full Batch Whipped Cream
- 1 cup cold heavy whipping cream
- 1/4 cup powdered sugar, sifted
- 1 tablespoon vanilla extract
Instructions
- In a large cold mixing bowl on medium-high speed (with whisk attachment if using a 5 quart stand mixer), beat the heavy cream until it starts to thicken, about 1 minute.
If making the small batch version, you don’t want your bowl larger than 5 quart. If your bowl is too big or you’re having trouble whipping, use a smaller bowl with a handheld mixer.
- Gradually beat in the sugar and vanilla then continue beating until stiff peaks form (when you pull the beater up, peaks will form and not fall over), about 3-4 minutes.
Serve immediately. Refrigerate leftovers for up to 2 days. The longer it sits, the more it’ll deflate but will still be delicious.
Notes
- Additionally you can freeze whipped cream to make it last up to 2 months. Portion the whipped cream onto a cookie sheet by either piping or spooning, freeze until firm, then transfer to a freezer-safe bag.
- Check out my other recipes for Peanut Butter Whipped Cream, Chocolate Whipped Cream, Strawberry Whipped Cream, Maple Whipped Cream, Honey Whipped Cream, and Cream Cheese Whipped Cream.
Recommended Products
As an Amazon Associate and member of other affiliate programs, I earn from qualifying purchases.
- Stand Mixer
- Hand Mixer
- Whisk
Did you make this recipe?
Let me know what you think! Rate the recipe above, leave a comment below, and/or share a photo on Instagram using #HITKrecipes
First published March 4, 2019
