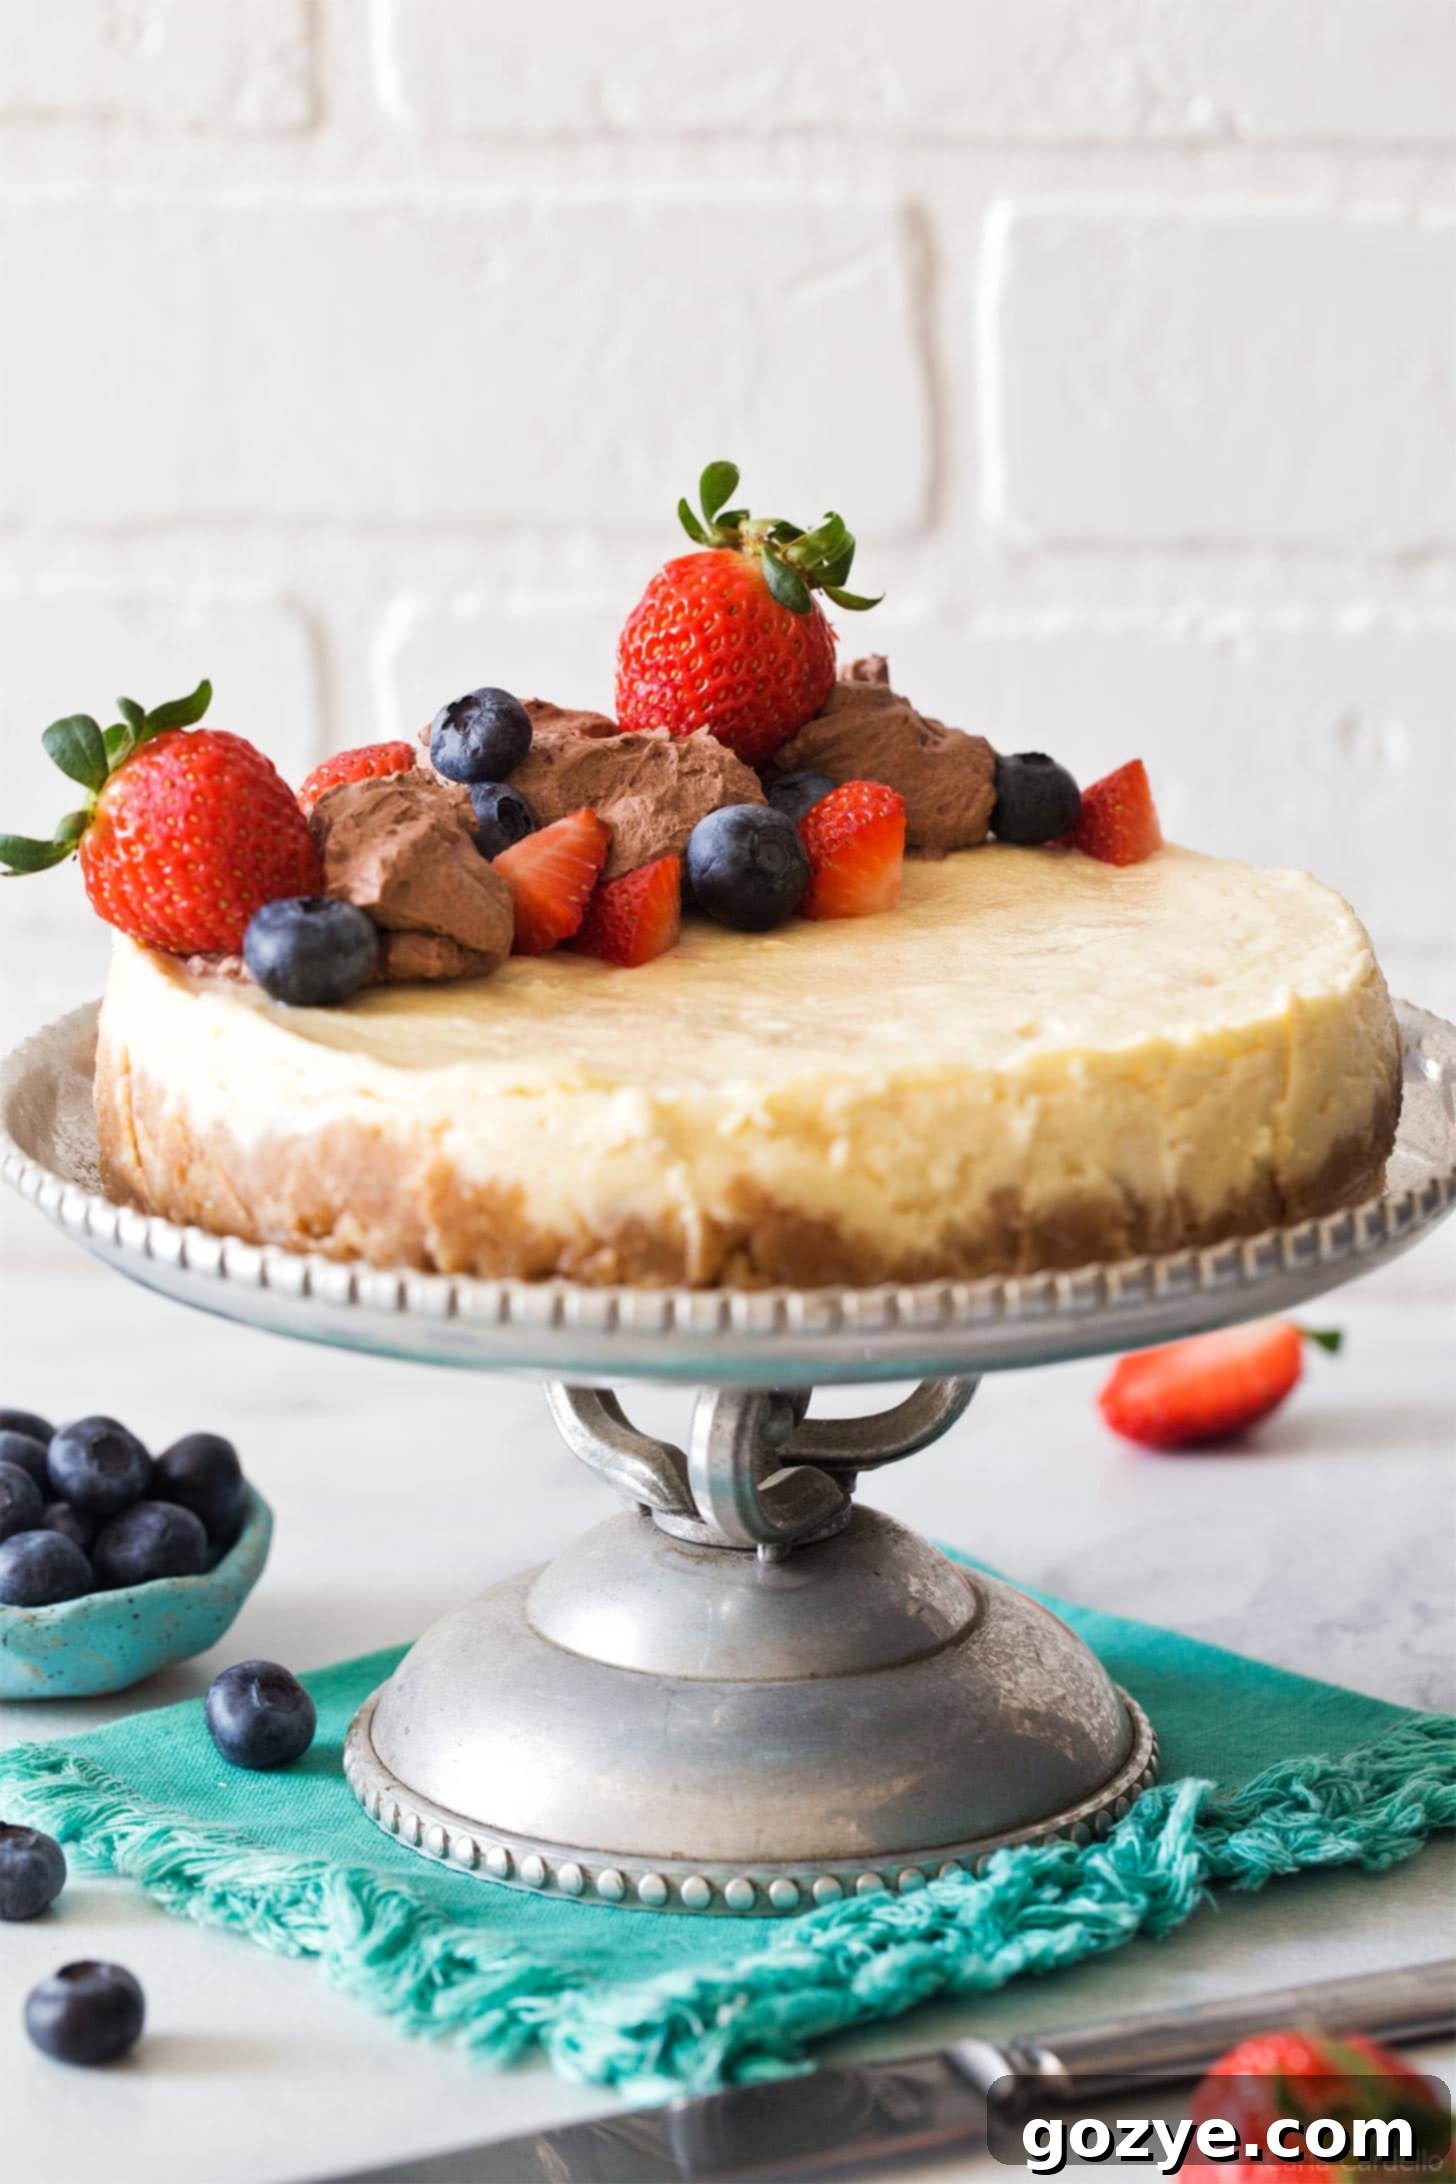
Easy Instant Pot Cheesecake: Rich, Creamy & Perfectly Cooked (No Water Bath!)
Imagine indulging in a rich, creamy, and perfectly baked cheesecake that tastes just like it came from a professional bakery, but made in a fraction of the time and with minimal fuss. Sounds too good to be true? Not with the magic of your Instant Pot! This recipe for Instant Pot Cheesecake delivers an utterly luscious dessert that will impress everyone, all without the need for a complicated water bath or the lengthy baking times of a traditional oven. Whether you’re making a sweet treat for two or a delightful dessert for a small gathering, this 7-inch springform pan recipe is your new go-to. Get ready to bake a crack-free masterpiece with incredible ease!
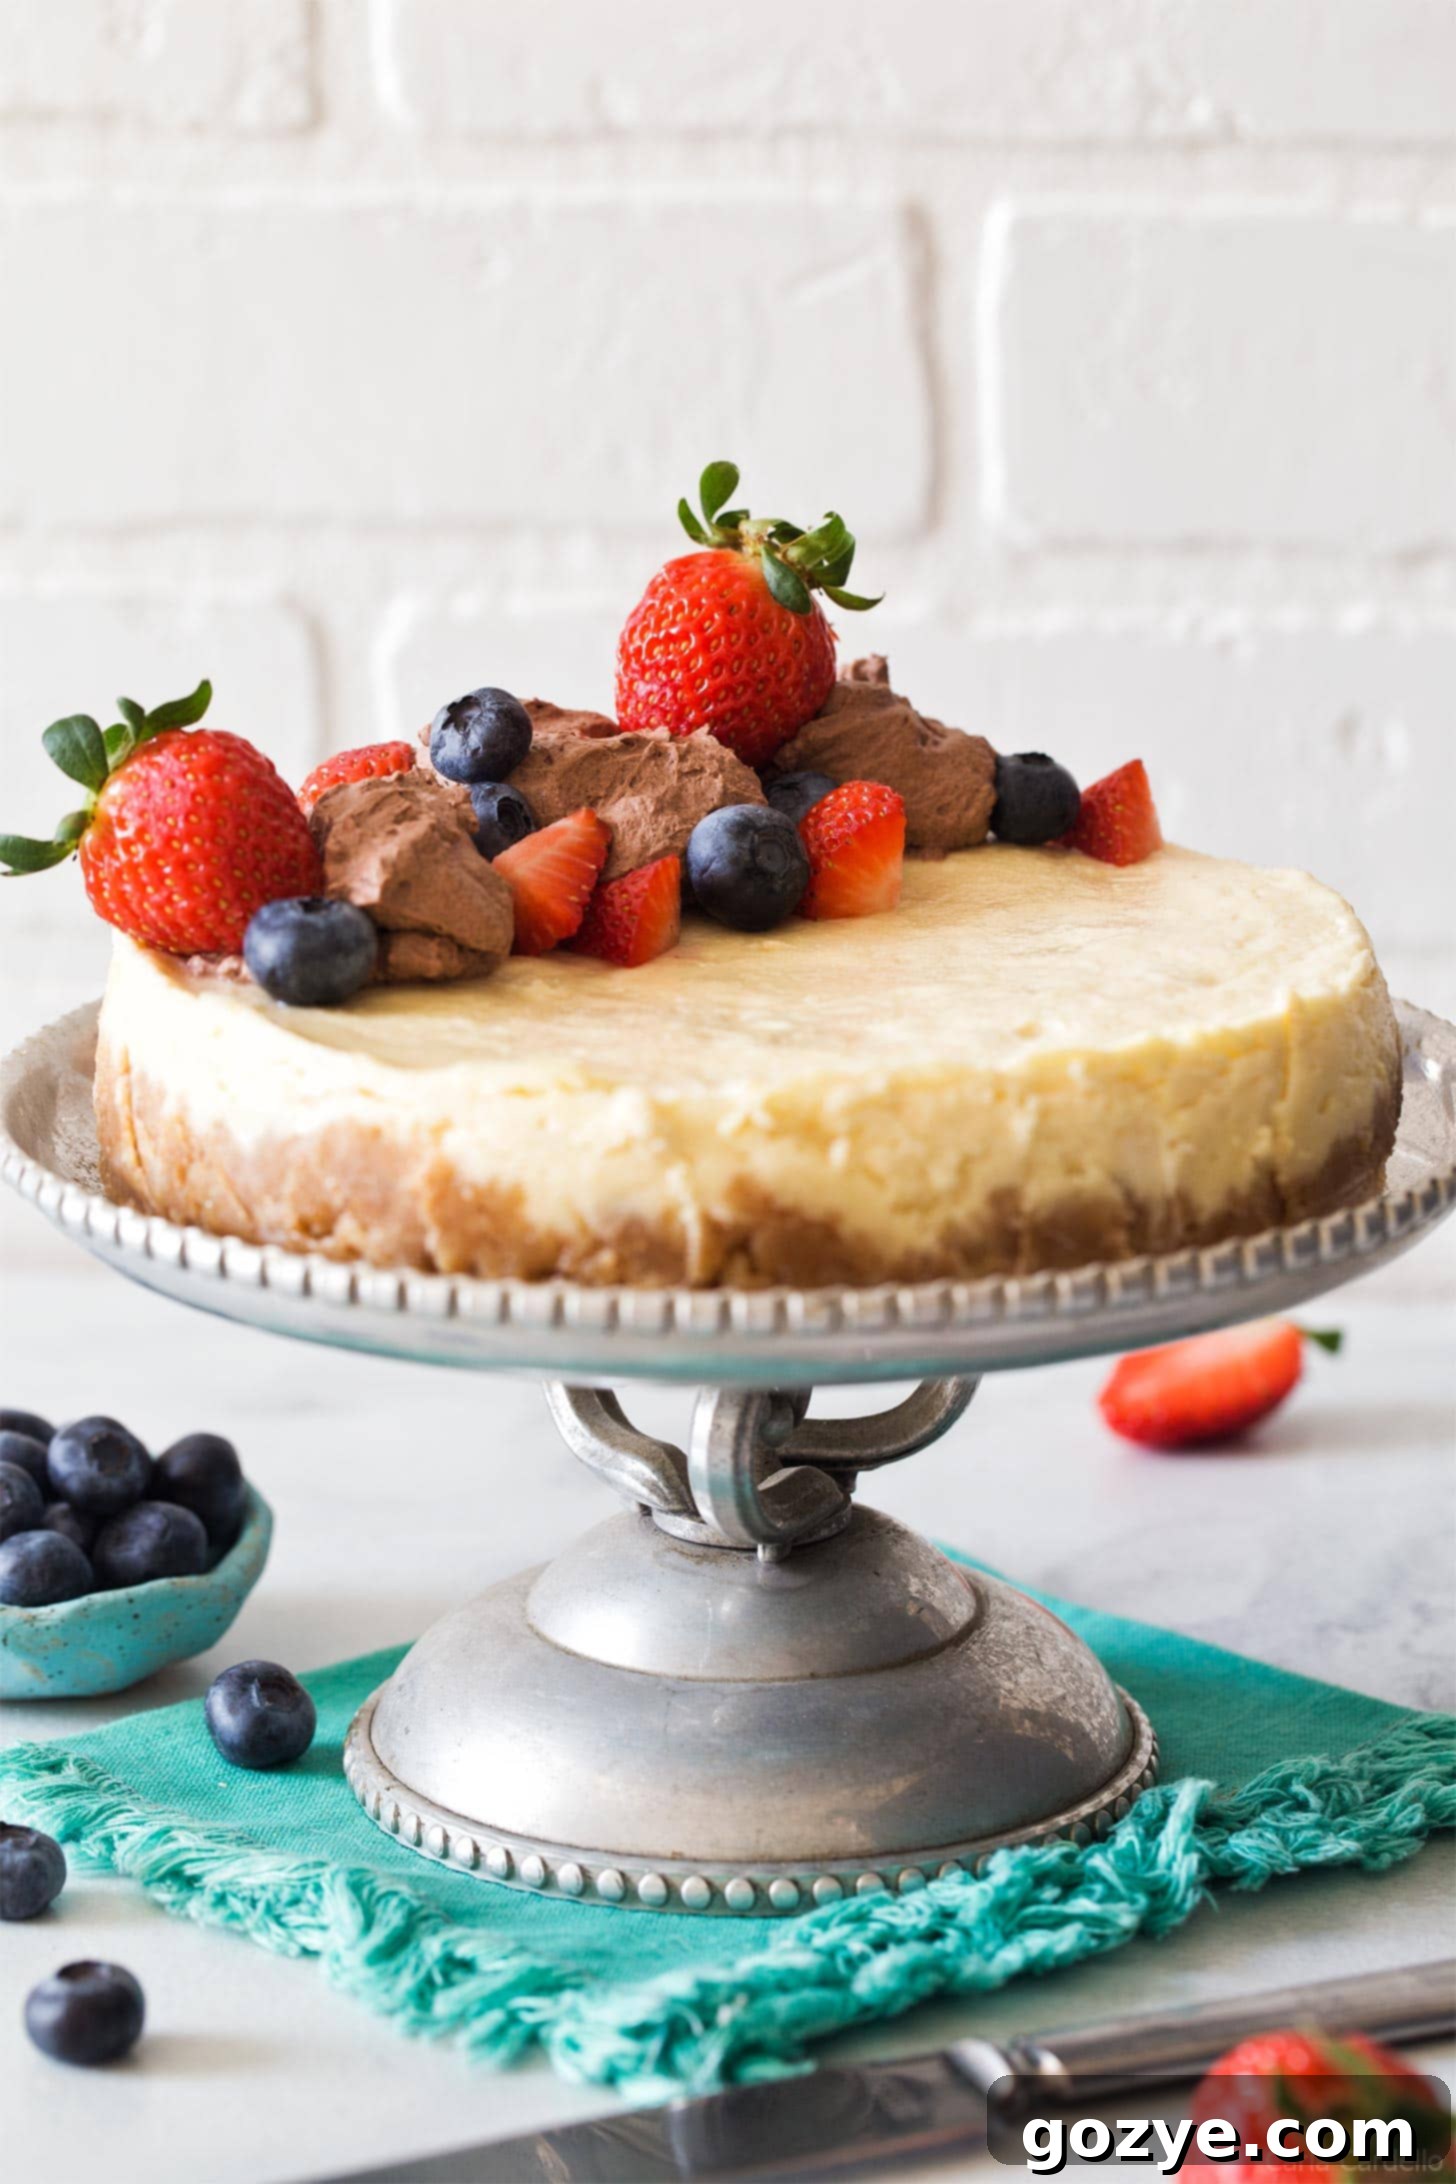
When the term “Instant Pot” comes up, most people immediately think of savory dinners – hearty stews, succulent roasts, or quick weeknight meals like an Instant Pot pork roast or a comforting Instant Pot beef stew. And while it excels at these, its versatility extends far beyond savory dishes. Did you know this kitchen powerhouse is also capable of crafting exquisite desserts, specifically one that rivals an oven-baked classic?
You absolutely can with this incredible Instant Pot Cheesecake recipe!
I’ve explored various cheesecake methods to bring you the best. First, there was the traditional, perfectly baked classic cheesecake, a timeless favorite. Then, for those who love their air fryers, I perfected the air fryer cheesecake. Now, it’s time to unlock the full potential of your Instant Pot for a dessert that will truly amaze.
This Instant Pot Cheesecake recipe is closely related to my popular 7-inch cheesecake recipe, but with a revolutionary twist. Instead of preheating your oven and waiting for over an hour for it to bake, you’ll utilize the pressure cooker for a mere 25 minutes of cook time. This method also works wonderfully if you prefer a slightly smaller 6-inch cheesecake.
The best part? You don’t need to bother with a cumbersome water bath. Simply add a small amount of water to the bottom of your Instant Pot, and its steamy, pressure-filled environment will create the ideal conditions for a smooth, even bake. It’s truly that easy to achieve bakery-quality results right in your own kitchen!
What is an Instant Pot? Unlocking Its Potential for Desserts
An Instant Pot is a highly popular brand of multi-cooker, essentially a modern electric pressure cooker designed to make cooking faster, easier, and more efficient. While pressure cooking itself has been a culinary technique for centuries, the Instant Pot has revolutionized its use for home cooks by making it incredibly safe and user-friendly.
Traditional stovetop pressure cookers could be a bit intimidating due to their hissing sounds and the perceived risk of steam burns or even explosions. However, modern electric pressure cookers like the Instant Pot are equipped with numerous safety features that alleviate these concerns. They maintain a sealed environment, building steam pressure that elevates the boiling point of water and, consequently, cooks food at higher temperatures and speeds.
The model I personally use, though no longer available, is functionally similar to the widely popular Instant Pot Duo 7-in-1 6-quart pressure cooker. Understanding how your Instant Pot works is key to unlocking its full potential, not just for savory meals but also for delicate desserts like cheesecake. The consistent, moist heat environment it creates is surprisingly perfect for baking.
Why Make Cheesecake in an Instant Pot? The Advantages Are Clear
There are several compelling reasons why baking a cheesecake in your Instant Pot is a game-changer, especially for home bakers:
- Significantly Faster Cooking: This is arguably the biggest benefit. A 7-inch cheesecake baked in a conventional oven typically requires around 65 minutes. In contrast, cooking a small cheesecake in an Instant Pot takes a mere 25 minutes. This drastic reduction in cook time means you can enjoy a delicious homemade cheesecake much sooner!
- Perfect Texture and Flavor: You might worry that speed compromises quality, but with Instant Pot cheesecake, that’s simply not the case. The sealed environment of the pressure cooker traps steam, creating an incredibly moist baking atmosphere. This naturally acts like a built-in water bath, ensuring the cheesecake cooks evenly, results in a silky-smooth texture, and prevents those dreaded cracks on top. The flavor remains as rich and delightful as any oven-baked version.
- No Overheating Your Kitchen: If your oven turns your kitchen into an inferno during hot summer months, the Instant Pot offers a cool alternative. Since the heat is contained within the pressure cooker, your kitchen remains comfortable, allowing you to bake delightful treats even on the warmest days.
- Effortless “Water Bath”: Forget the clunky, often messy, traditional water bath (bain-marie). With the Instant Pot, you simply add water to the bottom of the inner pot, below your cheesecake pan. The consistent steam circulation does all the work for you, making the process incredibly simple and foolproof.
What Pan Do I Need for Instant Pot Cheesecake?
To successfully bake a cheesecake in your Instant Pot, selecting the right pan is crucial. You will need a 7-inch springform pan, which is perfectly sized to fit inside a standard 6-quart Instant Pot. Most 8-quart models can also accommodate a 7-inch pan, and some larger models might even fit an 8-inch, though 7-inch is generally the sweet spot for balance and fit.
Cheesecake is a delicate custard, and its unique texture means you cannot invert it like a regular cake. A springform pan is essential because its detachable sides allow you to easily remove the cheesecake without damaging its delicate structure. Attempting this recipe in a regular round cake pan would make it incredibly difficult, if not impossible, to extract the cheesecake intact.
If you don’t own a springform pan, don’t despair! You still have options for delicious cheesecake-inspired desserts. Consider making my mini cheesecakes or no-bake mini cheesecakes using a muffin pan. Alternatively, you can opt for small batch cheesecake bars baked in a loaf pan, which offers a different but equally delightful format.
Essential Ingredients for Instant Pot Cheesecake
Crafting a perfect Instant Pot cheesecake requires a few key ingredients, each playing a vital role in achieving that desirable creamy texture and rich flavor. Here’s a detailed look:
- Graham cracker crumbs: The foundation of any classic cheesecake. While graham cracker crumbs are traditional, feel free to experiment with other cookie crumbs like Oreo, Biscoff, or even digestive biscuits for a unique twist. Using a mini food processor or a Ziploc bag with a rolling pin can make crushing them a breeze.
- Butter (melted): Essential for binding the crust ingredients together, creating a firm and flavorful base that complements the creamy filling. Unsalted butter is preferred to control the overall saltiness.
- Cream cheese: This is the star of your cheesecake. Always use full-fat brick-style cream cheese. Low-fat or fat-free versions contain more water and less fat, which can lead to a watery, rubbery, or cracked cheesecake after baking. Ensure it’s at room temperature for a smooth, lump-free batter.
- Granulated sugar: Provides the perfect amount of sweetness to balance the tanginess of the cream cheese. It also contributes to the cheesecake’s structure and browning (though less visible in an Instant Pot).
- Eggs: Cheesecake is technically a custard, and eggs are crucial for providing structure, richness, and that signature smooth, velvety texture. Using large eggs that are at room temperature helps them incorporate more easily into the batter without overmixing, which can introduce too much air and cause cracks.
- Vanilla extract: A touch of pure vanilla extract enhances all the other flavors, adding a warm, aromatic depth to the cheesecake.
Planning a dessert for Thanksgiving? You absolutely must try my Instant Pot Pumpkin Cheesecake, especially when paired with a dollop of luscious maple whipped cream. It’s a festive and delicious twist!
How To Cook Cheesecake In An Instant Pot: Step-by-Step Perfection
Creating a flawless cheesecake in your Instant Pot is simpler than you might think. Follow these detailed steps for a beautifully cooked, creamy dessert:
- Prepare the Crust: In a medium bowl, thoroughly combine your graham cracker crumbs, melted butter, a tablespoon of sugar, and a pinch of salt. Press this mixture firmly and evenly into the bottom and slightly up the sides of your lightly greased 7-inch springform pan. For best results, use the bottom of a glass or a flat measuring cup to compact the crust.
- Make the Filling (Cream Cheese & Sugar): In a large mixing bowl (or the bowl of a stand mixer with a paddle attachment), beat the room temperature full-fat cream cheese with the granulated sugar until the mixture is completely smooth and light. Remember to stop and scrape down the sides of the bowl frequently to ensure everything is well combined and lump-free.
- Incorporate Eggs and Vanilla: Gently beat in the eggs, one at a time, just until they are incorporated. Overmixing at this stage can introduce too much air, leading to cracks. Stir in the vanilla extract until just combined.
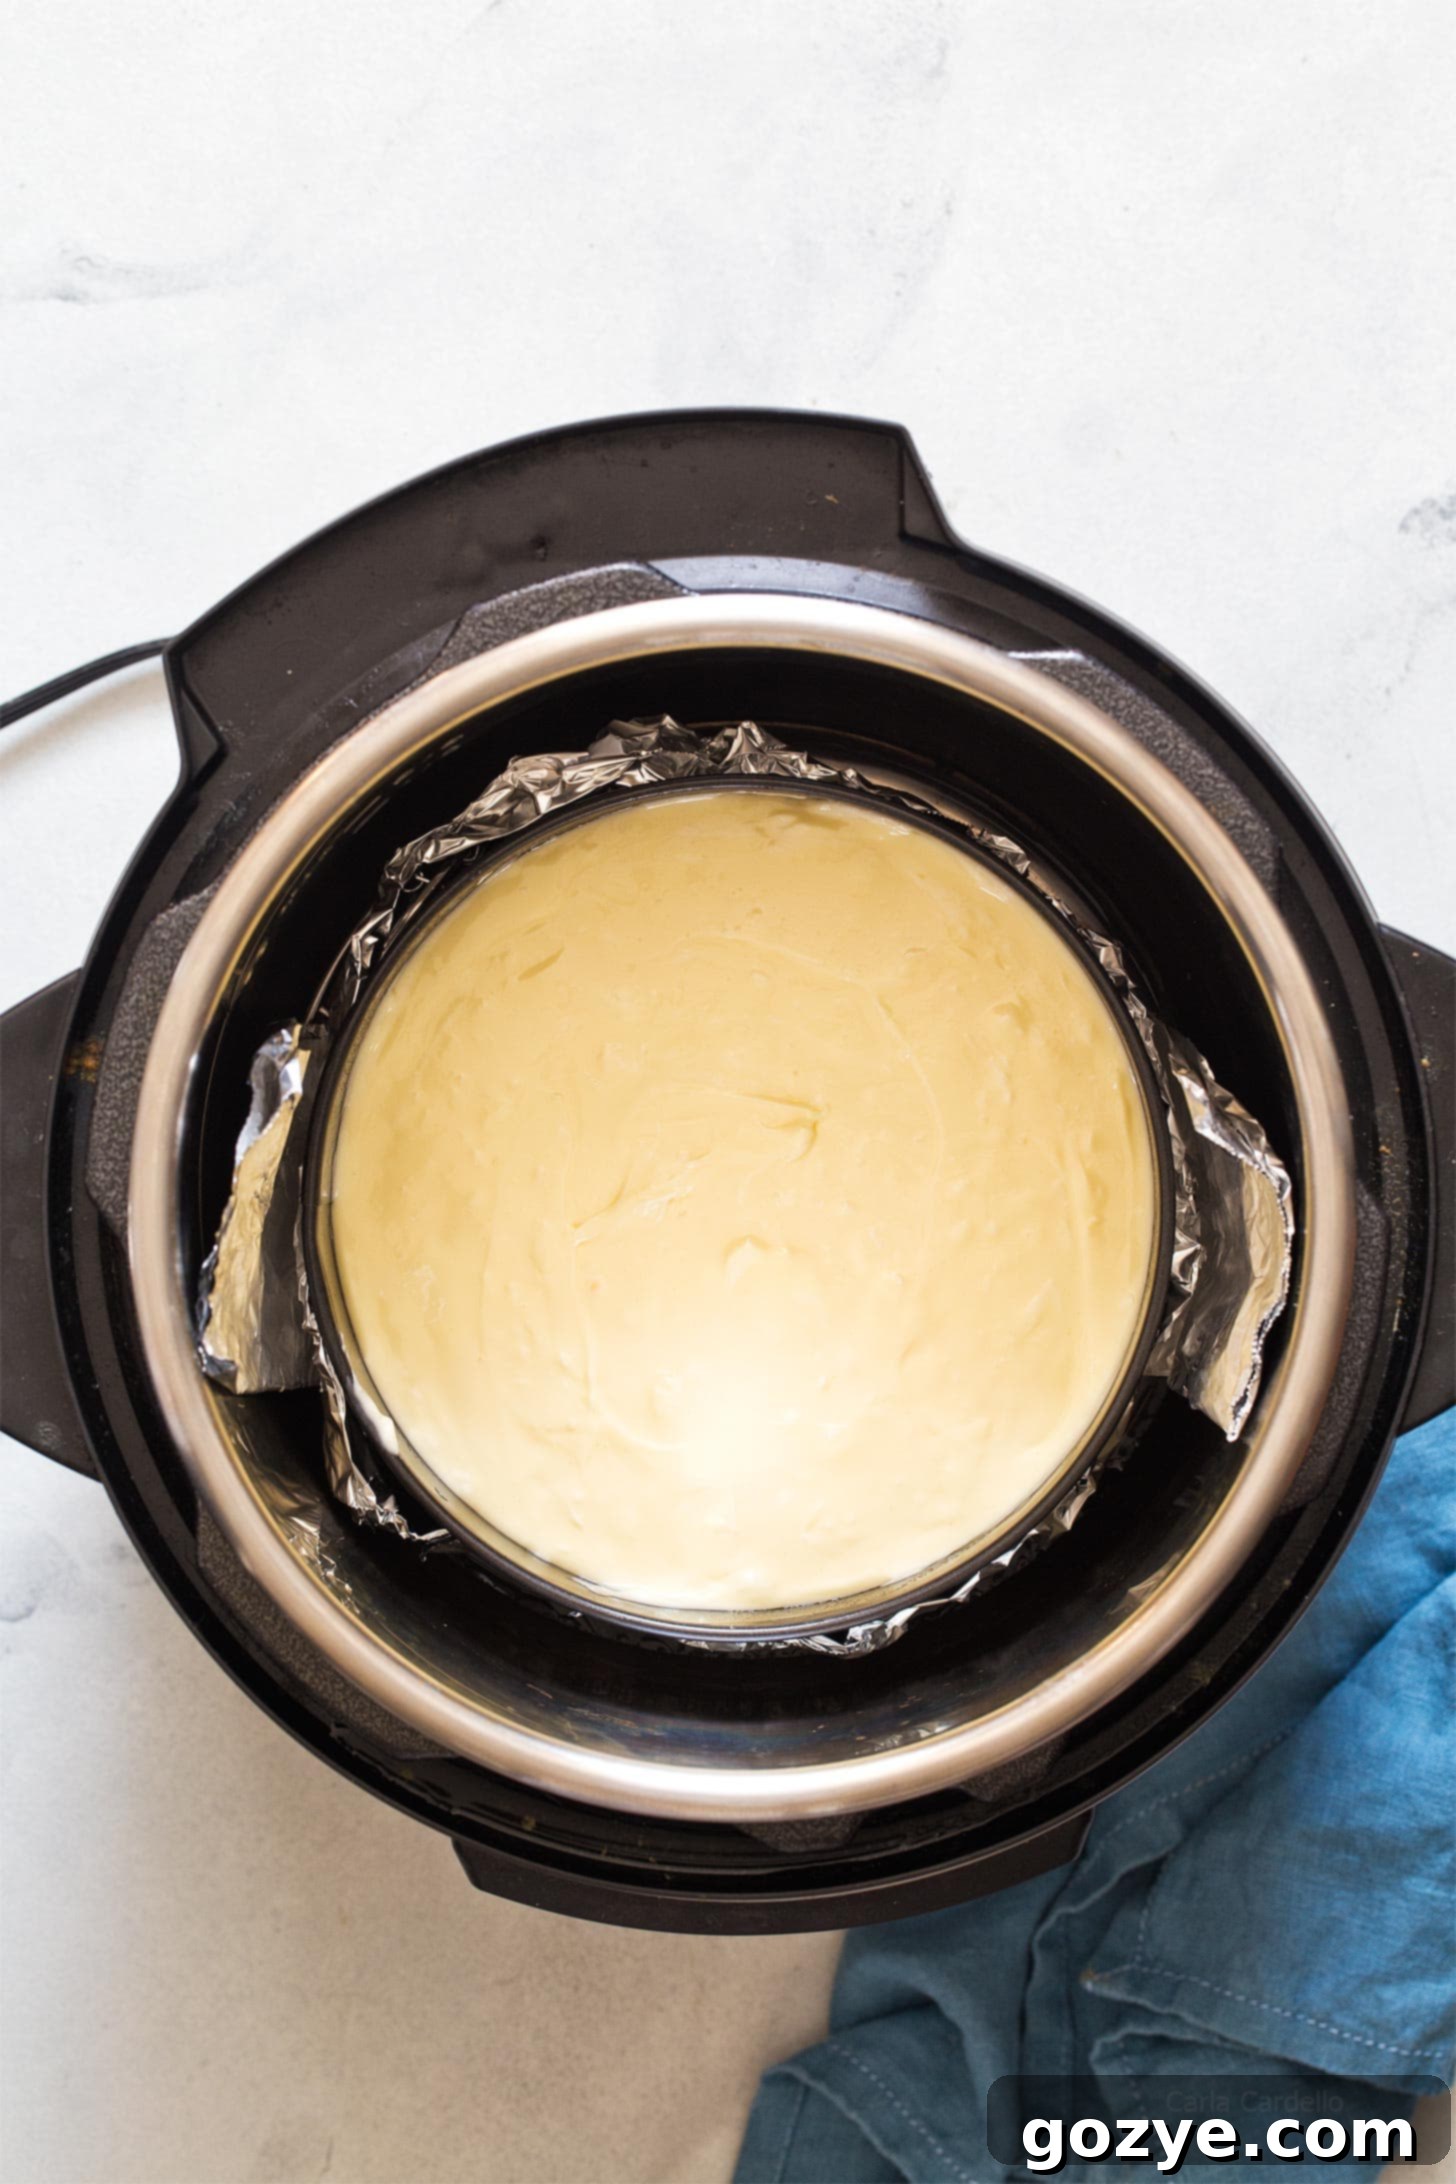
- Transfer to Pan & Prepare Instant Pot: Pour the smooth cheesecake batter evenly over your prepared crust in the springform pan. Place a metal trivet (the one that came with your Instant Pot) into the bottom of your 6-quart Instant Pot. Add enough water to the pot so it barely touches the trivet, but ensure the water level is well below where your cheesecake pan will sit.
- Cook Under Pressure: Carefully lower the cheesecake-filled springform pan onto the trivet using a foil sling (instructions below). Securely lock the Instant Pot lid and set the steam release valve to the “Sealing” position. Select the “Manual” (or “Pressure Cook”) button and set the cook time to 25 minutes on high pressure. The Instant Pot will display “On” as it builds pressure, then switch to the countdown timer.
- Natural Pressure Release (and Venting): Once the cooking cycle is complete and the Instant Pot beeps, press the “Keep Warm/Cancel” button to turn it off. Allow the pot to perform a natural pressure release for 15 minutes without touching the lid or valve. After 15 minutes, carefully move the steam release valve to “Venting” to quick-release any remaining pressure. Once the float valve drops, you can safely unlock and open the lid.
- Cool and Chill: Gently remove the cheesecake from the Instant Pot using your foil sling. Let it cool completely at room temperature for at least 1 hour. Once cooled, cover the cheesecake with plastic wrap and transfer it to the refrigerator to chill for a minimum of 4 hours, or preferably overnight. Chilling is crucial for the cheesecake to set properly and achieve its ideal dense, creamy texture.
Store any leftover Instant Pot cheesecake in an airtight container in the refrigerator for up to 5-7 days, ensuring maximum freshness and enjoyment.
How To Know When Your Instant Pot Cheesecake Is Done
Knowing precisely when a cheesecake is perfectly baked can be one of the trickiest parts of the process, whether in an oven or an Instant Pot. For this Instant Pot cheesecake recipe, visual cues alone might not be enough, as the moist environment can sometimes give a misleading appearance.
The most accurate and reliable way to ensure your cheesecake is done is by checking its internal temperature with a digital thermometer. Insert the thermometer into the center of the cheesecake – it should register a temperature of 150°F (65°C). At this temperature, the cheesecake will be set around the edges but may still have a slight jiggle in the very center, which is exactly what you want for that perfectly creamy texture. It will firm up completely as it cools and chills in the refrigerator. If it’s under 150°F, you can put it back in the Instant Pot for another 5 minutes on high pressure to finish cooking, followed by another natural release.
How To Safely Remove an Instant Pot Cheesecake Using a Foil Sling
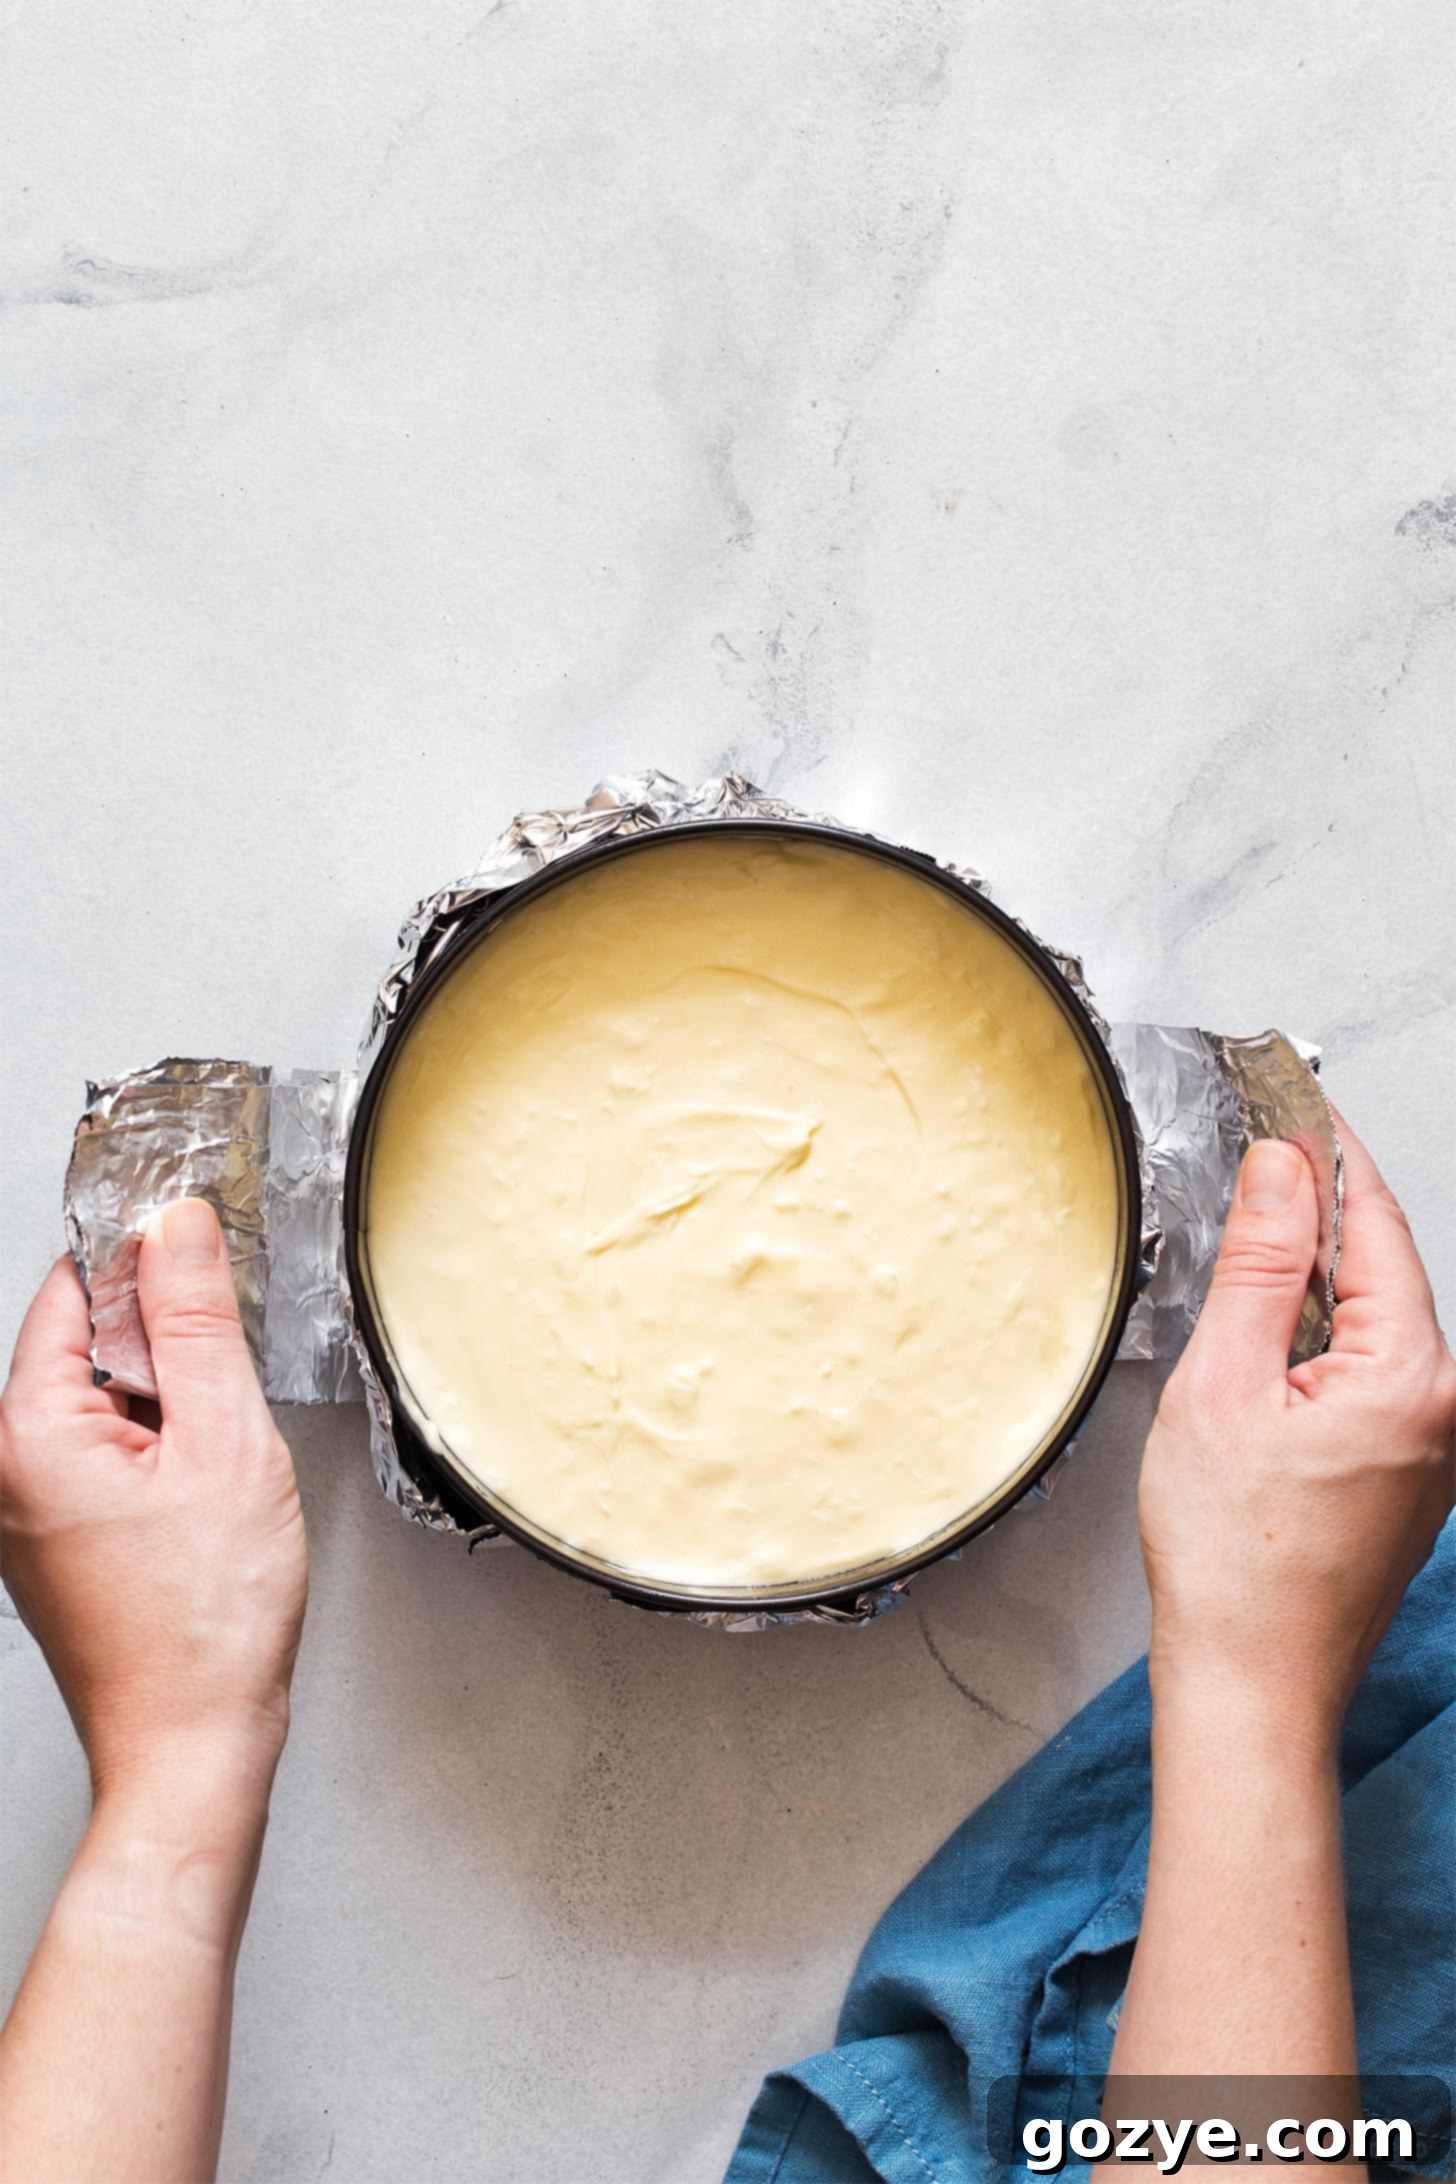
Because your 7-inch cheesecake pan will fit quite snugly inside your pressure cooker, attempting to grab it with oven mitts or tongs can be challenging and risky. This is where a simple, makeshift foil sling becomes your best friend!
Here’s how to craft and use one:
- Prepare the Foil: Tear off a long piece of heavy-duty aluminum foil, approximately 20-24 inches long.
- Fold the Sling: Fold the foil lengthwise (like a hot dog bun, for those familiar with the term) about 2-3 times. You want to create a sturdy, thick strip of foil that can bear the weight of the cheesecake. The width should be about 2-3 inches.
- Position the Pan: Place your springform pan, filled with the cheesecake batter, directly in the middle of this foil sling.
- Lift and Lower: Gently bring the two ends of the foil sling upwards, creating handles. Now you can easily and safely lift your cheesecake pan and carefully lower it onto the trivet inside your Instant Pot.
- Remove After Cooking: After the cooking and pressure release are complete, use these same foil handles to carefully lift the hot cheesecake pan out of the Instant Pot. Once it’s out, you can simply unwrap the foil and discard it. This method prevents burns and ensures your cheesecake comes out perfectly intact!
Delicious Ways to Garnish Your Instant Pot Cheesecake
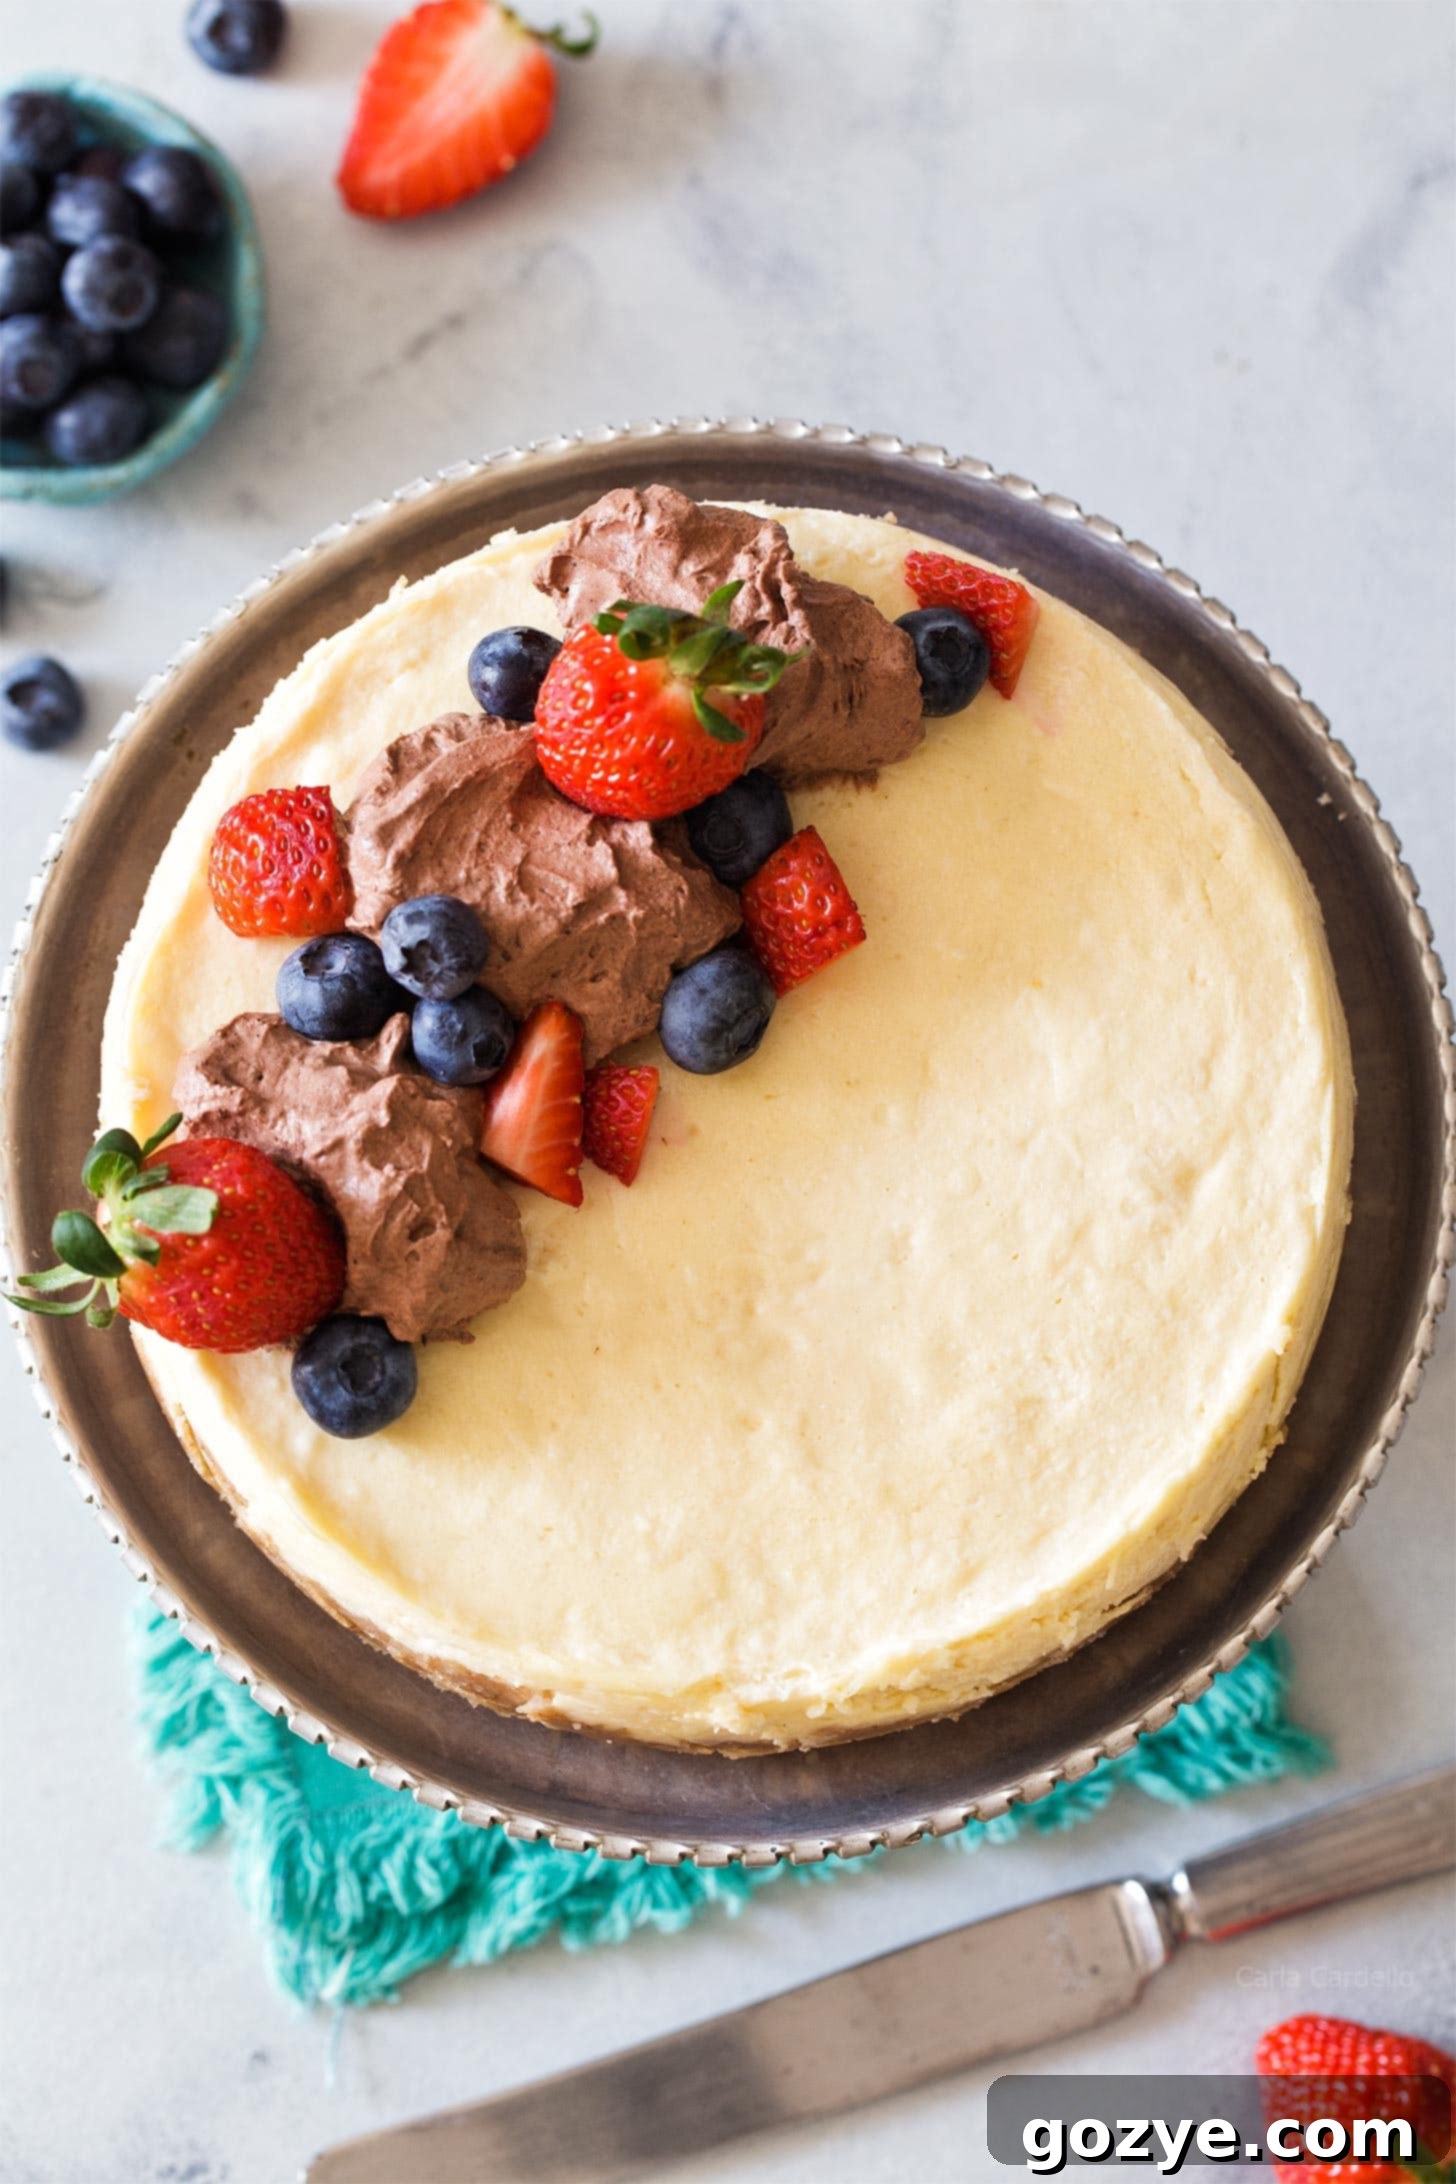
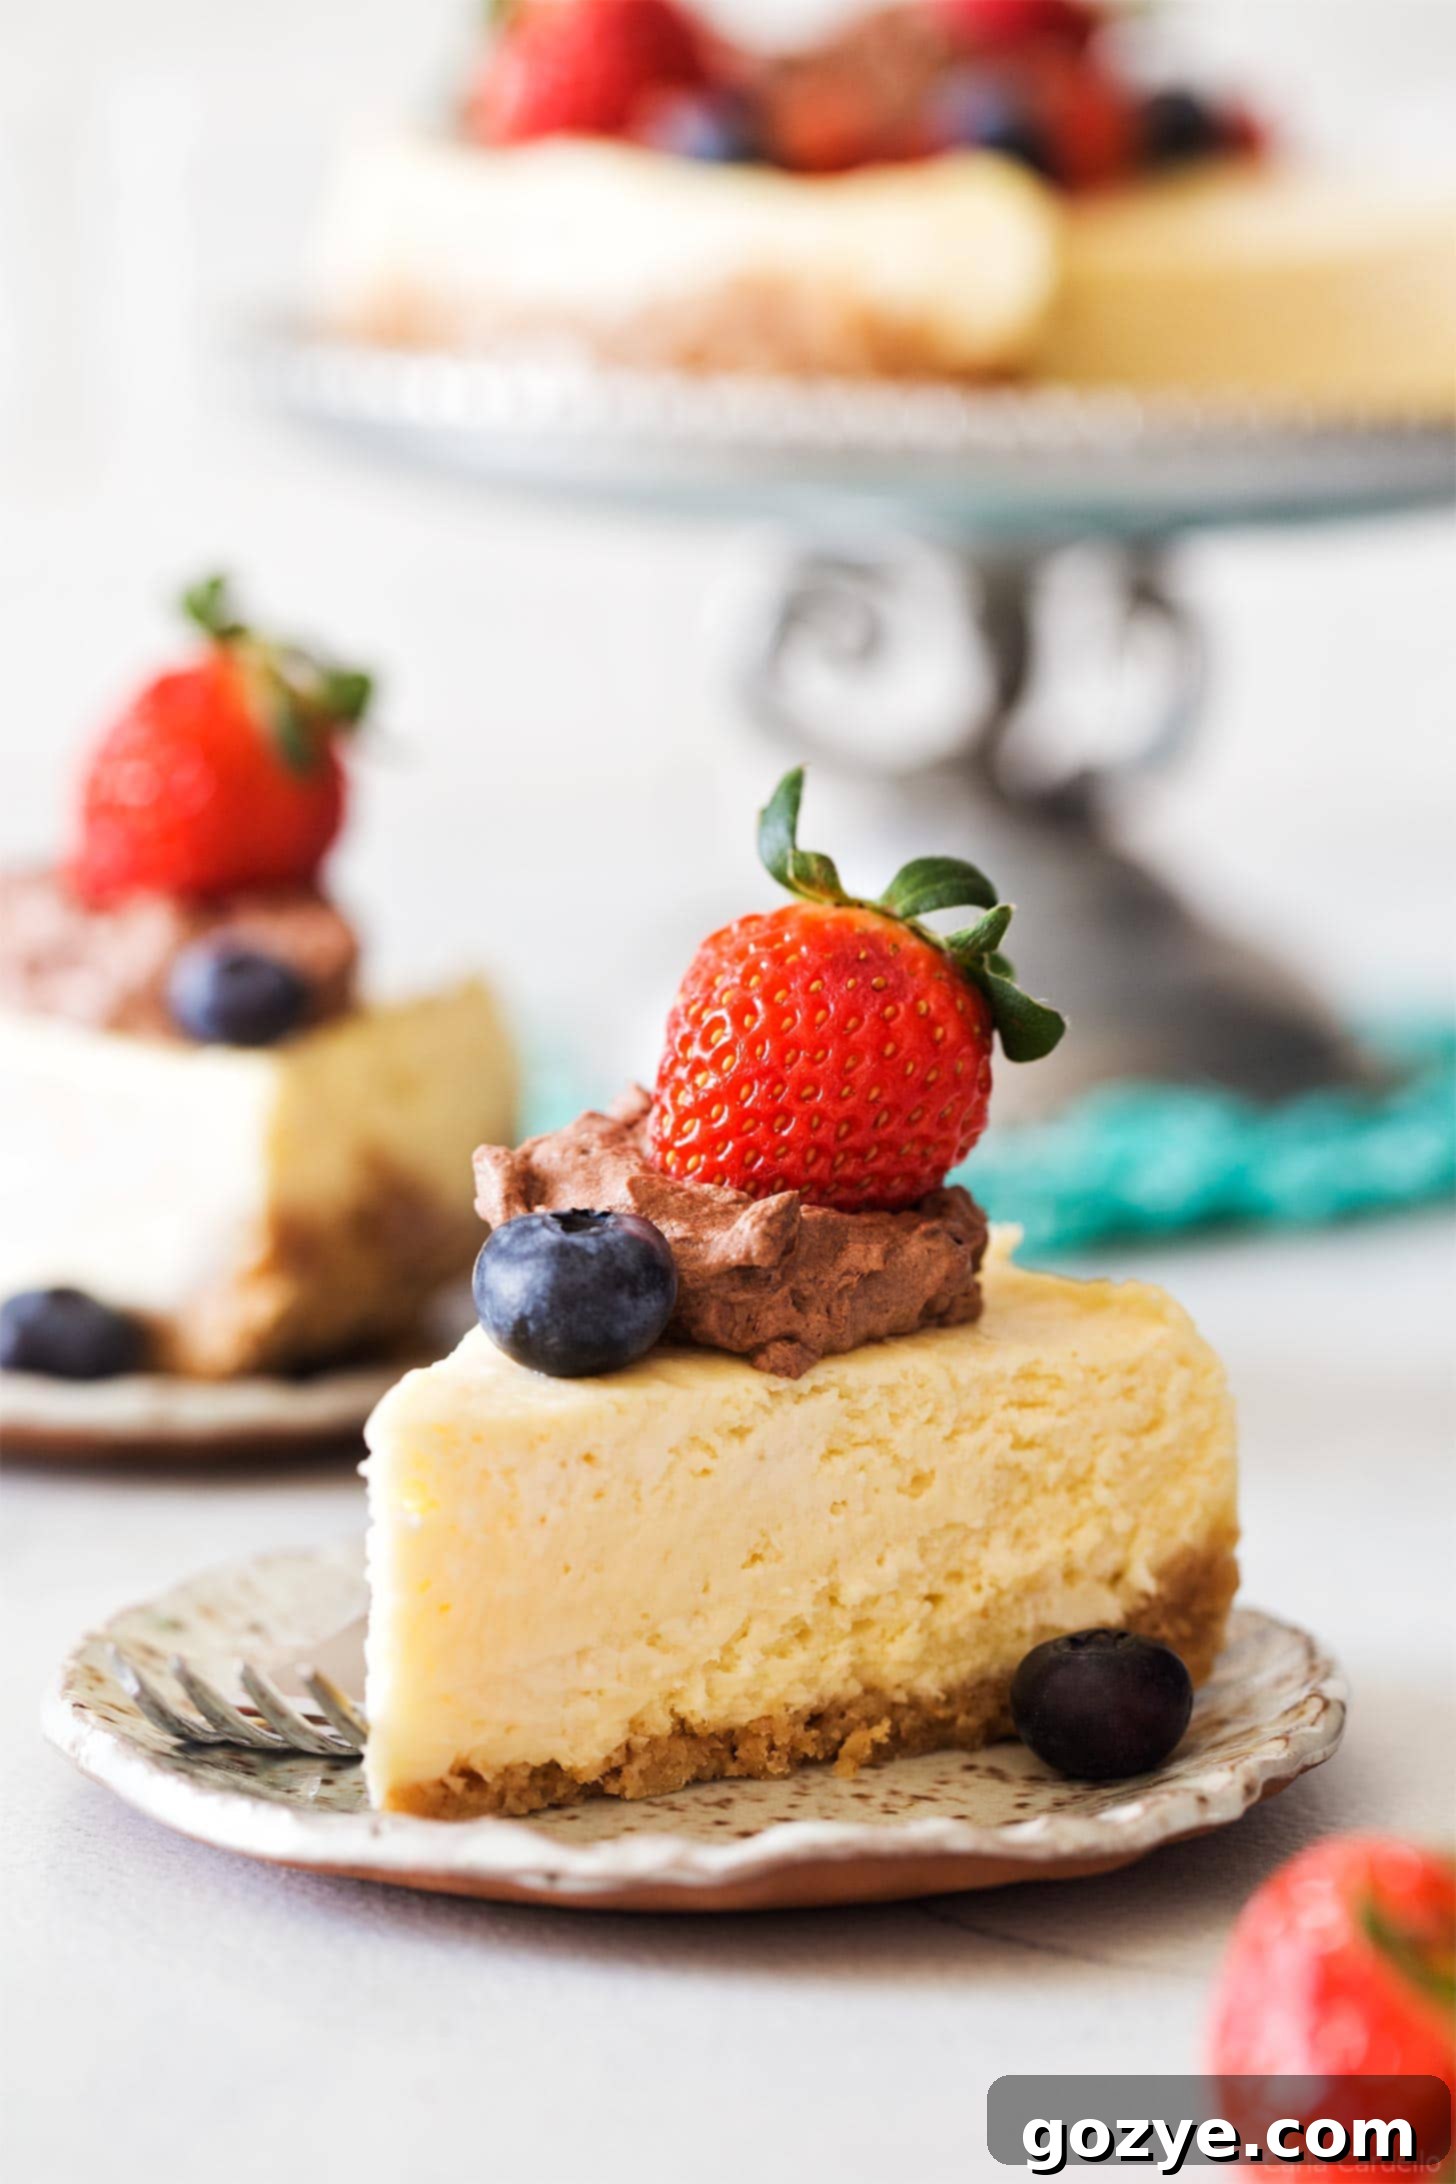
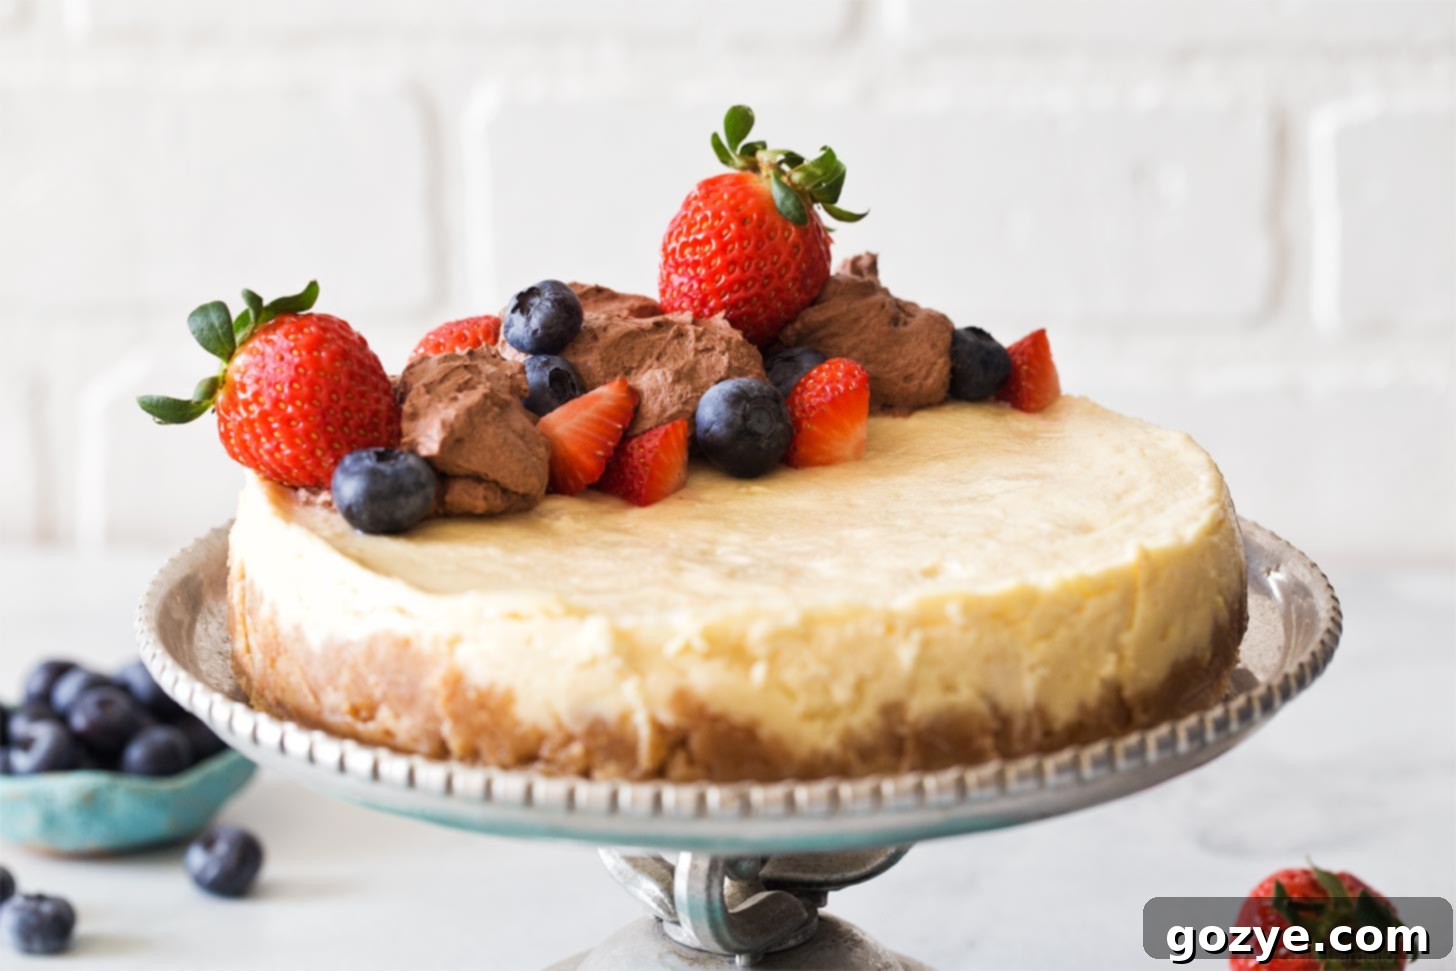
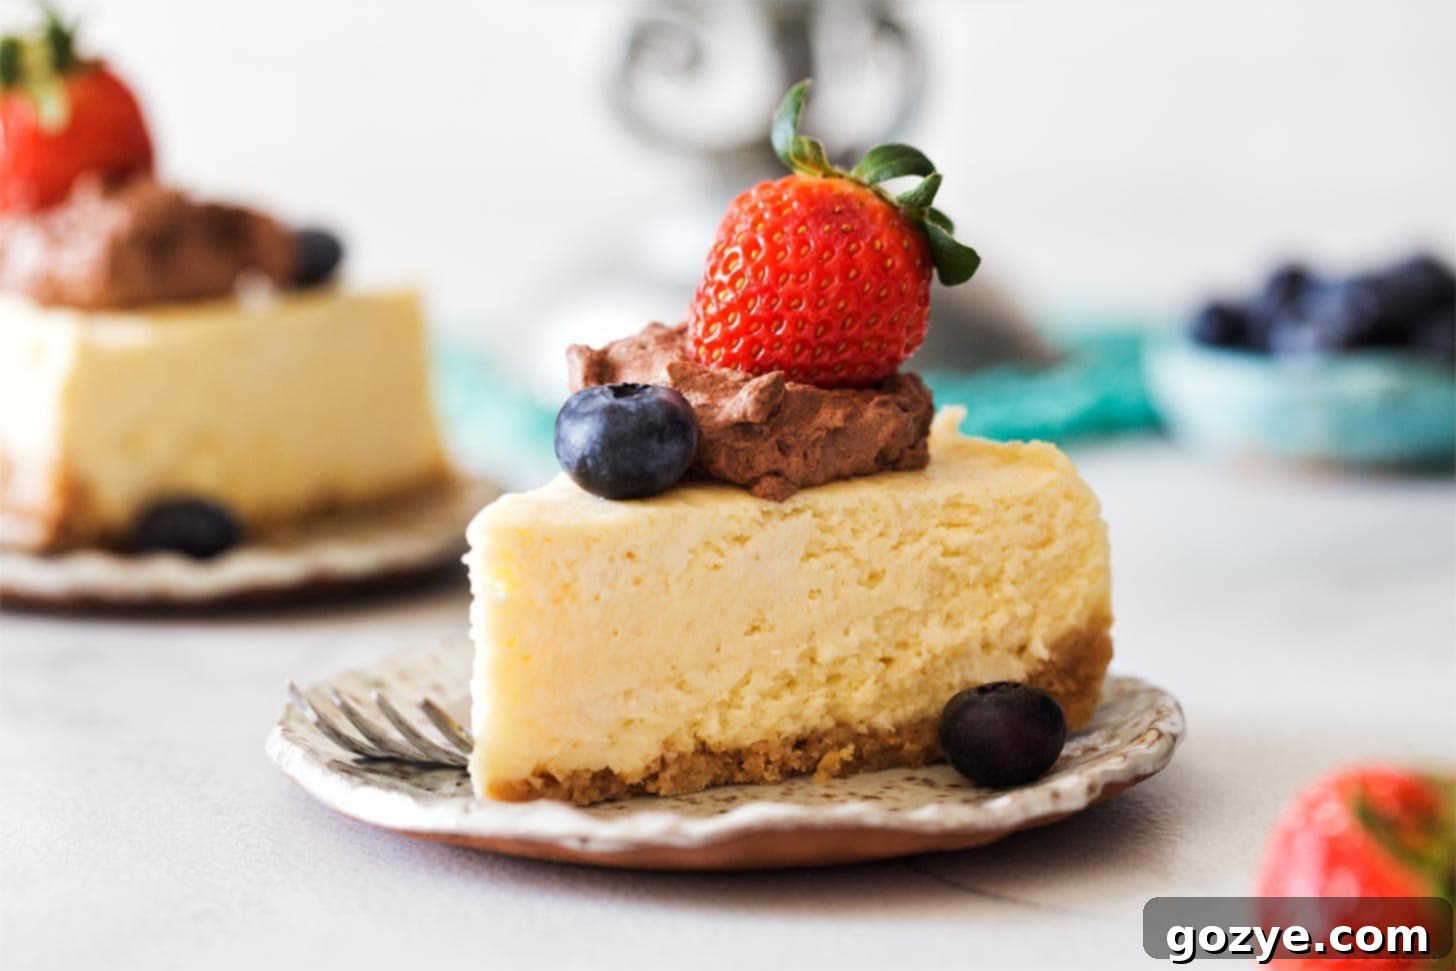
One of the joys of making a classic cheesecake, whether in an oven or an Instant Pot, is that it serves as a wonderful blank canvas for a myriad of delicious garnishes. The creamy, smooth surface is just waiting to be adorned with flavors and textures that elevate it to a showstopper dessert. For my cheesecake, I love pairing fresh, vibrant strawberries and blueberries with a rich, indulgent chocolate whipped cream.
However, the possibilities are endless! Here are some fantastic ideas:
- Classic Whipped Cream: A dollop of light and airy homemade whipped cream is always a perfect accompaniment, offering a delicate contrast to the cheesecake’s richness.
- Nutty Flavors: For peanut butter lovers, a swirl of peanut butter whipped cream adds an exciting dimension.
- Fruity Toppings:
- Classic fruit pie fillings like homemade cherry pie filling or vibrant blueberry pie filling are always a hit.
- Fresh fruit sauces such as a bright strawberry sauce or a tangy strawberry curd can be drizzled on top or even swirled into the batter before baking for a beautiful effect, much like my strawberry swirl cheesecake.
- Simply arrange a medley of fresh berries (raspberries, blackberries, sliced kiwi) for a beautiful and refreshing finish.
- Chocolate Indulgence: If you’re a big chocolate fan, consider a luscious pour of chocolate ganache over the cooled cheesecake. A sprinkle of chocolate shavings or cocoa powder can also add a sophisticated touch.
- Caramel or Nutty Drizzles: A rich caramel sauce, butterscotch drizzle, or a sprinkle of toasted pecans or walnuts can add incredible depth and texture.
Instant Pot Cheesecake FAQ
Yes, absolutely! A 6-inch springform pan will fit perfectly inside a 6-quart Instant Pot, and even more easily in an 8-quart model. The cooking time for a 6-inch cheesecake will be very similar, typically around 20-25 minutes, followed by the natural pressure release. Just ensure your recipe proportions are scaled appropriately if using a very different size than specified, although this recipe works well for both 6 and 7-inch pans.
While it might be a bit of a snug fit depending on the exact dimensions of your mini Instant Pot, yes, you can generally adapt this recipe for a 3-quart mini Instant Pot. You’ll need to use a smaller springform pan, likely a 4-inch or 5-inch, and you might need to slightly adjust the recipe quantities. The cooking time might also be a little shorter, around 20-22 minutes, with a similar natural release. Always double-check your pan size against your mini pot’s capacity.
The most reliable way to determine if your cheesecake is perfectly cooked is by checking its internal temperature with a reliable digital thermometer. Insert the thermometer into the center of the cheesecake – it should register 150°F (65°C). At this temperature, the edges will be set, but the very center will still have a slight jiggle, which is ideal for a creamy texture. If it’s below 150°F, you can return it to the Instant Pot and cook for an additional 5 minutes on high pressure, followed by a natural release.
Cracks in cheesecake are usually caused by rapid temperature changes, overbaking, or overmixing the batter. In an Instant Pot, the moist environment significantly reduces the risk of cracking compared to an oven. To prevent cracks: ensure all ingredients are at room temperature, beat cream cheese and sugar just until smooth (avoid incorporating too much air), add eggs one at a time and mix just until combined (do not overmix), and follow the cooking and natural release times precisely to avoid sudden temperature shifts.
Yes, chilling is a critical step that cannot be skipped or rushed. After baking, the cheesecake is still quite delicate and soft. The extended chilling period (at least 4 hours, preferably overnight) allows the cheesecake to fully set, firm up, and develop its signature dense, creamy texture and rich flavor. Trying to slice it too early will result in a messy, unset cheesecake.
Explore More 7-Inch Cheesecake Recipes!
While this Instant Pot cheesecake recipe is phenomenal, sometimes you might crave different flavors. The great news is that many of my existing 6-inch cheesecake recipes can be easily adapted for a 7-inch pan without significant changes to the ingredient ratios or cook times (though oven bake times will differ from Instant Pot). So, if you’re looking to expand your cheesecake repertoire, give one of these delightful recipes a try:
- Decadent Chocolate Cheesecake with Oreo Crust
- Cozy 6-Inch Pumpkin Cheesecake
- Stunning Red Velvet Oreo Cheesecake
- Rich Peanut Butter Cheesecake
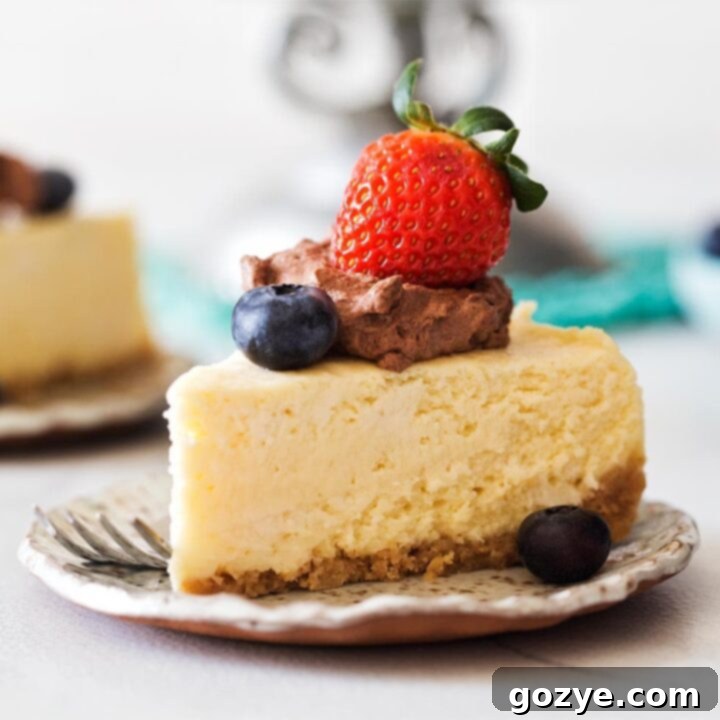
Instant Pot Cheesecake Recipe
6-8 servings
15 minutes
25 minutes
5 hours 15 minutes
5 hours 55 minutes
This Instant Pot Cheesecake is unbelievably rich and creamy, offering a taste and texture remarkably similar to oven-baked versions, but achieved in significantly less time. Baked to perfection in a 7-inch springform pan, it’s an ideal dessert for any occasion. Say goodbye to cracks and the hassle of a water bath!
Ingredients
- 1 + 1/2 cups graham cracker crumbs
- 6 tablespoons unsalted butter, melted
- Pinch of salt
- 16 ounces (2 blocks) full-fat cream cheese, room temperature (do not substitute low-fat or fat-free)
- 2/3 cup + 1 tablespoon granulated sugar
- 2 large eggs, room temperature
- 1 teaspoon vanilla extract
Instructions
- Lightly grease the inside of a 6 or 7-inch springform pan with cooking spray. Wrap the outside bottom of the pan securely with aluminum foil to prevent any water seepage (though minimal water is used, this is good practice).
- In a large bowl, mix together the graham cracker crumbs, melted butter, 1 tablespoon of granulated sugar, and salt until well combined. Press this mixture firmly and evenly into the bottom and slightly up the sides of your prepared springform pan to form the crust.
- In a separate large mixing bowl, using an electric mixer on medium-high speed (paddle attachment if using a stand mixer), beat the room temperature cream cheese and the remaining 2/3 cup sugar until the mixture is light, smooth, and fluffy, typically for 1-2 minutes. Make sure to scrape down the sides of the bowl as needed to ensure no lumps remain.
- Reduce mixer speed to low. Beat in the eggs, one at a time, just until incorporated after each addition (about 30 seconds per egg). Be careful not to overbeat, as this can introduce too much air. Stir in the vanilla extract until just combined. Transfer the smooth cheesecake batter into the prepared crust in the springform pan.
- Place a metal trivet (the one that came with your Instant Pot) in the bottom of your 6-quart Instant Pot. Pour enough water into the bottom of the inner pot so it barely touches the trivet, creating a steamy environment. Do not let the water level reach the bottom of your cheesecake pan.
- Create a foil sling: Take a 20-24 inch piece of heavy-duty aluminum foil and fold it in half lengthwise, then fold it in half lengthwise again to create a sturdy, thick strip (like a hot dog bun). Center your cheesecake pan on this sling, then bring the ends up to use as handles. Carefully lift and lower the pan onto the trivet inside the Instant Pot.
- Securely lock the Instant Pot lid. Set the steam release valve to the “Sealing” position. Select the “Manual” (or “Pressure Cook”) button and set the cook time to 25 minutes on High Pressure. The screen will display “On” while it builds pressure, then switch to the “25” minute countdown. It is normal for some steam to escape from the valve during the preheating phase.
- Once the cooking cycle has finished and the Instant Pot beeps, immediately hit the “Keep Warm/Cancel” button to turn it off. Allow the pot to sit untouched for 15 minutes for a natural pressure release (NPR). After 15 minutes, carefully move the steam release valve to the “Venting” position to quick-release any remaining pressure. Once the float valve drops and all pressure is released, unlock and open the lid. Carefully remove the cheesecake from the Instant Pot using the foil sling handles.
- Allow the cheesecake to cool completely at room temperature for at least 1 hour. Once cooled, cover the cheesecake with plastic wrap and transfer it to the refrigerator. Chill for a minimum of 4 hours, or preferably overnight, before slicing and serving. This chilling step is crucial for the cheesecake to fully set and achieve its perfect creamy texture.
Notes
- Don’t have an Instant Pot or prefer to use your oven? You can make my 7 Inch Oven-Baked Cheesecake instead.
- For garnishing, get creative! Try traditional homemade whipped cream, rich chocolate whipped cream, fresh berries, fruit sauces, or chocolate ganache.
- Ensure all cold ingredients, especially cream cheese and eggs, are at room temperature. This is vital for a smooth, lump-free batter and prevents overmixing.
- Do not overmix the batter once the eggs are added; this can introduce too much air, which can lead to cracks.
- Chilling is crucial. Do not skip or shorten the refrigeration time for best results.
Recommended Products
As an Amazon Associate and member of other affiliate programs, I earn from qualifying purchases.
- 7 Inch Springform Pan
- 6 Quart Instant Pot
Did you make this recipe?
We’d love to hear from you! Rate the recipe above, leave a comment below with your feedback, and/or share a photo of your delicious creation on Instagram using #HITKrecipes.
