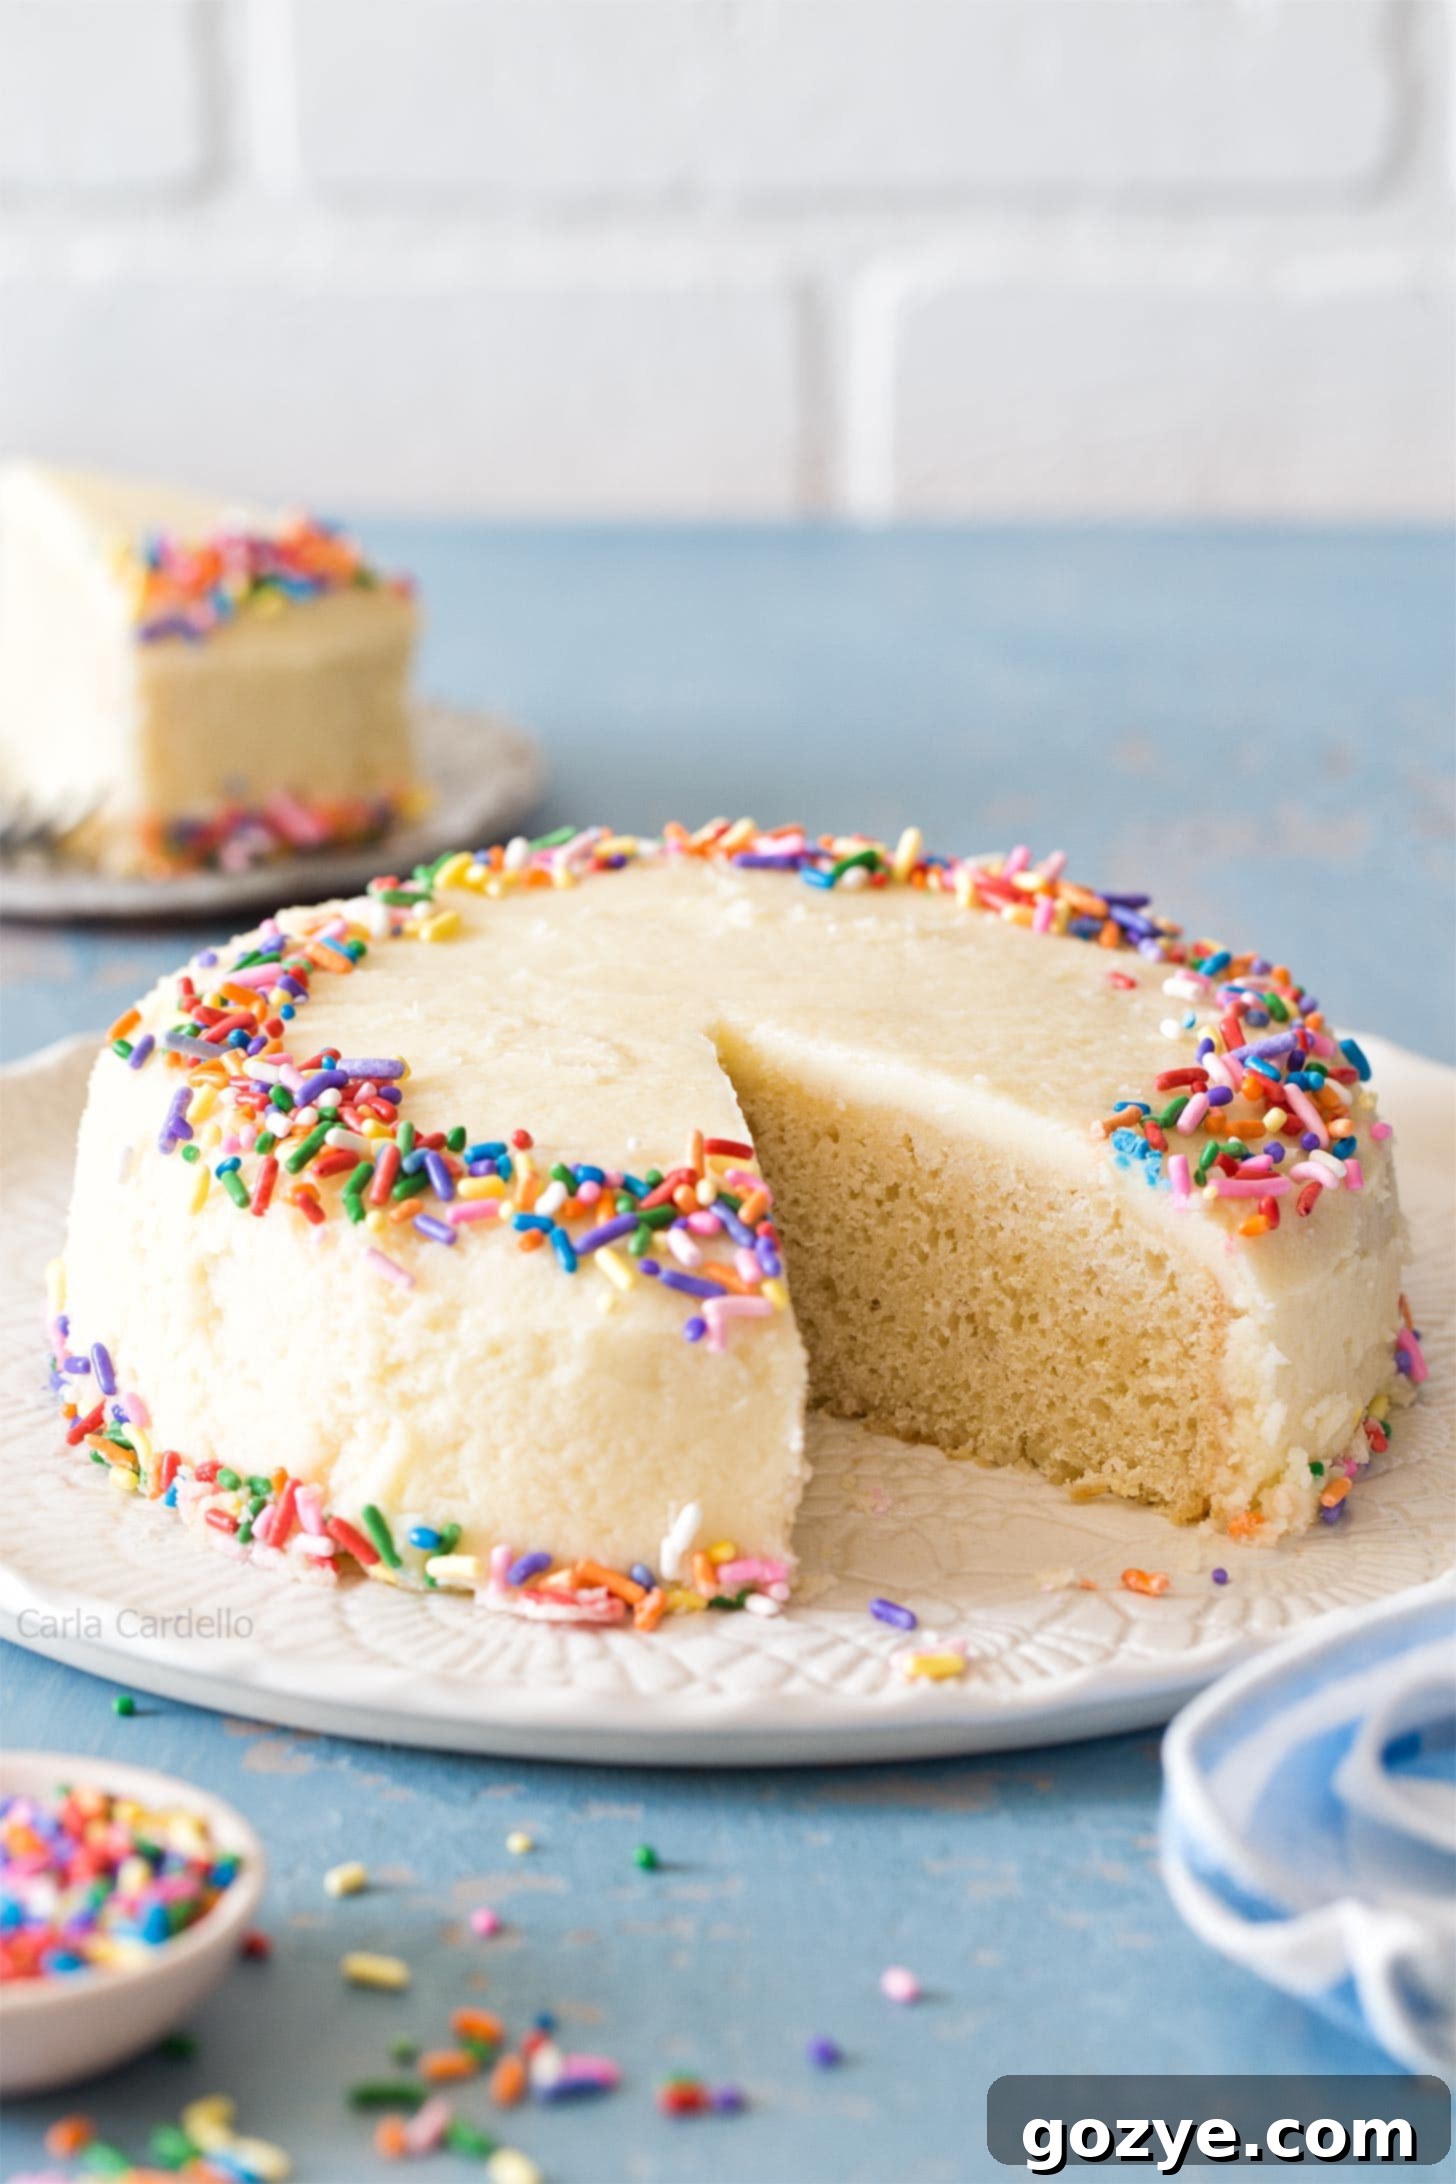
The Ultimate Small Vanilla Cake Recipe: Easy 6-Inch One-Layer Delight with Buttercream
This Small Vanilla Cake recipe is a tender 6-inch vanilla cake decorated with creamy buttercream frosting. It’s the perfect one-layer vanilla cake for birthdays, anniversaries, and more, offering a delightful treat without the fuss of a large dessert!
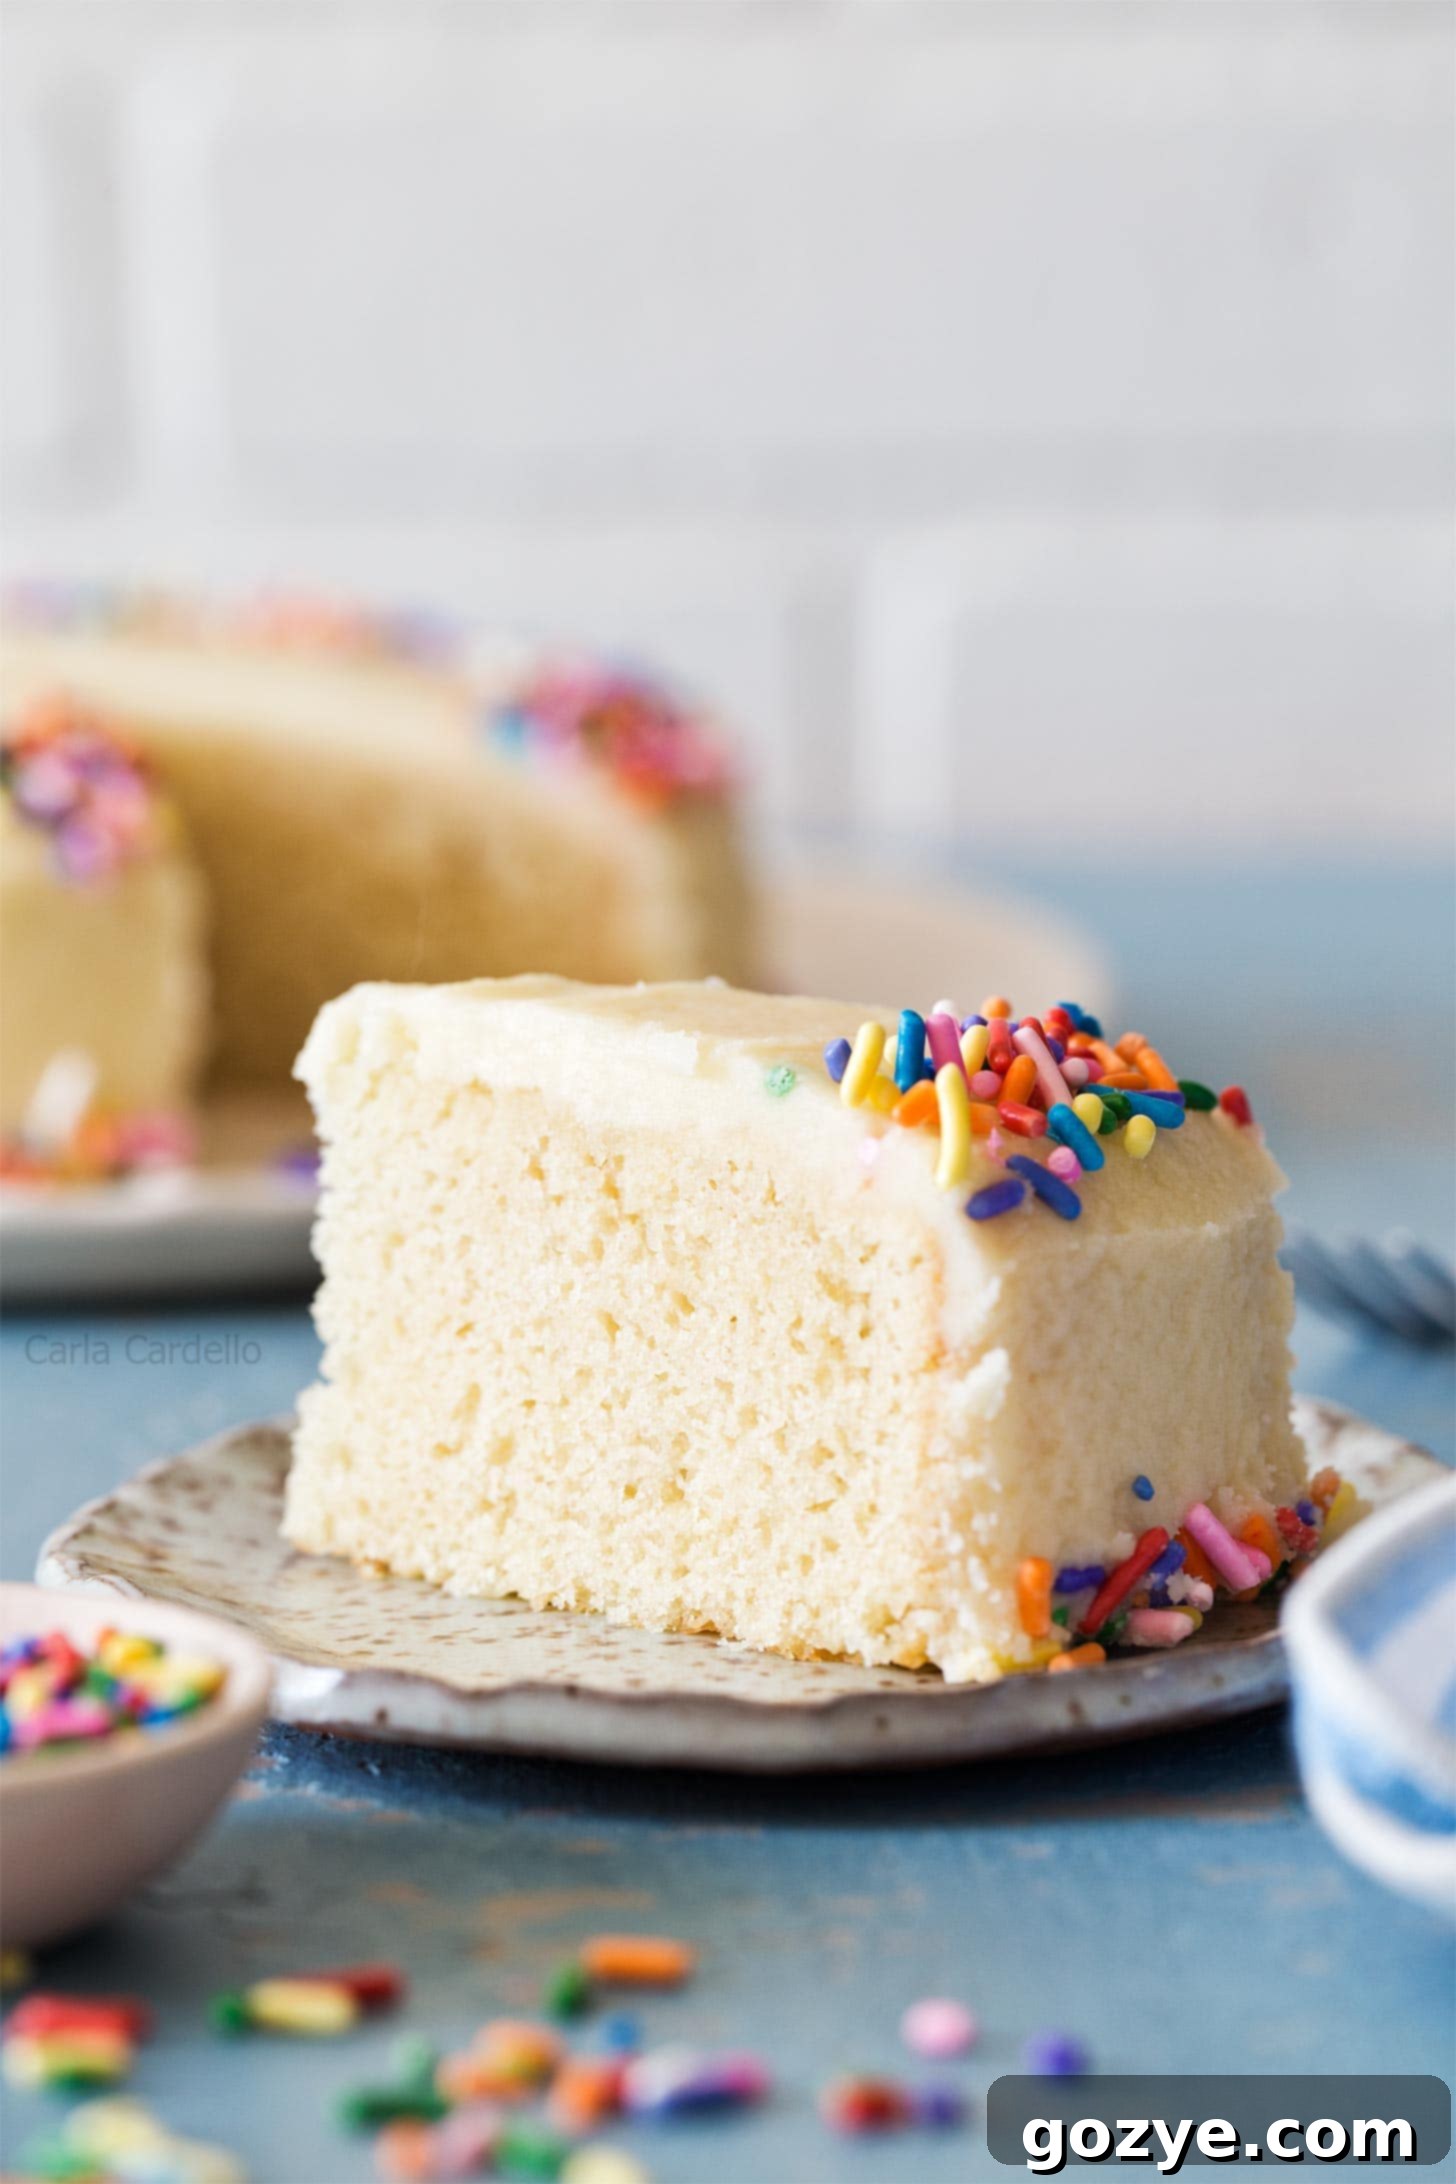
For too long, my collection of small-batch baking recipes felt incomplete without a truly dedicated, easy-to-make, one-layer small vanilla cake recipe. While I’ve shared many delightful mini cakes, including a Small Chocolate Cake, a vibrant Small Red Velvet Cake, and even a refreshing Lemon Raspberry Cake, a simple, classic vanilla seemed to be missing. Yes, I did introduce a Cherry Vanilla Cake some time ago, but that’s a two-layer creation, requiring a bit more effort. And for those who prefer individual portions, my Small Batch Vanilla Cupcakes have been a hit.
But when you’re craving that quintessential taste of vanilla in a compact, manageable form – perhaps for a quiet celebration or a simple indulgence – a single-layer, 6-inch vanilla cake hits differently. It’s perfect for intimate gatherings, small birthdays, anniversaries, or even as a thoughtful “just because” gesture. You can also easily adapt this recipe to make a charming vanilla smash cake for a little one’s first birthday!
I must admit, vanilla isn’t always my first choice when presented with a dessert menu featuring chocolate or lemon. However, there are moments when only the pure, comforting, and elegant flavor of vanilla will truly satisfy. When I say “vanilla cake,” I mean it: this recipe is generous with vanilla extract, ensuring a deep, rich vanilla flavor that shines through every bite. For an even more intense aroma and flavor, consider using vanilla bean paste or fresh vanilla beans, similar to how I elevate my vanilla bean ice cream.
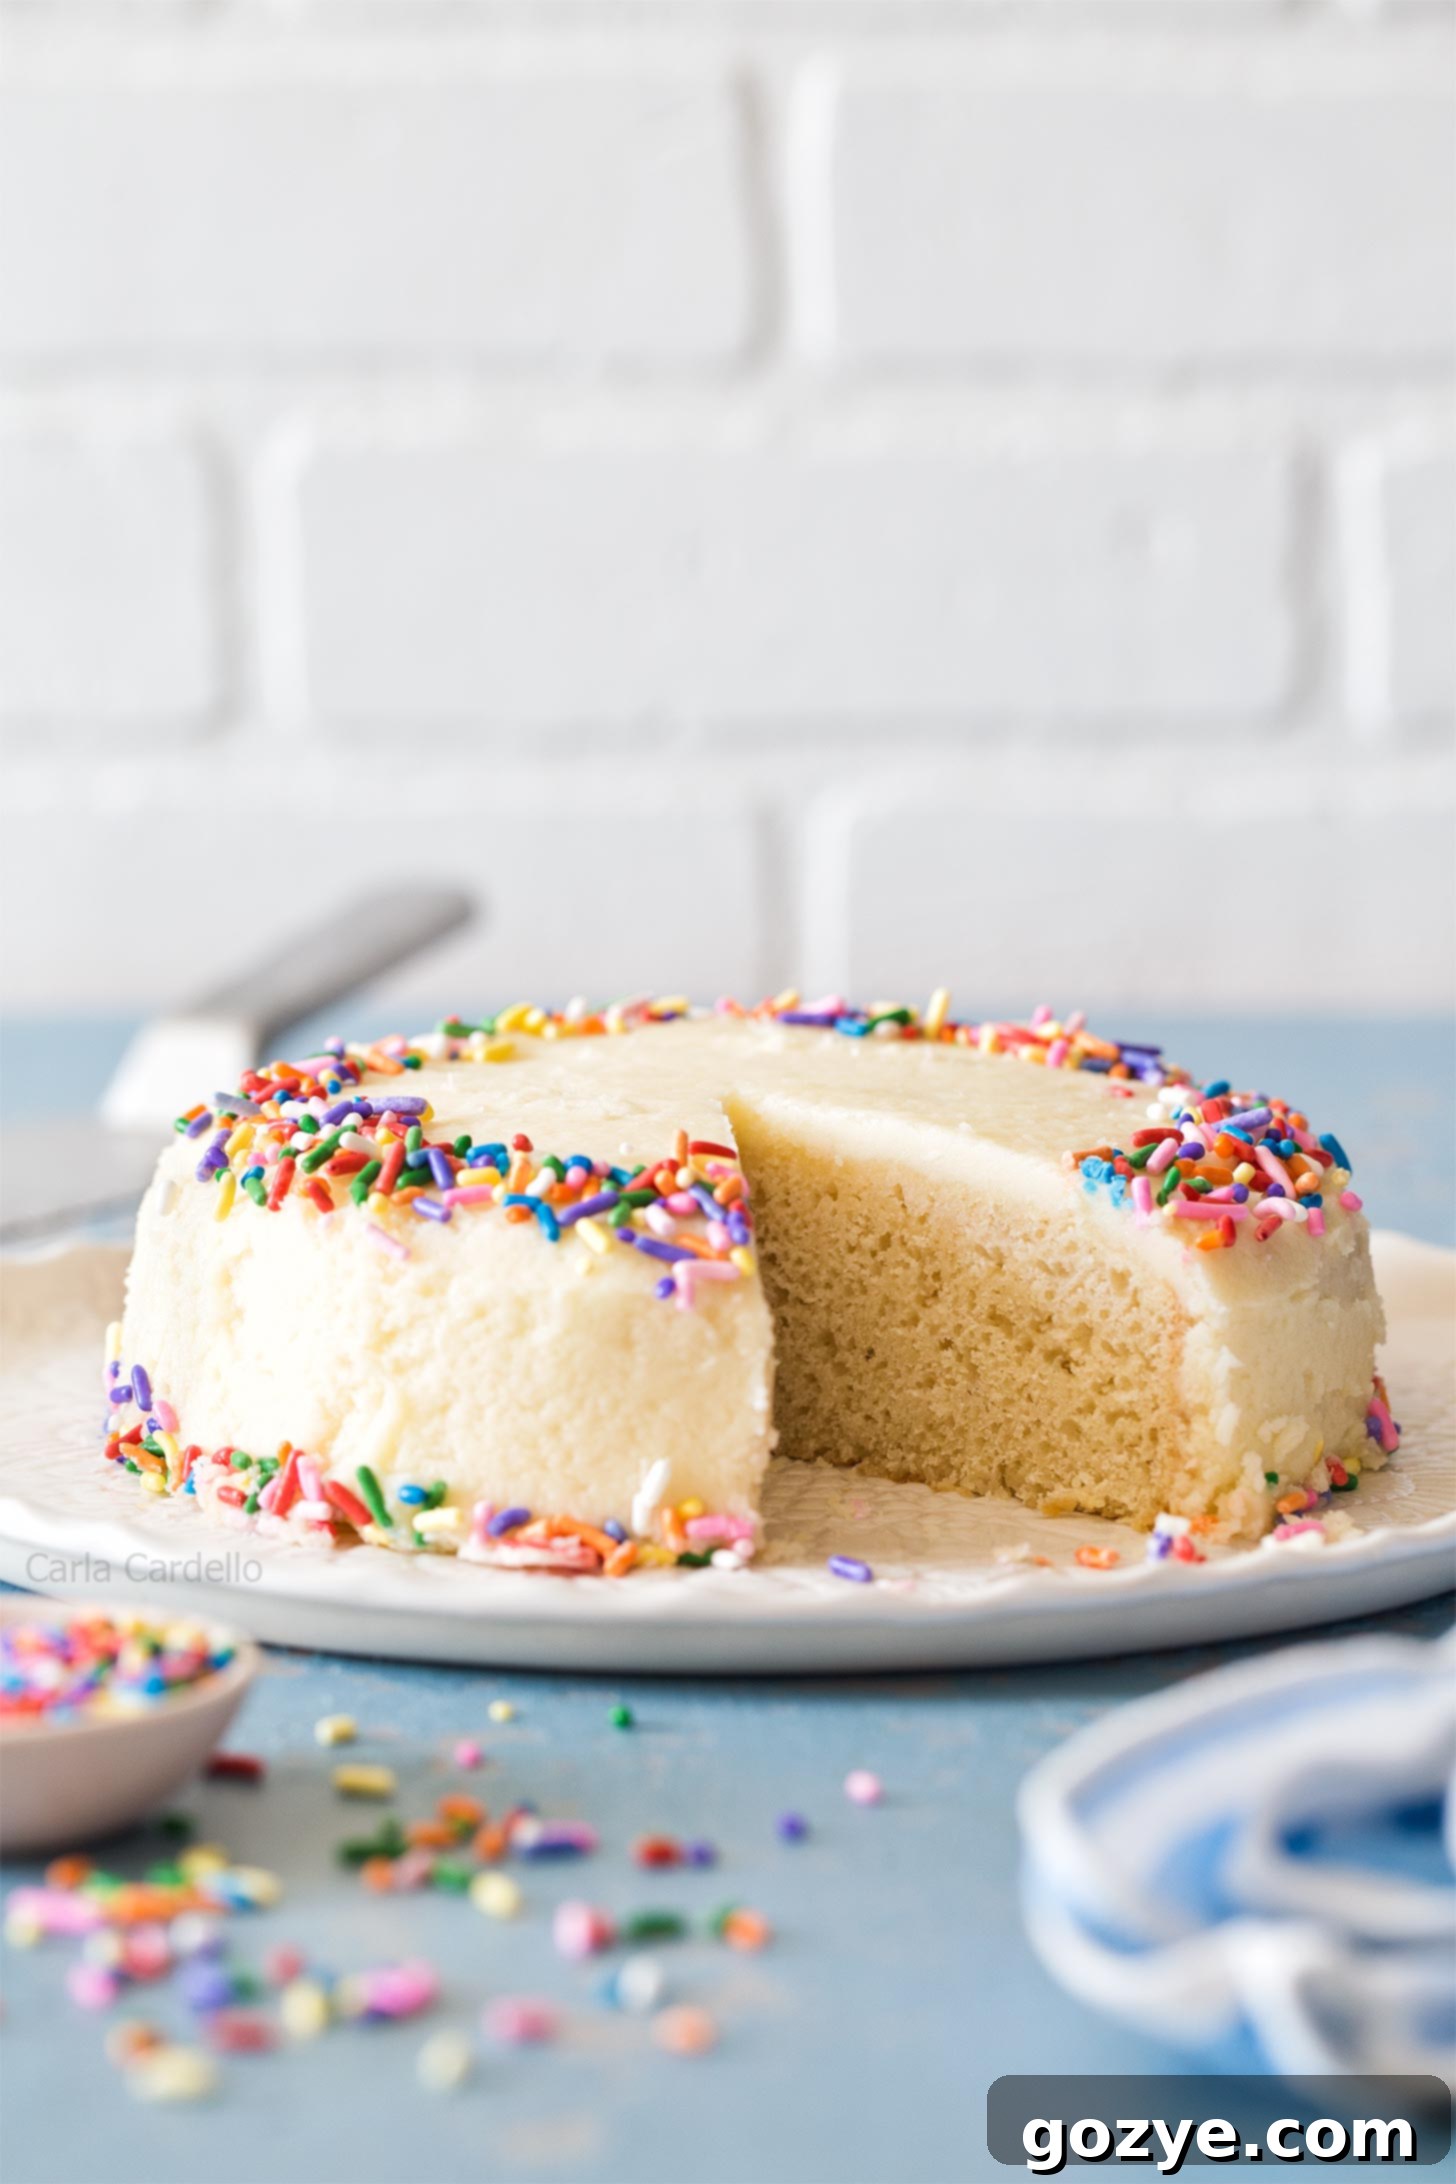
Understanding Vanilla, White, and Yellow Cakes: What’s the Difference?
As I developed this perfect small vanilla cake recipe, a common question arose: what exactly differentiates a vanilla cake from a white cake or a yellow cake? While often used interchangeably, there are subtle distinctions that impact the flavor, color, and texture of your baked creation.
A vanilla cake, at its heart, is typically what most people envision when they desire a simple cake where vanilla is the dominant and often sole flavor. It’s designed to celebrate the rich, aromatic essence of vanilla itself.
My Small Yellow Cake, for instance, gets its characteristic golden hue and richer flavor from the inclusion of both butter and whole eggs. The egg yolks contribute not only to the color but also to the cake’s tenderness and moisture content, giving it a classic, comforting appeal.
A white cake, on the other hand, is specifically made with only egg whites. This choice results in a much lighter, often pristine white crumb. While white cakes are usually made with butter for flavor, some bakers might opt for shortening if their goal is an exceptionally white cake, as butter can impart a slight yellowish tint. The absence of egg yolks creates a slightly different texture, often described as lighter and sometimes a little chewier, making it a favorite for wedding cakes and other formal occasions where a pure white aesthetic is desired.
In essence, these three cake types share a foundational vanilla flavor profile, but their specific ingredients—particularly the type of fat and the form of egg—dictate their final color, richness, and crumb structure. For this particular small vanilla cake, we embrace the best of both worlds, creating a moist, tender crumb with a deep vanilla flavor that isn’t overly concerned with being perfectly white, but rather perfectly delicious.
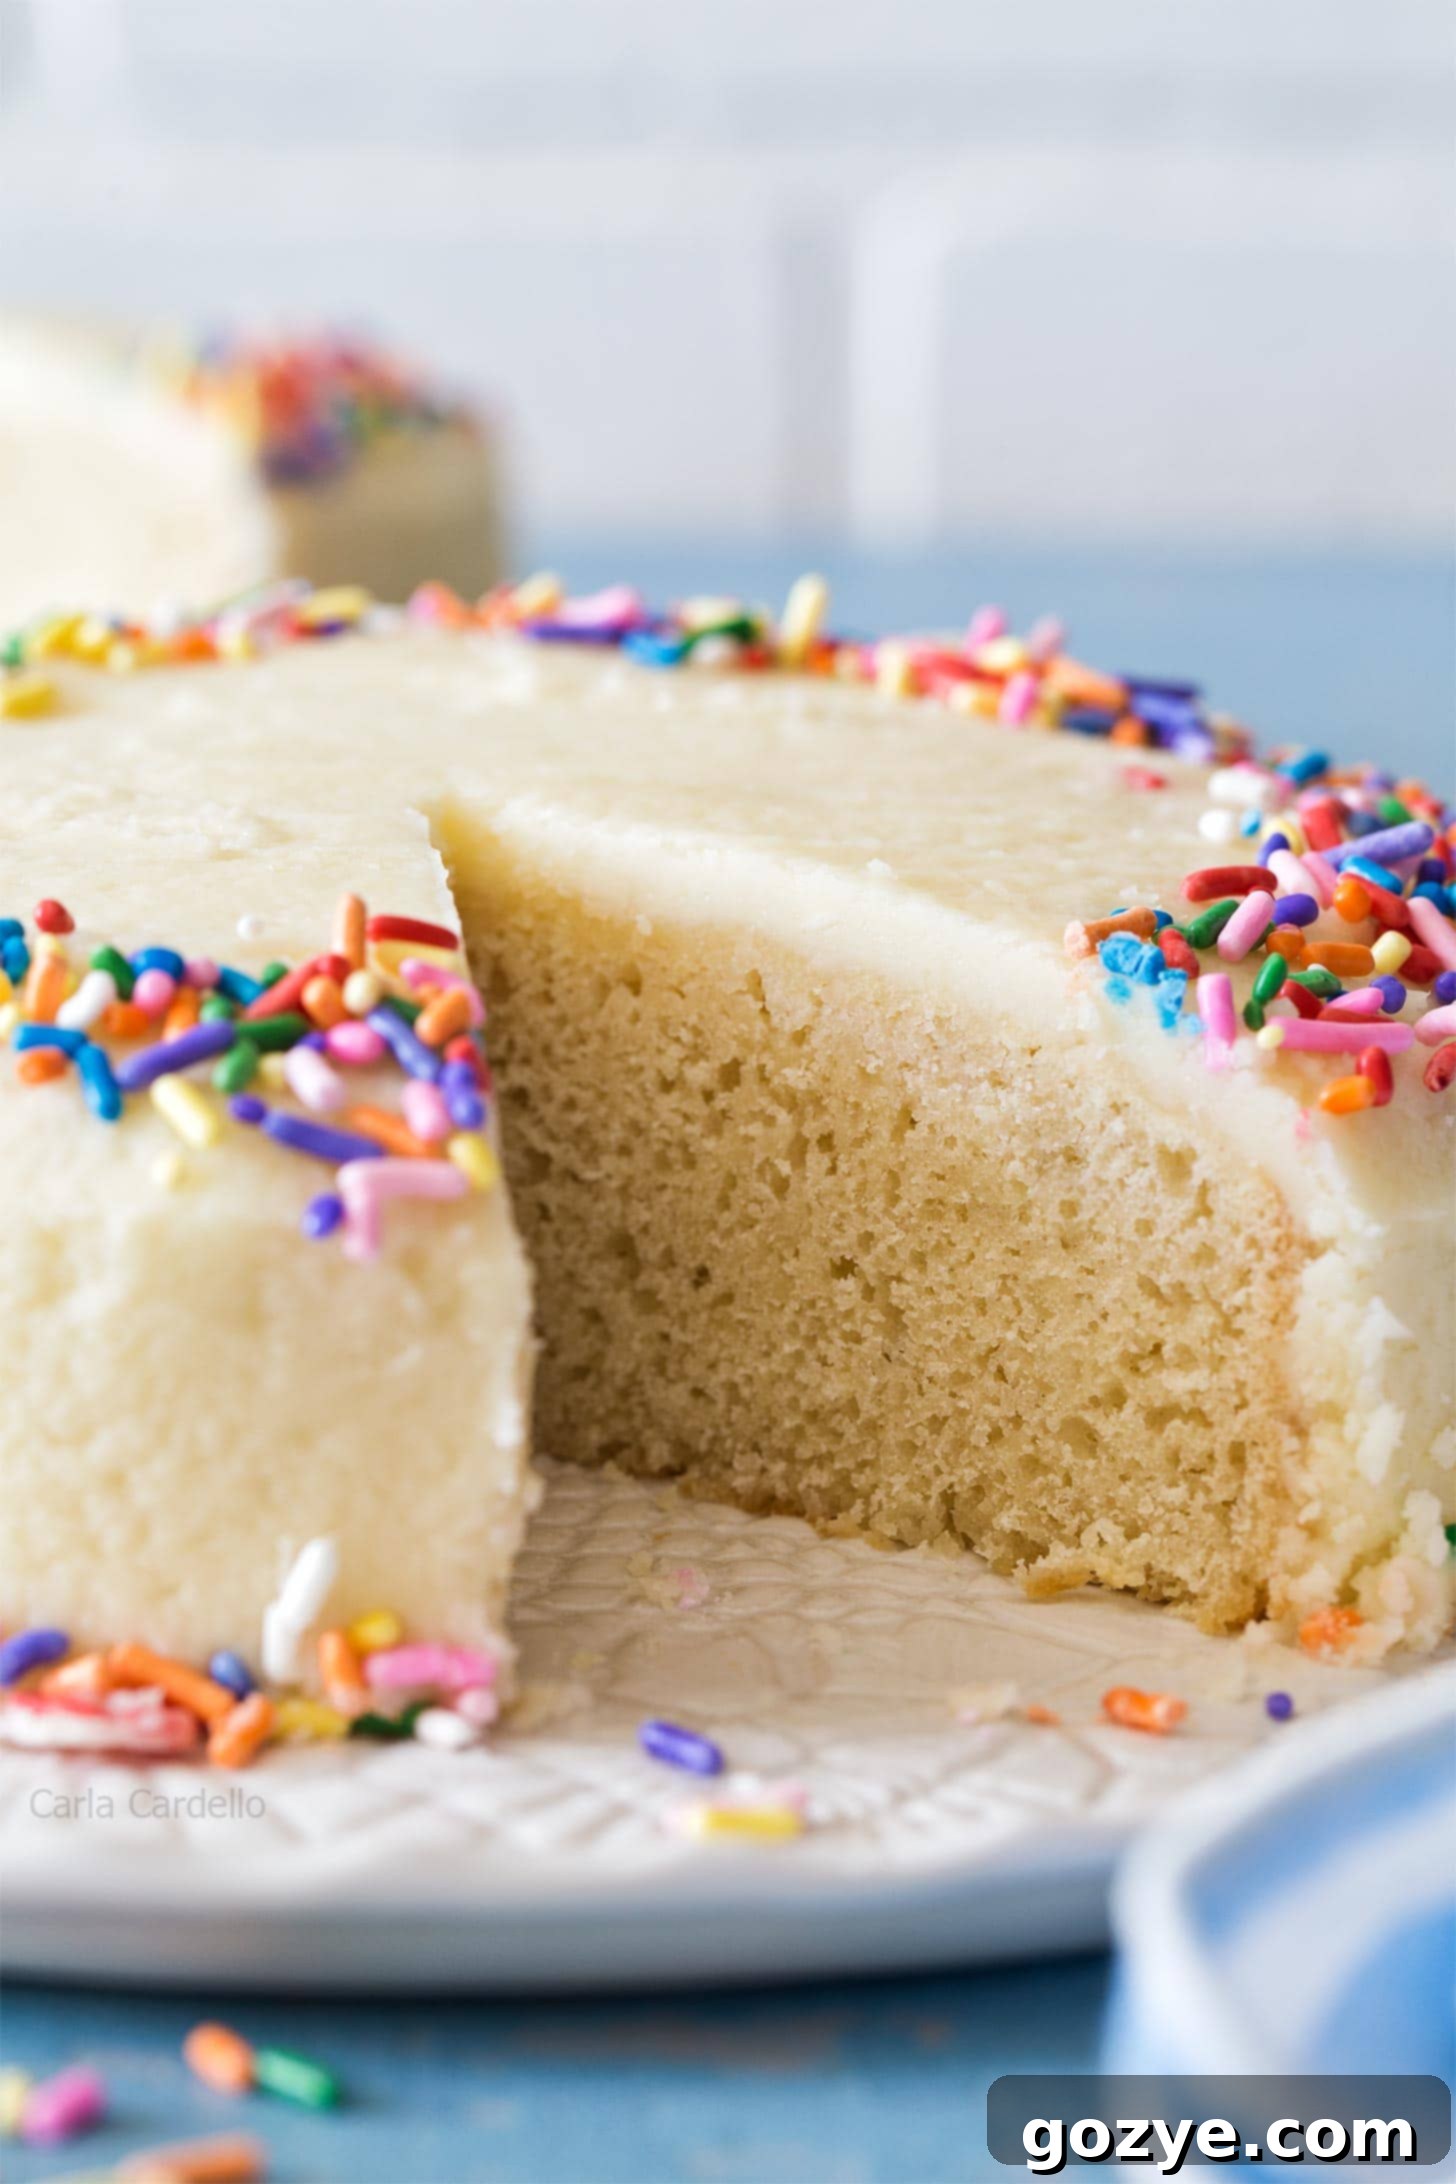
Essential Ingredients for Your Small Vanilla Cake
To embark on creating your delectable 6-inch vanilla cake, you’ll need a carefully selected list of ingredients. Each plays a crucial role in achieving the perfect texture, flavor, and rise:
- All-Purpose Flour: Instead of cake flour, which isn’t always a pantry staple for everyone, I’ve opted for a combination of all-purpose flour and cornstarch. This blend effectively mimics the lower protein content of cake flour, resulting in a tender crumb. It’s crucial to measure your flour correctly using the spoon and level method—never scoop and pack, as this can lead to a dense, dry cake.
- Cornstarch: This is our secret weapon for achieving a delicate, tender texture without cake flour. It reduces the overall gluten development, making the cake wonderfully soft. If you happen to have cake flour on hand, you can substitute the cornstarch with an equivalent amount of additional cake flour.
- Baking Powder: This is our primary leavening agent, responsible for creating the airy, light structure of the cake. Always ensure your baking powder is fresh and not expired for optimal rise; an easy test is to drop a teaspoon into hot water – if it bubbles vigorously, it’s good to go.
- Salt: A small amount of salt is vital for enhancing the overall flavor of the cake, balancing the sweetness, and preventing it from tasting bland. Don’t skip it!
- Unsalted Butter: Beyond adding an incredible depth of flavor, butter contributes significantly to the cake’s tender crumb. As it melts during baking, its steam helps the cake rise, trapping carbon dioxide and creating a delicate texture. Always use unsalted butter to control the salt content of your recipe, and ensure it’s at room temperature for proper creaming. Never substitute margarine, as its water content and fat composition are different and will yield inferior results.
- Granulated Sugar: This not only sweetens the cake but also contributes to its moisture and helps tenderize the crumb. It also plays a role in browning the cake crust.
- Large Egg: Use one standard large egg, ideally at room temperature. A room-temperature egg emulsifies better with the other ingredients, creating a smoother, more uniform batter and a finer crumb. It also adds richness and acts as a binder.
- Vanilla Extract: As this is a vanilla cake, we are generous with the vanilla! Use a high-quality pure vanilla extract for the best flavor. Avoid imitation extracts, which can have an artificial taste. For an even more pronounced vanilla flavor, vanilla bean paste or even scraped vanilla beans can be used.
- Whole Milk: The fat content in whole milk is essential for a truly moist and tender vanilla cake. Do not substitute with 2% or skim milk, as the lack of fat will result in a drier, less rich cake. Ensure the milk is at room temperature to prevent curdling the batter.
Servings In A 6-Inch Cake
A 6-inch cake is remarkably versatile for small gatherings. Generally, it can be neatly sliced into 4-6 generous portions, making it perfect for 4-6 servings. However, if you’re aiming for smaller, more delicate slices, perhaps for a party where other desserts are also served, you can carefully cut your mini vanilla cake into 8 smaller wedges, easily accommodating 8 servings. The key is to use a sharp, thin knife and clean it between slices for the tidiest presentation.
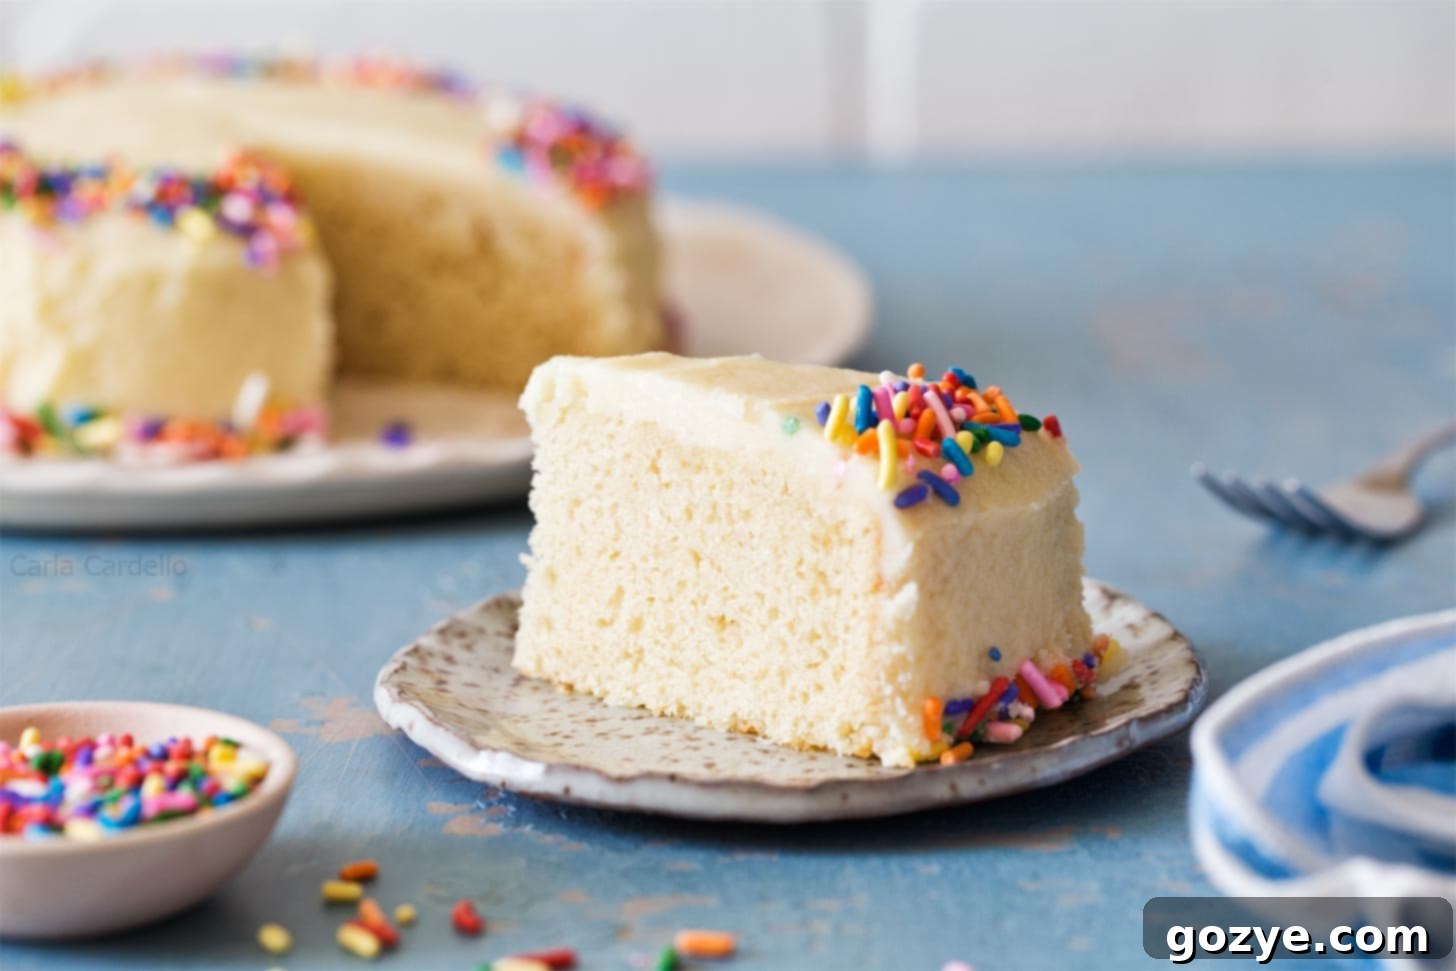
Effortless Steps to Make a Small Vanilla Cake from Scratch
Creating this delightful vanilla cake for two (or more!) from scratch is simpler than you might think, and far more rewarding than using a cake mix. Here’s a step-by-step guide to baking your perfect 6-inch cake:
- Prepare Your Dry Ingredients: In a medium bowl, thoroughly sift together your all-purpose flour and cornstarch. Sifting helps to aerate the flour and remove any lumps, ensuring a light cake. Then, stir in the baking powder and salt until well combined. This ensures even distribution of the leavening and seasoning throughout the batter.
- Cream Butter and Sugar: In a separate, larger bowl, using an electric mixer (either a stand mixer with a paddle attachment or a hand mixer), beat together the softened butter and granulated sugar on medium-high speed. Continue beating for about 2 minutes until the mixture is light, fluffy, and pale in color. This crucial step incorporates air into the butter, which helps the cake rise and contributes to its tender, open crumb structure.
- Incorporate Wet Ingredients: Scrape down the sides and bottom of your bowl to ensure all ingredients are well mixed. Then, beat in the room-temperature egg and the generous amount of vanilla extract until just combined. Avoid overmixing at this stage.
- Alternate Dry and Wet Ingredients: Reduce your mixer speed to the lowest setting. Begin by adding about a third of the flour mixture, mixing until just barely combined. Follow with half of the whole milk, mixing until smooth. Repeat this process, adding another third of the flour, then the remaining milk, and finally the last third of the flour. Always start and end with the dry ingredients. When you add the final portion of flour, switch from the mixer to a rubber spatula and gently fold the mixture by hand. This prevents overmixing, which can develop too much gluten and result in a tough, dense cake with a texture more akin to cornbread than a delicate vanilla cake.
- Prepare and Bake: Pour the perfectly mixed batter evenly into your prepared 6-inch cake pan, which should be greased and lined with parchment paper on the bottom.
- Bake to Perfection: Place the pan in a preheated oven at 350°F (175°C) and bake for 30-35 minutes. The cake is done when a toothpick or wooden skewer inserted into the very center comes out with a few moist crumbs attached, but no wet batter. A clean toothpick indicates it might be slightly overbaked, but a few crumbs mean it’s perfectly tender and moist.
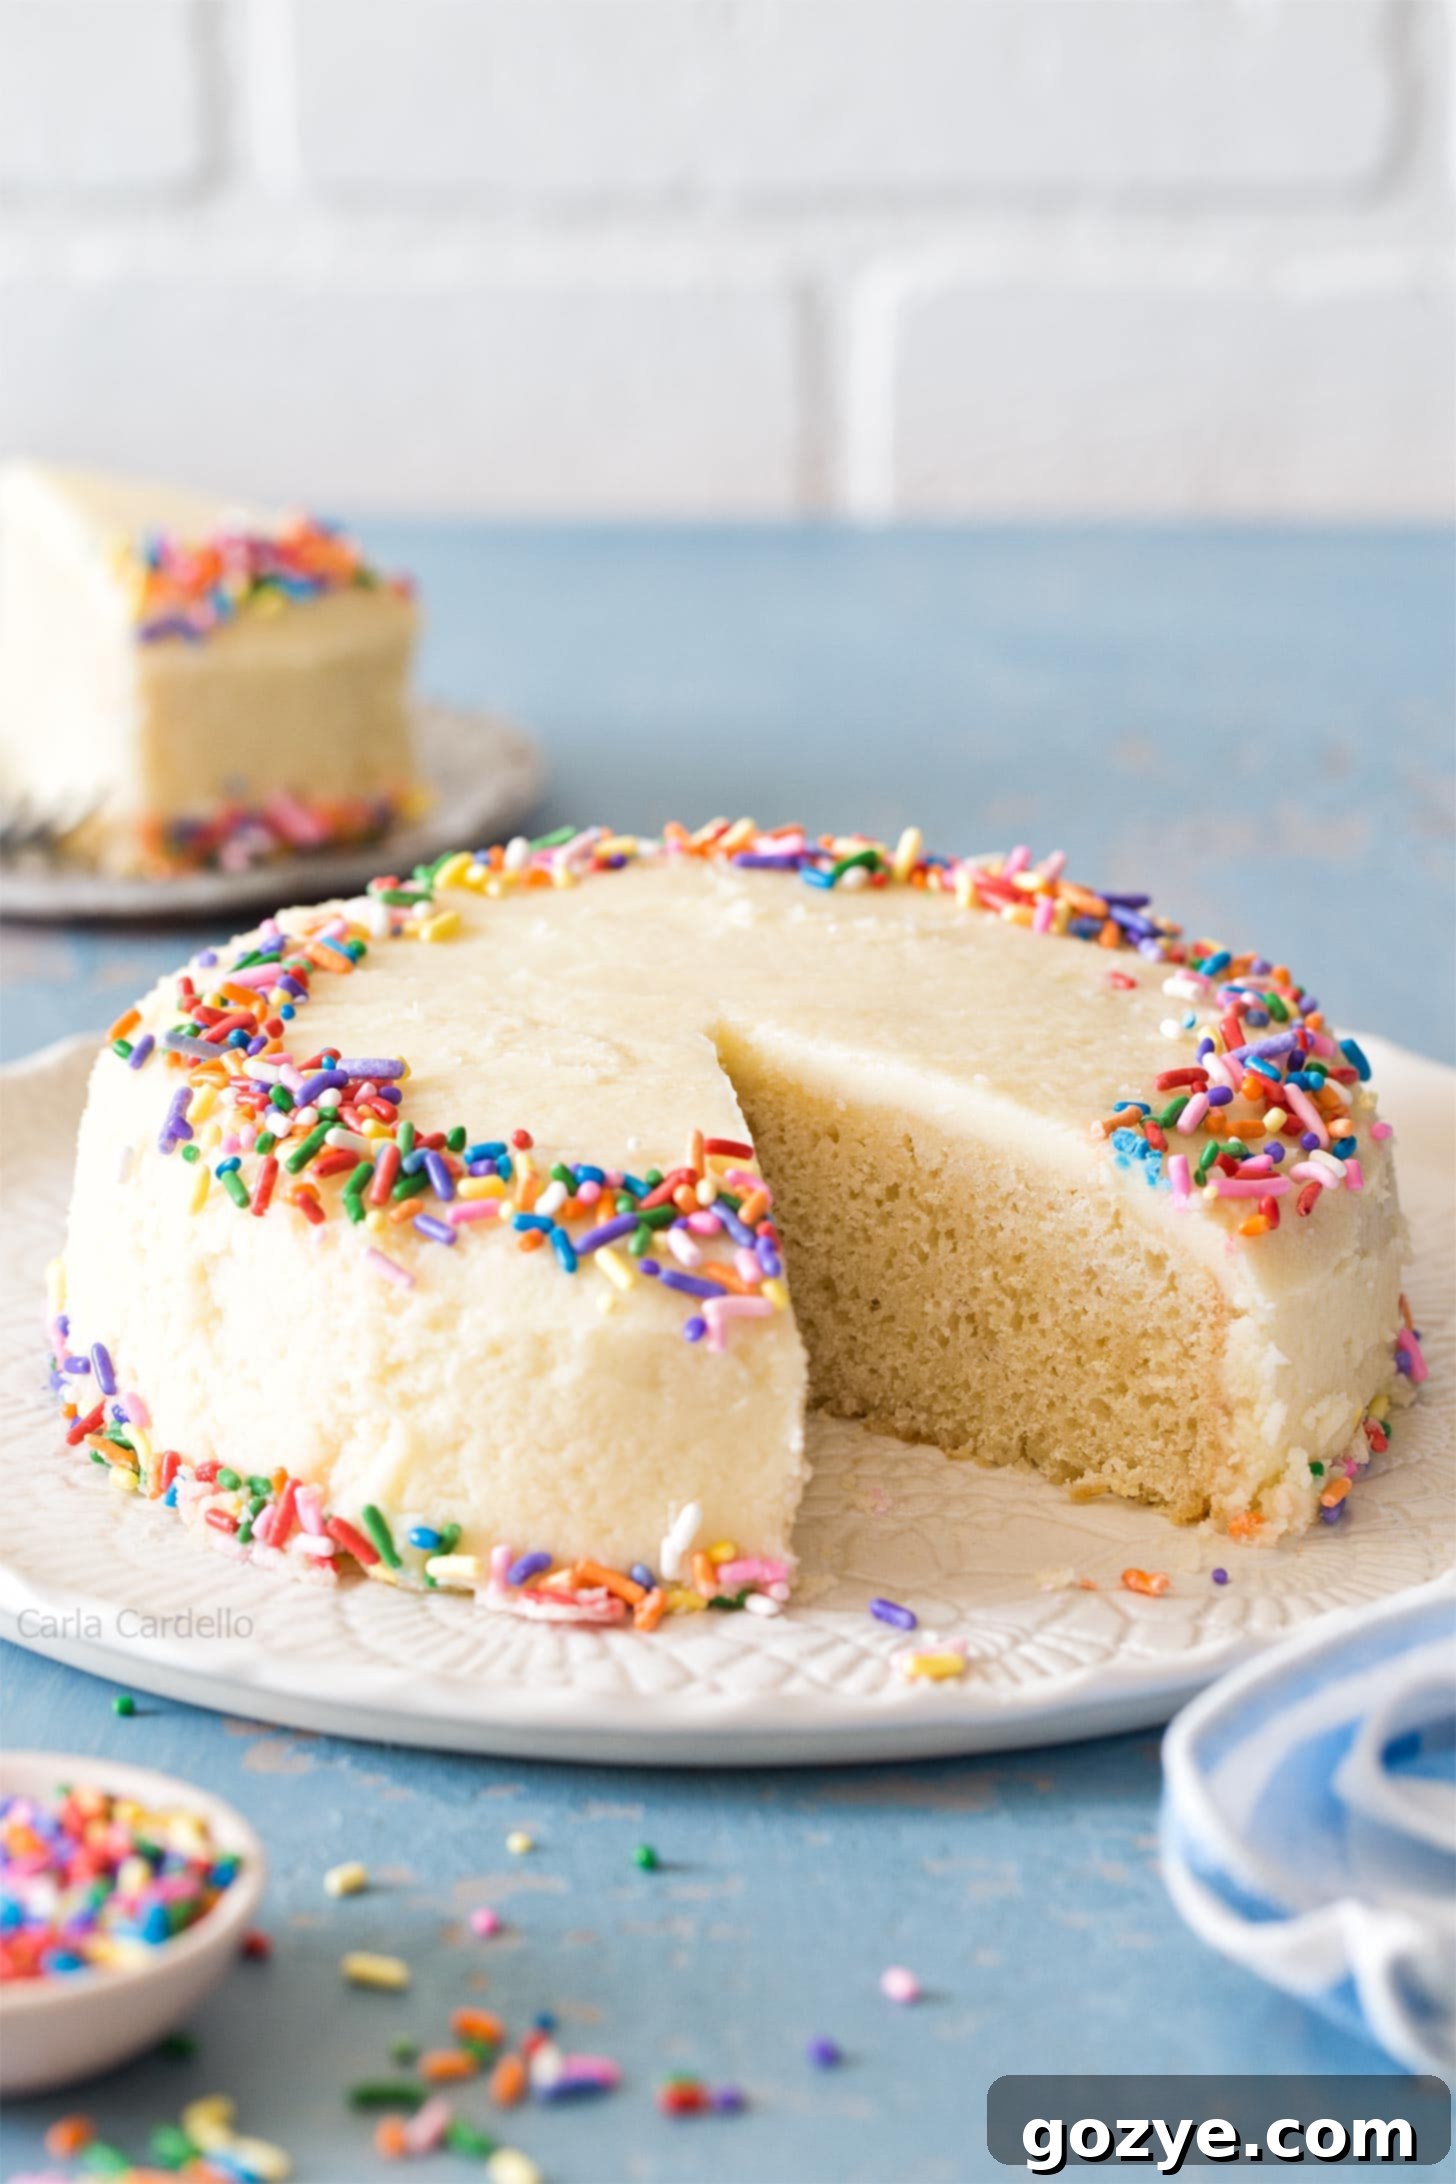
Decorating Your Small Vanilla Cake
Once your 6-inch vanilla cake has cooled completely, the fun of decorating begins! I chose to frost my small vanilla cake recipe with a classic Small Batch Buttercream Frosting. This choice doubles down on the vanilla flavor, creating a harmonious and utterly delicious dessert. For a smooth finish, ensure your buttercream is silky and spreadable, and use an offset spatula to apply it evenly.
However, the beauty of a simple vanilla cake is its versatility. It’s a blank canvas for a myriad of flavor combinations. Feel free to experiment with different frostings to suit your taste or the occasion:
- For the chocolate lovers, a rich Small Batch Chocolate Frosting would be an exquisite pairing.
- If you enjoy nutty flavors, Peanut Butter Frosting offers a comforting and delicious contrast.
- For a fruity twist, a vibrant Strawberry Buttercream Frosting adds a pop of color and fresh flavor.
If you prefer a frosting with a delightful tang, consider these cream cheese options:
- My classic Small Batch Cream Cheese Frosting offers a perfect balance of sweet and tangy.
- Or, for a fruity and tangy combination, try Strawberry Cream Cheese Frosting.
- And for an indulgent twist, Chocolate Cream Cheese Frosting combines two beloved flavors.
Beyond the frosting, don’t hesitate to add sprinkles, fresh berries, edible flowers, or a drizzle of caramel or chocolate sauce to make your small vanilla cake truly special.
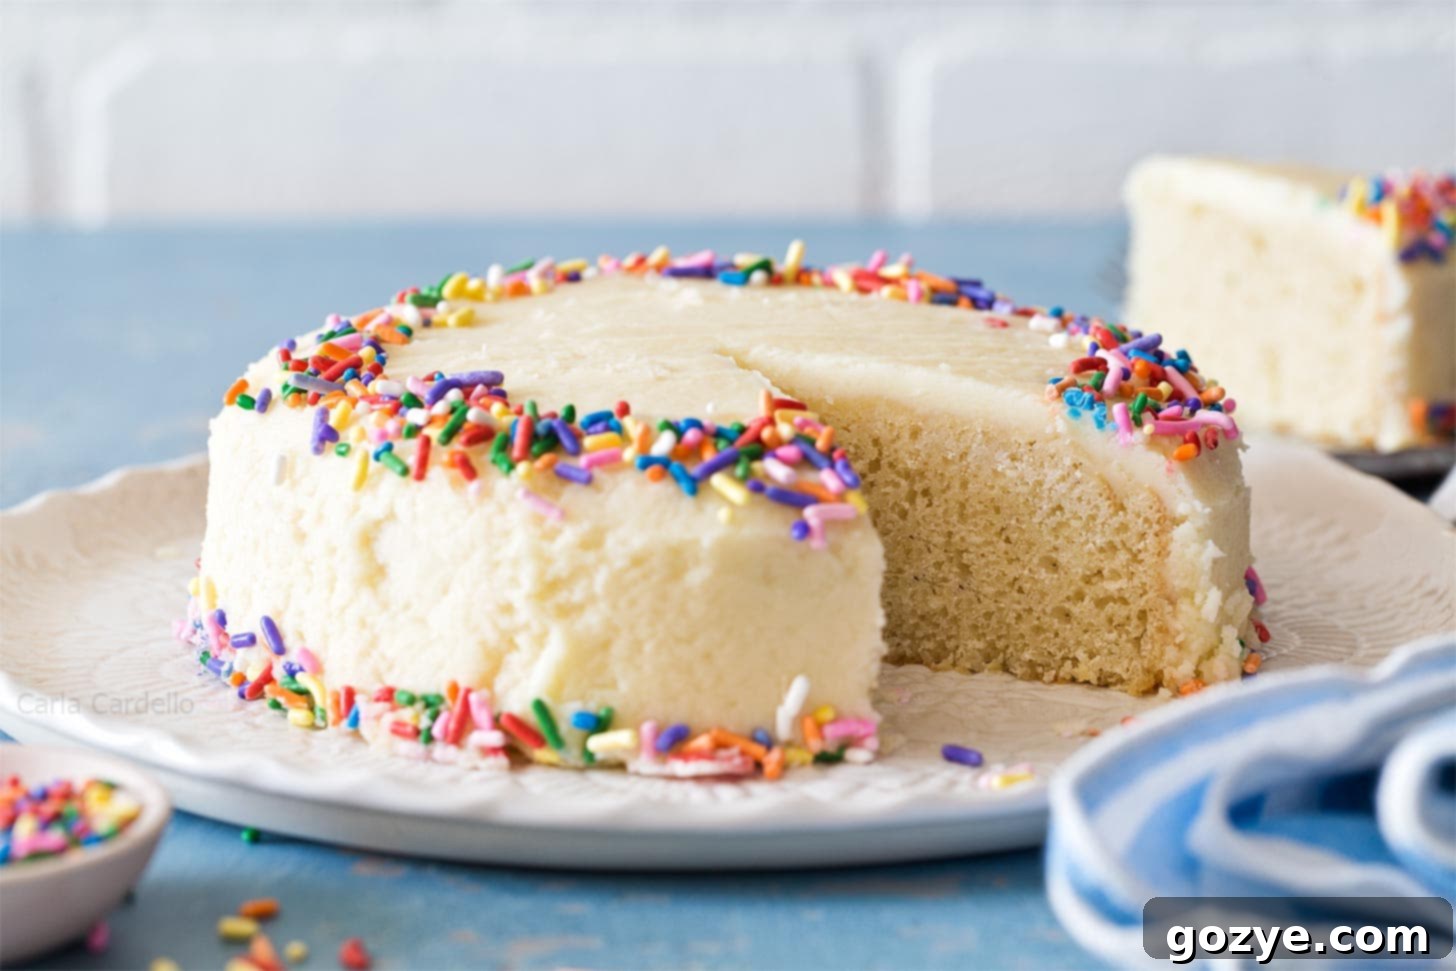
How To Freeze Your Small Vanilla Cake for Future Enjoyment
Even though this small vanilla cake recipe yields just a few slices, there are times when you might want to bake ahead or save some for later. Freezing is an excellent way to preserve its freshness and deliciousness. Here’s how to properly freeze your cake, whether it’s frosted or unfrosted:
If your cake is already frosted, the key is to prevent the plastic wrap from sticking to the delicate frosting. Place the frosted cake on a baking tray or a sturdy plate lined with parchment paper or plastic wrap. Transfer it to the freezer, uncovered, for about 1 hour, or until the frosting is completely firm to the touch. This “flash freezing” step creates a protective shell around the frosting.
Once the frosting is firm, carefully wrap the entire cake tightly with several layers of plastic wrap. Ensure there are no gaps or exposed areas where air can get in, as this is what causes freezer burn. For an extra layer of protection, place the plastic-wrapped cake into a freezer-safe plastic bag or an airtight container, squeezing out as much air as possible before sealing. Label the bag with the date. Your frozen small vanilla cake can be stored for up to 3 months, maintaining its quality and flavor.
If you’re freezing an unfrosted cake layer, simply let it cool completely, then wrap it tightly in plastic wrap and then foil before placing it in a freezer bag. This double layer of protection is crucial for preventing moisture loss and freezer burn.
How To Thaw Your Small Vanilla Cake Perfectly
When you’re ready to enjoy your delicious small vanilla cake, proper thawing is essential to bring it back to its original tender, moist state. The best method involves a gradual thawing process to prevent condensation and maintain texture:
Transfer the frozen cake (still wrapped) from the freezer to the refrigerator the night before you plan to serve it. Allow it to thaw slowly overnight, which typically takes about 8-12 hours for a cake of this size. Thawing in the refrigerator minimizes temperature shock and helps prevent excessive moisture from forming on the cake’s surface (condensation).
Once thawed in the refrigerator, remove the cake from its wrapping and let it sit at room temperature for approximately 15-30 minutes before serving. This step is important for a couple of reasons: a slightly warmer cake has a much more pronounced and enjoyable flavor profile. Cold temperatures can mute the subtle nuances of the vanilla and butter. Additionally, a room-temperature cake will have a softer, more yielding texture, making it more pleasant to eat than a cake served directly from the fridge.
Craving More Small Cake Recipes?
If you’ve fallen in love with the convenience and deliciousness of this 6-inch vanilla cake, you’ll be thrilled to explore my other favorite small cake recipes. They’re perfect for any occasion where a full-sized cake is simply too much:
- For a comforting and fruit-filled treat, try my Small Banana Cake.
- Indulge in a classic with a twist with my delightful Small Carrot Cake recipe.
- Celebrate the flavors of summer with a fresh and vibrant Small Strawberry Cake.
- And for a rich, decadent dessert for two, don’t miss my Small German Chocolate Cake.
These mini cakes prove that you don’t need a huge gathering to enjoy a truly special homemade dessert!
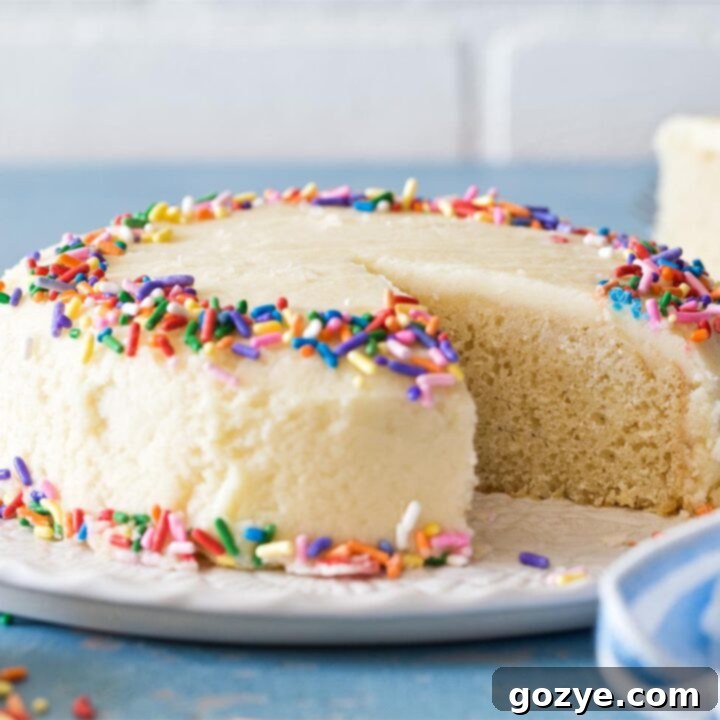
Small Vanilla Cake Recipe
4-6 servings
15 minutes
35 minutes
50 minutes
This Small Vanilla Cake recipe is a tender 6 inch vanilla cake decorated with creamy buttercream frosting. It’s the perfect one layer vanilla cake for birthdays, anniversaries, and more!
Ingredients
- 3/4 cup + 2 tablespoons all-purpose flour (when measuring, spoon the flour into the measuring cup and level it off)*
- 2 tablespoons cornstarch
- 3/4 teaspoon baking powder
- 1/4 teaspoon salt
- 6 tablespoons unsalted butter, room temperature
- 1/2 cup granulated sugar
- 1 large egg, room temperature
- 1 tablespoon vanilla extract
- 1/2 cup whole milk, room temperature (do not substitute low fat or fat free)
Pick One To Decorate
- Buttercream Frosting
- Chocolate Frosting
- Cream Cheese Frosting
- Full List Of Frosting Recipes
Instructions
- Preheat oven to 350°F (175°C). Lightly grease one 6-inch wide x 2-inch deep round cake pan and line the bottom with a circle of parchment paper.
- In a large bowl, sift together the all-purpose flour and cornstarch. Then, stir in the baking powder and salt until thoroughly combined.
- In another large bowl, using an electric mixer on medium-high speed (a paddle attachment is ideal for a stand mixer), beat together the room-temperature unsalted butter and granulated sugar until the mixture is light, fluffy, and pale, which should take about 2 minutes.
- Scrape down the sides of the bowl with a rubber spatula, then beat in the room-temperature large egg and vanilla extract until just incorporated.
- Reduce the mixer speed to the lowest possible setting. Gradually add the dry flour mixture, alternating with the room-temperature whole milk. Begin by adding about a third of the flour mixture, mix until just combined, then add half of the milk, mix again, then the second third of the flour, the remaining milk, and finally the last portion of the flour. (Remember: begin and end with dry ingredients).
Once the final addition of flour is in, immediately switch to a rubber spatula and gently fold the batter by hand until just combined. It is crucial not to overmix at this stage, as overmixing can overdevelop the gluten, resulting in a dense, tough cake with a texture similar to cornbread.
- Transfer the prepared batter evenly into your 6-inch cake pan. Bake for 30-35 minutes, or until a wooden toothpick inserted into the center of the cake comes out with a few moist crumbs clinging to it, but no wet batter. Cool the cake in the pan for 15 minutes, then carefully invert it onto a wire rack to cool completely before frosting.
- Once fully cooled, decorate your cake with your frosting of choice. Cover and store the frosted cake at room temperature for up to 2 days (if using buttercream only). If using cream cheese frosting or ganache, or for longer storage, refrigerate for up to 1 week.
For the best flavor and texture, allow any refrigerated cake to sit at room temperature for 15-30 minutes before serving. This enhances the flavors and softens the crumb.
Notes
- *To substitute cake flour, simply omit the cornstarch and use 1 cup of cake flour instead of the all-purpose flour blend.
- Loved baking this small vanilla cake? Don’t stop here! Explore my full collection of 6-Inch Cake recipes, featuring delightful options like chocolate cake, yellow cake, and many more perfect for smaller occasions.
- If you don’t own a 6-inch cake pan, you can still enjoy a similar flavor profile! Check out my recipe for Small Batch Vanilla Cupcakes, which offers individual portions with the same great vanilla taste.
Recommended Products
As an Amazon Associate and member of other affiliate programs, I earn from qualifying purchases.
- 6 Inch Cake Pan
Did you make this recipe?
Let me know what you think! Rate the recipe above, leave a comment below, and/or share a photo on Instagram using #HITKrecipes
