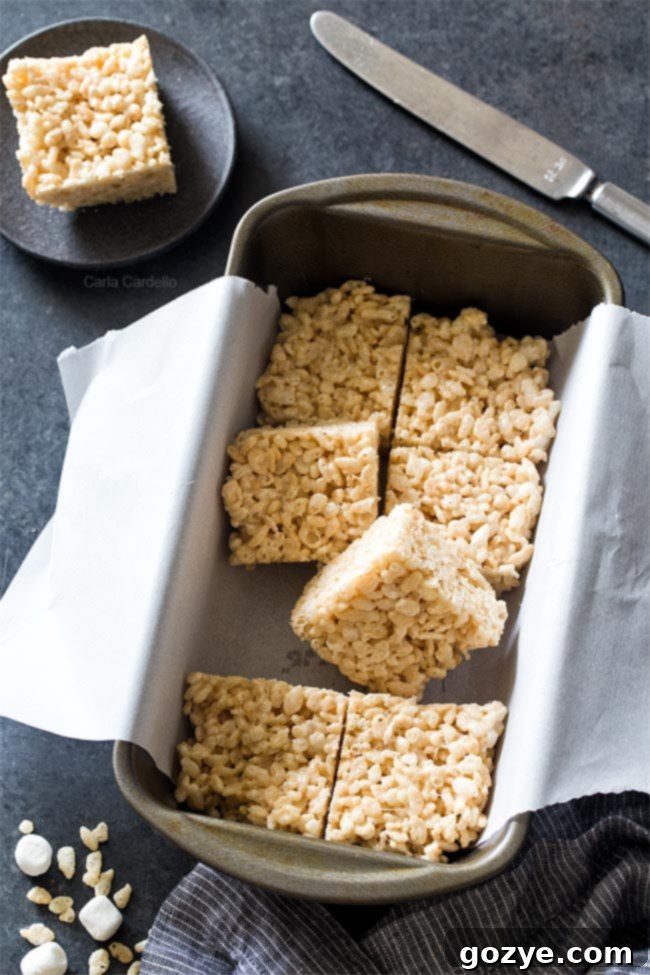
Indulge Guilt-Free: Easy Small Batch Rice Krispie Treats in a Loaf Pan
Craving that classic, ooey-gooey goodness of Rice Krispie Treats but don’t want to commit to an entire pan? Our Small Batch Rice Krispie Treats recipe, perfectly sized for a loaf pan, is your ultimate solution! This delightful no-bake dessert offers all the beloved crispy, marshmallowy texture you adore, in convenient, perfectly portioned squares. It’s the ideal way to satisfy your sweet tooth without the temptation of overindulgence or wasted leftovers.
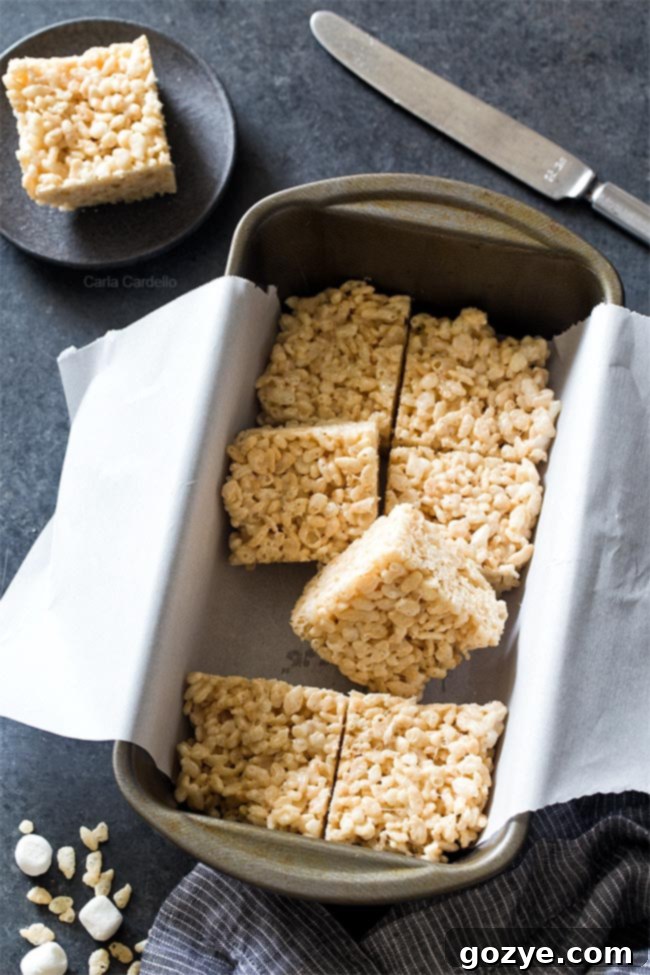
Growing up, my lunchbox often contained those familiar packaged rice krispie treats – the ones from the very company that brought crispy rice cereal to our kitchens. While they certainly did the job, it wasn’t until I experienced my first homemade version that I truly understood the magic of these simple treats. The difference was night and day: homemade Rice Krispie Treats burst with a rich, buttery flavor and an irresistible ooey-gooey marshmallow pull that the store-bought versions could never quite replicate.
Marshmallows, for me, are one of those truly special ingredients. They transform into something magical when melted, creating a sweet, sticky binder that is simply divine. It’s fantastic to have an entire dessert dedicated to their unique texture and flavor. I absolutely love crafting these treats from scratch, but honestly, I don’t make them as often as I’d like. The main reason? A full pan of these delicious, crispy marshmallow bars is often too tempting, leading to the inevitable scenario of eating way more than intended in one sitting!
The perfect solution to this sweet dilemma came to me after experimenting with other beloved desserts: making a small batch. Inspired by the success of my Small Batch Brownies, Small Batch Lemon Bars, and Small Batch Cheesecake, I realized a loaf pan was the perfect vessel for creating a manageable amount of Rice Krispie Treats.
And with the blazing hot temperatures we’ve been experiencing in Pittsburgh, there couldn’t be a better time to share this recipe for Small Batch Rice Krispie Treats. It’s a fantastic no-bake recipe that requires minimal time over the stove, making it ideal for avoiding the oven and keeping your kitchen cool. My apartment already heats up enough from the gas inferno that is my oven, so any recipe that helps me bypass it is a win-win!
Plus, you only need three incredibly simple ingredients: butter, marshmallows, and crispy rice cereal. This means you can whip up these delicious treats in a flash and have them ready to enjoy tonight, offering a quick and satisfying dessert without any fuss. Say goodbye to excessive leftovers and hello to perfectly portioned bliss!
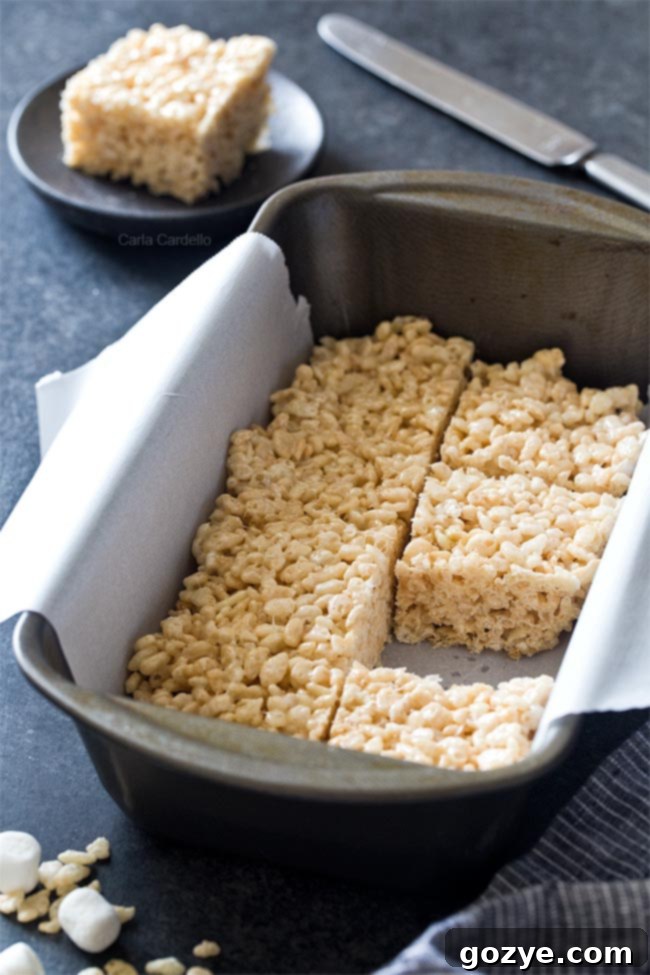
Essential Ingredients for Your Perfect Small Batch Rice Krispie Treats
As I mentioned, the beauty of this recipe lies in its simplicity. You only need three core ingredients to create these irresistible half-batch Rice Krispie Treats:
- Butter: More than just a flavor enhancer, butter plays a crucial role in the texture of your treats. It adds a delicious richness and helps to make the treats wonderfully pliable and less sticky, binding the cereal and marshmallows together for that perfect chewiness. You can use salted or unsalted; if using unsalted, a tiny pinch of salt (about 1/8 teaspoon) can help balance the sweetness.
- Marshmallows: The heart and soul of any Rice Krispie Treat! When it comes to marshmallows, size truly doesn’t matter since they’ll be melted down. Feel free to use regular-sized, large, or mini marshmallows – just ensure the total weight equals approximately 5 ounces. Fresh marshmallows are key for the best gooey texture; stale ones can lead to a harder, less pleasant result.
- Crispy Rice Cereal: You can’t have Rice Krispie Treats without the signature crispy rice cereal! For the most authentic flavor and texture, choose your favorite brand of puffed rice cereal. This recipe is also incredibly versatile, allowing you to swap in other cereals for fun variations. For example, if you’re feeling adventurous, these Fruity Pebbles Bars show how other cereals can create equally delightful treats.
Why a Loaf Pan is Perfect for Small Batch Treats
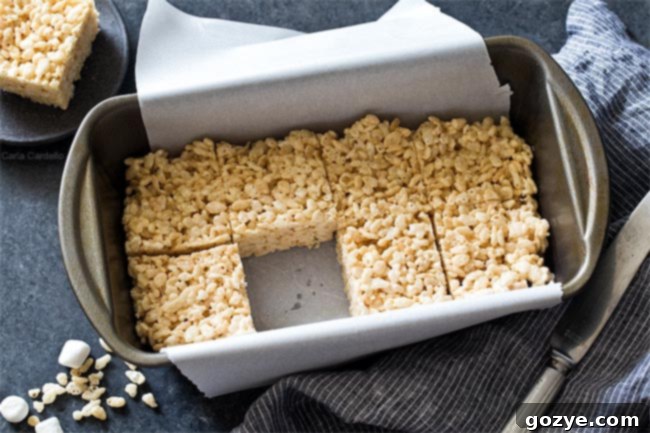
Using a standard 9×5 inch loaf pan for these small batch Rice Krispie Treats is a game-changer. It provides the ideal dimensions to create perfectly thick, satisfying squares from a reduced quantity of ingredients. No more wrestling with a giant pan of treats that might go stale before you finish them, or feeling pressured to share a mountain of sweets. The loaf pan yields just enough for a personal indulgence, a small gathering, or a few days of delightful snacking, ensuring every bite is as fresh and delicious as the first.
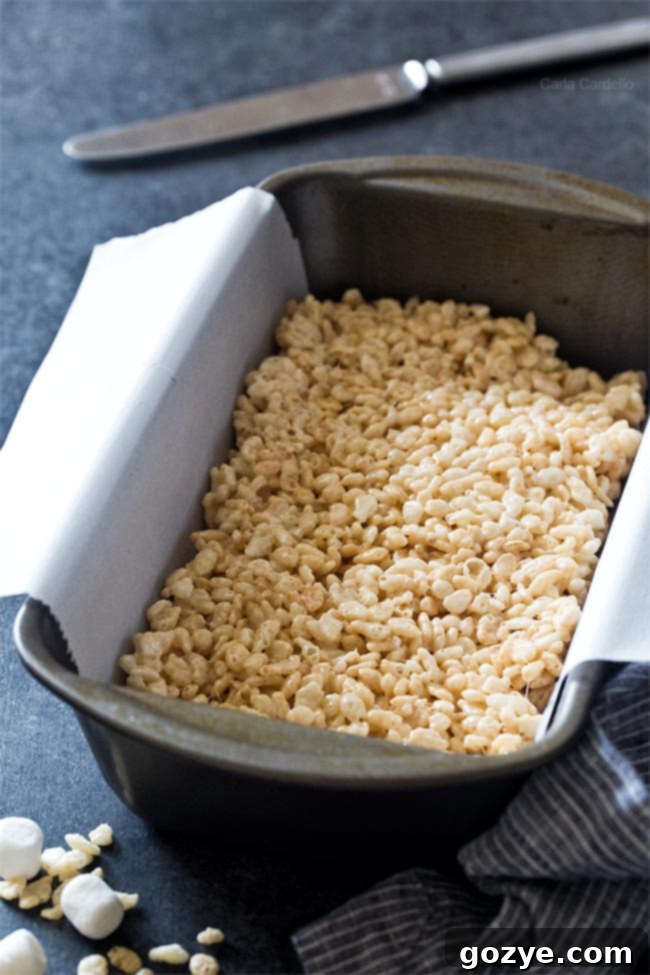
Step-by-Step Guide to Making Small Batch Rice Krispie Treats
Making this easy Rice Krispie Treat recipe, even with large marshmallows, is incredibly straightforward and quick! Here’s a detailed breakdown of how to achieve that perfect ooey-gooey texture every time:
- Prepare Your Pan: First, line a standard 9×5 inch loaf pan with parchment paper, allowing an overhang on the sides. This thoughtful step is crucial for easy removal of the treats once they’ve set, preventing any frustrating sticking.
- Melt the Butter Slowly: In a large pot or a Dutch oven (which I highly recommend for its even heat distribution and ample stirring room, even for small batches), melt the butter over low heat. If you’re using unsalted butter, this is the time to stir in that pinch of salt to enhance the flavor.
- Add Marshmallows and Melt Gently: Once the butter is fully melted, add your marshmallows to the pot. Continue stirring them consistently with a wooden spoon over low heat. The key here is patience and a gentle hand. Stir until the marshmallows are about 90% melted. It’s vital not to overcook them, as this is the primary cause of hard Rice Krispie Treats.
- Incorporate the Cereal: Immediately remove the pot from the heat as soon as the marshmallows reach that 90% melted stage. Quickly stir in the crispy rice cereal. Continue to fold and stir until every single piece of cereal is thoroughly coated with the gooey marshmallow mixture. The residual heat will melt the remaining 10% of the marshmallows beautifully.
- Press into Loaf Pan and Cool: Transfer the warm, sticky mixture into your prepared loaf pan. Using a piece of greased parchment paper (or buttered wax paper), gently pat the mixture down into a single, even layer. This prevents sticking to your hands and ensures a compact, neat block of treats. Allow the treats to cool completely at room temperature until they are firm enough to cut and serve, which typically takes about 1 hour.
Expert Tips: How To Keep Rice Krispie Treats From Getting Hard
Nothing is quite as disappointing as dedicating time to making delicious homemade Rice Krispie Treats, only for them to harden into unpleasantly stiff blocks. Fortunately, this common issue is entirely preventable with a few simple techniques.
The biggest culprit behind hard Rice Krispie Treats is almost always overcooking the marshmallows, particularly over high heat. Marshmallows are essentially sugar, and like most candy recipes, the longer sugar is cooked, the harder it will become once cooled.
To ensure your treats remain perfectly soft and chewy:
- Use Low and Slow Heat: Always melt your butter and marshmallows over a very low heat. Resist the urge to crank up the heat to speed things up; patience is key here.
- Remove From Heat Early: This is perhaps the most critical tip. Remove your pan from the heat as soon as the marshmallows are *just* melted, or even when they are about 90% melted. The residual heat from the pot and the warmth of the butter will continue to melt the remaining marshmallows as you stir in the cereal. By the time everything is fully incorporated, they will be perfectly melted without being overcooked.
- Stir Constantly: Keep the marshmallows moving in the pot to prevent them from sticking to the bottom and burning, which can also contribute to a harder texture.
- Fresh Marshmallows Are Best: While it might seem obvious, ensure you’re using fresh marshmallows. Old, stale marshmallows will not melt as smoothly and are more likely to result in a grainy or hard final product. Always check the expiration date!
Remember: overcooked marshmallows inevitably lead to rock-hard Rice Krispie Treats. By following these guidelines, you’ll achieve that irresistible, soft, and chewy texture every time!
Frequently Asked Questions About Small Batch Rice Krispie Treats
How long do rice crispy treats last?
When stored properly in an airtight container at room temperature, your small batch Rice Krispie Treats will maintain their optimal freshness and delightful chewiness for up to 3 days. While they might still be edible beyond this, they tend to gradually lose their soft texture and become a bit harder over time. For the best experience, enjoy them within the first two days!
How To Keep Rice Krispie Treats From Sticking To Your Hands
There’s no denying that freshly made, homemade Rice Krispie Treats are wonderfully sticky, thanks to those melted marshmallows. And when they’re still warm, they can also be quite hot to handle! While some people suggest greasing your hands with butter or cooking spray, I find this method often leads to messy hands and the cereal mixture is still too hot to comfortably manipulate.
The absolute best and cleanest way to keep small batch Rice Krispie Treats from sticking to your hands when pressing them into the pan is to use a piece of greased parchment paper. Simply place a sheet of parchment paper over the mixture in the loaf pan, then use your hands to press down firmly through the paper. Not only does this ingenious trick prevent any sticky mess on your hands, but it also protects you from the heat of the freshly made treats. It’s a win-win for perfectly pressed treats and clean, comfortable hands!
Customizing Your Small Batch Rice Krispie Treats
While classic Rice Krispie Treats are perfect as is, this small batch recipe offers a fantastic canvas for customization. Consider folding in some mini chocolate chips, sprinkles, or even a handful of chopped nuts (if no allergies are present) right after mixing in the cereal. You could also drizzle the cooled treats with melted chocolate, peanut butter, or caramel for an extra layer of flavor and visual appeal. The possibilities are endless for making these simple treats uniquely yours!
Explore More Rice Krispie Treat Recipes
If you’re looking for more ways to enjoy the versatility of Rice Krispie Treats, these recipes offer exciting twists. While originally designed for larger batches, remember that you can easily halve them to create your own small batch versions, perfect for your loaf pan!
- Peanut Butter Rice Krispie Treats (Easily adaptable for a small batch!)
- Caramel Rice Krispie Treats
- Chocolate Twix Rice Krispie Treats
- Rice Krispie Pumpkins (A super cute and festive option for Halloween!)
Small Batch Rice Krispie Treats
8 squares
10 minutes
1 hour
1 hour 10 minutes
Love crispy cereal treats but don’t want to bake a whole pan? These easy Small Batch Rice Krispie Treats, made in a loaf pan, are the ideal ooey-gooey, no-bake dessert that’s both delightful and perfectly portioned for satisfying cravings without excess.
Ingredients
- 1 tablespoon butter (add 1/8 teaspoon salt if unsalted)
- 5 ounces marshmallows (roughly 3 cups mini marshmallows or 4 cups regular marshmallows)
- 3 cups crispy rice cereal
Instructions
- Line a 9×5 loaf pan with parchment paper, leaving an overhang on the sides for easy removal.
- In a Dutch oven or large pot, melt the butter over low heat (add 1/8 teaspoon salt now if using unsalted butter).
- Once the butter is melted, add the marshmallows. Stir continuously with a wooden spoon over low heat until they are about 90% melted*. Avoid overcooking to ensure soft, chewy treats.
- Immediately remove the pot from the heat. Stir in the crispy rice cereal until it is completely coated with the melted marshmallow mixture.
- Transfer the mixture to the prepared loaf pan. Using a piece of greased parchment paper, gently pat the mixture down into an even, single layer. Allow to cool completely at room temperature for about 1 hour before cutting into squares.
Store leftover treats in an airtight container at room temperature for up to 3 days for best freshness.
Notes
- *It’s crucial to melt the marshmallows over low heat and remove them from the stove when they are almost fully melted (around 90%). The longer sugar, and thus marshmallows, are cooked, the harder your treats will become. Overcooked marshmallows are the main cause of hard treats!
- If your treats do happen to get a bit hard, you can microwave a single square for 5-10 seconds before eating to soften it slightly.
- Looking for more delicious cereal bar ideas? Check out our Peanut Butter Rice Krispie Treats and Caramel Rice Krispie Treats for more inspiration!
Recommended Products
As an Amazon Associate and member of other affiliate programs, I earn from qualifying purchases.
- 9×5 Loaf Pan
- Dutch Oven
Did you make this recipe?
Let me know what you think! Rate the recipe above, leave a comment below, and/or share a photo on Instagram using #HITKrecipes
First published July 29, 2019, updated for clarity and SEO optimization.
