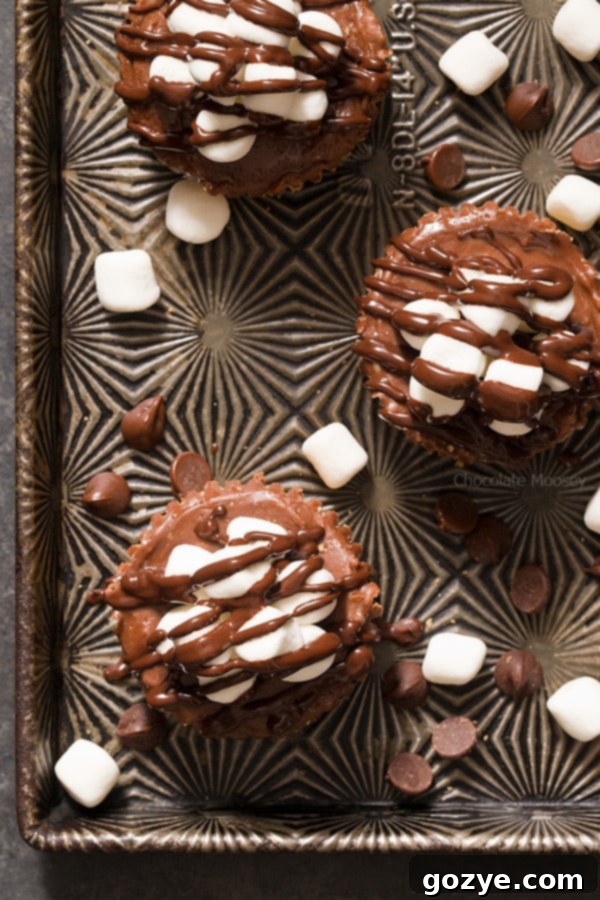
Irresistible Mini Chocolate Cheesecakes: A Perfect Small Batch Indulgence
Craving a rich, chocolatey dessert but don’t want a full-sized cheesecake? These Mini Chocolate Cheesecakes are your answer! Perfectly portioned individual cheesecakes, baked conveniently in a muffin pan, they’re an ideal treat for two or a small gathering. This recipe delivers all the decadent flavor of a classic chocolate cheesecake in a manageable, adorable size.
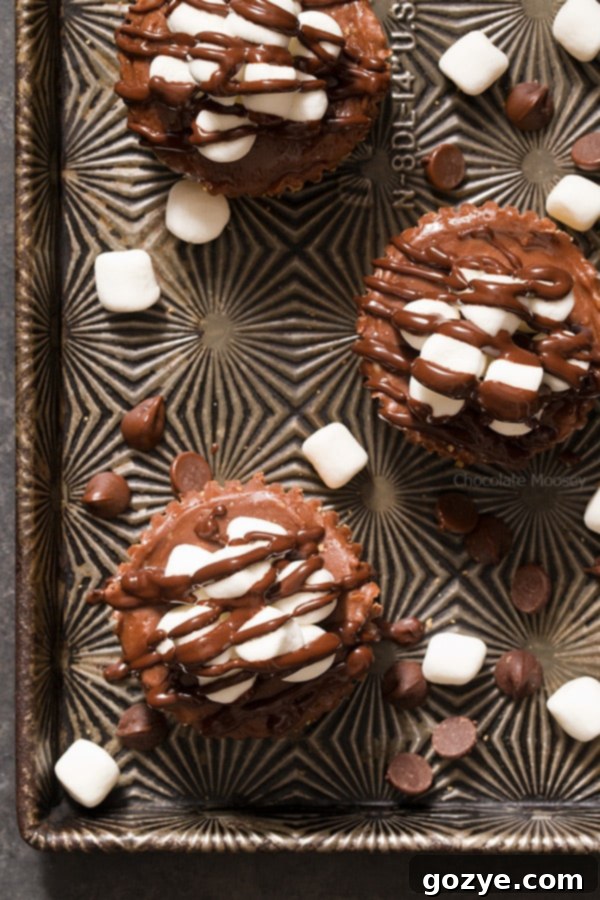
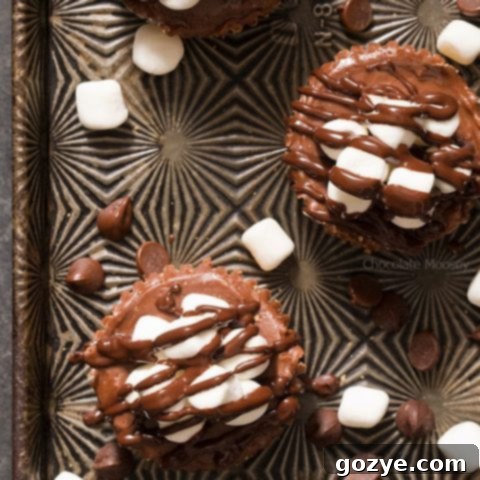
Imagine biting into a creamy, smooth chocolate cheesecake, reminiscent of a gourmet hot chocolate, complete with a delightful graham cracker crust, mini marshmallows, and a glistening chocolate drizzle on top. These mini delights are not only delicious but also incredibly easy to make, even for novice bakers.
Having explored various mini cheesecake creations, from mini margarita cheesecakes to mini pumpkin cheesecakes, it was only natural to create a rich chocolate version. Given the extensive collection of cheesecake recipes available, a chocolate rendition was absolutely essential. While you could opt for an Oreo crust for an extra boost of chocolate, I chose a graham cracker crust to provide a beautiful color and flavor contrast, making each bite a harmonious blend of textures and tastes.
Not a fan of marshmallows? No problem! These versatile cheesecakes are equally delicious garnished with a dollop of whipped cream or a luscious chocolate ganache. For even more flavor inspiration and a collection of individual treats, be sure to check out my comprehensive guide to Easy Mini Cheesecake Recipes, where all my small-batch favorites are gathered in one convenient spot.
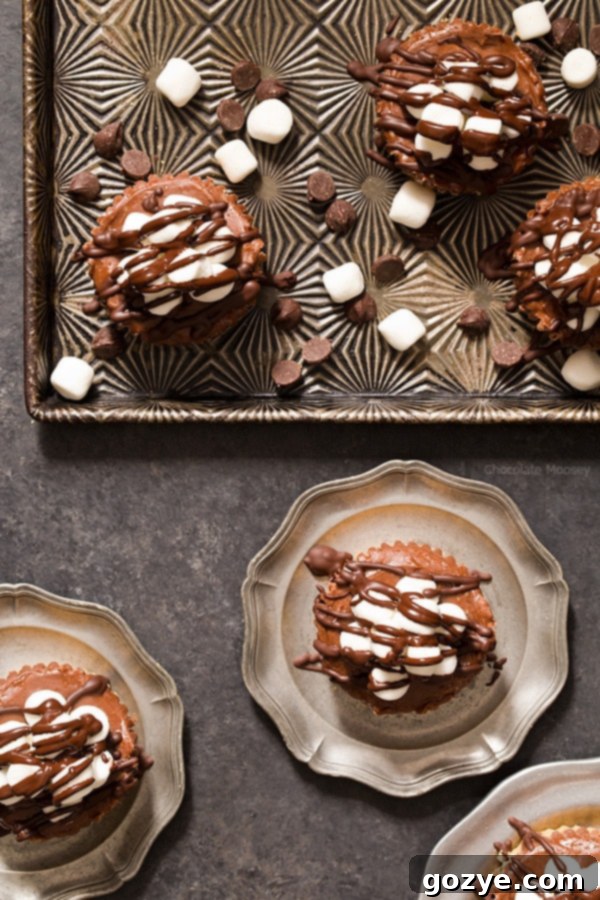
What Pan Is Best for Baking Mini Cheesecakes?
Traditional cheesecakes are often baked in a springform pan due to their delicate nature, requiring easy removal. However, for these individual chocolate cheesecakes, a standard muffin tin (Amazon affiliate link) is my pan of choice. It’s a common baking tool that most home kitchens already have, making this recipe accessible to everyone without the need for specialized equipment.
While there are dedicated mini cheesecake pans with removable bottoms, I specifically developed this recipe for a muffin tin to avoid the extra purchase. I haven’t directly tested this recipe in a specialty cheesecake pan, but I believe it would work seamlessly, though the exact yield might slightly vary depending on the pan’s size.
Tips for Effortlessly Removing Mini Cheesecakes from a Muffin Tin
Since you won’t be using a springform pan, careful removal of your mini cheesecakes from the muffin tin is key. My preferred method is to use paper liners. These liners act as a non-stick barrier, preventing the cheesecakes from adhering to the pan. You can choose to remove the liners before serving for a polished look, or allow guests to peel them off themselves – it’s entirely up to your presentation preference.
If you don’t have paper liners, don’t worry! Simply grease each cavity of the muffin pan thoroughly with cooking spray or butter. Once baked and cooled, use a thin offset spatula or a small knife to gently loosen the edges of each cheesecake. Carefully lift them out, ensuring they remain intact. Chilling the cheesecakes completely before removal also aids in making them firmer and less prone to breaking.
Essential Ingredients for Your Mini Chocolate Cheesecakes
These delightful mini cheesecakes come together with a few simple, yet crucial, ingredients:
- Cookie Crumbs: For the crust, I used graham cracker crumbs, which offer a lovely textural and flavor contrast to the rich chocolate. However, for an ultra-chocolatey experience, feel free to substitute with crushed Oreo cookies (creme included!). A food processor makes quick work of turning cookies into fine crumbs.
- Butter: Melted butter is essential to bind the cookie crumbs together, forming a sturdy and delicious crust.
- Cream Cheese: The heart of any cheesecake! It’s vital to use full-fat cream cheese, specifically the block-style, as opposed to whipped or spreadable versions. Low-fat and fat-free options contain more water, which can result in a watery or runny cheesecake texture after baking. Ensure it’s at room temperature for a smooth batter.
- Granulated Sugar: This provides the perfect touch of sweetness, balancing the tangy notes of the cream cheese and enhancing the chocolate flavor.
- Egg: A single large egg acts as a binder, providing structure and richness to the cheesecake filling. Always use large eggs for consistent baking results, and ensure it’s at room temperature.
- Melted Chocolate: For the best flavor and texture, use high-quality baking chocolate (such as a chocolate bar) rather than chocolate chips, which contain stabilizers that can prevent them from melting smoothly. Semisweet chocolate is a classic choice, but if you prefer a deeper, more intense chocolate flavor, opt for dark or bittersweet chocolate.
- Vanilla Extract: A splash of pure vanilla extract elevates the overall flavor profile, making the chocolate taste even more pronounced and complex.
Choosing the Right Cream Cheese for a Velvety Smooth Cheesecake
When it comes to baking cheesecake, the brand and type of cream cheese can genuinely make a difference. For the silkiest, most lump-free cheesecake possible, seek out cream cheese that does not contain stabilizers like xanthan gum or guar gum. These additives help cream cheese maintain its firm shape, but they can also make it difficult to achieve a completely smooth batter, leading to tiny, stubborn lumps.
These small, unmixed bits of cream cheese are particularly noticeable in colored cheesecakes, such as pumpkin or chocolate, due to the stark color contrast. If you discover your cream cheese contains these stabilizers, don’t despair! Your cheesecake will still taste delicious. It just might have a slightly less uniform texture and appearance, with tiny white flecks throughout.
Always ensure your cream cheese is at true room temperature. Cold cream cheese is a primary culprit for lumpy batter, as it won’t blend smoothly with the sugar and other ingredients.
Step-by-Step Guide: How to Make Mini Chocolate Cheesecakes
Crafting these delectable mini cheesecakes is a straightforward process:
Prepare the Crust
Begin by combining your cookie crumbs (graham cracker or Oreo) with melted butter. Mix until the crumbs are thoroughly moistened and clumpy. Press approximately 2 tablespoons of this mixture firmly into the bottom of each paper-lined muffin cup. Bake the crust for about 5-8 minutes, or until it looks set and no longer wet. This crucial step helps to crisp up the crust and prevents it from becoming soggy once the creamy cheesecake filling is added. Allow the baked crusts to cool completely while you prepare the filling.
Create the Chocolate Cheesecake Filling
In a large mixing bowl, beat together the room-temperature cream cheese and granulated sugar. Mix on medium-high speed until the mixture is exceptionally smooth, light, and fluffy, typically for 2-3 minutes. Remember to scrape down the sides and bottom of the bowl frequently to ensure all ingredients are well incorporated.
Next, beat in the room-temperature egg for just about 1 minute, until it’s fully combined and the batter is smooth. Be careful not to overbeat the batter at this stage, as incorporating too much air can lead to cracks in the finished cheesecake. Finally, gently fold in the melted chocolate and vanilla extract until just combined, ensuring the chocolate is evenly distributed without overmixing.
Bake and Chill
Carefully divide the smooth chocolate cheesecake batter evenly among the cooled cookie crusts, filling each paper liner close to the top. Bake the mini cheesecakes in a preheated oven at 325°F (160°C) for 20-25 minutes.
Knowing When Your Mini Cheesecake Is Perfectly Baked
Determining doneness for mini cheesecakes is a bit of an art. They are ready when the edges appear set and slightly puffed, the center no longer looks wet, and the middle shows only a slight jiggle when you gently move the pan. For absolute certainty, an instant-read thermometer inserted into the center of a cheesecake should register 150°F (65°C).
It’s normal for mini cheesecakes to puff up during baking; they will gently deflate and flatten slightly as they cool, creating that characteristic smooth cheesecake top. Avoid overbaking, as this can lead to dry, cracked cheesecakes.
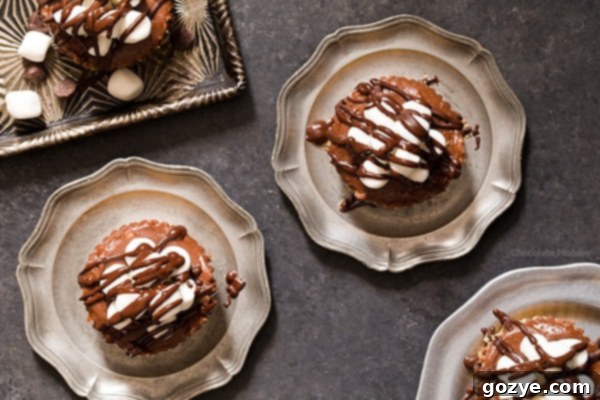
Is a Water Bath Necessary for Mini Cheesecakes?
Good news! Unlike their larger counterparts, these mini chocolate cheesecakes do not require a water bath. Their small size allows for even baking without the risk of overbaking the top or sides before the center is cooked through. This simplifies the baking process, making these individual treats even easier to prepare.
Choosing the Best Crust for Your Mini Chocolate Cheesecakes
As mentioned, I’ve opted for a classic graham cracker crust in this recipe, which provides a lovely textural and flavor balance to the rich chocolate filling. However, the beauty of mini cheesecakes lies in their versatility, and you absolutely can customize the crust to your preference.
For an intensely chocolatey experience, substitute the graham cracker crumbs with crushed Oreo cookies. When using Oreos (especially the cream-filled variety), you can reduce the amount of melted butter needed, as the cream filling helps bind the crumbs together. Start with about 1 tablespoon of melted butter for Oreo crumbs and add more only if the mixture still feels too dry.
Creative Topping Ideas for Your Mini Chocolate Cheesecakes
To capture the essence of hot chocolate, I adorned these mini cheesecakes with a generous pile of mini marshmallows, securing them in place with a drizzle of melted chocolate. A fun tip: apply the chocolate drizzle *after* arranging the marshmallows to prevent them from tumbling off.
Beyond the hot chocolate theme, here are some other delicious garnish ideas:
- Whipped Cream: A classic dollop of homemade chocolate whipped cream or vanilla whipped cream is always a hit.
- Chocolate Ganache: A luxurious chocolate glaze made from heavy cream and chocolate. It adds a silky-smooth texture and a rich, soft chocolate bite.
- Fresh Berries: A sprinkle of fresh raspberries, strawberries, or blueberries adds a bright, tangy contrast to the rich chocolate.
- Chocolate Shavings or Curls: A sophisticated and elegant topping.
- Caramel or Fudge Sauce: Drizzle with your favorite store-bought or homemade caramel or hot fudge sauce for an extra layer of sweetness.
- Nut Butter Whipped Cream: For a unique twist, try small batch peanut butter whipped cream.
How Long Do Mini Cheesecakes Stay Fresh in the Fridge?
Once baked and thoroughly chilled, mini cheesecakes can be stored in an airtight container in the refrigerator for up to 5-7 days. While this small batch recipe means they’re likely to disappear much sooner, it’s good to know they’ll keep well if you make them ahead of time.
Can You Freeze Mini Cheesecakes?
Yes, mini cheesecakes freeze beautifully! It’s best to freeze them before adding any garnishes. Here’s how:
- Place the undecorated cheesecakes in a single layer on a baking sheet or plate.
- Freeze them until firm, which usually takes about 1 hour. This step prevents them from sticking to plastic wrap and to each other.
- Once firm, wrap each cheesecake individually in plastic wrap, then place them in a freezer-safe bag or airtight container.
- They can be frozen for up to 1-2 months. Thaw them in the refrigerator overnight before garnishing and serving.
Why Do Mini Cheesecakes Sometimes Sink in the Middle?
If your mini cheesecakes have sunk in the middle after cooling, it’s usually an indication that the center was underbaked. An underbaked center lacks the structural integrity to support the top as the cheesecake cools and contracts.
Another common reason for sinking is overbeating the batter, especially after adding the egg. Excessive beating incorporates too much air into the mixture. This air causes the cheesecake to puff up significantly during baking, only to collapse and sink dramatically as it cools.
Preventing Your Mini Cheesecakes from Sinking
To avoid a sunken center, ensure your cheesecakes are properly baked. Look for the edges to be set and firm, the center to appear mostly set with just a slight wobble when gently moved, and an internal temperature of 150°F (65°C). Additionally, avoid overbeating the batter, particularly after the egg has been added, to minimize excess air incorporation.
Troubleshooting Lumpy Cheesecake Batter
A lumpy cheesecake batter is almost always due to cold cream cheese or eggs. When these key ingredients are cold, they don’t emulsify properly with the sugar and other components, leading to an uneven, lumpy texture.
To prevent this, ensure both your cream cheese and egg are at room temperature. I recommend letting them sit out on the counter for at least 2 hours, or until they no longer feel cold to the touch. The exact time may vary depending on your kitchen’s ambient temperature.
If your cream cheese is still a bit cold, you can gently microwave it (without the foil wrapper!) in short 5-10 second bursts, stirring in between, until it softens and loses its chill. Be extremely careful not to accidentally melt it. For eggs, place them in a bowl of warm water for about 15 minutes to bring them to temperature.
What to Do If Your Cheesecake Batter Is Already Lumpy
Unfortunately, once your cheesecake batter is lumpy, no amount of additional beating will smooth out the lumps, and they certainly won’t magically melt during baking.
One potential solution is to briefly use a blender to smooth out the batter. However, be aware that this method can incorporate a significant amount of air, which might lead to cracking in your finished cheesecakes. If cracks do appear, they can easily be covered and hidden with your chosen garnishes.
Another option is to gently press the batter through a fine-mesh strainer. While you might lose a small amount of batter in the process, this will effectively remove the lumps, leaving you with a smooth, uniform filling.
Discover More Small Batch Cheesecake Recipes
If you love these individual treats, explore more of my small batch cheesecake recipes perfect for two:
- Classic Mini Cheesecakes
- No Bake Mini Cheesecakes
- Mini Pumpkin Cheesecakes
- Mini Caramel Cheesecakes
- Mini Gingerbread Cheesecakes
Mini Chocolate Cheesecakes (Small Batch)
6 mini cheesecakes
30 minutes
20 minutes
4 hours
4 hours 50 minutes
These Small Batch Mini Chocolate Cheesecakes are individual chocolate cheesecakes baked conveniently in a muffin pan. They’re a perfect chocolate dessert for two or a small group.
Ingredients
- 2 ounces semisweet chocolate, chopped
- 3/4 cup graham cracker crumbs*
- 2 tablespoons unsalted butter, melted
- 8 ounces (1 block or 8 tablespoons) full-fat cream cheese, room temperature and not cold to the touch (do not sub fat free)
- 1/3 cup granulated sugar
- 1 large egg, room temperature and not cold to the touch
- 1/2 teaspoon pure vanilla extract
Garnish Ideas
- Mini marshmallows and melted chocolate
- Small Batch Chocolate Whipped Cream
- Small Batch Vanilla Whipped Cream
- Small Batch Peanut Butter Whipped Cream
Instructions
- Preheat your oven to 325°F (160°C). Line a standard muffin pan with 6 paper liners. If you opt not to use paper liners, thoroughly grease each muffin cup with cooking spray or butter.
- Prepare your chocolate: In a large microwave-safe bowl, add the chopped semisweet chocolate. Microwave on high for 30 seconds, then stir. Continue microwaving in 15-second intervals, stirring well after each, until the chocolate is completely smooth and melted. Allow the melted chocolate to cool for at least 15 minutes before adding it to the batter.
Alternatively, you can melt the chocolate using a double boiler method: Add about an inch of water to a small saucepan and bring it to a gentle simmer on the stove. Turn off the heat and place a heatproof bowl over the saucepan, ensuring the bottom of the bowl does not touch the water. Add the chopped chocolate to the bowl and stir gently until it’s completely smooth and melted. Remove from the heat and let cool for 15 minutes.
- Prepare the crust: In a small bowl, combine the graham cracker crumbs (or Oreo crumbs, see notes) with the melted butter. Mix thoroughly until the crumbs are moistened and begin to clump together. Press approximately 2 tablespoons of this mixture firmly into the bottom of each prepared paper liner (or greased muffin cup). Bake for 5-8 minutes, or until the crust appears set and no longer looks wet. This step helps create a crisp base. Allow the crusts to cool completely while you prepare the cheesecake filling.
- Make the filling: In a large mixing bowl, using an electric mixer on high speed, beat together the room-temperature cream cheese and granulated sugar. Continue to beat for 2-3 minutes, or until the mixture is light, fluffy, and completely smooth. Be sure to stop and scrape down the sides and bottom of the bowl as needed to ensure all ingredients are well incorporated.
- Add egg and chocolate: Beat in the room-temperature large egg for just 1 minute, until it is fully combined and the batter appears smooth. Avoid overbeating after adding the egg. Finally, gently beat in the cooled melted chocolate and pure vanilla extract until just combined.
- Bake the cheesecakes: Divide the chocolate cheesecake filling evenly among the cooled cookie crusts in the muffin pan. The cups should be filled close to the top. Bake for 20-25 minutes, or until the tops and edges of the cheesecakes are set and firm, the center shows only a slight jiggle when the pan is gently moved, and an internal temperature of 150°F (65°C) is reached.
- Cool and chill: Once baked, allow the mini cheesecakes to cool at room temperature for 1 hour. After cooling, cover the muffin pan (or transfer cheesecakes to an airtight container) and refrigerate for at least 4 hours, or preferably overnight. This chilling period is crucial for the cheesecakes to fully set and develop their rich flavor. Garnish as desired before serving.
Store any leftover mini cheesecakes in an airtight container in the refrigerator for up to 5-7 days.
Notes
*Don’t want to use graham crackers for the crust? You can easily substitute with Oreo crumbs for an extra chocolatey flavor. If using Oreo crumbs (with the cream filling), reduce the melted butter to 1 tablespoon, as the cream helps with binding.
Looking for more delightful small batch recipes? Explore my full collection of Easy Mini Cheesecake Recipes for inspiration.
If you wish to bake a larger version of this recipe in a different pan size, check out my recipes for 6-inch chocolate cheesecake and 9-inch chocolate cheesecake.
Recommended Products
As an Amazon Associate and member of other affiliate programs, I earn from qualifying purchases.
- Cupcake Pan
- Paper Liners
Did you make this recipe?
Let me know what you think! Rate the recipe above, leave a comment below, and/or share a photo on Instagram using #HITKrecipes
