The Ultimate Guide to Delicious Small Batch Cinnamon Rolls: Perfect for Two
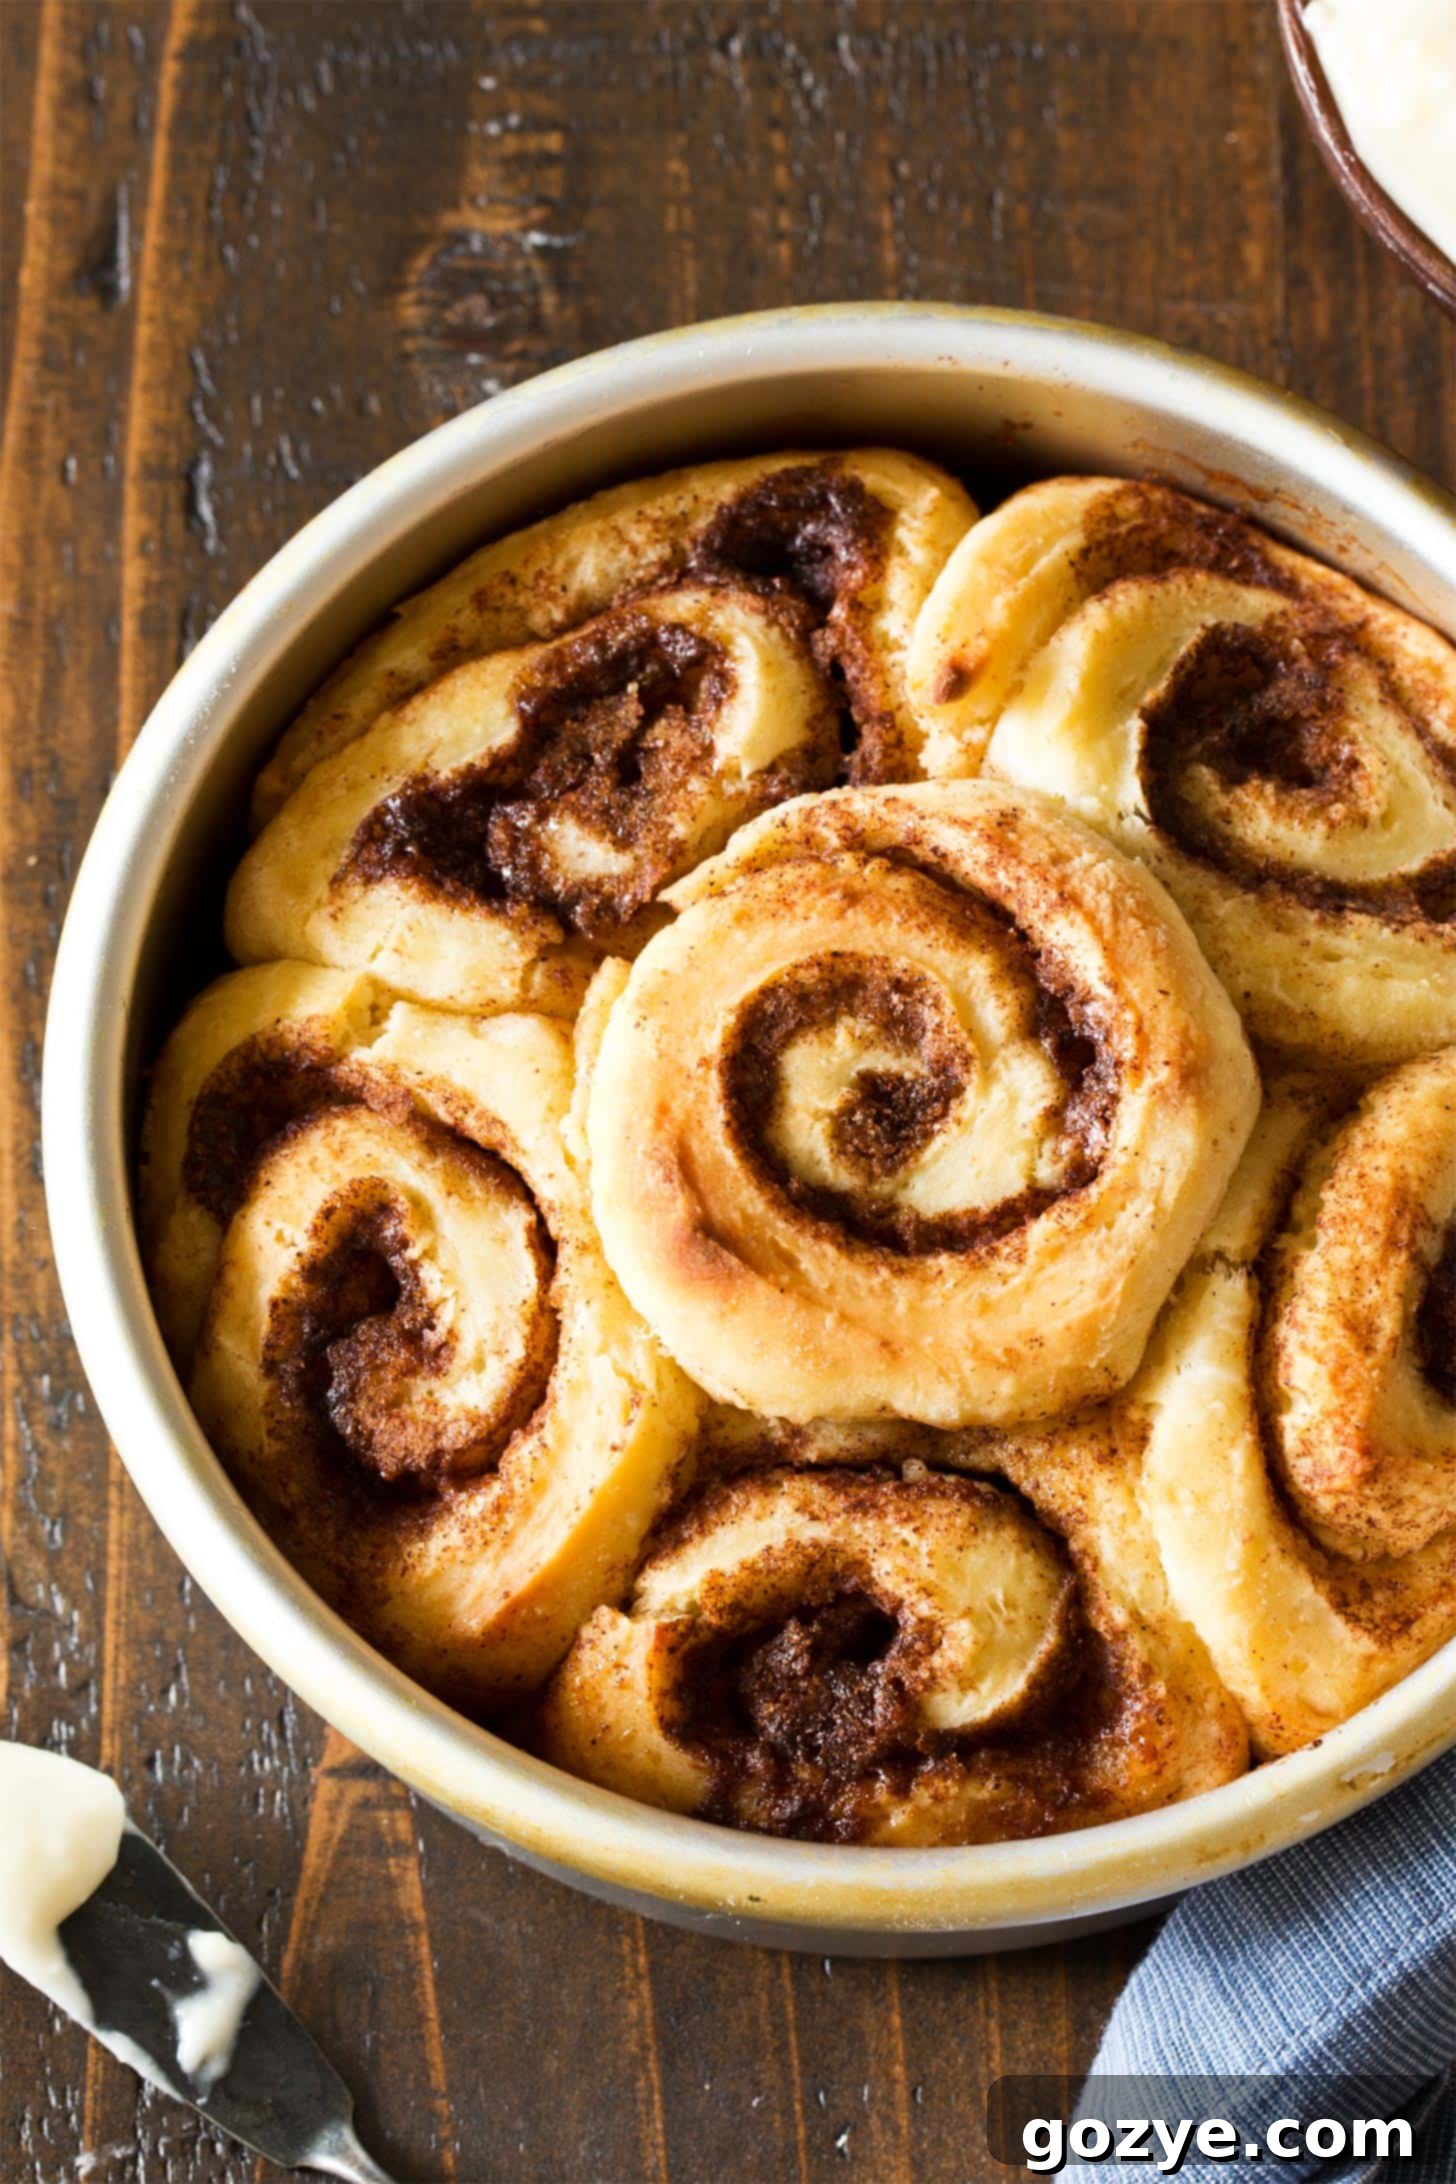
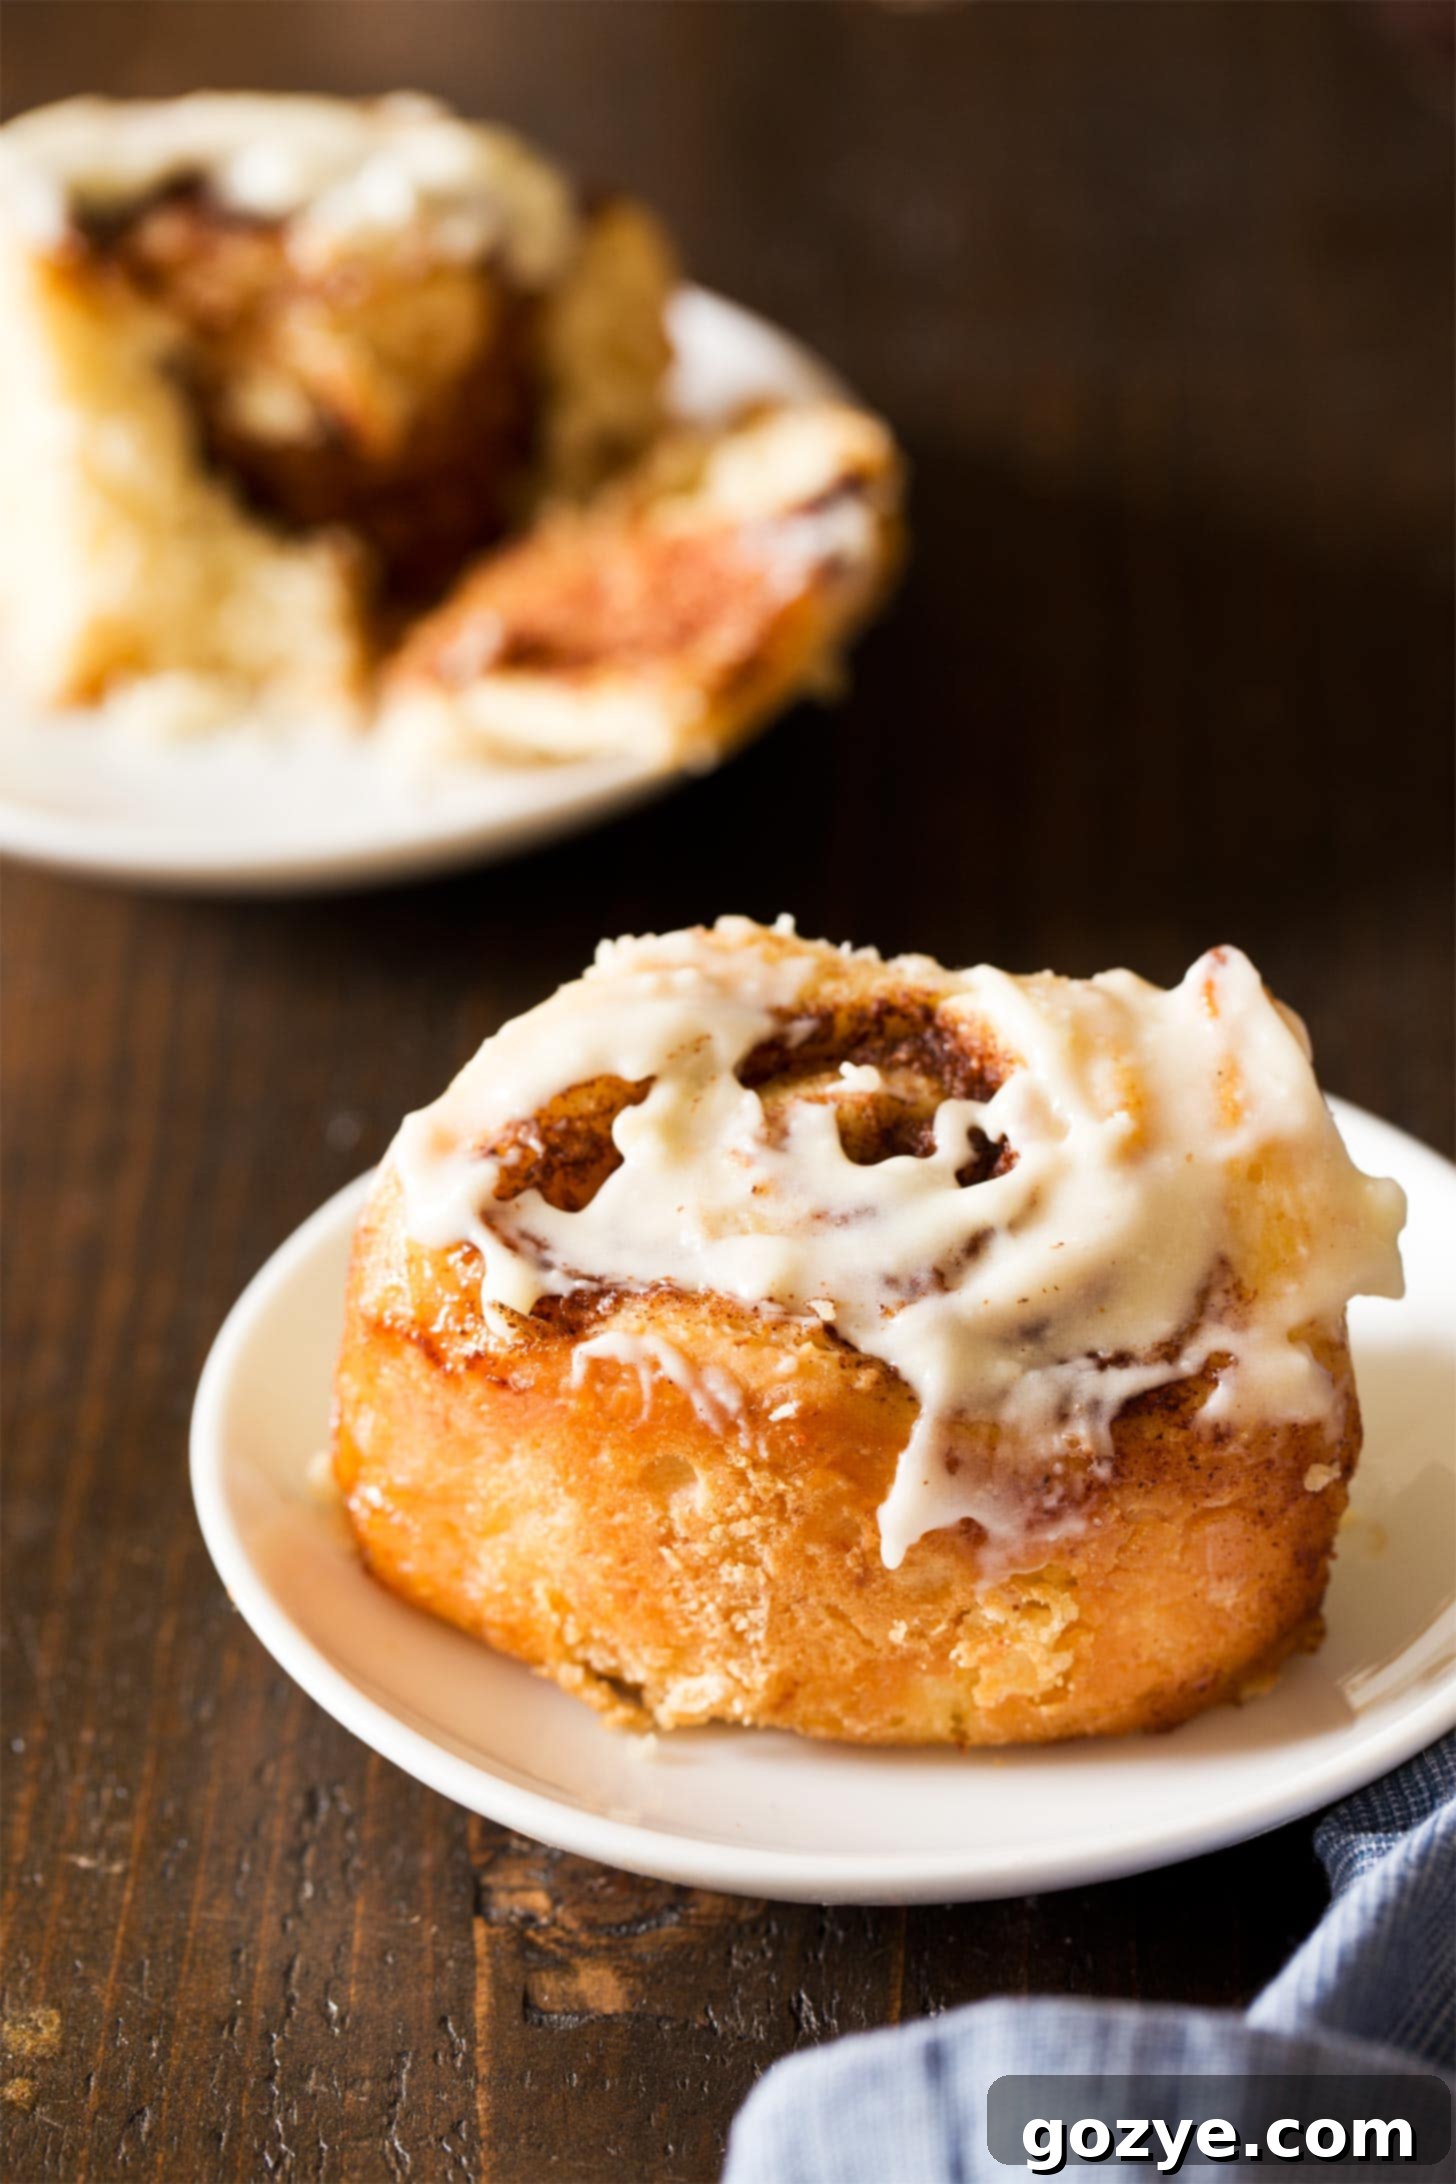
Small Batch Cinnamon Rolls offer a delightful indulgence for two, featuring six incredibly soft and fluffy cinnamon buns generously filled with a sweet, aromatic cinnamon sugar blend and crowned with a luscious, tangy cream cheese frosting. Whether you crave immediate gratification or prefer the convenience of overnight preparation, these rolls can be baked fresh the same day or enjoyed warm from the oven in the morning.

However, nothing truly compares to the authentic flavor and texture of homemade, old-fashioned cinnamon buns. After years of this recipe being on my “must-make” list, I am thrilled to finally share these Small Batch Cinnamon Rolls. This recipe yields a perfect half-dozen of incredibly soft and fluffy cinnamon buns, each one lavishly topped with my signature tangy cream cheese frosting. For those who prefer a lighter glaze, my versatile Bundt cake glaze makes a fantastic alternative.
You might be thinking, “Yeast dough? That sounds intimidating! What if I mess it up?” Let me reassure you: making yeast dough from scratch is far simpler than it appears. In fact, many find the process to be quite meditative and therapeutic. Once you discover the joy and ease of working with yeast, a whole new world of baking possibilities opens up, leading you to explore other delightful recipes like my small batch dinner rolls and exquisite homemade crescent rolls.
To ensure your success, this guide includes detailed, step-by-step photos illustrating every stage of preparing your yeast dough, from initial mixing to expert rolling. We understand that yeast dough requires time to rise, which is why we’ve also provided comprehensive instructions for making overnight cinnamon rolls. This way, you can prepare the dough the day before, pop them in the oven the next morning, and wake up to the irresistible aroma of freshly baked cinnamon buns – a truly sweet breakfast for two, or a delightful treat to share.
Essential Ingredients for Your Small Batch Cinnamon Rolls
Crafting these delectable small batch cinnamon rolls requires a handful of common pantry staples. Each ingredient plays a crucial role in achieving that perfect fluffy texture and rich flavor profile:
- All-purpose flour: This foundational ingredient provides the necessary structure for your rolls. As you knead, the gluten proteins in the flour develop, creating the elastic network that traps gases produced by the yeast, resulting in a light and airy crumb. It also acts as the binder for all other ingredients, ensuring your dough holds together beautifully.
- Granulated sugar: More than just adding sweetness, granulated sugar serves as vital food for the active dry yeast, kickstarting the fermentation process. It also contributes to the beautiful golden-brown color of the rolls as they bake, thanks to caramelization, and enhances the overall flavor.
- Active dry yeast: The star of any yeast dough, active dry yeast is responsible for giving these rolls their signature light, airy, and incredibly fluffy texture. When activated with warm liquid, the yeast ferments, producing carbon dioxide gas that makes the dough rise.
- Salt: Far from just a flavor enhancer, salt is essential for balancing the sweetness and deepening the overall taste of your cinnamon rolls. In yeast dough, it also plays a critical role in controlling the yeast’s activity and strengthening the gluten structure, leading to a more manageable dough and a better rise.
- Whole milk: The choice of liquid is important. Whole milk, ideally warmed to between 120°F and 130°F, is crucial for activating the yeast. If the milk is too cold, the yeast won’t awaken; if it’s too hot, it will kill the yeast, preventing your dough from rising. The fat content in whole milk also contributes to a richer flavor and a more tender crumb.
- Unsalted butter: Butter is a flavor powerhouse, infusing the dough with a rich, delicate taste. When incorporated into the dough, it also creates small pockets of air, which, in conjunction with the yeast, contribute significantly to the soft, tender, and fluffy texture that defines a perfect cinnamon roll.
- Egg: Adding a large egg to the dough enhances its richness, provides additional moisture, and contributes to a more tender and slightly cake-like texture. Eggs also help with emulsification, creating a smoother dough, and add a beautiful golden hue to the baked rolls.
- Brown sugar and cinnamon: The very essence of a cinnamon roll! This dynamic duo forms the irresistible filling. Brown sugar, with its molasses content, provides a deeper, more caramel-like sweetness and a gooey texture when baked, perfectly complementing the warm, fragrant spice of ground cinnamon. Together, they create that iconic, aromatic swirl.
Selecting the Perfect Pan for Your Small Batch Cinnamon Buns
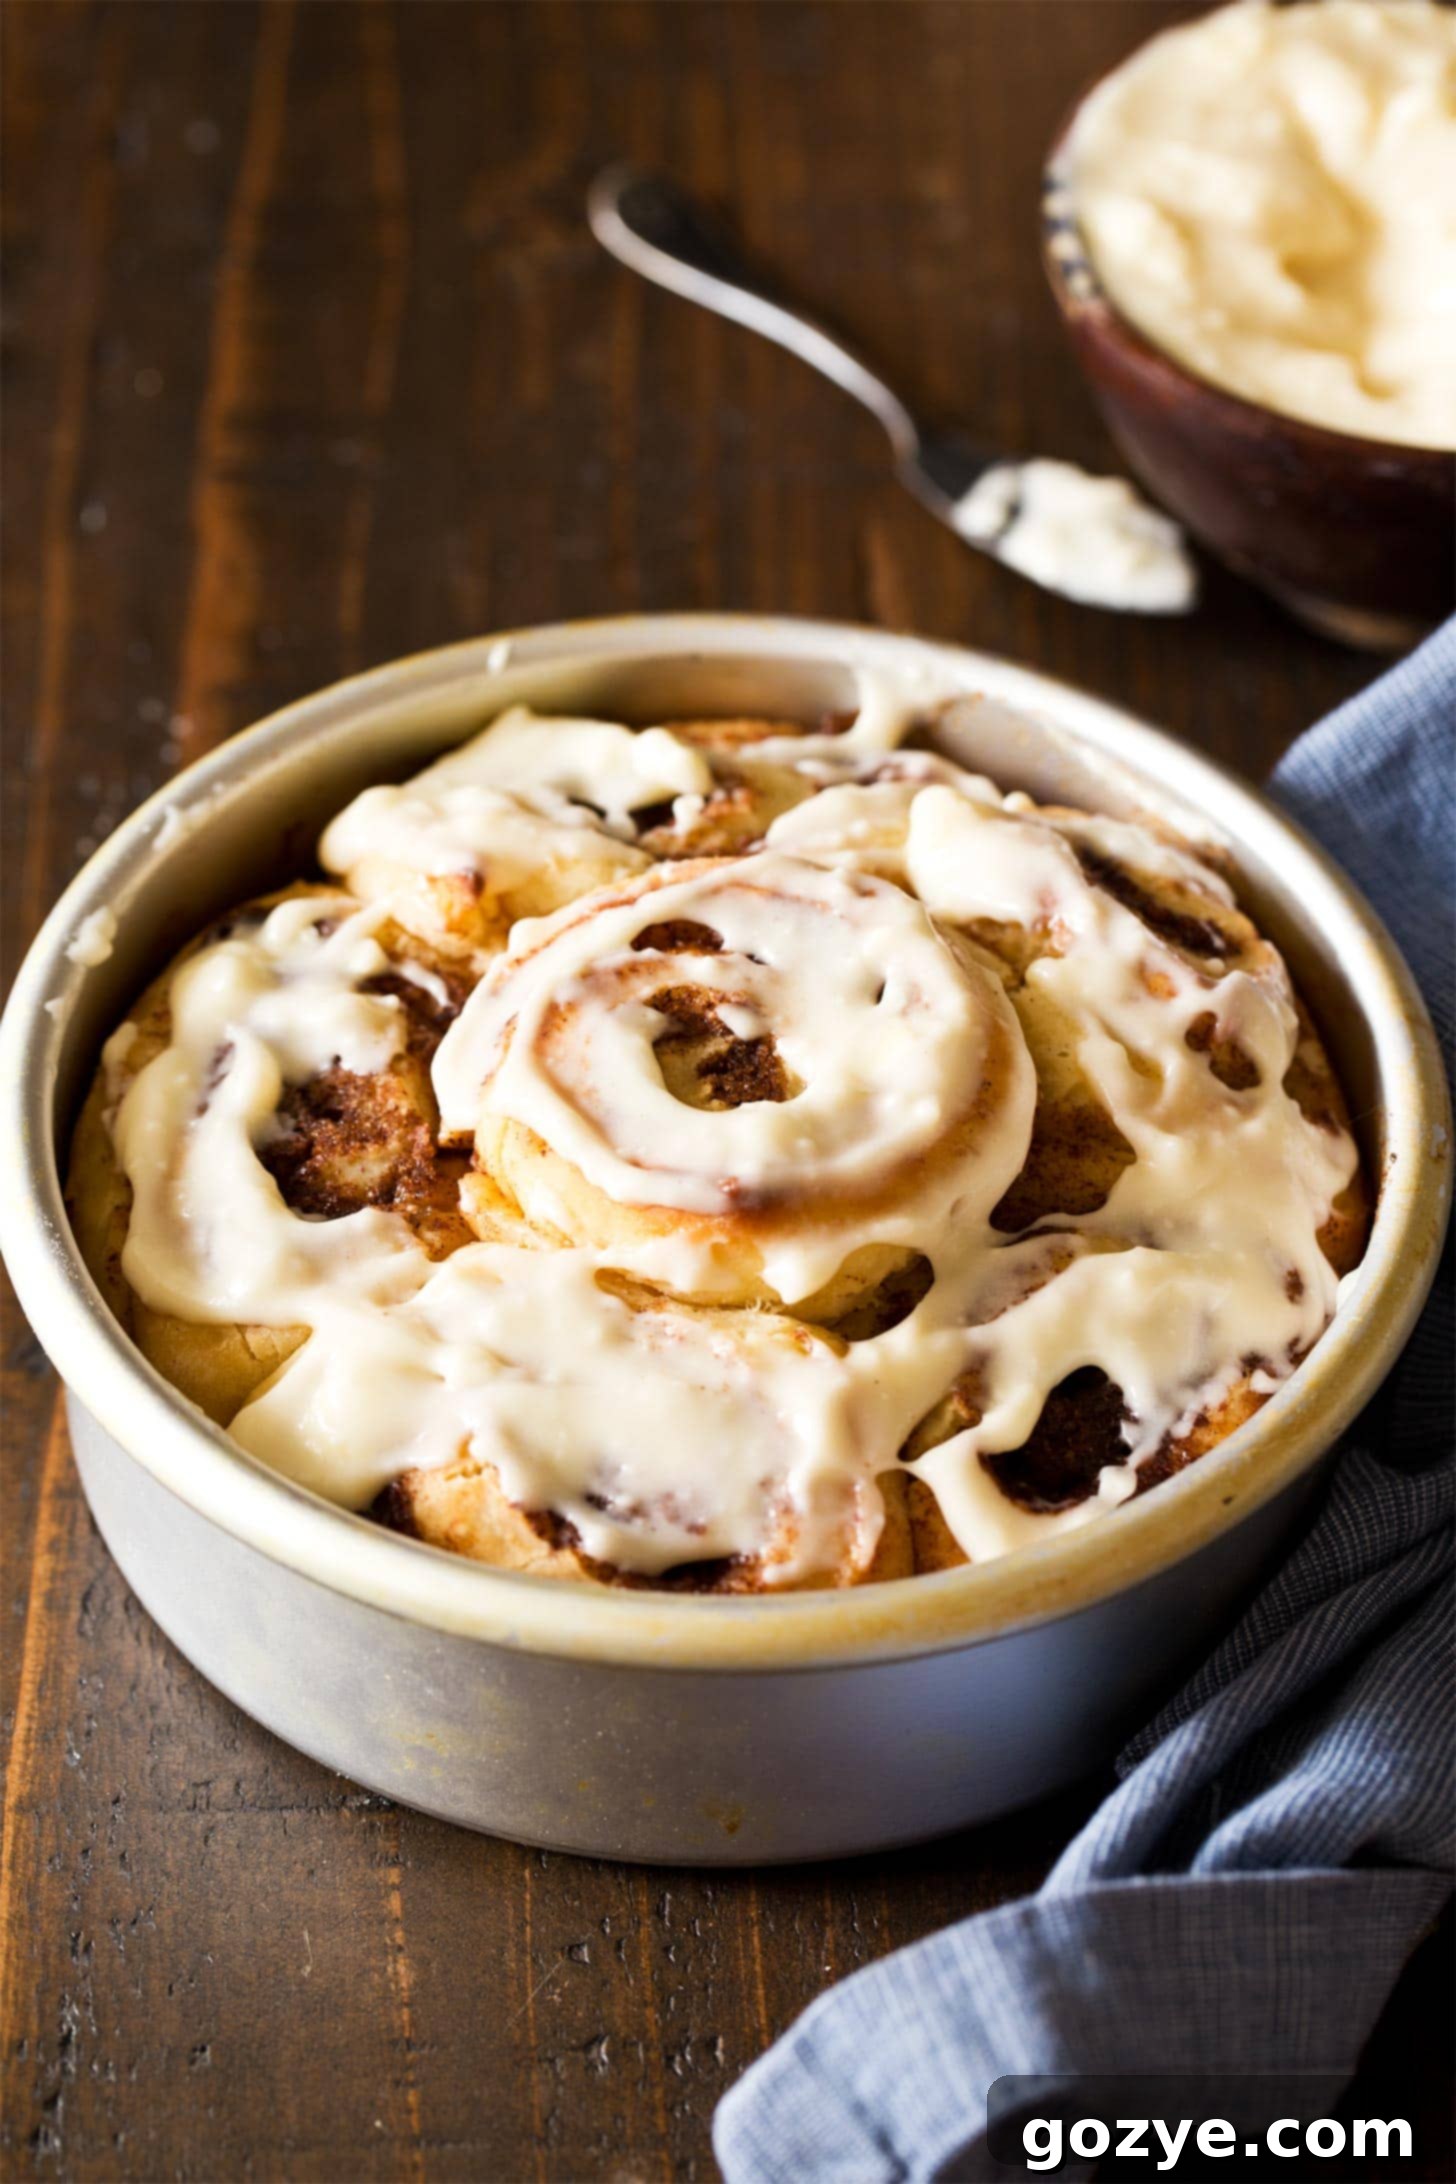
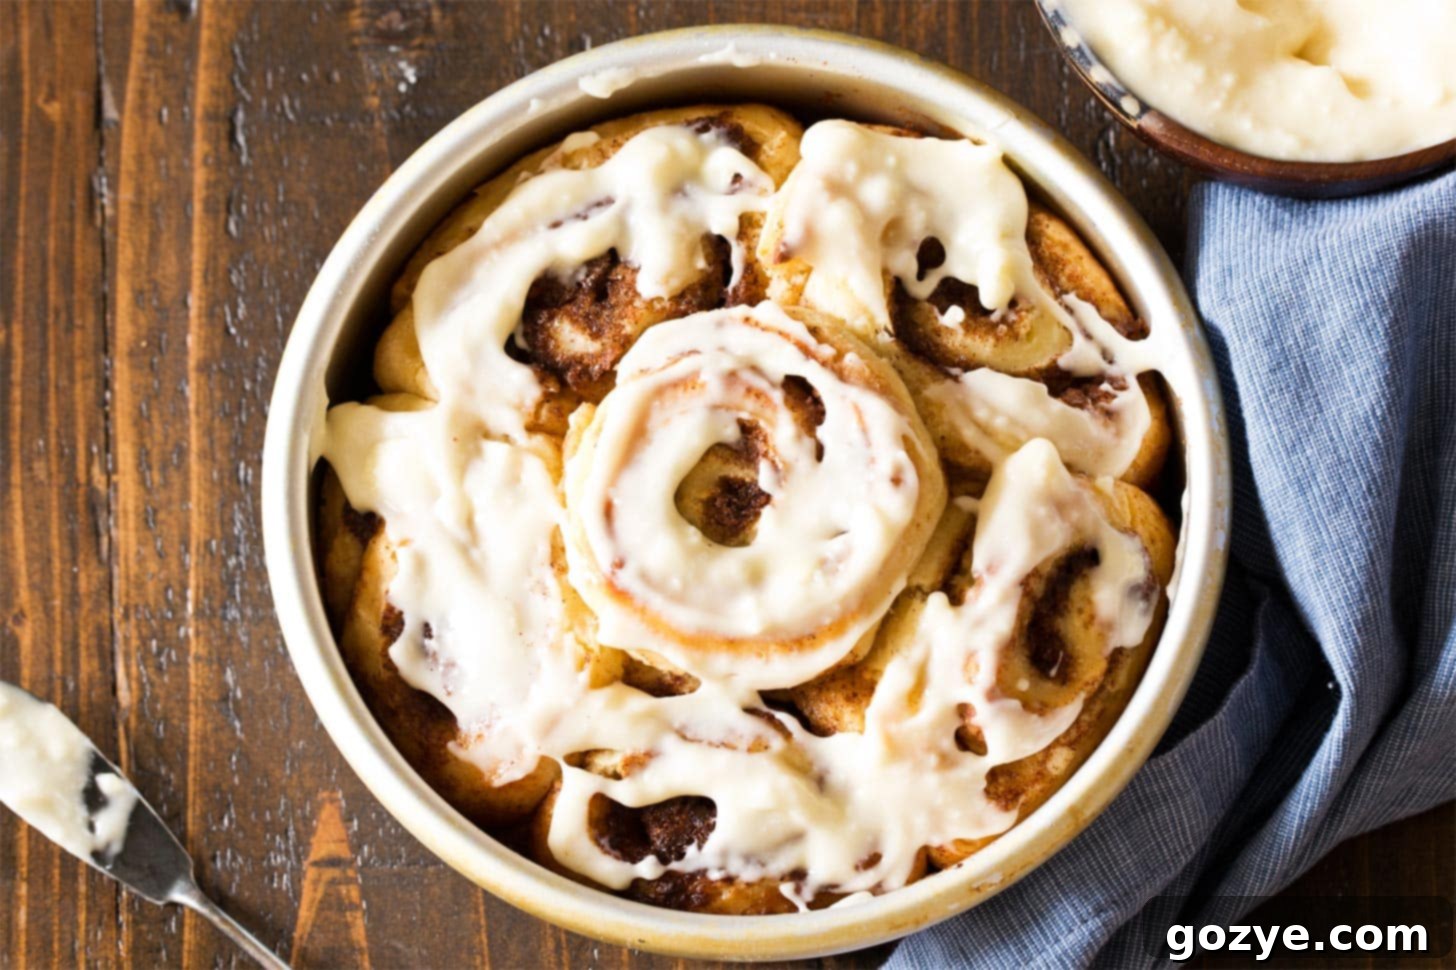
For these small batch cinnamon buns, I highly recommend using a 6-inch round cake pan. The snug fit is intentional and beneficial: it encourages the rolls to touch, preventing them from drying out during baking and ensuring the rich cinnamon-sugar filling stays securely nestled within each bun rather than spilling out. This contact also helps them rise uniformly and keeps them incredibly moist and tender.
However, if a 6-inch round pan isn’t readily available, you have excellent alternatives. A small 5×7 inch rectangular pan or even a similar-sized casserole dish will work beautifully. While these might result in a slightly different shape compared to the classic round configuration, the core principle remains: ensure the rolls are placed closely together. This proximity is key to maintaining their moisture and allowing them to expand into each other, creating that desirable soft, pull-apart texture.
Mastering the Art of Small Batch Cinnamon Rolls: A Step-by-Step Guide
Making homemade cinnamon rolls from scratch might seem daunting, but with these clear steps and helpful tips, you’ll be baking like a pro in no time. Here’s how to create your own irresistible small batch cinnamon rolls:
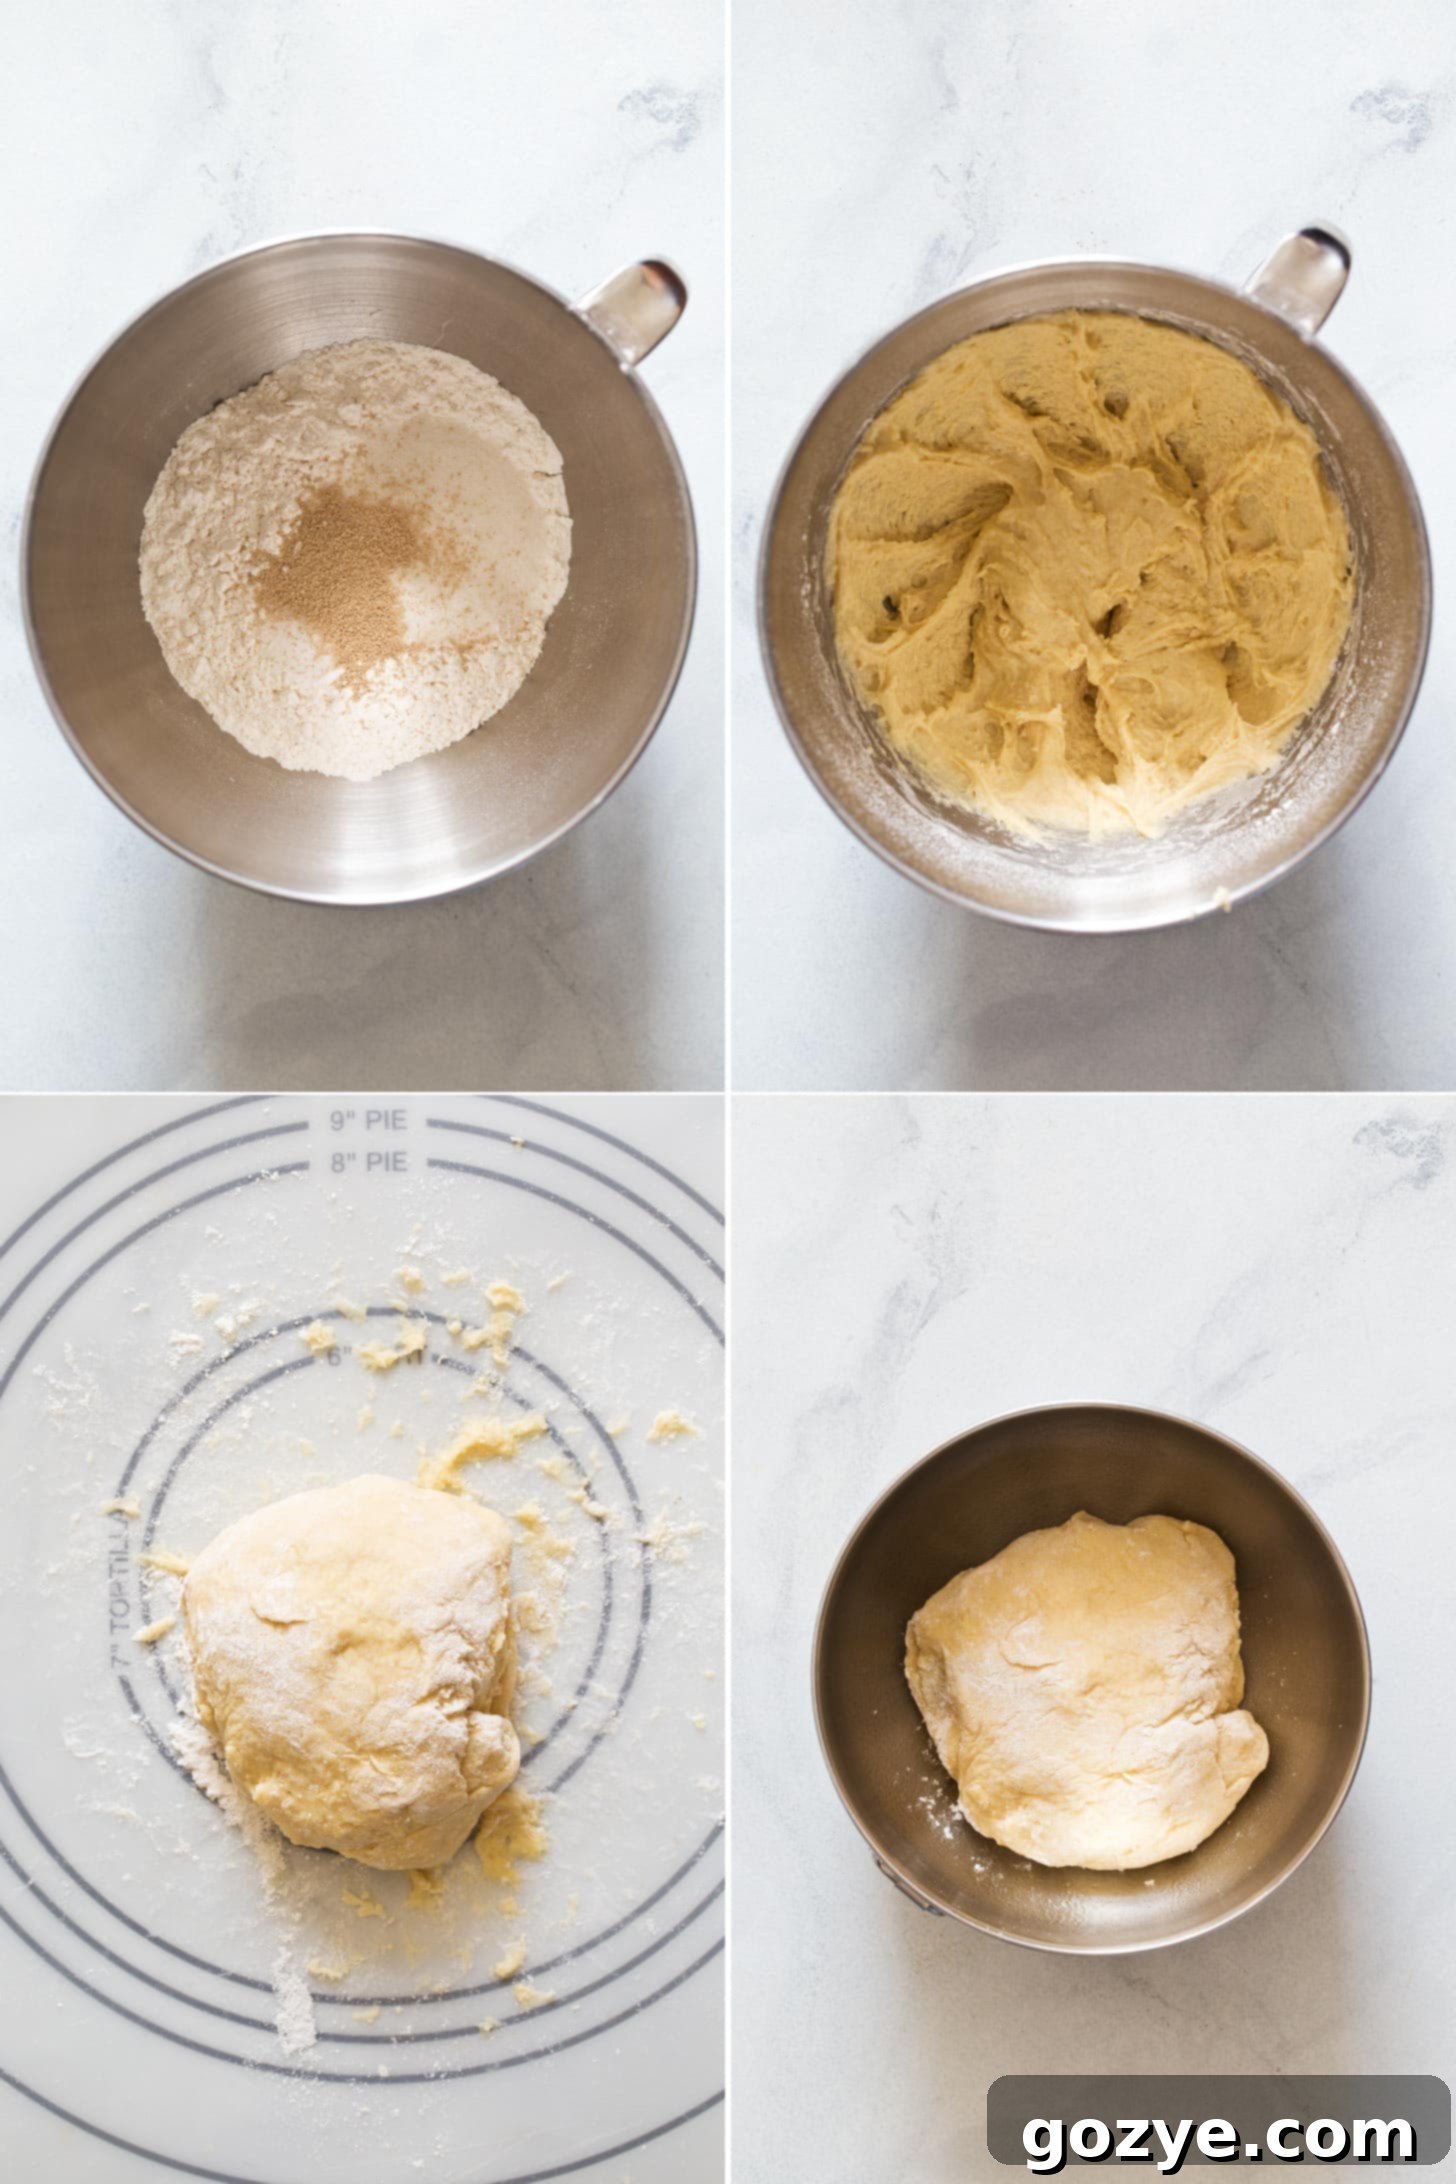
Combine Ingredients for Dough: Begin by combining the all-purpose flour, granulated sugar, active dry yeast, and salt in a large mixing bowl. Give these dry ingredients a gentle whisk to ensure they are well distributed. In a separate bowl, whisk together the warmed whole milk, melted butter, and egg. Gradually add this wet mixture to the dry ingredients, gently beating until a soft, shaggy dough begins to form. At this stage, the dough might still look a bit rustic, but don’t worry – kneading will transform it.
Knead the Dough to Perfection: Transfer the newly formed dough to a lightly floured surface. Knead diligently for approximately 4-6 minutes. This process is crucial for developing the gluten, which gives the rolls their structure and chewiness. You’ll know the dough is perfectly kneaded when it becomes smooth, elastic, and no longer sticky. It should hold its shape without spreading and, if you gently press an indentation into it, the dough should slowly spring back. Resist the urge to add too much flour during kneading, as this can make your rolls dense and dry.
First Rise (Proofing): Once kneaded, transfer the dough to a lightly greased bowl, ensuring all sides are coated to prevent drying. Loosely cover the bowl with a clean kitchen towel or plastic wrap. Place it in a warm, draft-free area for about 1 hour. A good spot could be a slightly warm oven (turned off, of course), near a sunny window, or on top of a warm appliance. This resting period allows the yeast to work its magic, causing the dough to double in size and develop its characteristic flavor.
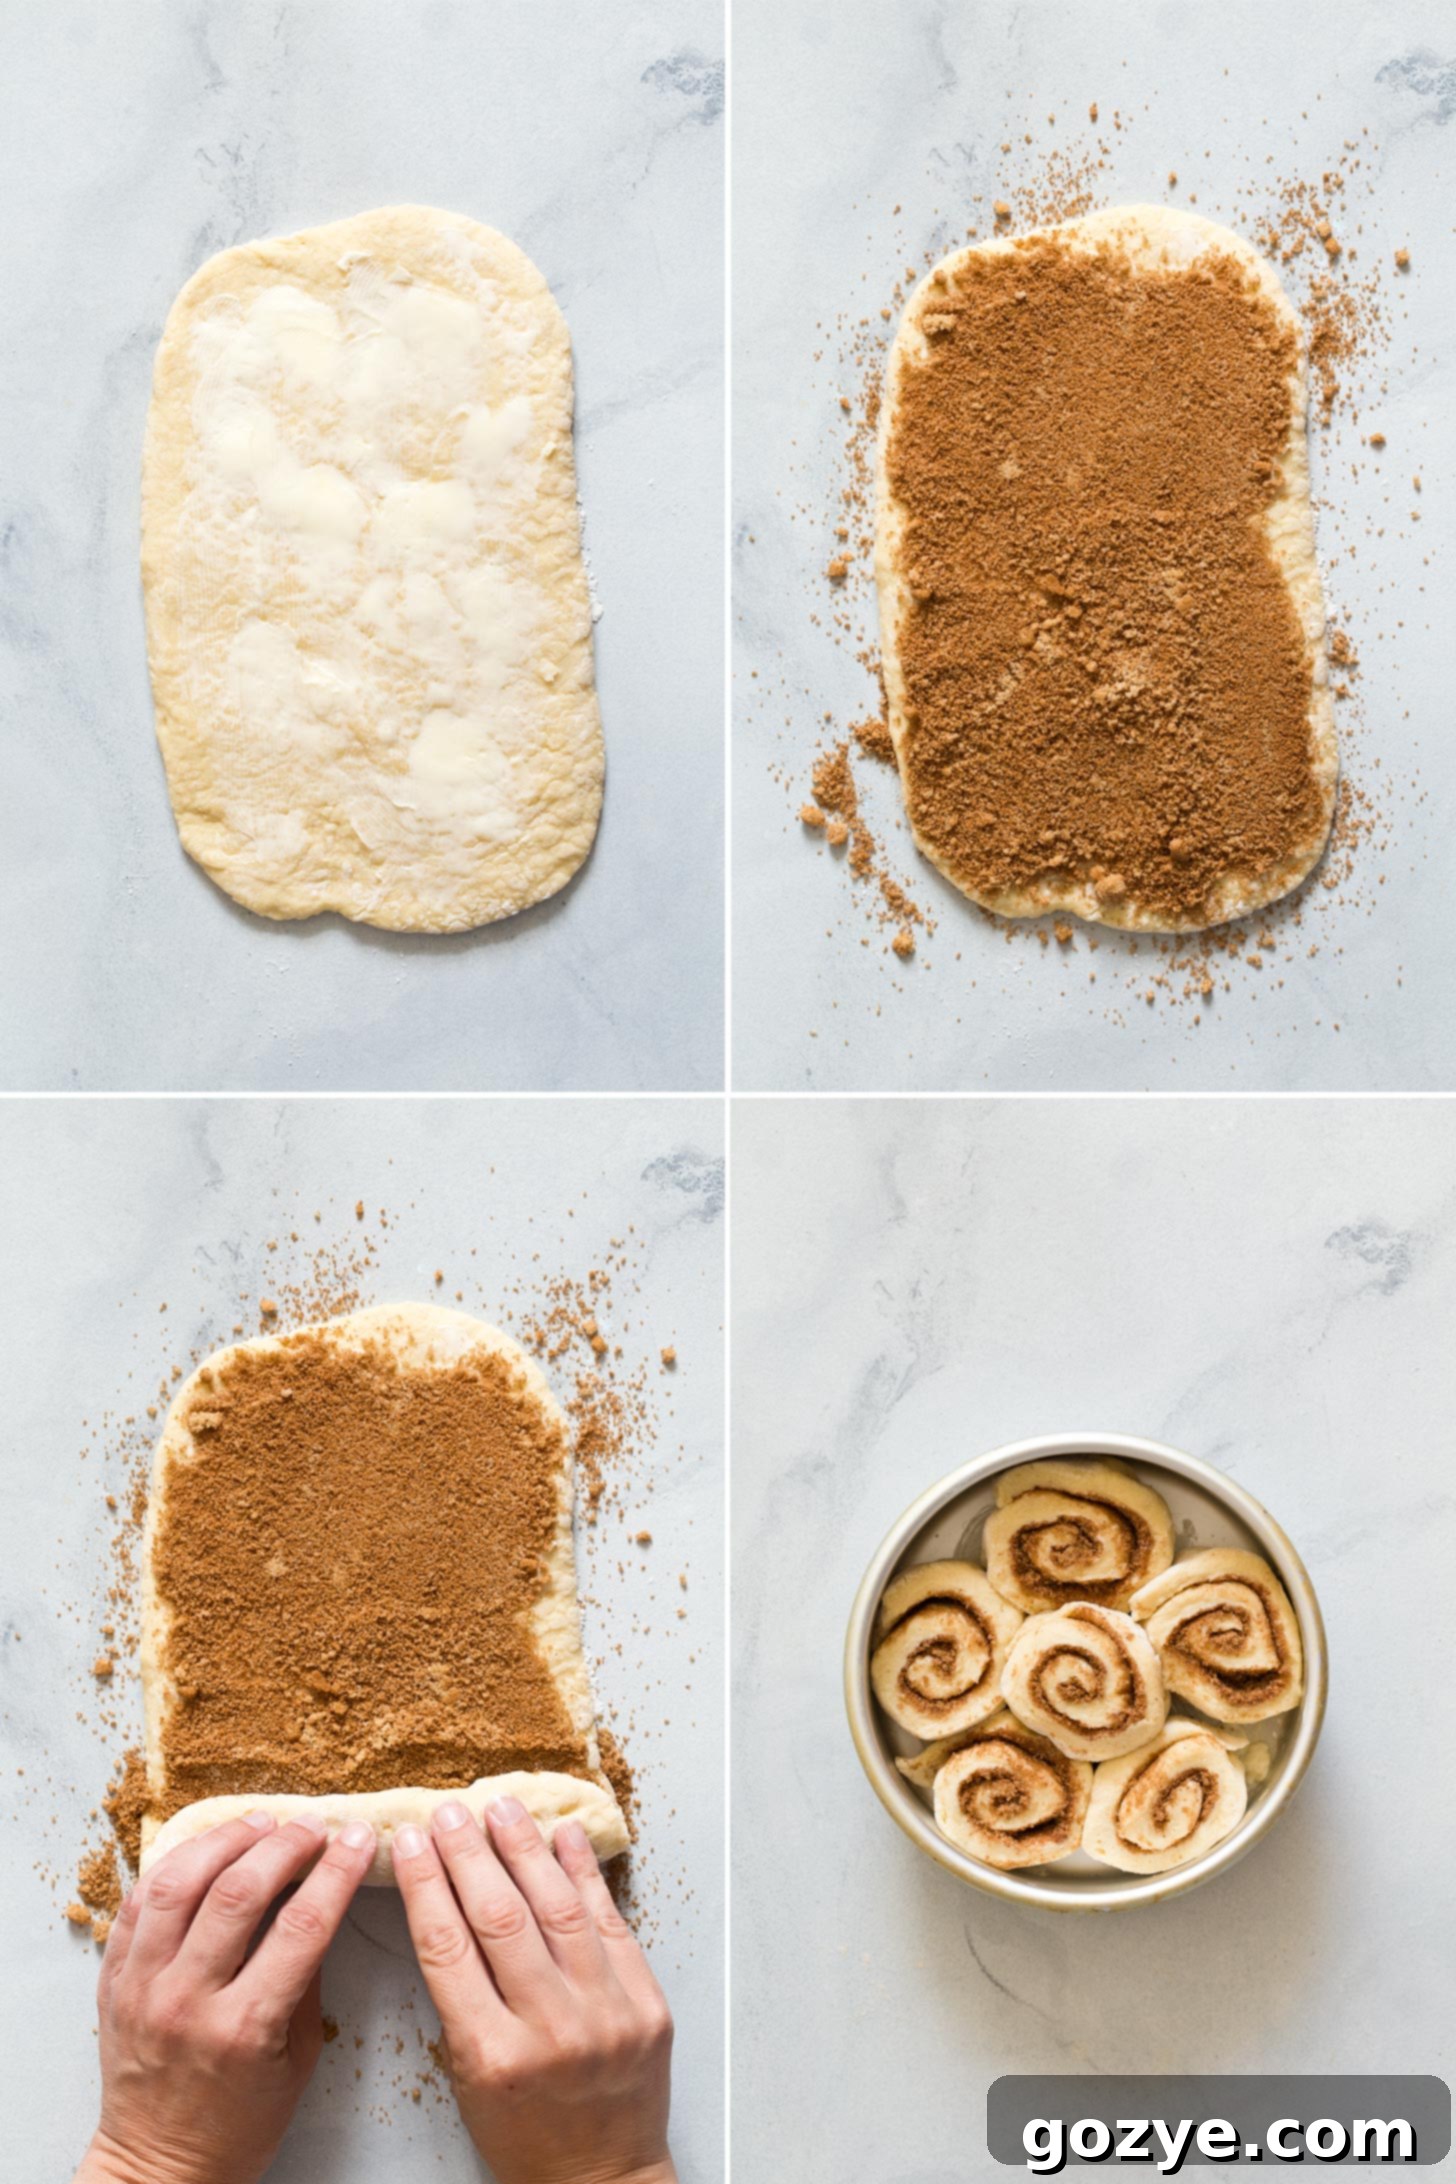
Roll and Fill the Dough: After the first rise, gently punch down the dough to release the air. Transfer it to a lightly floured surface and roll it out into a uniform 6×10 inch rectangle. Aim for an even thickness across the entire surface. Evenly spread the softened (but not melted) butter over the dough, extending almost to the edges. In a small bowl, combine the brown sugar and ground cinnamon, then sprinkle this delicious mixture generously over the buttered dough. Ensure an even coating for maximum flavor in every bite.
Roll and Slice the Buns: Starting from one of the shorter 6-inch ends, carefully roll the dough tightly into a cylinder. A tight roll is key to achieving those beautiful, distinct swirls. Once rolled, use a sharp, un-serrated knife or even dental floss (unwaxed, unflavored) to cut the cylinder into 6 equal slices. Using dental floss helps create clean, un-smashed rolls. Arrange these slices, cut-side up, in your prepared buttered pan, ensuring they are touching to promote a moist and cohesive bake.
Second Rise (Proofing) or Overnight Prep: Cover the pan loosely with a clean kitchen towel. Allow the rolls to undergo a second rise in a warm area for another 1 hour. This final rise will make them extra fluffy. Alternatively, for overnight convenience, cover the pan tightly with plastic wrap and refrigerate for up to 24 hours. This allows you to prepare them the night before and bake them fresh in the morning.
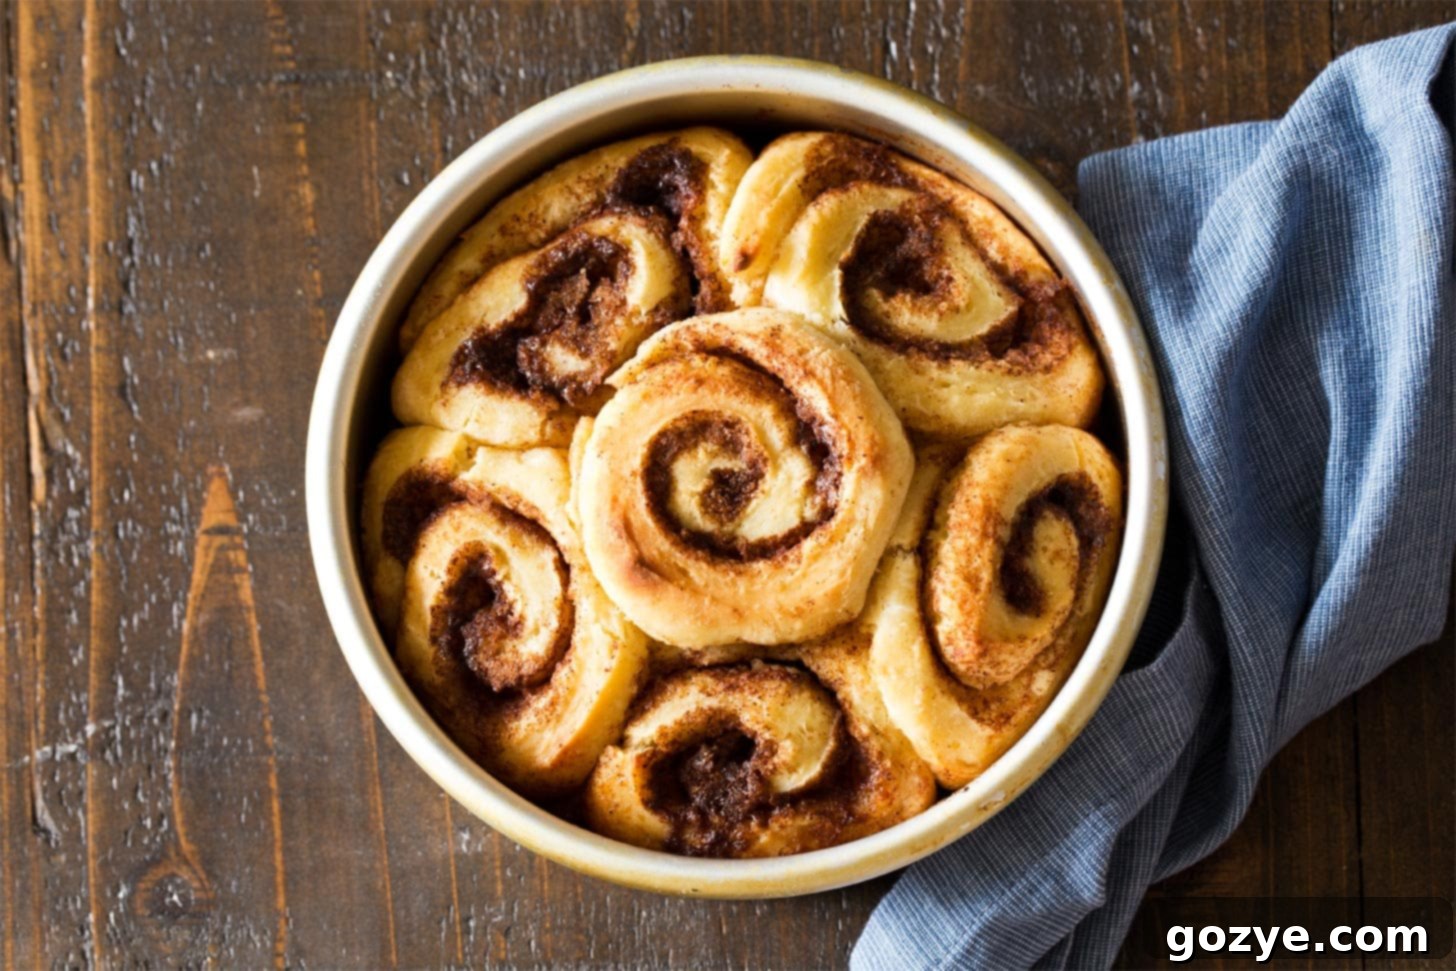
Bake to Golden Perfection: Preheat your oven to 350°F (175°C). If you prepared them overnight, remember to let them sit at room temperature for about an hour (still covered with plastic wrap) before baking. Bake the rolls for 20-25 minutes, or until they turn a beautiful golden brown on top and are cooked through. The internal temperature should reach about 200-205°F (93-96°C). Once baked, remove them from the oven and let them cool in the pan for about 15 minutes. This cooling time allows them to set slightly before frosting.
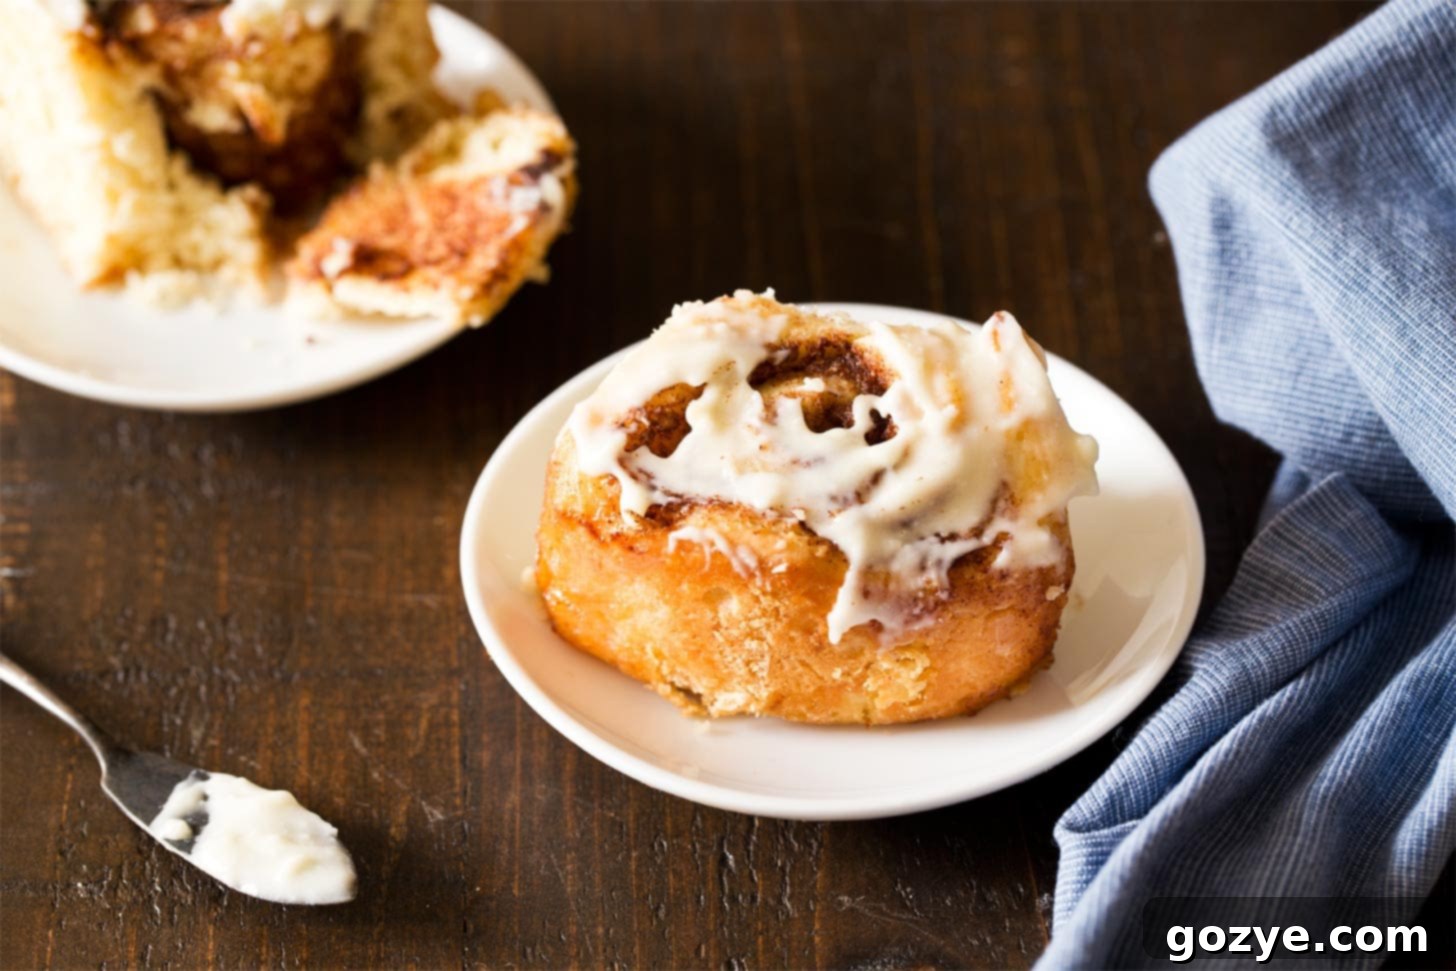
Frost and Serve: While the rolls are still warm, spread your desired frosting generously over the top. The warmth of the rolls will allow the frosting to melt slightly, creating a luscious, irresistible glaze. Cinnamon rolls are always best enjoyed on the day they are made, fresh from the oven. If you have any leftovers, they can be stored for up to 2 days. Remember to refrigerate them only if you are using cream cheese frosting to maintain freshness and safety.
Effortless Overnight Small Batch Cinnamon Rolls
For those who dream of waking up to the irresistible aroma of freshly baked cinnamon rolls without the morning rush, preparing your small batch cinnamon rolls ahead of time is incredibly easy. Follow the recipe instructions precisely up to the point of the second rest period, where the rolls are already formed and placed in the baking pan.
Instead of letting them rise for the second hour at room temperature, simply cover the pan tightly with plastic wrap to prevent the dough from drying out. Then, transfer the pan to the refrigerator. The cold temperature will significantly slow down the yeast activity, allowing the rolls to slowly proof overnight for up to 24 hours.
When you’re ready to bake the next morning, remove the pan from the refrigerator. Keep the plastic wrap on and let the rolls sit in a warm spot at room temperature for about 1 hour. This helps the dough come up to temperature and resume its final rise before baking. Preheat your oven as directed. You might find that these refrigerated rolls require an additional 5 minutes or so in the oven to achieve that perfect golden-brown color, so keep an eye on them. The result will be a batch of warm, gooey, and utterly delicious cinnamon rolls that taste like they were just made.
Elevate Your Experience: How To Frost Cinnamon Rolls
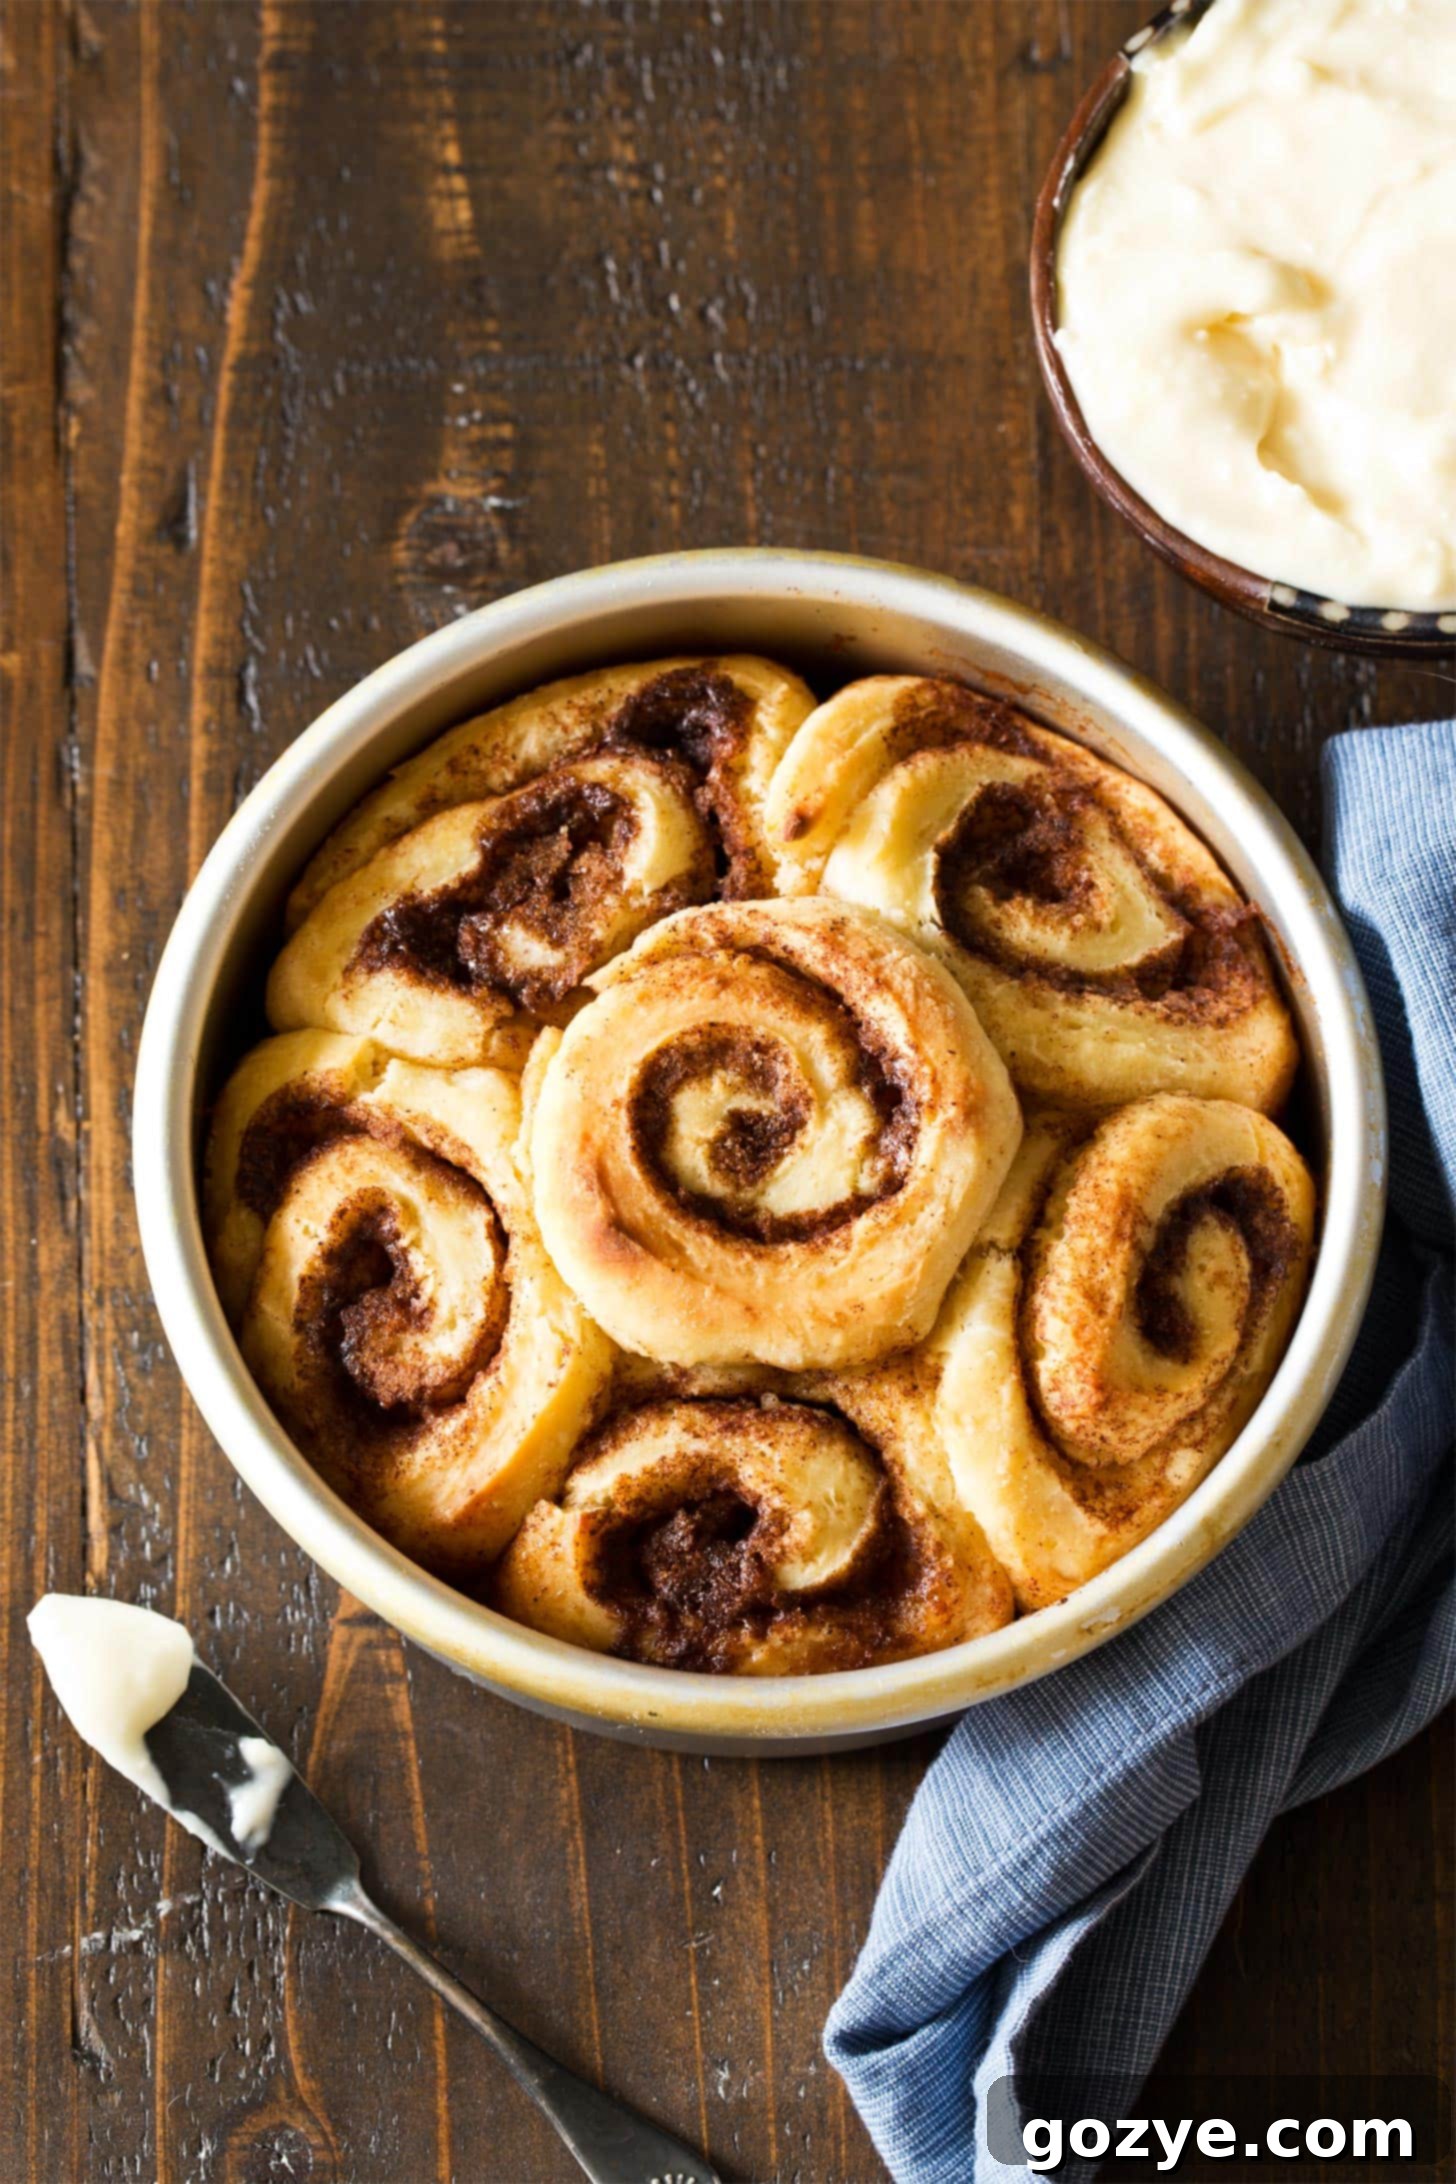
The frosting is the crowning glory of any cinnamon roll, transforming a delicious bun into an unforgettable dessert. As previously noted, I’ve opted for a classic, tangy cream cheese frosting for these small batch wonders, which perfectly complements the sweet and spicy filling. The slight tanginess cuts through the sweetness, creating a balanced and incredibly satisfying flavor profile.
However, the beauty of homemade cinnamon rolls lies in their versatility. You can easily customize the frosting to suit your mood or preference! For a delightful twist, consider topping your rolls with a rich peanut butter cream cheese frosting, adding a nutty dimension. If you’re a chocolate lover, a decadent chocolate cream cheese frosting will turn these into an even more indulgent treat. Or, for a burst of fruity freshness, a vibrant strawberry cream cheese frosting offers a lovely contrast. Don’t be afraid to experiment and find your favorite combination!
Maximizing Freshness: How To Freeze Cinnamon Rolls
Even though this recipe is designed for a small batch, yielding six delicious cinnamon rolls, sometimes you might not want to enjoy all of them in one sitting. The good news is that these homemade cinnamon rolls freeze exceptionally well, allowing you to savor their goodness over an extended period. This makes them perfect for meal prepping breakfasts or having a quick, delightful treat on hand whenever a craving strikes.
To freeze, start with completely unfrosted rolls. Once they have cooled fully after baking, wrap each individual roll tightly in plastic wrap. Ensure there are no air gaps to prevent freezer burn. After wrapping, transfer the individually wrapped rolls into a larger freezer-safe plastic bag or an airtight container. They can be frozen for up to 3 months without any loss of quality. Label the bag with the date for easy tracking.
If you also have extra frosting from your batch, you can freeze it alongside the rolls. Simply spoon single-serving dollops of frosting onto a piece of parchment paper. Freeze these dollops until they are solid. Once frozen, peel them off the parchment paper, wrap each solid frosting dollop individually in plastic wrap, and then place them inside the same freezer bag with the rolls. This makes reheating and frosting incredibly convenient.
When you’re ready to enjoy a frozen cinnamon roll, remove one from the freezer. Place it on a microwave-safe plate and microwave for approximately 30 seconds. Then, place a frozen frosting dollop on top of the partially warmed roll and microwave for another 30 seconds, or until the roll is thoroughly warmed through and the frosting has begun to melt into a luscious glaze. This method ensures you get that fresh-baked, gooey experience every time.
Can You Double This Small Batch Cinnamon Roll Recipe?
It’s quite amusing, but one of the most frequently asked questions I receive about my small batch recipes is, “Can I double this?” And for good reason! Sometimes, a small batch simply isn’t enough, especially if you’re serving a larger crowd or simply want more delicious cinnamon rolls on hand.
The answer is a resounding yes, you can absolutely double this cinnamon roll recipe with excellent results. When doubling, simply multiply all the ingredient quantities by two. You’ll need to use a larger baking pan to accommodate the increased number of rolls. A 9×13 inch baking dish is typically ideal for a doubled batch, as it provides enough space while still allowing the rolls to nestle closely together. The key remains the same: ensure the rolls are touching or placed closely in the pan. This ensures they bake evenly, stay wonderfully moist, and create that delightful pull-apart texture that everyone loves. Baking times might vary slightly depending on your oven and pan size, so keep an eye on them towards the end of the suggested baking time.
Explore More Small Batch Delights!
If you’ve thoroughly enjoyed crafting and savoring these delightful homemade cinnamon buns from scratch, you’re in for a treat! There’s a whole world of other delicious small batch pastry recipes waiting for you to explore. These are perfect for when you want a fresh-baked treat without an overwhelming quantity, ensuring every bite is as fresh as possible. Discover more of my favorite pastry creations:
- Apple Turnovers
- Blueberry Turnovers
- Cherry Turnovers
- Puff Pastry Chocolate Croissants
- Puff Pastry Danishes
- Peach Turnovers
- Strawberry Turnovers
Small Batch Cinnamon Rolls
6 rolls
1 hour
25 minutes
2 hours
3 hours 25 minutes
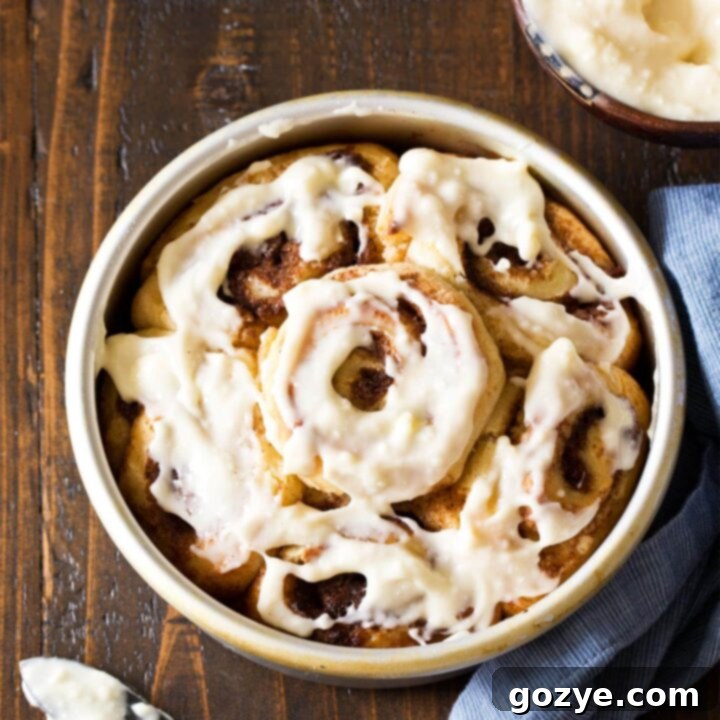
Small Batch Cinnamon Rolls for two are 6 soft and fluffy cinnamon buns filled with cinnamon sugar and topped with a tangy cream cheese frosting! Make and eat them the same day or make overnight cinnamon rolls so they can be baked fresh in the morning.
Ingredients
- 2 cups all-purpose flour
- 2 tablespoons granulated sugar
- 1 + 1/4 teaspoon (1/2 package or 1/8 ounce) active dry yeast (not instant)
- 1/2 teaspoon table salt
- 1/2 cup whole milk (not low fat or skim), heated to between 120F – 130F
- 2 tablespoons unsalted butter, melted
- 1 large egg, room temperature
- 2 tablespoons unsalted butter, softened (not melted)
- 1/4 cup packed brown sugar (soft and moist, not dry and crumbly)
- 2 teaspoons ground cinnamon
- 1 recipe Small Batch Cream Cheese Frosting or Bundt Cake Glaze
Instructions
- In a large mixing bowl (with the paddle attachment if using a stand mixer), stir together flour, sugar, yeast, and salt.
- Whisk together the milk and melted butter and ensure the temperature is between 120°F – 130°F. Add to the flour mixture along with the egg and beat on low speed until a dough forms and starts to pull away from the sides, about 1-2 minutes.
- Transfer dough to a lightly floured surface and knead for 4-6 minutes. The dough should be smooth, hold its shape without drooping, and indentations should immediately fill back up.
As you’re kneading, the dough will be soft and slightly sticky. However, if it’s too sticky to handle, you may add another 1-2 tablespoons more flour while you knead. You don’t want to add too much flour or your rolls will be dry.
- Transfer to a lightly greased bowl loosely covered with a tea towel and rest in a warm, draft-free area for 1 hour. If you don’t have a warm area, place the bowl on a heating pad at the lowest setting.
- Lightly rub some of the softened butter into a 6 inch round or 5×7 baking pan.
- On a lightly floured surface, roll the dough into a 6×10 rectangle. Spread the remaining softened butter onto the dough, being careful not to rip it.
If your butter is too firm, you can microwave it for 5-8 seconds to soften but you don’t want to melt it.
- Mix together the brown sugar and cinnamon then spread on top of the entire dough. It’s ok if it spills over the edges.
- Starting with one short end, roll up the dough and form a tight cylinder then cut into 6 slices. Place each slice cut side up into the buttered pan. Cover with a tea towel and let rise in a warm place for 1 hour.
If making overnight rolls: Cover with plastic wrap then refrigerate overnight for up to 24 hours. The next morning, let sit out at room temperature (with plastic wrap still on) for 1 hour before baking.
- Preheat oven to 350F. Remove the tea towel then bake for 20-25 minutes or until golden brown. Cool for 15 minutes then frost warm rolls with frosting or glaze as desired.
Cinnamon rolls are best eaten the same day but can be stored for up to 2 days. Refrigerate if using cream cheese frosting.
Notes
- Don’t have time to make the dough? Make Puff Pastry Cinnamon Rolls instead.
- If you enjoy making yeast dough, check out my Small Batch Dinner Rolls and Homemade Crescent Rolls.
Recommended Products
As an Amazon Associate and member of other affiliate programs, I earn from qualifying purchases.
- 6 Inch Cake Pan
Did you make this recipe?
Let me know what you think! Rate the recipe above, leave a comment below, and/or share a photo on Instagram using #HITKrecipes
