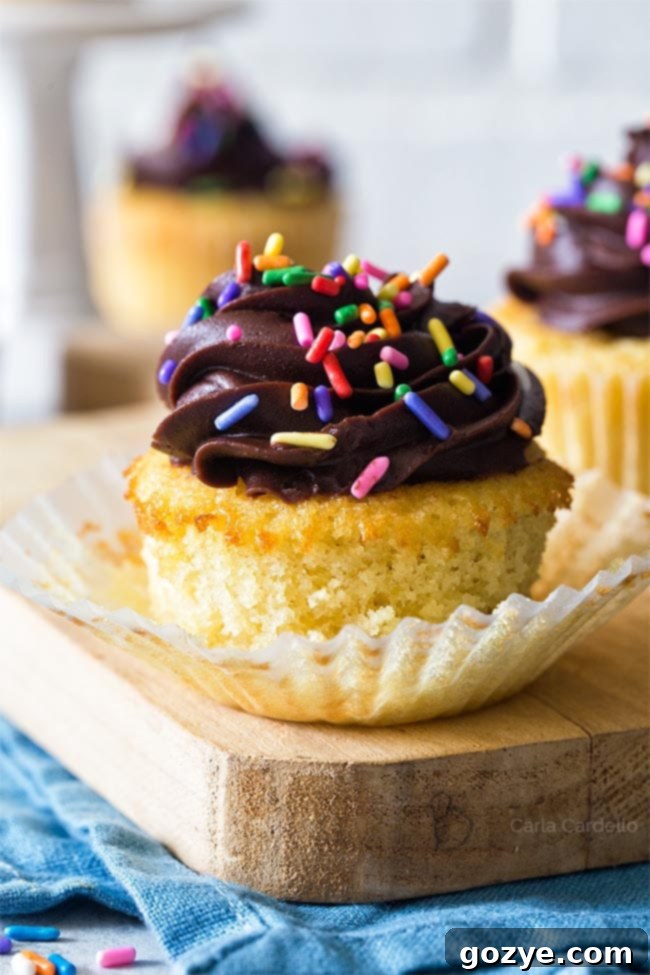
The Best Small Batch Yellow Cupcakes from Scratch: An Easy Homemade Recipe for Perfect Treats
Craving the nostalgic comfort of a classic yellow cake but prefer a smaller serving? Look no further! These **Small Batch Yellow Cupcakes with Homemade Chocolate Buttercream Frosting** are the perfect solution. Designed to yield just 8 delightful cupcakes, this recipe is ideal when you’re baking for two or simply don’t want a mountain of leftovers. Forget the box mix; we’re going entirely from scratch for that authentic, rich flavor you love.
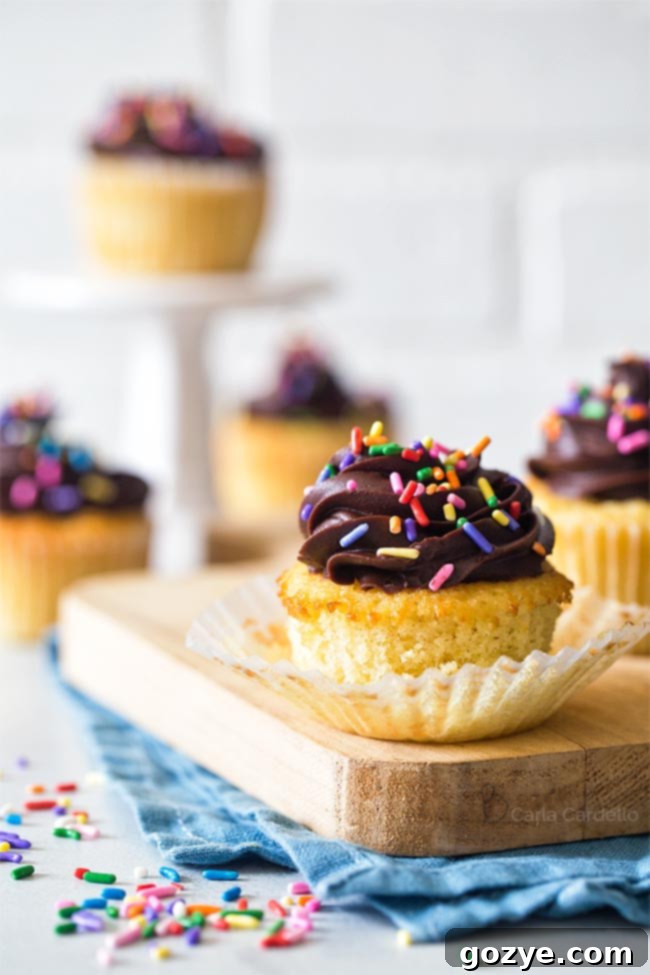
Do you remember the height of the cupcake craze? It felt like a culinary phenomenon, with bakeries dedicated solely to these miniature delights popping up everywhere. I certainly fell head over heels for them. My home once boasted an extensive ceramic cupcake collection, and my Christmas tree was adorned with cupcake ornaments. At one point, I even entertained the idea of a cupcake tattoo – thankfully, I never went through with it!
During those years, living just a couple of hours from Washington D.C. meant frequent visits to its famous cupcakeries. I often wonder how many of those charming shops are still thriving today.
While my passion for cupcakes hasn’t faded, my collection has certainly streamlined. Only a few cherished ceramic cupcakes remain, and my Christmas tree now features a curated mix of beloved cupcake ornaments alongside other special non-cupcake keepsakes. As for that tattoo? It remains a delightful memory, a testament to a phase, but my current tattoos lean less towards food and more towards personal narratives.
The recent shift to more home baking during quarantine made me realize a significant gap in my blog: basic small batch cupcake recipes. I have a popular selection of small 6-inch cake recipes, but the cupcake section needed some love. This realization sparked an idea.
Given the immense popularity of my Small 6 Inch Yellow Cake, it was a natural step to adapt that beloved recipe into these delightful **Homemade Small Batch Yellow Cupcakes**. This isn’t just a recipe; it’s an experience, made 100 percent from scratch, with absolutely no cake mix in sight. Just pure, wholesome ingredients coming together to create magic.
To top these golden beauties, I opted for a rich, luscious chocolate buttercream frosting, generously adorned with a shower of rainbow sprinkles. Because, let’s be honest, what’s a cheerful yellow cupcake without a burst of colorful sprinkles?
What is Yellow Cake? The Secret Behind Its Golden Hue
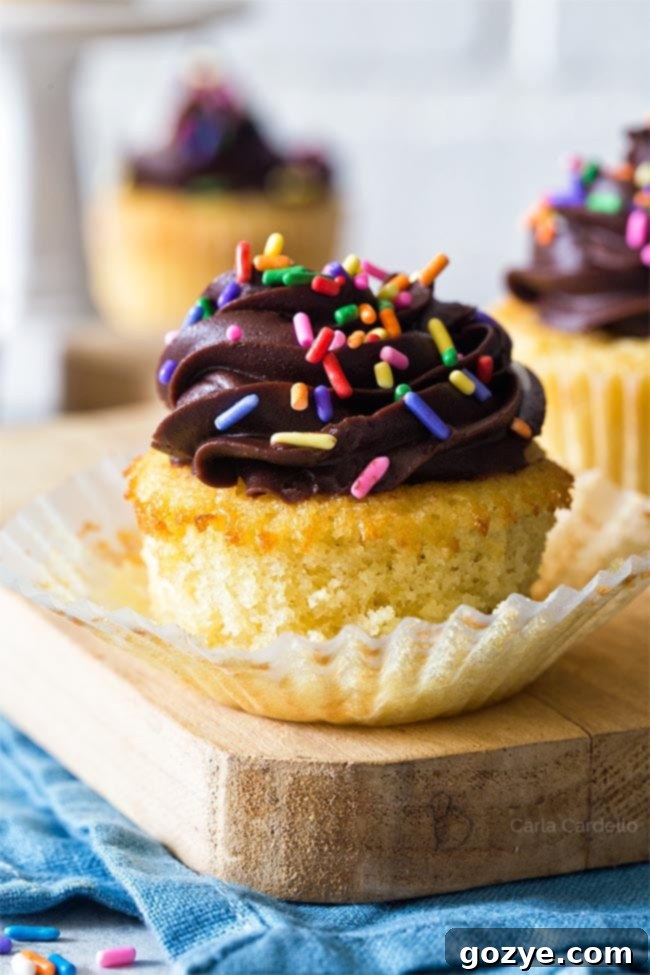
Yellow cake holds a special place in the hearts of many, instantly recognizable by its signature golden crumb. This distinctive color isn’t just a coincidence; it’s a direct result of its core ingredients. Unlike white cake, which typically relies on egg whites for a pristine white appearance, yellow cake incorporates **whole eggs and a generous amount of butter**. The yolks contribute to the rich yellow pigment, while the butter, with its natural yellow tint, further enhances this hue.
Compared to a standard vanilla cake, a true yellow cake recipe often calls for a higher butter content, intensifying both its color and its rich, moist flavor profile. This makes yellow cake a delightfully decadent choice, offering a tender texture and a comforting, buttery taste that pairs beautifully with a variety of frostings, especially a classic chocolate buttercream. It’s truly a timeless classic for a reason.
How To Make Homemade Yellow Cupcakes From Scratch: Step-by-Step Perfection
Baking yellow cupcakes from scratch might sound intimidating, but it’s incredibly rewarding and simpler than you think. By following these steps, you’ll achieve perfectly fluffy, moist cupcakes without a trace of cake mix.
- **Creaming Butter and Sugar:** Start by beating your softened unsalted butter with granulated sugar in a large bowl. This crucial step incorporates air into the mixture, creating a light, fluffy base that will give your cupcakes their tender crumb. Continue beating until the mixture is light, pale, and creamy, usually about 1-2 minutes. Don’t rush this part!
- **Adding Wet Ingredients:** Next, beat in your room temperature egg and vanilla extract. The mixture might appear slightly curdled at this stage due to the difference in fat content and temperature, but don’t worry, it’s completely normal. Just keep beating until everything is mostly combined.
- **Alternating Dry and Wet Ingredients:** To finish the cupcake batter, you’ll gradually add the dry ingredients (flour, cornstarch, baking powder, salt, baking soda) alternately with the buttermilk. This method ensures that the batter remains smooth and well-emulsified. Begin and end with the dry ingredients. Add the flour mixture in three additions, alternating with the buttermilk in two additions. Mix only until just combined after each addition to avoid overmixing, which can lead to tough cupcakes.
- **Baking Perfection:** Once your batter is ready, fill 8 paper liners in a standard cupcake pan. We’ll discuss filling techniques in more detail below to prevent overflowing. Bake them in a preheated oven at 350°F (175°C) for 18-20 minutes, or until a toothpick inserted into the center of a cupcake comes out clean, possibly with a few moist crumbs attached but no wet batter.
- **Cooling:** Allow the cupcakes to cool in the pan for about 15 minutes before transferring them to a wire rack to cool completely. Frosting warm cupcakes is a messy business!
Following these steps will result in delicious, golden yellow cupcakes that taste infinitely better than any box mix.
Buttermilk Magic: Understanding and Substituting
Buttermilk is a star ingredient in many baking recipes, including these yellow cupcakes. Its acidity reacts with the baking soda, creating a tender, moist crumb and contributing to the cupcakes’ rise. It also adds a subtle tang that complements the richness of the butter.
I’m fortunate that my local grocery store offers buttermilk in convenient pint-sized containers, making it easy to use without much waste. However, if you often find yourself with leftover buttermilk from a larger quart, don’t despair! My collection of leftover buttermilk recipes can help you utilize every last drop in delicious ways.
But what if you don’t want to buy buttermilk at all? You can easily create a homemade substitute. For this recipe, combine 1/3 cup of whole milk with 1 teaspoon of lemon juice or white vinegar. Give it a gentle stir and let it sit for about 5 minutes. You’ll notice the milk starting to curdle and thicken slightly, indicating it’s ready to use. This simple trick provides the necessary acidity to mimic true buttermilk’s effects in your baking.
Why Are My Cupcakes Overflowing? The Art of Filling Liners
One of the most common challenges in cupcake baking is achieving that perfectly domed top without any messy overflows or sunken centers. The key lies in how much batter you spoon into each paper liner.
**Overfilling:** If you add too much batter, your cupcakes will inevitably overflow the liners as they rise. This often leads to flat, mushroom-shaped tops or, even worse, cupcakes that sink dramatically in the middle after cooling because their structure couldn’t support the initial high rise. The excess batter creates too much steam, causing the cupcakes to puff up too quickly and then collapse.
**Underfilling:** Conversely, too little batter means your cupcakes won’t rise sufficiently to reach the top of the liner, resulting in small, often dry, and visually unappealing treats. They might also appear denser.
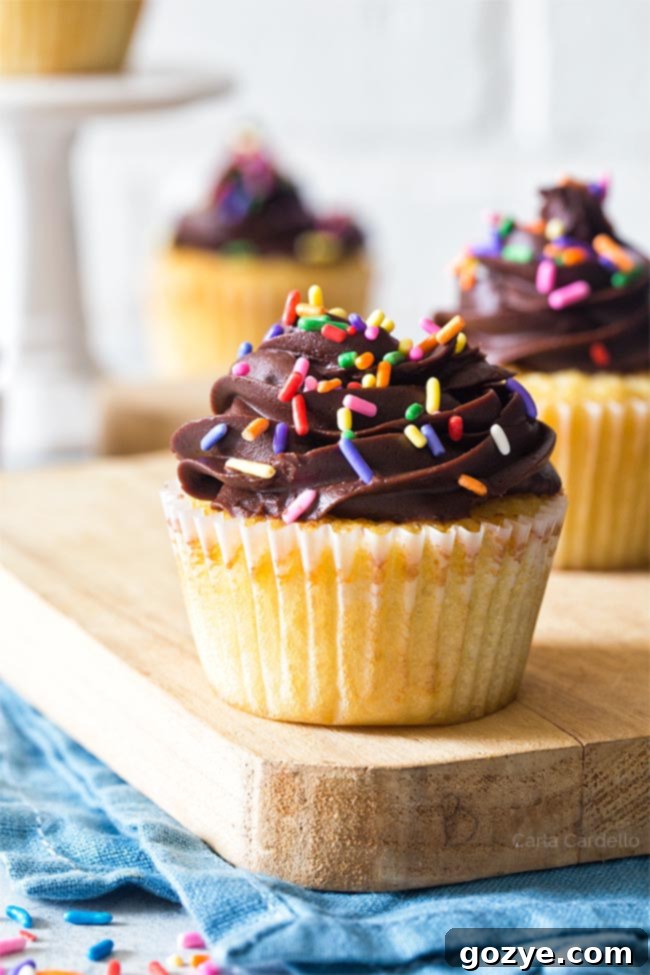
For this small batch yellow cupcake recipe, I’ve found that filling the liners **about halfway full** is the sweet spot. This allows enough room for the cupcakes to rise beautifully, creating that desirable rounded top without spilling over.
Here’s my personal technique for even distribution: I measure one large scoop of batter into the bottom of all 8 liners first. Then, I go back and finish filling each one with the remaining batter, topping them off evenly. This ensures that every cupcake gets a fair share of batter, preventing that frustrating moment when you reach the last liner and realize you’ve run out! This method helps guarantee uniform size and perfect domes for all your delicious creations.
What is the Best Frosting for Yellow Cupcakes? Pairing Perfection
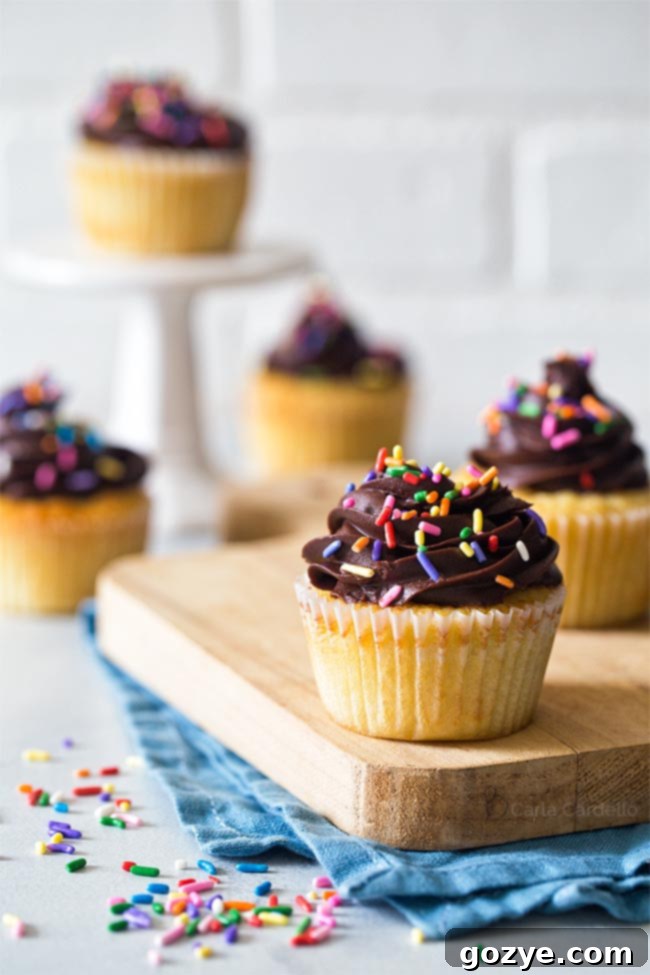
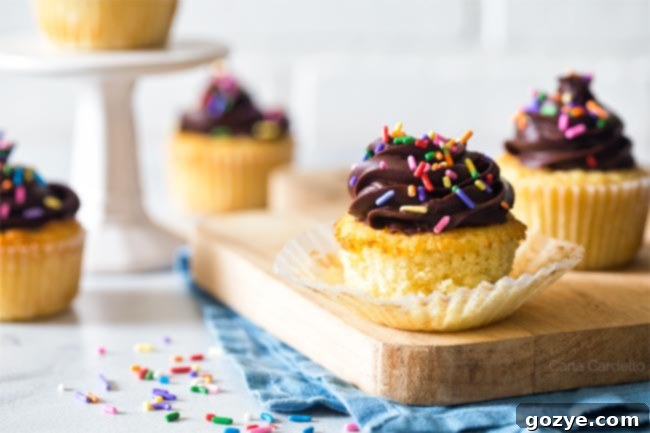
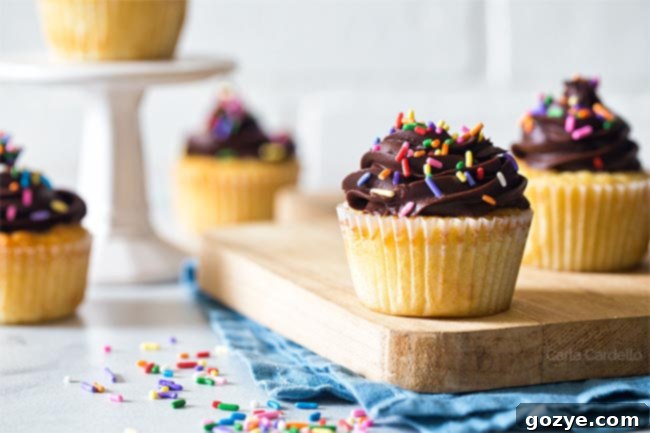
While the yellow cupcake itself is a star, the right frosting elevates it to an unforgettable dessert. In my humble opinion, the ultimate pairing for these rich yellow cupcakes is my Small Batch Chocolate Frosting. The deep, slightly bitter notes of the chocolate perfectly complement the sweet, buttery flavor of the yellow cake without being overly rich. It’s a classic combination that never disappoints.
However, if chocolate isn’t your preference, or you’re looking for different flavor profiles, there are plenty of other fantastic options:
- **Classic Vanilla Buttercream:** My Small Batch Buttercream Frosting is a wonderful choice for those who love traditional flavors. It’s light, fluffy, and allows the yellow cake’s flavor to shine through beautifully.
- **Fruity & Fun:** For a pop of color and a fresh, fruity twist, consider making them pretty in pink with strawberry cream cheese frosting or a vibrant strawberry buttercream. These options add a delightful tartness that balances the sweet cake.
- **Tangy Cream Cheese:** A simple Small Batch Cream Cheese Frosting is also a delightful option, offering a creamy, tangy contrast that many adore.
The best part? All of these recommended frosting recipes are designed for small batches, meaning you’ll have just enough to perfectly decorate your 8 cupcakes without a mountain of leftovers. Choose your favorite and get ready to enjoy a perfectly frosted treat!
How To Store Cupcakes for Lasting Freshness
Proper storage is key to keeping your homemade yellow cupcakes fresh and delicious. Here’s how to do it right:
For cupcakes frosted with buttercream (like the chocolate buttercream):
- **Room Temperature:** Place your frosted cupcakes in an airtight container that’s deep enough to prevent the frosting from getting squashed. Store them at room temperature for up to 3 days. Yellow cupcakes with buttercream frosting generally do well at room temperature as long as it’s not excessively warm.
- **Refrigeration:** You typically don’t need to refrigerate yellow cupcakes unless your kitchen is particularly warm and the frosting starts to melt, or if you want to extend their shelf life. If refrigerated, they can last up to 1 week. Before serving, let them sit at room temperature for about 15-30 minutes to allow the frosting and cake to soften and lose their chill, which enhances their flavor and texture.
For cupcakes frosted with cream cheese frosting:
- **Refrigeration is a Must:** Cream cheese frosting, due to its dairy content, should always be stored in the refrigerator. Place cupcakes in an airtight container and refrigerate for up to 1 week. Again, allow them to come to room temperature for 15-30 minutes before serving for the best experience.
Can You Freeze Yellow Cupcakes? A Guide to Freezing for Future Treats
Yes, just like most cakes, you can absolutely freeze yellow cupcakes to enjoy later! Freezing is a fantastic way to preserve your homemade treats, ensuring you always have a delicious dessert on hand.
How to Freeze Unfrosted Cupcakes:
This is my preferred method for freezing cupcakes, as it protects the delicate frosting.
- **Initial Freeze:** Place the unfrosted, fully cooled cupcakes on a cookie sheet or baking tray. Freeze them for about an hour, or until they are firm to the touch. This “flash freeze” prevents them from sticking together.
- **Wrap and Bag:** Once firm, individually wrap each cupcake tightly in plastic wrap. This layer of protection helps prevent freezer burn.
- **Store:** Place the wrapped cupcakes into a freeze-safe plastic bag or an airtight container. If you’re concerned about them getting squashed in the freezer, especially if you have other items, putting the plastic bag inside a rigid container provides extra protection.
- **Duration:** Frozen unfrosted cupcakes can be stored for up to 3 months.
How to Freeze Frosted Cupcakes:
While unfrosted is best, you can freeze frosted cupcakes, especially if you’re using a stable frosting like buttercream.
- **Frosting Choice:** Buttercream frosting freezes exceptionally well, maintaining its texture upon thawing. Cream cheese frosting, however, can sometimes become slightly grainy after freezing, though it will still be perfectly edible.
- **Flash Freeze:** Place the fully frosted cupcakes on a cookie sheet and freeze for an hour until the frosting is firm. This prevents smudging.
- **Container Storage:** Once firm, carefully place each frosted cupcake into a deep enough airtight container that won’t squash the frosting. Avoid wrapping frosted cupcakes directly in plastic wrap as it will stick to the frosting.
- **Duration:** Frosted cupcakes can also be frozen for up to 3 months.
How to Thaw Frozen Cupcakes:
Thawing your frozen cupcakes correctly will ensure they taste as fresh as the day they were baked.
- **Room Temperature Thaw:** Transfer the frozen cupcakes (whether frosted or unfrosted) from the freezer to a wire rack. This is crucial because the wire rack allows air to circulate around the cupcake bottoms, preventing them from becoming soggy as they thaw.
- **Timing:** Let them sit at room temperature for about 30 minutes to an hour, or until completely thawed.
- **Enjoy!** Once thawed, your cupcakes are ready to be enjoyed or frosted if they were stored unfrosted.
More Small Batch Cupcake Recipes to Explore
If you’ve fallen in love with baking cupcakes in smaller batches, you’re in luck! My blog is a treasure trove of delightful small batch cupcake recipes, perfect for satisfying your sweet tooth without overdoing it. Here are some more favorites to add to your baking list:
- Small Batch Chocolate Cupcakes: Rich, decadent, and perfectly portioned.
- Small Batch Vanilla Cupcakes: A timeless classic that’s always a hit.
- Small Batch Red Velvet Cupcakes: The iconic red velvet flavor in a manageable batch.
- Carrot Cake Cupcakes with Pineapple: Moist and flavorful, with a hint of tropical sweetness.
- Small Batch Strawberry Cupcakes: Bursting with fresh strawberry flavor.
- Lemon Cupcakes: Zesty and refreshing, perfect for spring or summer.
- Pumpkin Pie Cupcakes (Small Batch): A seasonal favorite, capturing all the flavors of pumpkin pie.
For a complete list and even more inspiration, be sure to check out my comprehensive Small Batch Cupcake Recipes guide. Happy baking!
Small Batch Yellow Cupcakes
8 cupcakes
20 minutes
18 minutes
38 minutes
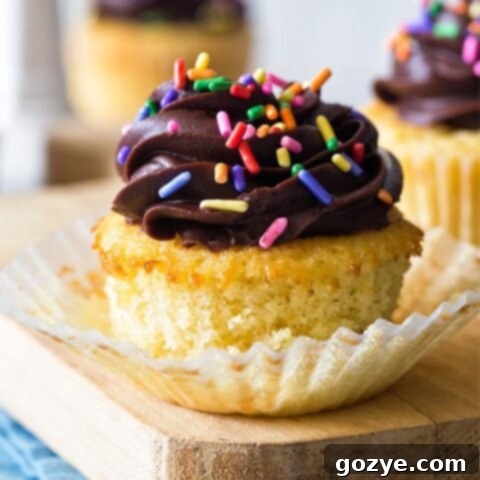
Looking to recreate your favorite yellow cake mix from scratch? Make these Small Batch Yellow Cupcakes with homemade chocolate buttercream frosting.
Ingredients
- 1/2 cup + 3 tablespoons all-purpose flour
- 1 tablespoon cornstarch
- 3/4 teaspoon baking powder
- 1/4 teaspoon salt
- 1/8 teaspoon baking soda
- 6 tablespoons unsalted butter, softened
- 1/2 cup granulated sugar
- 1 egg, room temperature
- 1 teaspoon vanilla extract
- 1/3 cup buttermilk, room temperature (or substitute whole milk + 1 teaspoon lemon juice or vinegar)
Frosting Options (Pick One)
- Chocolate Buttercream (get recipe here)
- Vanilla Buttercream (get recipe here)
- Strawberry Buttercream (get recipe here)
- Strawberry Cream Cheese Frosting (get recipe here)
- Cream Cheese Frosting (get recipe here)
Instructions
- Preheat oven to 350F (175°C). Line a cupcake pan with 8 paper liners.
- In a medium bowl, sift together the flour, cornstarch, baking powder, salt, and baking soda. Sifting ensures no lumps and better distribution.
- In a large mixing bowl, beat together the softened butter and granulated sugar until light and creamy, about 1-2 minutes. This step incorporates air for a tender crumb.
- Beat in the egg and vanilla extract. The mixture may look slightly curdled at this point, but continue mixing until mostly combined.
- Add the flour mixture alternately with the buttermilk, beginning and ending with the dry ingredients. Add the flour in 3 additions and the milk in 2 additions. Mix only until just combined after each addition to prevent overmixing.
- Transfer the batter to the prepared cupcake liners, filling them about halfway full (this helps prevent overflowing and ensures a nice dome). Bake for 18-20 minutes, or until a toothpick inserted in the middle comes out with a few moist crumbs (no wet batter). Cool in the pan for about 15 minutes, then transfer cupcakes to a wire rack to finish cooling completely before frosting.
- Once completely cool, decorate with your frosting of choice.
If using buttercream, store in an airtight container at room temperature for up to 3 days or in the refrigerator for up to 1 week.
If using cream cheese frosting, store in the refrigerator for up to 1 week. Always allow refrigerated cupcakes to sit at room temperature for about 15-30 minutes before serving to enhance their flavor and texture.
Notes
- Enjoyed this recipe? Check out my full list of Small Batch Cupcake Recipes, including chocolate, vanilla, and more for endless dessert possibilities.
- Don’t want to make cupcakes? This recipe is adapted from my popular Small Yellow Cake – perfect for a miniature celebration.
Recommended Products
As an Amazon Associate and member of other affiliate programs, I earn from qualifying purchases.
- Cupcake Pan
- Paper Liners
- Piping Set
Did you make this recipe?
Let me know what you think! Rate the recipe above, leave a comment below, and/or share a photo on Instagram using #HITKrecipes
