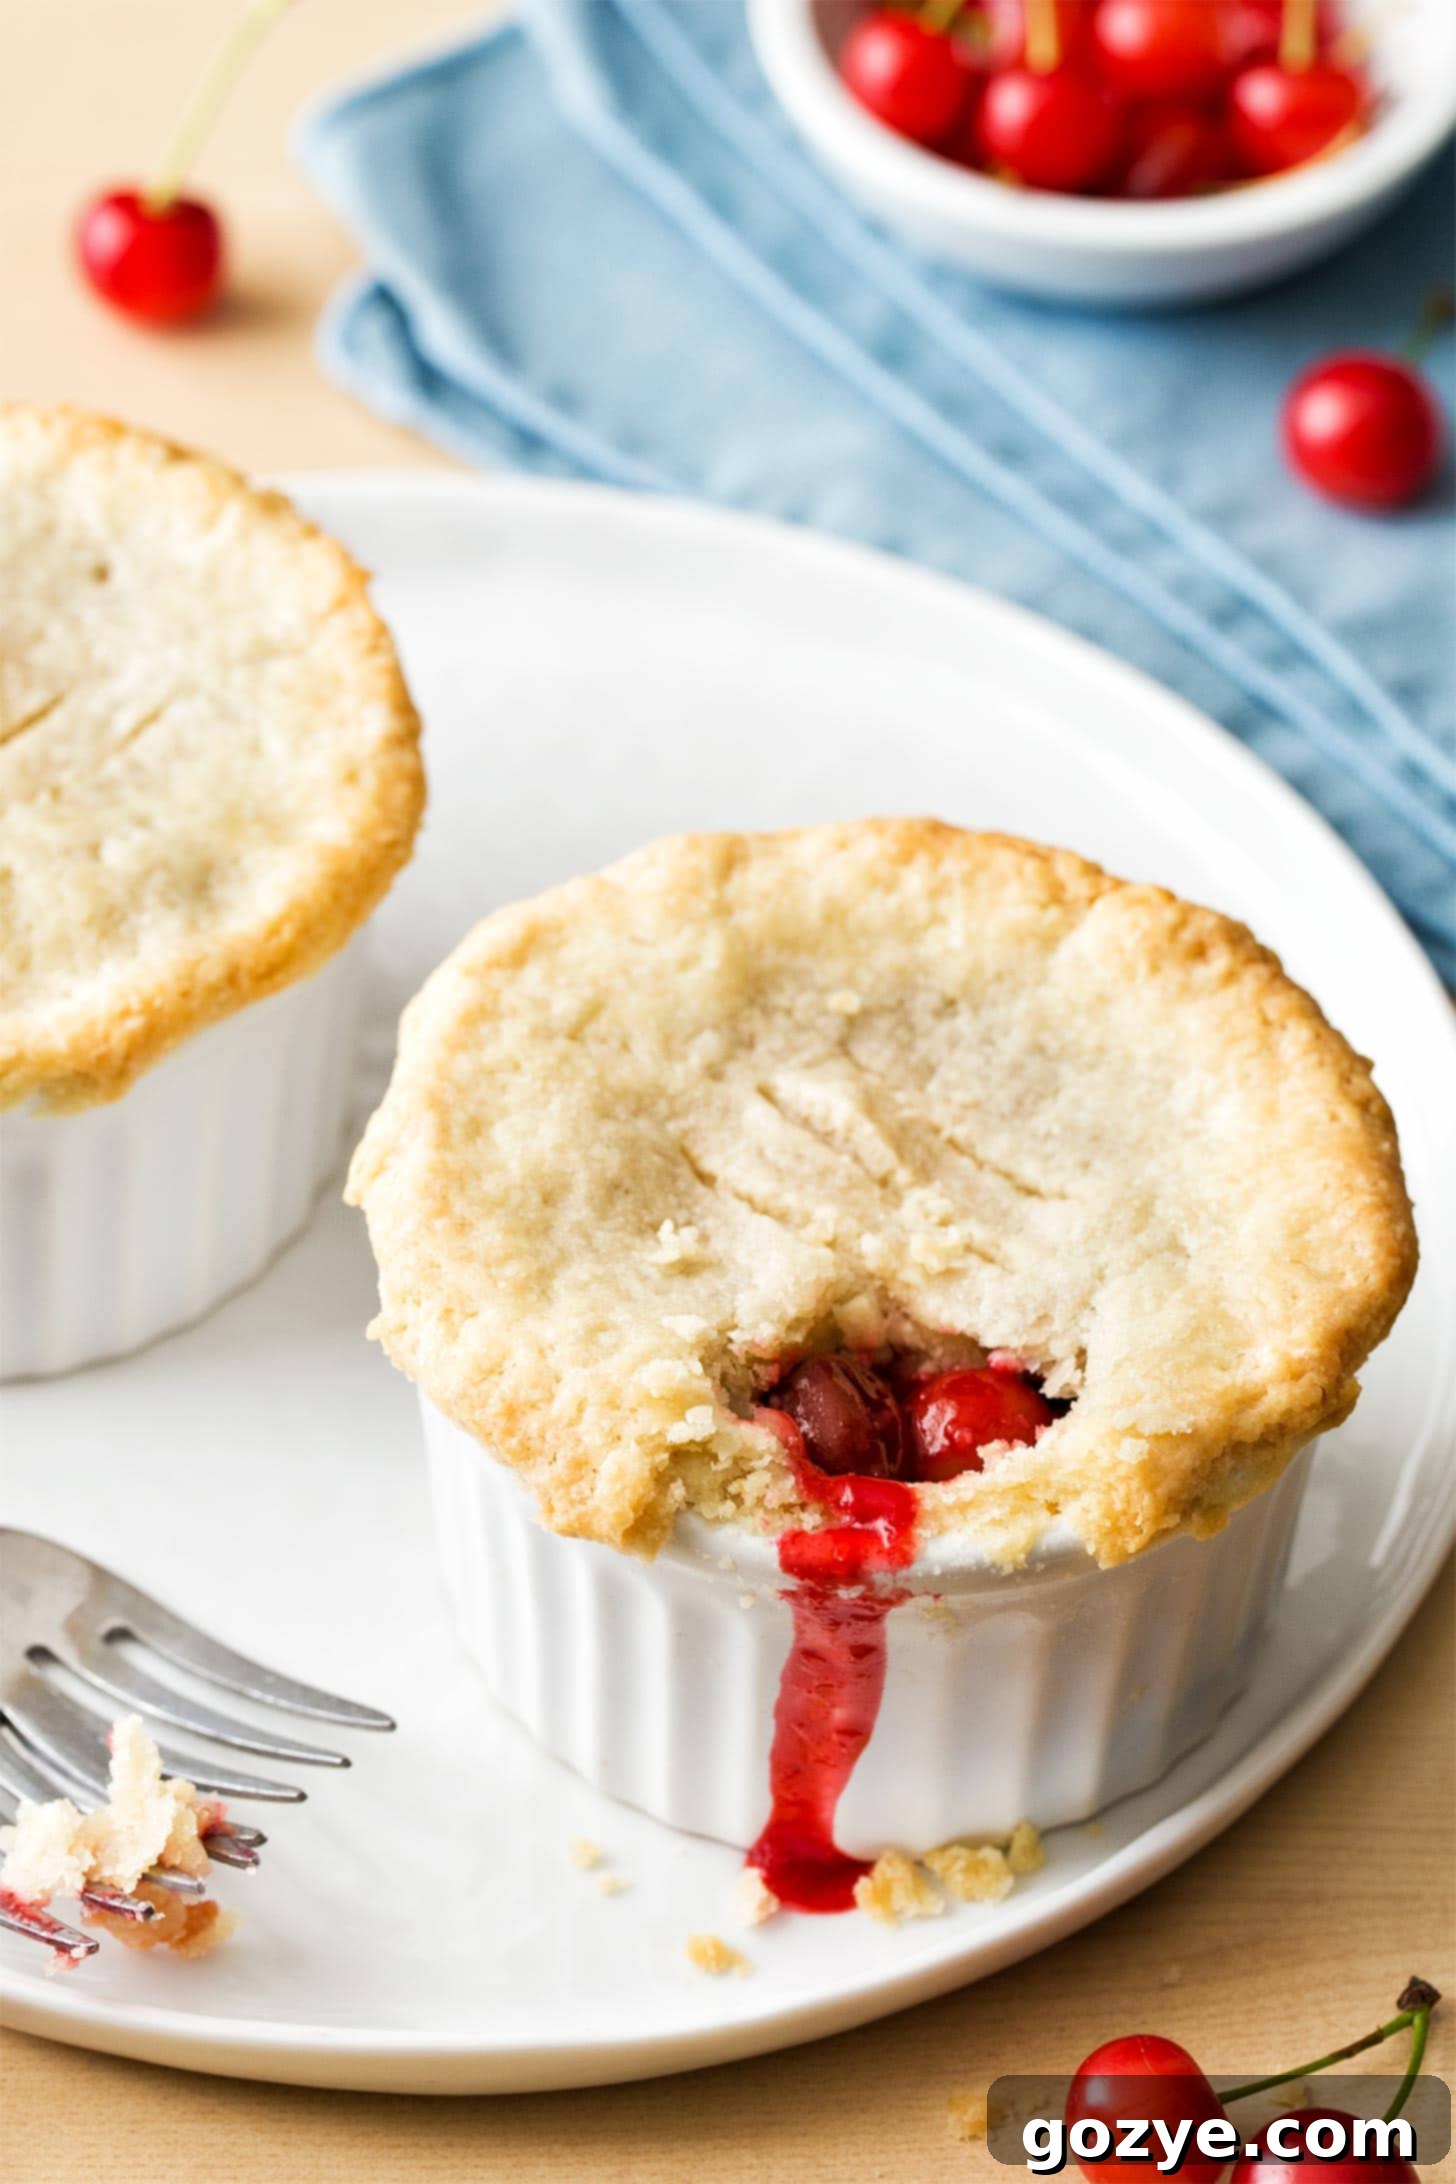
Mini Cherry Pies: The Perfect Homemade Treat for Two
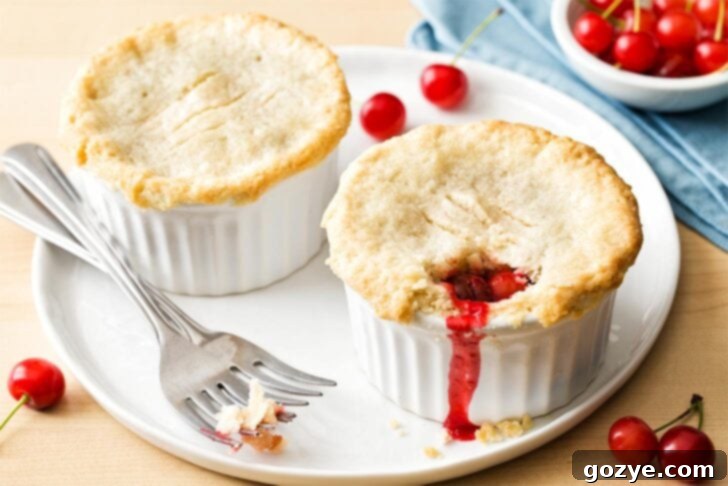
Don’t let summer pass you by without savoring these delightful Mini Cherry Pies! These individual cherry pies are perfectly portioned for two, baked in ramekins, and feature a luscious homemade pie crust embracing a vibrant cherry pie filling. They are the epitome of a sweet, seasonal indulgence, designed for intimate moments or a delightful personal treat.
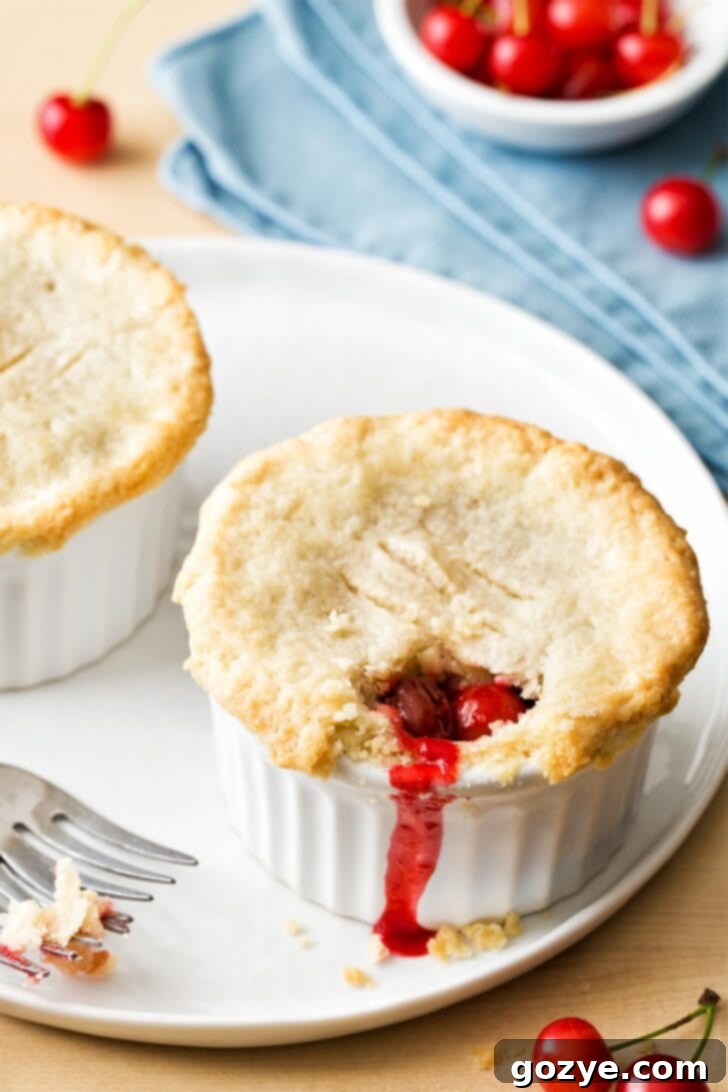
The arrival of summer always brings with it the dream of tart cherry picking. There’s a magic to plucking those ruby-red gems straight from the tree, but the window for fresh tart cherries is notoriously short. Over the years, countless summers have seen me miss this fleeting opportunity, whether due to travel, moving, or unexpected weather. One year, an early season almost caught me off guard, saved only by a timely check of the farm’s social media page. We even braved a rainy day, knowing it was our only chance to gather nature’s bounty.
Last year brought disappointment as a severe freeze wiped out the entire crop, leaving no cherries to be found. But this year, fortune smiled upon us! The absence of a freeze meant an incredibly abundant harvest. Instead of our usual modest five pounds, we happily found ourselves with a whopping seven pounds of tart cherries. Whoops! This delightful “accident” means one thing: an abundance of delicious homemade desserts in my future, including these exquisite Mini Cherry Pies.
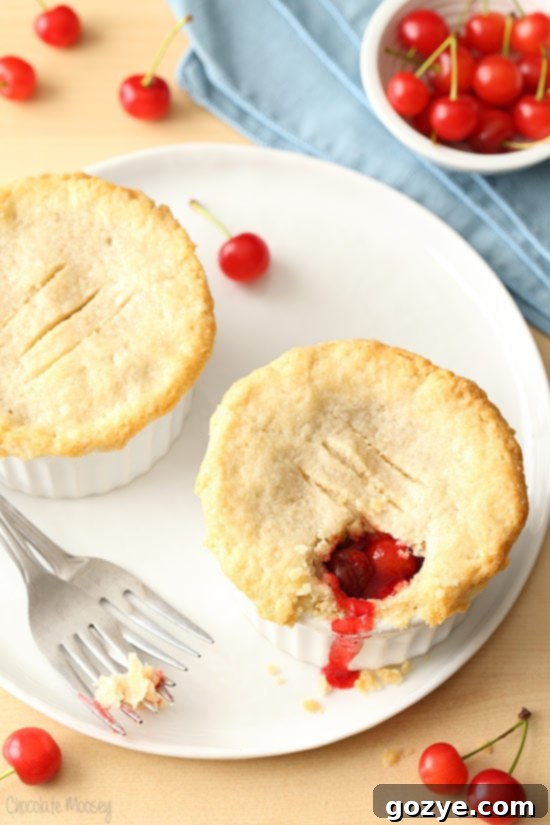
These individual desserts are a celebration of summer’s finest. Each pie features a tender, buttery, and flaky homemade pie crust, perfectly cradling a rich, sweet-tart homemade cherry pie filling. Baked in convenient ramekins, they offer the perfect serving size without the temptation of an entire pie. And for those scorching summer days when turning on the oven feels like a monumental task, I’ve even tested these small-batch cherry pies in the air fryer with fantastic results!
Tart cherries, also widely known as sour cherries, live up to their name – they possess a distinct tartness that makes them less ideal for raw snacking. However, this very quality makes them absolutely perfect for baking. When combined with a touch of sugar and encased in a golden, double pie crust, these tart beauties transform into arguably the best cherry pie you’ll ever taste. While a full-sized pie is tempting, these mini versions offer all the flavor with delightful portion control. You can enjoy one now and share the other with a loved one, or simply save it for a later craving – no judgment here!
Essential Ingredients for Perfect Mini Cherry Pies
Crafting these delectable mini cherry pies requires a thoughtful selection of ingredients, each playing a crucial role in achieving that perfect balance of flavor and texture. Here’s what you’ll need:
- All-purpose flour: This forms the structural backbone of our pie crust, providing just enough gluten for a tender, yet manageable dough that isn’t overly sticky.
- Granulated sugar: A small amount of sugar in the crust not only adds a subtle sweetness but also aids in achieving that beautiful golden-brown color during baking.
- Salt: Often overlooked, salt is a powerful flavor enhancer. It balances the richness of the butter and brightens the overall taste of your crust, especially when using unsalted butter.
- Cold unsalted butter: Butter is paramount for incredible flavor and a melt-in-your-mouth texture. Keeping it cold is key to creating those desirable pockets of steam that lead to a flaky crust.
- Cold vegetable shortening: While butter provides flavor, shortening excels at creating the most tender and flaky crust. Using a combination of both fats ensures your crust is both flavorful and achieves an optimal flaky texture. Sticks of shortening, similar to butter sticks, are convenient for precise measurement and easy storage in the freezer for extra coldness.
- Ice-cold water: Essential for binding the dough together, cold water also generates steam during baking, contributing significantly to the flakiness of the pie crust.
- Cherry pie filling: For the ultimate flavor, I wholeheartedly recommend using a homemade cherry pie filling. However, in a pinch, a good quality canned filling can also be used.
If you’re looking for detailed, step-by-step photos and comprehensive instructions on how to master the pie dough, be sure to consult my dedicated Small Pie Crust recipe.
Where to Find Fresh Tart Cherries
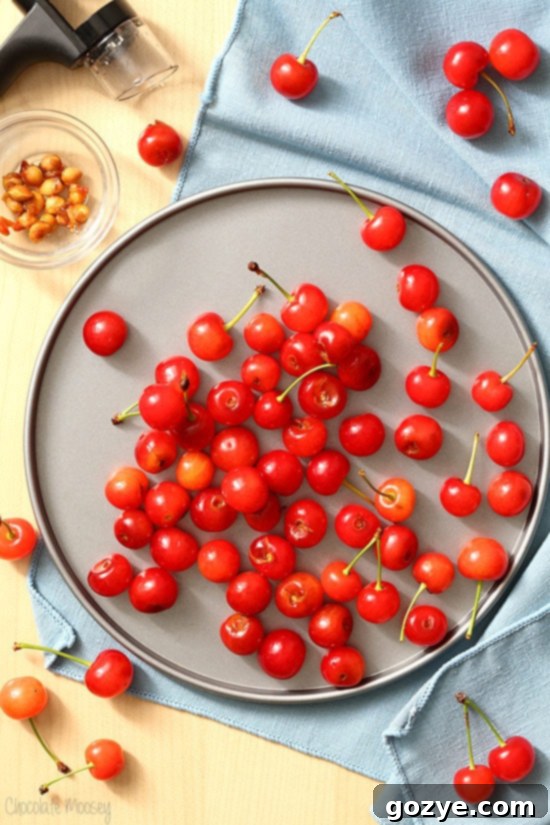
As I mentioned, we are fortunate to have wonderful local cherry farms in Pennsylvania. Typically, these farms offer both “pick your own” experiences or the convenience of buying already-picked cherries directly from their stands. If you’re unsure where to find them in your area, a quick call to local farms or a search for “tart cherry picking near me” can often yield great results.
Can You Make Mini Cherry Pies with Sweet Cherries?
Given the short harvesting window and occasional difficulty in sourcing tart cherries, many wonder if sweet cherries can be a substitute. The answer is a resounding yes! If fresh tart cherries are unavailable, you can certainly use sweet cherries for your mini pies. Since tart cherries are naturally very sour, my filling recipe doesn’t call for any additional lemon juice. However, if you opt for sweet cherries, I highly recommend adding about a tablespoon of fresh lemon juice to your filling. This crucial step helps to balance the sweetness and brightens the overall flavor profile.
This versatile recipe can also be adapted for other delicious fruit fillings! Consider using strawberry pie filling to create delightful mini strawberry pies, blueberry pie filling, peach pie filling for charming mini peach pies, or even apple pie filling to craft comforting mini apple pies.
The Best Way to Pit Cherries for Your Pies
If you’re new to baking with fresh cherries, a vital first step is removing their pits. While I generally prefer kitchen tools with multiple uses, a cherry pitter is one specialized gadget I genuinely recommend if you plan to pit more than a cup of cherries. It’s incredibly efficient and often doubles as an olive pitter, adding to its utility. I personally use and highly recommend the OXO cherry pitter for its reliability and ease of use.
How to Pit Cherries Without a Dedicated Pitter
Don’t have a cherry pitter on hand? No problem! You can still pit cherries effectively using common kitchen items:
- Pastry Tip Method: Place a sturdy round pastry tip (the kind used for piping icing) tip-side up on a stable surface. Firmly push the cherry onto the tip until the pit pops out the other side.
- Chopstick or Straw Method: Insert a chopstick or a sturdy reusable straw into the stem end of the cherry. Push through until you feel the pit, then gently dislodge it. If the pit isn’t perfectly centered, you might need to maneuver it a bit to push it out.
Regardless of the method you choose, remember that pitting cherries can be quite messy, as their juice stains easily. Be sure to wear an apron to protect your clothes!
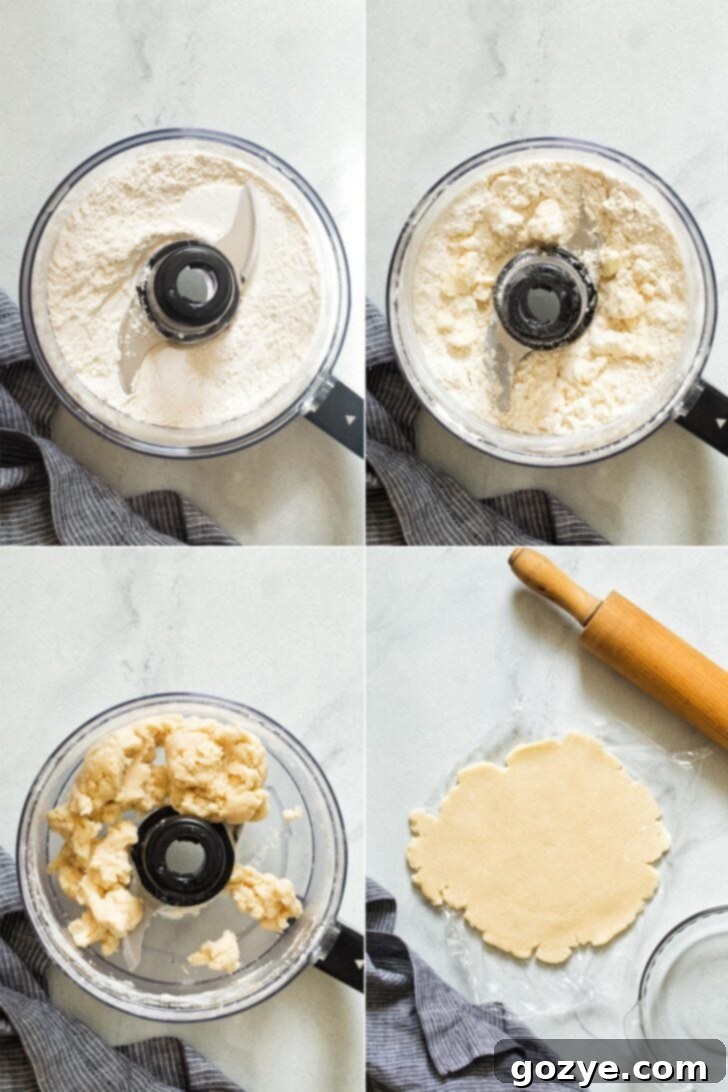
Step-by-Step Guide to Making Mini Cherry Pies
With your perfectly prepared double pie crust dough and delicious cherry pie filling ready, it’s time for the exciting part: assembling your charming mini cherry pies! For this recipe, you’ll need two 6-ounce ramekins.
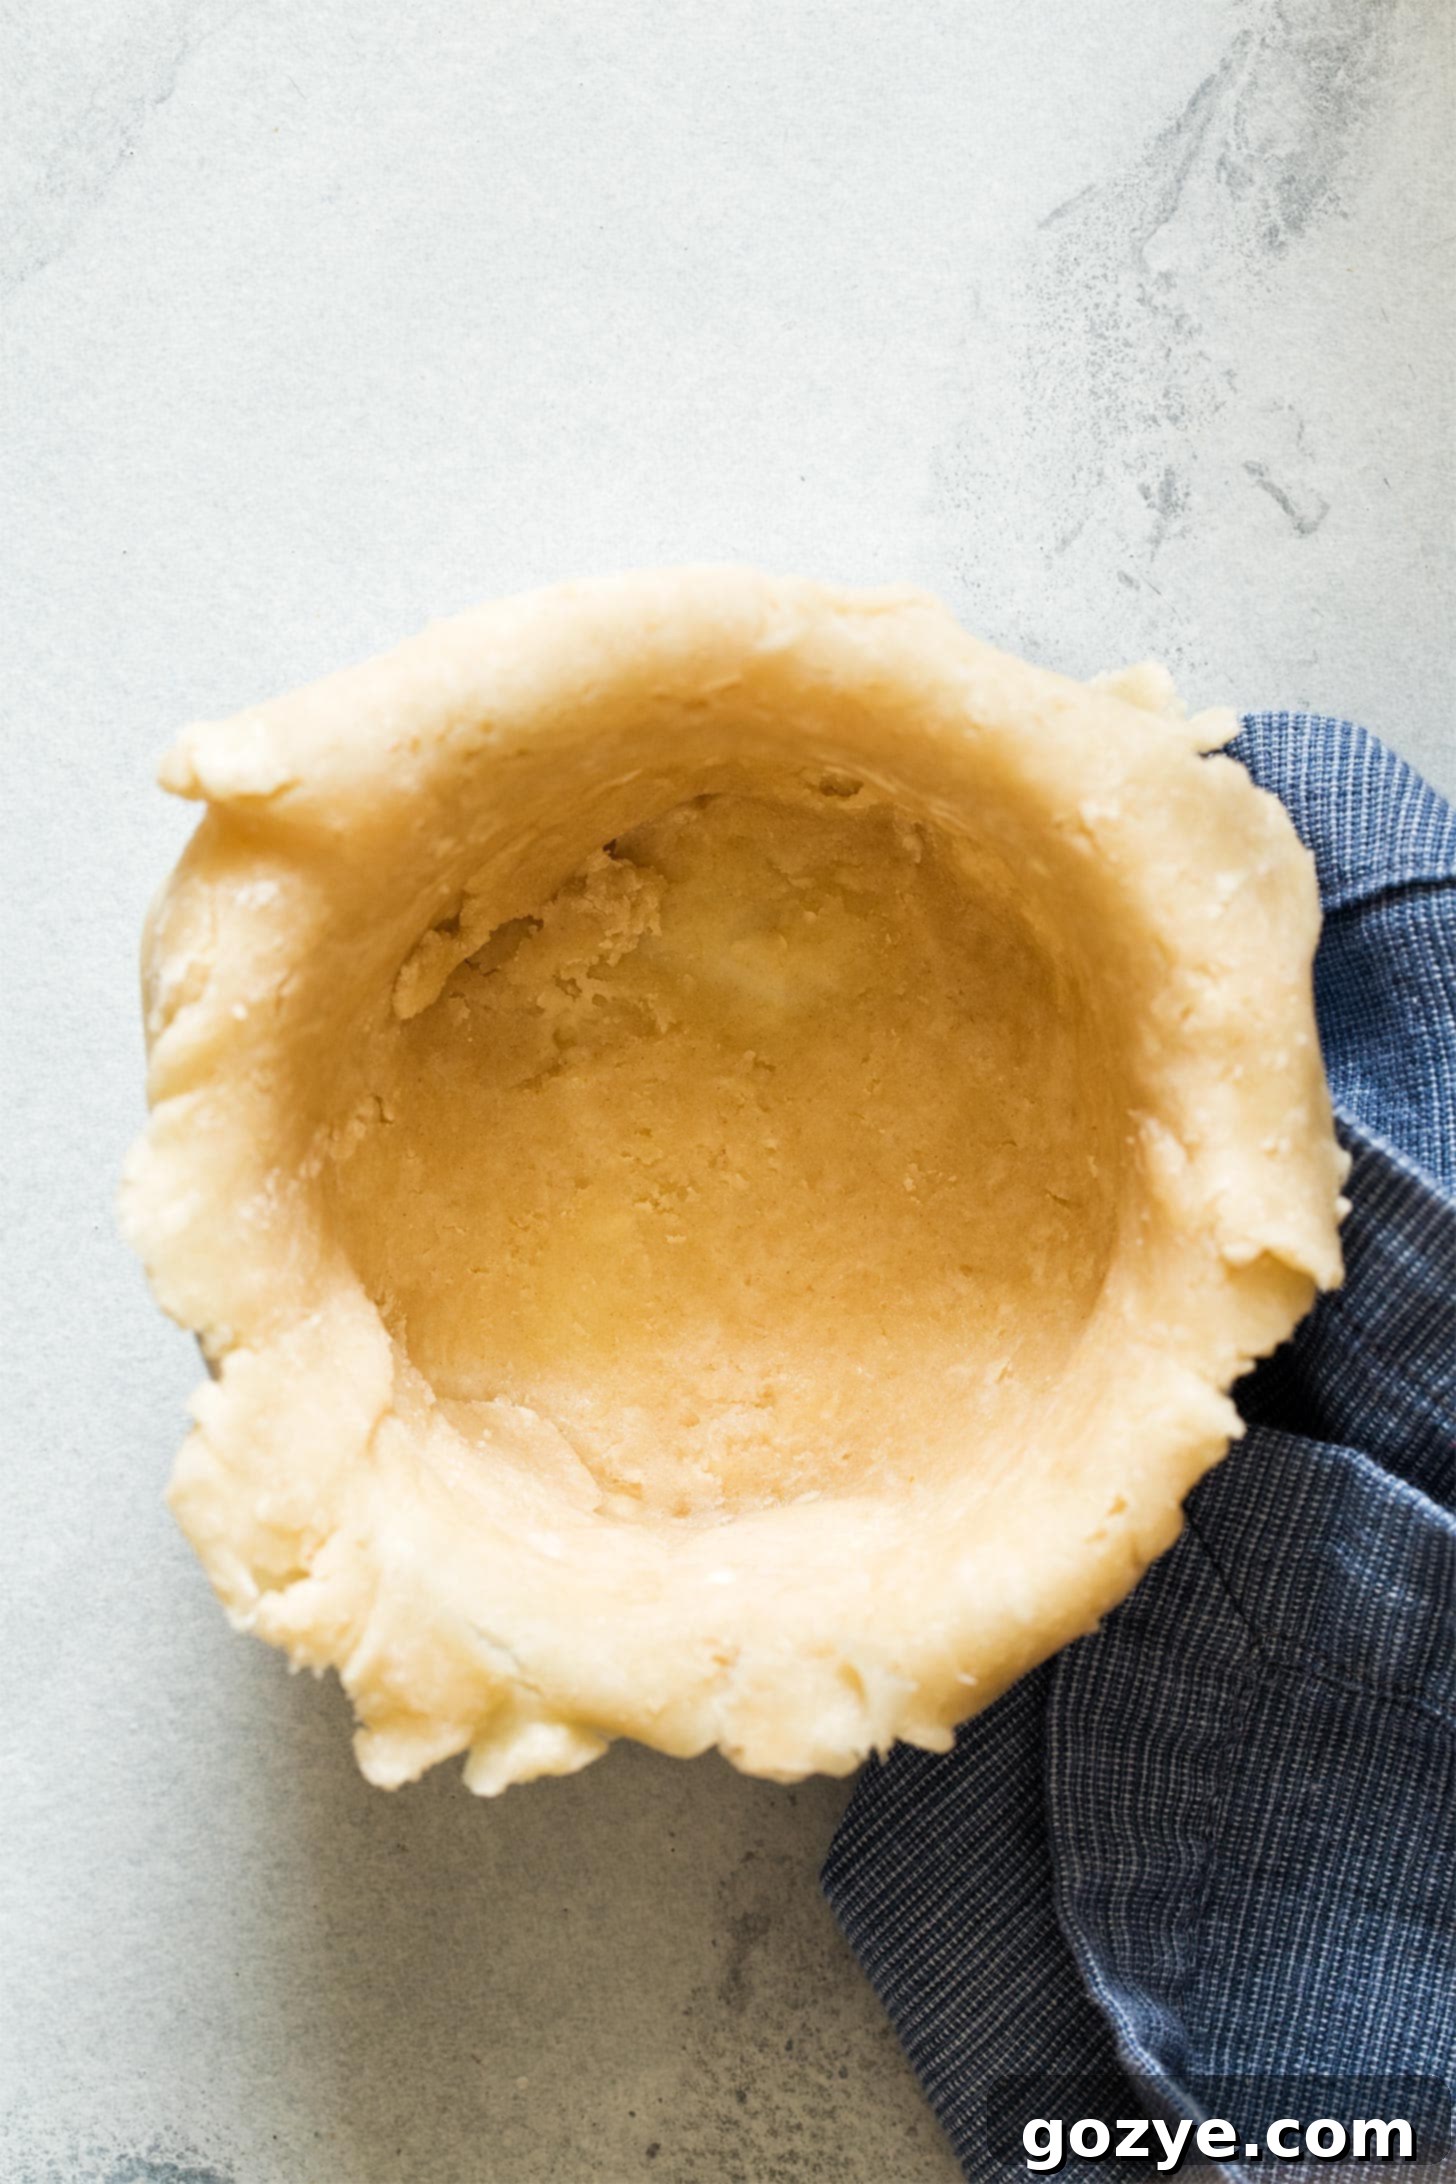
First, take one piece of your chilled pie dough. On a lightly floured surface, roll it out into a circle slightly larger than the diameter of your ramekin. Carefully line the bottom and sides of one ramekin with the crust, pressing it gently into place. Don’t worry if it tears a little; you can easily patch any small holes together. Once the bottom crust is in, fill it with half of your prepared cherry pie filling.
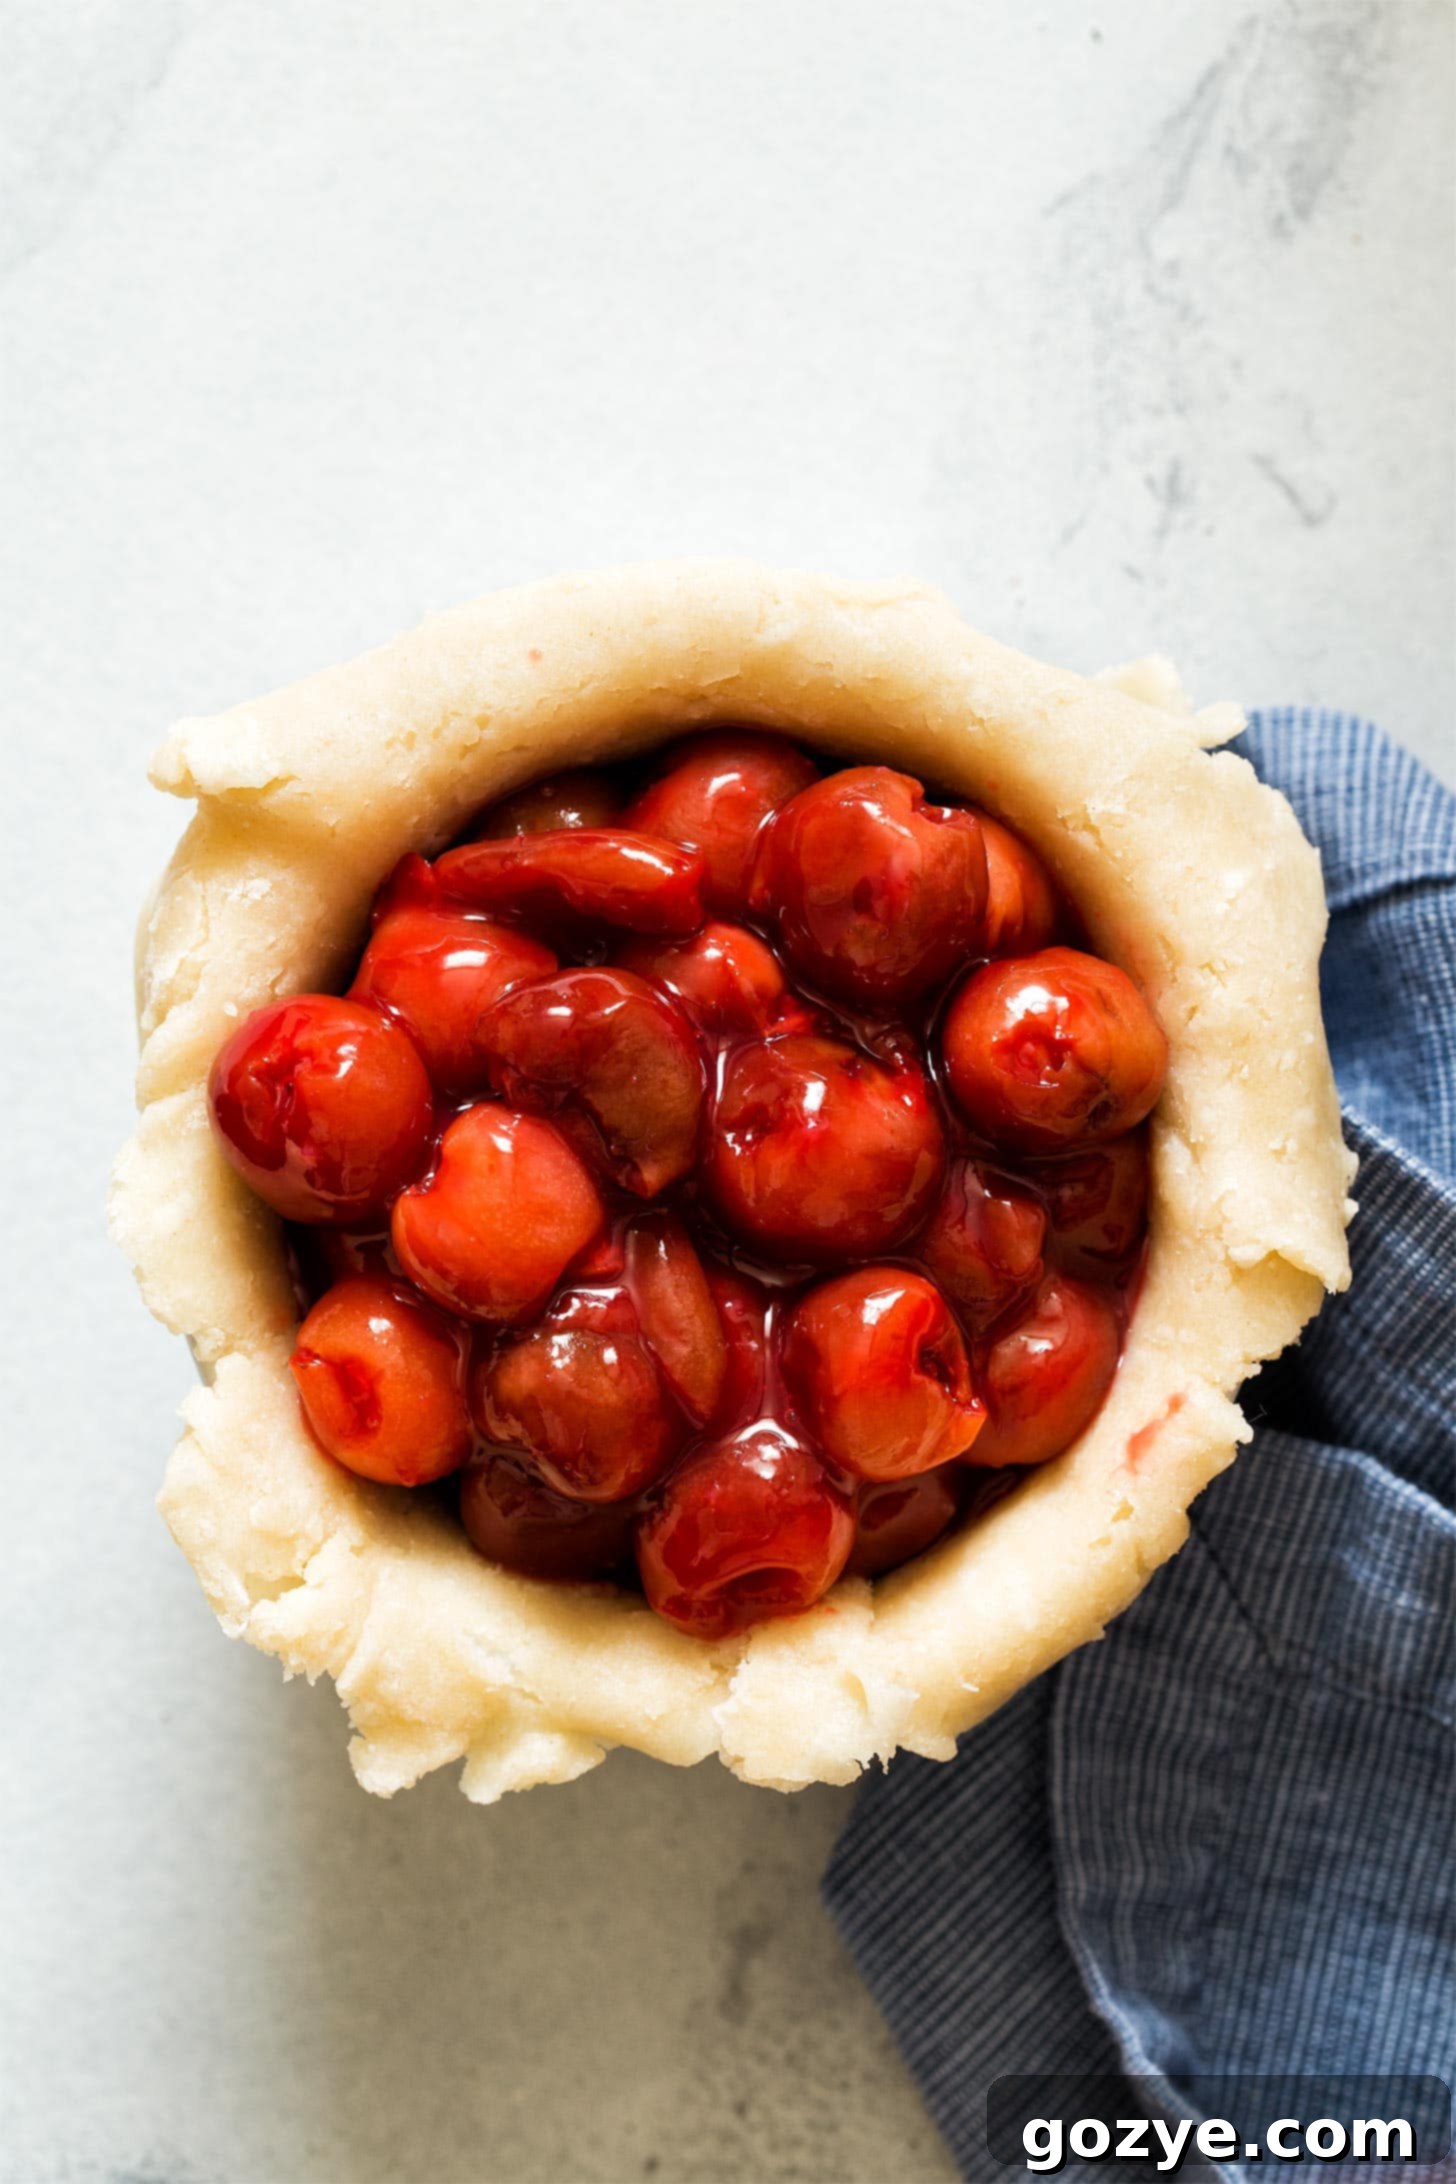
Next, grab another piece of pie dough and roll it into a circle just large enough to cover the top of the ramekin. Carefully place this top crust over the filling and seal the edges by pinching them together with the bottom crust. To allow steam to escape during baking (preventing a soggy crust), use a sharp knife to cut a few small slits in the top crust.
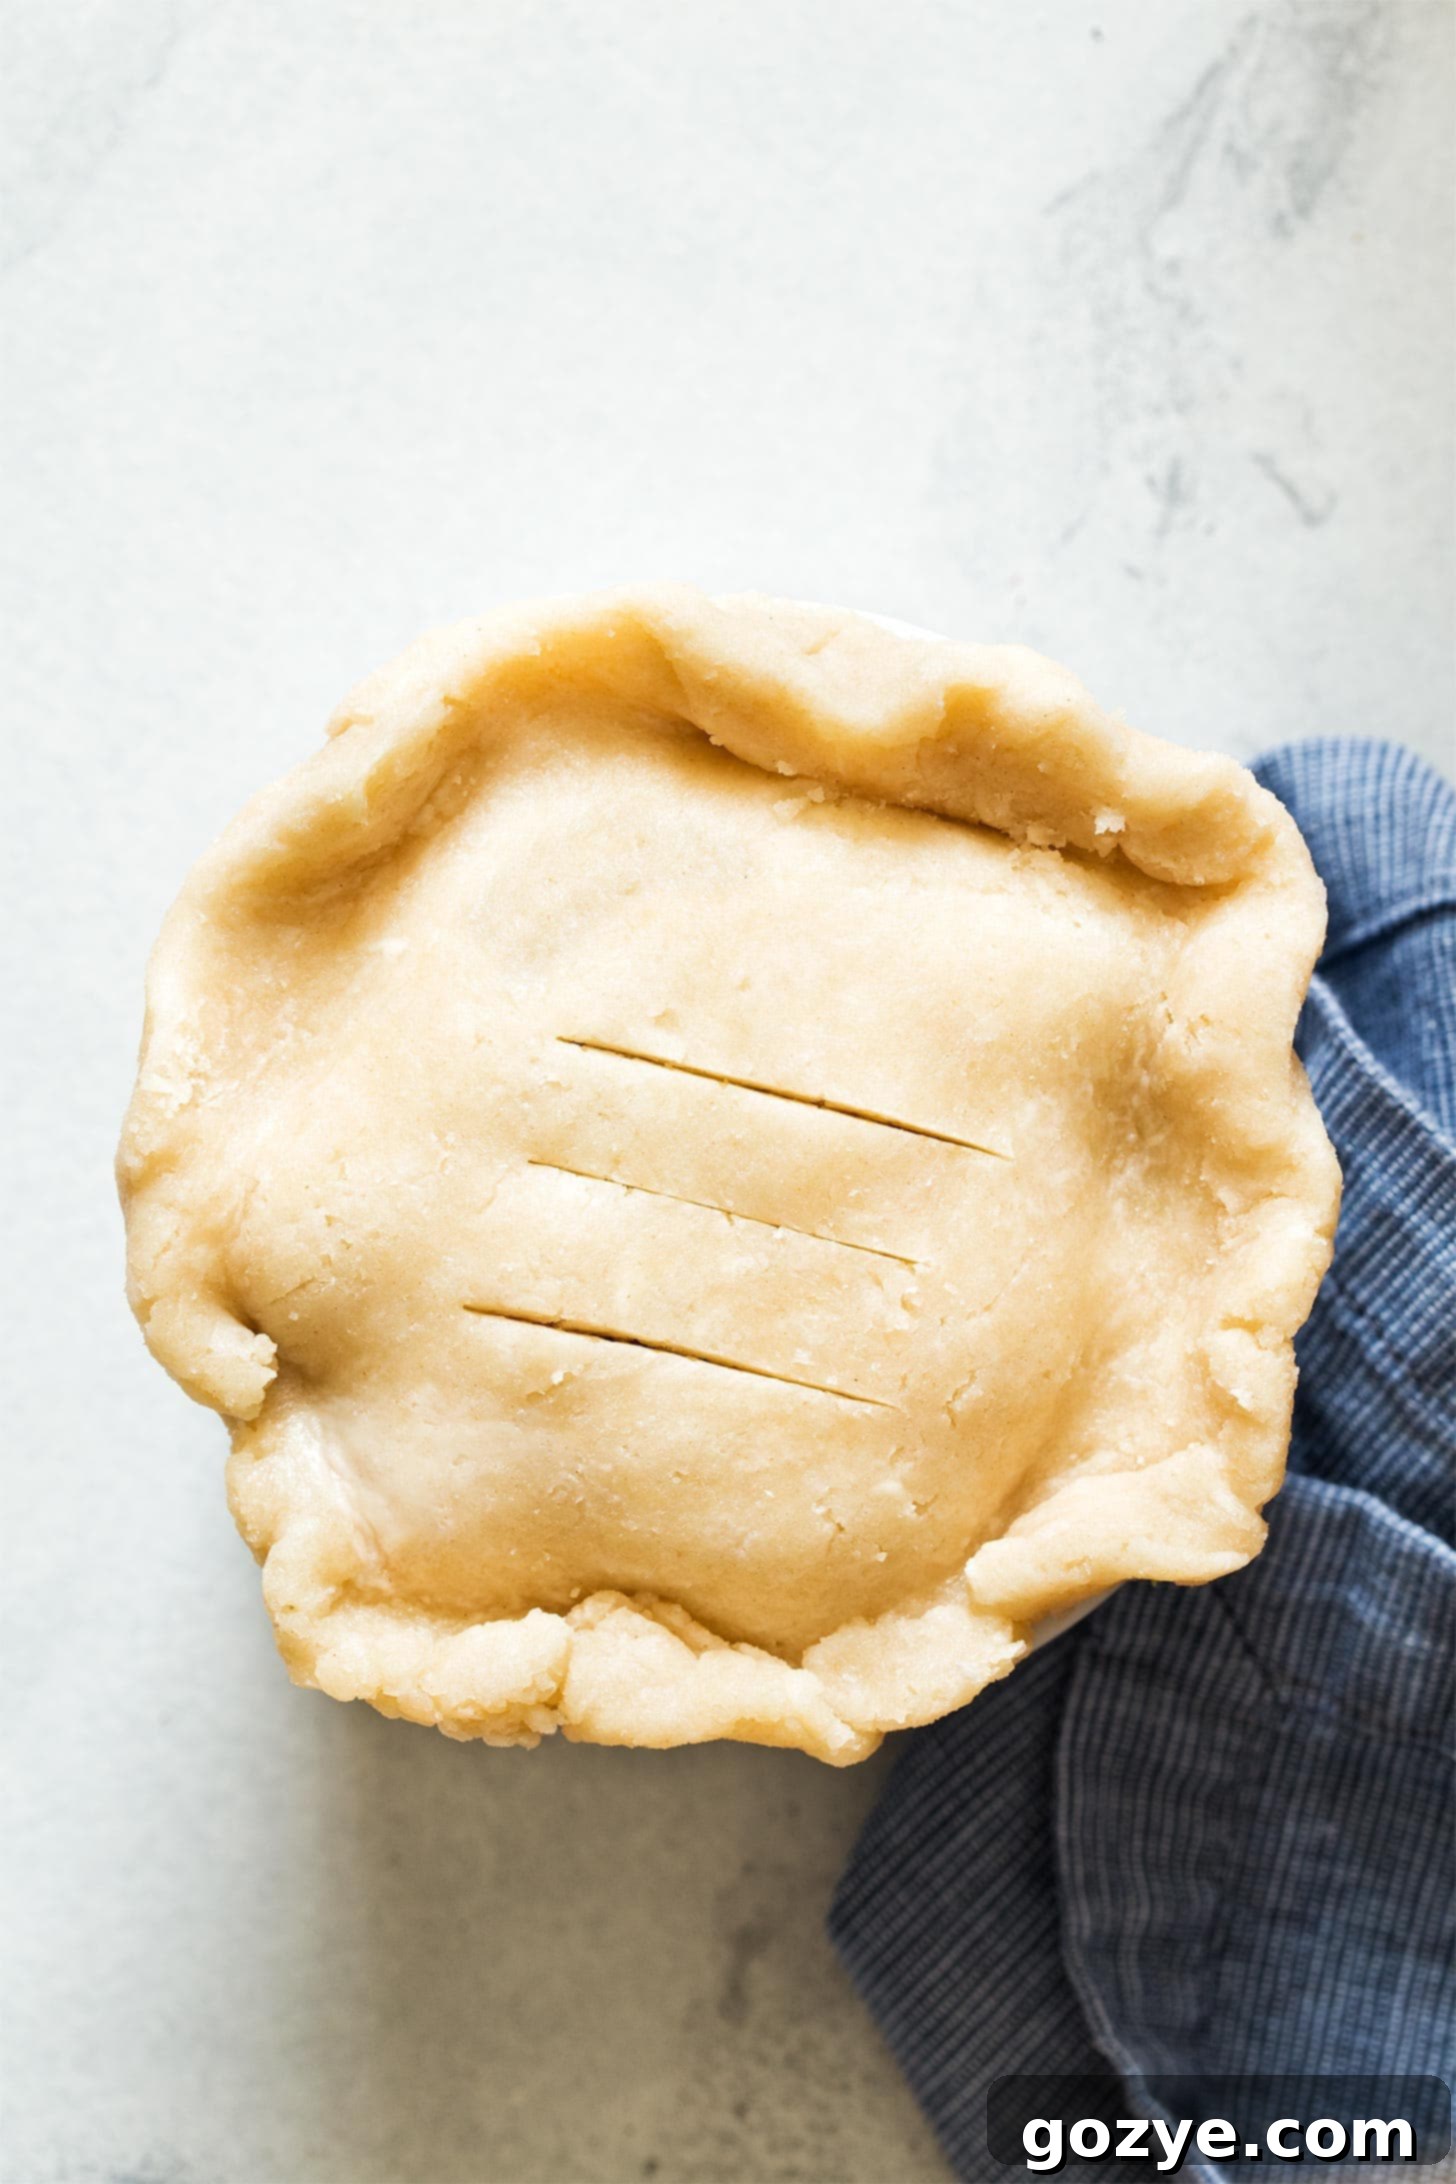
Repeat this entire process with your second ramekin and the remaining pie dough and filling. You should now have two perfectly assembled individual cherry pies ready for baking!
Place both ramekins onto a sturdy cookie sheet. This serves two important purposes: it will catch any potential spills of bubbly filling, keeping your oven clean, and it makes transferring the hot pies in and out of the oven much easier and safer.
Bake your mini cherry pies in a preheated oven at 350°F (175°C) for 35-40 minutes, or until the tops are beautifully golden brown and the filling is visibly bubbly. Allow them to cool for at least 15 minutes before serving to prevent burning your tongue and to let the filling set slightly. These pies are absolutely divine served warm, perhaps with a scoop of creamy vanilla bean ice cream or a dollop of homemade whipped cream.
For a quicker alternative, especially when the kitchen heats up, you can also bake these mini pies in an air fryer! Simply cook them at 350°F (175°C) for about 20 minutes, or until the tops are golden brown. It’s a fantastic way to enjoy homemade pie without having to preheat your entire oven.
How to Freeze Mini Cherry Pies for Later Enjoyment
Whether you’re planning ahead or simply want to save some of your delicious small-batch cherry pies for a future craving, freezing them is a fantastic option. You can freeze mini cherry pies using one of two convenient methods:
- Freezing Before Baking: Completely assemble both of your mini cherry pies in their ramekins. Once assembled, wrap each pie tightly in plastic wrap, then place them into a freezer-safe bag or airtight container. They can be frozen for up to 6 months.
- Freezing After Baking: Allow your baked mini cherry pies to cool completely to room temperature. Once cooled, wrap each pie securely in plastic wrap, then transfer them to a freezer bag or airtight container. These can also be frozen for up to 6 months.
Baking and Reheating Frozen Cherry Pie
When you’re ready to indulge in your frozen mini cherry pie, the preparation is simple. For the best results, transfer the frozen pie from the freezer to the refrigerator and let it thaw overnight. Once thawed, allow it to sit out at room temperature for a short while as your oven preheats. Then, bake according to the instructions provided above.
If you’re baking a pie that was frozen *before* baking and is still quite cold, you might need to add an extra 10-15 minutes to the baking time. The key indicators for doneness are a beautifully golden-brown crust and a visibly bubbly filling. If reheating a *previously baked* frozen pie, simply warm it gently in the oven at 300°F (150°C) until heated through, typically about 20-30 minutes for a thawed pie.
Mini Cherry Pies: Frequently Asked Questions (FAQ)
Yes, store-bought pie crust is a convenient option and will certainly work for this recipe. However, for the most superior flavor and an irresistibly flaky texture, nothing quite compares to a homemade pie crust.
Absolutely! These ramekin cherry pies are perfect for making ahead. You can prepare them up to 2 days in advance and store them in the refrigerator before baking, or follow the freezing instructions above for longer storage.
If you don’t have ramekins, you have a couple of alternatives. You can combine the entire recipe into one 6-inch pie plate. Alternatively, you can create rustic free-form mini pies directly on a baking sheet by simply folding the crust over the filling, similar to how I make my small-batch apple hand pies.
More Easy Cherry Pie Recipes & Small Desserts
Enjoyed your delightful mini cherry pie? If you’re craving more ways to savor the sweet-tart goodness of cherries, explore these other fantastic Cherry Pie Filling Desserts:
- Cherry Turnovers
- Cherry Cobbler Bars
- Cherry Pie Ice Cream
- Chocolate Cherry Cheesecake Dip
And if you’re a fan of perfectly portioned sweet treats, be sure to check out my full list of convenient Ramekin Dessert Recipes.
Mini Cherry Pies
2 servings
30 minutes
40 minutes
1 hour
2 hours 10 minutes
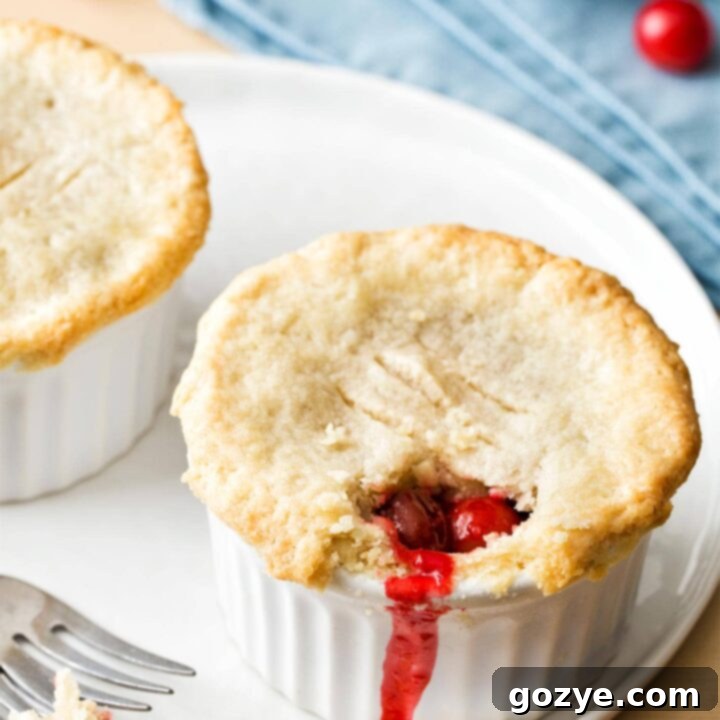
Don’t let summer pass you by without making Mini Cherry Pies! They’re individual cherry pies for two in ramekins with a homemade pie crust and cherry pie filling, perfect for a sweet indulgence.
Ingredients
- 1 cup all-purpose flour
- 1 tablespoon granulated sugar
- 1/2 teaspoon table salt
- 3 tablespoons unsalted butter, cold and cut into 3 pieces (frozen is best)
- 3 tablespoons vegetable shortening, cold and cut into 3 pieces (frozen is best)
- 2 tablespoons cold water
- 2 cups cherry pie filling (homemade or canned)
Instructions
- In the bowl of a large food processor, add the flour, sugar, and salt. Pulse 1 time to combine. For making by hand, add these ingredients to a large mixing bowl.
- Add the cold butter and cold shortening to the food processor. Pulse until the fats are cut into the flour, resembling small pebbles. If making by hand, cut the fats into the flour using a pastry blender or two knives until pea-sized pieces form.
- Add the cold water and pulse until a dough begins to form. If the mixture still appears crumbly, pulse for an additional minute. If it’s still not coming together, you may add one more teaspoon of water, but be careful not to add too much, as this can make your crust tough. When making by hand, stir in the water with a spoon until just combined.
- Divide the dough into four equal pieces. Gently flatten each piece into an evenly round disk. Wrap each disk tightly in plastic wrap and refrigerate for at least 1 hour, or until thoroughly chilled and firm.
- Preheat your oven to 350°F (175°C). Prepare two 6-ounce ramekins (or one 6-inch pie plate) and a cookie sheet for baking.
- Remove one dough piece from the refrigerator. On a lightly floured surface, roll it out into a circle slightly larger than your ramekin. Carefully line the bottom and sides of the ramekin with this crust, patching any small tears if necessary. Fill the crust with 1 cup of the cherry pie filling.
- Take another dough piece and roll it into a circle just large enough to cover the top of the ramekin. Place this top crust over the filling and gently seal the edges with the bottom crust. Cut a few slits in the top crust to allow steam to escape during baking.
- Repeat steps 6 and 7 with the remaining two dough pieces and the rest of the pie filling to create your second mini pie.
- Place both ramekins onto the prepared cookie sheet. Bake in the preheated oven for 35-40 minutes, or until the top crust is beautifully golden brown and the filling is bubbly. Allow them to cool for at least 15 minutes before serving to avoid burning your tongue and to let the filling set. Alternatively, bake in an air fryer at 350°F (175°C) for 20 minutes, or until golden brown. Serve warm with vanilla bean ice cream or cool completely to room temperature.
Notes
- Desire a larger pie? Explore my delectable Cherry Crumble Pie recipe.
- Have leftover cherry pie filling? Discover creative uses with my 10+ Cherry Pie Filling Desserts.
- Loved this small-batch dessert? You might also enjoy my Mini Apple Pies, Mini Strawberry Pies, and savory Chicken Pot Pie For Two.
Recommended Products
As an Amazon Associate and member of other affiliate programs, I earn from qualifying purchases.
- 6 ounce Ramekins
- Cherry Pitter
- 6 Inch Pie Plate
Did you make this recipe?
Let me know what you think! Rate the recipe above, leave a comment below, and/or share a photo on Instagram using #HITKrecipes
First published July 1, 2015
