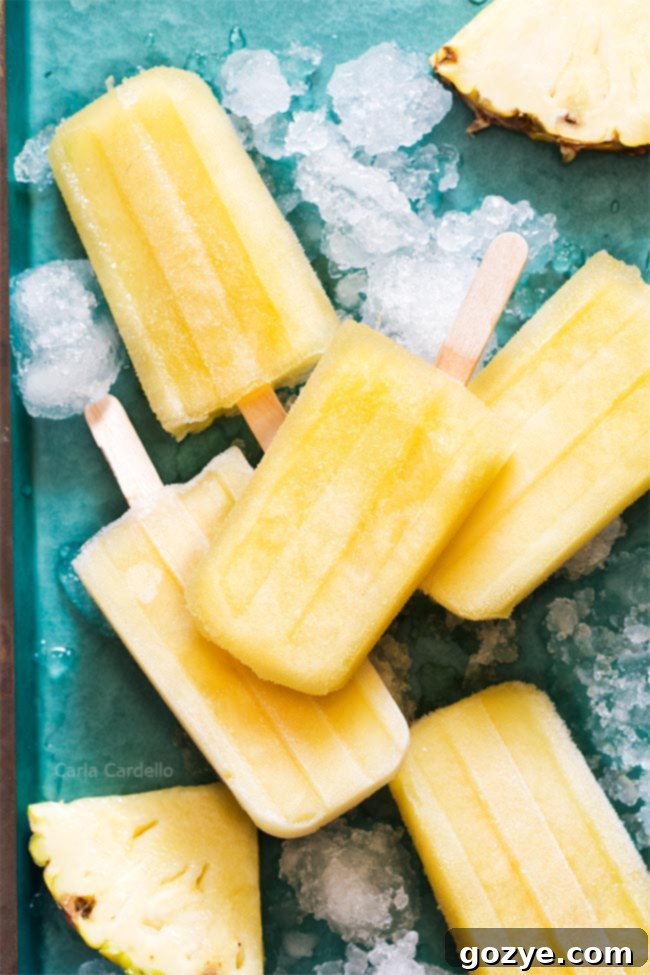
Easy 2-Ingredient Pineapple Popsicles: Refreshing Dairy-Free & Vegan Treats
Imagine a sunny afternoon, a gentle breeze, and a deliciously cool treat melting in your hand. What if that treat was not only incredibly refreshing but also super simple to make with just two ingredients? We’re talking about homemade Pineapple Popsicles! These delightful frozen snacks are perfect for anyone seeking a dairy-free and vegan option, made without any yogurt or milk, truly highlighting the natural sweetness of pineapple.
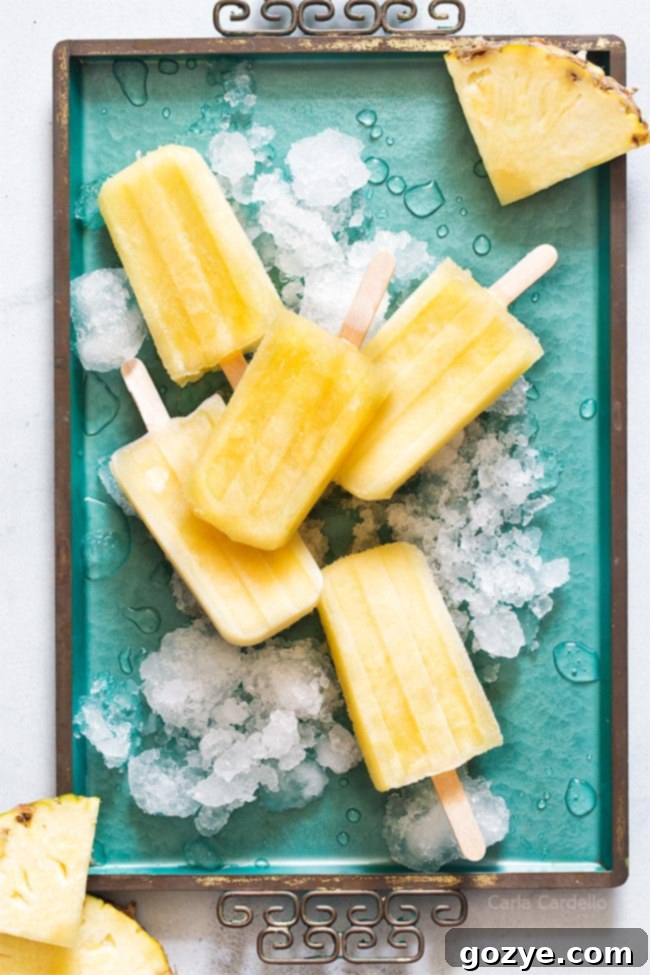
Confession time: This recipe for Pineapple Popsicles almost didn’t see the light of day! Initially, they were a personal project, born out of a desire to use up leftover pineapple juice. You see, I had some pineapple juice remaining from a unique Cornish hen recipe – a fun twist on beer can chicken, but using a 6-ounce can of pineapple juice instead of beer. The small cans are often sold in multi-packs, leaving you with extra juice perfect for small batch recipes.
Given the immense popularity of my strawberry popsicles, the idea of turning that extra pineapple juice into popsicles struck me as genius. However, I faced a common challenge: how much sugar is needed to achieve the perfect popsicle texture, preventing them from becoming solid, unyielding blocks of ice? Many recipes I found online incorporated ingredients like yogurt, coconut milk, or fresh fruit – all wonderful in their own right, but were they truly necessary for a simple pineapple pop? I decided to put it to the test, and the result was these wonderfully simple, 2-ingredient, dairy-free, and vegan Pineapple Popsicles.
Literally, all you need is canned pineapple juice and granulated sugar. With a recipe this straightforward, it felt essential to share it. Especially for those of you who, like me, find yourselves with extra pineapple juice after cooking for a small household or simply stocking up on this delicious beverage. And don’t fret if you don’t have pineapple juice on hand – I’ve also included a method for making these delightful popsicles using fresh pineapple chunks!
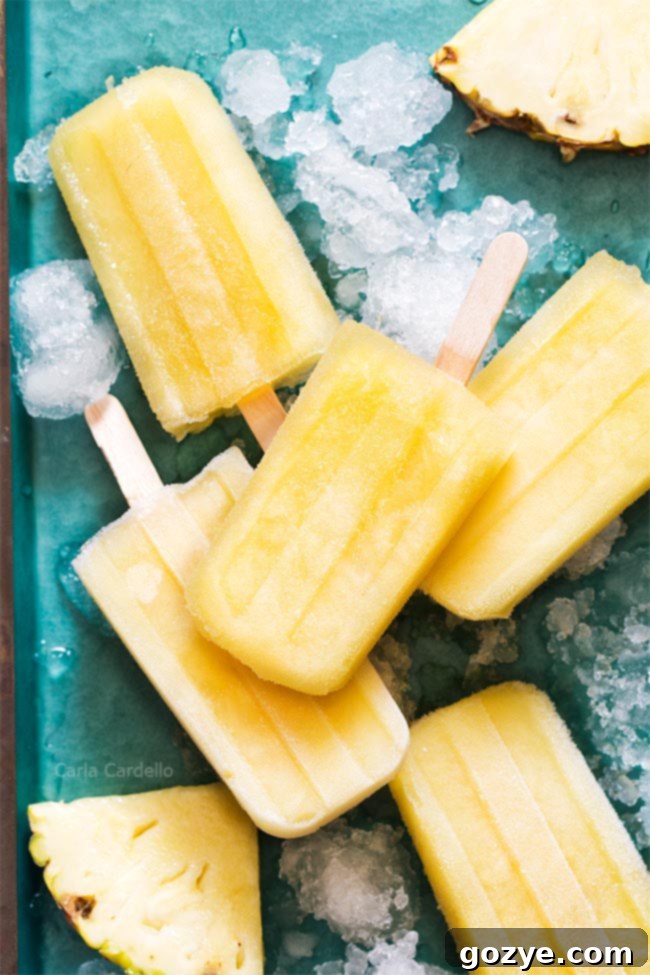
Why Make Homemade Pineapple Popsicles?
Beyond the sheer enjoyment, there are several compelling reasons to whip up your own batch of pineapple popsicles at home. Firstly, you have complete control over the ingredients. Store-bought versions often contain artificial colors, flavors, and excessive amounts of added sugars or corn syrup. With this recipe, you know exactly what goes into your treat: pure pineapple goodness and just enough sugar for that perfect texture. Secondly, it’s incredibly cost-effective. A few cans of juice and some sugar are far cheaper than a box of premium popsicles, especially when you consider how many you can make. Lastly, it’s a fun and rewarding activity, especially if you have little helpers in the kitchen!
The Magic of Just 2 Ingredients for Perfect Popsicles
You might wonder how only two ingredients can create such a perfect frozen treat. The secret lies in the role of sugar. While it certainly sweetens the popsicles, its primary function here is scientific: it lowers the freezing point of the liquid. This essential property helps prevent the popsicles from turning into solid, tooth-breaking ice blocks. Instead, the sugar creates a softer, more scoopable or bite-friendly texture, allowing you to enjoy a smooth, icy-yet-creamy consistency without any dairy. It’s a simple trick that makes all the difference in achieving that ideal popsicle experience.
Ingredients for Your Delicious Pineapple Popsicles
To embark on your pineapple popsicle journey, you truly only need two straightforward ingredients. Simplicity at its best!
- Pineapple Juice: Opt for 100% pineapple juice. Whether it’s from concentrate or not, the key is to ensure it’s pure pineapple juice with no added sugars or other fruit blends. Sugary juice blends can throw off the balance of the recipe and lead to an overly sweet or harder popsicle. A 6-ounce can is often the perfect amount for a small batch, leaving you with no waste.
- Granulated Sugar: Even if your pineapple juice tastes sweet enough on its own, don’t skip the sugar. As mentioned, it’s not just for sweetness; it’s crucial for the texture. Sugar inhibits large ice crystal formation, resulting in a popsicle that’s “soft” enough to bite into without chipping a tooth. It ensures a smooth, delightful mouthfeel instead of a rock-hard ice cube.
Can I Substitute Fresh Pineapple for Juice? Absolutely!
Yes, you can certainly use fresh pineapple for an even more vibrant flavor. To do so, you’ll need a blender. Add approximately 3 cups of diced fresh pineapple, 6 tablespoons of water, and the same 6 tablespoons of granulated sugar to your blender. Blend until the mixture is incredibly smooth and no fibrous chunks remain. The water helps achieve the desired liquid consistency for freezing, and the sugar will still play its vital role in preventing an overly icy texture. Once blended, simply pour this mixture into your popsicle molds and freeze as directed in the main recipe. If you find yourself with extra fresh pineapple, consider making a batch of homemade pineapple teriyaki sauce – another fantastic use for this tropical fruit!
What About Sugar Substitutions?
This particular pineapple popsicle recipe has been rigorously tested only with granulated sugar. While I understand the desire to explore alternatives, I cannot guarantee the same results with sweeteners like Splenda, agave syrup, honey, or other sugar substitutes. These alternatives can behave differently during freezing, potentially affecting the final texture of your popsicles. If you do experiment with a sugar substitute, please share your findings! Your experience will be invaluable to other readers looking to customize this recipe.
Can I Double This Recipe for Pineapple Popsicles?
Absolutely! This recipe is designed for a small batch, but it scales up beautifully. Feel free to double, triple, or even quadruple the ingredients to make as many popsicles as your heart desires. Just be sure to maintain the same proportions when increasing the quantities. The ratio of juice to sugar is key for achieving the perfect texture once frozen, so sticking to the proportions will ensure consistent, delicious results every time.
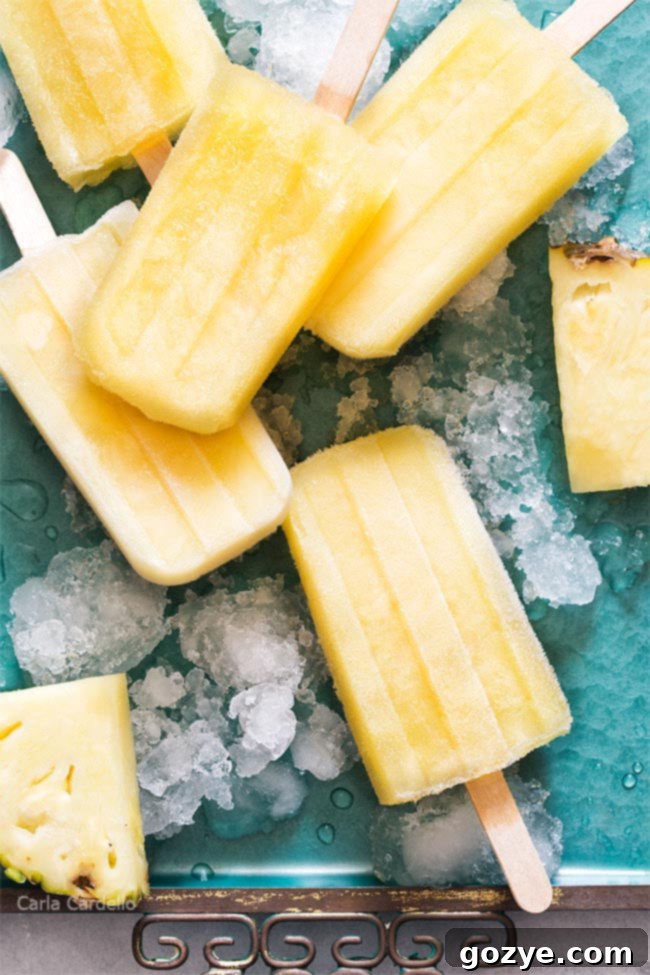
How to Make Homemade Pineapple Popsicles: Step-by-Step
Making these pineapple juice popsicles at home is unbelievably easy. Get ready for a simple process that yields incredible results!
- Prepare Your Mixture: Begin by pouring your 100% pineapple juice into a large measuring cup. A measuring cup with a pouring spout is particularly helpful here, as it minimizes spills when transferring the liquid to the molds.
- Whisk in the Sugar: Add the granulated sugar to the pineapple juice. Whisk vigorously until the sugar is completely dissolved. You shouldn’t see any granules at the bottom of the cup. This step is crucial for even sweetness and proper freezing.
- Fill Your Molds: Carefully pour the pineapple juice mixture into your chosen popsicle molds. Fill them almost to the top, leaving a little room for expansion during freezing.
- Insert Sticks and Freeze: Insert the popsicle sticks into each mold. Place the filled molds into your freezer. Freeze for a minimum of 4 hours, but for best results and firm popsicles, freezing them overnight is ideal. And voilà! Homemade pineapple popsicles ready for you to savor.
Essential Equipment for Popsicle Making
While the recipe is simple, having the right tools can make the process even smoother:
- Popsicle Molds: I’m particularly fond of my popsicle molds because they create that classic, iconic fudgesicle shape. You can find excellent options like the Norpro Ice Pop Maker on Amazon (affiliate link). There are various types available, from silicone molds (easy to release) to traditional plastic or even stainless steel options, each with its own benefits. Choose one that fits your freezer space and preferred shape.
- Popsicle Sticks: If your molds don’t come with reusable sticks, you’ll need wooden ones. These are readily available on Amazon (affiliate link) or in the craft section of most stores.
- Alternative Molds: No fancy molds? No problem! Small paper Dixie cups work wonderfully as temporary molds. Simply fill them with the mixture, cover the tops with foil, and poke a small hole in the center to hold the popsicle stick upright. Once frozen, you can easily cut away the paper cup to release your popsicle.
- Bottle Brush: A bonus tip for cleaning: if your popsicle molds have narrow openings or intricate shapes, a bottle brush can be a lifesaver for reaching all those nooks and crannies!
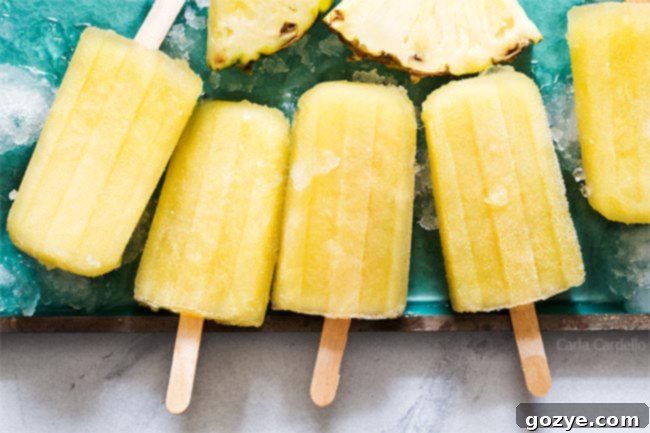
Expert Tips for Unmolding Popsicles Seamlessly
Unmolding popsicles can sometimes be tricky, but with the right technique, you’ll have them out in no time without breakage:
- Individual Molds: For a small batch, or if you’re only unmolding one or two at a time, run each individual mold under lukewarm (not hot!) water for about 30 seconds to a minute. Be extremely careful not to let any water seep into the mold itself, as this can dilute your popsicle. After a minute under running water, gently pull the popsicle stick. If it doesn’t release easily, continue running it under water for a few more seconds. Never force it, as this can cause the popsicle to break or leave part of it stuck in the mold.
- Batch Unmolding (Water Bath Method): If you’re unmolding an entire tray of popsicles, the water bath method is your best friend. Fill a large, deep container (like a baking dish or a clean sink) with lukewarm water. Submerge the entire popsicle mold (ensuring the tops of the popsicles and sticks stay above the water line) into the water for about 30-60 seconds. This gentle warming helps to loosen all the popsicles at once. Remove the mold from the water and gently pull each popsicle out.
- Paper Cup Method: If you used paper cups as molds, simply tear or cut away the paper cup once the popsicle is frozen solid. This is often the easiest and most foolproof unmolding method.
How to Store Homemade Popsicles for Maximum Freshness
Proper storage is key to enjoying your homemade pineapple popsicles for as long as possible:
- Short-Term Storage (Up to 1 Week): Once unmolded, place the popsicles in a single layer on a sheet of wax paper or parchment paper. Then, transfer them to an airtight, freezer-safe container. This method works well if you plan to consume them within a week. The wax paper helps prevent them from sticking together.
- Long-Term Storage (Up to 1 Month): For extended freshness and to prevent freezer burn, individually wrap each frozen popsicle in plastic wrap. Once wrapped, place them in a freezer bag or another airtight freezer-safe container. This extra layer of protection keeps them tasting fresh and free from ice crystals for up to a month. Always ensure they are completely solid before wrapping to avoid deforming their shape.
Frequently Asked Questions About Pineapple Popsicles
Here are some common questions you might have when making your two-ingredient pineapple popsicles:
- Why are my popsicles too hard or icy? This usually indicates that there isn’t enough sugar in the mixture, or if using fresh fruit, perhaps too much water. The sugar is essential for achieving that softer, bite-friendly texture. Make sure you’re using the recommended amount of sugar.
- Why won’t my popsicles come out of the mold? They likely haven’t thawed enough on the outside. Re-read the unmolding tips above and give them a bit more time under lukewarm water. Patience is key!
- Can I add other flavors to this basic recipe? While this recipe celebrates the simplicity of two ingredients, you can certainly experiment with subtle additions. A tiny splash of lime juice for zing, a few mint leaves blended in for freshness, or even a drop of coconut extract could be interesting. However, keep in mind that adding liquids or other ingredients might slightly alter the texture, so test in small batches.
- How long do homemade popsicles last in the freezer? With proper storage (individually wrapped in plastic wrap and then in an airtight container), they can last for up to one month without significant loss of quality. For best taste and texture, consume within two weeks.
The Wholesome Goodness of Pineapple
Beyond being incredibly delicious, pineapple also offers some great health benefits. It’s an excellent source of Vitamin C, which is vital for your immune system. Pineapple also contains bromelain, an enzyme known for its anti-inflammatory properties and digestive benefits. So, when you’re enjoying these refreshing popsicles, you’re not just indulging in a tasty treat, but also getting a little boost of wholesome goodness!
Whether you’re looking for a quick and easy summer dessert, a healthy snack, or a fun project with minimal ingredients, these 2-ingredient Pineapple Popsicles are a fantastic choice. Their vibrant flavor and satisfying texture are sure to make them a household favorite. Give them a try and brighten up your day with a taste of the tropics!
More Popsicle Recipes to Explore
Looking for more delightful small-batch popsicle ideas? Dive into these other fantastic homemade popsicle recipes:
- Orange Creamsicles
- Blueberry Yogurt Popsicles
- Watermelon Popsicles
- Margarita Popsicles
- Iced Coffee Popsicles
- Coconut Popsicles
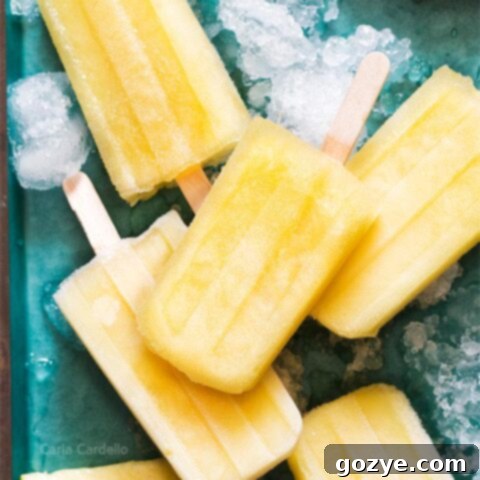
Pineapple Popsicles
6 pops
5 minutes
4 hours
4 hours 5 minutes
Making 2-ingredient Pineapple Popsicles at home is incredibly easy. Simply whisk together canned pineapple juice and sugar to create these refreshing dairy-free and vegan treats without yogurt or milk.
Ingredients
- 1 + 1/2 cups (12 ounces) canned 100% pineapple juice
- 6 tablespoons granulated sugar
Instructions
- Whisk together the pineapple juice and granulated sugar in a large measuring cup until the sugar is completely dissolved.
- Carefully transfer the mixture to popsicle molds or small paper cups. Insert wooden sticks into the center of each mold. Freeze until firm, which typically takes about 4 hours, but preferably overnight for the best texture.
- To Unmold: Run individual molds under lukewarm water for 30-60 seconds, or for multiple pops, immerse the bottom part of the entire mold in a warm water bath for 30-60 seconds. Gently pull to release.
- Storage: For short-term storage (up to 1 week), place unmolded popsicles in a single layer on wax or parchment paper in a freezer-safe container. For longer storage (up to 1 month), once popsicles are solid, wrap each one individually in plastic wrap before placing in a freezer bag or container.
Notes
- Fresh Pineapple Option: To substitute fresh pineapple, add 3 cups diced fresh pineapple, 6 tablespoons water, and 6 tablespoons granulated sugar to a blender. Blend until super smooth, then pour into molds and freeze as directed.
- Explore More: Enjoyed this recipe? Don’t miss out on my other refreshing homemade treats like Strawberry Popsicles, Watermelon Yogurt Pops, and Orange Creamsicles.
Recommended Products
As an Amazon Associate and member of other affiliate programs, I earn from qualifying purchases.
- Popsicle Mold
- Popsicle Sticks
Did you make this recipe?
Let me know what you think! Rate the recipe above, leave a comment below, and/or share a photo on Instagram using #HITKrecipes
