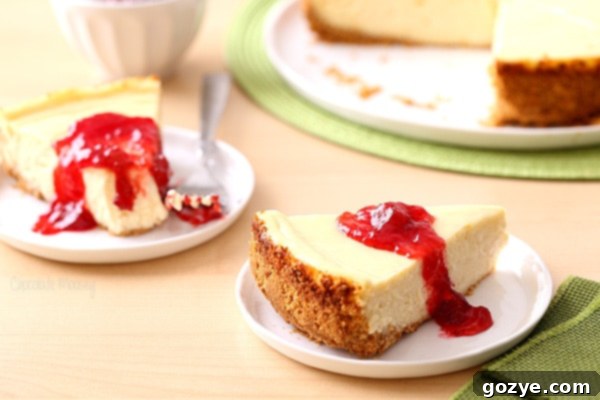
The Ultimate 9-Inch Classic Cheesecake Recipe: No Cracks, No Water Bath, Pure Perfection
There’s a reason why some dessert recipes stand the test of time – they’re simple, satisfying, and universally loved. A classic cheesecake is undoubtedly one of them. While I often enjoy putting my own creative spin on recipes, sometimes the original is simply the best. This homemade 9-inch classic cheesecake recipe is a testament to that timeless appeal. It delivers a perfectly smooth, creamy texture without the frustration of cracks or the need for a complicated water bath. Whether you prefer it elegantly plain or adorned with a vibrant fruit topping, this recipe is guaranteed to impress.
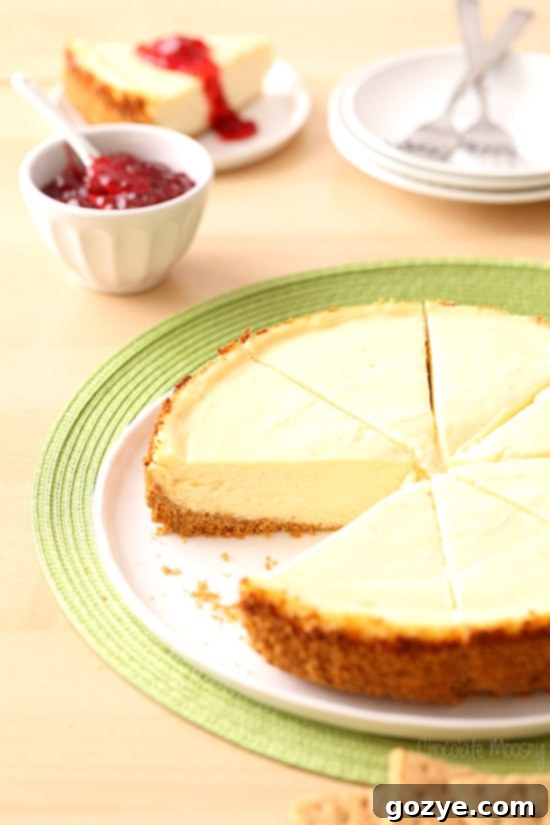
As a recipe developer, I typically lean towards sharing unique creations and innovative twists on classic dishes. My culinary journey has led me to experiment with countless cheesecake variations, from Caramel Apple Pecan Cheesecake and Strawberry Shortcake Cheesecake to decadent Carrot Cake Cheesecake, and even adorable Cheesecake in a Jar. The possibilities are truly endless when it comes to this beloved dessert.
However, over time, I’ve received numerous requests for a straightforward, plain cheesecake recipe. In a dessert-focused Facebook group I manage, the call for a reliable classic cheesecake is a recurring theme. When my readers ask, I listen! So, after perfecting my technique over many years, I’m thrilled to share my absolute go-to Classic Cheesecake recipe. This recipe has consistently delivered perfect results, never cracking when the directions are followed precisely. (There was one instance when it cracked, but that was entirely my fault for overbaking it in an unfamiliar oven – a valuable lesson learned!).
What makes this recipe truly special is its simplicity and foolproof nature. You won’t need an elaborate water bath, which many home bakers find intimidating. Furthermore, it doesn’t require an extensive list of expensive ingredients. All you need are six basic ingredients and a 9-inch springform pan. It’s a testament to how incredible flavor and texture can come from minimal fuss.
If you’re looking to make a smaller dessert, perhaps for a more intimate gathering or just a treat for two, I’ve also adapted this core recipe for different pan sizes. You can check out my 6-inch cheesecake recipe, 7-inch cheesecake recipe, and even a loaf pan cheesecake. These versions use the same reliable base recipe, simply adjusted for smaller portions.
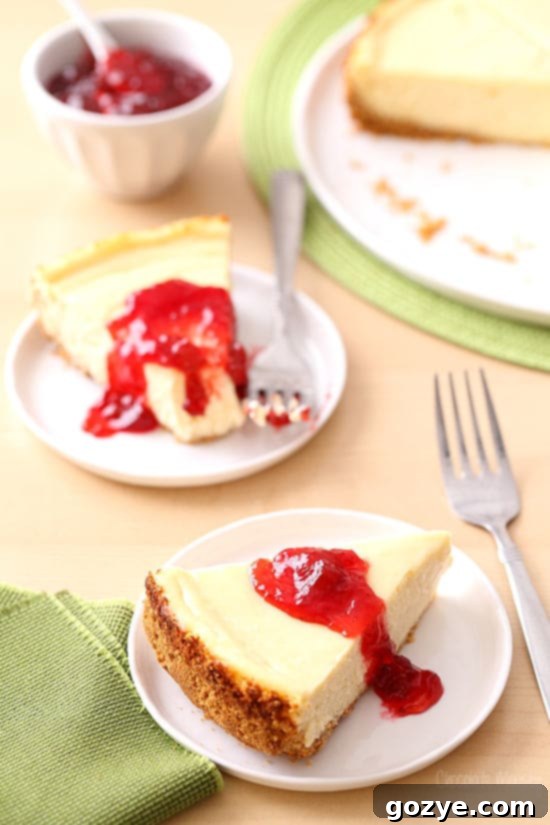
Honestly, I’ve lost count of how many times I’ve made this particular recipe. For the past few years, it has become the foundational base for virtually all of my cheesecake creations. Before settling on this winner, I experimented with countless recipes – some called for sour cream, others for heavy cream, various egg quantities, and the perpetual debate of water bath versus no water bath. While I’ve encountered some truly decadent recipes, they often came with demanding preparation times, such as 12 minutes of continuous beating or the complexity of a water bath setup.
This recipe, however, strikes the perfect balance. It achieves that luxurious, creamy texture without the need for a water bath, simplifying the baking process considerably. Moreover, the beating time is significantly reduced, making it a quicker and more accessible option for busy home bakers. The key lies in understanding the ingredients and technique, ensuring a perfectly smooth batter that bakes beautifully every single time.
Why This Classic Cheesecake Recipe Stands Out: No Cracks, No Water Bath!
The two most common fears when baking a cheesecake are dreaded cracks on the surface and the perceived difficulty of a water bath. This recipe eliminates both concerns. Cracks typically occur due to sudden temperature changes or overbaking, which causes the cheesecake to expand rapidly and then contract too quickly as it cools. Overmixing the batter, especially after adding eggs, can also incorporate too much air, leading to a soufflé-like rise and subsequent fall (and crack) during cooling.
My method focuses on gentle baking and precise ingredient temperatures. Using room temperature cream cheese and eggs is crucial, as it ensures a smooth, lump-free batter without overworking it. Overmixing develops gluten in the eggs and cream cheese, making the cheesecake dense and prone to cracking. We’ll beat the cream cheese and sugar until light and fluffy, then incorporate the eggs one at a time, just until combined. This minimal mixing prevents excess air from being incorporated.
Instead of a water bath, which aims to provide a moist, even heat environment, this recipe relies on a slightly lower oven temperature and careful monitoring. The cheesecake bakes until the edges are set, but the center still has a slight jiggle. This “almost set” stage is critical because the cheesecake continues to cook from residual heat as it cools. Gradual cooling, first in the oven with the door ajar, then on the counter, and finally in the refrigerator, is what prevents those unsightly cracks, allowing the cheesecake to settle gracefully.
Essential Ingredients for Your Perfect Cheesecake
This recipe prides itself on its simplicity, using just six key ingredients that contribute to its incredible flavor and texture:
- Graham Cracker Crumbs: The foundation of our crust. You can buy pre-crushed crumbs or crush your own graham crackers for a fresher taste.
- Unsalted Butter, Melted: Binds the graham cracker crumbs together to form a sturdy, flavorful crust.
- Full-Fat Cream Cheese, Softened: This is the star of the show! Use full-fat cream cheese for the best, creamiest texture and richest flavor. It’s crucial for it to be softened to room temperature so it blends smoothly without lumps and prevents overmixing. Do not substitute with fat-free cream cheese, as it will significantly alter the texture.
- Granulated Sugar: Sweetens the cheesecake and contributes to its silky-smooth texture.
- Eggs, Room Temperature: Provide structure and richness to the cheesecake. Like the cream cheese, using room temperature eggs helps them incorporate evenly into the batter without overmixing.
- Vanilla Extract: Enhances all the other flavors, adding a warm, aromatic depth to the cheesecake. Use a good quality pure vanilla extract for the best results.
Serving Your Classic Cheesecake: Plain or Topped
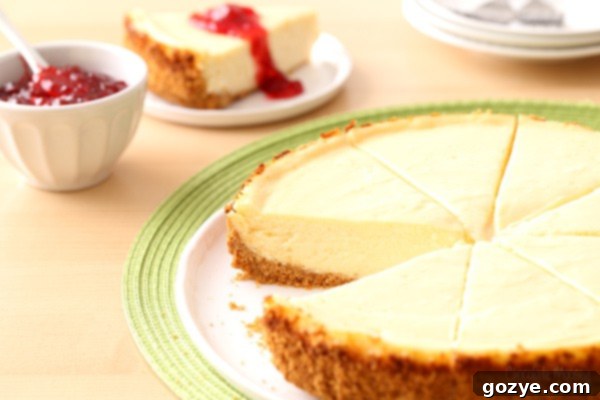
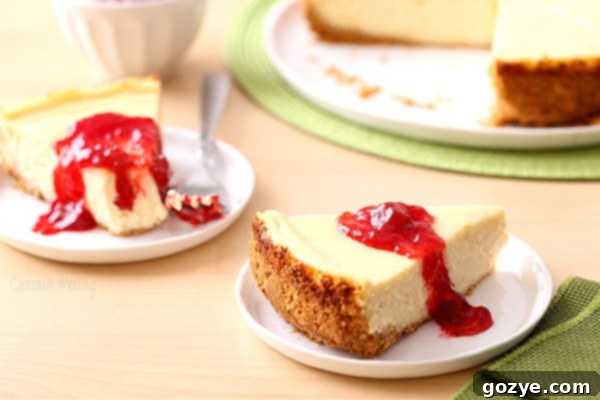
Personally, I adore serving this cheesecake just as it is, without any additional toppings. The inherent creaminess and rich, subtly sweet flavor are truly magnificent on their own, allowing the pure essence of the cheesecake to shine. However, as you can see in some of my photos, I occasionally enjoy a slice or two with a dollop of homemade strawberry jam without pectin. The slight tartness of the berries beautifully complements the creamy base.
The beauty of a classic cheesecake lies in its versatility. It’s a blank canvas for an endless array of toppings. You can easily make a fresh strawberry sauce (feel free to swap out the strawberries for your favorite fruit like raspberries, blueberries, or cherries). Other fantastic options include a vibrant peach curd, a decadent hot fudge sauce, or a silky homemade caramel sauce. Your imagination is the only limit!
If you have fresh fruit on hand, you can elevate your cheesecake with a simple fruit topping. Consider garnishing with a luscious peach pie filling, a rich cherry pie filling, or a comforting apple pie filling. A sprinkle of fresh berries, a swirl of whipped cream, or a dusting of cocoa powder can also add an elegant touch.
Beyond the Slice: More Cheesecake Delights
If you’re eager for a creative twist on the traditional cheesecake, I’ve got some delightful suggestions! Try my cheesecake cookies or the indulgent Oreo cheesecake cookies for a bite-sized treat with all the familiar flavors.
For those times when it’s just too hot to turn on the oven, or if you simply prefer a quicker dessert, I highly recommend exploring my no-bake options. My No Bake Cheesecake Cups and No Bake Mini Cheesecakes offer all the creamy goodness without any baking required.
Now, let’s get to the recipe details!
9 Inch Classic Cheesecake Recipe
8-10 servings
20 minutes
40 minutes
4 hours
5 hours
Sometimes you can’t go wrong with a classic dessert recipe! This homemade 9 inch classic cheesecake recipe doesn’t crack and doesn’t require a water bath, ensuring a perfect, creamy dessert every time.
Ingredients
- 2 1/2 cups graham cracker crumbs
- 6 tablespoons unsalted butter, melted
- 24 ounces (3 blocks or 24 tablespoons) full-fat cream cheese, softened and not cold to the touch (do not sub fat free)
- 1 cup granulated sugar
- 3 eggs, room temperature and not cold to the touch
- 1 tablespoon vanilla extract
Instructions
- Preheat your oven to 350°F (175°C). Have a 9-inch springform pan ready and set aside.
- In a large bowl, combine the graham cracker crumbs and melted butter. Mix thoroughly until the crumbs are evenly moistened. Press this mixture firmly into the bottom and about 2 inches up the sides of the prepared springform pan. This forms your sturdy crust.
- In a separate large mixing bowl, using an electric mixer, beat together the softened cream cheese and granulated sugar. Beat on medium speed for about 2-3 minutes until the mixture is light, fluffy, and completely smooth. Make sure to scrape down the sides of the bowl as needed to ensure everything is well combined.
- Add the eggs, one at a time, beating for just 1 minute after each addition until just incorporated. Do not overmix the eggs, as this can introduce too much air, leading to cracks. Finally, stir in the vanilla extract and beat for an additional minute until just combined.
- Carefully transfer the cheesecake batter into the graham cracker crust in the springform pan. Bake for 35-40 minutes, or until the edges are set and the center is almost set – it will still have a slight jiggle when the pan is gently shaken, but the top should feel firm to the touch. The internal temperature should reach 150°F (65°C). Remove the cheesecake from the oven and let it cool in the pan on a wire rack for 1 hour.
- After cooling for an hour, carefully run a thin knife along the inner edge of the springform pan to loosen the cheesecake from the sides. This step helps prevent cracks during further cooling and shrinking. Cover the cheesecake with plastic wrap and refrigerate for at least 4 hours, or preferably overnight, to allow it to fully set. Before serving, remove the side of the springform pan. Store any leftover cheesecake in an airtight container in the refrigerator for up to 1 week.
Notes
For best results, ensure your cream cheese and eggs are at room temperature. This is crucial for a smooth batter and to prevent overmixing. If you’re looking for a smaller cheesecake to serve, check out my 6-inch cheesecake recipe or 7-inch cheesecake recipe. This classic recipe is easily adaptable!
Recommended Products
As an Amazon Associate and member of other affiliate programs, I earn from qualifying purchases.
- 9 Inch Springform Pan
Did you make this recipe?
Let me know what you think! Rate the recipe above, leave a comment below, and/or share a photo on Instagram using #HITKrecipes
Source: Adapted from Taste Of Home
More Cheesecake Recipes to Explore
If you’ve fallen in love with cheesecake, there are so many more variations to try. From individual servings to decadent chocolate versions, here are some other cheesecake recipes you might enjoy from my collection:
- Cheesecake For Two
- Chocolate Cheesecake
- Strawberry Swirl Cheesecake
- Strawberry Shortcake Cheesecake
- Pecan Pie Cheesecake
- Caramel Apple Cheesecake
- Carrot Cake Cheesecake
- Gingerbread Cheesecake
- Red Velvet Oreo Cheesecake
- Instant Pot Cheesecake
