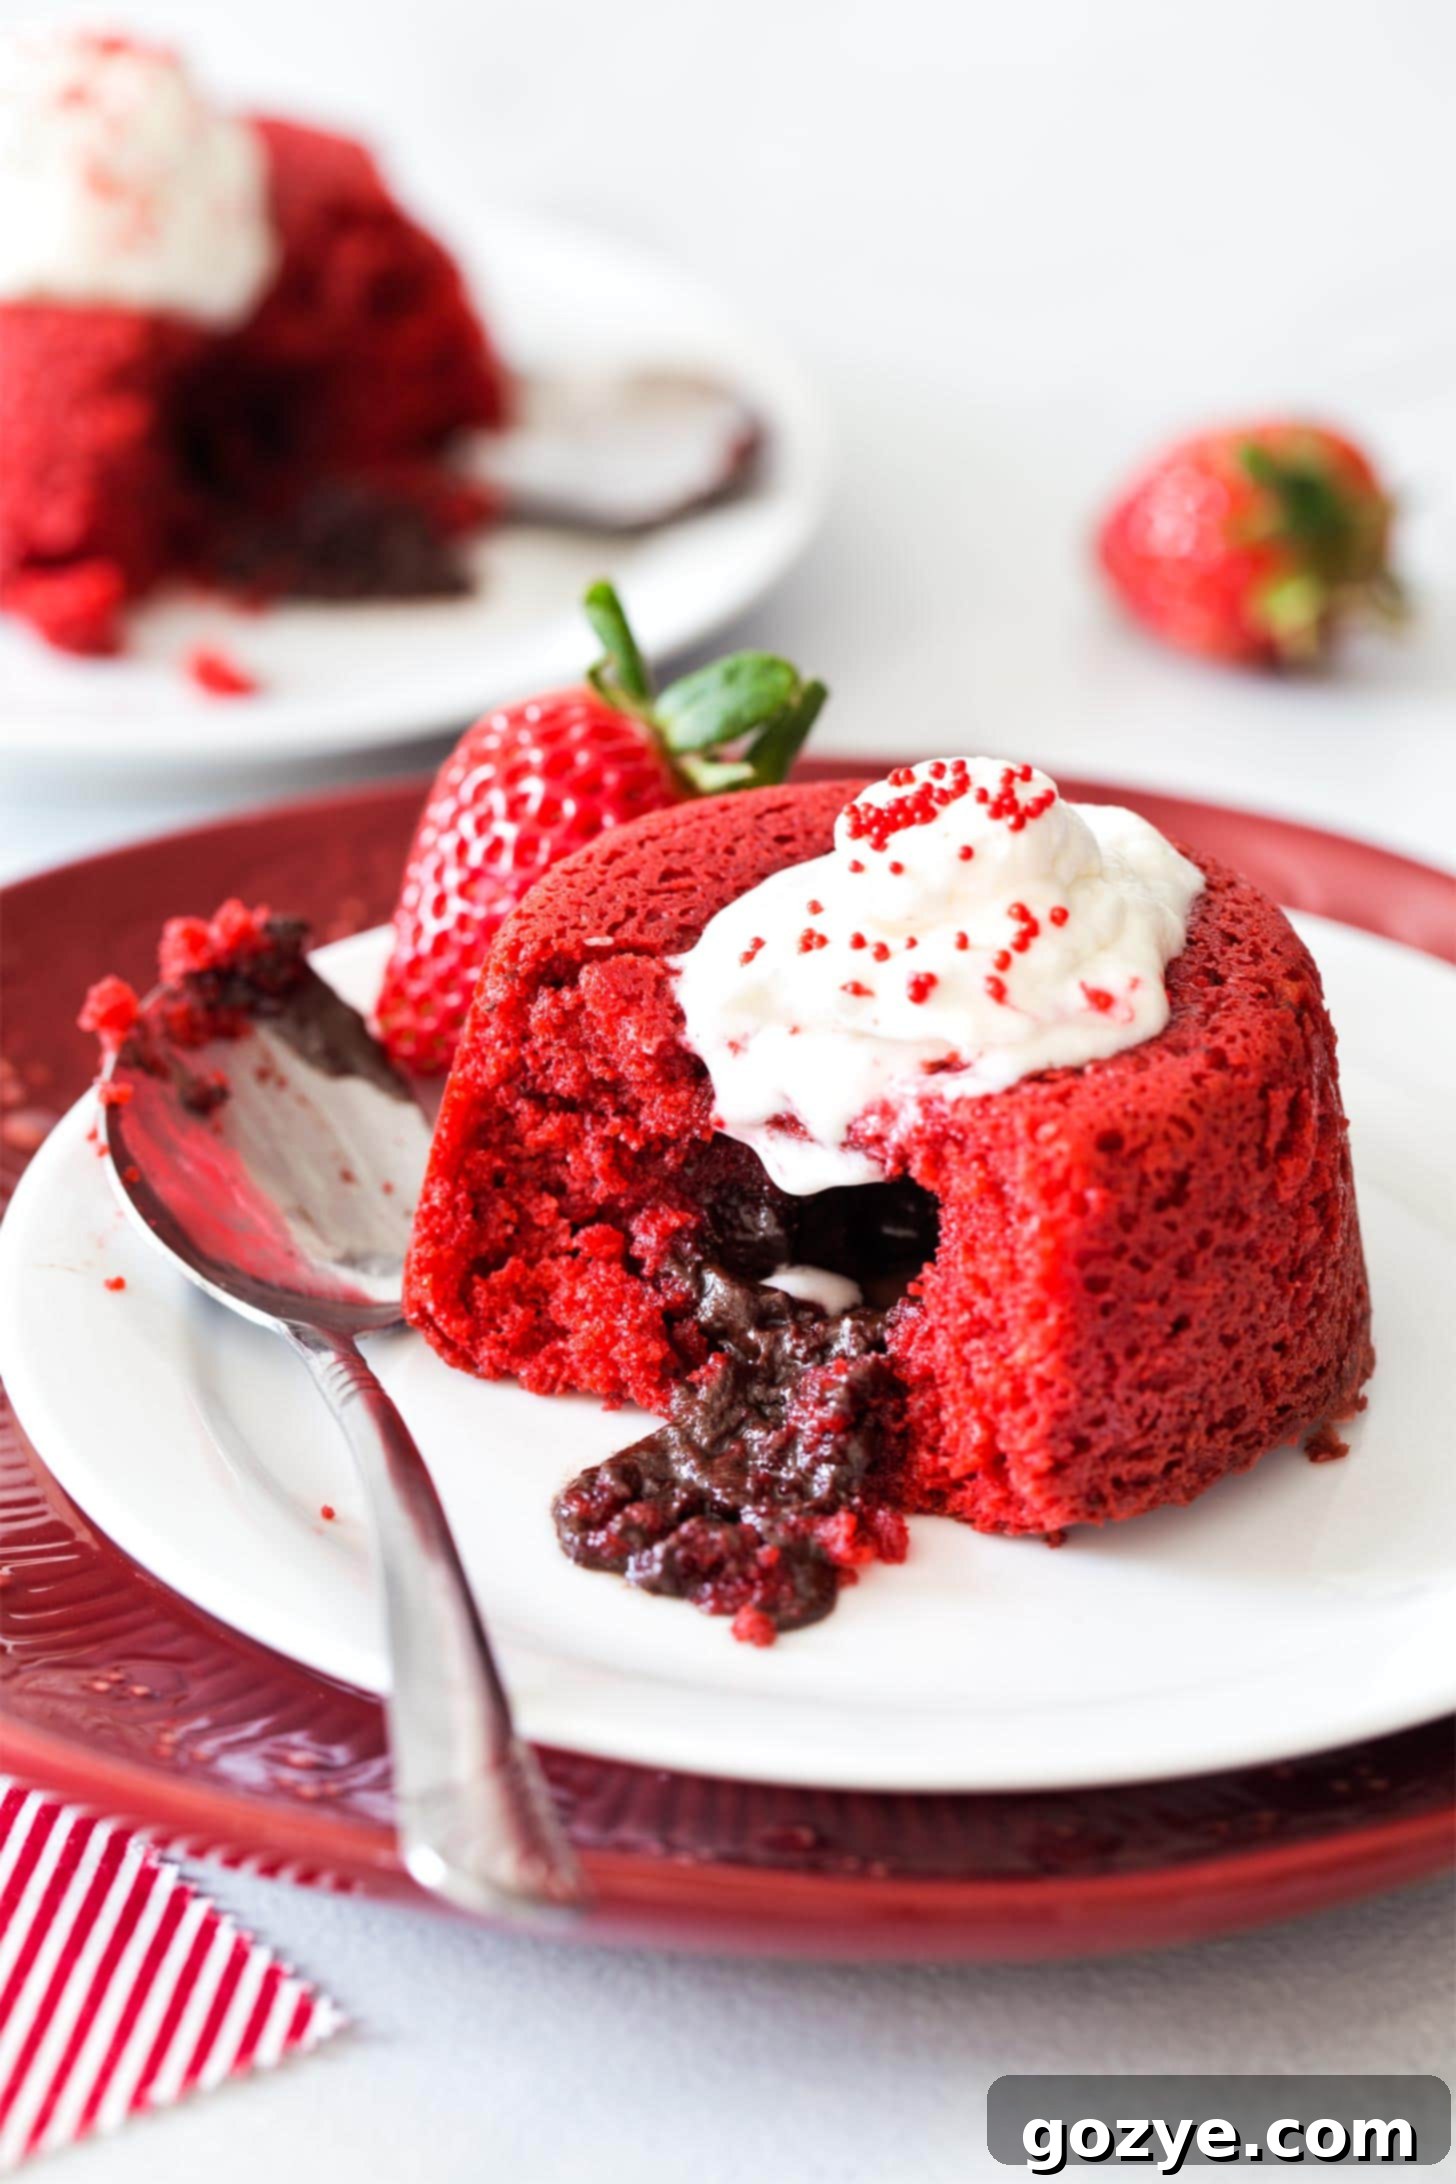
Decadent Red Velvet Lava Cakes: The Ultimate Romantic Dessert for Two
Red Velvet Lava Cakes are a true culinary delight, offering a luxurious experience that combines the classic appeal of red velvet with the irresistible surprise of a molten chocolate center. Baked perfectly in individual ramekins, these rich and decadent cakes are crowned with a light and tangy cream cheese whipped cream, making them an ideal dessert for two. Whether you’re celebrating Valentine’s Day, an anniversary, or simply enjoying a cozy date night at home, these exquisite molten cakes are guaranteed to impress and create a memorable sweet moment.
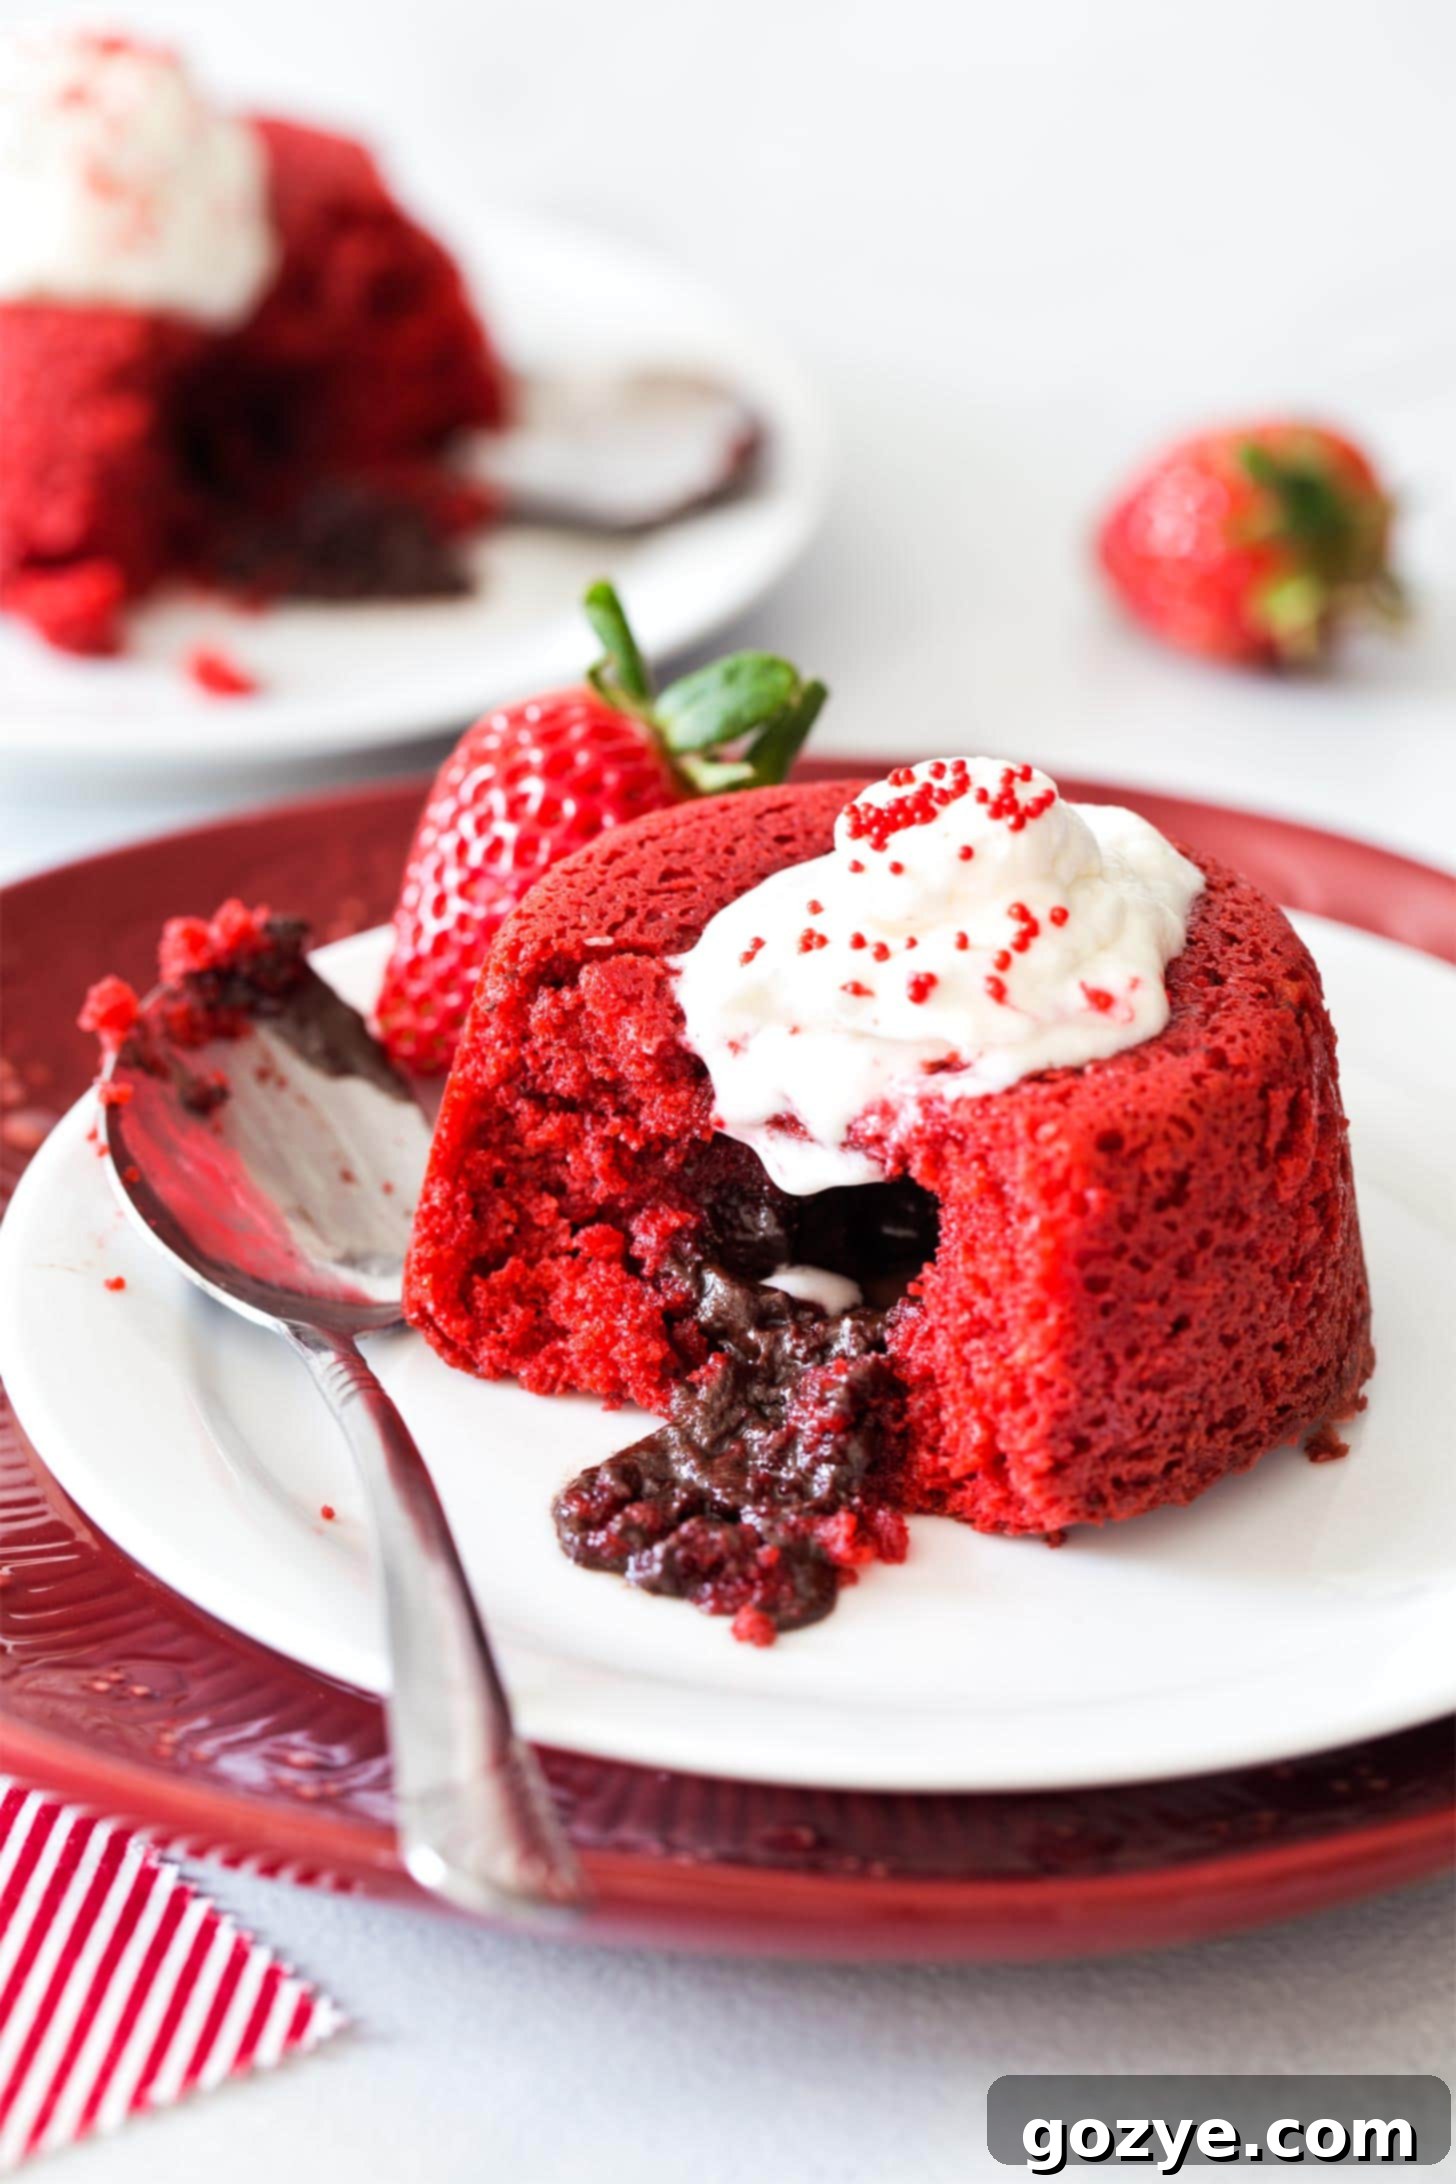
With special occasions like Valentine’s Day approaching, or just any evening you wish to make extra special, planning a truly romantic dessert for two becomes a delightful task. Few treats capture the essence of romance quite like red velvet, and our Red Velvet Lava Cakes are designed to do just that.
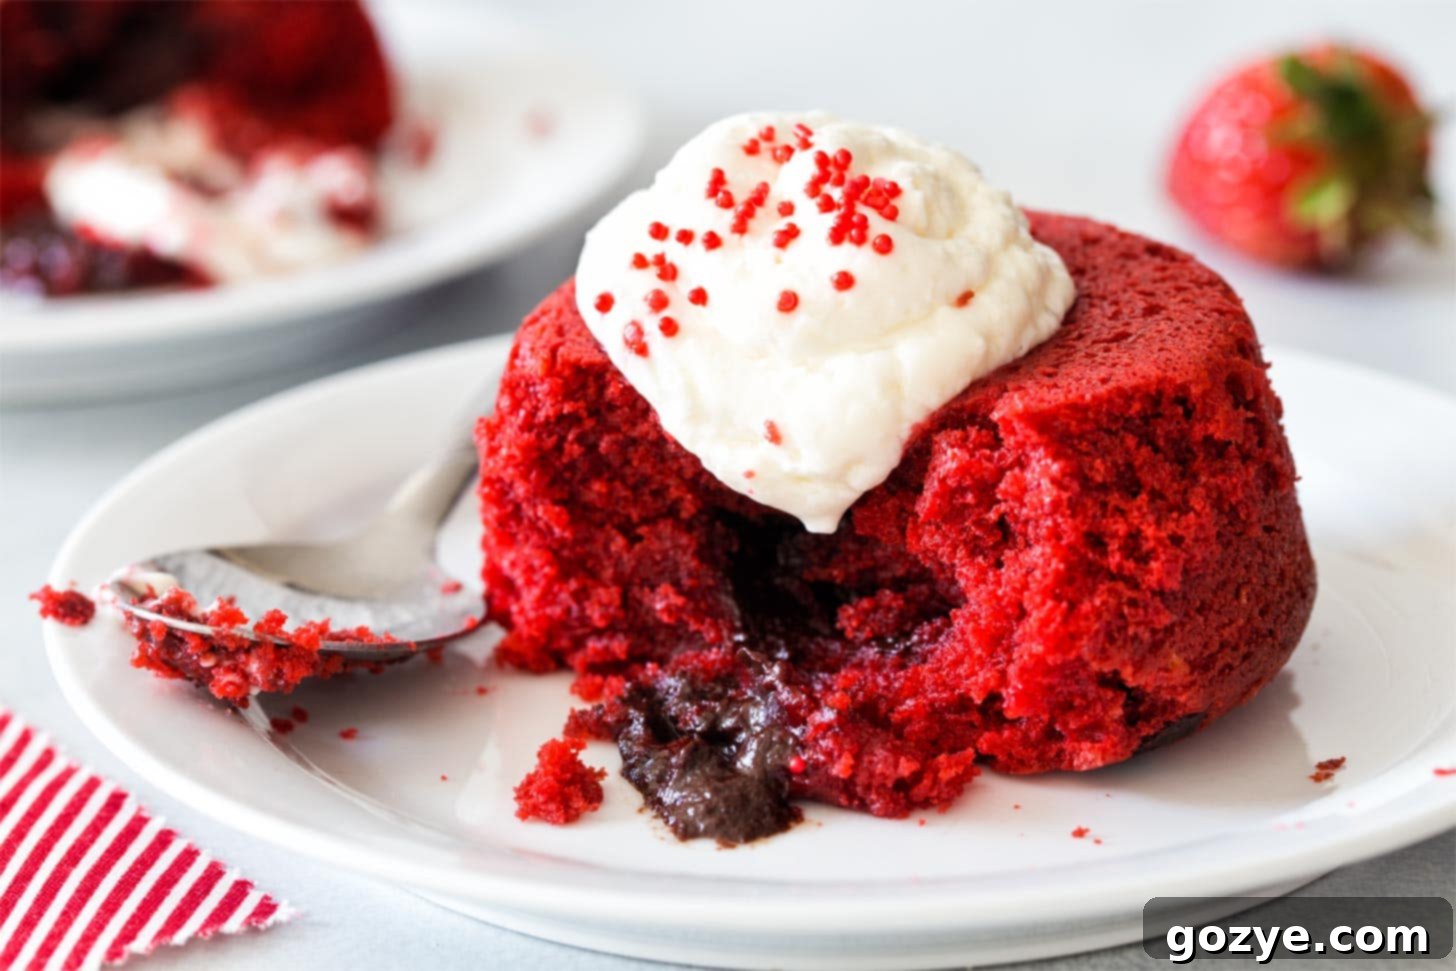
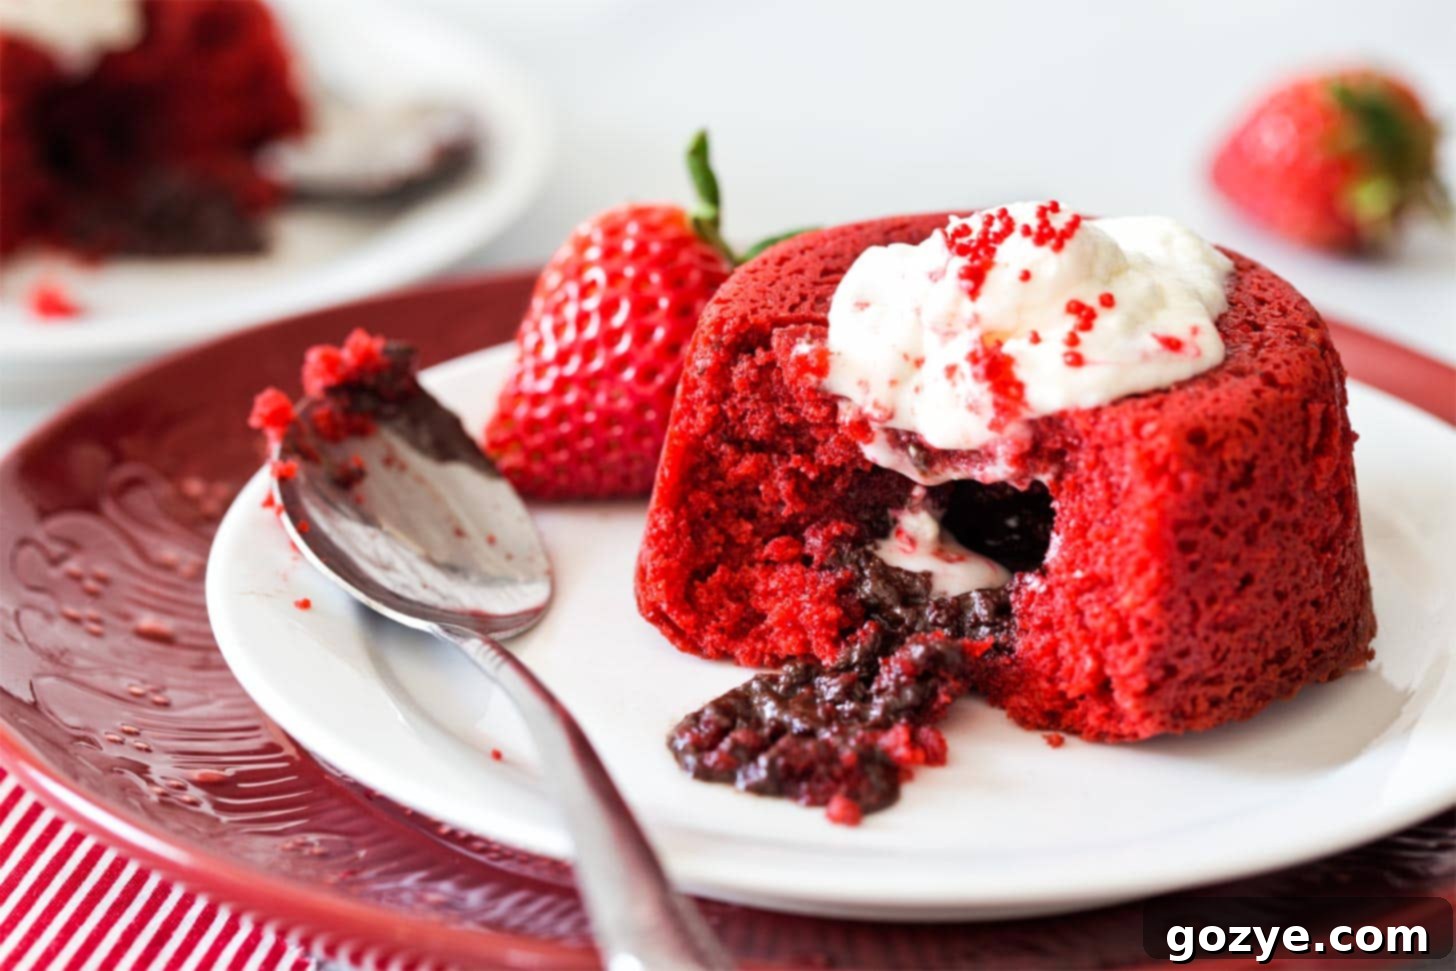
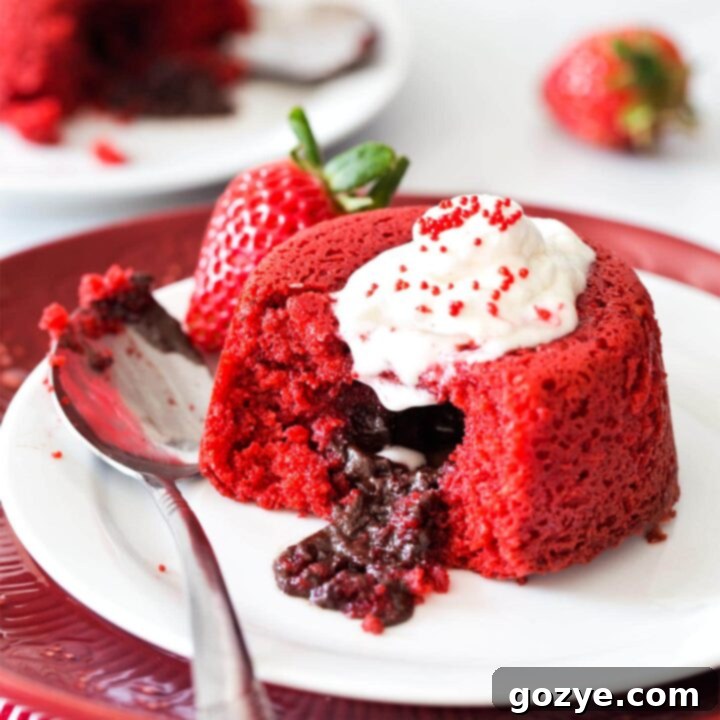
When February arrives, thoughts often turn to the vibrant hue and distinctive flavor of red velvet. What better way to celebrate love and companionship than with these enchanting Red Velvet Lava Cakes? Also known as red velvet molten cakes, they are an indulgent, sinful pleasure. Each cake boasts a tender, moist exterior that gives way to a gloriously gooey, fudgy center, all baked meticulously in two separate ramekins. The magic truly unfolds when you gently break them open with a spoon, allowing a luscious river of chocolate to elegantly ooze onto the plate—a spectacle that perfectly explains their “lava” moniker.
It’s crucial to understand that when we refer to these as true Red Velvet Lava Cakes, we genuinely mean it. Many recipes mistakenly present themselves as red velvet merely by adding red food coloring to a standard mini chocolate lava cake. Friends, that simply isn’t authentic red velvet. A genuine Red Velvet Cake must feature a specific combination of ingredients: cocoa powder for its subtle chocolate notes, buttermilk for tang and moisture, and baking soda and vinegar for their essential chemical reaction. These elements collectively contribute to the cake’s signature taste, texture, and often, its rich, deep crimson hue.
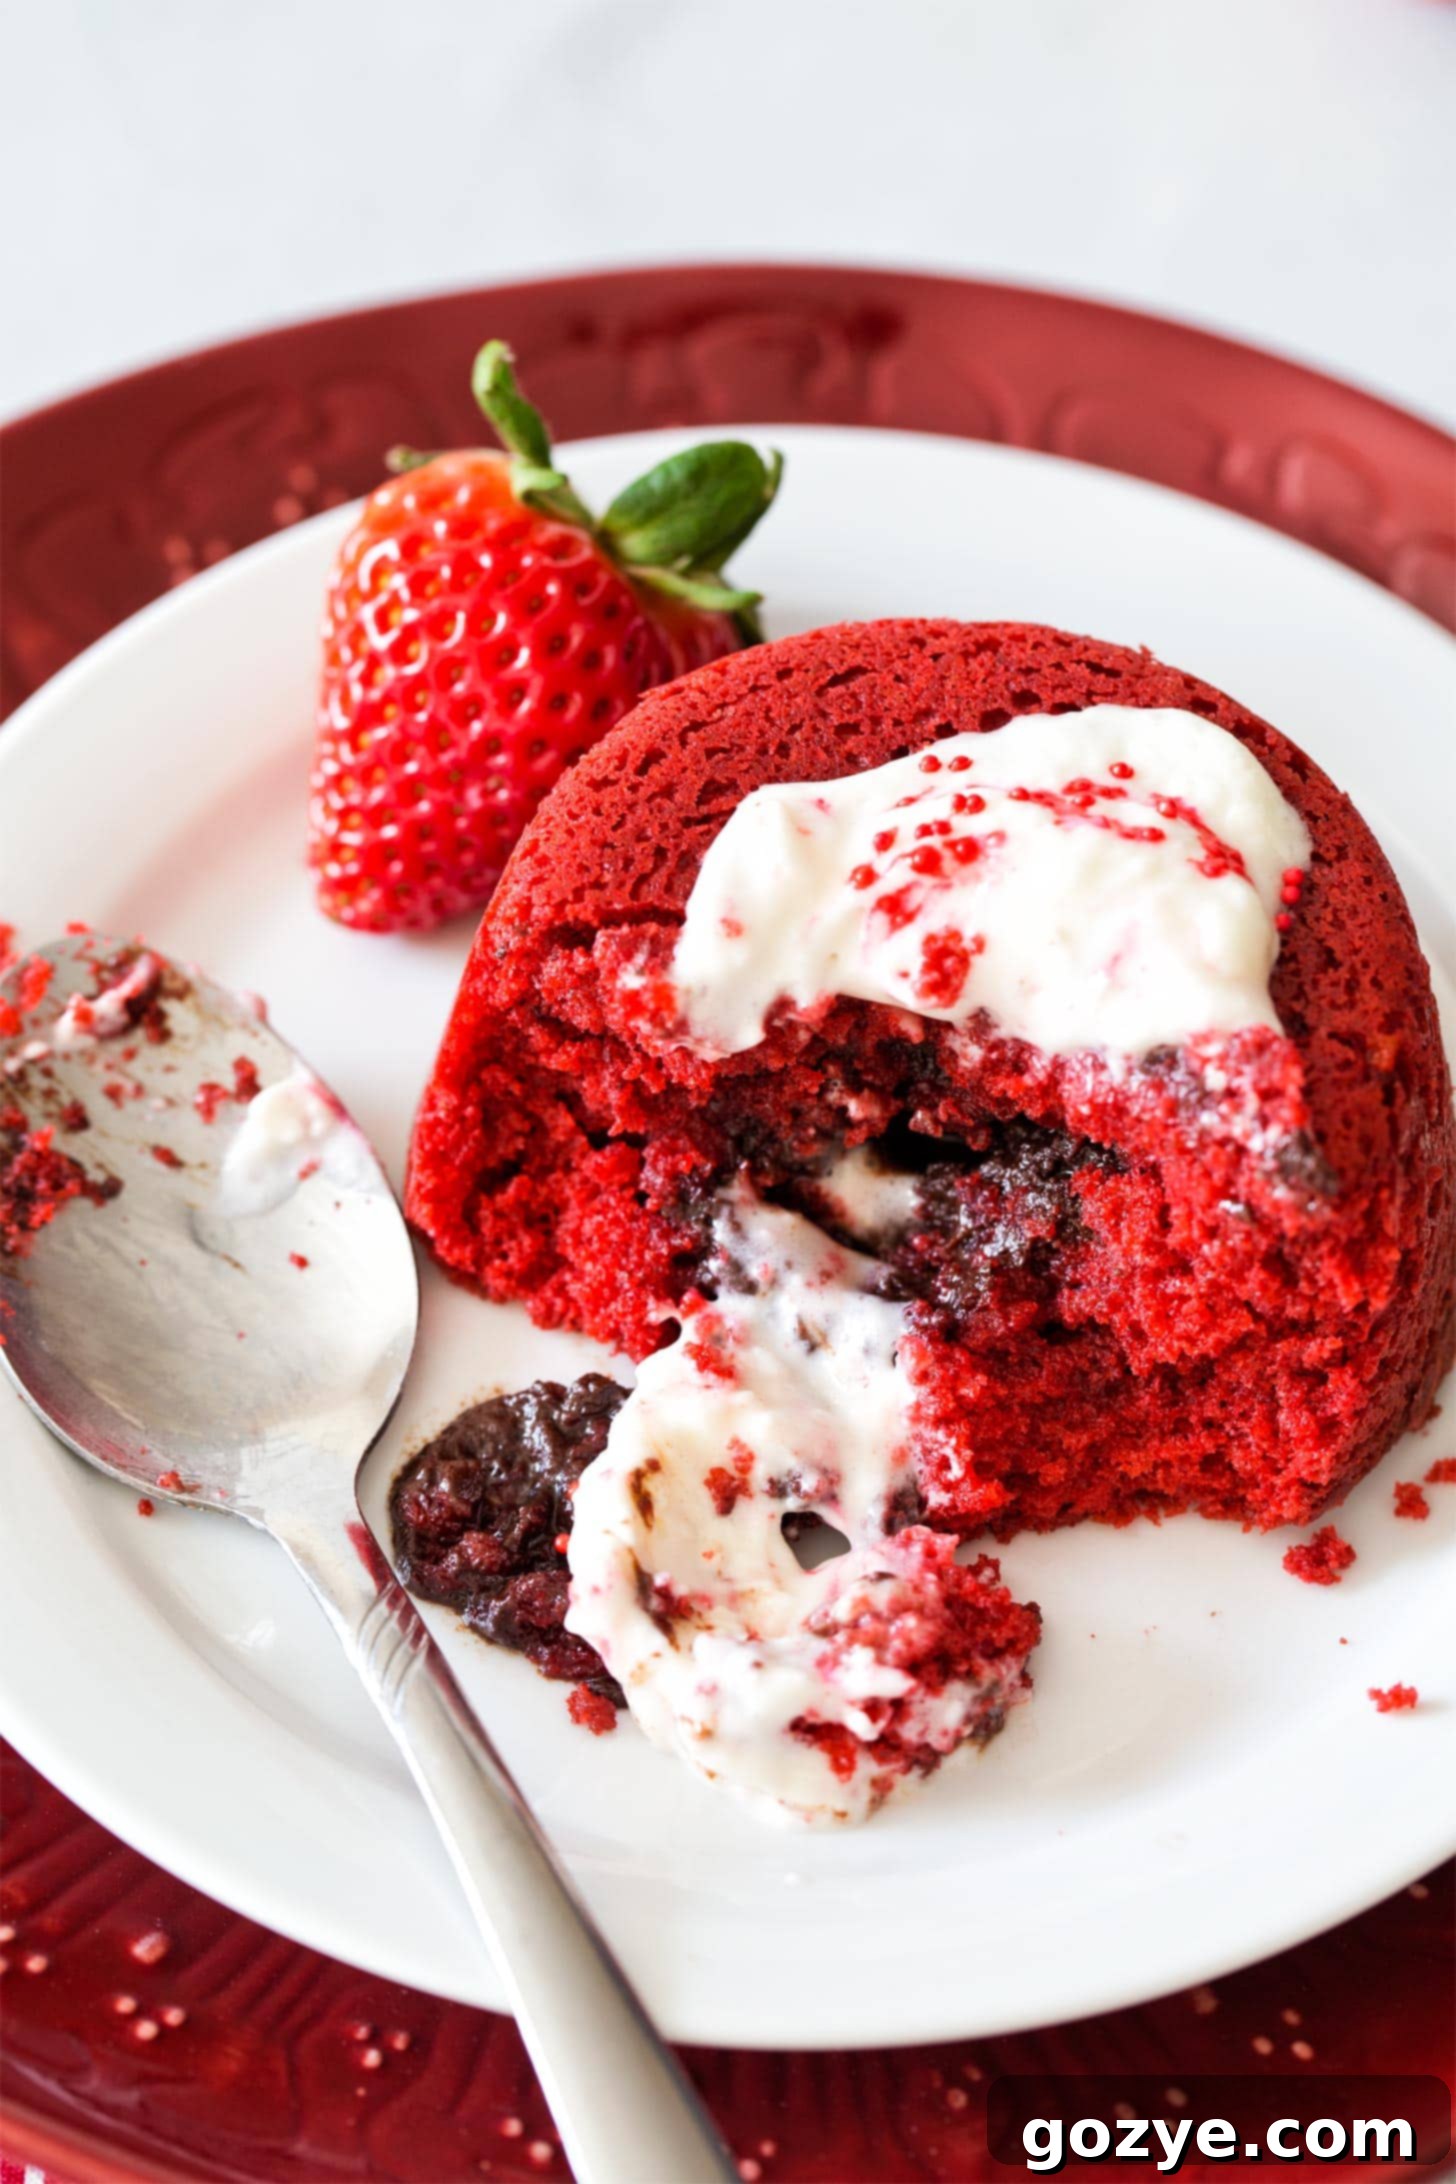
Our mini lava cakes deliver the authentic taste of red velvet cake – a delicately flavored chocolate base, enriched by the creamy tang of buttermilk and the subtle acidity of vinegar, all enhanced by a vibrant touch of red food coloring. To elevate the “lava” experience, we’ve incorporated a velvety chocolate ganache in the middle. This ganache creates that dramatic, flowing cascade of chocolate when you spoon into the cake, truly fulfilling the “molten” promise. While some molten cakes rely on a less-baked batter center for the ooze, we find the semisweet chocolate ganache provides a superior, more pronounced, and utterly satisfying molten core.
Making the ganache for the lava filling is highly recommended for the best results, ensuring that perfect ooey-gooey texture. However, if you’re short on time, a piece of good-quality chocolate can be used in a pinch, though it might yield a more melty rather than distinctly oozing center. To perfectly balance the richness and decadence of these molten masterpieces, we’ve added a light, airy, and slightly tangy cream cheese whipped cream on top. While traditional red velvet cakes are often paired with a heavier cream cheese frosting, its density would overwhelm these delicate molten cakes. The whipped cream, however, provides a refreshing counterpoint that complements every bite beautifully. After extensive testing and refining, we’re confident that this is the best red velvet lava cake recipe you can create, promising an unforgettable dessert for two with an exquisitely gooey chocolate middle.
Essential Ingredients for Your Decadent Red Velvet Lava Cakes
To craft your perfect red velvet molten cakes, gathering the right ingredients is key. Each component plays a vital role in achieving the signature flavor, texture, and vibrant color of this beloved dessert:
- Baking Chocolate: This is for your luscious ganache filling. Opt for semisweet chocolate for a balanced, mild flavor that pairs beautifully with red velvet. If you prefer a more intense chocolate experience, bittersweet chocolate will provide a richer contrast to the cake.
- Heavy Cream: Essential for melting the baking chocolate into a smooth, decadent ganache. It helps achieve the perfect consistency that will become the molten center.
- All-Purpose Flour: The structural backbone of your cakes. It provides the necessary framework, ensuring the cakes hold their shape and don’t collapse after baking, while still maintaining a tender crumb.
- Unsweetened Cocoa Powder: Crucial for imparting the subtle yet distinct chocolate flavor characteristic of authentic red velvet. It also contributes to the cake’s deep color when combined with other ingredients.
- Baking Soda: A leavening agent that reacts with the acidic components (buttermilk and vinegar) in the batter. This reaction produces carbon dioxide gas, which helps the cakes rise, creating a light and airy texture.
- Table Salt: A flavor enhancer that prevents the cakes from tasting bland. It balances the sweetness and brings out the complexities of the other ingredients. If you’re using salted butter, you may want to omit or reduce the salt slightly.
- Unsalted Butter: Provides essential fat content, contributing to the cake’s moistness and rich flavor. Using unsalted butter gives you better control over the overall salt content of your recipe. If you use salted butter, remember to adjust or omit the added salt.
- Large Egg Yolk: Specifically an egg yolk is used to add richness, tenderness, and a beautiful golden hue to the batter without making it “eggy.” We’ve found that using a whole egg can sometimes lead to a less desirable texture for lava cakes. Don’t waste the whites! Check out our guide on what to do with egg whites; our Egg White Cookies are highly recommended.
- Granulated Sugar: Sweetens the cake batter, ensuring a delightful balance of flavors against the cocoa and tangy buttermilk.
- Full-Fat Buttermilk: A cornerstone of true red velvet. Its acidity is vital as it reacts with the baking soda, causing the cake to rise properly and contributing to the tender crumb. Its tangy flavor also adds depth. If you only have regular milk, you can create a substitute by adding a teaspoon of lemon juice or vinegar to a cup of milk and letting it sit for 5 minutes until it curdles. Explore our other recipes using buttermilk!
- Vanilla Extract: Absolutely indispensable for boosting and rounding out the overall flavor profile of the cake, adding a warm, aromatic note.
- Red Food Coloring: While the natural reaction of cocoa, buttermilk, vinegar, and baking soda produces a maroonish hue, red food coloring (we used liquid, added by drops) enhances and brightens this to the iconic red velvet color. Gel or paste coloring can also be used, but adjust the quantity as they are more concentrated. Remember that the color will soften slightly during baking, so aim for a slightly brighter batter than your desired final shade.
- White Distilled Vinegar: Another acidic ingredient crucial for reacting with the baking soda. This interaction not only aids in leavening but also plays a role in enhancing the red color and contributing to the classic red velvet tang.
The intricate chemical dance between cocoa powder, buttermilk, vinegar, and baking soda is what inherently gives red velvet its distinctive deep maroon color, which is then typically intensified with food coloring. If you ever encounter a “red velvet” recipe that omits these key ingredients, rest assured, it is not a genuine red velvet cake.
Mastering Red Velvet Lava Cakes: The Art of Baking in Ramekins
While some recipes might suggest baking red velvet volcano cakes in a muffin pan, we wholeheartedly endorse the use of ramekins. Ramekins offer a distinct advantage, yielding a larger, more substantial, and ultimately more satisfying individual molten cake. However, through rigorous testing, we’ve discovered that not all ramekins are created equal – their size and even the thickness of their ceramic walls can significantly impact the baking process.
Consider our own experience: we have four 6-ounce ramekins, some with narrow, deep dimensions and thin ceramic walls (measuring about 5.75 fluid ounces), and others with slightly thicker walls (true 6 fluid ounces). Both sizes adeptly held the batter, but a noticeable difference emerged during baking: the slightly smaller, thinner-walled ramekins baked marginally faster. This seemingly minor detail becomes profoundly important for lava cakes, where every minute in the oven is critical. Baking them for even a minute too long can diminish that coveted molten center, turning it from gloriously gooey to merely fudgy.
Furthermore, the material of your ramekins matters. Glass ramekins, for instance, do not conduct heat as efficiently as ceramic ones, meaning your baking time might need to be extended by an extra minute or two. The more familiar you become with your particular set of ramekins, the better you’ll understand their unique thermal properties. Our best advice is to closely observe the visual cues provided in the recipe. If you’re ever in doubt, it’s always wiser to remove them from the oven a minute early rather than a minute late to preserve that perfect molten core. Once you master these, be sure to explore our other delightful Ramekin Dessert Recipes.
Can I Make Lava Cakes in a Muffin Pan?
Absolutely! If you don’t have ramekins, this recipe is adaptable and will produce approximately 4 mini cakes when baked in a standard 12-cup muffin pan. Due to their smaller size and greater surface area, these will bake considerably faster. You’ll likely only need to bake them for 6-8 minutes, so keep a very close eye on them to achieve that ideal molten center.
Crafting Perfection: How to Make Red Velvet Lava Cakes
Creating these exquisite red velvet molten cakes is a straightforward process, promising a luxurious dessert with minimal fuss. Follow these steps for a perfectly baked, ooey-gooey treat:
- Prepare the Ganache Filling: Begin by melting your chosen chocolate with heavy cream in a microwave-safe bowl. Heat in short bursts (e.g., 15 seconds, then stir; an additional 10-15 seconds if needed) until the mixture is completely melted and silky smooth. Once smooth, refrigerate the ganache for about an hour, or until it’s firm enough to easily scoop into balls. This firm ganache is key to creating that distinct molten core.
- Prepare Ramekins: Preheat your oven to 400°F (200°C). Lightly grease two 6-ounce ceramic ramekins. This crucial step ensures that your beautifully baked cakes will slide out effortlessly after baking without breaking, preserving their perfect shape.
- Combine Dry Ingredients: In a medium-sized bowl, sift together the all-purpose flour and cocoa powder. Then, stir in the baking soda and salt until evenly combined. Sifting helps prevent lumps and ensures a smoother batter.
- Mix Wet Ingredients: In a large mixing bowl (using a stand mixer with a paddle attachment or a hand mixer), beat together the cooled melted unsalted butter, egg yolk, granulated sugar, room-temperature full-fat buttermilk, vanilla extract, red food coloring, and white distilled vinegar. Beat on medium-high speed until the mixture is smooth and well-incorporated.
- Incorporate Dry into Wet: Reduce the mixer speed to low. Gradually add the dry flour mixture to the wet ingredients, beating just until combined. Be careful not to overmix, as this can lead to a tough cake.
- Fill Ramekins and Add Ganache: Divide the red velvet batter evenly between the two prepared ramekins. Using a small cookie scoop (like a #60) or your hands, form the chilled ganache into 1-inch balls and gently press one into the center of the batter in each ramekin. Don’t worry if the ganache ball slightly protrudes; the batter will rise around it during baking.
- Bake to Perfection: Bake the ramekins in your preheated oven for approximately 15-18 minutes. The exact timing will depend on your specific ramekins and oven, so watch carefully. The cakes are done when the edges and most of the top are firm and spring back slightly when lightly touched, but the very center remains soft and slightly jiggly – this is the secret to the molten core!
- Serve Immediately: Allow the cakes to cool for just 1 minute in their ramekins. Then, carefully run a thin knife around the edge of each ramekin to loosen the cake. Invert each cake onto a serving plate. Serve immediately to enjoy the spectacular molten center while it’s still warm and flowing.
Exquisite Pairings: What to Serve With Your Red Velvet Lava Cakes
These individual red velvet lava cakes are a symphony of rich and decadent flavors, and choosing the right accompaniments can elevate them even further. We highly recommend serving them with a dollop of our light and tangy cream cheese whipped cream, which beautifully cuts through the richness of the cake. For an added touch of freshness and color, a scattering of fresh strawberries makes a perfect complement.
Beyond our signature cream cheese whipped cream, you have several delightful options:
- Homemade Whipped Cream: A classic choice, simple and elegant. A light and airy homemade whipped cream provides a soft, cloud-like contrast.
- Fresh Berry Coulis: Drizzle with a vibrant strawberry sauce or a mixed berry coulis for a fruity tang that brightens the rich chocolate and red velvet.
- Chocolate Whipped Cream: For the ultimate chocolate lover, a swirl of chocolate whipped cream will intensify the cocoa notes.
- Vanilla Bean Ice Cream: Create a playful contrast of temperatures and textures by serving your lava cakes for two with a scoop of creamy vanilla bean ice cream. The cold, melting ice cream against the warm, molten cake is truly divine.
Short on time or energy for elaborate garnishes? A simple dusting of powdered sugar is an elegant and effortless way to decorate your red velvet lava cakes, adding a touch of sophisticated sweetness.
Storing and Reheating Your Red Velvet Lava Mini Cakes
Sometimes, a lavish dinner leaves you too full to enjoy both cakes, or perhaps you’re simply saving one for a delightful treat the next day. Whatever the reason, storing your mini lava cakes is easy, though their molten nature will change.
You can store your baked mini lava cakes in an airtight container at room temperature for up to 3 days. It’s important to note that the signature molten middle will solidify as the cake cools. However, even without the ooey-gooey flow, the center transforms into a delicious, fudgy chocolate core, almost like a rich truffle – still incredibly satisfying!
If you wish to enjoy a semblance of the molten experience again, you can gently rewarm your cake. Simply pop it into the microwave for 10-15 seconds. This quick reheat will soften the chocolate center, bringing it closer to its original molten glory, ensuring you can savor the decadence once more.
Explore More Red Velvet Delights
If you’ve fallen in love with these mini molten cakes and the enchanting flavor of red velvet, we encourage you to explore these other fantastic red velvet recipes from our collection:
- Red Velvet Cupcakes: Perfect for individual servings with a classic cream cheese frosting.
- Red Velvet Sugar Cookies: A quick and delightful treat, especially when you need a red velvet fix fast.
- Red Velvet Bars: A simpler, shareable way to enjoy the beloved red velvet flavor.
- Red Velvet Oreo Cheesecake: A truly indulgent fusion of two dessert favorites, combining rich cheesecake with the unique red velvet taste and Oreo crunch.
Red Velvet Lava Cakes
2 servings
10 minutes
15 minutes
25 minutes
These Red Velvet Lava Cakes are the epitome of romantic indulgence – rich, vibrant red velvet molten cakes with a surprise gooey chocolate center, perfectly baked for two and elegantly topped with a delicate cream cheese whipped cream. The ideal dessert for Valentine’s Day or any intimate date night.
Ingredients
- 1/2 ounce semisweet or bittersweet chocolate, finely chopped
- 1 tablespoon heavy whipping cream
- 1/2 cup all-purpose flour
- 1 teaspoon unsweetened cocoa powder
- 1/8 teaspoon baking soda
- 1/8 teaspoon table salt
- 1 large egg yolk, at room temperature
- 1/4 cup (4 tablespoons or 2 ounces) unsalted butter, melted and cooled for 15 minutes
- 1/4 cup granulated sugar
- 3 tablespoons full-fat buttermilk, at room temperature
- 1 teaspoon vanilla extract
- 1 teaspoon red food coloring (liquid recommended)
- 1/4 teaspoon white distilled vinegar
- Cream Cheese Whipped Cream, for serving (get recipe here)
Instructions
- In a microwave-safe bowl, combine the chopped chocolate and heavy cream. Microwave on high for 15 seconds, then stir thoroughly. If the chocolate isn’t fully melted and smooth, microwave for an additional 10-15 seconds, stirring well after each interval until no lumps remain. Refrigerate the ganache for about 1 hour, or until it’s firm enough to scoop into small balls*.
- Preheat your oven to 400°F (200°C). Lightly grease two 6-ounce ceramic ramekins to ensure the cakes release easily after baking.
- In a medium bowl, sift together the all-purpose flour and cocoa powder. Then, stir in the baking soda and table salt until all dry ingredients are well combined.
- In a large mixing bowl (using a stand mixer with a paddle attachment or a hand mixer on medium-high speed), beat together the cooled melted unsalted butter, egg yolk, granulated sugar, room-temperature buttermilk, vanilla extract, red food coloring, and white distilled vinegar until the mixture is smooth and evenly colored.
- Reduce the mixer speed to low. Gradually add the dry flour mixture to the wet ingredients, beating just until the flour streaks disappear and the batter is combined. Be careful not to overmix.
- Divide the red velvet batter evenly between the two prepared ramekins. Using a small #60 cookie scoop or by hand, form the chilled ganache into 1-inch balls and gently press one into the center of the batter in each ramekin. It’s perfectly fine if the ganache ball sticks out slightly; the batter will rise to cover it during baking.
- Bake for 15-18 minutes, or until the edges of the cakes are firm and the top springs back when lightly touched, but the very center still feels soft and slightly jiggly (indicating a molten core). Baking times may vary depending on your ramekins.
- Allow the cakes to cool in their ramekins for just 1 minute. Carefully run a thin knife around the rim of each ramekin to loosen the cake, then invert each onto a serving plate. Serve immediately with a generous dollop of cream cheese whipped cream to enjoy the molten center at its best.
Notes
- *While the ganache will provide the best, most authentic chocolate flow for your lava cakes, you can substitute it with a piece of good-quality chocolate candy (the kind you would eat) placed in the middle. Please note, however, that this will result in more of a soft, melty chocolate center rather than a distinct, oozing lava effect.
- *The ganache can be prepared up to 1 day in advance and stored in the refrigerator until needed, making this recipe even easier to manage.
- If you enjoyed this recipe, be sure to check out our classic Mini Chocolate Lava Cakes for another molten dessert delight.
- Since this recipe uses only an egg yolk, don’t let the egg whites go to waste! Refer to our helpful guide on What To Do With Egg Whites for creative ideas.
Recommended Products
As an Amazon Associate and member of other affiliate programs, I earn from qualifying purchases.
- Small Cookie Scoop
Did you make this recipe?
Let us know what you think! Rate the recipe above, leave a comment below, and/or share a photo on Instagram using #HITKrecipes
